Administrative Details, DIYs, and a Winner!
I just wanted to give you a heads up on a change that I’m making here at A2D. I’m always looking for ways to better organize the information here so that it can be found easily.
So I’ll be making a change to the way that I post DIY projects in the future. I’ve noticed that the DIY posts tend to be really long and rambling, and depending on the complexity of the project, they can include up to 30 or so pictures. That makes for an incredibly long blog post!!
But I know that not all of you are interested in the process. I know that when I visit other blogs, I’m not particularly interested in all of the “how to” steps. I just like to see the before and after and be inspired, but I don’t need to see each and every step.
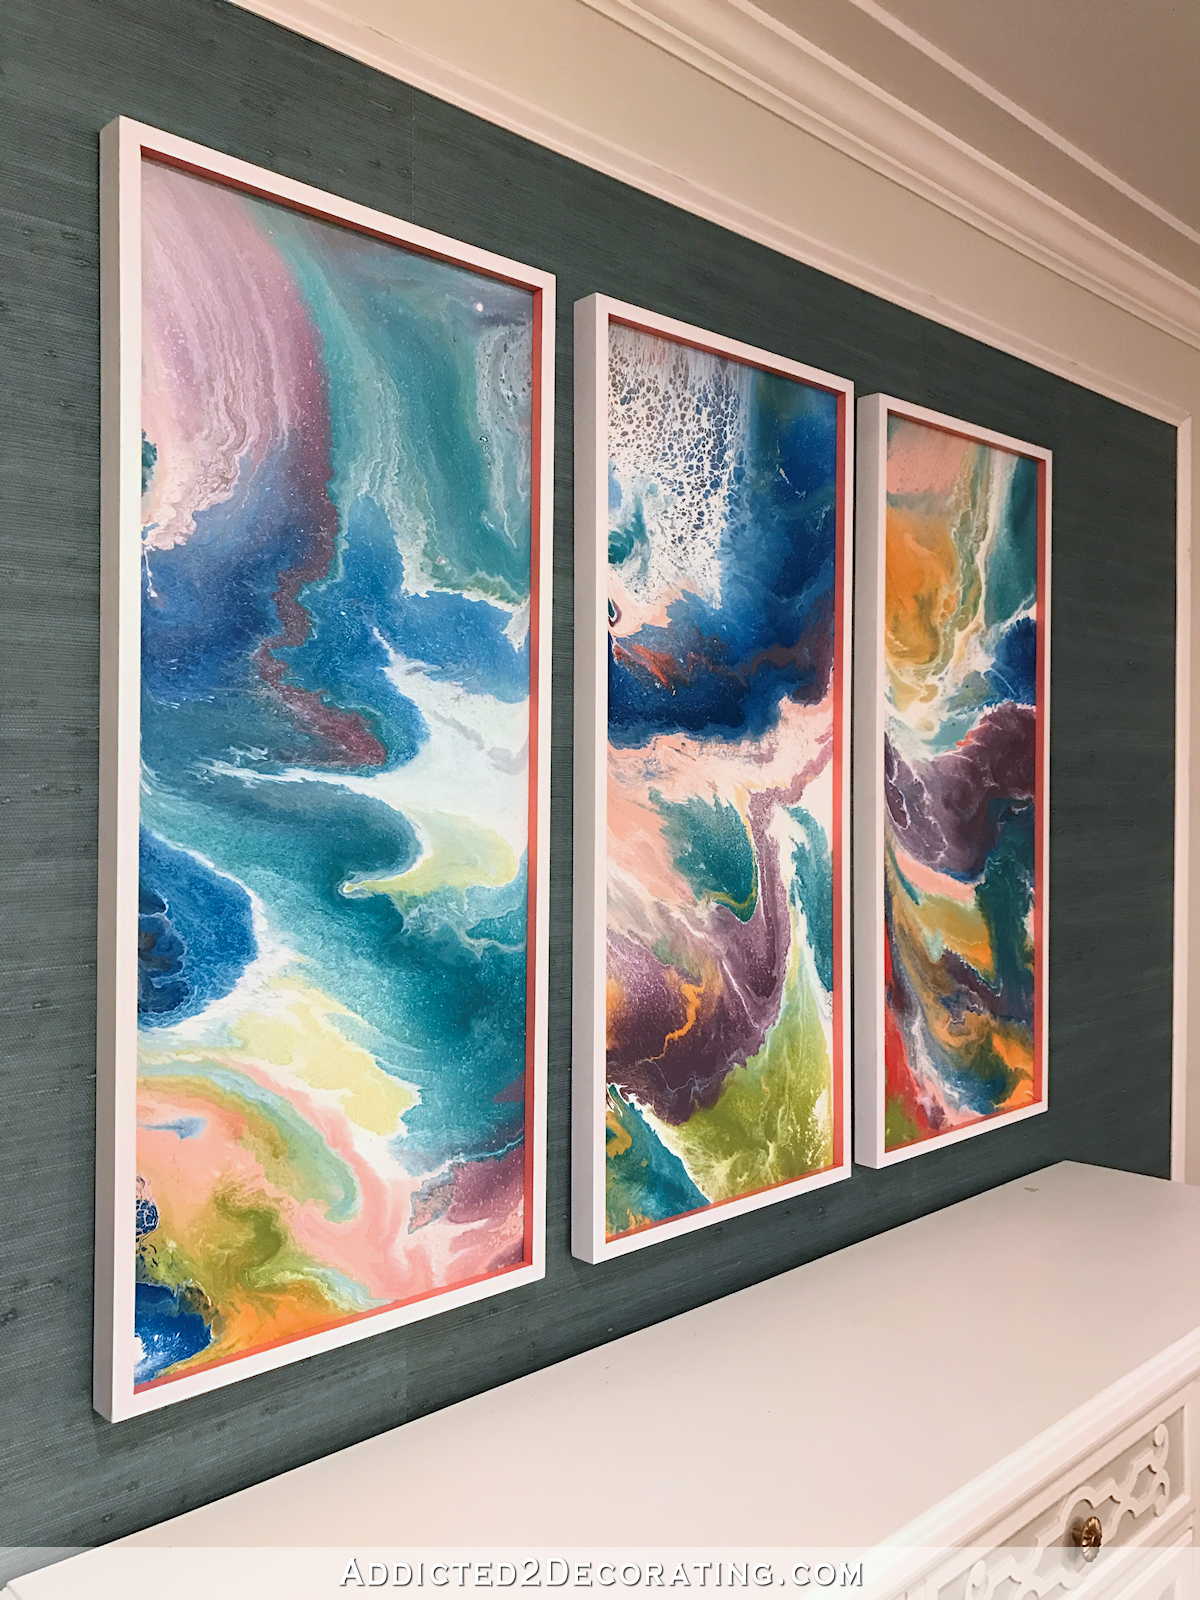
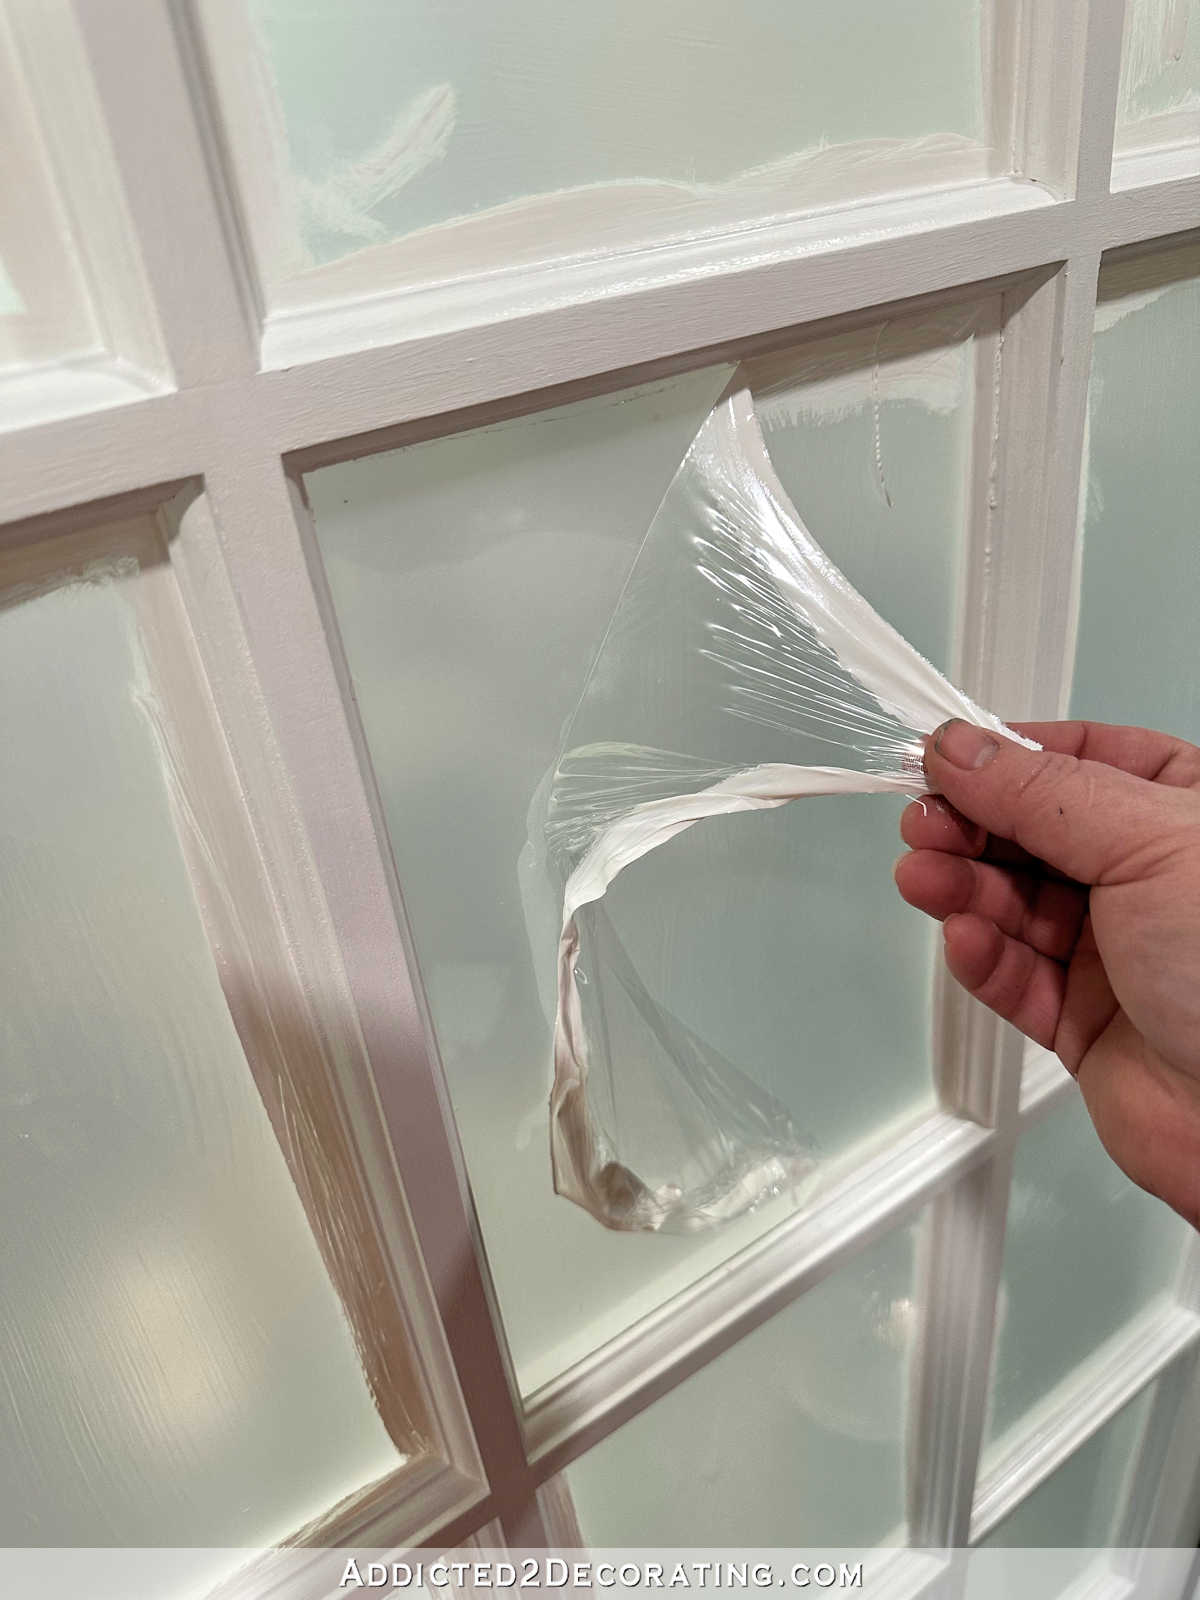
So, from here on out on DIY posts, I’ll be posting the before and after pictures here on the blog just so you can see what I’ve been working on, but then the post will have a button that looks like this…

…and that button will be linked to a page on the A2D website that has all of the step-by-step instructions for that particular project.
That way, those of you who actually want the detailed instructions with my wordy descriptions and plethora of pictures can click over, but those of you who aren’t interested in all of that additional info can just look at the before and after pictures without having to wade through 30 additional photos that you have no interest in. And all of the DIY projects will be linked on the DIY Projects page for quick reference.
Sound good?
And now for the fun stuff!! The month of May really few past me. May 31st came and went without me even realizing it!! So I’m a couple of days late on this, but I have a winner for the May gift card drawing.
Out of 512 comments, the winning comment was #198, and that belongs to…
Olivia Juenke, whose winning comment was on this post about mix and match dining chairs.
Congrats, Olivia! Just send me an e-mail at addicted2decorating[at]live.com and I’ll get you set up with a $100 gift card to the home store of your choosing.

Addicted 2 Decorating is where I share my DIY and decorating journey as I remodel and decorate the 1948 fixer upper that my husband, Matt, and I bought in 2013. Matt has M.S. and is unable to do physical work, so I do the majority of the work on the house by myself. You can learn more about me here.
That is a great Idea!
I love all your instructions and DIY stuff so glad you are not cutting them out, but just revamping….
Congratulations Olivia! Enjoy your gift card.
I was afraid you were cutting the step by step, glad to see that's not the case.