Staircase Spindle Candlesticks
Please forgive me. I forgot…AGAIN…to take pictures of the finished reupholstered wingback chair. I’m going to stop making promises, because frankly, being as tired as I am while I’m making the final push to finish up John & Alice’s family room and kitchen, I just can’t make any guarantees. I was at my mom’s house all day yesterday working on the second wingback chair. We did finish it, though…at 10:00pm!!
So the most that I can guarantee is that I’ll TRY to remember. (I really need an assistant!!)
Anyway, in the absence of chair pictures, I thought I’d share a super easy project with you—these DIY candlesticks. All three cost me about $6…

A while back, I purchase these staircase spindles from a thrift store. I think I paid about $2 for each of them.

Using my handy miter saw, I cut off the excess bottom portions.

I also cut them to varying heights.

Then I used some scrap 1” x 3” MDF boards that I had on hand, and cut out nine squares.

Six of the squares were the same size, while I cut three of them a bit smaller.

Then I glued and nailed two of them to the bottom of each spindle (one big one and one small one), and then glued and nailed a big one to the top of each spindle.

After that, I did a little sanding, priming, painting, and then sanding again to distress the finish. The result was three pretty little candlesticks that cost about $6.

Not to shabby for six dollars, right? And I think they make a beautiful addition to John & Alice’s fireplace mantel.

The mantel still needs a little somethin’, but it’s getting there!

I love how this is turning out, and I especially love that it’s a collection of DIY projects…including the mantel!! If you missed any of these projects, you can see them here: mantel, painting, and wood shim mirror.
So have you ever made anything out of spindles? I have now made these candlesticks, and the fancy chalkboard that I shared with you yesterday. They’re so pretty and come in such a variety of shapes and sizes. I feel like there are probably a thousand project that can be made with them! If you have any brilliant ideas, or have a project that you’ve already made with them, please share!
I link to these parties:
Tatertots and Jello • Tidy Mom • The Shabby Nest • Fingerprints On The Fridge • Just A Girl • The Shabby Chic Cottage • House of Hepworths • Fireflies and Jellybeans • Funky Junk Interiors • Under The Table And Dreaming • The DIY Showoff • Flamingo Toes • Between Naps On The Porch • The Girl Creative • Keeping It SimplE • Skip To My Lou • Tip Junkie •Home Stories A to Z • today’s Creative Blog

Addicted 2 Decorating is where I share my DIY and decorating journey as I remodel and decorate the 1948 fixer upper that my husband, Matt, and I bought in 2013. Matt has M.S. and is unable to do physical work, so I do the majority of the work on the house by myself. You can learn more about me here.

Love this! Stumbling the post cuz it's so fab! 🙂
Mmmmm, it IS turning out beautiful, Kristi! I would love to hear what A & J say when you are all done–I'm guessing they are swooning right now!
Sindy 🙂
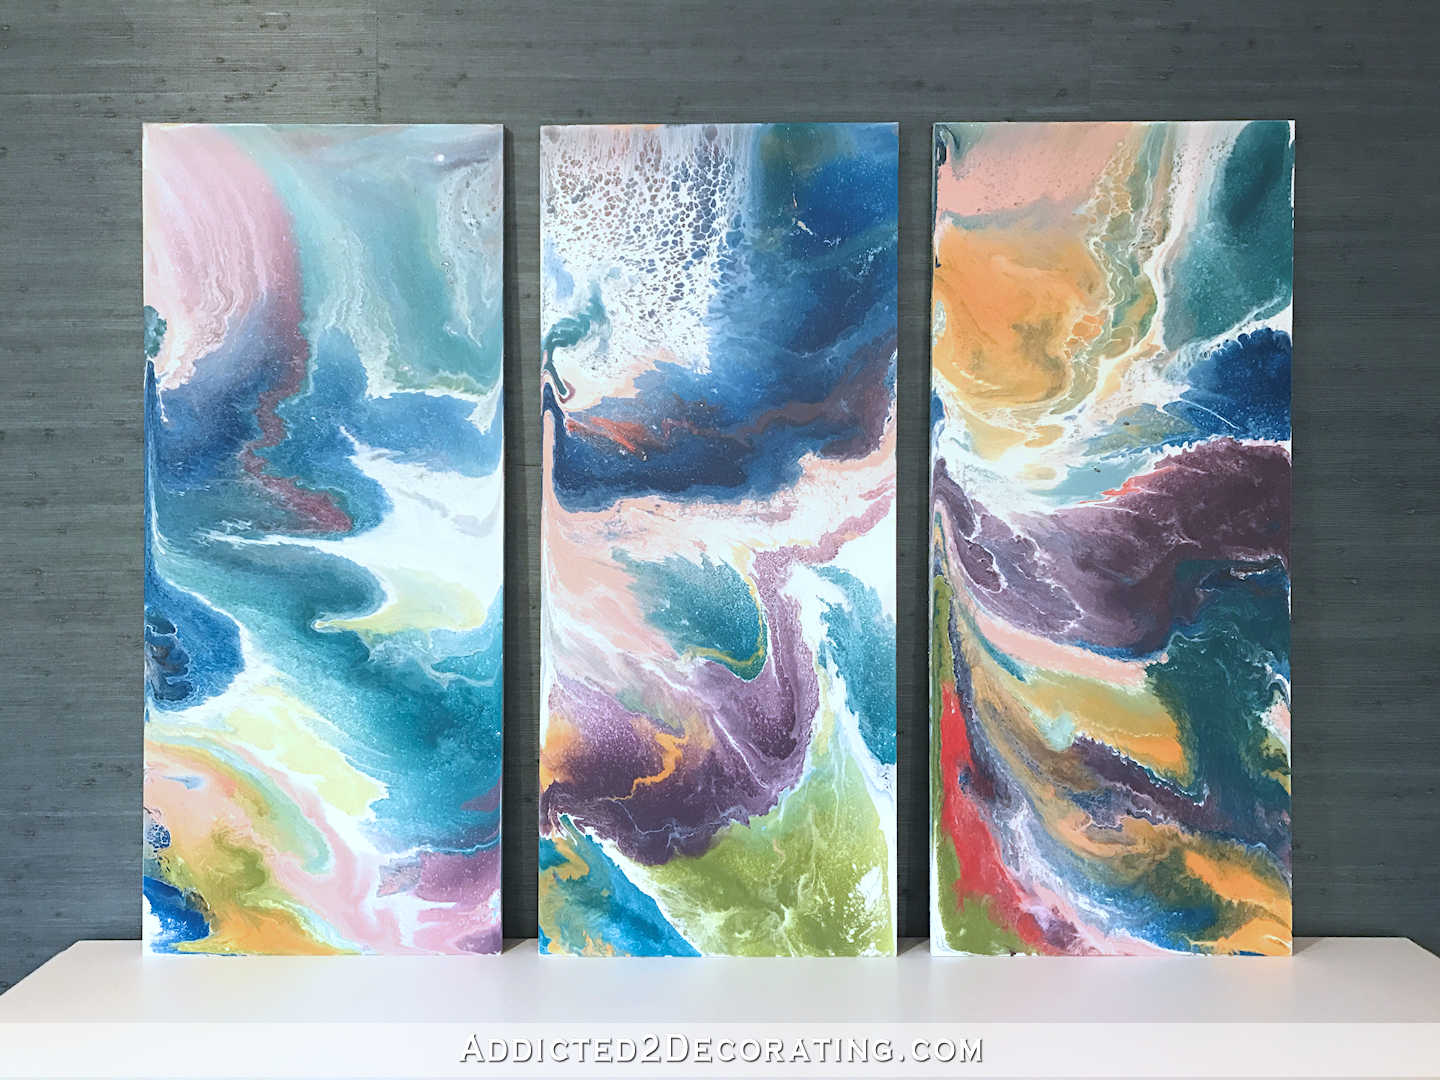
I just can't get over your painting… I absolutely love it! Would you ever consider commissioning art work just like that but bigger and lighter?
Thank you, Olivia! Wow, I'm not sure if I feel confident enough to actually paint something for someone. I could possibly give it a try, though!
Thease are great! Thanks for the idea.
Great idea.I love the candlesticks:)
You seriously have the cooooooolllllest power tools… Love the candlesticks.
I love how your painting looks on the mantle. The starfish is a nice touch.
A nice, simple and unique idea! I don't think I have ever seen this done before, its very effective! I look forward to seeing more of these!
One of my favorite DIY projects was to purchse two unfinished plaster columns from AC Moore. I sealed, primed and then faux woodgrained them. Now they look like fancy mahogany plant stands and all it cost me was 20 dollars.
Maude
http://www.bowsbymaude.com
Nicely done, I love it!
I came from Tidy Mom
Thanks for sharing.
FABULOUS! I just found you over at Funky Junk because I was posting my dragonflies made from spindles/table legs, and spotted your project and had to check it out, love them! … http://www.lucydesignsonline.com/2011/07/more-table-leg-dragonflies.html
Love this upcycling project! Newest follower from Naps on Porch linky party. Would love a visit and follow… I'll be back for sure! laura
http://imnotatrophywife.com
Wow…they turned out awesome! Its amazing what great things you can find at thrift store…all you need is an imagination.
Found you through DIY Showoff..what a great idea!
This is such a great idea! I would love to feature it on my blog if that's ok 🙂