How to Reupholster An Occasional Chair With Tufted Back
<< Return to Intro Proceed to Part 2 >>
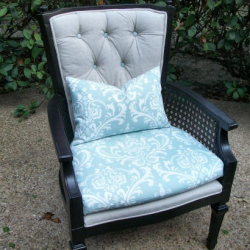
Here’s a good look at the chair that I started with. It had a wood frame with cane sides, diamond-tufted back with covered cord trim, an upholstered attached seat with a loose seat cushion on top.
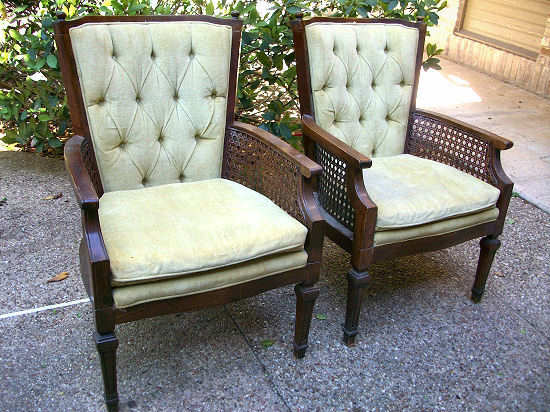
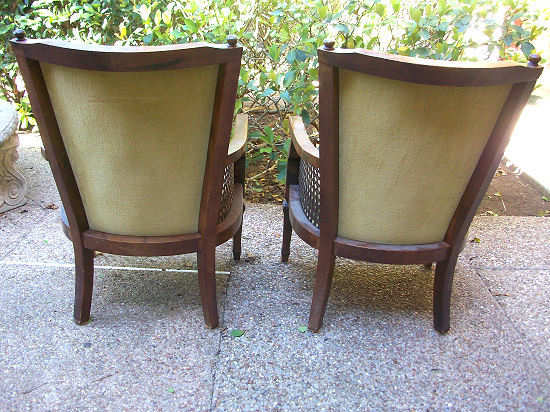
The back was also upholstered with fabric.
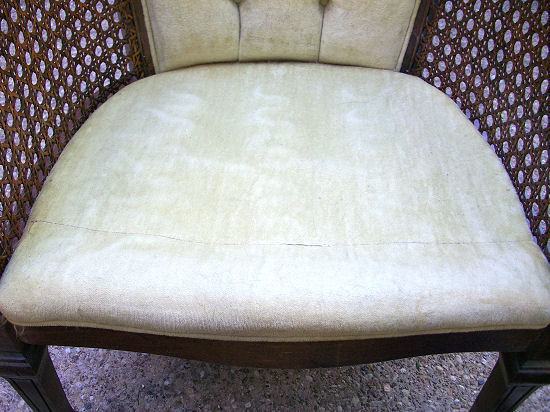
When the loose seat cushion was removed, I was left with an attached upholstered seat base. This had to be removed before removing the fabric from the back of the chair.
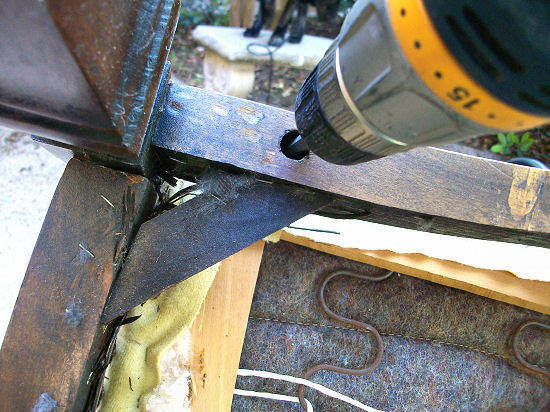
So I flipped the chair upside down and used my drill with screwdriver bit to unscrew the seat from the chair.
With the seat removed, I was able to remove the fabric from the back of the chair. This was stapled in, so I used pliers to grab the fabric and pull all around the edges and then remove completely.

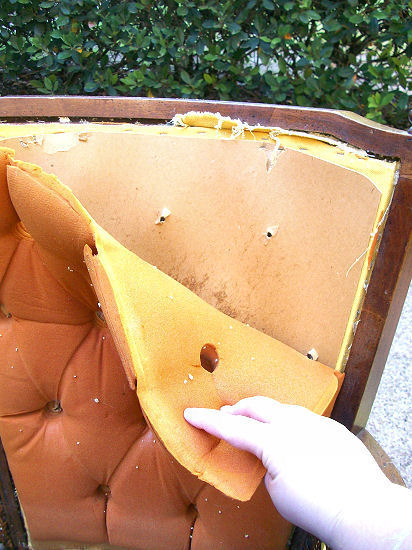
Under the fabric was a layer of foam, chip board, a very thin layer of foam, and the backing fabric. **Always be sure to remove the foam gently and carefully so you can re-use it if it’s in good shape! Foam can be expensive, and this will save you money.
I carefully removed the foam, the chip board, the thin layer of foam behind the chip board, and the backing fabric, and then used my pliers to remove all of the staples.
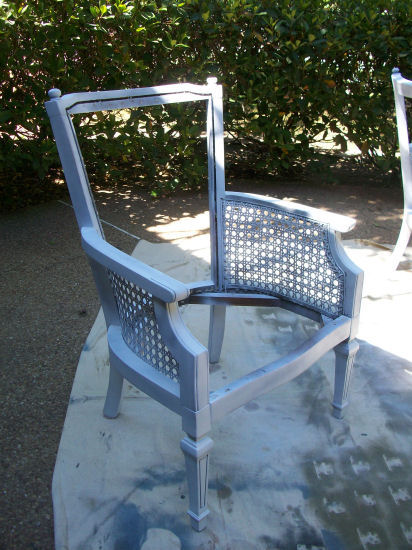
With everything removed, I was left with just the frame, which I sanded lightly by hand with 150-grit sandpaper, and then gave a coat of spray primer.
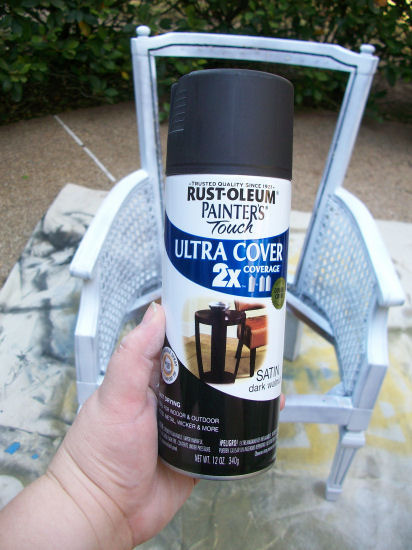
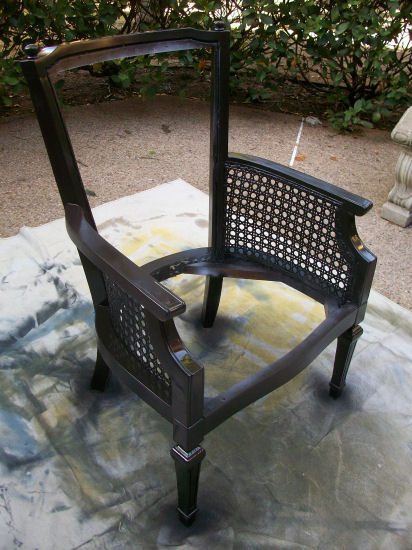
After the primer, I followed up with two coats of spray paint in Dark Walnut. **When you spray paint a chair, always be sure to flip the chair upside down to get at all of the underneath parts. This is especially important if your chair has caning, turned legs, carved details, etc.
When the chair was thoroughly coated with paint, I set it aside to cure for about 24 hours before proceeding.
<< Return to Intro Proceed to Part 2 >>

Addicted 2 Decorating is where I share my DIY and decorating journey as I remodel and decorate the 1948 fixer upper that my husband, Matt, and I bought in 2013. Matt has M.S. and is unable to do physical work, so I do the majority of the work on the house by myself. You can learn more about me here.


Hi Krisiti –
I have two tufted back chairs with under arm caning that I have been wanting to reupholster. I’ve searched online before for tutorials because I haven’t done much reupholstering, but could never find directions that worked because of how unique the chairs are. When I just found your website I was so excited because brace yourself – I have the EXACT same pair of chairs as featured in your post. Same yellow aged velvet, same legs, knobs on top… except your caning is in better shape.
Thank you so much for this truly detailed post! I can’t wait to try out my project this weekend. FINALLY! I’ll let you know how it turns out!
amberwilhelmina.wix.com/designinteriors
Fantastic! I’m so glad you found my tutorial helpful! Good luck with your project! And I’d love to see pictures when you’re done. 🙂
Hi Kristi. I am reupholstering a tufted occasional chair just like the one in your tutorial. Everything looked great until I got to Parts 3 and 4. The photos wouldn’t appear. The photos for Parts 1 and 2 came through fine. Am I doing something wrong? I tried using a different browser and same problem.
Thanks.
I think I have it fixed now. You should be able to see the rest of the pictures.
Wow Kristi. That was quick! All the photos came out just fine. Thanks so much. Your instructions are a big help to me in finishing my chair!
Thank you so much for this great tutorial. Your instructions were perfect for helping me finish my thrift store chair. Can I share the link to your tutorial on my blog? I am new to blogging and want to make sure I do that right.
Sure! Feel free to share.