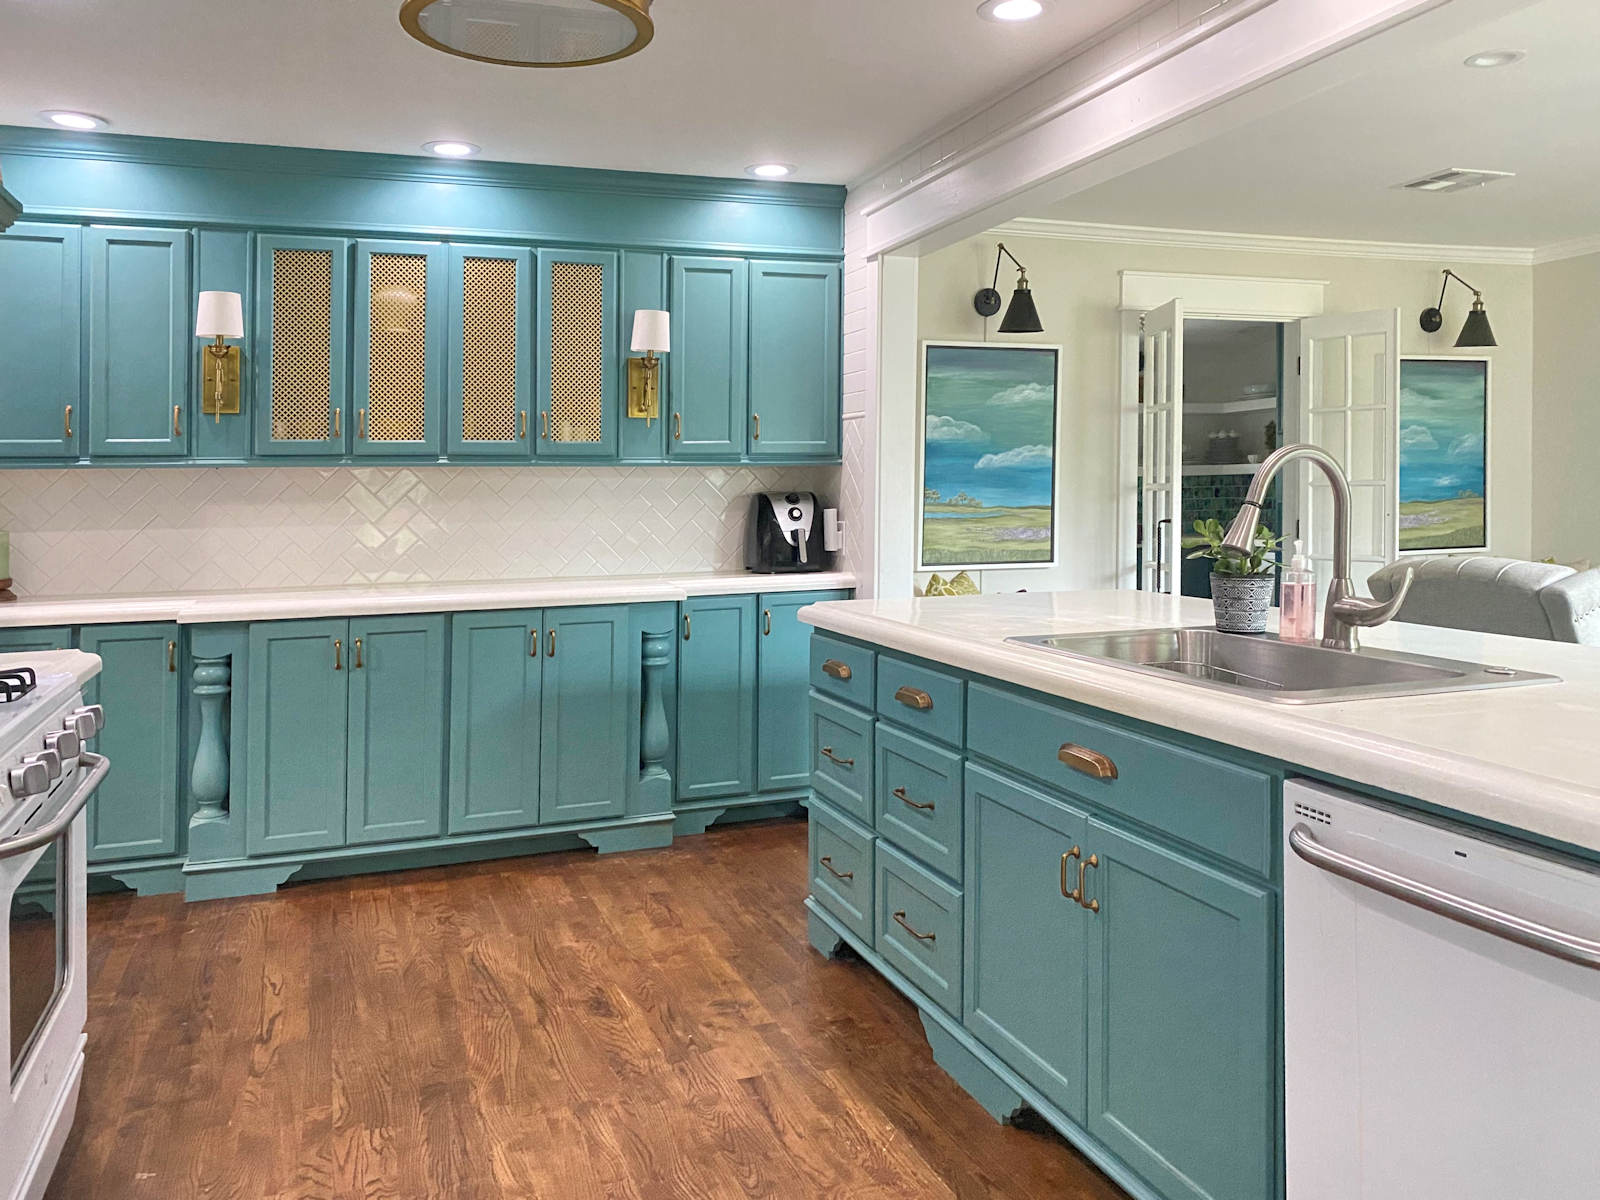
Kitchen Cabinet Progress — So Close To Being Finished!
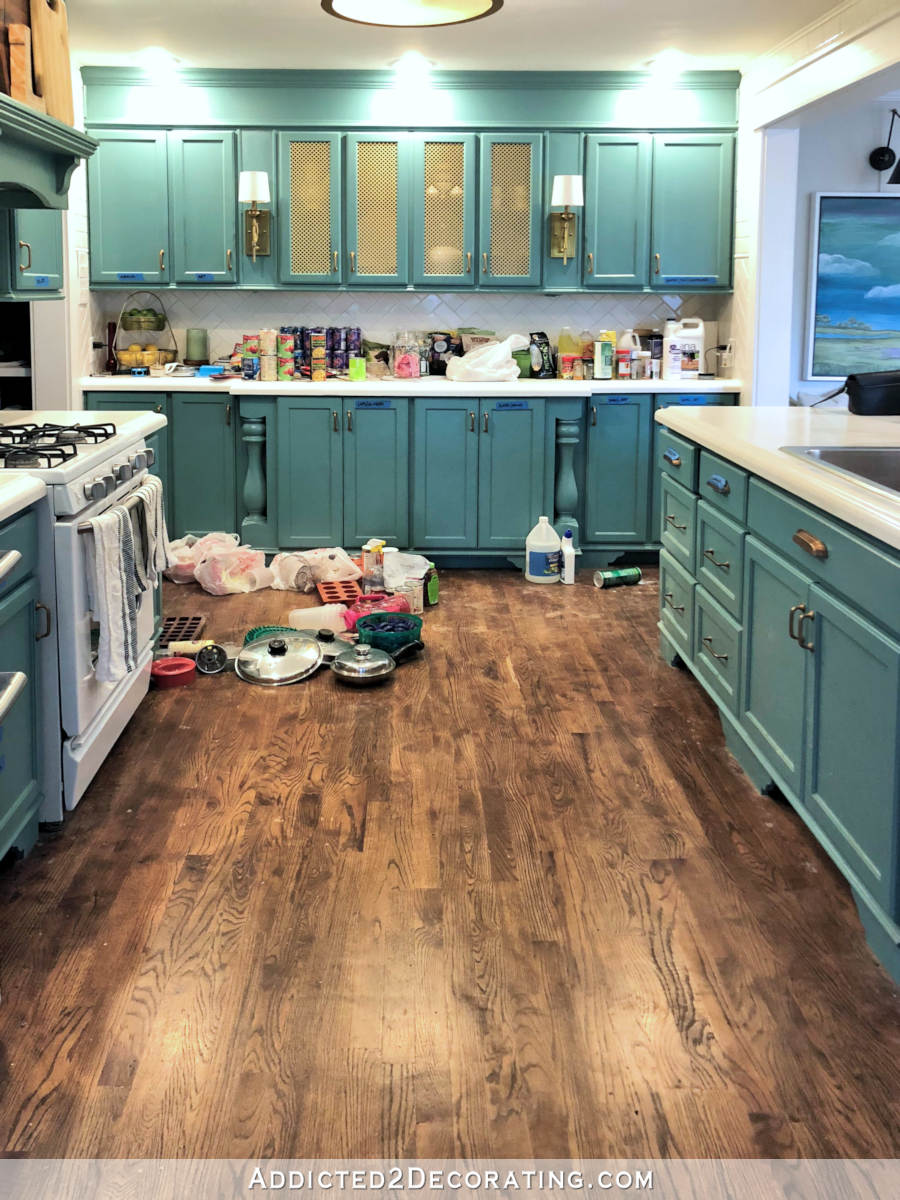
Well, it’s been a slow week here on the blog since I’m in the middle of such a big project, but I couldn’t take off for the weekend without showing you my progress. I’m happy to report that my kitchen cabinets are so close to being finished! Here’s the status…
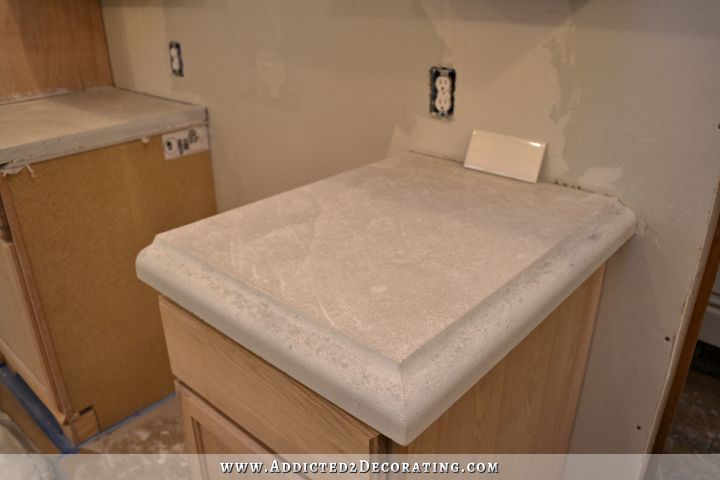
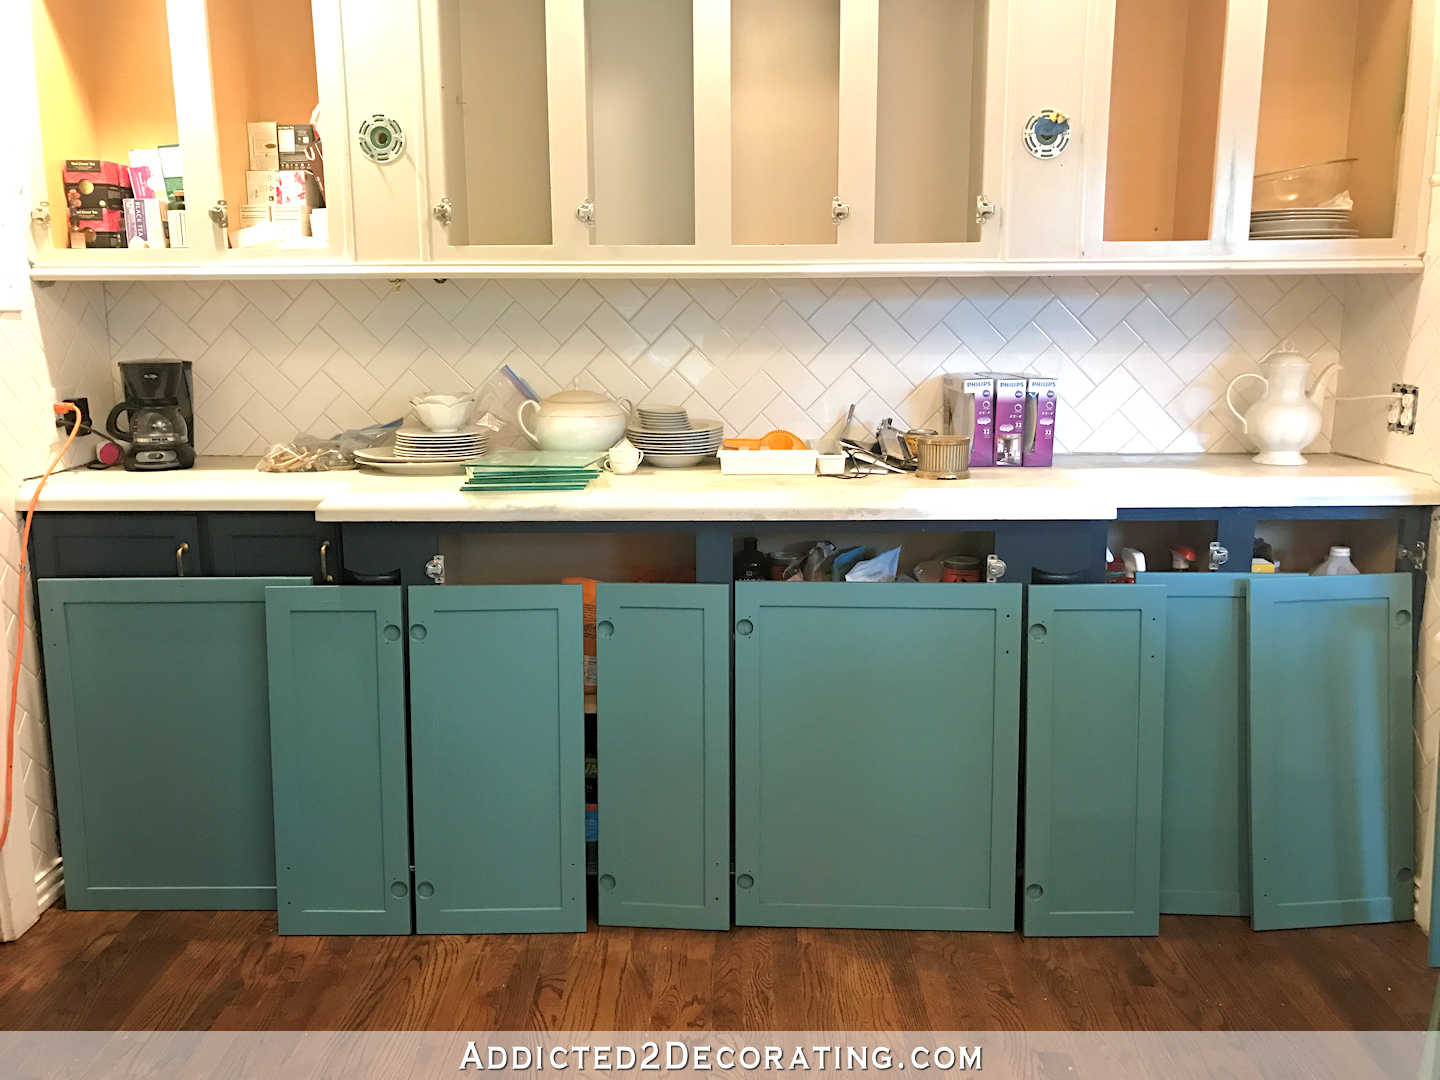
On the refrigerator/range wall, these cabinets now have two coats of paint, the first coat of poly (click here for more info on my new favorite brand of water-based polyurethane), and they’ve been sanded with 400-grit sandpaper and are ready for their second and final coat of poly. Then I need to paint the inside of the refrigerator compartment, and this wall will be done. I’m running out of teal paint, and probably have just enough for the five cabinet doors I’m still waiting on, so I’ve decided to paint that compartment black since it won’t show anyway. You can see that last time, I never even finished painting it. 😀

The wall of cabinets has two coats of paint and one coat of poly. I just need to sand the cabinets with 400-grit sandpaper, spray a final coat of poly, and they’ll be done.
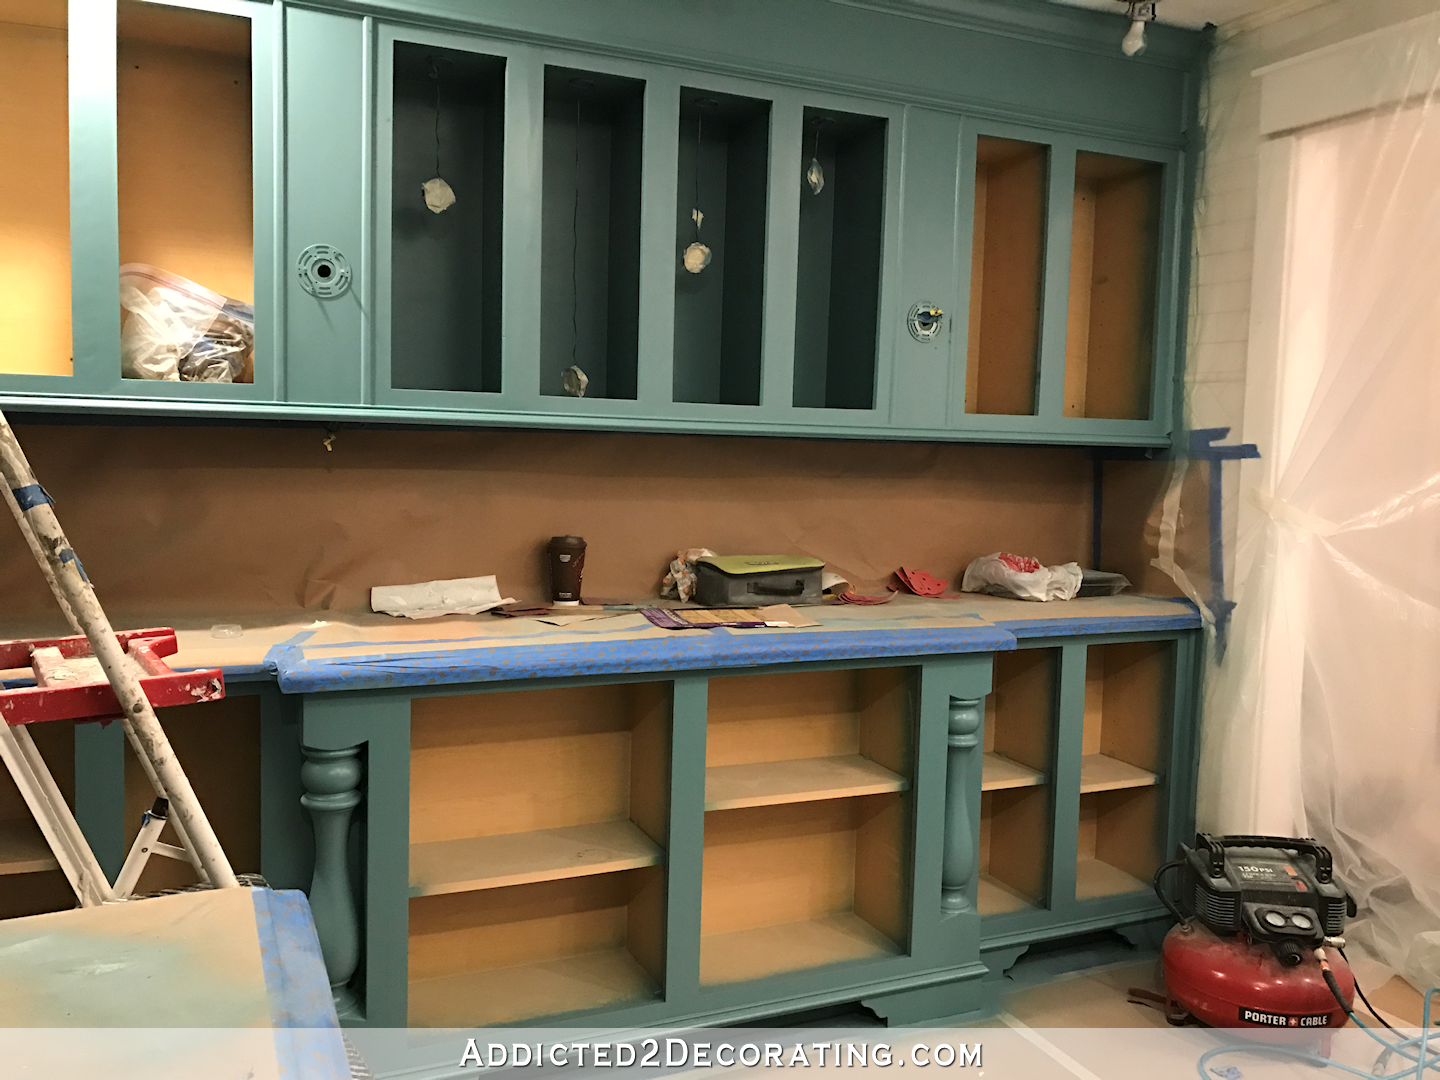
The peninsula on both sides has two coats of paint and is ready for the first coat of poly.

The kitchen side and end of the peninsula were ready for poly at the same time the other cabinets were, but I decided to hold off on doing the first coat until the breakfast room side of the peninsula was ready so that the whole thing could be polyurethaned at the same time. As of yesterday morning, the breakfast room side of the peninsula was still bare wood, so it needed quite a bit of work to get caught up to the kitchen. So yesterday I was able to do all of the wood filling, sanding, caulking, and painting on this side, so today it’s ready for poly.
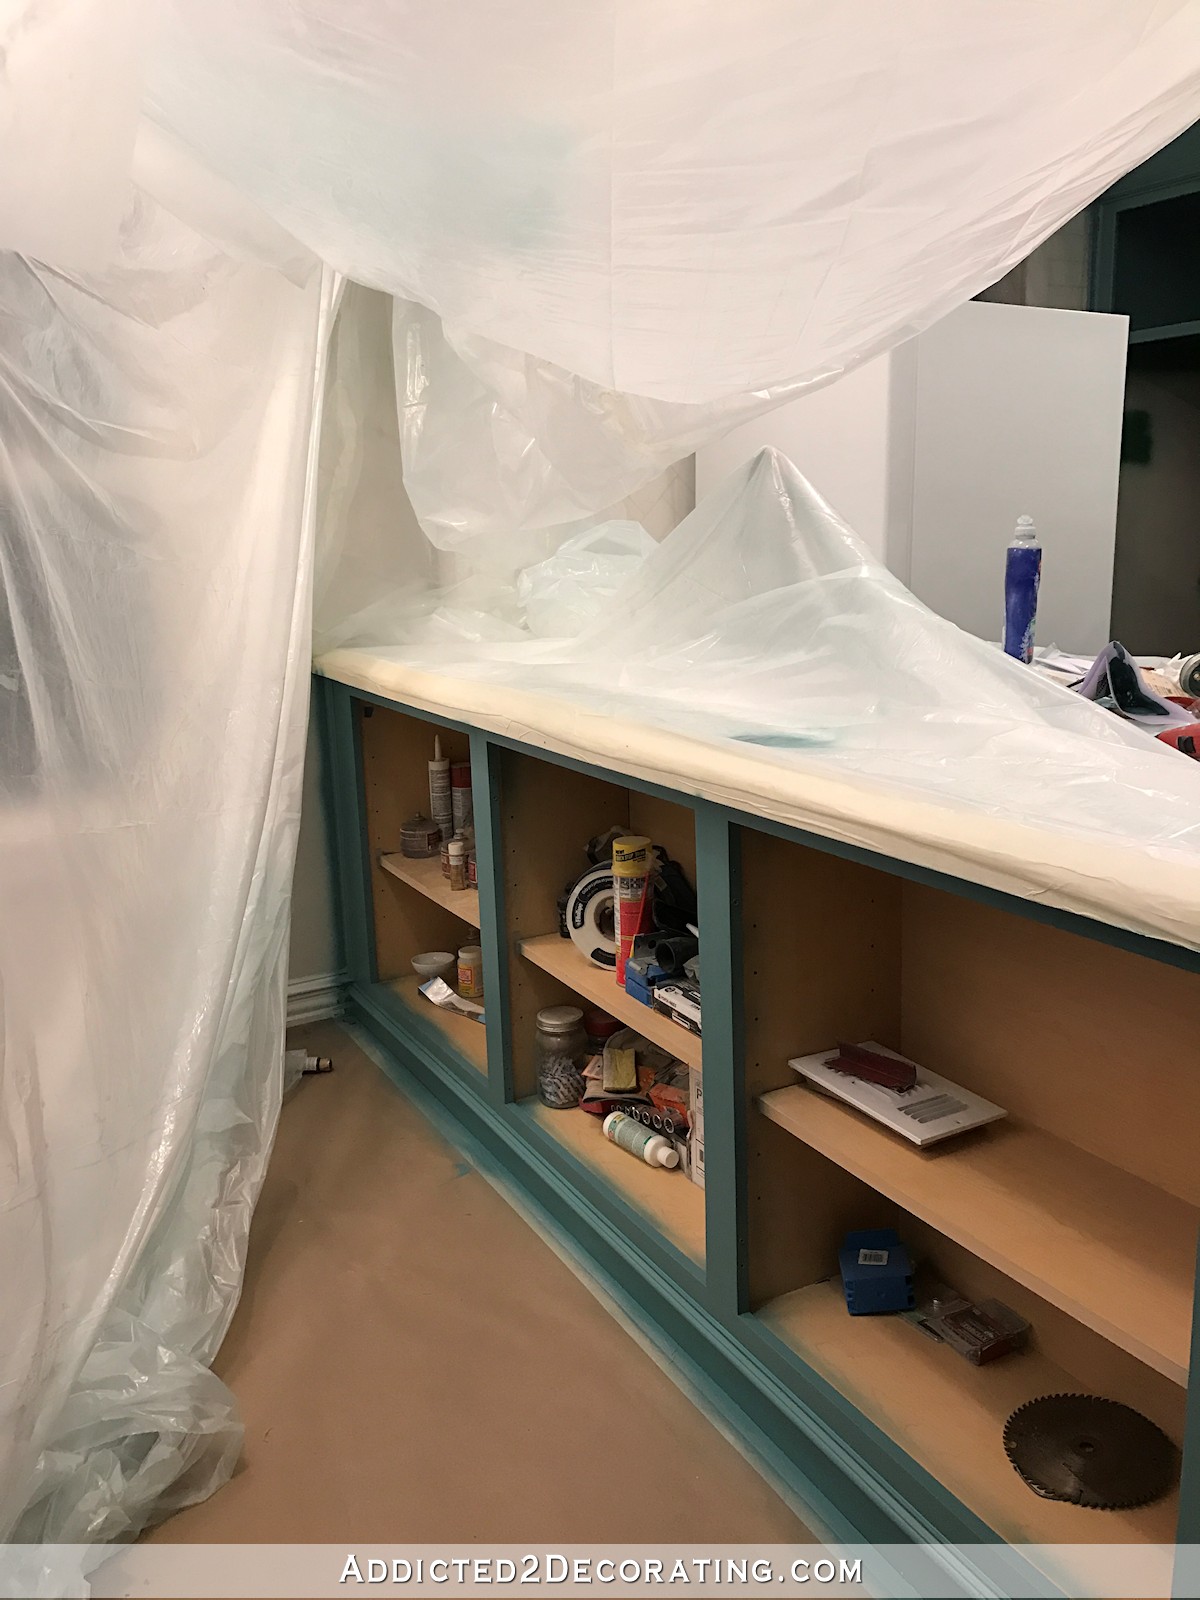
And let me tell you, figuring out how to drape the plastic in such a way that I could get to the breakfast room side of the peninsula while blocking off the breakfast room was quite the challenge. 😀
So it’s getting there! Barring any unforeseen circumstances, I should be able to get the rest of the poly sprayed on today, and then tomorrow I can put the doors back on, install the hardware, and my cabinets will be done. That’s not it for my kitchen, though. I still need to repair the trim on the opening between the kitchen and breakfast room, and caulk and paint that trim plus the trim on the opening between the kitchen and living room. And I also still need to paint the ceiling. But those things will be a cake walk compared to the cabinets.
Don’t forget that you can get sneak peeks of my projects on Instagram. Click here to find me on Instagram. 🙂

Addicted 2 Decorating is where I share my DIY and decorating journey as I remodel and decorate the 1948 fixer upper that my husband, Matt, and I bought in 2013. Matt has M.S. and is unable to do physical work, so I do the majority of the work on the house by myself. You can learn more about me here.
Wow wow wow!
Have to say, it’s looking amazing, and you are a ROCK STAR! I love the color and am learning so much more about paint and the differences in products.
We were in your neck of the woods last weekend, visited Magnolia Market and Harp Design.
Hope you have a great weekend! Relax a bit please!
WOW! After seeing your attention to detail, I’m not sure I would trust anyone other than you to come and paint my cabinets (which is something that I hope to do one day). Great work!
You mention in an earlier post that you used a grain filler to fill the grain on the cabinets.
Seeing that you have oak, which is notoriously hard to fill:
Which grain filler did you use?
Did it work?
Can you still see the grain?
This is something that holds me back on starting my cabinets … ugh, the grain!
I like that colour so so much! It’s somehow brighter than the green, even though it is a muted colour – but still, it makes me smile! Great job and good choice all around on colour as well as on the technique!
Kristi – love this blog. You’re amazing!! I told my husband as I grow up in the DIY I want to be just like you! Ha.
Question- I refinished a table, painted it black, it was gorgeous. Then used minwax poly. Stuff is crap (and that’s not what I said when I saw the streaks!)
I just noticed in this post you spray your poly? I have a sprayer, Wagner Control Spray Double Duty, that works beautifully as long as I thin the paint slightly.
Anyways on my home project list for the year (yep totally stole that from you) I’m refinishing the table. Just ordered the new poly suggestion and wondering if you have tips for spraying this poly? I always thought this had to be done by hand.
Thanks so much!
Havilah
Ps – if you ever need an apprentice….I’m only a few hours North near Dallas! 😏😁
Love it! The teal looks so much better. What was that color again? Can’t wait to see it unveiled with the fresh new counters. It’s really coming together now and will look great next to the breakfast room.
The color is gorgeous.
Love the cabinet color!
Oh, so close!!! I can’t wait!! It’s going to be GORGEOUS!!!!
Lookin amazin’! So proud that you took the time to tape and drape knowing how much you detest it! There is product called Zip Pole ( I think that’s what it’s called) helpful when spraying a open area like your peninsula. I sprayed my cabinets and have a completely open floor plan. Only the poles are $100 per pole😬 So we made our own for only a few dollars!
I’m giddy with anticipation to see the finished product!!!
Tracy,
I was just looking at those and the price took me aback. How’d you make them?
I can’t wait for the reveal! I liked the green but the teal is so pretty and serene.
The new color is so much more calm and relaxing – love it
Kristi, does the poly change the colour of the painted cabinets? I’ve never used it over paint, only on bare wood, and was not able to find anything that wouldn’t darken the wood.
The kitchen looks great but I feel you pain about covering and taping everything. If I ever paint any cabinets, I’ll use a brush 🙂
Have a lovely weekend!
Your kitchen cabinets are looking just amazing Kristi. I really liked the green and gold trim when you first did your kitchen (it was out of the box, designer edgy, so to speak) but now I’m really loving this teal color with the white counters and white tiling. It looks modern, calming, timeless and so you!!!! Can’t wait for the finish reveal.
Wow! It will be Beautiful! The color teal that you used is amazing! And the hood…….awesome! Can’t wait to see it finished😀
Those look beautiful! The color is rich and should be a nice fit with the breakfast room. Can’t wait to see it all put back together but you know me, always waiting for you to be done 8 steps ahead of you completing the process. LOL
A happy and blessed Easter to you and your family.
Great job! Love the color! Can’t wait for the reveal.
Kristi, What an amazing job.
We all seem to really love the beautiful color. I have a bathroom that needs this color. Can you share the color formula and the brand (I think it was Benjamin Moore Advantage, but I’m not 100% sure)?
I cannot wait to see it all back together. You are very talented!
Ooooh, You’re almost there! This is the part that feels long – when you’re almost done. Hang in there!
I can’t wait to see the finished product!
Even mid-job, it looks SO good!!! This is going to be a stellar transformation. 🙂
Gorgeous!! Gorgeous!!I to have the Critter and love it! Can I ask what ratio did you use to thin out the Advance paint for the Critter? Nervous since its so think.
I don’t thin my paints for the Critter. I pour them straight from the can, through the strainer, and into the Critter jar. It works beautifully for me every time.
Love the teal and brass, love how beautiful the finish is (and how your hood cover looks). Well done!