My Mom’s Bathroom Remodel:: Before & After
A few days ago, I got an e-mail from my mom that said, “Just wondering why you don’t have our bathroom under Rooms I Designed.” Good question! It’s one of my favorite projects I’ve ever done, so I definitely needed to get that post linked up under the “Rooms I Designed” tab.
So I searched for the post. And I searched again. And I searched some more.
I couldn’t find a post where I ever showed you my mom’s bathroom remodel! Could it really be that I never showed you? I could have sworn that I did, but for some reason that post has disappeared. So, I’m going to show you again. If you’ve already seen this, please bear with me. But I have a feeling that this will be new to many of you since this is a project that was completed just over four years ago.
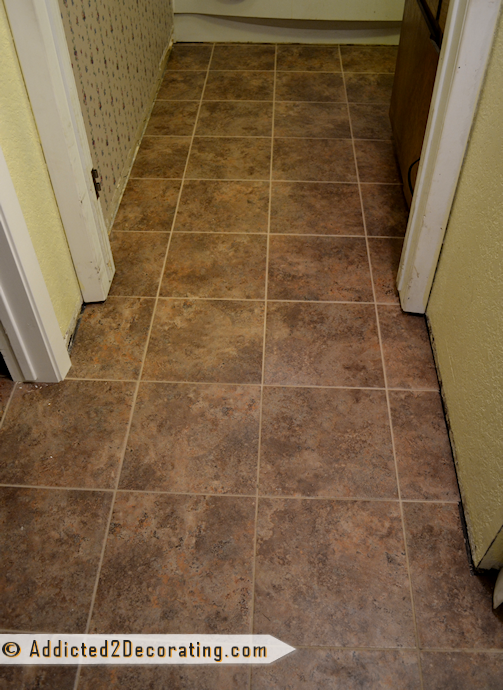
The house, which is the house I grew up in, is a ranch style house that was built in the 60s. As I’m sure you know, bathrooms weren’t given much consideration in the 60s. They were generally small and utilitarian, and a far cry from the luxurious spa-type retreats that we expect of bathrooms today. Over the years, my mom had tried to update the room. At some point in the 80s or early 90s, the walls were wallpapered and the vanity got a coat of paint. But it was still just a small 1960s bathroom.

See what I mean? Oh sure, the wallpaper could have been ripped down, the walls given a coat of paint, and the vanity replaced with something more updated. But it still would have been a tiny bathroom…definitely not “master bathroom” material.
And then there was the matter of the shower. This picture isn’t an optical illusion. The door really was that narrow, and the shower itself was like a tiny, dark closet.

And of course, the room had the standard plate glass builders mirror and the standard 60s bathroom lighting.

The good news was that on the other side of the bathroom was a guest bedroom (one of five bedrooms in the house), so there was plenty of room for expansion.

So I got to work coming up with a plan. The main priorities were a double vanity and a spacious shower. My mom isn’t really a “bath” type of person, so she specifically requested that a bathtub not be included. Here’s what I came up with…

Quite a difference, right? You can mouse over the photo just below to see a quick view of the before and after floor plan.
I also did some drawings to work out all of the details. I knew I wanted the vanities to be separated by a center cabinet, and I also wanted mirrors with sconces installed on top of the mirrors. There were lots of other details, such as furniture feet, a clear glass tile accent, and oil-rubbed bronze faucets.

Opposite the vanity, on the wall with the door, I wanted to place a custom cabinet with two pull out sections to be used as laundry hampers.

In all, it took about three months from start to finish. A load-bearing wall had to be dealt with, the slab foundation had to be broken up with a jackhammer to make a route for the new plumbing. It was a complete mess, but I think the results were well worth the inconvenience.
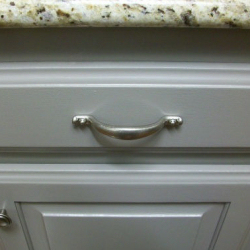
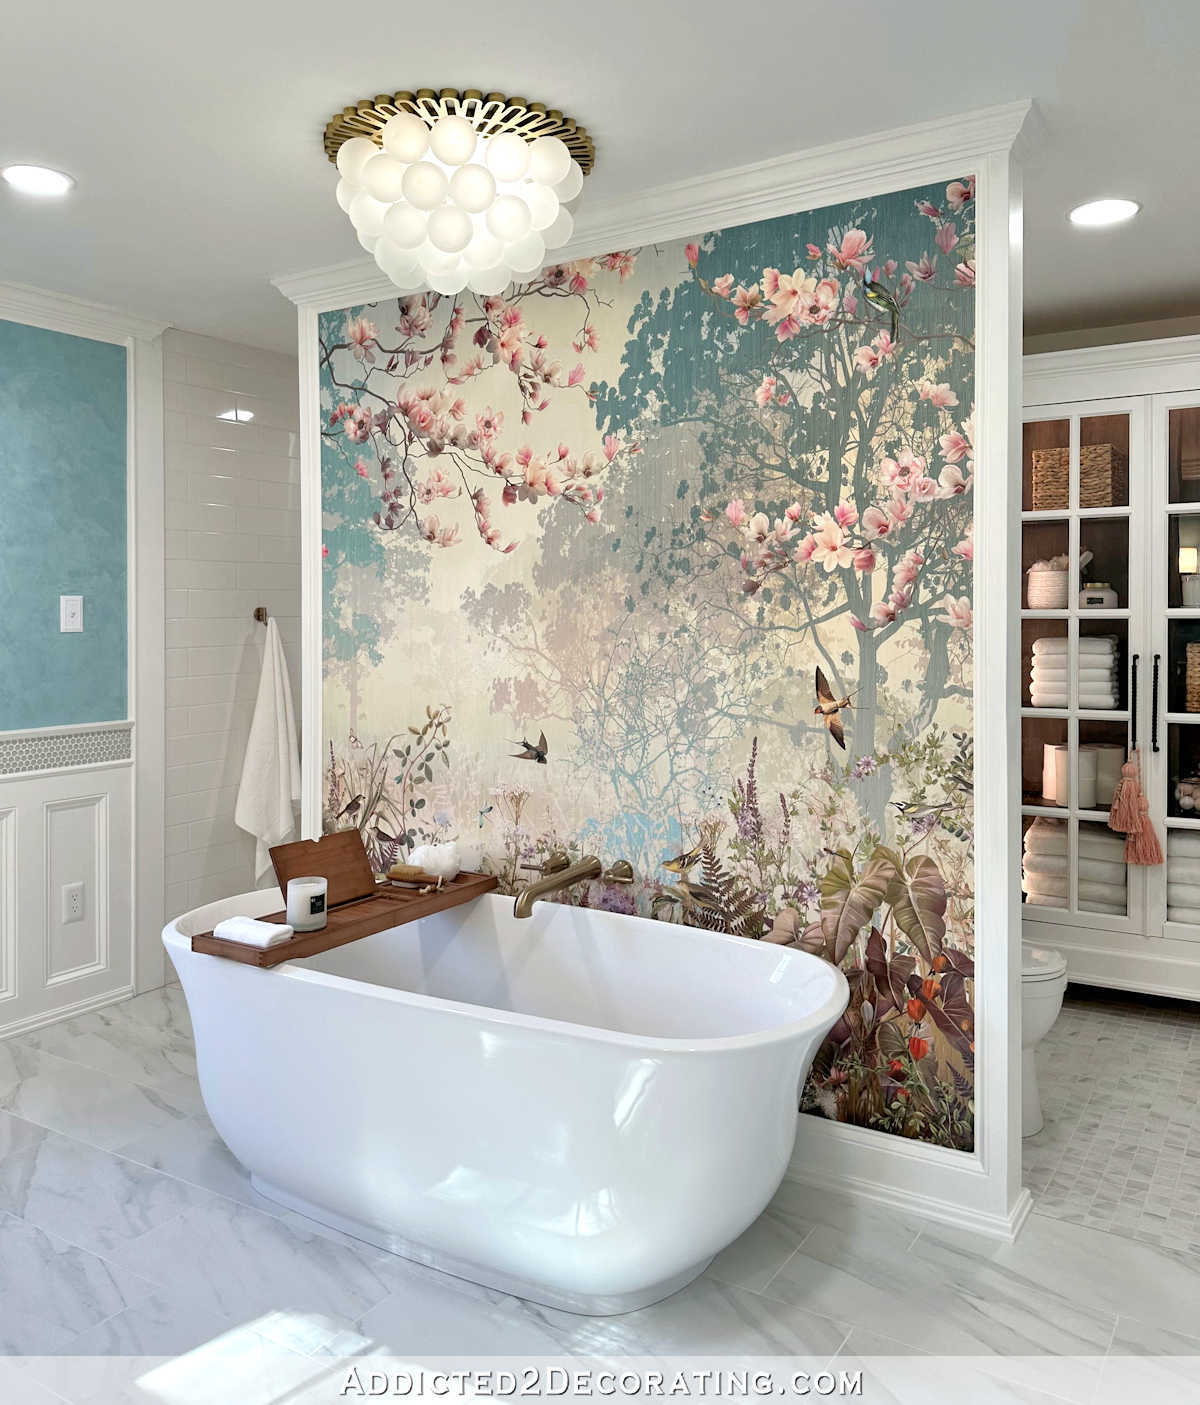
The vanity area is the star of the room, with custom made cabinetry, high rim sinks, marble countertops, glass door and drawer pulls, and pretty sconces.

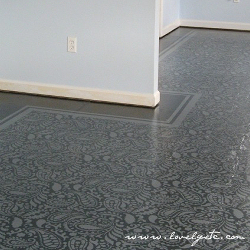
The walls were given a Venetian plaster-type treatment called Lusterstone, which has a gorgeous sheen to it. The new shower is massive compared to what was in there before. And probably my favorite design detail in the whole bathroom is the four inches of clear glass tile that accents the top of the wainscoting.

The toilet is no longer front and center in the bathroom. It now has its own little area to the left of the shower, hidden a bit by the custom laundry hamper cabinet.

Thank you for letting me share this little stroll down memory lane! This was absolutely one of my favorite projects I’ve done…if not THE most favorite. The bathroom needed to be a traditional style bathroom to fit my mom’s taste (and the rest of the house), so as long as I stayed “traditional”, I pretty much had creative control over every design decision, and that’s every designer’s dream! And I have to admit, it was really fun creating a “dream room” for someone with completely different taste than my own. It allowed me to flex my design muscles a bit.
Here’s one more look at the before and after. Move your cursor over the picture to see a quick view comparison of the bathroom before and after the remodel.
DIY Projects For This Room
[categorythumbnaillist 505]
Okay, so there was only one DIY project for this room. What? You didn’t think I was going to teach you how to break up a foundation with a jackhammer or move a load-bearing wall, did you?!
🙂

Addicted 2 Decorating is where I share my DIY and decorating journey as I remodel and decorate the 1948 fixer upper that my husband, Matt, and I bought in 2013. Matt has M.S. and is unable to do physical work, so I do the majority of the work on the house by myself. You can learn more about me here.
Beautiful makeover!
Wow, it’s hard to believe that’s the same space. What an amazing transformation! The new bathroom is gorgeous.
Now this is just gorgeous!!
OMG. I need to pick my jaw off the ground. That bathroom is GOR-GE-OUS!
I can only hope that my bathroom reno, that we are in the thick of now, looks just as lovely. You can follow along here: http://the236.net/2012/01/12/bathroom-reno-mood-board/
Great job! Thank you for sharing!
What a HUGE difference! We’re in the planning stages of our bathroom remodel, too. Well, we’ve been planning for over a year now – but it’s finally (hopefully) going to start happening soon.
Thanks for showing this!
So beautiful!
That looks AMAZING! I definitely want you redesigning my next project!!
This is gorgeous work. I would love to have a bathroom like this.
wow..beautiful! My mom would be jealous! She is trying to get me to just paint her vanity…lol
Gorgeous! I’m totally featuring this! (if that’s cool with you!)
What a beautifully planned and executed bathroom reno!
Amazing transformation! A classy one!
That looks Amazing! You are very talented Kristy, keep up the great work!
Okay heck ya you should be proud of this!! That bathroom is drool worthy! And yes, well worth cutting in the the 5th bedroom for, wow your mom must love this!
You did an outstanding job, it’s so classically beautiful, no wonder your mom is so proud (and no doubt proud of YOU). My shower is about that small (well a bit wider). Someday, I would like to eliminate one door (Jack and Jill bath) and make a tub/shower in that area, it would require some moving of plumbing, but not a long distance. I am not up to diy, though, I would have to hire someone, I’d love to design it though…you did really beautiful work on this one. Sally
Absolutely beautiful!!! Y’all did SUCH a great job. 🙂
Absolutely beautiful! A wonderful retreat for any woman. I just can’t get over that “before” shower!
Wow! Amazing. What a difference it makes. I love it. I was looking around the comluv search site and your blog came up. It seems we post the same sort of things, so I’ve just added your site to my blog roll. I know my readers will like the look of it. Besides, it’ll remind me to pop by to see what’s going on.
Holy Moley!!! That is gorgeous!
Oh. My. Word! I’m speechless! We also have a small 1960’s bathroom so I can totally relate to your mom’s problem. Our bathroom also backs up to our patio so now you have me thinking… Want to come over and break down some walls? 🙂
Anna
http://www.askannamoseley.com
What a fantastic Job! The Lusterstone works really well
Wow. What a mission of mercy! The difference is like night and day…
Wow. Huge difference. You wouldn’t wanna design my bathroom would you? Holiday in Tasmania? LOL
Love the transformation of the bathroom. Its beautiful. Can you tell me where you bought the scroll pieces above each mirror? I think I’d like to do the same in my guest bath. Thanks!
I bought those at Hobby Lobby. If I remember correctly, I painted them…or maybe stained them. I think they started off gold.
Thanks for the quick reply, Kristi. I’ll check our Hobby Lobby here and hopefully they will have them. Yaaay.
Such a lovely space and transformation is amazing. hard to believe it is the same bathroom. Loved the post, very inspirational.
What a beautiful transformation!!! I have one question. Would your parents allow me to adopt you? LOL
Wow!
I’m speechless.
i love the vanity,where did you get it?
We had it custom made by a local cabinet shop.
I recently got turned on to your site thru The Handmadehome.net and you are quiet a lady! My daughter says “sometimes I think my mom was a man in a former life” but she ought to have you as a mom. You are fabulous, gifted and so smart. I am defiantly ‘addicted’ to your work. You give me HOPE AND INSPIRATION. I dont know if you read these, especially on older post, but Happy Holidays! ONE QUESTION..ARE YOU AFRAID OF A SKILL SAW?
No, I’m not afraid of a skill saw. 🙂 The only tool that makes me a little nervous is a circular saw, but I still use it all the time, and just make sure I’m being super careful and paying completely attention and not getting distracted when I do use it.
I was wondering if the trim border for the tile is also tile or if it is wood trim? Thanks!
It’s wood. Just the few rows of clear mosaic tiles are tile, and everything else is traditional wood wainscoting.