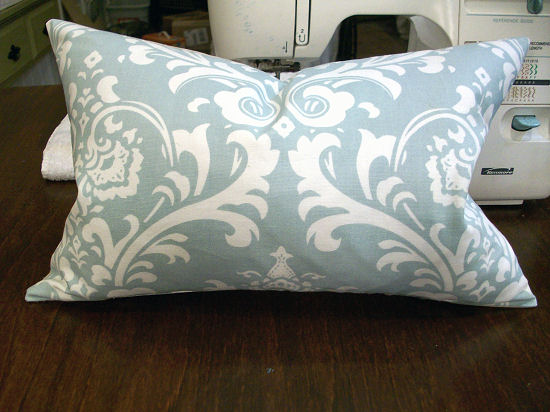
Basic Throw Pillow
If you’re new to sewing, learning how to make a basic throw pillow is a perfect place to start. And with just this basic knowledge, you can create an unlimited number of throw pillows for your home. Use them on your bed, a sofa, or a chair. Put a few pillows in a basket in your family room for the kiddos to use as they’re lounging on the floor. And with this one simple skill, you can potentially save yourself hundreds of dollars.
Tools & Materials:
- Fabric (the amount you need will depend on the size of pillow you want to make. I used two different fabrics, 1/2 yard each),
- Thread,
- Pillow insert (pillow form),
- Sewing machine,
- Scissors,
- Sewing needle,
- Straight pins.
Instructions:
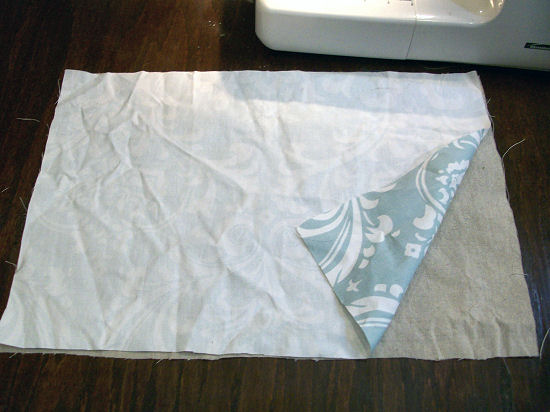
I started by cutting two pieces of fabric cut to the same size. I was using a 12″ x 18″ pillow form, so I cut my pieces to 13.25″ x 19.25″ to allow for seams.

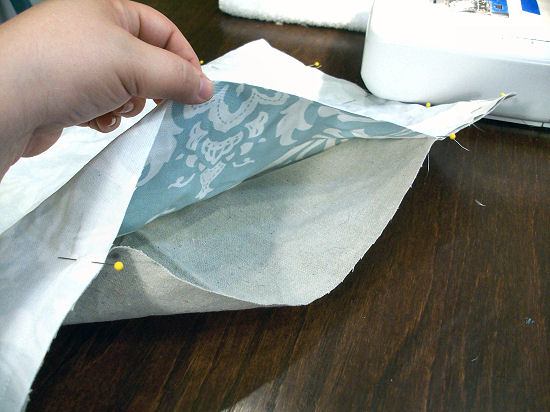
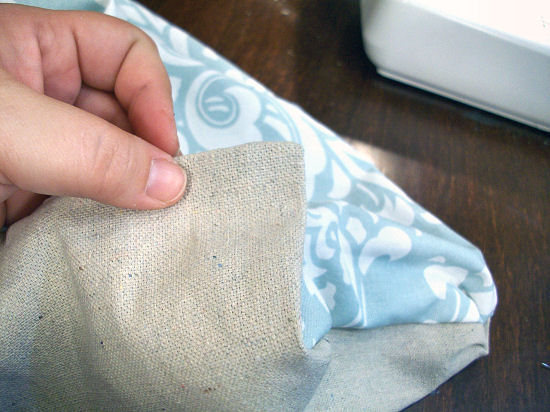
Next I placed the the two pieces together, with the right sides (front sides) of the fabric facing each other.
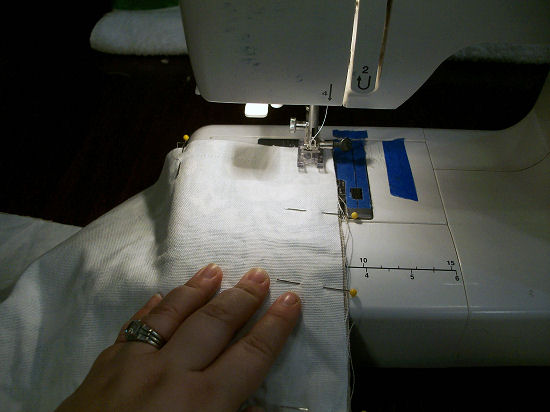
I pinned the two pieces together. It’s easier to start with the corners, then pin right in the middle of each side, then fill in the other areas. You’ll notice I didn’t pin the middle section of the bottom edge. That section has to remain open to allow a hole to insert the pillow form.
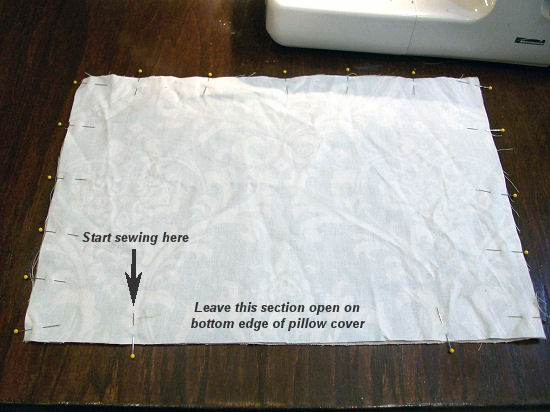
Starting at the area indicated by the arrow in the photo above, I sewed the pieces together using a standard 5/8″ seam.
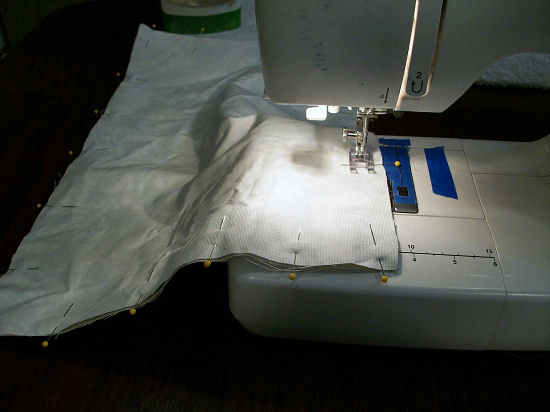
At each corner, I stopped sewing 5/8″ from the edge.

Then with my needle in the fabric, I lifted the foot…

…then turned the fabric 90 degrees, lowered the foot again, and continued sewing.
When it was sewn all the way around, I was left with the open area on the bottom edge of the pillow. I removed all of the pins.
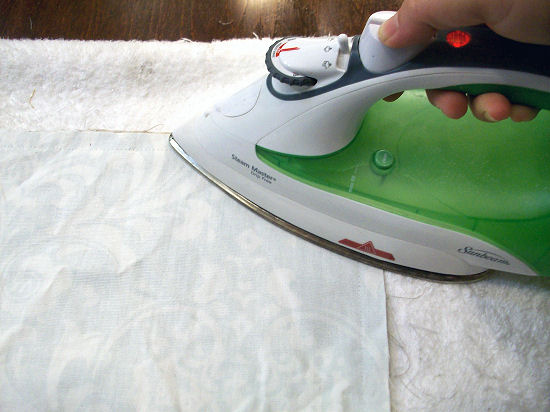
I used my iron to steam all of the seams flat.
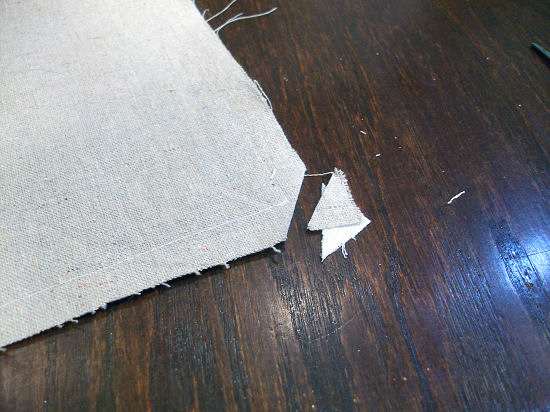
Then on all four corners, I trimmed off the excess fabric, to within approximately 1/8″ of the seam.
Next I turned the pillow right side out. The corners always take a little work to get them pointy.

And I generally use a straight pin to gently pull the corners until they are fully extended.

At this point, the pillow cover looks like this. The corners are nice and defined, but the seams still look a bit sloppy and need work.

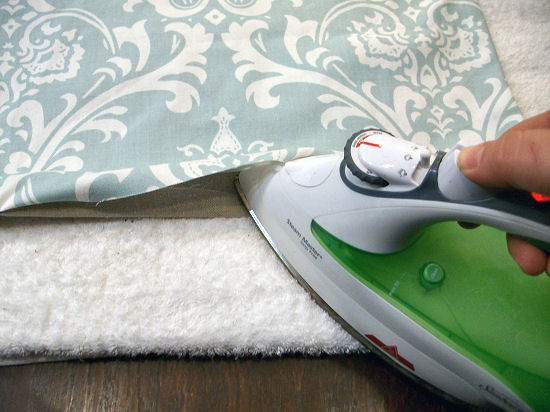
Working a few inches at a time, I worked the seam out to the very edge…

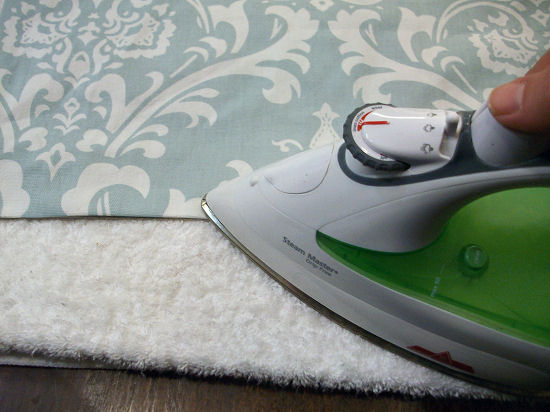
And used my iron to steam the seam in place.

With that done all the way around the seams, the cover had a much neater and cleaner look.

Then working on the open area, I turned the bottom fabric up the 5/8″ seam allowance…
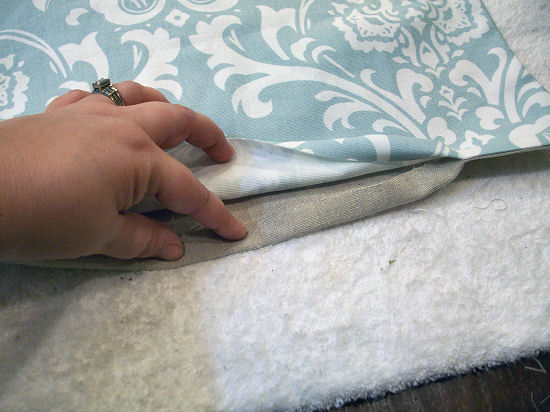
And then steamed that in place.
Then I repeated the same on the top fabric, turning it under the 5/8″ seam allowance…

I made sure it came right to the edge of the bottom fabric…

And then I steamed that in place also.
It was then time to insert the pillow form. This step always takes a bit of patience to ensure that the pillow form is filling out the corners of the pillow cover. (I can’t stand pillows with empty corners!!)
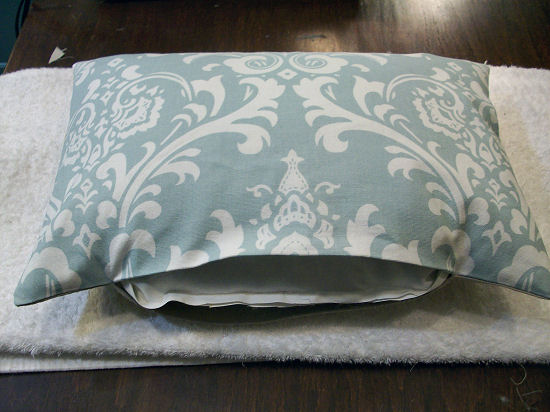
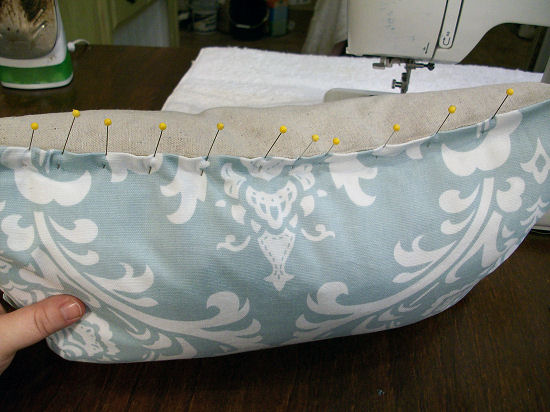
With the pillow form situated, I pinned the open area at the bottom, starting in the middle.

Then I continued pinning until the entire hole was closed up.
Using a needle and thread, I sewed this seam closed by hand. This can be sewn on the machine, but it won’t ever look as clean, as you’ll be left with top stitching that doesn’t match the rest of the seams.
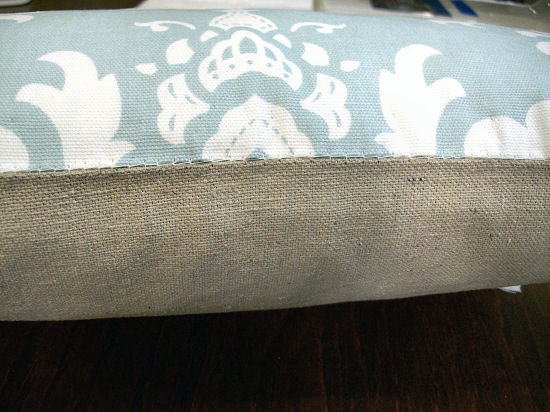
And that’s it! A basic throw pillow that can be used just about anywhere.

Addicted 2 Decorating is where I share my DIY and decorating journey as I remodel and decorate the 1948 fixer upper that my husband, Matt, and I bought in 2013. Matt has M.S. and is unable to do physical work, so I do the majority of the work on the house by myself. You can learn more about me here.


Great pillow tutorial. I love the blue fabric!
I seem to get a better corner if I sew one stitch across the corner and then continue the next side.
Great Tutorial! I love switching out throw pillows so much, but my husband wants to wring my neck every time I bring a new one home. Maybe I’ll start seeing my own now 🙂
What a pretty pillow. You do the best tutorials! How about a tutorial for your readers who are bloggers — “What Makes a Great Tutorial.” I’m serious.
This is great thank you!!!!!!!!!
Hi Kristi — thanks so much for a great, easy tutorial. I was wondering what kind of pillow forms you use? Or if you make your own, what are they filled with? I want to make an 18″ square pillow that is soft enough to put the nice crease in the top middle, but the forms at Joann’s all seem so firm. Thanks for the info, and for a great, inspiring website!
I do sometimes use the pillow forms from JoAnn Fabrics, but I prefer feather pillow inserts, and I often make my own:
https://www.addicted2decorating.com/make-your-own-feather-pillow-inserts-and-save-lots-of-money.html
Is there any other way to do pillows i dont own a sewing machine Thanks
Yes, but I don’t have any tutorials. Just Google “no sew pillow” and you should be able to find instructions.
I enjoy looking at your web site. Cheers!
I teach sewing to 4-H girls and i have never seen such a terrifically clear tutorial……you are really a spectacular teacher!!!!