Gwen’s Master Bathroom Makeover
A room redesign by Kristi Linauer Interiors
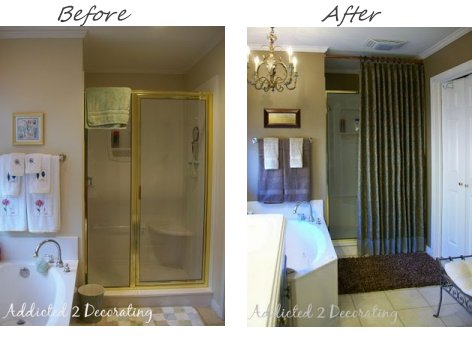
Before Pictures | After Pictures | The Budget
Resources | Related DIY Projects | Related Blog Posts
The Overview:
Gwen’s master bathroom started off with “good bones”. All of the finishes were typical builder’s finishes–beige walls, oak cabinets, large plate glass mirror–but there were no features to really make the room special. With a limited budget, I added color and warmth to turn a typical bathroom into something custom.
The “Before” Bathroom:
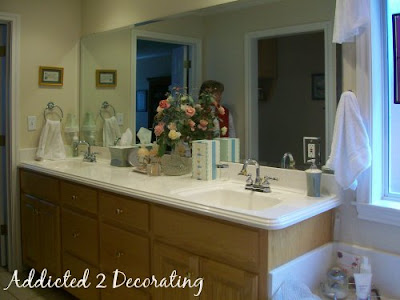
The cabinets in the bathroom were all lightly stained oak, and the large
builder-grade plate glass mirror really made the room feel blah.
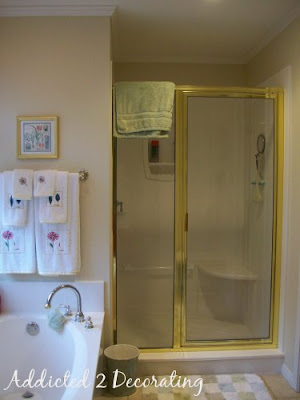
Since a new shower enclosure was not in the budget, one of the
challenges was figuring out how to camouflage the bright brass
on the existing shower enclosure.
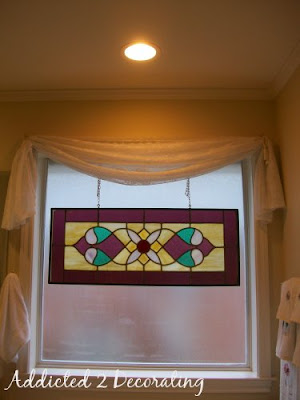
The large window over the tub needed a more appropriate window treatment.
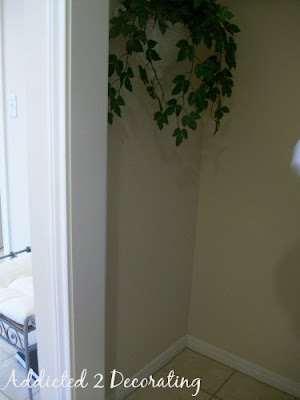
The little water closet also needed some decorative touches.
The “After” Bathroom:
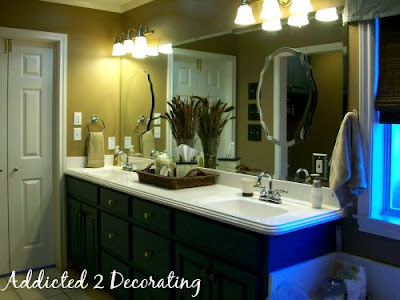
The walls were warmed up with a coat of light brown paint, and then the cabinets were given some character with a lovely blue color. The plate glass builder-grade mirror was spiced up with decorative mirrors, adhered right over the existing mirror. New lighting was also added.
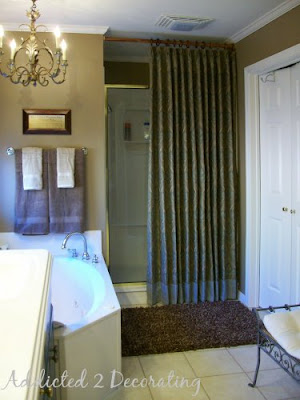
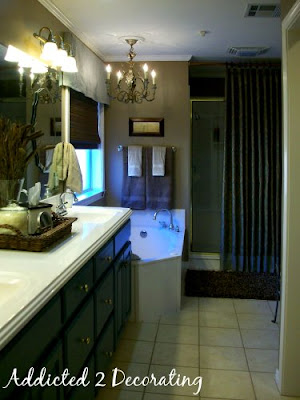
My solution for minimizing the shiny brass frame on the shower surround was a beautiful custom shower curtain. We also added a chandelier above the tub, which I altered with a paint finish so that it would coordinate with the existing tub and sink fixtures.
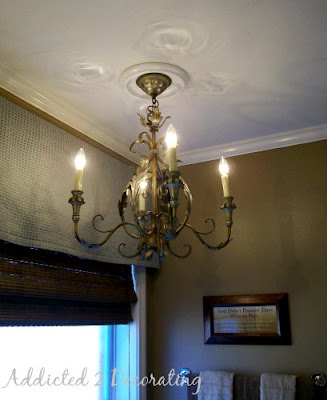
The little window scarf was replaced with a pretty valance and a natural woven Roman shade, which adds both texture and warmth to the room. The chandelier was found on clearance, but the color was wrong, so I added a paint treatment to make it just right.
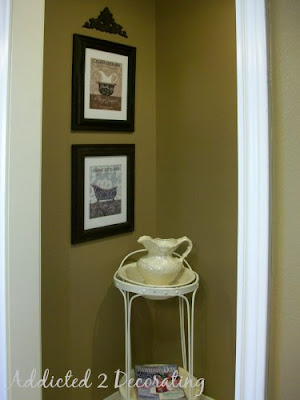
The walls in the little water closet were also given a coat of paint,
and a few accessories were added.
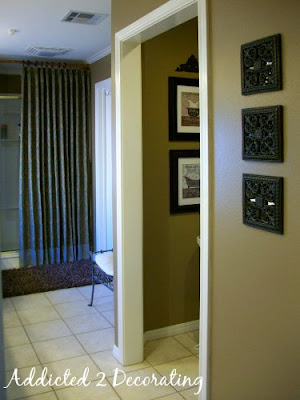
A wider view of the water closet and shower.
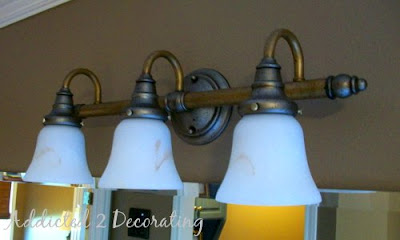
These lights started out with a solid shiny silver finish. I painted and antiqued them to coordinate with the existing sink and bathtub fixtures.
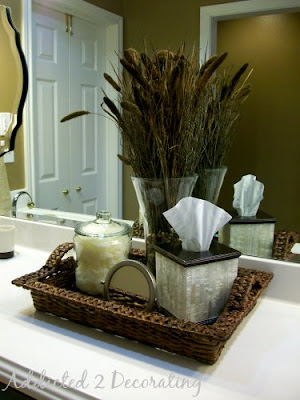
A few decorative items were placed on the countertop. The woven tray adds texture, but also keeps the accessories from spreading out of control and taking up too much space.
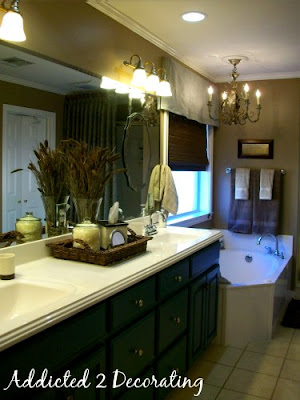
The addition of decorative mirrors over the existing plate glass builder-grade mirror adds a pretty and unexpected design element.
Budget Breakdown:
- Fabric for shower curtain & valance: $175
- Shower curtain rod: Free! I used a remnant I had on hand.
- Shower curtain rings & brackets: $13
- Paint for walls: $25
- Paint & supplies: $30
- Vanity lights & glass globes: $145
- Chandelier from Home Depot: $125
- Cabinet hardware from Lowe’s: $42
- Decorative mirrors & picture hanging strips from Home Depot: $82
- Natural woven shade: $49
- Accessories: $255
——————————- - GRAND TOTAL: $941
Resources
- Fabric for window treatment and shower curtain: Trend Fabrics (available to the trade)
- Paint for cabinets: Kelly Moore, oil-based interior
- Paint for walls: Home Depot, Behr brand, Distance 540F-6
- Chandelier: Home Depot, purchased on clearance
- Vanity lighting and glass globes: Lowe’s
- Shower curtain rings and brackets: Home Depot
- Cabinet hardware: Lowe’s
- Decorative mirror and picture-hanging strips: Home Depot
- Natural woven Roman shade: Home Depot
- Accessories: Hobby Lobby
Related DIY Projects:
Coming soon!
Related Blog Posts:
- Painted Cabinets:: So Fresh, So Beautiful!! (And My Little Mini Rant)
- Gwen’s Painted Bathroom Cabinets
- The UPS Man Makes My Heart Go Pitter Patter
- The Finished Dresser & Chest of Drawers (and Dealing With Chrome & Brass Bathroom Fixtures)
- Bathroom Lighting Transformed (and the Incredible Power of Paint!!)
- Gwen’s Bedroom:: Draperies (finally!)
- Gwen’s Bathroom:: Some Finishing Details
- A Little Mirror On Mirror Magic (a Quick How To)
- Gwen’s Bathroom:: Before and After
- Let’s Talk Money!! (Gwen’s Bathroom Budget Breakdown)
Hello Kristi,
I love what you did with this bathroom.
I’m thinking of copying some of your ideas in our new bathroom.
I know you get a lot of email. I wanted to ask you about the shower area because I have a problem in our bathroom right now.
What did you use for your shower curtain rod? I have a problem shower and can’t get a tension rod to stay up so I have to mount one. But, it’s a shower area and I can’t use the rounded ones that are all over right now because I think we’d end up with water on the floor.
I did find one that I could cut down on the Lowe’s website (and I’d probably paint it).
I just wanted to get your ideas on this.
Thanks,
Margaret
In this bathroom, I used a regular wood drapery rod from Home Depot, and I attached it with wood closet rod brackets.
Thank you so much for replying! I’m going to check this out at our Home Depot.