DIY Gradient Wood Tasting Spoon Pendant Light – Part 2 — Mixing Paint For A Rainbow Gradient
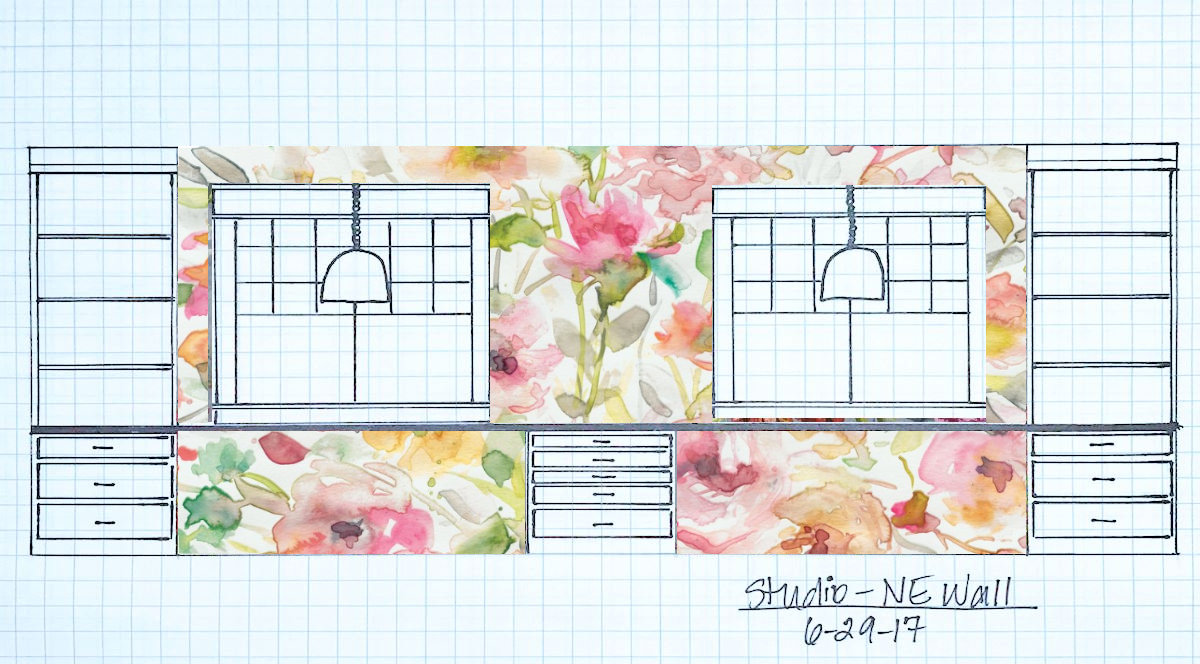
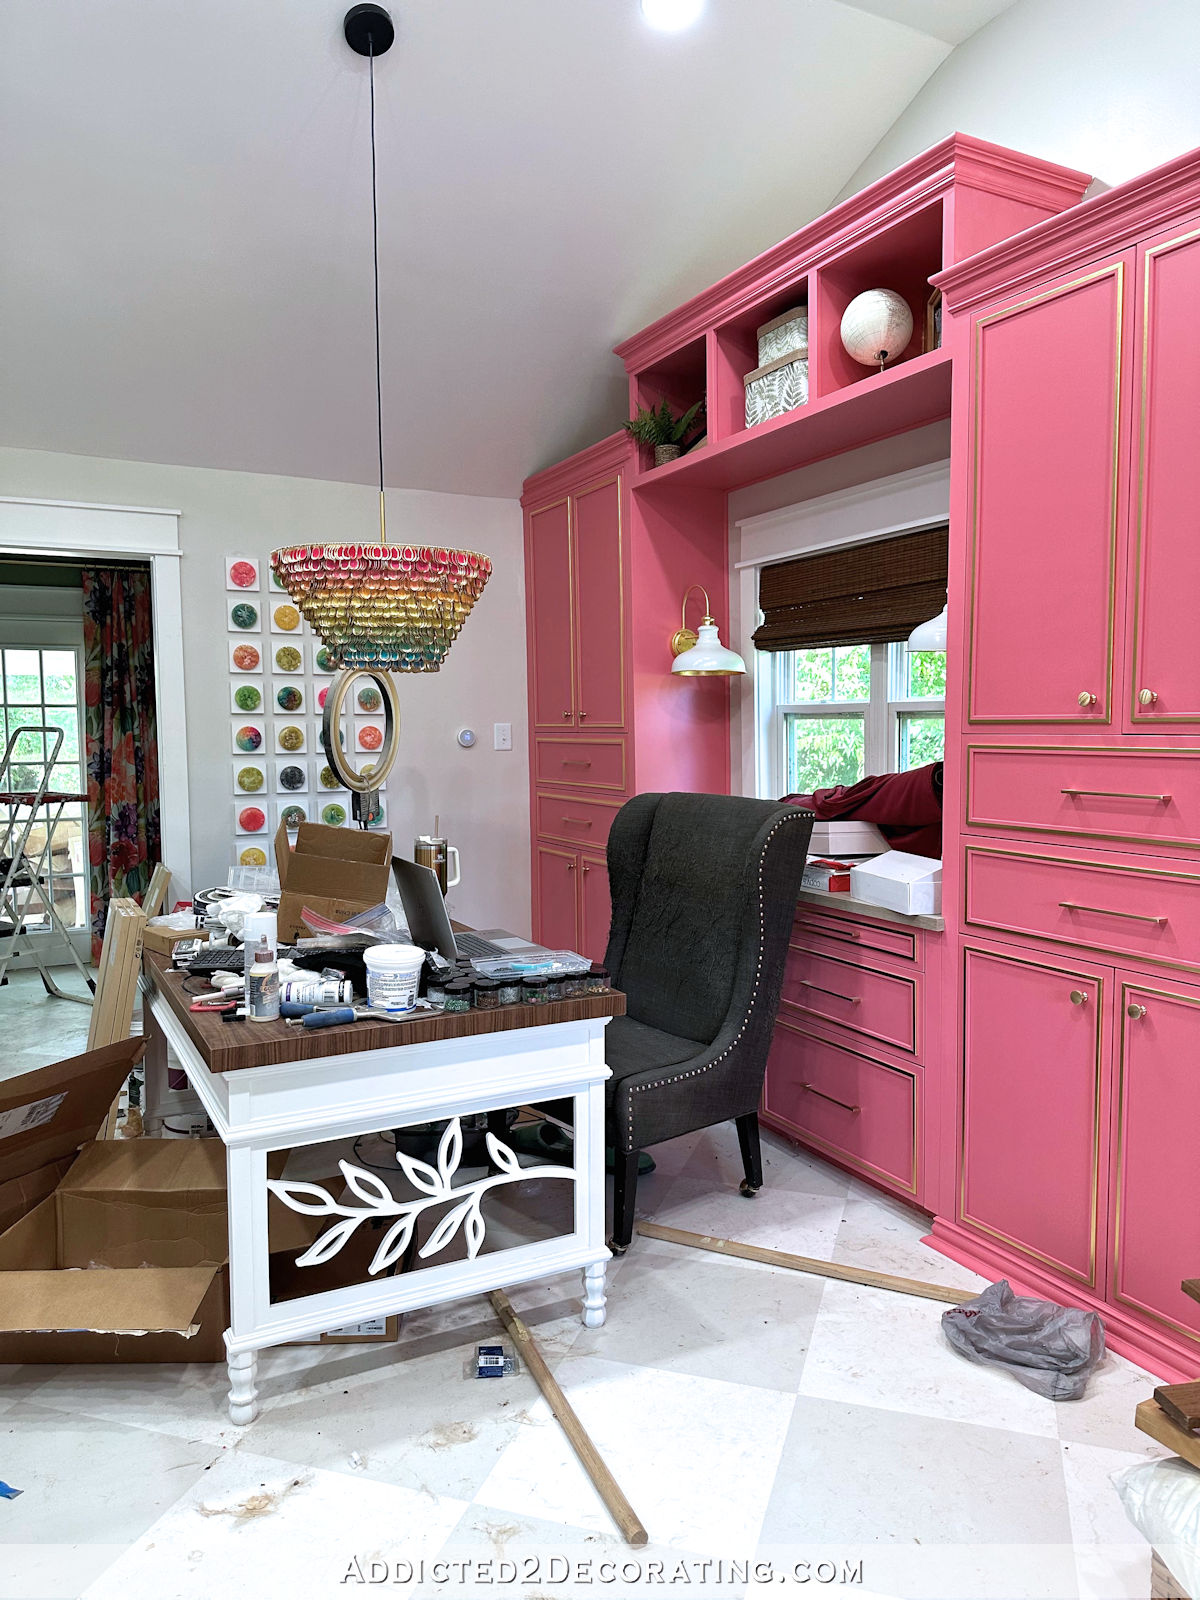
It’s been a while since I’ve shared about the rainbow gradient pendant light that I’m making out of wood tasting spoons. This light will go over my desk in the office area of the studio, and I’m basically taking the idea I used for my favorite piece of artwork that I’ve ever made, and recreating it as a pendant light.
Here’s a look at my favorite piece of art that I’ve ever made. I made this out of over 800 tasting spoon bowls after cutting the handles off.

If you missed that project, you can read about it here: Colorful 3D Rainbow Gradient Pinwheel Artwork.
I shared Part 1 of this gradient pendant light project a while back. I built the frame for it out of 15 lampshade rings, beading wire, and screw-on crimp beads.
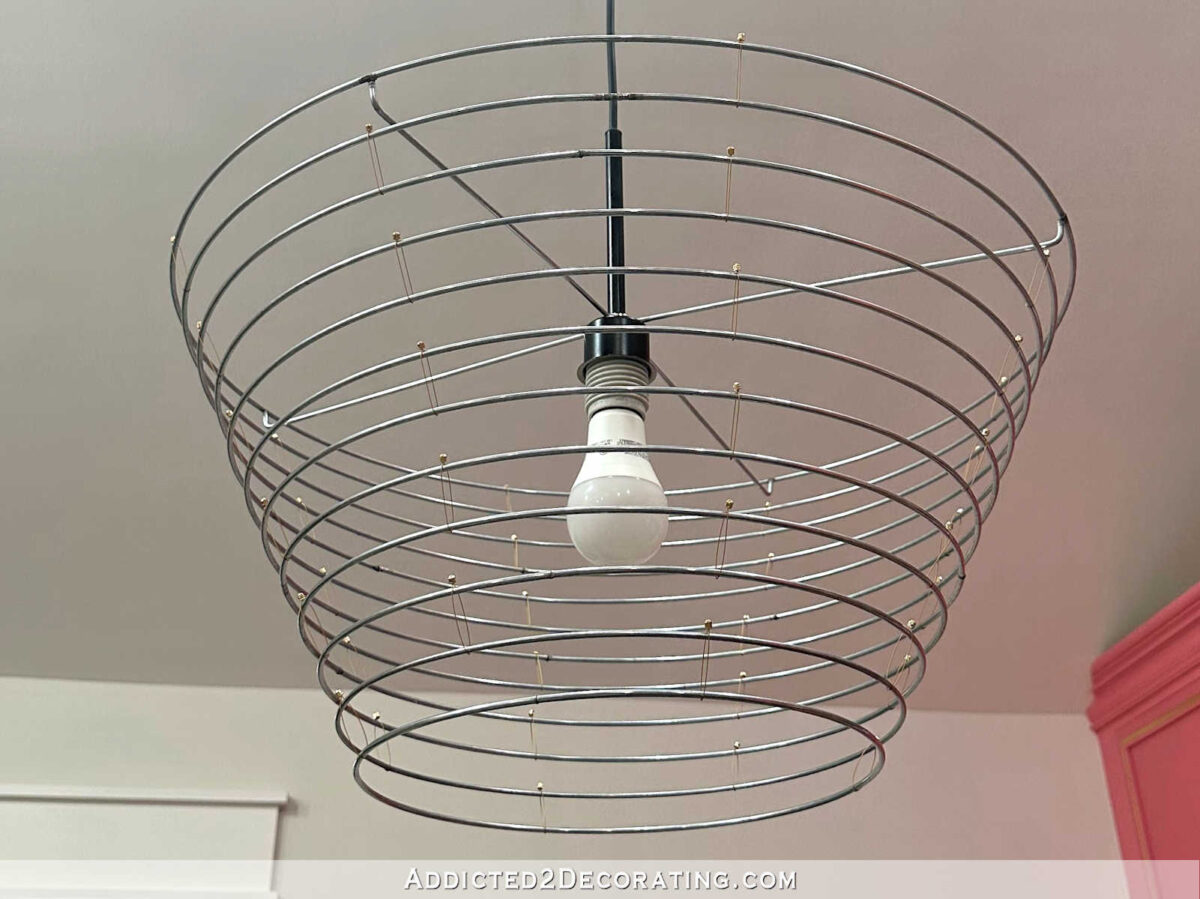
If you missed that part of the project, you can read about it here: DIY Gradient Wood Tasting Spoon Pendant Light – Part 1 — Building The Frame For The Light.
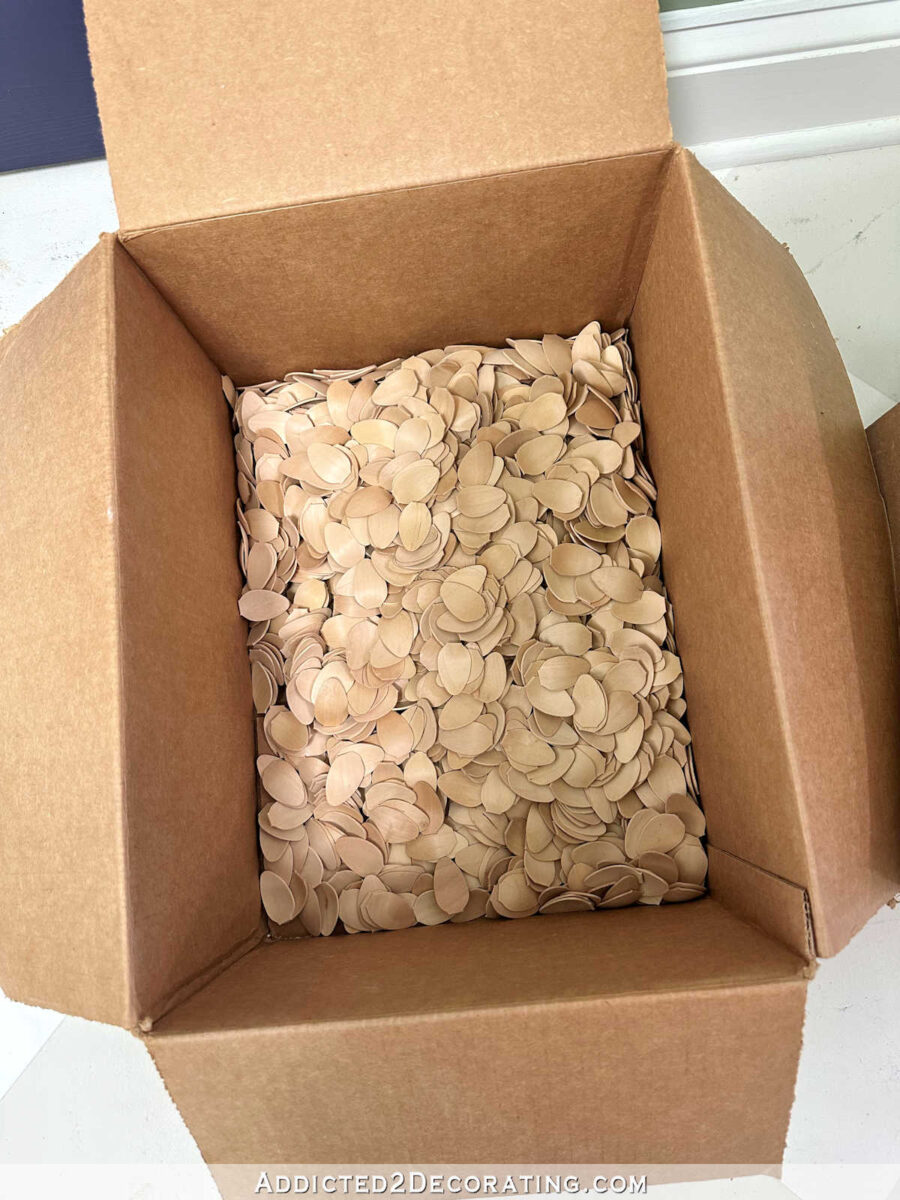
This light will take even more tasting spoon bowls than the artwork did, so I’ve been tackling those as I have time. I already have all of the handles cut off of all of the spoons that I’ll need, so I’ve been taking an hour here and there to sand the spoon bowls to prep them for primer and paint.
So that brings me to yesterday. We spent most of the day yesterday without electricity because of storms, so by the time our electricity came back on, I didn’t have much time to get a lot of work done. So I decided to play with paint!
I had purchased a few colors to use on my pendant light, and I needed to use those few paints to create a 15-color rainbow gradient for the pendant light. I purchased six colors, all Americana brand of craft paint: Tuscan Red, Royal Fuchsia, Cadmium Yellow, Hauser Light Green, Peacock Teal, and Purple Pizzazz. When I got them all lined up, I realized that I had forgotten orange, so I went into my stash of craft paint and grabbed a FolkArt Pumpkin to fill in that gap.

Since I need 15 colors for my pendant light, I lined up 15 little cups for paint.

And then I added the seven colors I had to every other cup.

And then I started on the fun part — mixing the paint to create the gradient from one color to the next. To do this, I mixed equal parts of each color in the empty cup between those colors. For example, in the second cup, I mixed equal parts of Tuscan Red and Royal Fuchsia.

I continued this process until I had all of the empty cups filled. For the two last empty cups, I basically circled back to the red. So the first one was the purple (which I lightened with white) with a tiny bit of red added. The last cup was the purple, a little white, and even more red added.

With all 15 cups filled, I was ready to test out the gradient. Here’s how it looked.

It was a good start, but there were some obvious problems. To my eye, that third color stood out like a sore thumb. I decided to eliminate the pure color altogether, but keep it for mixing in with the neighboring colors. The yellow looked too bright. The transition between the yellow-green and the green looked too drastic. Same with the transition between the turquoise and teal colors. And that last color looked completely out of place.

So I got to mixing again. I removed that third paint color, but mixed in a bit of it with the neighboring colors to smooth out that transition. I did more mixing to smooth out those other transitions with the yellows and greens. I added a touch of green and white to the yellow to tone it down. And then I removed that last bothersome color, and just mixed something completely new, leaving out the red altogether.

This second attempt was definitely better, but it still had some problems. The first red seemed too dark. The transition between the coral/pink color and the orange was too drastic. And the transition between the turquoise, teal, and purple wasn’t working for me. And finally, that last color didn’t seem much different from the one next to it.

So on my third attempt, I softened the first red with a bit of white and just a touch of that fuchsia that I removed front the lineup. To soften the transition between the coral/pink and the orange, I mixed a bit more orange into the coral/pink, and I mixed a bit of the pink into the orange. And then I I smoothed out the transition in those last colors by adding more teal to the purple, and adding some dark blue (from my stash) and red to the last color to make a darker eggplant color.

And I think the third attempt is it! I might tweak the colors just a bit more, but I think I have my colors worked out for the most part. Now I just have to finish getting all of those spoons sanded so that I can get them painted! This might end up being the most time-consuming art project I’ve ever made. I sure hope it will be worth it!

Addicted 2 Decorating is where I share my DIY and decorating journey as I remodel and decorate the 1948 fixer upper that my husband, Matt, and I bought in 2013. Matt has M.S. and is unable to do physical work, so I do the majority of the work on the house by myself. You can learn more about me here.

Cool process! I like the final lineup. How will you be sure to have enough paint? Buy quarts in a color match? Excited to see this colorful chandelier creation.
They’re tiny little spoons. The amount in the cups is enough.
Fascinating process. I am a little dizzy but I see what you are going for. It will be colossal.
Wow! That is a labor of love! You have so much patience and tenacity. I look forward to seeing the rest of this project emerge into being.
Lovely colors and idea. Have you considered how you will keep it clean? Ease of use is always on my mind.
Gosh I think it will be worth it. It will be unique, and the colors will be perfect. Can’t wait to see it started. Enjoy the process!
Wow. You make it look easy but I find it hard to mix colors so they transition properly. I can’t wait to see the finished project!
Wow! What a great eye you have for color. Thank you for sharing your thought process with us. The final choices make perfect sense. Excited to see the final product!
Hi Kristi, I like the final colours and am really curious about the resulting lamp! I would say this is a project I might want to copy, but the sheer amount of wooden spoons is too much for me – I admire you for your persistence!
I do have a very basic question for you today and haven’t found the info, even though I looked in the wall section of your archive:
I need to paint the walls and ceiling in a room that has trim between wall and ceiling. Is there any obvious order in which to paint the trim (which will be a different, matte white) and the walls/ceiling? I haven’t painted anything like it since reading your blog (which is over 12 years) and now I cannot unthink this question before starting 🙂 I call it the Kristi effect and am really grateful for it as it has already helped me avoid some mistakes! Thanks in advance for your advice, love from Karen
This post was cracking me up. I thought your first lay of paints looked great. So when you said that it was quite right I was like, oh, ok. Then you did your second lay and I thought oh yeah, I see what she means. This does look better. Then you said, once again, that it wasn’t quite right. I was all “Wait what? It looks great”. So after the third lay, I thought, ok now what’s wrong that I’m not seeing? And then you said you got it. LOLOLOL clearly, you know color way better than I ever thought about knowing color. I can’t wait to see how this all turns out. By the way, I love your new wall with the calendars.