J & A Master Bedroom, Day 3:: Dresser Transformation
Actually, 95% of day 3 was spent finishing up the caulking, wood fillering (what do you mean that’s not a word!?), sanding, and prepping the walls for priming and painting. I probably could have gotten some of the priming finished, but when I was finally ready for it, I realized that…well…I had left the primer at home. 🙂
I didn’t even bother taking pictures, because frankly, the pictures would look just like the ones from Day 2. Even though I worked all day, it was all little detail stuff that doesn’t show up in pictures. That’s not very exciting…for you. But all of this prep work is absolutely crucial. The quality of the prep work will make or break the final look.
So not wanting to waste time, I decided to turn my attention to the dresser for the last 30 minutes of the day.
Remember this dresser I bought on Craigslist?
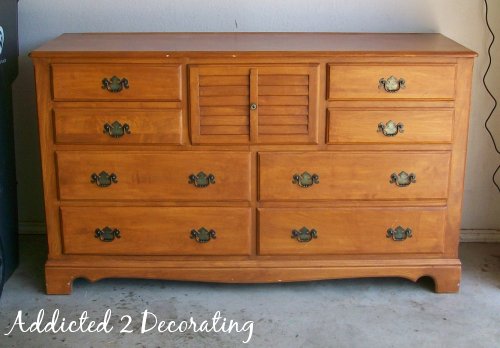
I was so happy to find this dresser. It’s solid wood, so it’ll be perfect for painting. And I love the unique middle drawer.
But the more I got to looking at the dresser, the more I realized that it’ll need a little more tweaking than just a good paint job.
The problem? Well, it’s that little apron on the bottom. If this dresser were going to sit directly opposite the bedroom door, so that the first thing that’s seen from the door is the front view of the dresser, like in the picture above, it wouldn’t be a problem.
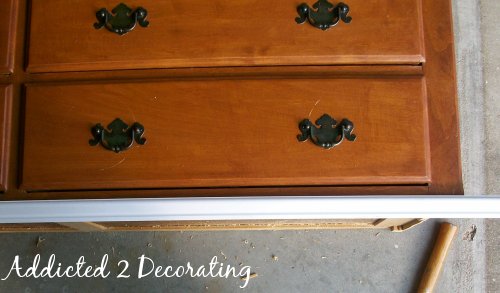
But because of where it’s going to sit in the room, the first thing that will be seen from the door is the side of the dresser, which looks like this (sorry…I flipped the dresser on its back)…
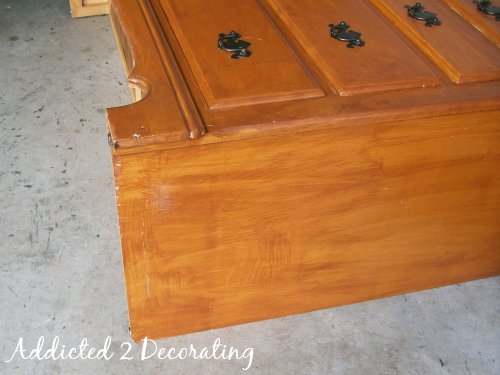
Now compare that to the side of Gwen’s dresser.
Do you see the problem? That little decorative apron doesn’t continue onto the side. Bummer. And these are the little details that bother me.
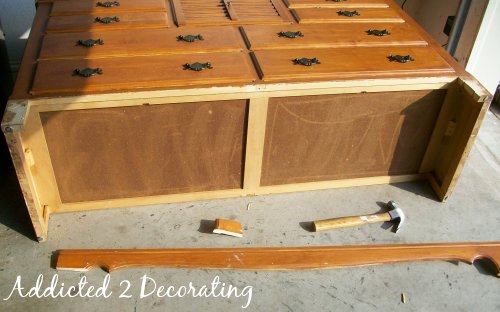
So, since I don’t have a way to replicate that apron for the sides, I decided it just needs to be completely revamped.
First, I used my hammer and took out some aggression on the apron.
Then I flipped the dresser upside down, marked a line on the sides that is level with the bottom edge of the front of the dresser, and used my circular saw to cut away the extra length on the sides.
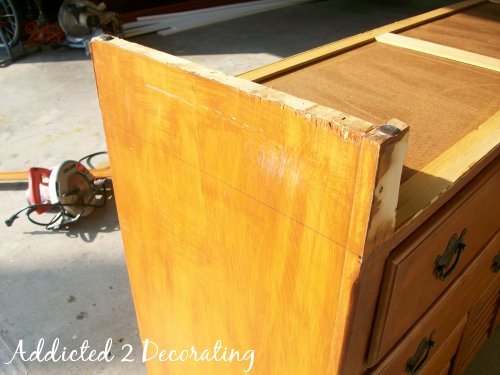
Truth be told, I only got one side cut, because I got a big piece of wood jammed inside the circular saw. Grrrr…
Now I’m still working out the little details, but I’ll be finishing out the bottom with some sort of decorative trim…
…and then these cute little 4.5-inch furniture feet that I bought from Van Dyke’s Restorers.
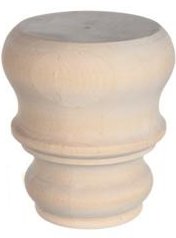
Mr. UPS should be delivering these (and the wallpaper) today!
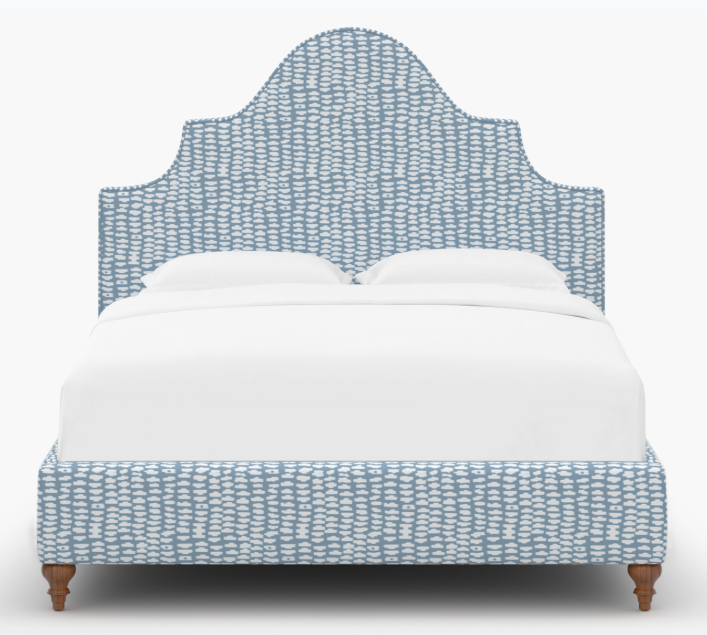
Once the trim and feet are attached, and the dresser is painted, it’ll end up looking more like this dresser than I had originally thought it would.

I’m pretty thrilled with that!
Well, I’m off to prime and paint the board and batten walls so that I can install the wallpaper next week!
By the way, John and Alice both loved the black interior doors suggestion. So excited!
Oh…this weekend is a holiday weekend! I hope each of you has a wonderfully relaxing break. Even though it’s a holiday, I’ll probably pop in on Monday anyway, because I really, really hope to have some progress pictures of my kitchen wall to share with you. That’s the plan at least, so we’ll see how that goes. 🙂

Addicted 2 Decorating is where I share my DIY and decorating journey as I remodel and decorate the 1948 fixer upper that my husband, Matt, and I bought in 2013. Matt has M.S. and is unable to do physical work, so I do the majority of the work on the house by myself. You can learn more about me here.
This weekend is going to be Project Weekend round about the house of Kellen. I'm very excited!
Enjoy the holiday and I hope you get some much needed rest.
hi, I like your article, I will try to implement them. coincidence I also was working on as you do. thanks