
Cost Comparison — My DIY Faux Stone Porch Skirting vs. A Ready-Made Product
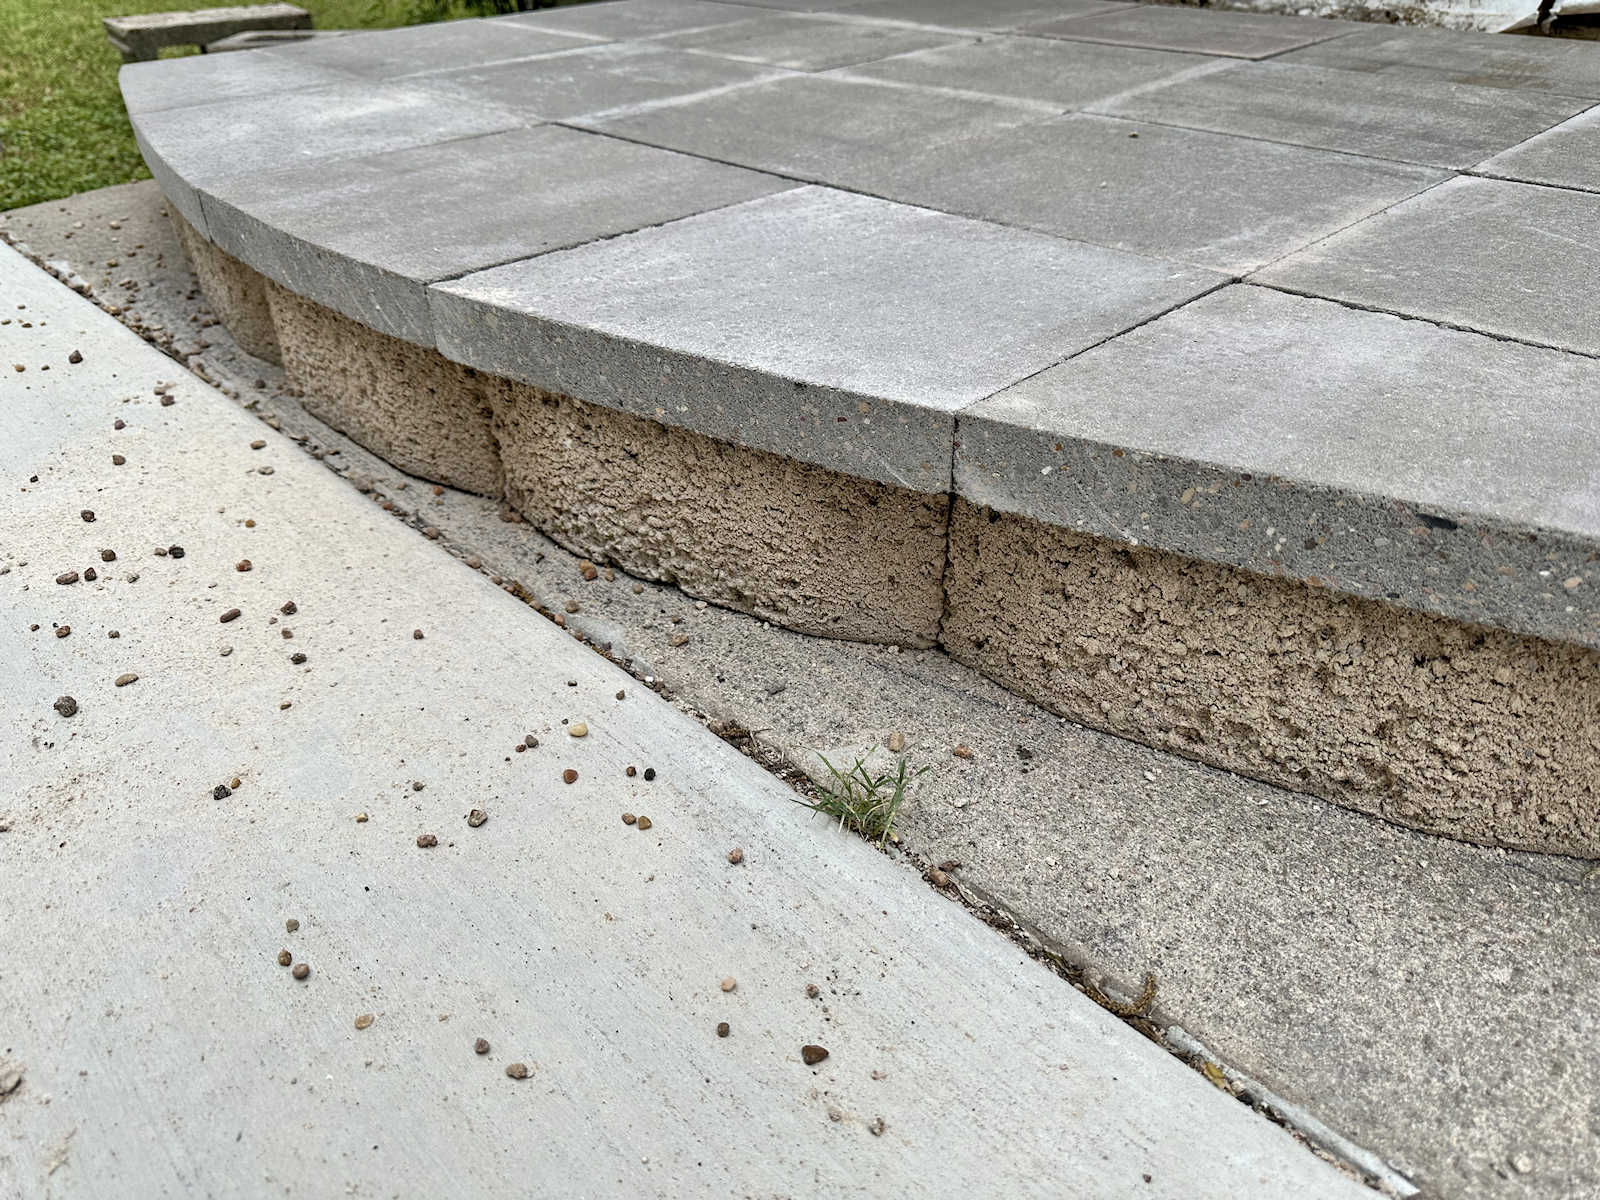
I’ve had quite a few people ask me about the cost of my DIY faux stone porch skirting and how it compares to a ready-made stone facade product. So I took some time last night to add up the cost of my DIY version.
Of course, the biggest cost of the DIY version was my time. This was a pretty extensive and time-consuming project, but to me, it was worth it. I do have the advantage of being a DIY blogger, so working on DIY projects is literally my job. It might be different for a person who works another full-time job and then has to work in these DIY projects on evenings and weekends. But for me, my main objective was to end up with a porch skirting that looks like it was built with the exact same stone that is used on the rest of our house, so spending the time to get it right was totally worth it to me. But whether or not that cost of time is worth it is one that each person has to make. If someone has limited time, it’s perfectly reasonable to choose a ready-made product that’s “close enough”.
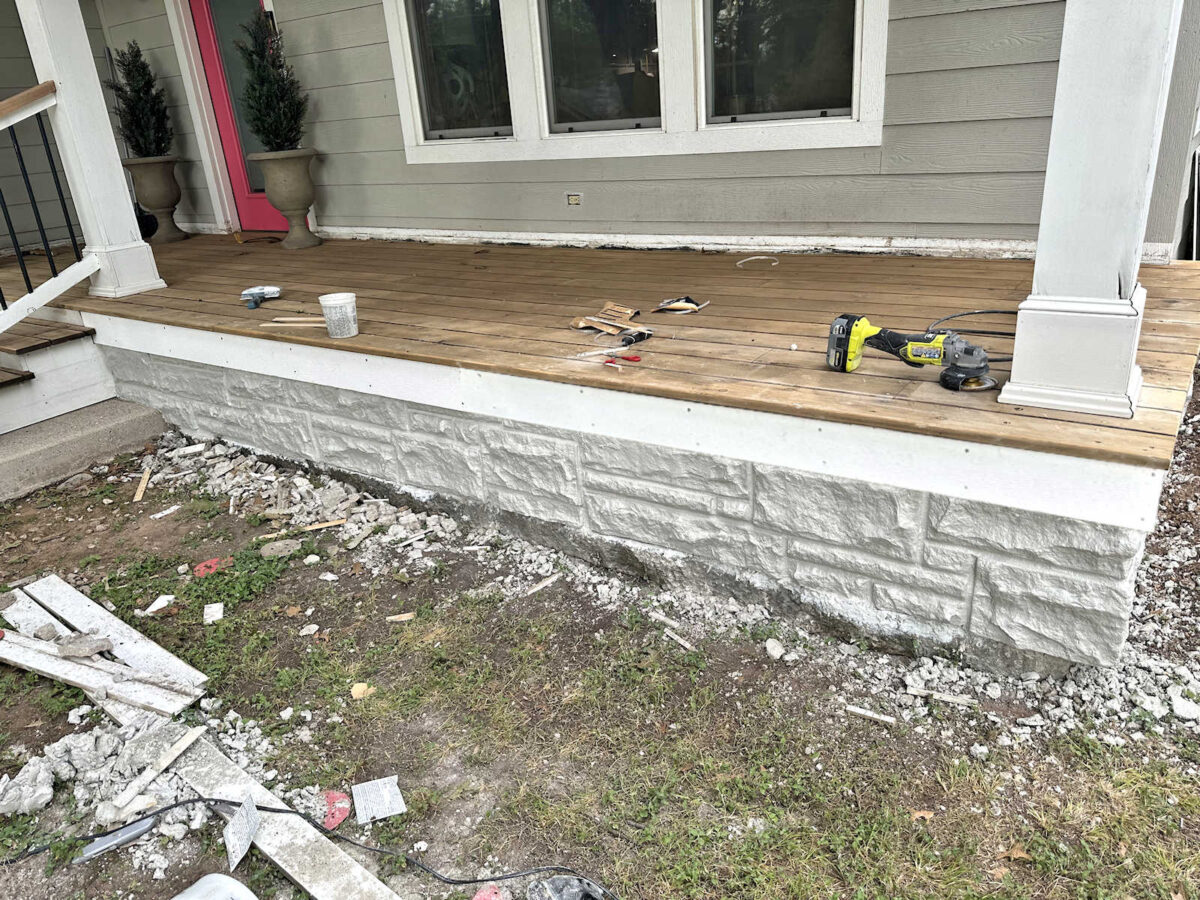
But as far as the actual financial cost of this project, here’s how the cost breaks down…
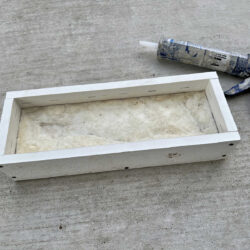
Making the molds:
- GE 100% All Purpose Silicone Caulk – 8 tubes @ $9.48 each = $75.84
- Cornstarch – 4 18-ounce packages @ $3.33 each = $13.32
- 1″ x 4″ x 8′ PVC boards – 5 @ $19.98 each = $99.90
- Scrap plywood – on hand = $0.00
- #8 x 1.5″ wood screws – 1 package of 100 @ $11.47 = $11.47
- Great Stuff spray foam – 2 cans @ $4.98 each = $9.96
- WD-40 – 1 can @ $8.78 = $8.78
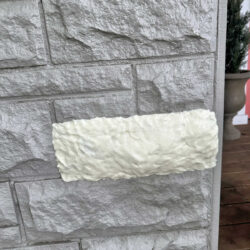
Making and attaching the stones:
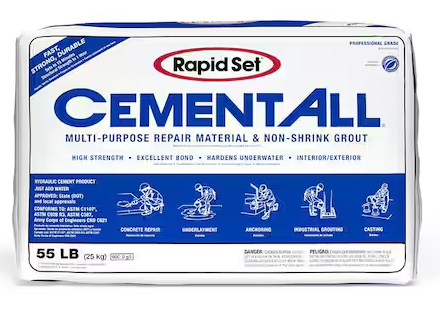
- Rapid Set Cement All – 4 55-pound bags @ $29.97 each = $119.88
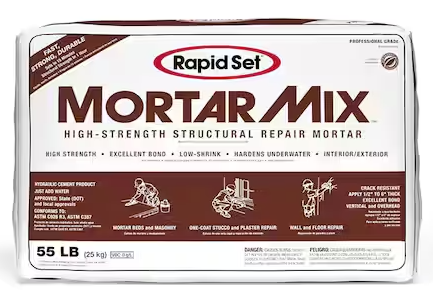
- Rapid Set Mortar – 3 bags @ $20.97 each = $62.91
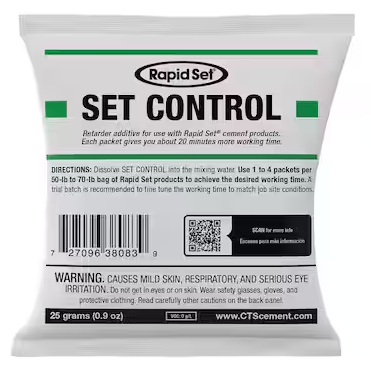
- Rapid Set Set Control – 2 bags @ $2.97 each = $5.94
Tools:
- 6″ x 2″ concrete margin trowel – 1 @ $14.97 each = $14.97
- Mortar bag – 1 @ $6.97 each = $6.97
- 5 gallon bucket – 1 @ $3.98 each – $3.98
- 5 quart mixing bucket – 1 @ $3.98 each = $3.98
- 1 quart container – 2 @ $2.98 each = $5.96
- Sprayer – on hand – $0.00
Total Cost:
Once I add tax to those costs, that brings the total cost of my DIY faux concrete porch skirting to $480.48 if I did my math right (which is always questionable 😀 ).
Price Comparison:
How does that price compare to a ready-made product? Of course, there are a lot of products out there that I could compare my faux stone facade to, but of all of the options I looked at, there was only one that I would have seriously considered. Most stone facade products that look like Austin stone don’t have the signature 1/2-inch mortar lines between them like the stone on our house has, and it was important to me to have that. Again, my goal was to make my porch skirting match the stone on our house, and finding an exact match to our late 1940’s/early 1950’s Austin stone was impossible.
But there was one that came close, and that was this EverStone polyurethane faux stone panel product in the Castle Rock pattern.
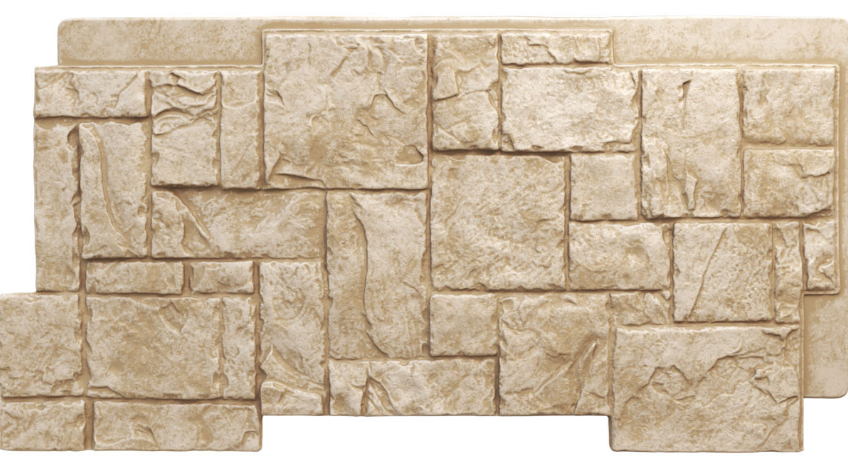
None of the colors that had available would have worked for me, so I would have had to paint it to match. But I had to do that anyway with my DIY version, so that didn’t deter me at all.
Each panel is 49″ wide and 25.5″ high, but as you can see, the stone pattern doesn’t cover all of that dimension because they’re made to fit together seamlessly. I needed to cover an area that was 13.5 inches high and a total of about 230 inches wide. I would only be able to get one piece out of each panel, so I would need a total of five panels. At $93.95 each, that’s $469.75.
In addition to the panels, I would also need one of the corner pieces. I had three corners to cover, but these corner pieces are 48″ high, so I could have gotten all three corners that I needed out of one piece.
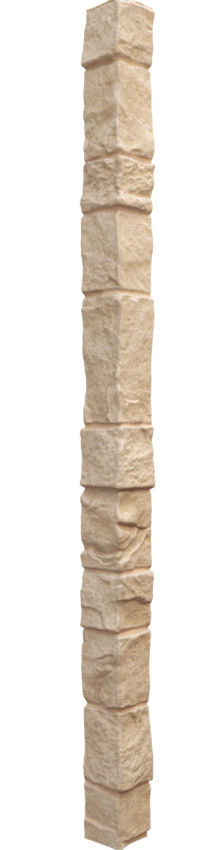
I have to admit that the corner pieces were kind of a deal breaker for me. These are the corner pieces made to go with those panels, but they don’t really seem to match the panels in appearance. These corner pieces are $46.55 each. So for the panels and corner piece, plus shipping and tax, the cost would be $579.09.
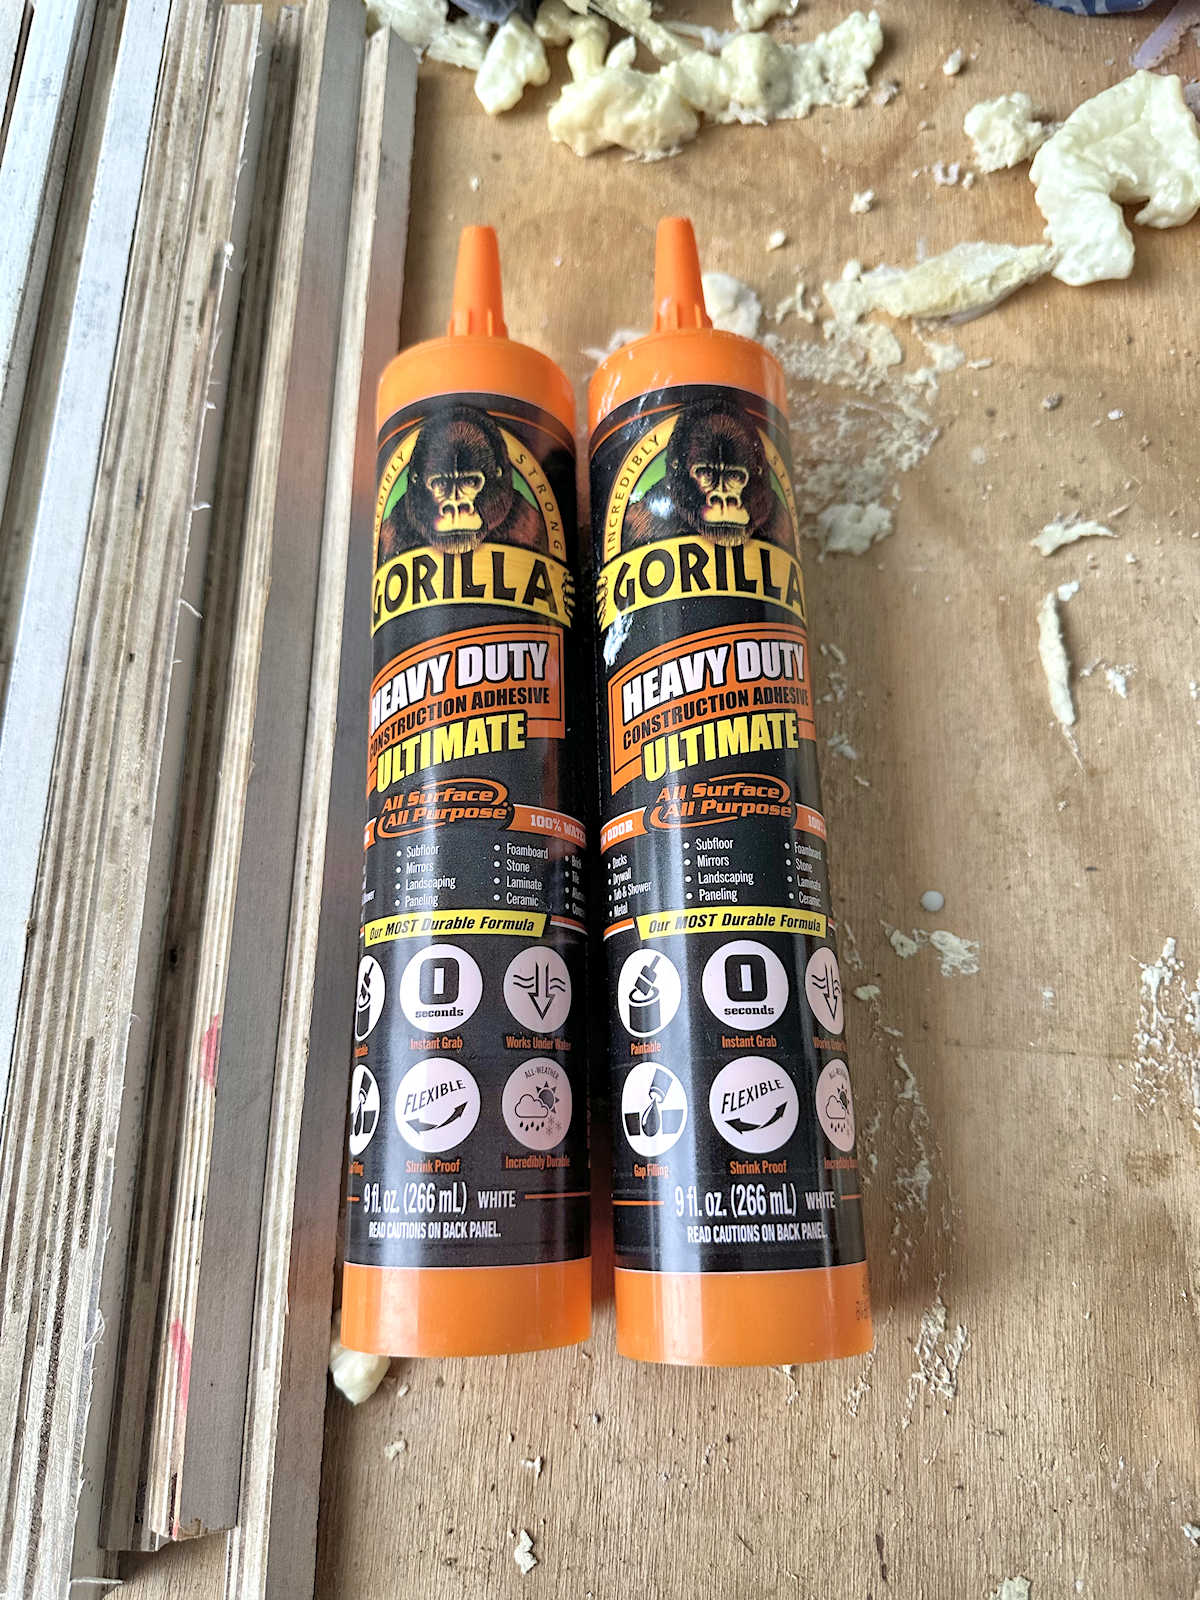
And then these panels are attached using polyurethane adhesive. I estimated that I’d need about six tubes of adhesive like Loctite PL-3, which are $7.48 each. That would add $48.58 (with tax) to the cost, for a total cost of $627.57.
So in the end, my DIY version ended up being cheaper than the ready-made panels. But again, they came at a much higher cost of my time that I spent making all of the molds and pouring each individual stone. Since I got exactly what I wanted, I think the time added was worth it for me.
I do think this is kind of an “apples to oranges” comparison, though, since I’m comparing an exact-match product with a “close enough” product. In order to get a true “apples to apples” cost comparison, I’d have to compare the cost of my exact-match DIY version to the cost of hiring a professional to create an exact-match stone facade on my front porch for me, and that cost is impossible to estimate. Perhaps if I lived in a large city like Dallas or Houston, I would be able to find a person who could do that for me. But I can’t even imagine that there is a person in my city who would take on such a project, and even on the off chance that I could find one, I would imagine that the price of having someone do this for me would have been in the thousands just based on the time alone. So in the end, my DIY version that produced an exact-match product was the perfect option for me.
More About Our House Exterior & Yard
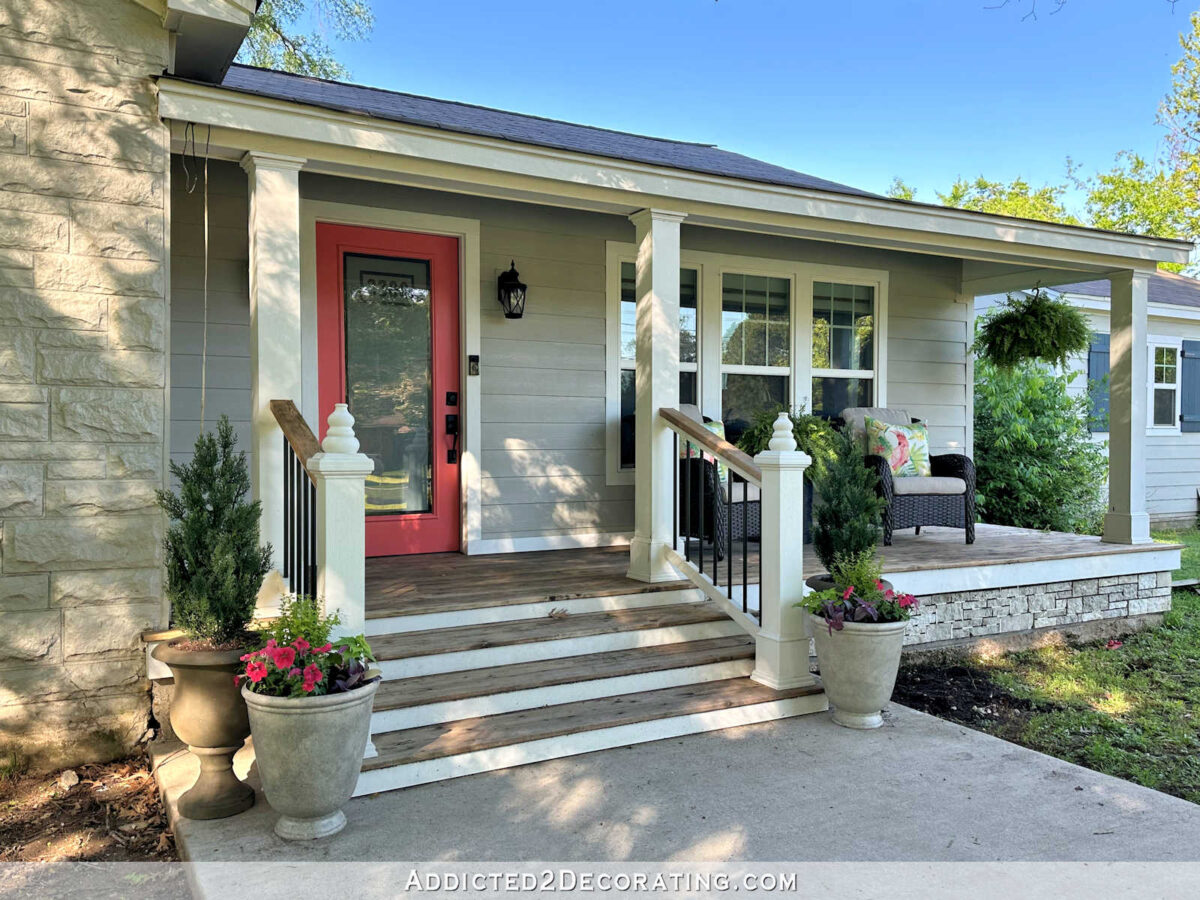
see all exterior &
yard diy projects
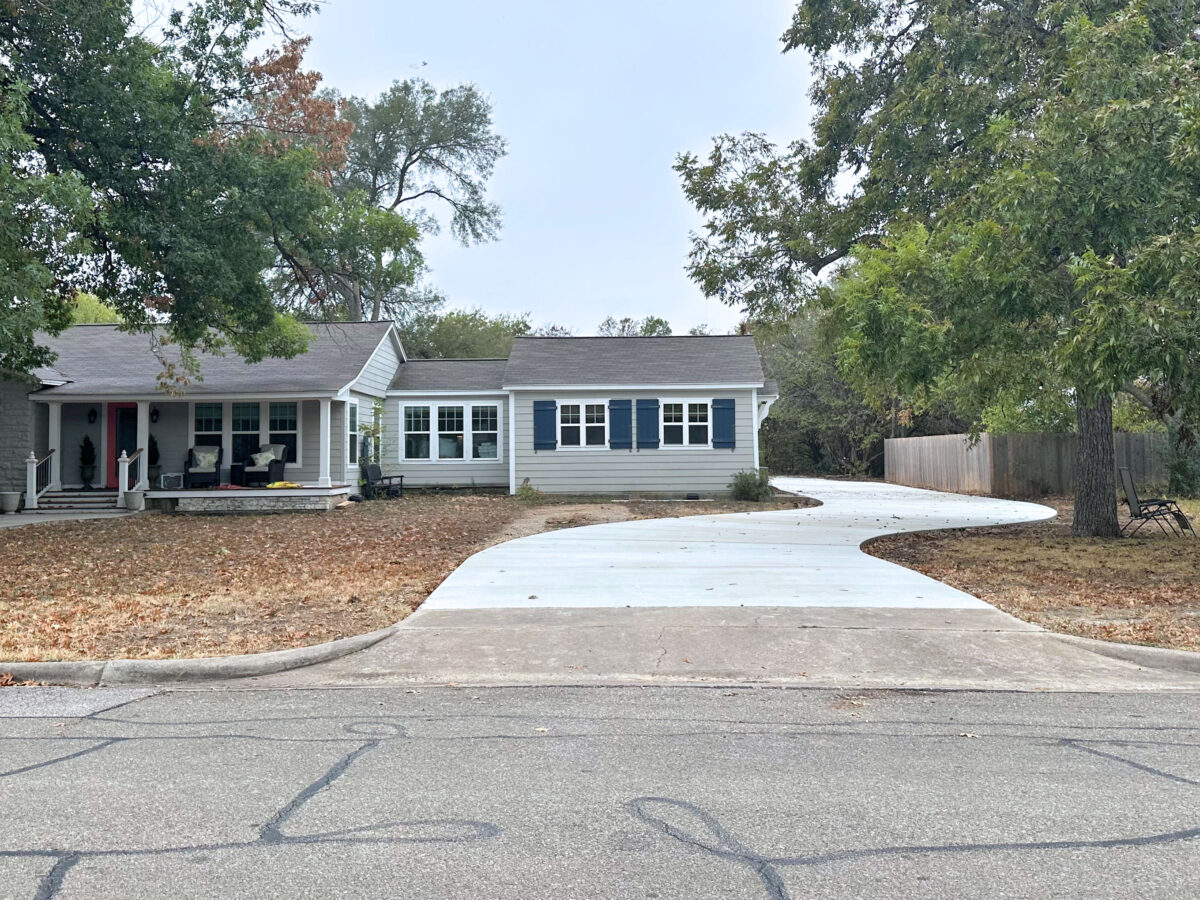
read all exterior &
yard blog posts

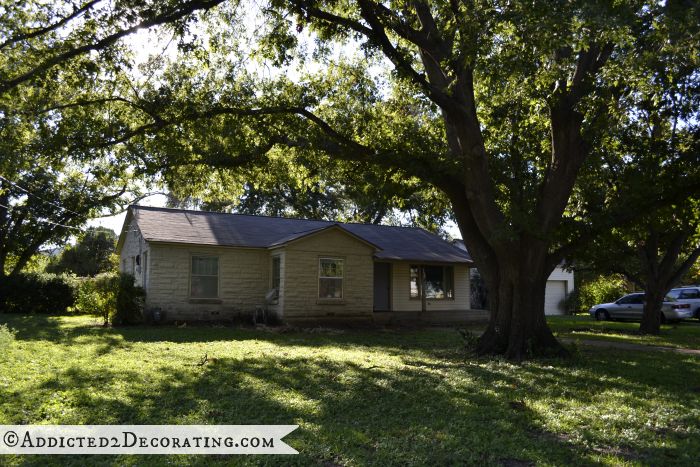
Addicted 2 Decorating is where I share my DIY and decorating journey as I remodel and decorate the 1948 fixer upper that my husband, Matt, and I bought in 2013. Matt has M.S. and is unable to do physical work, so I do the majority of the work on the house by myself. You can learn more about me here.
I would pay more for DIY project supplies than a ready made alternative if I got exactly what I wanted. The skirting looks great! I can’t wait to see the entire porch finished – decking, posts, light fixtures, etc. Did you decide on a location for your freedom flyer?
Yes! I’m going to hang it above my walk-in closet window. I know many people suggested hanging it above the garage door on the workshop, and I did like that idea, but I really want it on the front of our house.
I suggested that location because it is on the front of the house. I also think it will look better over the smaller window than the larger garage door. It is beautiful and such a special piece of artwork.
You have something you wouldn’t have had if you h8ad purchased. PRIDE in your workmanship and your ability to daxw challenges.
Good for you and all the new experiences you’ve attained. Very nice. My only concern is wondering if moisture from the ground will wick up into your new “stone.” Look ahead for a solution before moving onto landscaping that area in front of it.
I dont think there is a comparison with the end product. Your came out so awesome. I think cutting up the pre-made (if that was even possible) would maybe be a better comparison. So you could get the gaps you wanted, but then it’s not so “quick” and easy. You would still have to modify the corner to make it look as nice as yours. I think well worth the effort to get exactly what you want. Bravo!
Love everything you are doing to escalate the beauty of your home. I do have a couple of questions: the trim on your studio (or maybe they are gutters) are white. From the street, what if you painted them the same color of the house? I think the inset and studio would look more seamless to your home.
Second, the eagle, would it look good over the garage door to your work shop?
See comment (a few) above yours to see “why & where” she’s putting the freedom flyer. 😁
Are you talking about the vertical trim pieces on the corners of the studio? If so, I do plan to paint those gray. That’s been on my “to do” list for far too long now, but I want to get that done this week.
Now you have the molds and tools to make more should the occasion arise. I always count that as a plus.
Beautiful job!! Thank you for sharing and explaining as you work (so hard) and gave us another great tutorial! Always appreciated.
Your version by far is the best. Yes, you could’ve gone with pre-made stuff, but it wouldn’t look like the rest of the house, and I do get that so much since we ourselves are trying to renovate a farmhouse to look like it has been here since Daniel Boone brought in the first settlers. Not an easy task to a house that was built in 1998. But I love what you did and how it looks. Kudos for doing it your way.
Cheers to you, Matt and the Fur Babies!
The benefit for me would also be the joy of doing something myself.
The time involved is a factor because I was a clock puncher.
Shortly after I retired I sold my sweet little cottage and I moved to Arizona with my Fella. He’s the project guy and I go on walks, bike and work in my Art Room.
Although I will never have a need for this type of project, I have really enjoyed learning the process. As usual, you continue to inspire me to think outside the box with my own home. I’m excited for you and can’t wait to see the final before and after pictures!
You definitely saved money even though you used your time to do this project. And you got what you wanted, plus it looks great. You could not have hired anyone who would have worked as hard as you did to create this project. Just think about all you learned and shared with us!
Now, on to the next part to finish the outdoor part for now.