Foyer Progress (Plus, My Newly Discovered Secret For Perfecting Imperfect Trim)
Progress continues to be slow on the bedroom foyer walls, but the good news is that my hand is almost completely healed. Where the pain was originally about a 7 on a scale of 1 to 10, This morning, it’s about a 2. I have regained full mobility of my fingers, so doing the big jobs like cutting and installing trim is now easy again. But I realized very quickly yesterday that doing things that require fine motor skills, like sanding the wood filler on all of the nail holes, was still quite painful. But this morning, I went into the foyer to do a little bit more sanding, and instinctively, I picked up the sandpaper with my right hand and started sanding. It took a couple of minutes for me to realize I was actually sanding with my right hand with no pain. So as of this morning, it looks like I’m fully back in business.
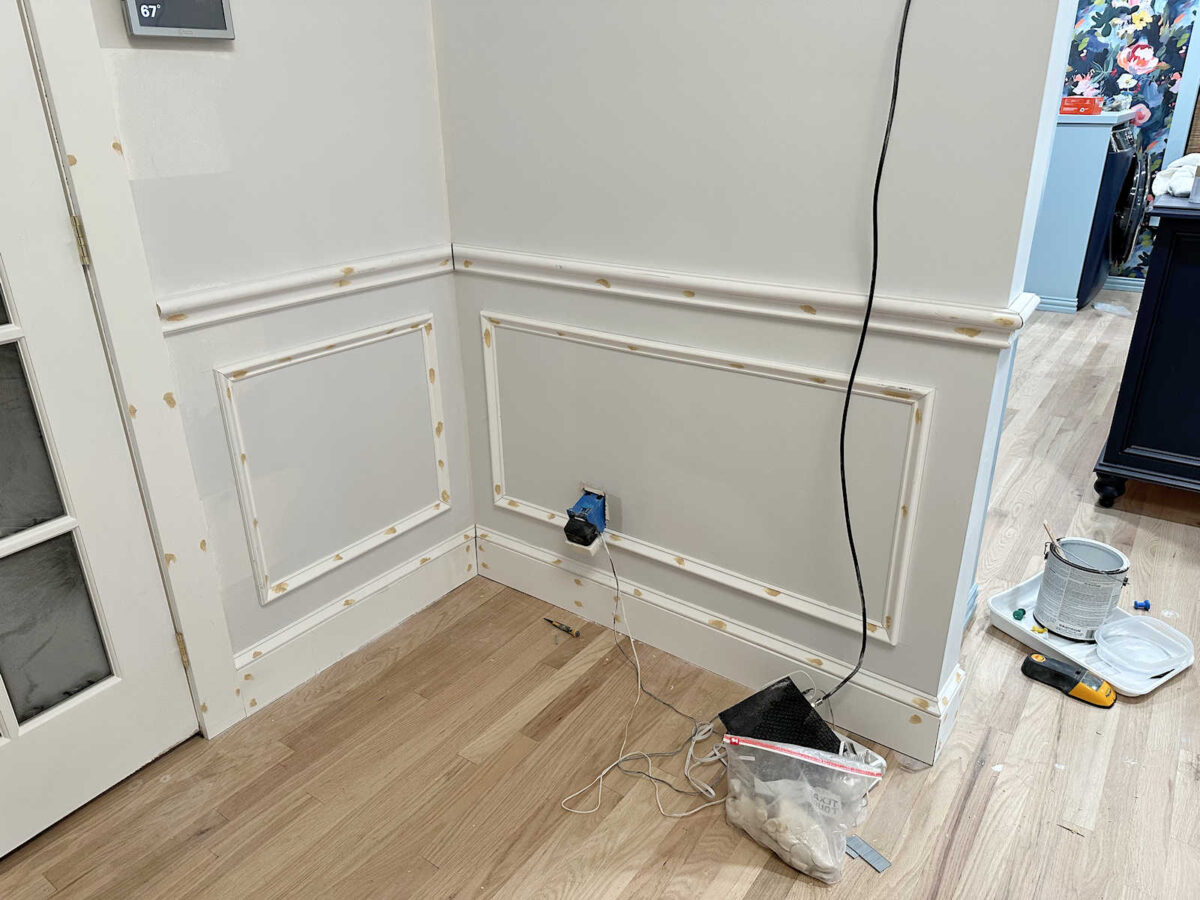
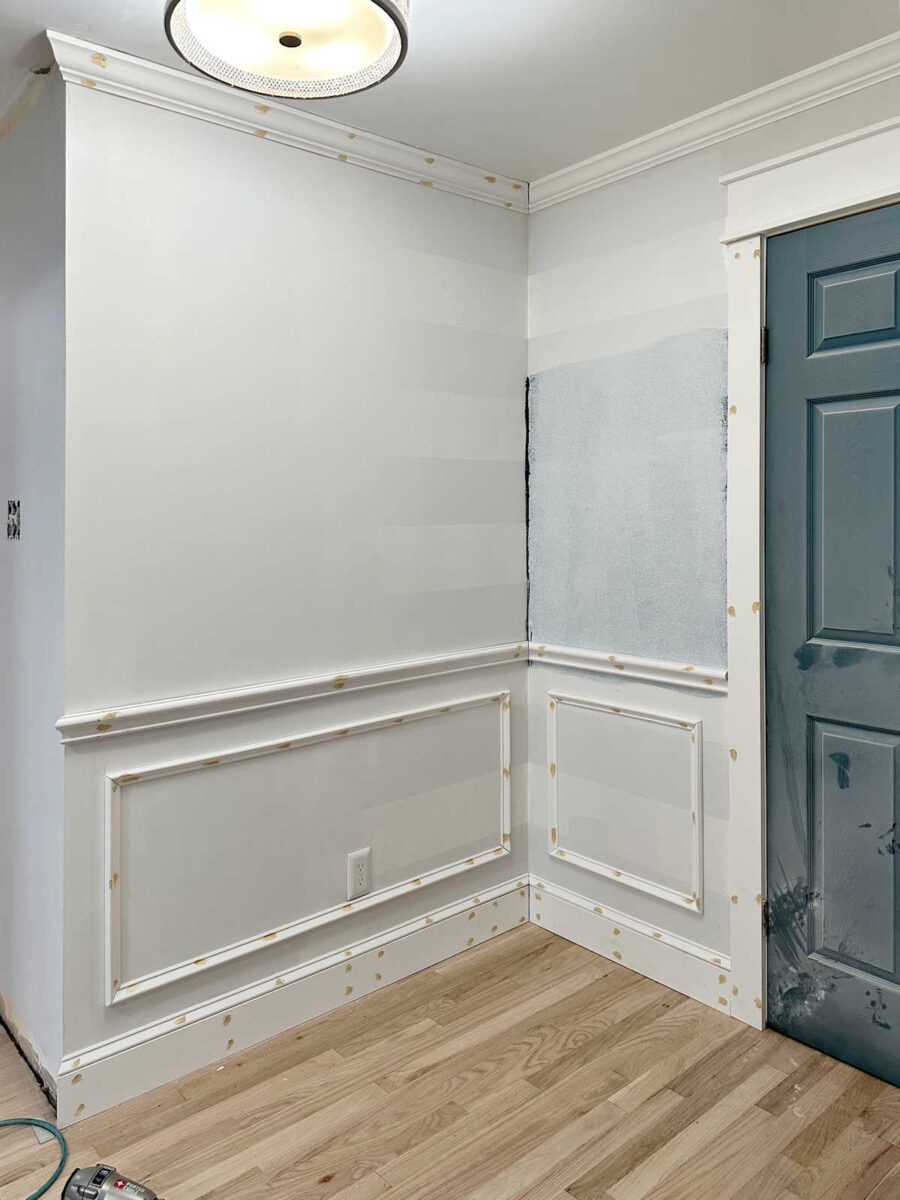
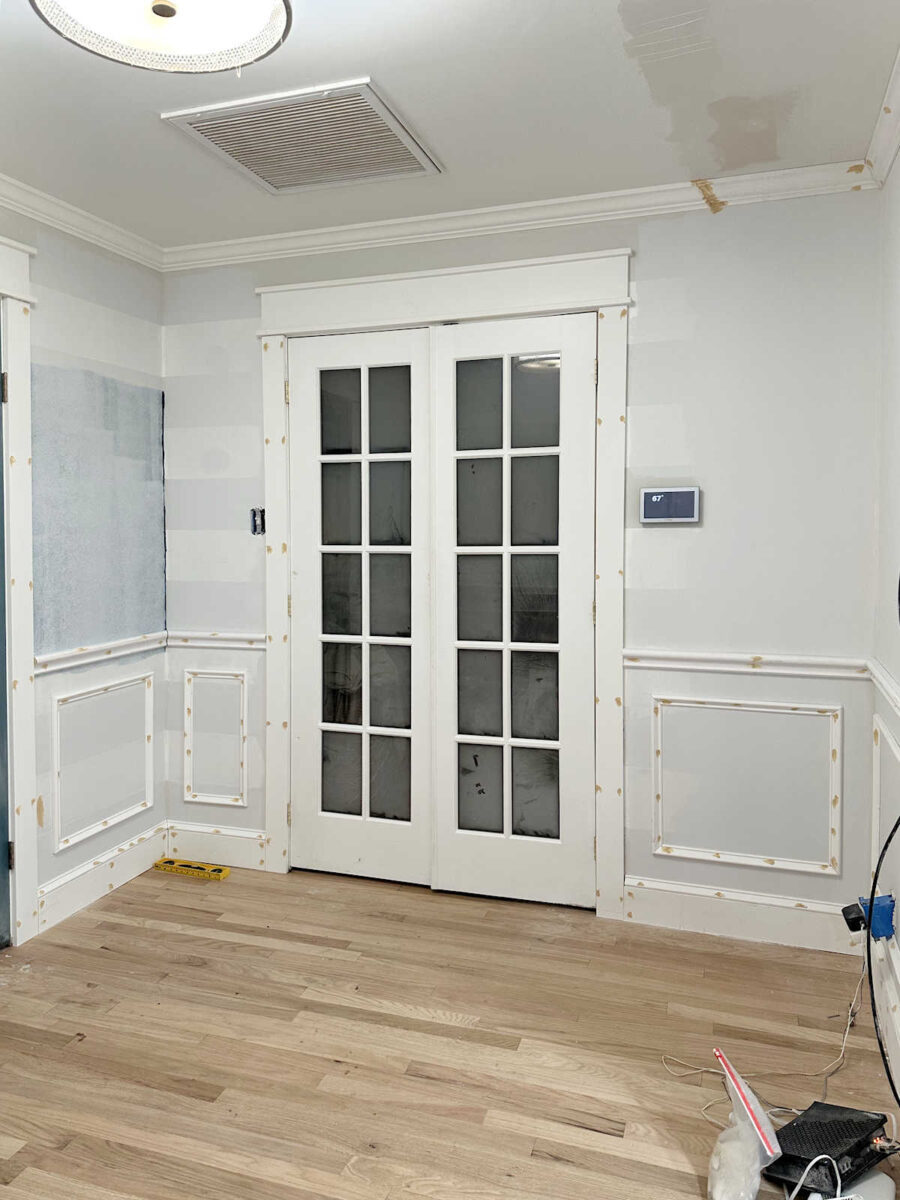
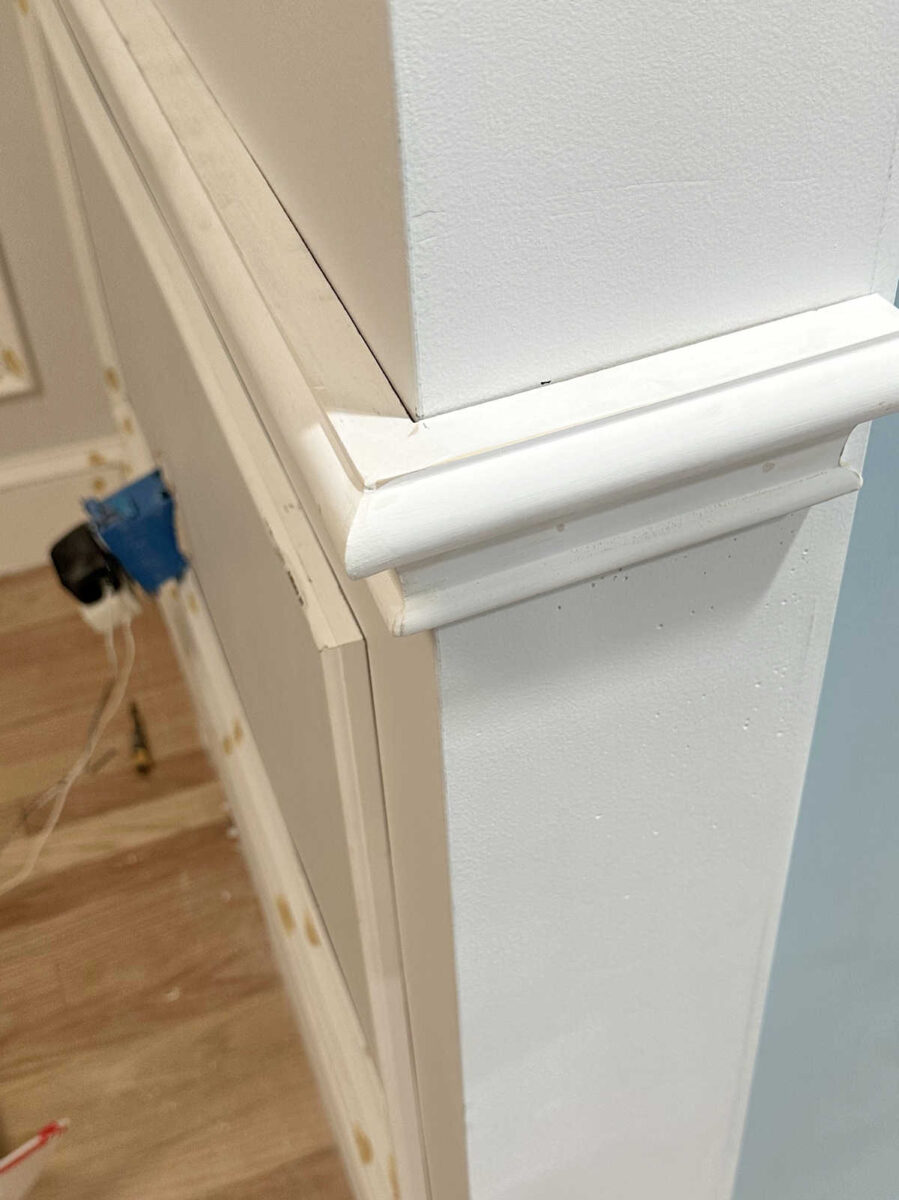
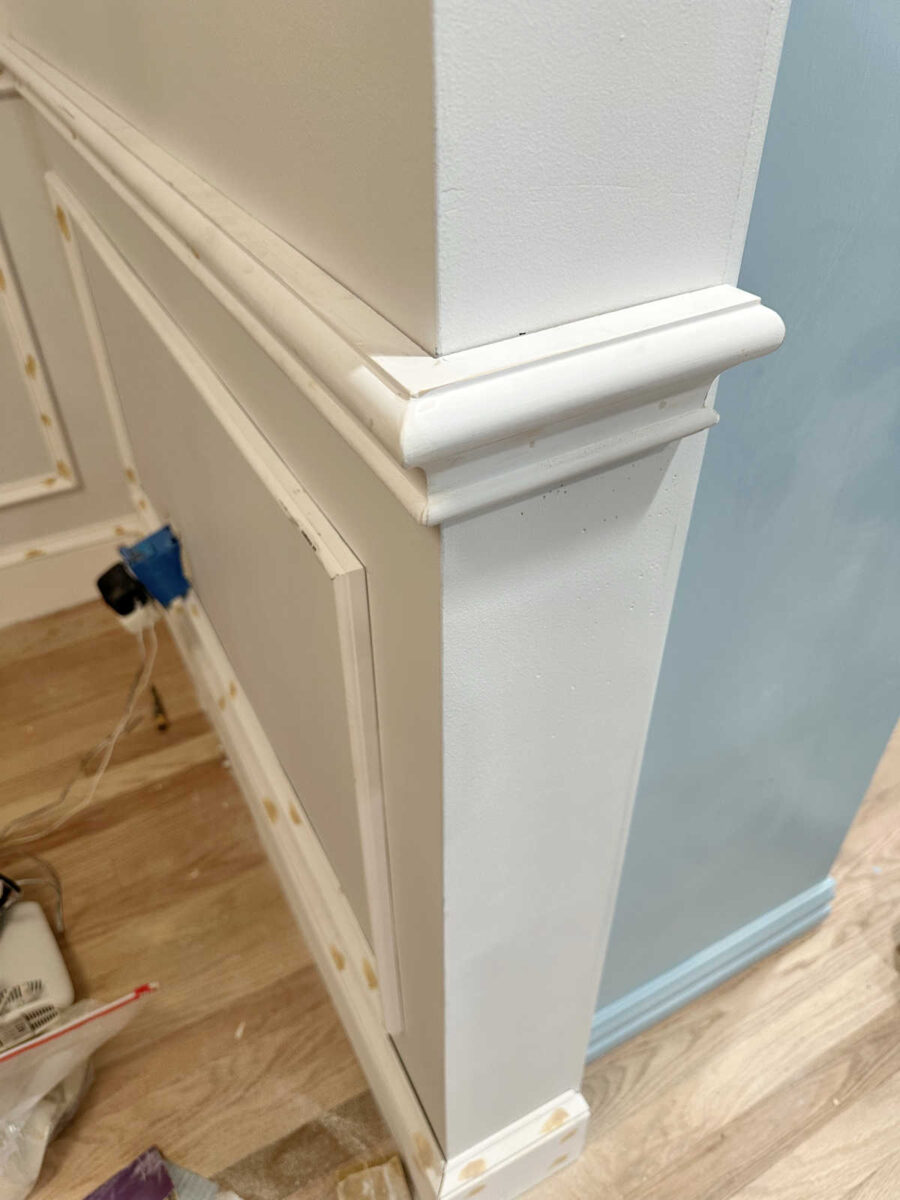
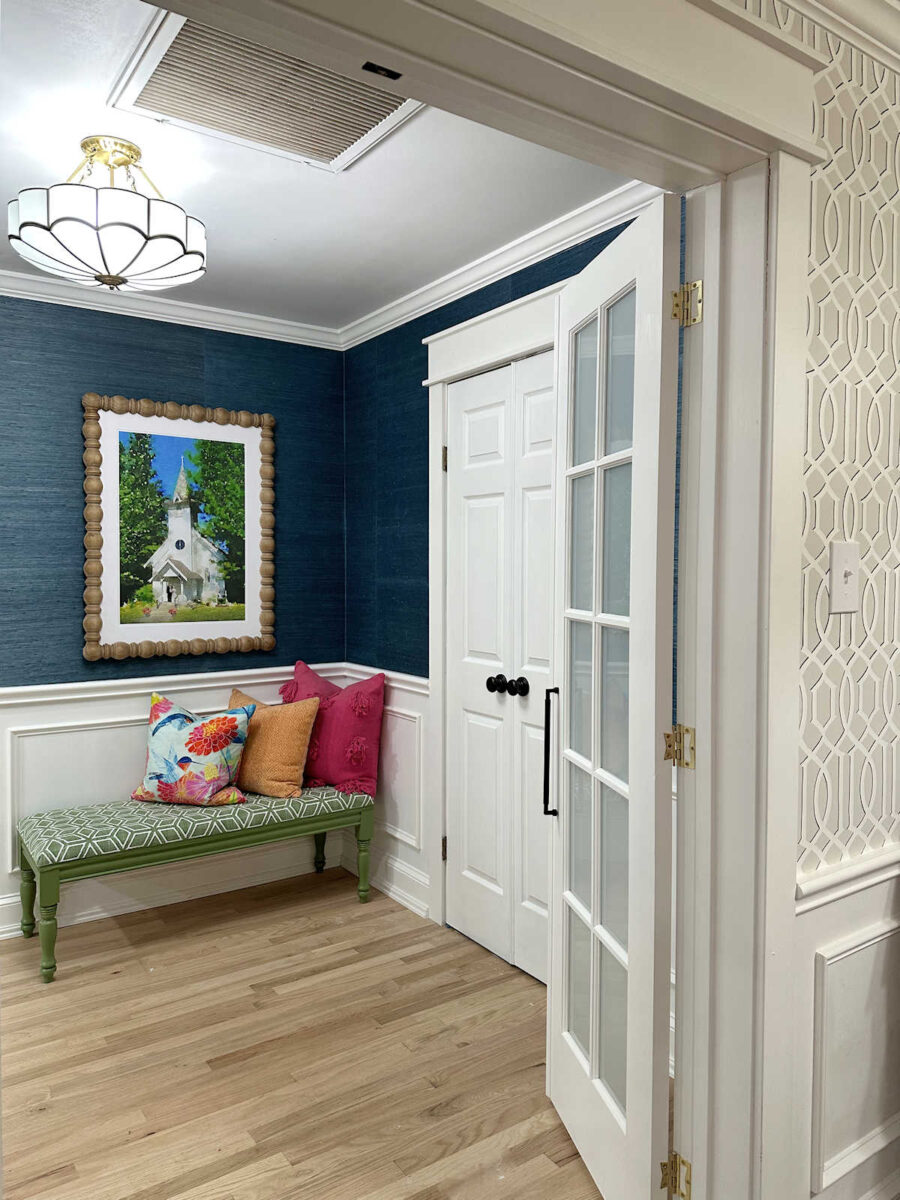
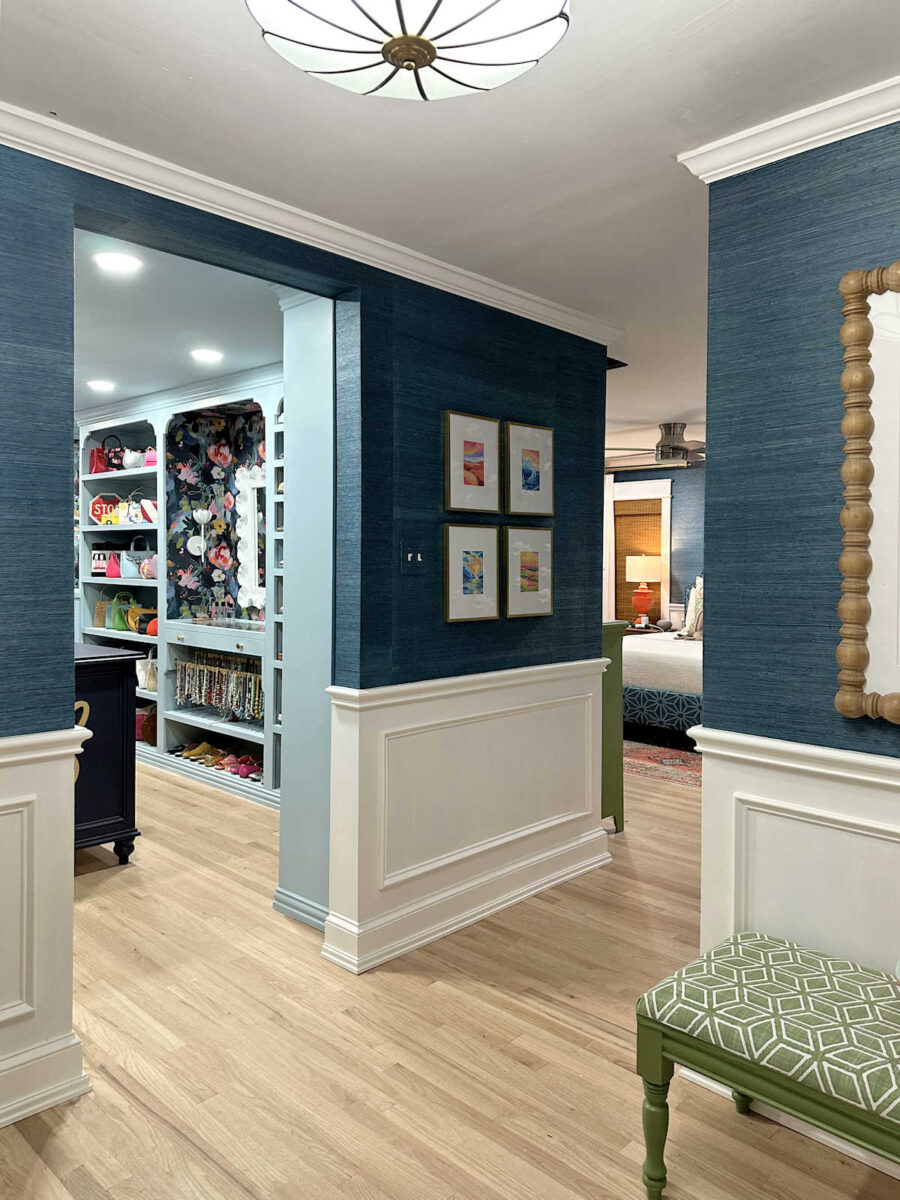
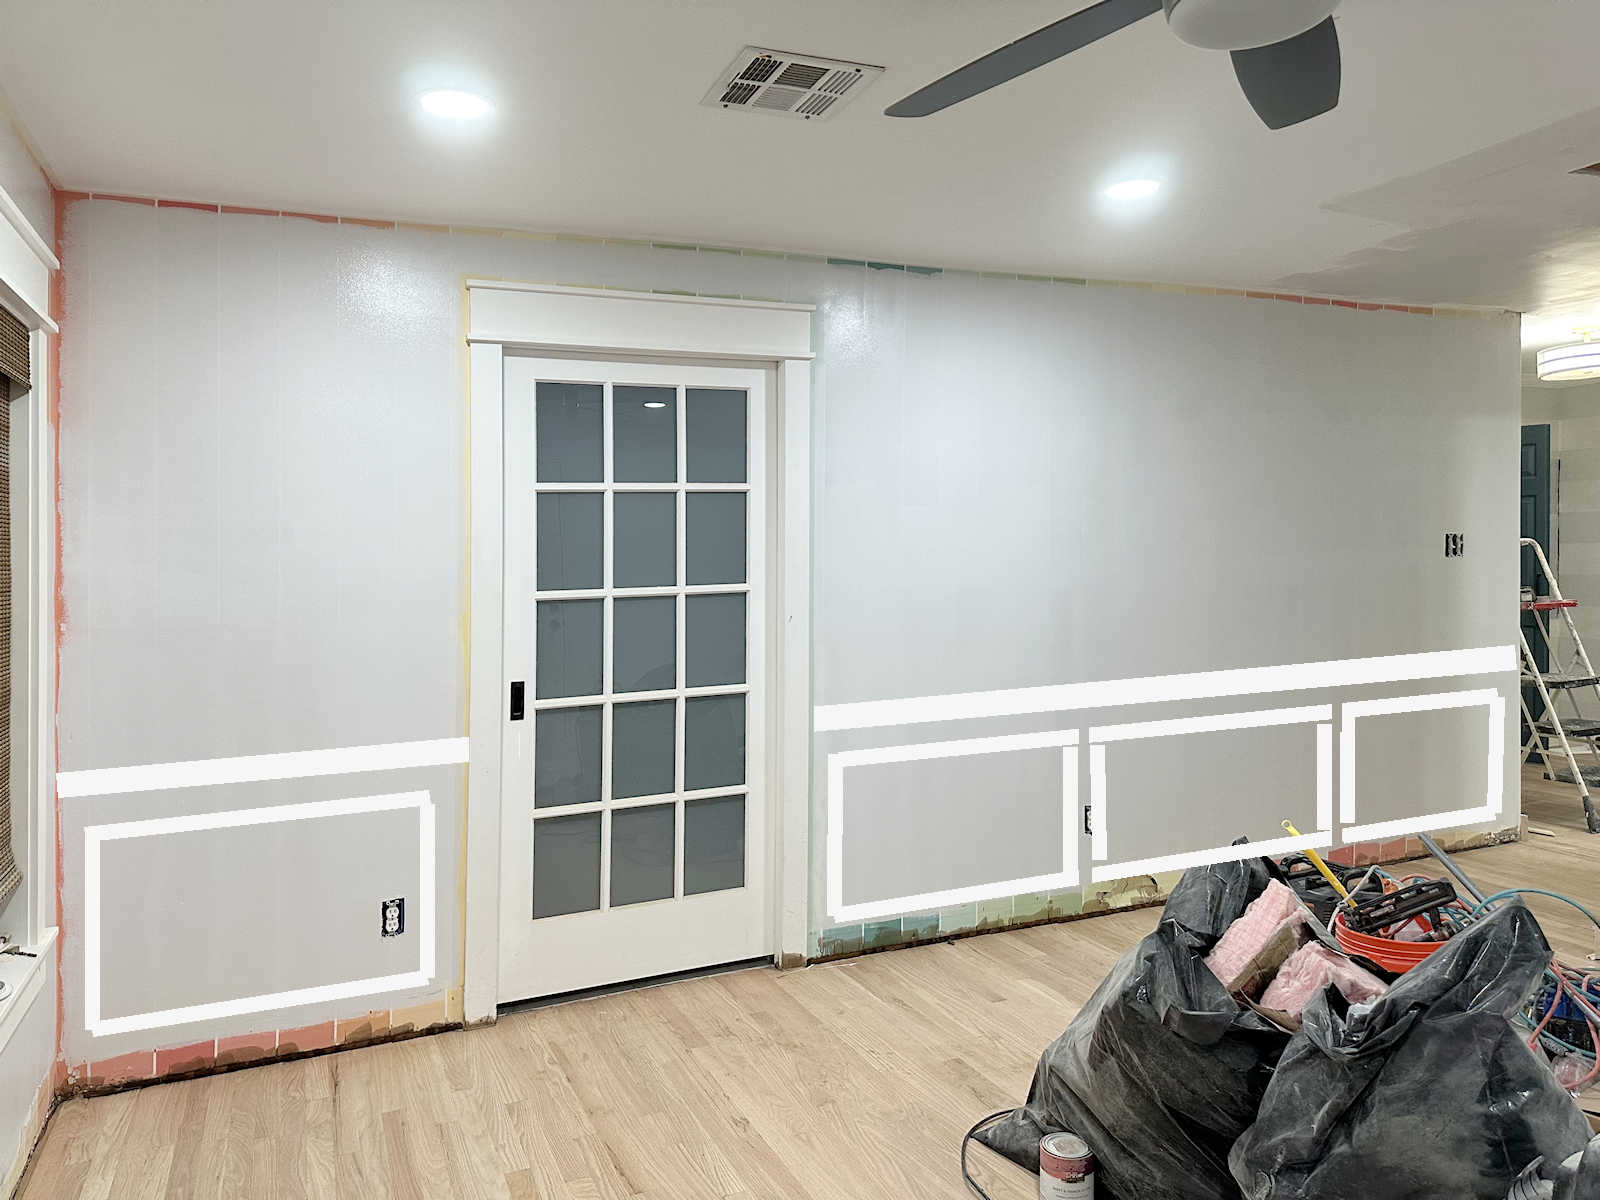
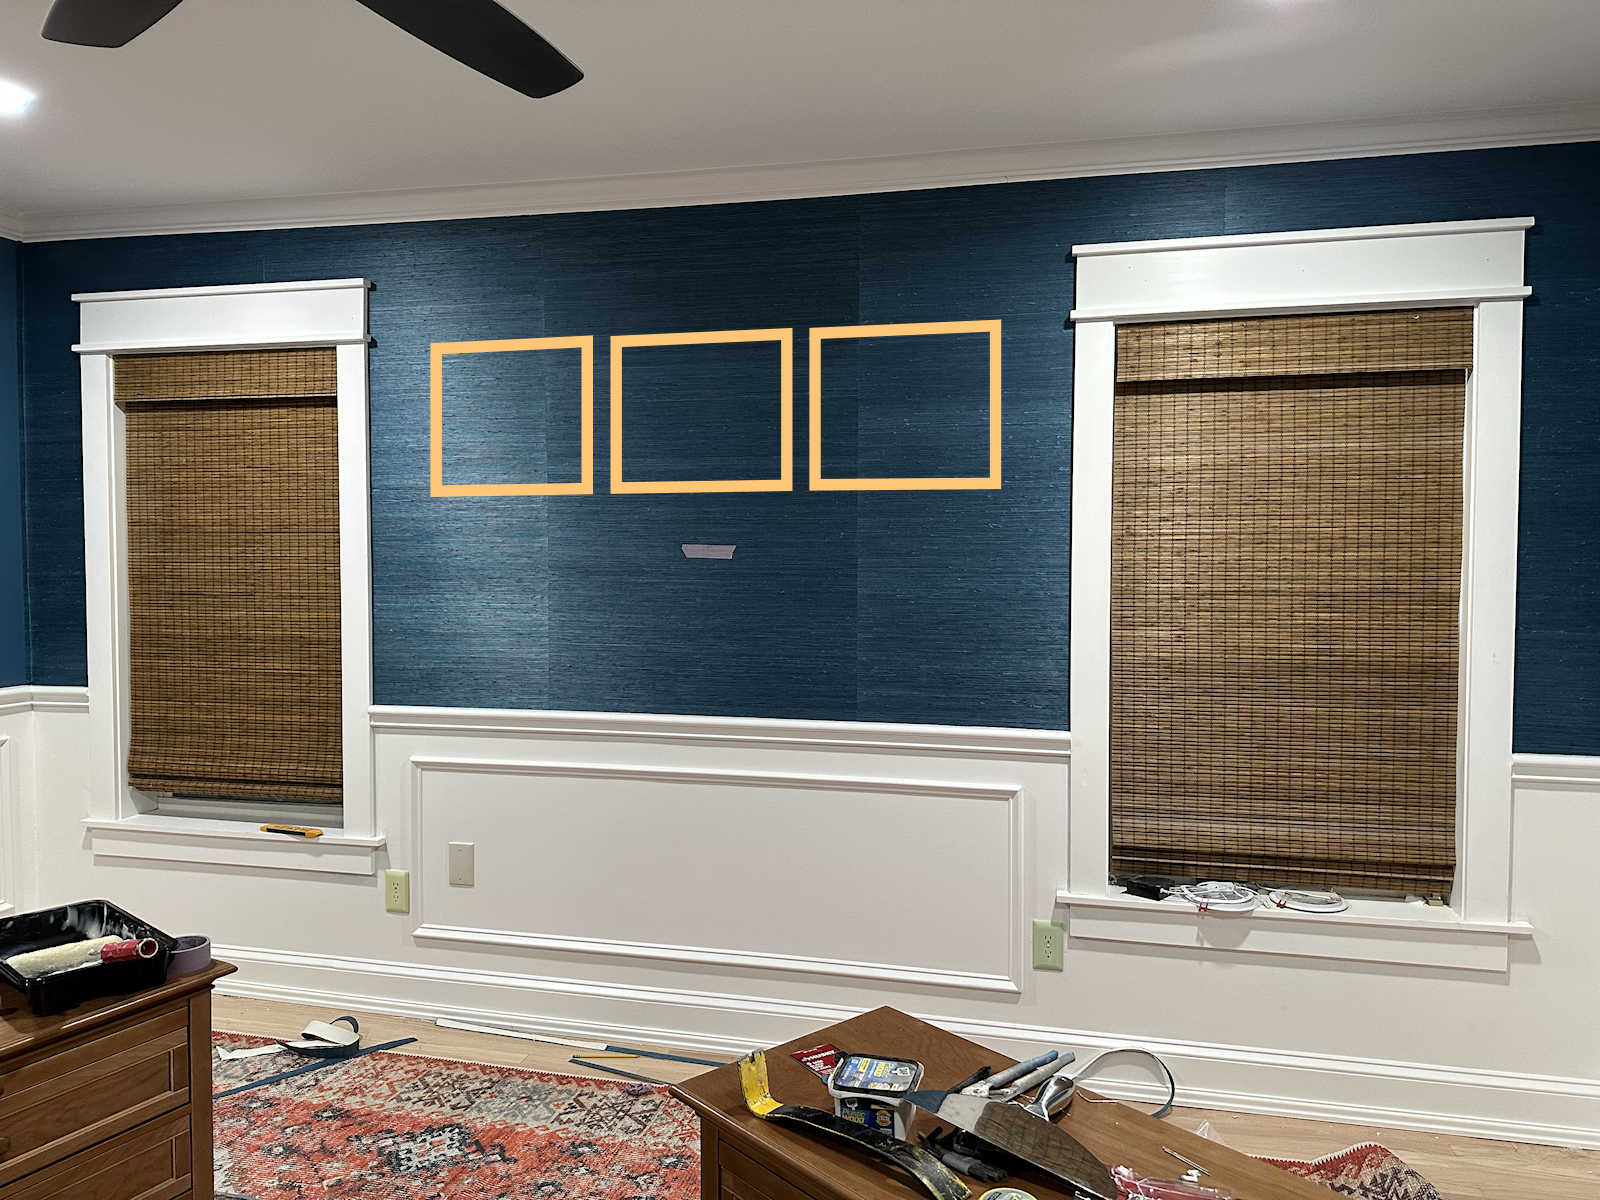
With that said, here’s the progress. I have all of the picture frame molding and the crown molding installed in the foyer. I didn’t remove any of the crown molding that was already there, even on this area where the crown molding stopped short of the corner where it had once wrapped around the built-in cabinet that was here. Once it’s all sanded smooth and painted, that joint won’t be noticeable.
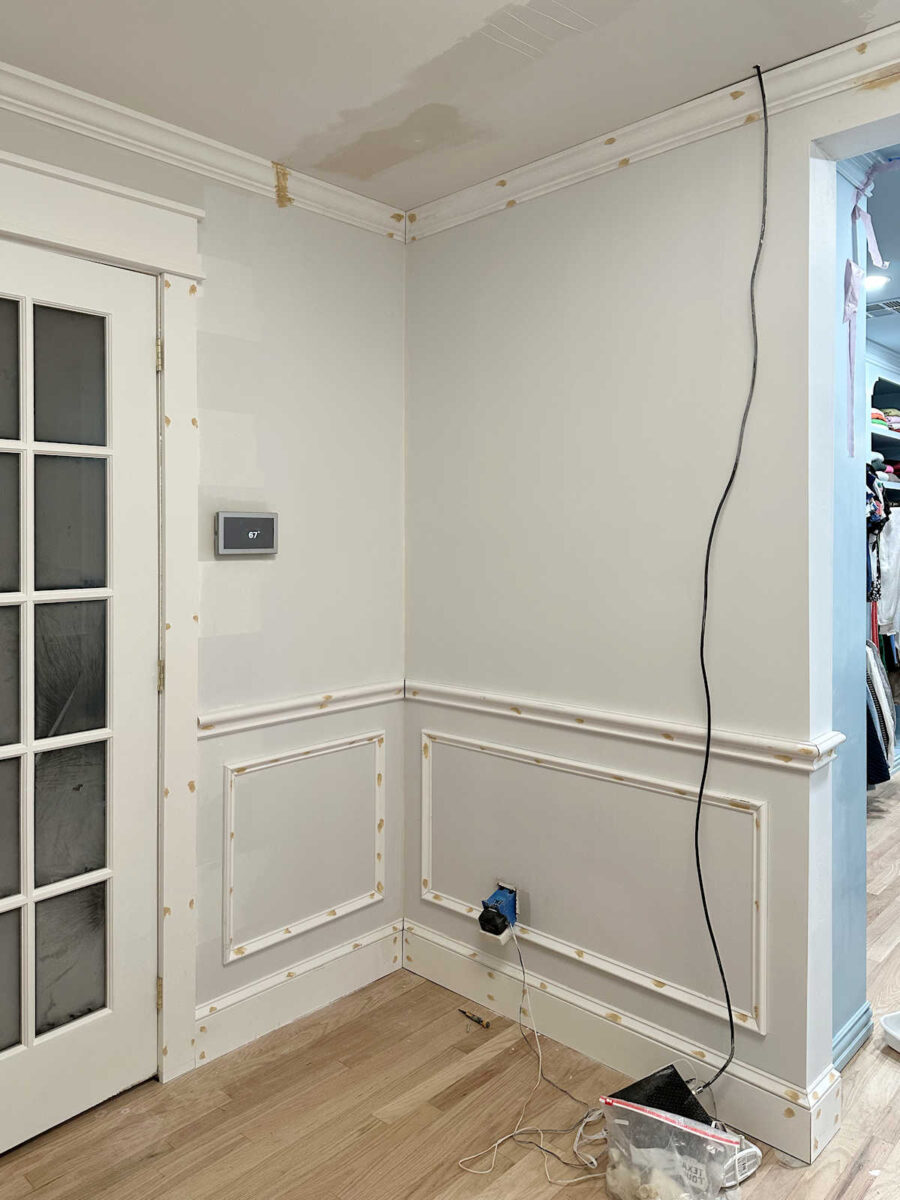
I’m really pleased with how this picture frame molding turned out, and I’m very glad I decided to go with one rectangle on each wall regardless of how wide the wall is.
I think if I had tried to break up these wider areas into smaller rectangles, it would have looked too busy. I’m aiming for colorful but calm, not busy.
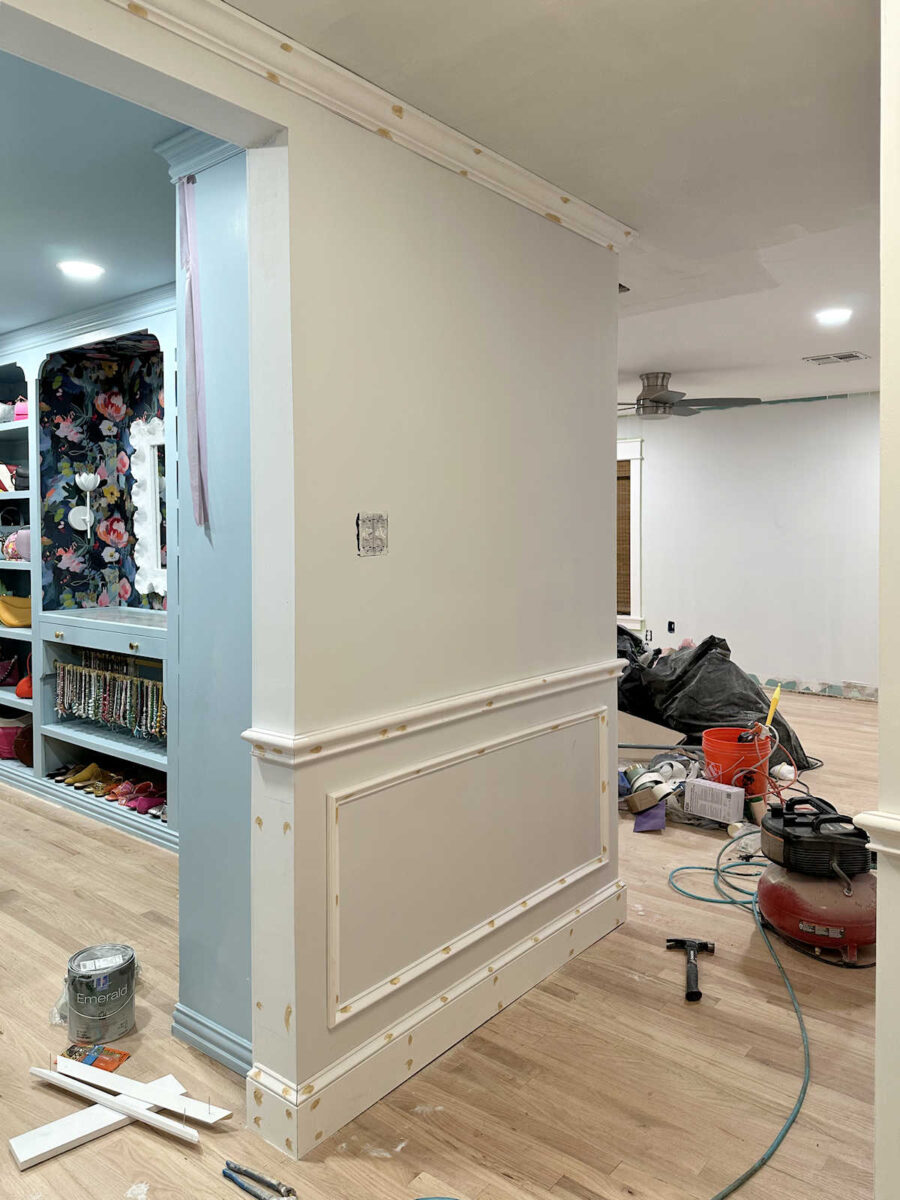
And, of course, it always has to go through this stage where it looks like the molding has chicken pox with all of the nail holes filled with wood filler.
A lot of people use caulk for the nail holes, and that’s a perfectly fine option. It’s also much faster and easier. The reason I do wood filler instead is because I find that caulk shrinks a little bit as it dries and leaves slightly detectable divots where each nail is. I like that I have more control over wood filler because, while it shrinks also, I can build it up a bit to account for the shrinkage and then sand it perfectly smooth.
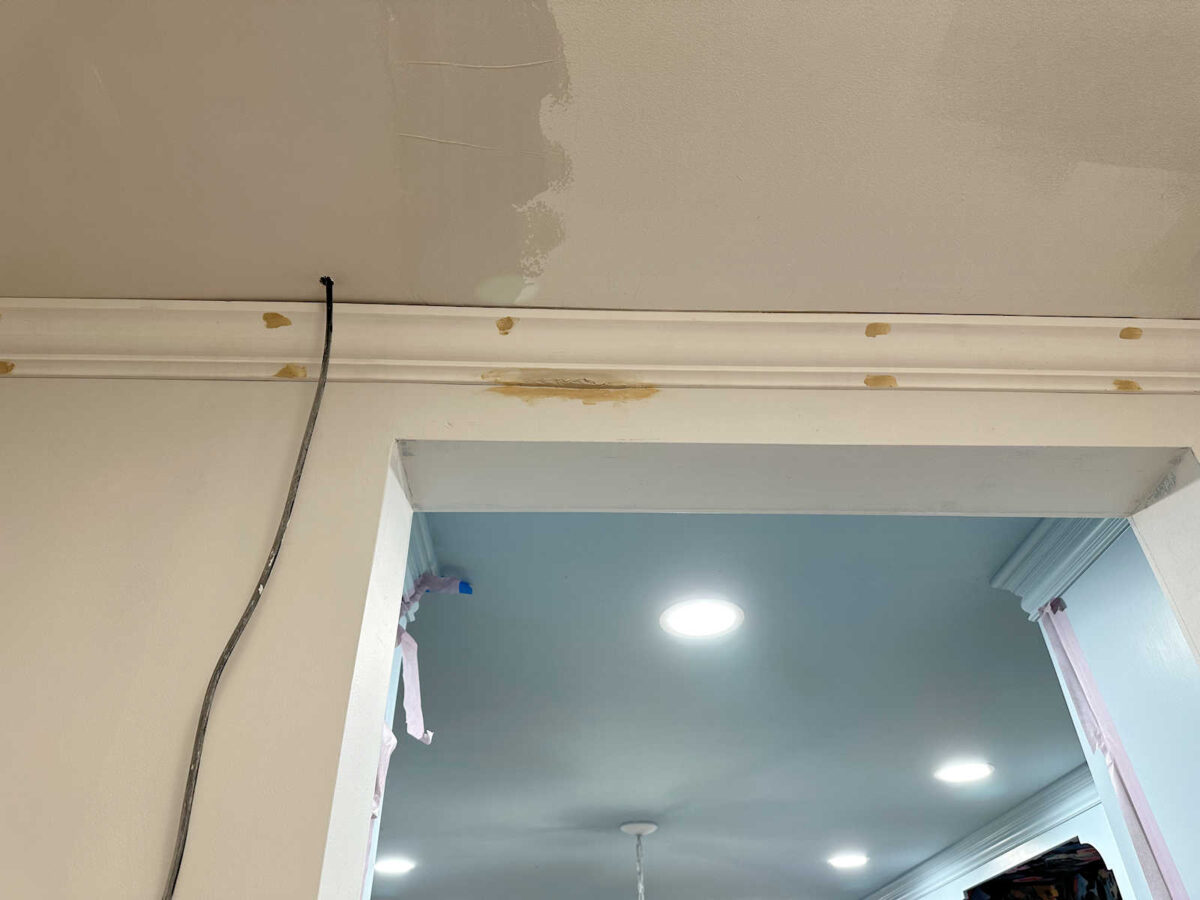
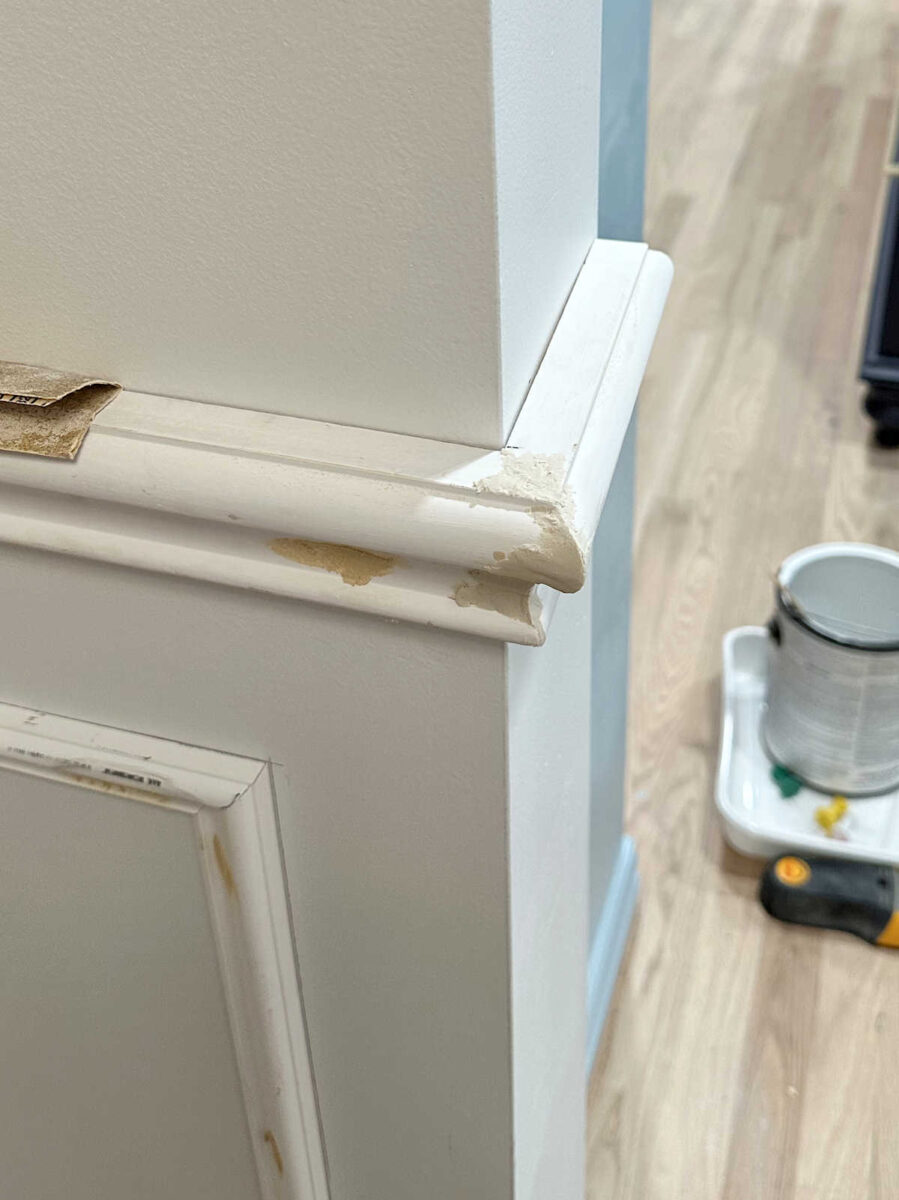
On this trim, I ran into two problems. First, when I got out the longest piece of crown molding for the foyer, I noticed that somehow a large chunk of it had been broken off. That had to have happened in transport because there’s no way I would have missed that in the store. It was about five or six inches long, and about half an inch into the crown molding at its deepest point. I didn’t want to discard that piece because trim isn’t cheap, and I couldn’t cut that section out because then I wouldn’t have had enough crown molding to finish the foyer. So I decided to go with it and find a way to repair it.
I could kick myself for not taking a picture of it before trying to repair it, but you can see here that I started off trying to fill it with wood filler. It was a mess.
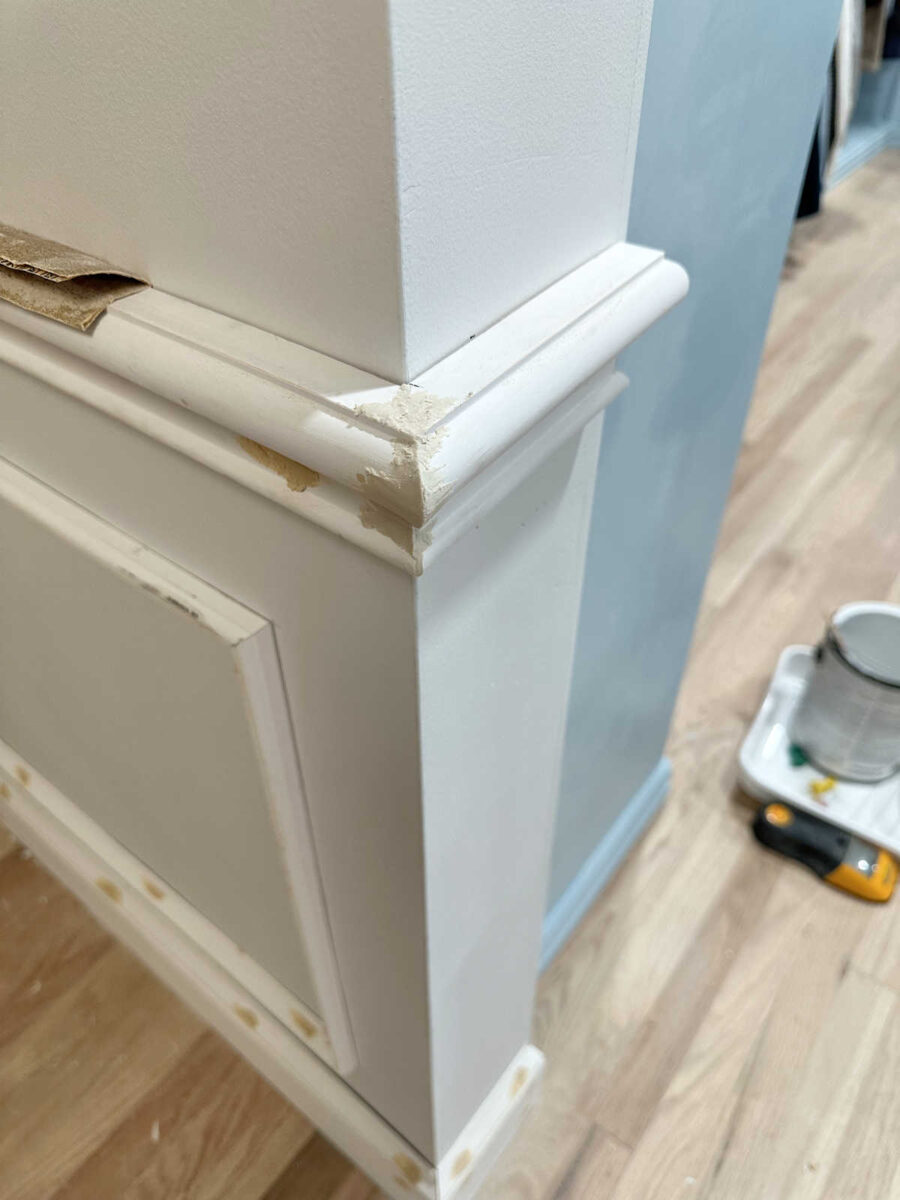
The other problem I had was with the chair rail on the right of the doorway into the walk-in closet. Again, I forgot to take a picture of the before, so I tried to recreate what I was working with using these scraps. The reason it didn’t come together is because that door jamb is obviously not square, so my pieces that were cut at perfect 45-degree angles didn’t meet. And this one was bad, but I was still confident that I could disguise it somehow. It looked something like this…
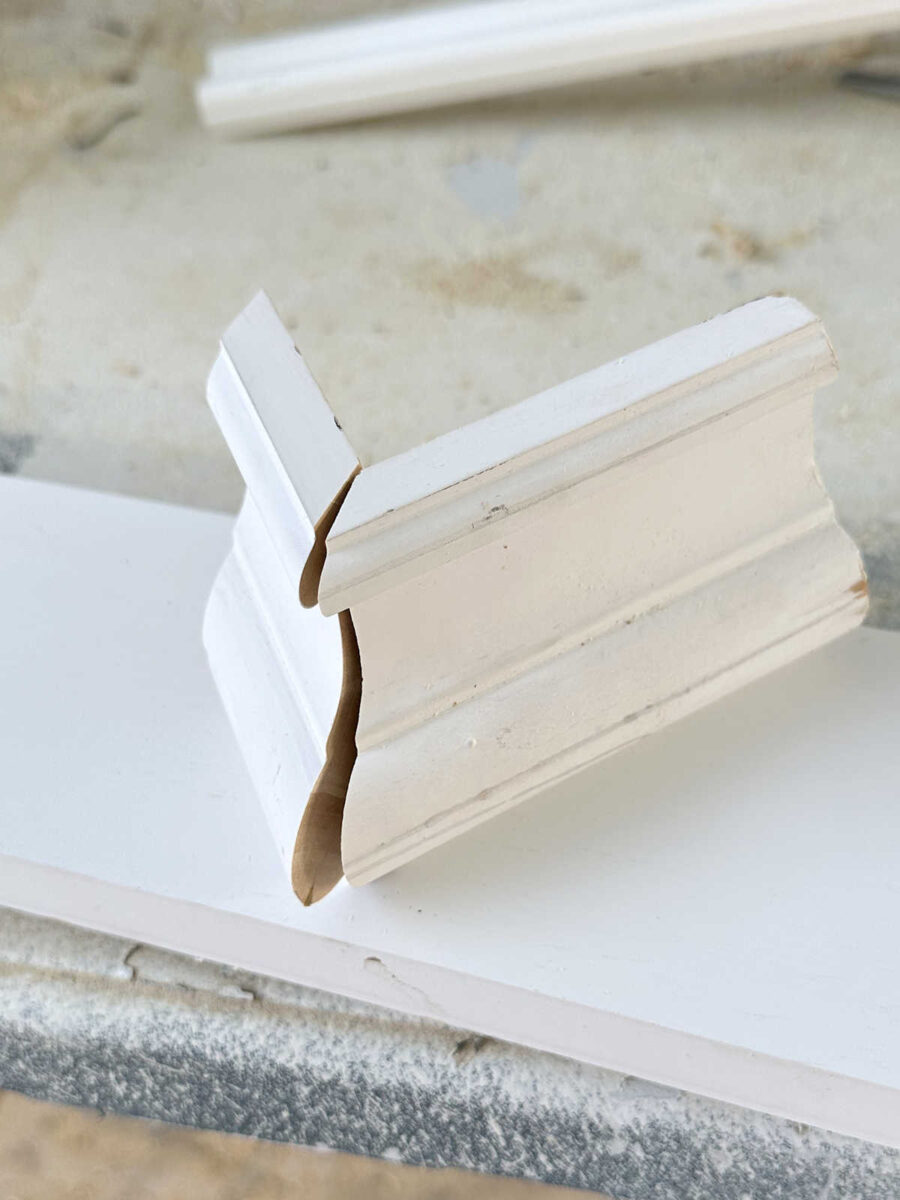
So as I was trying to fix the crown molding with wood filler, I thought to myself, “I just wish I had something that was less wet and more moldable.” And then it dawned on me. I DO! I just made a chandelier out of a product just like that! Air dry clay fit the bill! I wasn’t sure that it would work, but I decided to give it a try. I pushed it into the crack and then molding it as much as I could with wet fingers, but I wasn’t trying to make it look perfect at this point because air dry clay sands beautifully. Here’s what it looked like when I left it to dry overnight.
Here’s another look. You can see that it’s definitely not perfect. Just like I do with wood filler, I wanted to build it up a bit to allow for shrinkage as it dried.
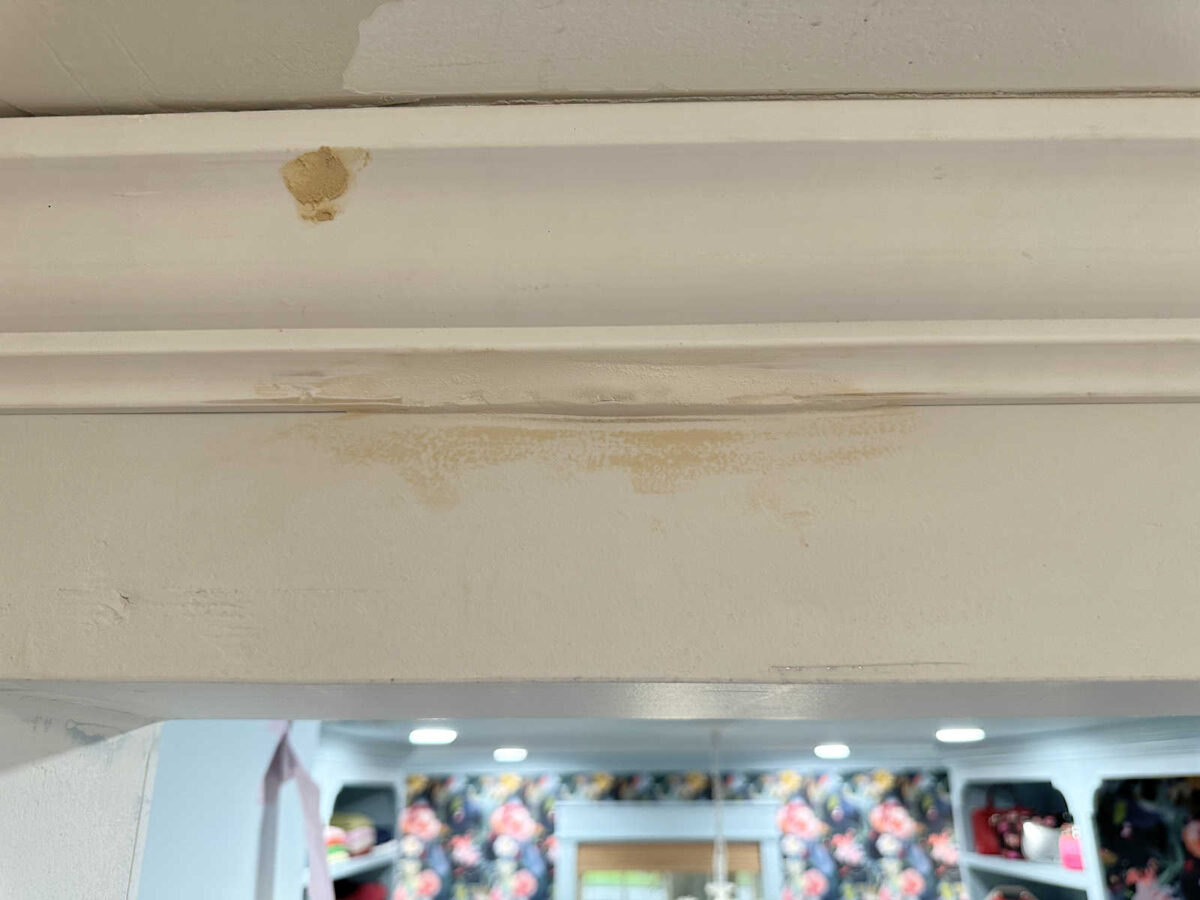
And then this morning, I sanded the dried air dry clay. Just look at this!
Y’all!!! I can’t even believe how good that turned out!! Air dry clay is my new secret weapon for near-perfect trim. Oh, I so wish I had taken a picture of this before I filled it in. You would be even more amazed. You’ll just have to trust me when I say that the gap on the trim at the very furthest point from the wall was maybe as big as 1/4-inch, but certainly no smaller than 3/16-inch.
So I dug out the wood filler that I had used to try to repair the crown molding, and I replaced it with air dry clay as well. This one was much deeper than the one on the chair rail, so as I started sanding it this morning, I realized that it’s not completely dry yet. It’ll need another day before I can sand it perfectly smooth, so it’s still looking a bit rough. But once it’s completely dry and sanded smooth, you’ll never know that there was a big 5-inch-long, 1/2-inch deep chunk of trim ripped off of this crown molding.
I wish I had discovered this years ago. I’m not a finish carpenter, so my trim is always imperfect, and I’m always having to fill in cracks and joints with wood filler. But no more! My product of choice for this from now on will be air dry clay. It takes a little longer to dry than wood filler, but it’s so much easier to mold, and it’s also a little bit easier to sand than wood filler. I’m sure I’ll have many more uses for it once I start installing the trim in the bedroom, so I’ll be sure to get before pictures when I use it again.
More About Our Bedroom Suite Foyer
see all Bedroom Suite
Foyer diy projects
read all Bedroom Suite
Foyer blog posts

Addicted 2 Decorating is where I share my DIY and decorating journey as I remodel and decorate the 1948 fixer upper that my husband, Matt, and I bought in 2013. Matt has M.S. and is unable to do physical work, so I do the majority of the work on the house by myself. You can learn more about me here.

What does Matt think about all your work and ideas?
Matt never has any opinions before I do the work (as in, he’s fine with whatever I decide to do), and he’s always very impressed with the finished product and amazed at the work I do. 😊
Matt is the perfect husband! He used to comment in here some and you could just see what a good egg he is. I believe he even said his only condition was no pink walls and pretty much has walked even that back. Cheers for Matt! We wouldn’t have the Kristi we do without his support!!
I kept wondering, since you dont use wood putty real often, how in the world do you keep it from drying out between uses? I’ve even poured like 1/4 inch of water on top in the tub before sealing it up. Every single time I want to putty something to paint the putty is all dried out, then I have to remember to get more, which will then dry out too sigh. Your trim work looks great. I like mine to be as near perfect as possible too.
Marion, try a product called “Durham’s Rock Hard Water Putty”. It’s basically a powdered wood filler. You just mix however much you need with water when you’re ready to use it. I get it at Home Depot next to the drywall spackle and plaster of Paris; for whatever reason, it’s not with the other wood fillers, at least not in my store. I love this because I no longer waste tubs of wood filler; I just mix up what I need and save the rest. In its powdered form, it lasts forever! You’re welcome. 😀
Thank you!!!
Marion, I’m not positive this will work, but it works on a lot of other products that need to be stored – turn it upside down when storing! this also works on paint; it makes it easier to stir when you open it, and prevents getting a “skin” on the surface.
I love how the chair rail, picture and crown moulding look! Could you please tell me how hard the clay is after it dries? Would it resist chipping and cracking? I’m asking because I bought an antique desk with a decorative carved piece at the top of one of the legs missing. I could remove the other carved pieces and no one would be the wiser but I love the detail they add and would like to recreate one to replace the missing piece. I have seen videos online about using silicone molding material to make a mold and then filling it with wood filler. I am now wondering how the clay would work out. Thank you for any info you can give me!
I’m actually pretty amazed at how hard air dry clay dries. It might be worth trying first, and then if it doesn’t work, you could use the silicone. I think the clay might be easier to use, but if it’s in an area where it might be hit or kicked, there’s a good chance it might break. But it might be worth a try!
Thank you for your reply! I was thinking of a two part silicone mold making putty that I’d fill with wood putty, resin or fiberglass. I was wondering if the clay might work well in the silicone mold.
Can you send a picture of the air dry clay brand? I think I remember you tried one brand before settling on the one you use now.
Thanks and as always beautiful work.
This is the one I used: https://www.michaels.com/product/creative-paperclay-white-modeling-material-D589150S
I am continually amazed at your solutions that fit your needs so perfectly.
I’ll say it again; you are a GENIUS!!! I too have the blessings of an out of whack house. My husband loved your picture frame molding and has given me the green light to go forward with my plans of giving the house some gracious character. I just got a new air nailer and I am chomping at the bit. Your experiment with the air clay is brilliant. Most of our walls will take just one panel, but some in our master bedroom will take two or three, since the room is almost a perfect square, I think I have the plan for the symmetry of the panels. I will be curious to see how the air clay dries over time and if there is any downside to it. Thanks again for all of your ingenuity and creativity, you inspire so many of us to take that leap of faith.
Cheers to you, Matt, and the Fur Team!
Can you please let us know which air dry clay you used? Thank you!
Yes, it’s called Paperclay. I bought it at Michael’s.
The clay is a genius solution! How sturdy is it if something bangs into it? The molding is looking really nice, and I think I can speak for all your readers when I say it’s great to hear that your hand is so much better.
I’ve actually been surprised at how hard it dries. I think it’ll be fine, especially because Matt won’t be going in there. I don’t tend to bump into walls, but he does. 😀
Ohh, I am so impressed with the work you did on the chair rails, etc. I too have noticed that nail holes that had been caulked never look smooth. I’m picky with prep work. I blame the caulked holes on previous owners. Right now I am using plastic wood. It dries pretty fast though. What do you use? A link on your blog wouldn’t hurt!
I’ll remember the air dry clay trick. I have just the spot for it.
That’s what I use as well. It’s good stuff!
Can I ask you a question about crown moulding? I want to install it in my LR, DR, hallway and master bedroom and bath. But here in Alberta, Canada it will cost $4 a foot.
But, does it really make a difference if I used crown moulding, or if I used baseboard moulding? At $0.62 a foot, you can understand the temptation!
Writing this out, I think I should just go buy a length of each and then hang them up to see how each looks and take it from there. But I did want to ask your opinion, because I love the look of all your moulding and the work you do!
Thanks, Kristi!
You are an inspiration!
I’ve never used baseboard on its own, but I have used baseboard along with very small crown molding, which is much cheaper than the big crown molding. In fact, I used the baseboard/small crown molding combo in the walk-in closet, as well as the top of the cabinets in my studio.
Thanks for the great idea, Kristi! I’ll keep you posted as I go along!
Thanks for the air clay tip. I’ve always looked for substitutions when something I wanted was too expensive. When the plastic T-squares came out for quilting, I saw the usefulness but couldn’t stomach the $40 price tag. Walking thru Lowe’s, I spotted a T-sq that the Sheetrock people use for $11! One went home with me! Then, a couple years later, when I found another one that would swivel so you could cut angles in Sheetrock, one of those came home with me too. Guess I’m gonna need some air clay now!
It really kills me that women get ripped off like that of your T-square finding! Because we are usually the quilter (though men do quilt!) we should pay an inflated price for basically the same product! Good on you finding two that work the same as the costly ones! I hope you share that with the other ladies who quilt!
You may not be a finish carpenter, but you’re one heck of a problem solver!
Brilliant work, Kristi. Glad, too, that all’s well with your hand. Be carefull on those steps in the future.
Glad your hand is healed. Your clay idea really worked. Good job.
This is a great tip and I’ll be replaceing baseboards soon and can’t wait to give it a try. I currently use Durham’s Water Putty as filler but I’ll have go with the air dry clay.
Can you provide links to the moulding that you used? Thanks so much!
I was wondering the same ☺️