J & A Kitchen/Family Room:: Painting, Upholstering, and Cursing a Tree
Yesterday was a beautiful day for working outside…or so I thought.
I was working at John & Alice’s house, so I got my paint, my brush, and the lower kitchen cabinet doors, dragged everything outside, and got set up for an afternoon of painting.
It really seemed like a great idea. It wasn’t. Why? Because of this monster…

We’ve had some very windy days lately, and yesterday was no exception. With each gust of wind, these little things would fall onto the freshly painted cabinet door.
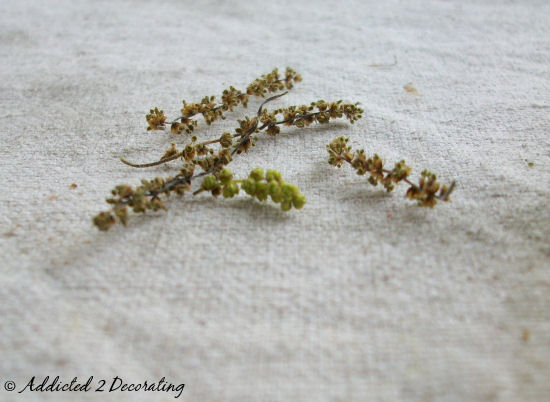
FRUS..TRA…TING!!! Yeah…the lesson here is don’t paint under a tree in Texas in the spring. You’ll wanna write that one down. 🙂 Picking out tree droppings from oil-based paint is NOT a fun task.
But I did make some headway…
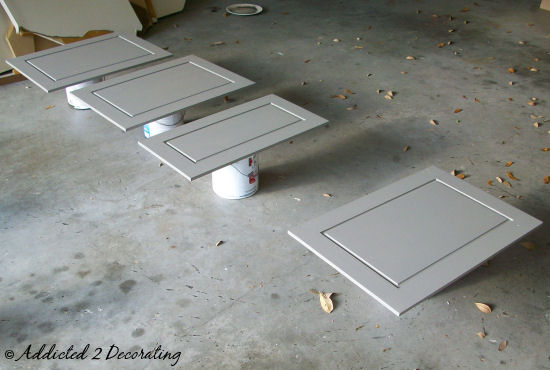
The more I look at it, the more I love this gray color. It’s Elephant Skin by Behr, and it’s just taupe-y enough so that it’s not a really cold gray. Outside in the garage it looks so light, but it looks a bit darker inside. Lighting is everything!!
Anywho…let’s move on to the Great Wall. The last time you saw it, it looked something like this…

From the first time I saw that wall, I knew I wanted to do something special with those panels. Wallpaper? Nope…I did wallpaper in the bedroom. Special paint treatment? That idea didn’t really do anything for me. But FABRIC…now that intrigued me! And then I came across this picture over on Cote de Texas…
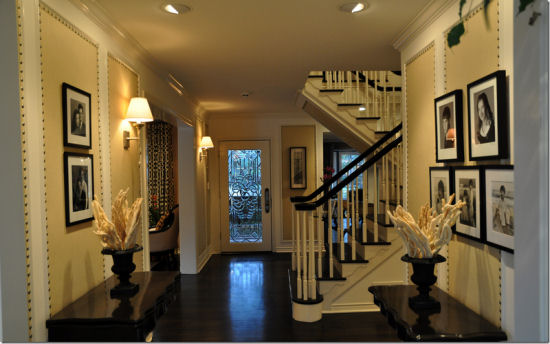
Fabric and nailheads…a winning combination! Oh, I knew it would be a huge…major…MASSIVE job, but after getting some nailhead practice on my own headboard, I knew I could do it.
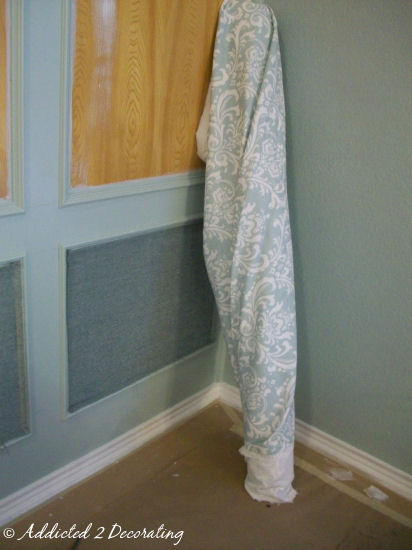
Well now the wall has been painted (mostly), and the upholstery on the panels has begun! I’m using a beautiful chenille fabric that I found at JoAnn Fabrics (part of the Christopher Lowell collection).
Let me tell you, this fabric has been quite interesting. It has a nap to it, which means that depending on the direction, the appearance changes a bit. When I first brought it into the room, I freaked out a bit because it looked too green. Then I got it on the wall, and it looked really blue. Then I looked at it from a different angle, and it matched the wall color perfectly!!
Anyway, here’s a glimpse of the progress.
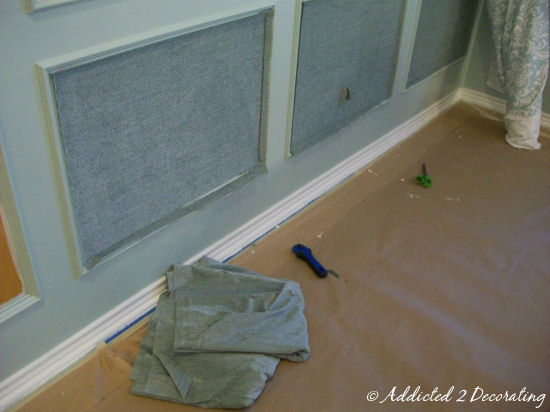
See the subtle texture? I love this fabric! But you can see in the photo above that the fabric on the floor looks greener than the wall, while the fabric on the wall looks bluer than the wall. Interesting, huh?!

It’s a bit distracting still seeing the orange wood color, but I think you can probably imagine what it’ll look like, right? And see in the photo above how blue the fabric looks? Now look at it from the other direction…
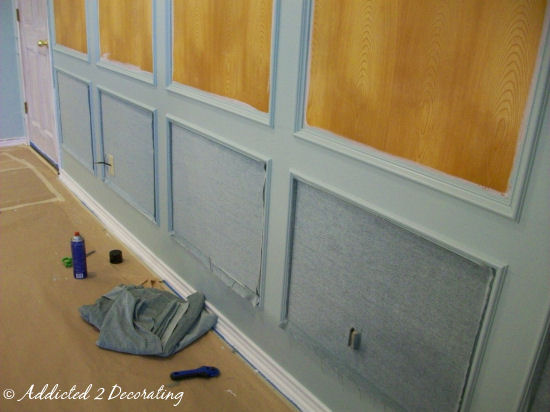
Isn’t that interesting?! It looks almost identical to the wall color from that direction!
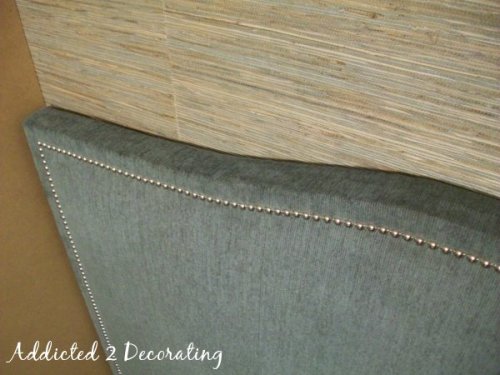
So I mentioned a nailhead trim, and here’s how far I got on that…
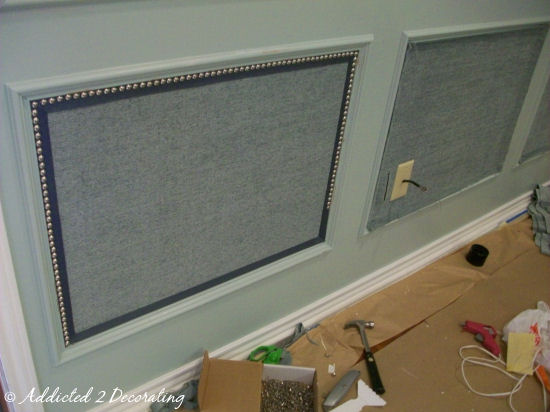
As you can see, I also added a gray trim (actually called Pewter) to tie in with the gray kitchen cabinets. That’s gonna be one heckuva job!!! It’ll be about the equivalent of making seven headboards like mine.
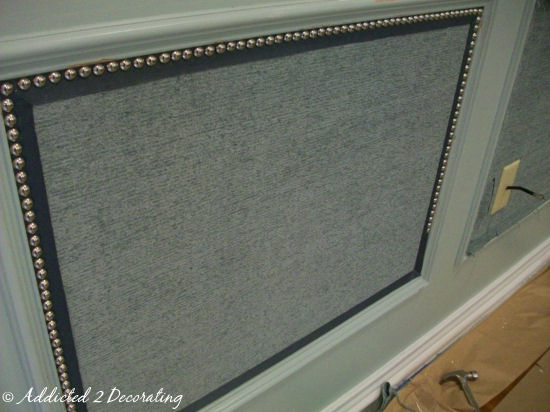
By the way…I know if I don’t mention this, then at least one person will ask. I do know that there are nailhead trim strips, and I do know that they’re tons easier and much quicker to use. But the simple fact is that I don’t like the way they look. Yes, I’m a nailhead trim snob. 🙂
When I was trying to decide what to do on my headboard, I did a bit of research online, looking at different headboard shapes and nailhead configurations. I could always tell which ones used the nailhead strips because about every seven nailheads, the color was slightly different. That would absolutely drive me crazy. Soooo…I’ll take the extra time and nail in each individual nailhead by hand. All 3,020 or so.
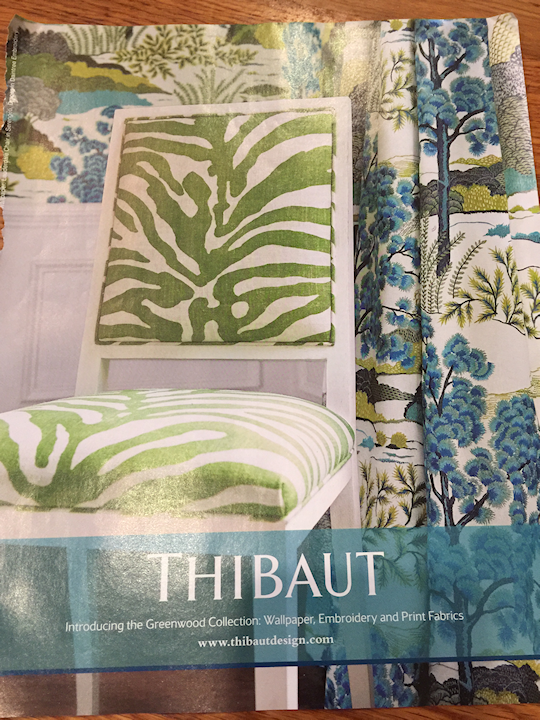
And just for fun, here’s a peek at both fabrics (the damask is for the draperies) with the wall color. Isn’t that pretty?!
But one thing I DON’T want is for these rooms to end up feeling cold with all of these blues and grays, so the butcherblock countertops, the brown leather sofa, and other natural elements will go a long way towards making the room feel cozy.
Wow…there’s soooooo much to do!! I could so easily get overwhelmed, but I try not to go there. If I just chip away a bit at a time, it’ll get done.

Addicted 2 Decorating is where I share my DIY and decorating journey as I remodel and decorate the 1948 fixer upper that my husband, Matt, and I bought in 2013. Matt has M.S. and is unable to do physical work, so I do the majority of the work on the house by myself. You can learn more about me here.
I LOVE LOVE LOVE the idea of fabric and nailheads. Once we reclaim our dining room from the kids (it's currently their playroom), this is something I going to do. Love it!!!!
I can't wait to see how this turns out. I love the fabrics and colors!
Absolutely FABULOUS!
This looks very sharp! Love the nail heads and the colors you have chosen.
Looking forward to the final reveal, keep at it, I see progress and light at the end of the tunnel.
~Pam
pamspaintparlor.typepad.com
oh my gosh Kristi! I am SO IN LOVE with what you're doing here! Geez, where DO you come up with all this? I seriously love the fabric/nailhead thing on the wall!!!
Love the blues and grays. This is a fantastic idea.. Can't wait to see the after pictures! Hate the tree but you must be loving the start of spring in Texas. We've had such a cold snowy winter. It's lovely to get the kids out in the yard without 3 layers of clothing!
Girl,m that is going to be aaammmaaazing!
I can't wait to see this finished!! It's going to be a stunner!
I feel a bit boring because all I have to say every day when I read your posts is, "Wow". The wall looks great, and the fabric, especially when you see it with the drapery fabric, is lovely.
The kitchen in your later post is my dream kitchen. Love that green!
WOW, I love it…. now I could def live with those colors. I was going to get with a VERY light blue in my bedroom (currently mom's bedroom) but now that I had my living room, kitchen and stairwell painted "DUST BUNNY" I am LOVING the deeper color to warm up the place. Oh I still want blue in the bedroom but lemme tell you it will be a warmer richer blue… FORGET the Elusive Blue…..
Be happy you weren't working in our yard yesterday. We have huge branches lying all over the yard from the monstrous winds. Forget the paint, you'd have likely gotten conked on the head and ended up in the ER!
What an awesome idea!!
And I hear you on the painting the cabinets. I had a little bug take a dive in my wet paint! I was trying to save the poor li'l bugger while he's making swim marks in my paint, and I'm trying not to squish him or mess up the paint too badly.
I'm not sure if he survived, but I did manage to get him out of the paint and fix up the unevenness. 🙂
I got homesick looking at those pecan blooms.
Kristi, this looks so stylish! I really can't wait to see the finished area. The nailheads (you set a high standard, girl 🙂 ) look even better with the trim–all these extra details spell designer to me!
Sindy
fabulous!!! I think I've said it a million times but your ideas that you come up with constantly amaze me. I love this look and the colors!
I ordered the same fabric for my living room curtaings. Can't wait to get it and get started.
Brandy
The fabric on the wall with the nailheads looks fantastic! Great job! I love the damask that you've chosen for the drapes. I'm actually planning on trying to find an almost identical fabric for the drapes in my living room! 🙂
Stunning idea to work with blues and grays. I can’t stay behind to see this finished
The wall and fabrics looks fabulous and the colors are looking amazing, You really did a great job.
The fabric on the wall with the nailheads looks fantastic! Great job! I love the damask that you've chosen for the drapes. I'm actually planning on trying to find an almost identical fabric for the drapes in my living room! 🙂
Absolutely FABULOUS!
I LOVE LOVE LOVE the idea of fabric and nailheads. Once we reclaim our dining room from the kids (it's currently their playroom), this is something I going to do. Love it!!!!
Wow! What a great idea! The wall fabric and nailheads look amazing!
Awesome!! I would like to thank you for the efforts you have made in writing this article and i am hoping the same best work from you in the future as well.
What an amazing
transformation! Your colour palette, textures and overall feel are an
inspiration for my home. Great job!
Joseph @ Kitchen Benchtops