
Progress On Front Porch & Front Exterior Projects
I didn’t do any major projects over the holiday weekend, but I did keep busy. I’ll tell you this, though. I’m about ready to wrap up these outdoor projects and get back to some indoor projects for a couple of months because it’s getting way too hot to spend my days outside! But I really want to get to a certain stopping point before I head back inside. I have a few more projects I want to finish up, and I want to do a little more cleanup outside because the front of our house is right on the cusp of looking so cute and clean, and I want to keep going until those few things are finished. And then I’ll come back in the fall and do more. Hopefully in the fall, I can actually get some planting beds sectioned off and get some plants in the ground. It’s way too hot to plant anything right now.
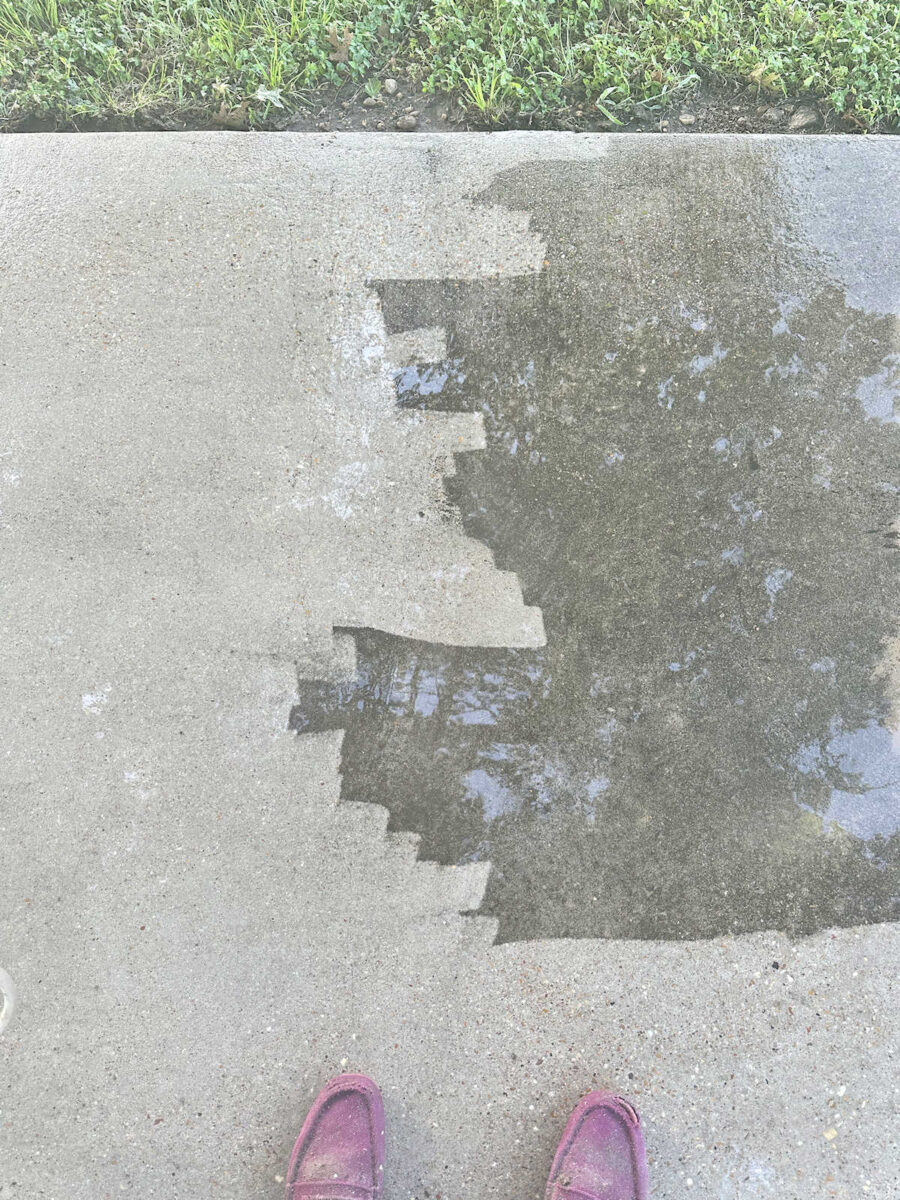
But anyway, here’s what I got done over the long holiday weekend. I got the front sidewalk pressure washed, and that alone made a huge difference. I hadn’t pressure washed our sidewalk in a few years, and it was looking really grimy and dirty.
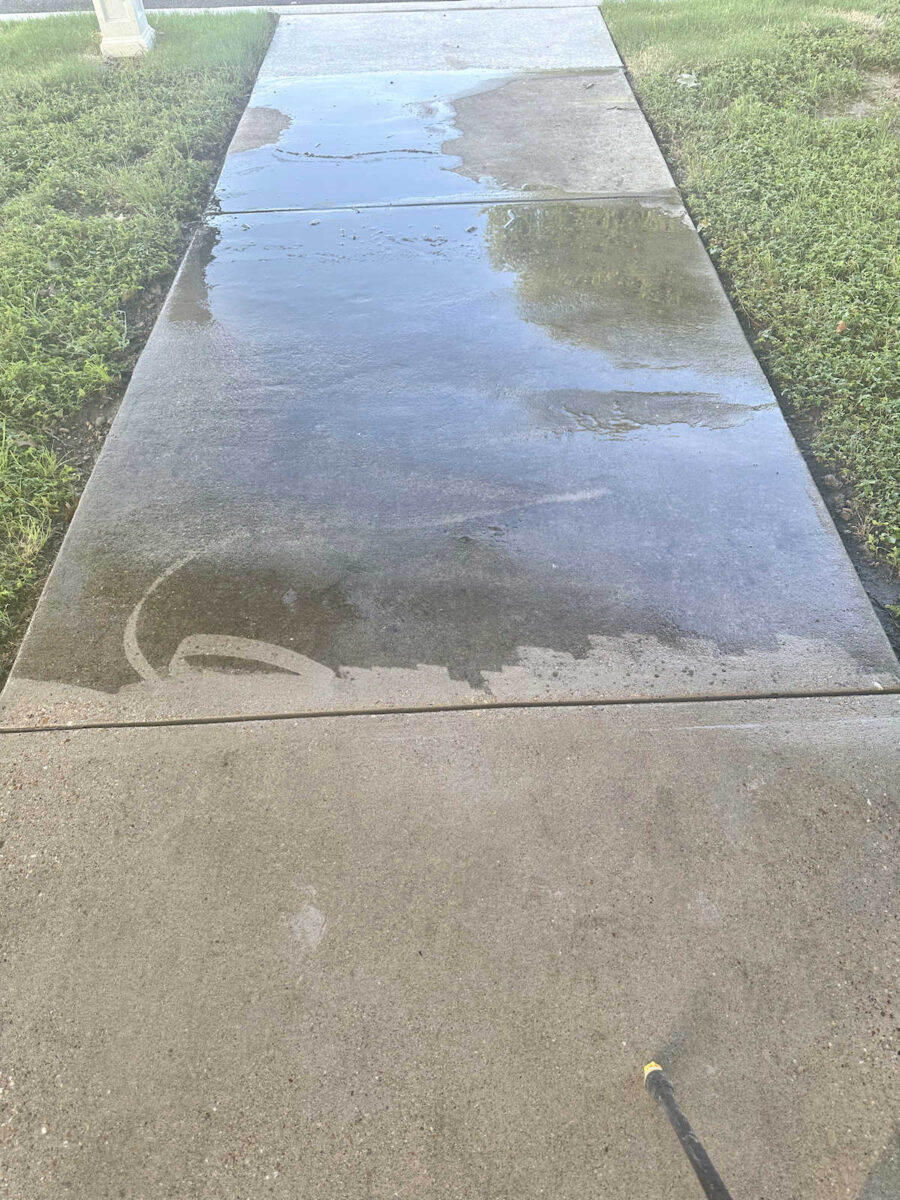
I couldn’t believe how dark and dirty it had gotten, and now it’s so fresh and clean.
And while I had the pressure washer out, I also wanted to try to do something about our new curbs. If you’ll remember, the city tore out all of the old, damaged curbs on our street and poured new curbs a few months ago. I’m really excited to have these new curbs, but I’ve been less than thrilled at the fact that they turned bright white.
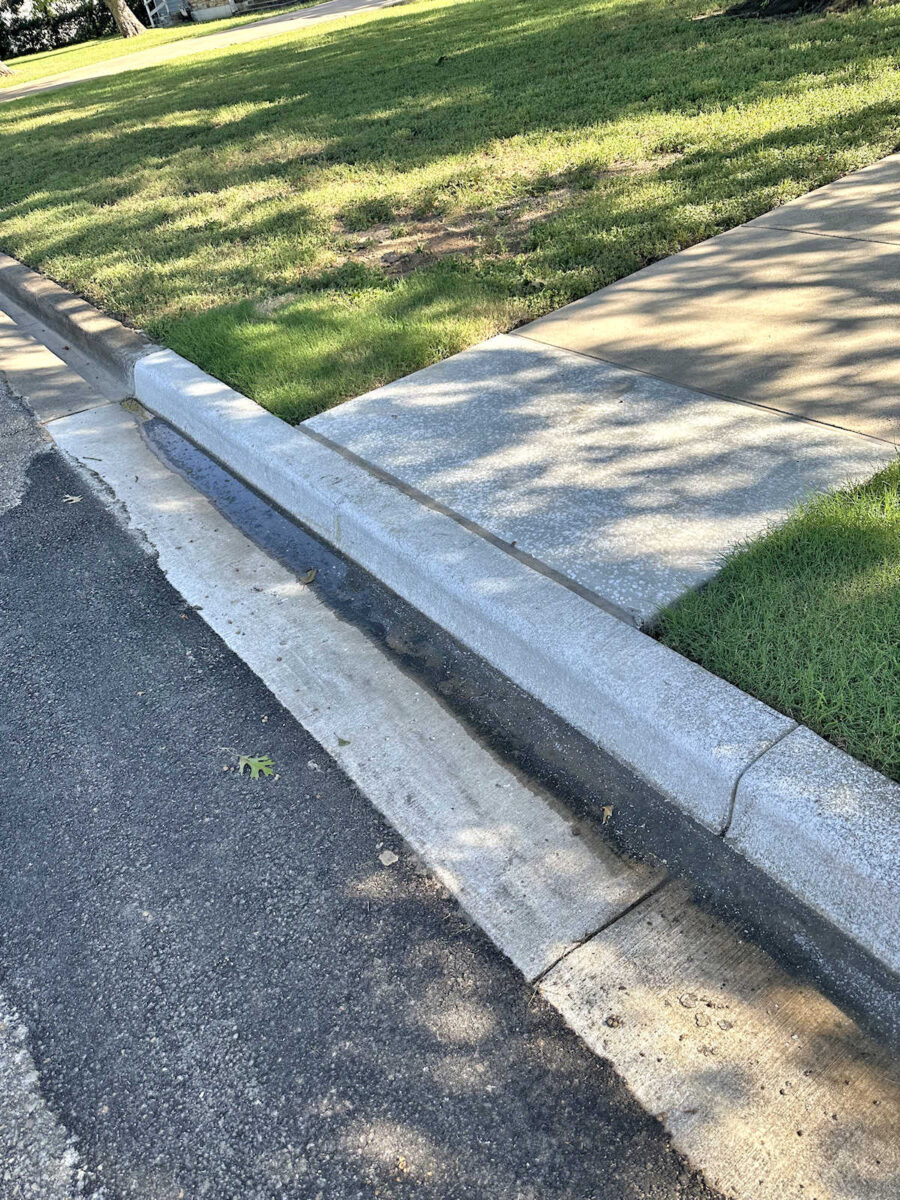
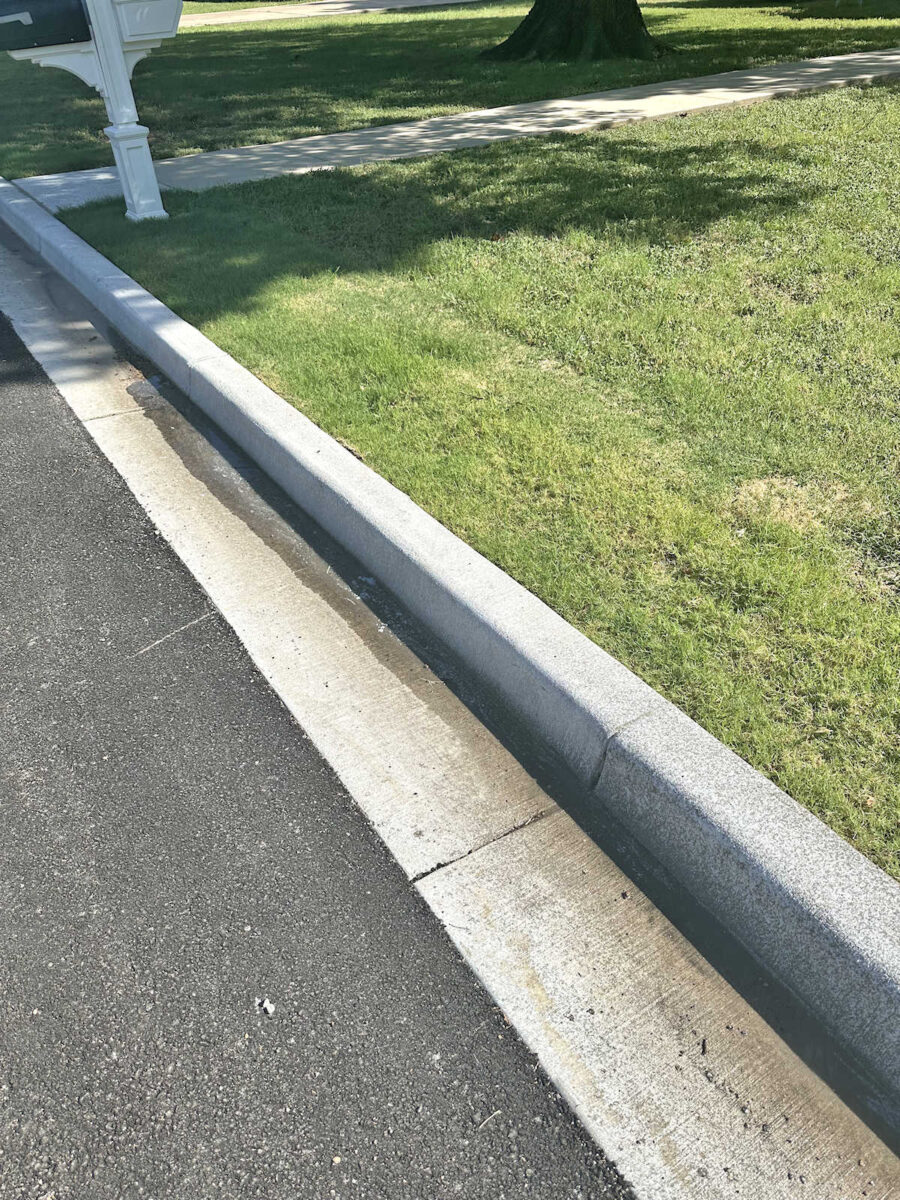
It wouldn’t have been so bad had they poured new curbs across the entire front of our house, but they didn’t. I have half new and half old, and I thought it looked really strange. So I pressure washed all of the curbs in front of our house, both old and new. The old ones cleaned up pretty well, and the new ones are now not quite so blindingly white. A lot of the white stuff (presumably salts from the curing process) washed off, but the concrete is still so bright. It looked great when it was wet, but once it dried, it was still really bright. I’d love to find a way to make it blend in better with the older (and now clean) concrete. But at least it’s better than it was. It’s still bright, but at least it won’t blind you when the sun hits it.
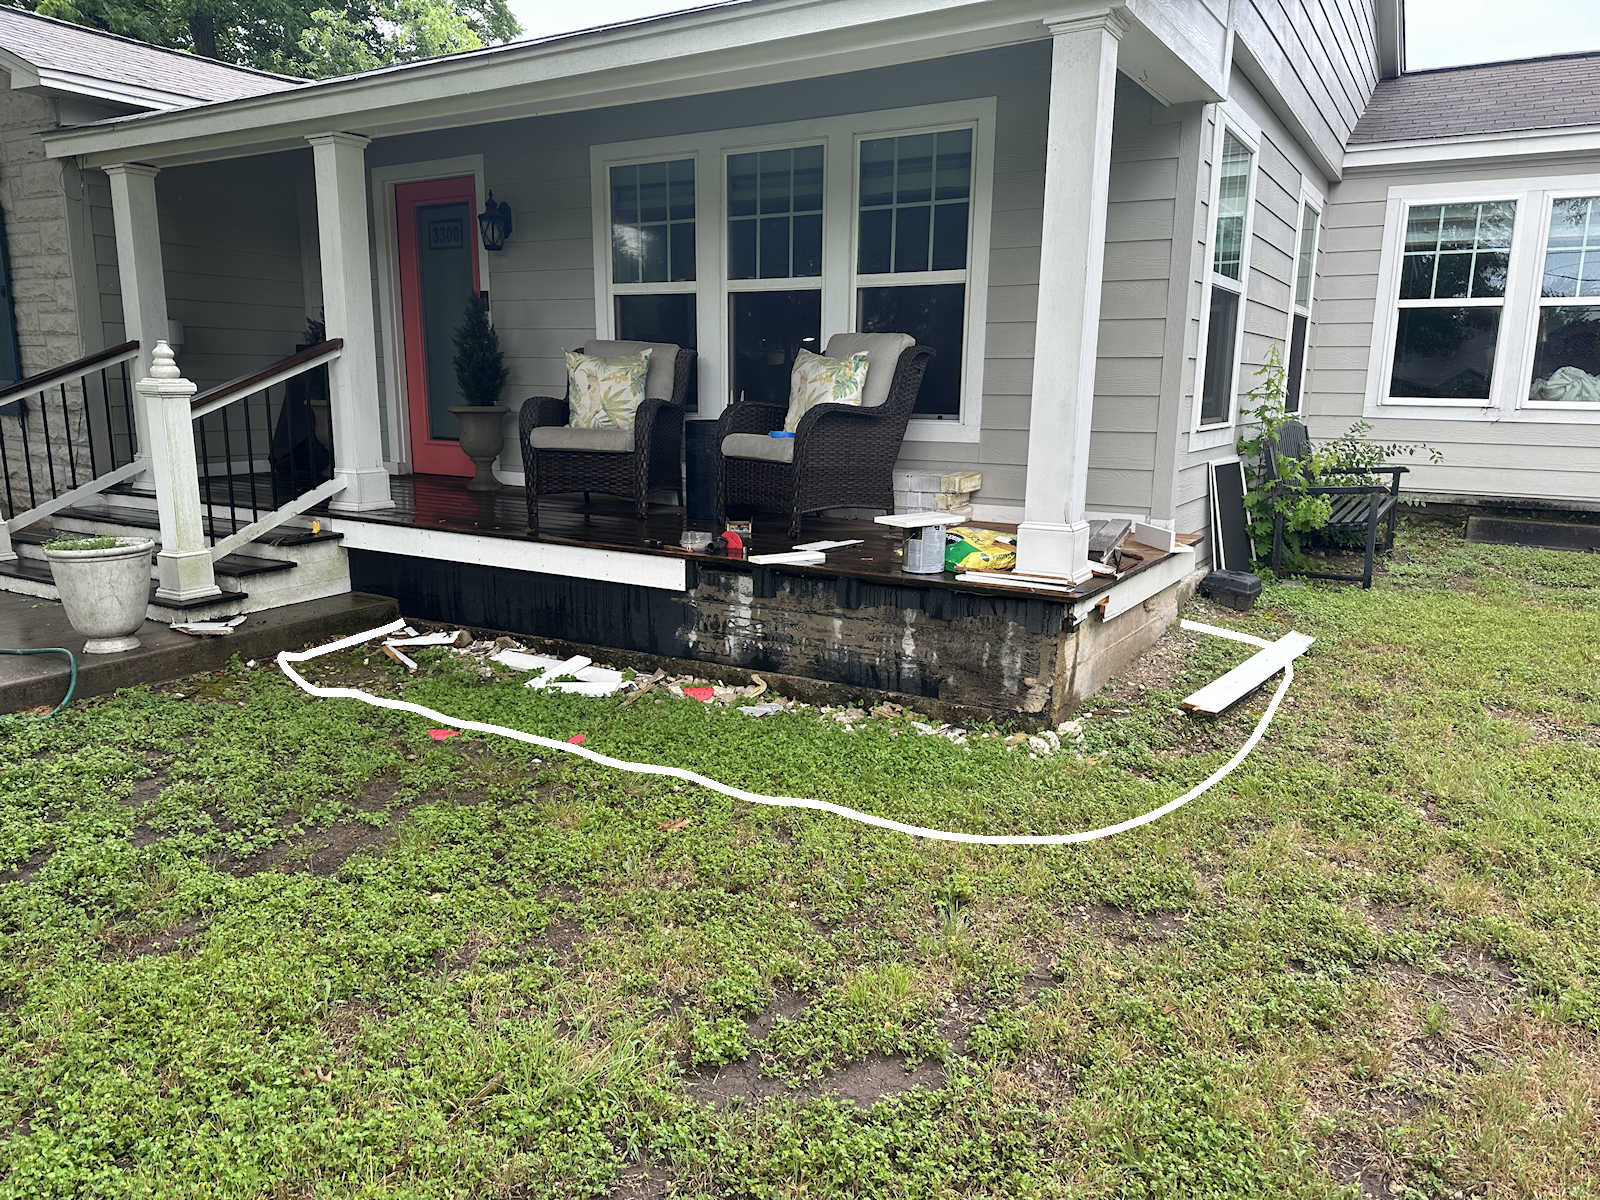
Next, I did quite a bit of cleanup. Y’all now that I’m a very messy DIYer, so when I finished my front porch skirting, the skirting looked great, but the rest of the area looked like a junk yard.
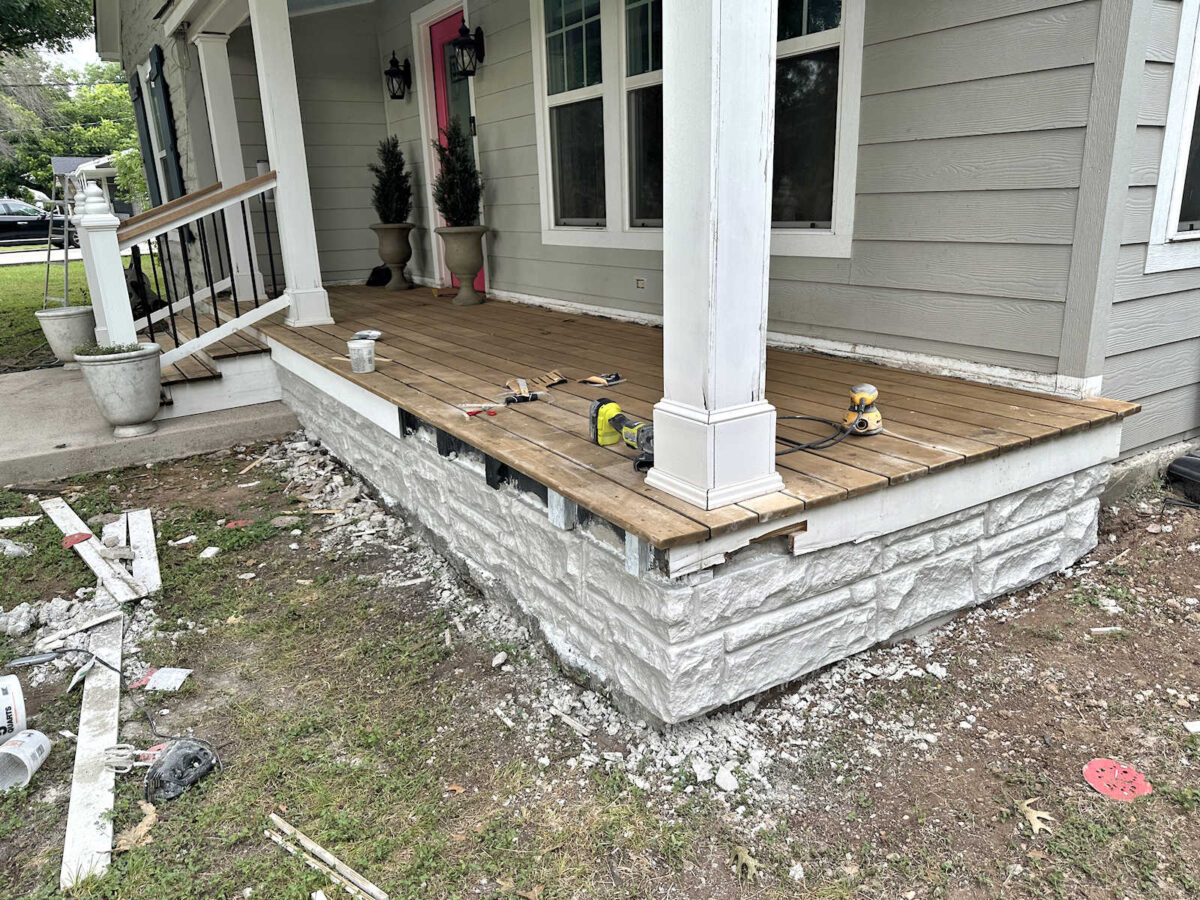
So I spent quite a bit of time getting all of that cleaned up. With everything pressure washed and the mess cleaned up, it was starting to look so good!
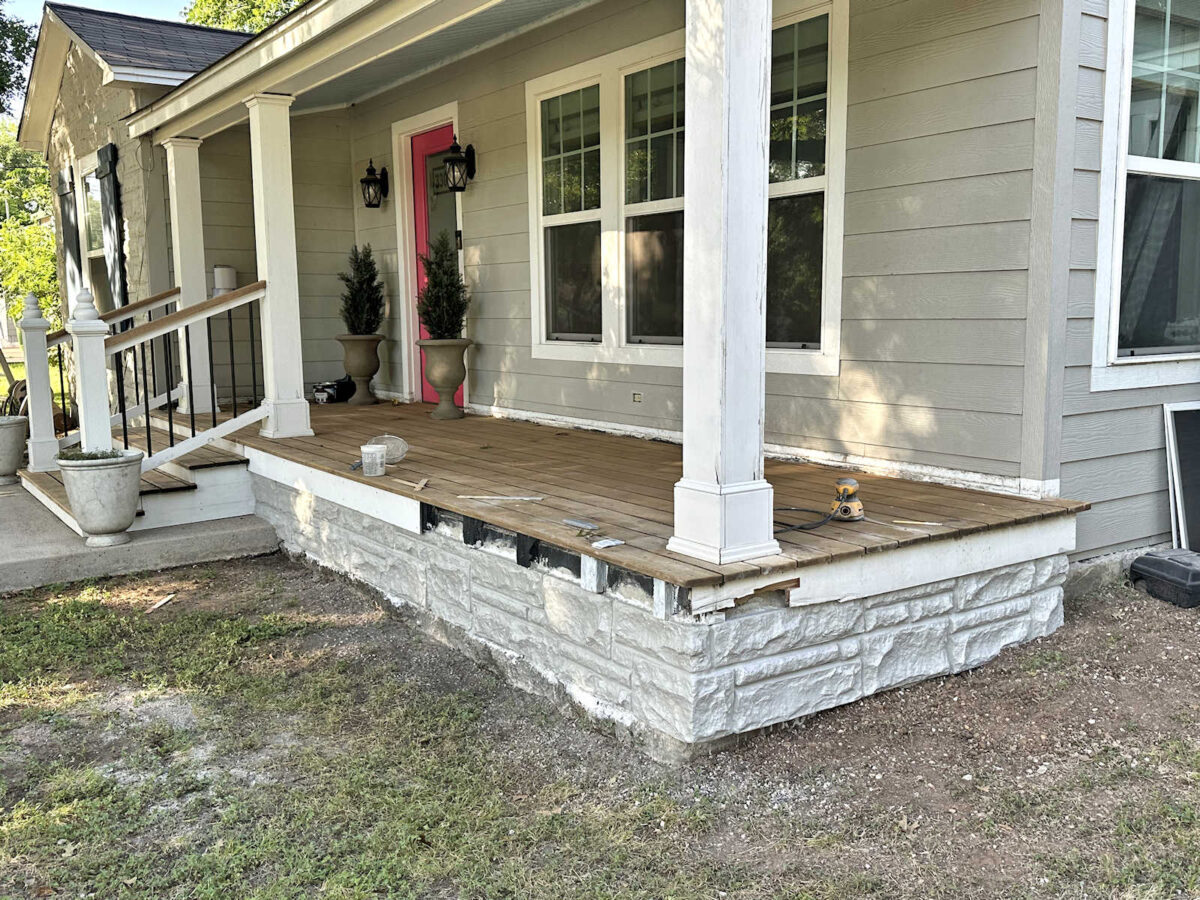
Next, I decided to get rid of the white where the siding meets the porch boards. Ever since I did the original porch makeover, that horizontal board has been white like a baseboard. And I’ve hated it. So I cleaned it up and painted it the same gray as the house. Unfortunately, it looks brighter than the house because the paint on the house has evidently gotten a bit darker over the years. I’m going to try to do a little paint mixing and see if I can get it closer in color, but at least the white is gone. I think it looks so much better gray.
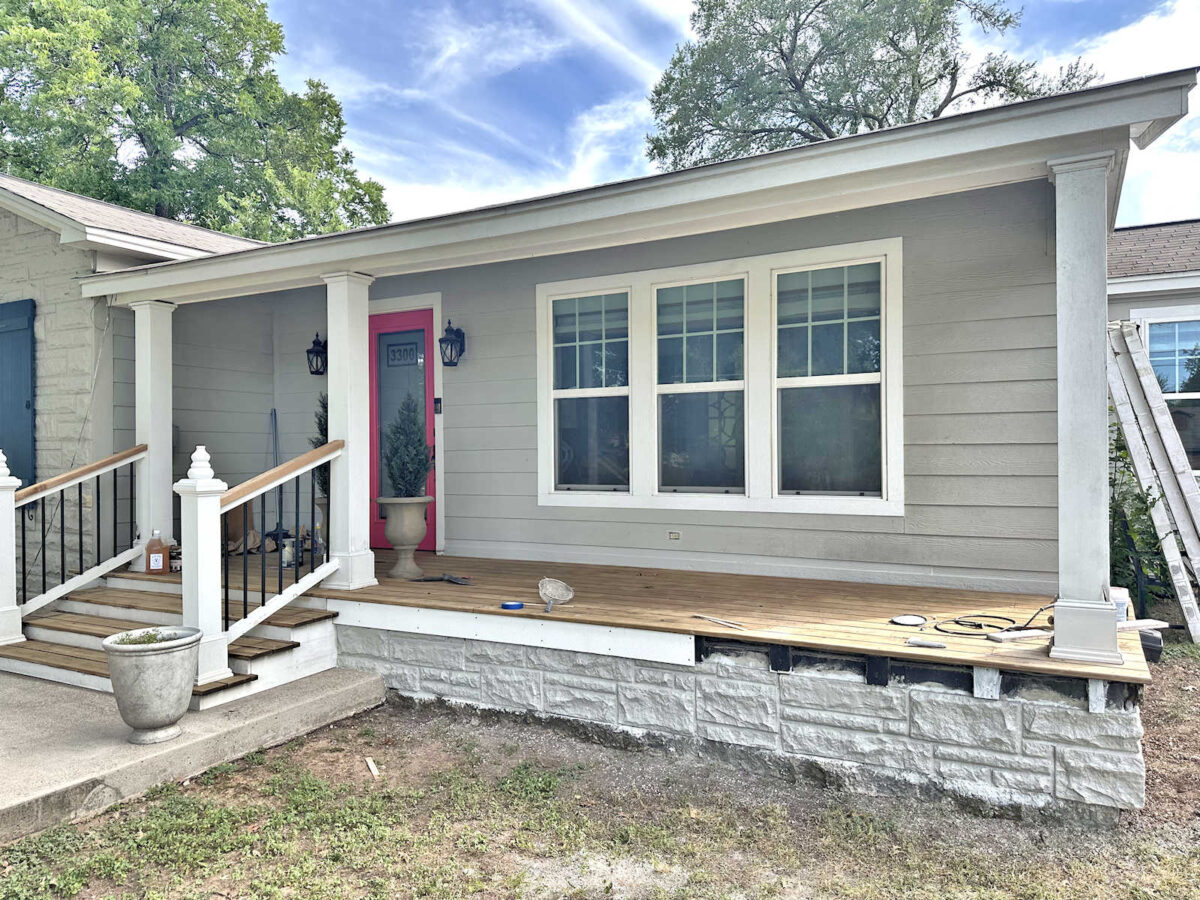
And then I finally tackled a project that has been nagging me for the last year, ever since I finished my walk-in closet. The vent for the dryer is on our front porch. It’s not ideal, but that’s just the way it had to be. But until now, it has been bright white, which of course, draws attention. You can see it in this photo between the two columns on the front steps. And it could also be seen as you’re walking up the front sidewalk to the house.
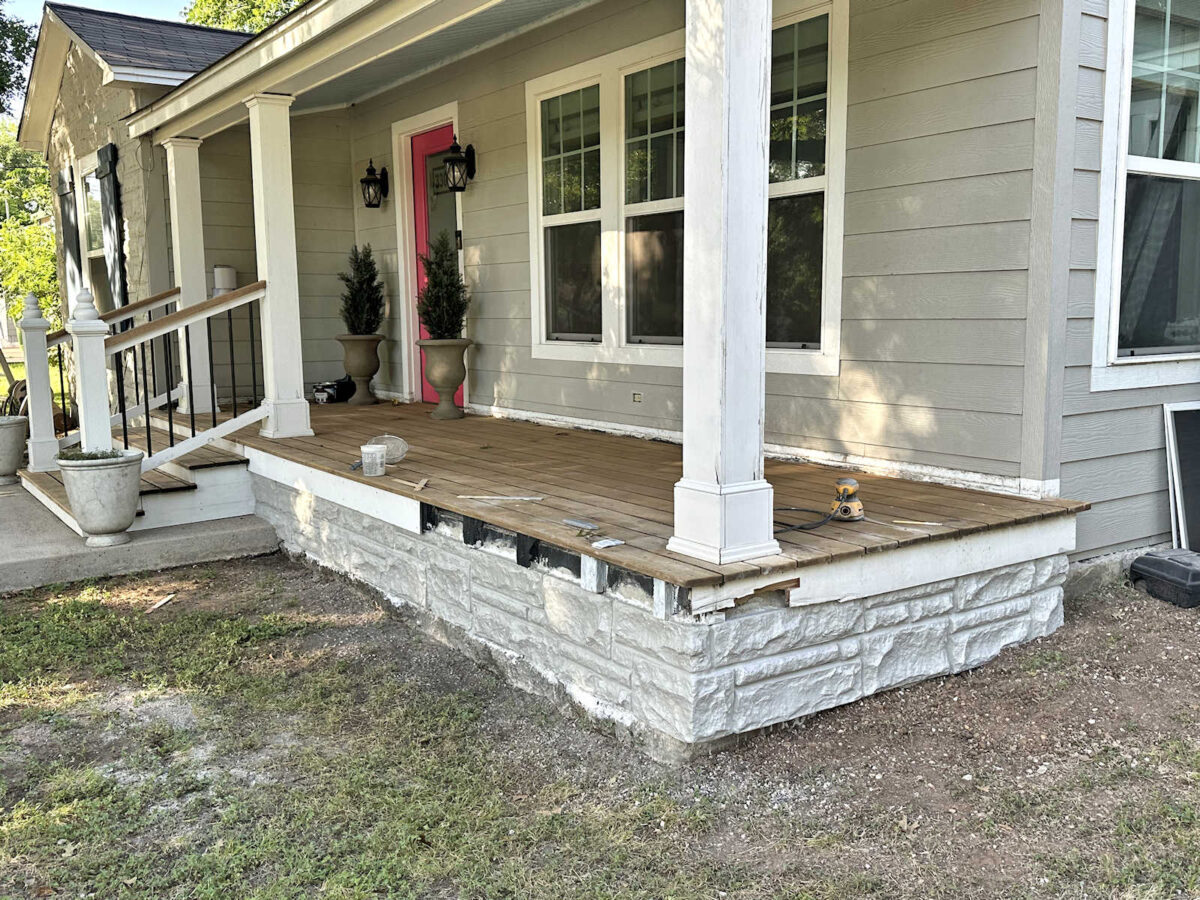
So I taped brown paper around it and spray painted it a color that more closely matches the siding. It’s not a perfect match, but at least it doesn’t scream for attention from the street view. I still need to figure out a way to trim it out so that the cut edges of the siding don’t show.
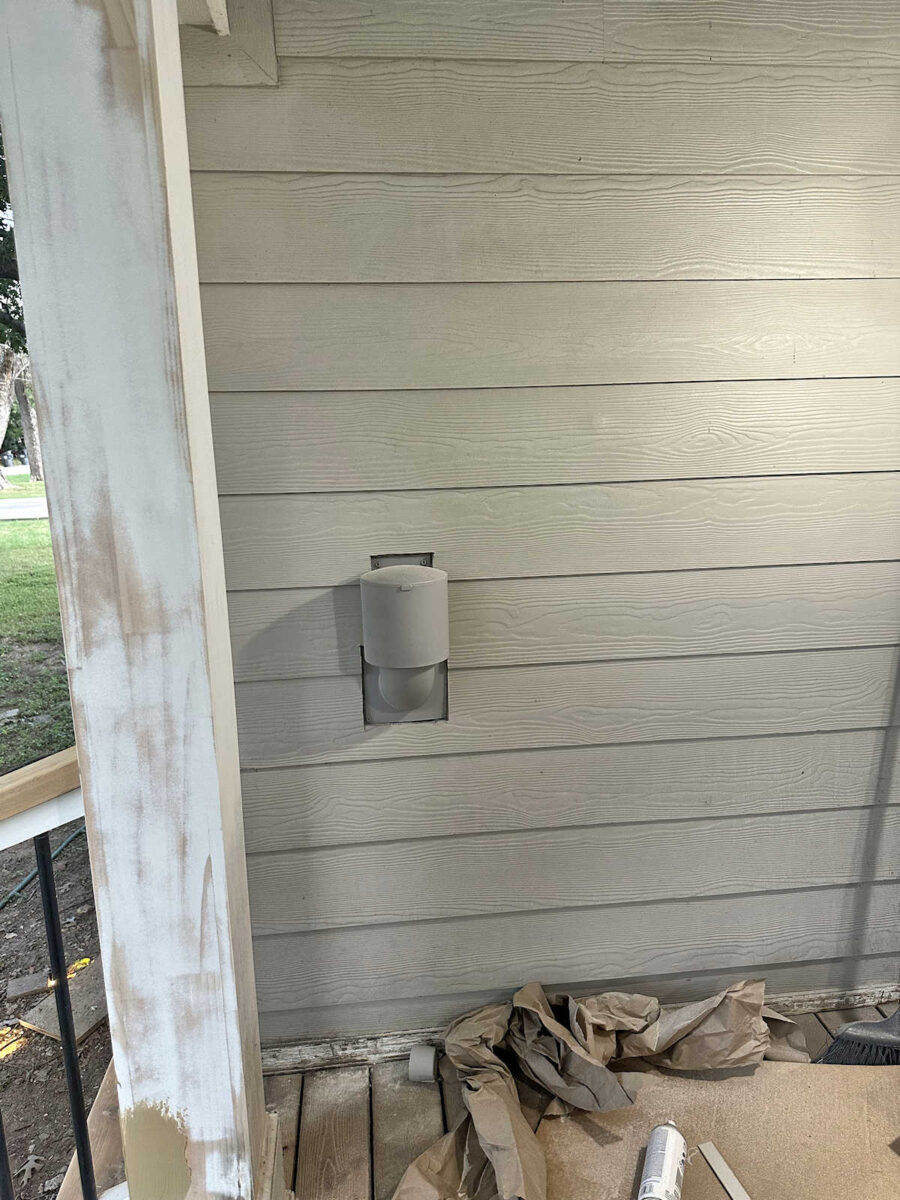
But from this view, it’s definitely less noticeable now than it was when it was bright white.
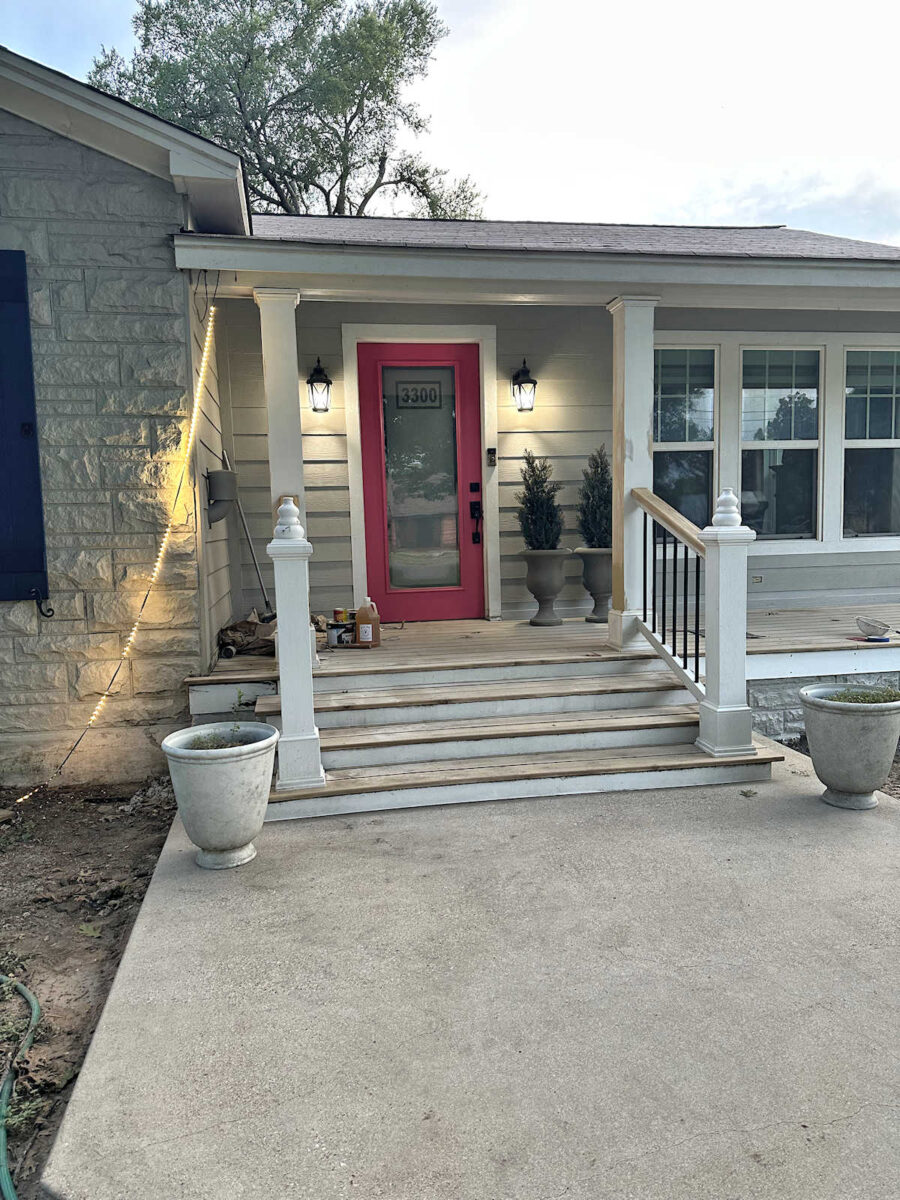
And finally, I made a decision not to replace the columns this year. I may still have to do it in the future, but like I said, I’m ready to wrap up these outdoor projects as soon as possible, so I didn’t want to take on such a huge project right now. So instead, I decided to repair the areas with the rotting wood and give them a fresh coat of paint.
I started by cleaning out as much of the rotted areas as possible, and then I used Minwax Wood Hardener and a chip brush.
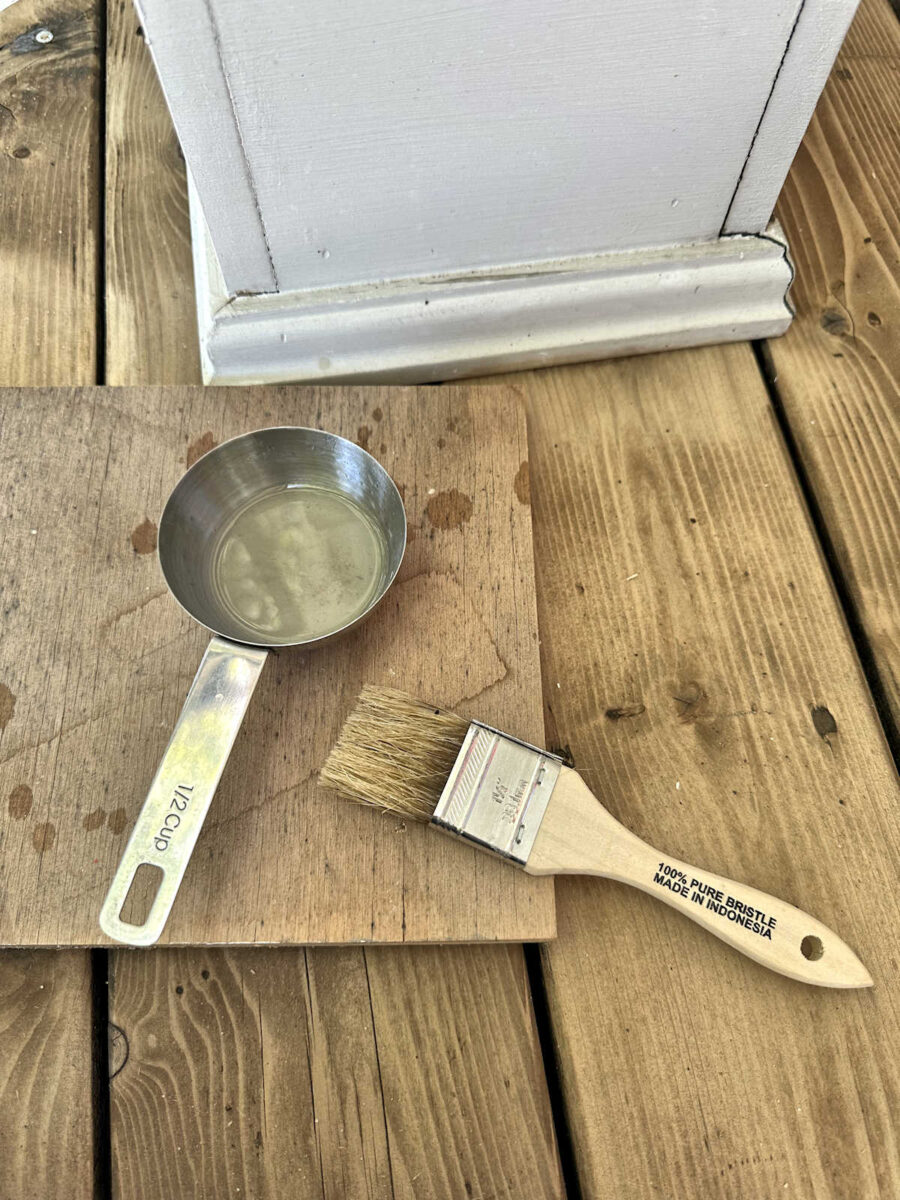
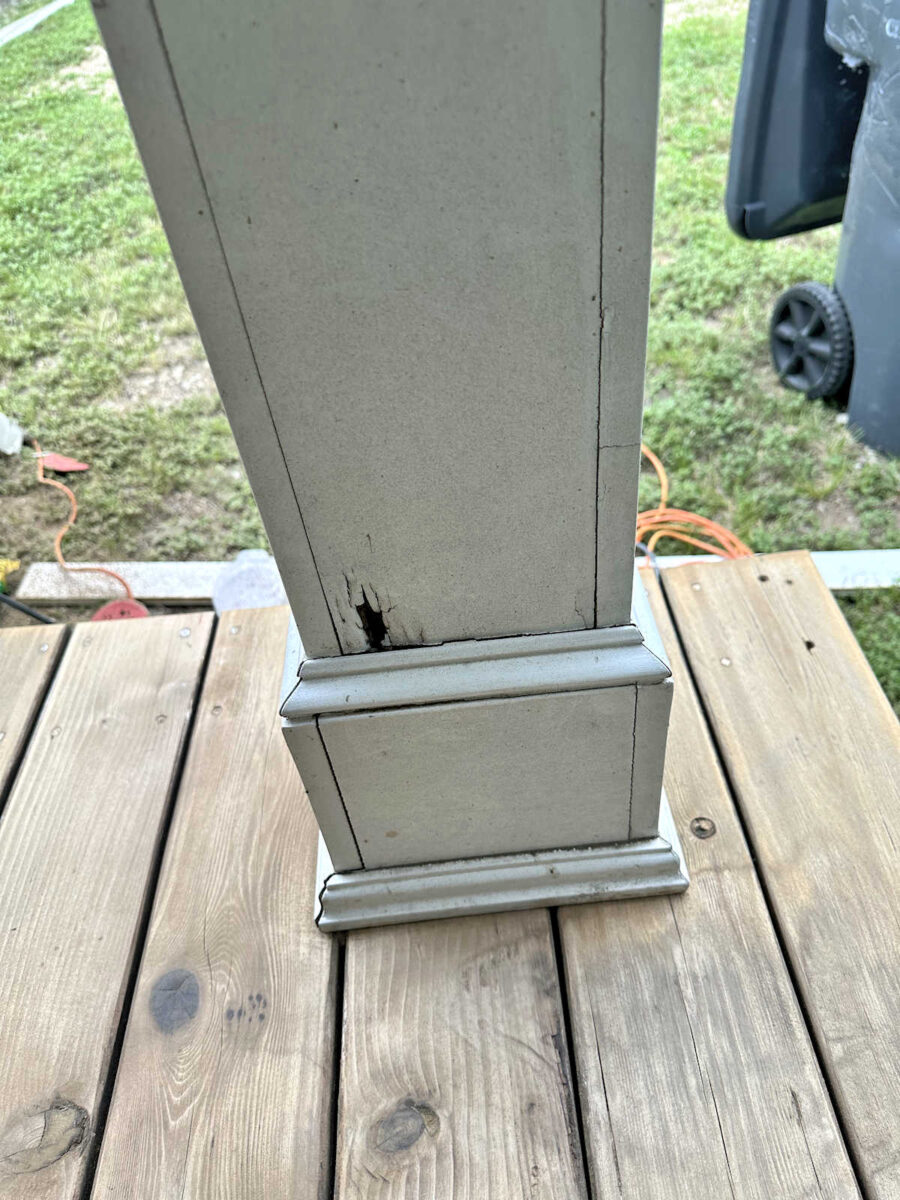
I had several areas like this on the columns, so these are the ones I needed to repair before I could repaint.
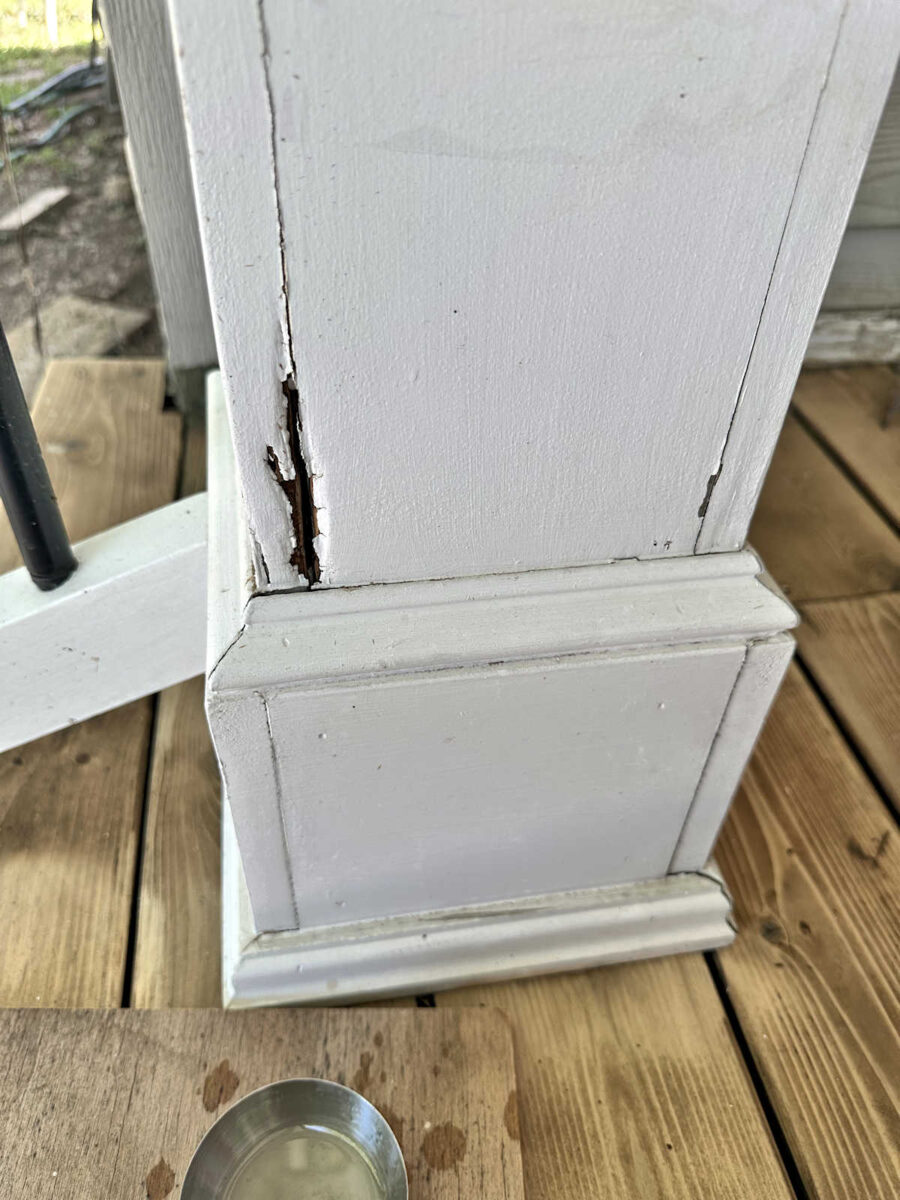
This is one of the worst areas.
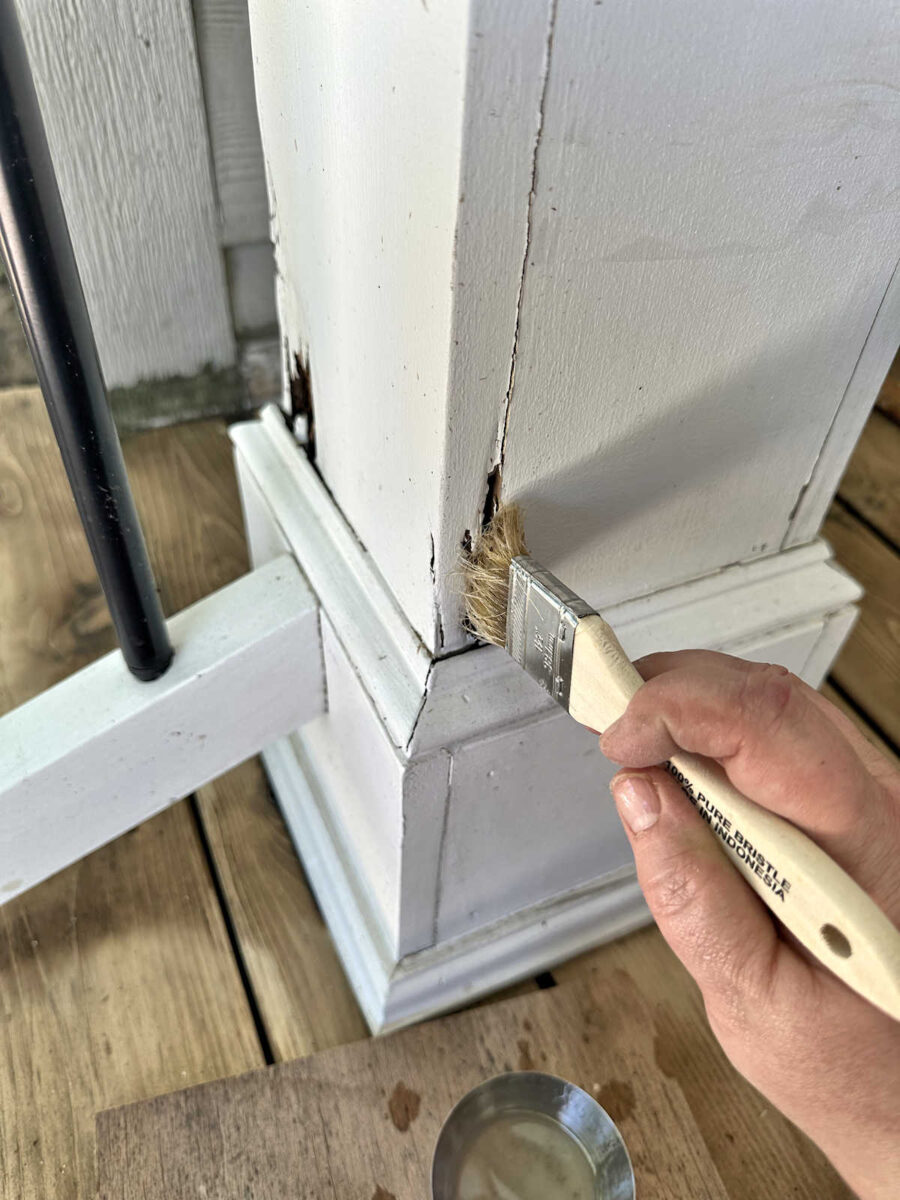
So I dipped the brush into the wood hardener, and shoved the brush into the rotted out area as much as I could. I did this several times, let it dry about two hours, and then repeated this process.
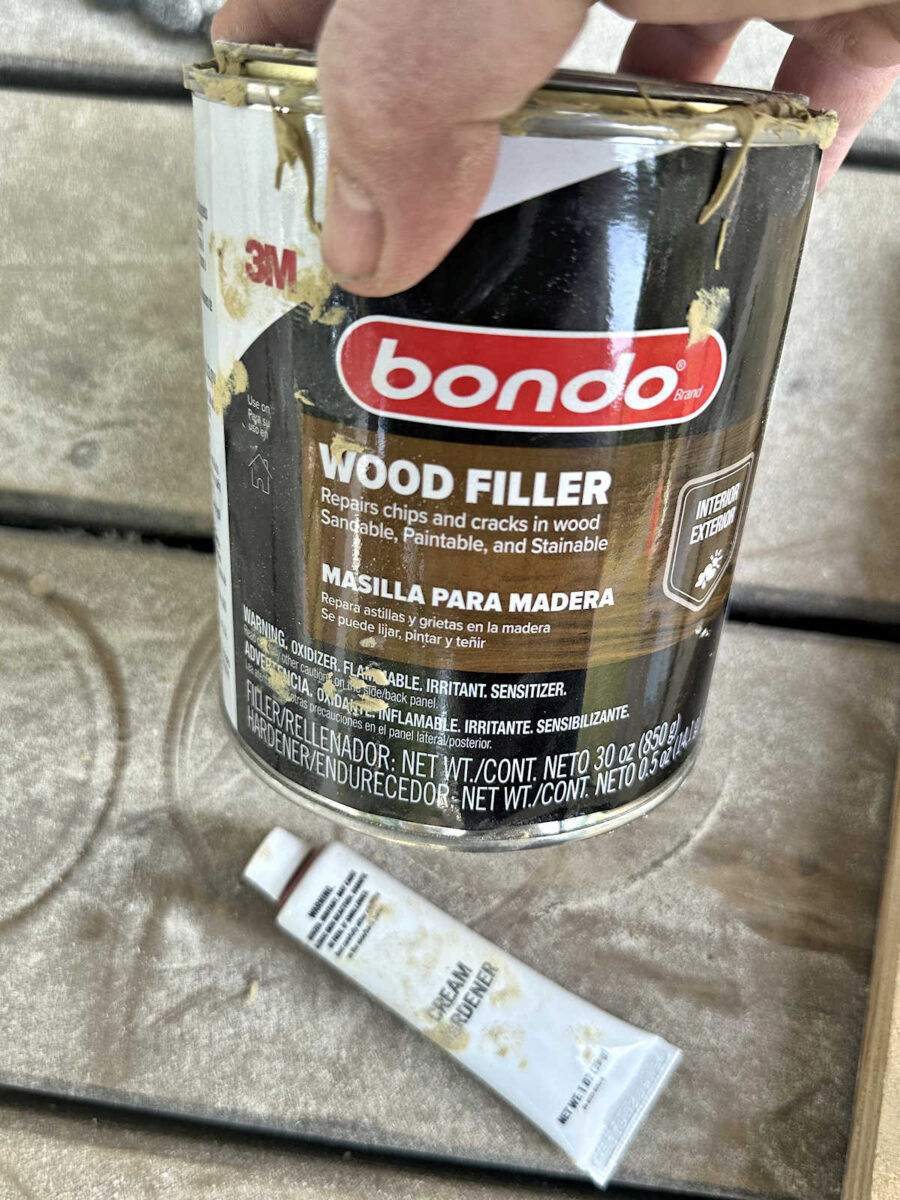
Once that was dry, I used Bondo wood filler to fill in the areas with the rotted wood.
On a couple of areas that were really bad, I had to do a couple of coats, sanding in between.
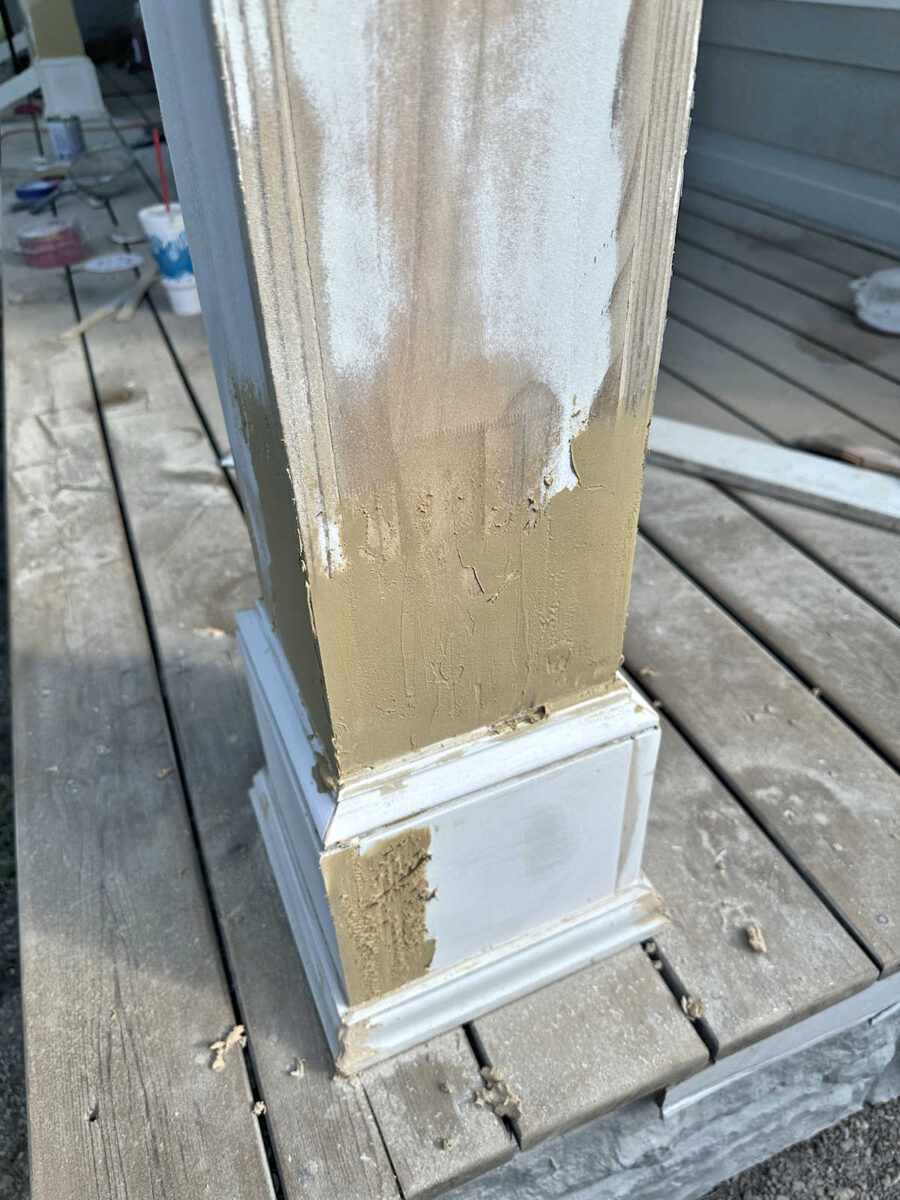
On the areas that didn’t have any rotted wood, but just had small gaps, I used Plastic Wood exterior wood filler. And then I did quite a bit of sanding.
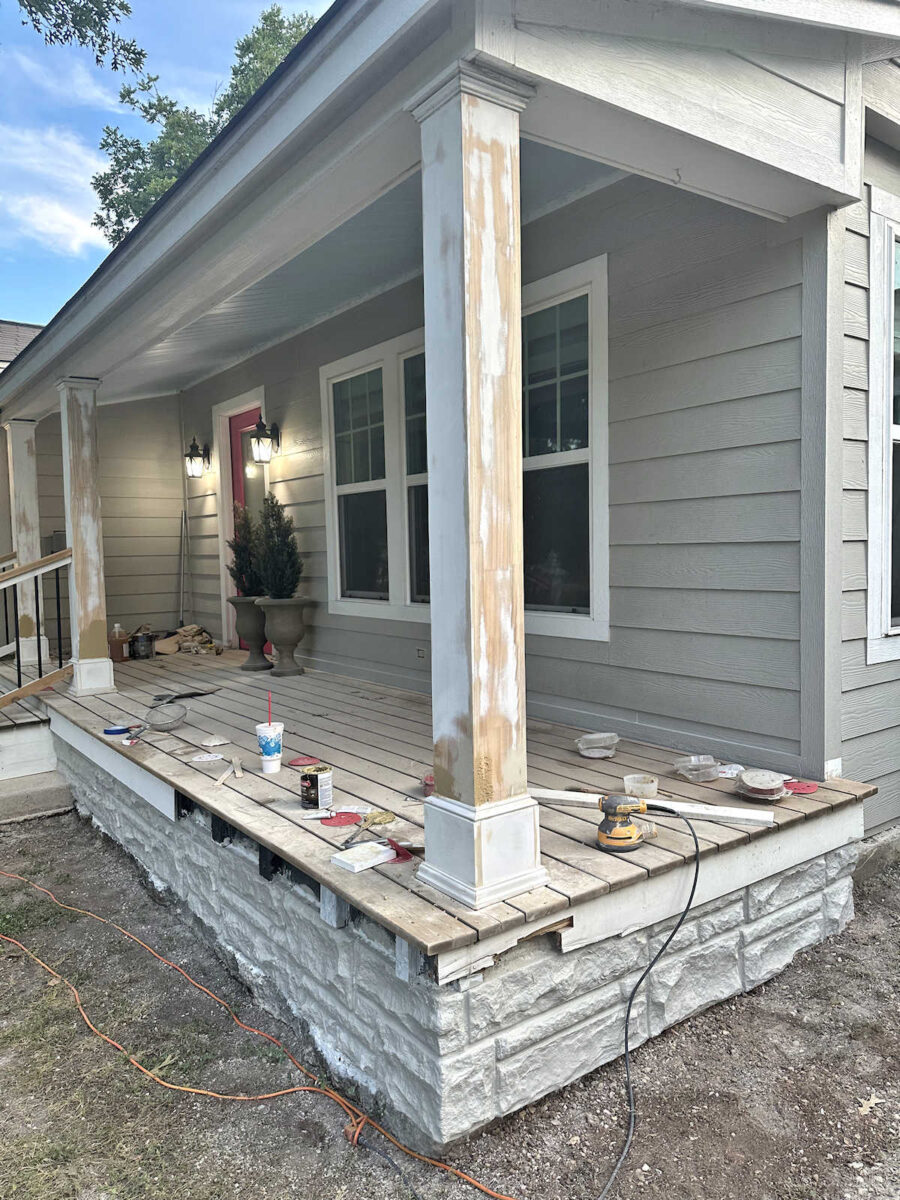
And that’s as far as I got. I still have a lot of sanding to do, and then I’ll have to prime and paint.
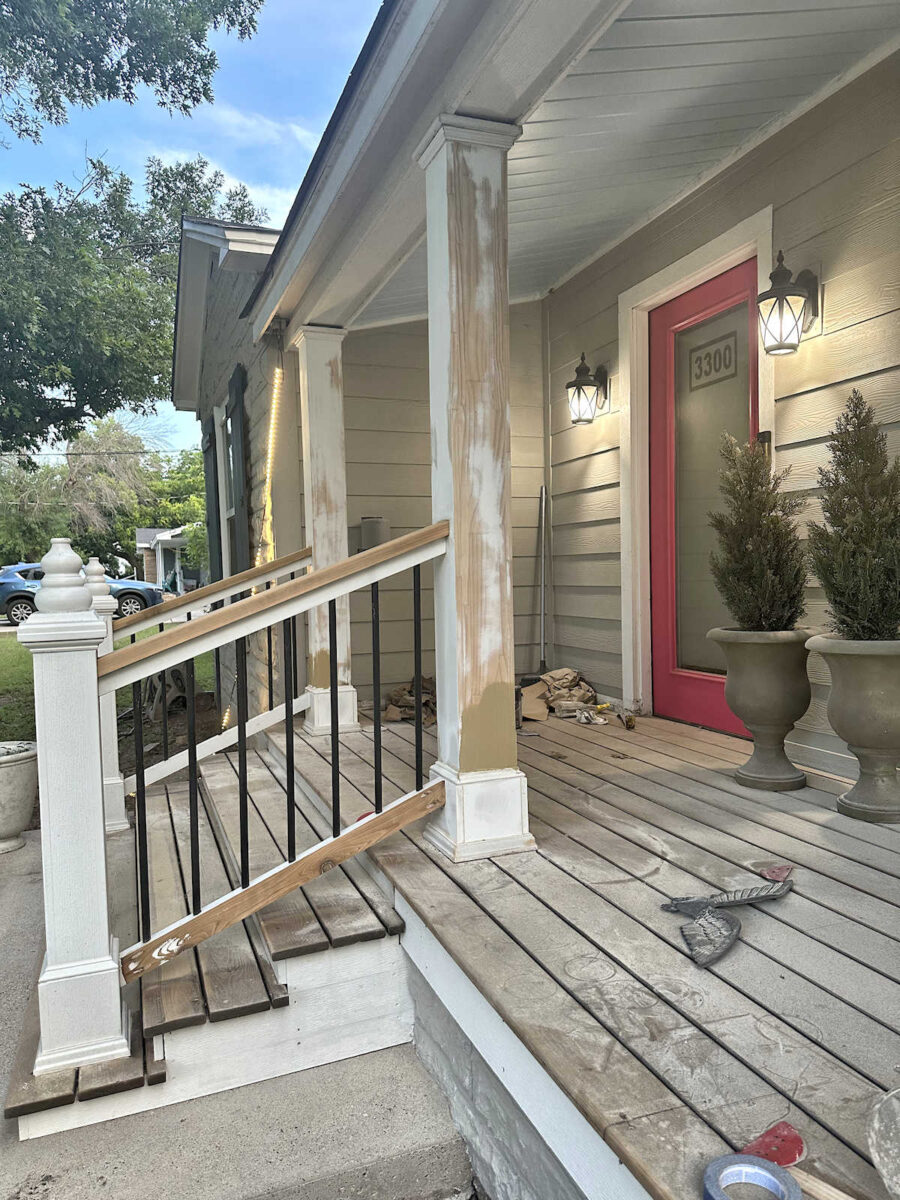
But this was so much faster and easier than completely rebuilding the columns, and I think I can get a few more years out of these. And if I keep up with the maintenance and do a little bit of caulking and painting as needed every year or two, they may even last much longer than that. I just have to keep in mind that no outdoor project is a “do it once and forget about it” project. House exteriors always require regular maintenance because they take so much abuse from the weather.
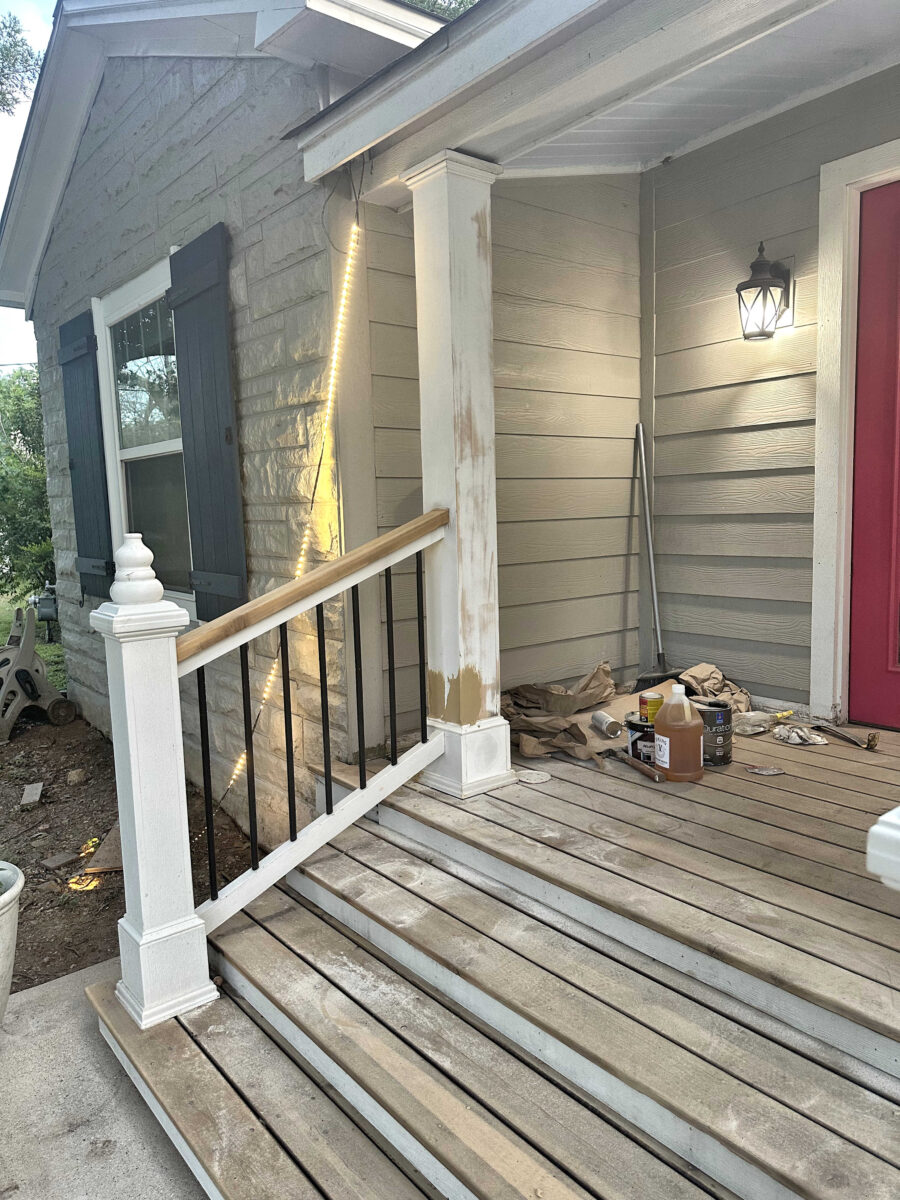
I’m trying to get all of these little projects done, which will include replacing my fallen tape lights that you see in the picture below, and then the final project I do before heading inside will be staining my front porch with the pine tar and linseed oil. I’m really hoping to wrap up all of these outdoor projects by the end of this week, and then I can finally start on the storage room. If things go as planned, I’ll be starting that at the beginning of next week.
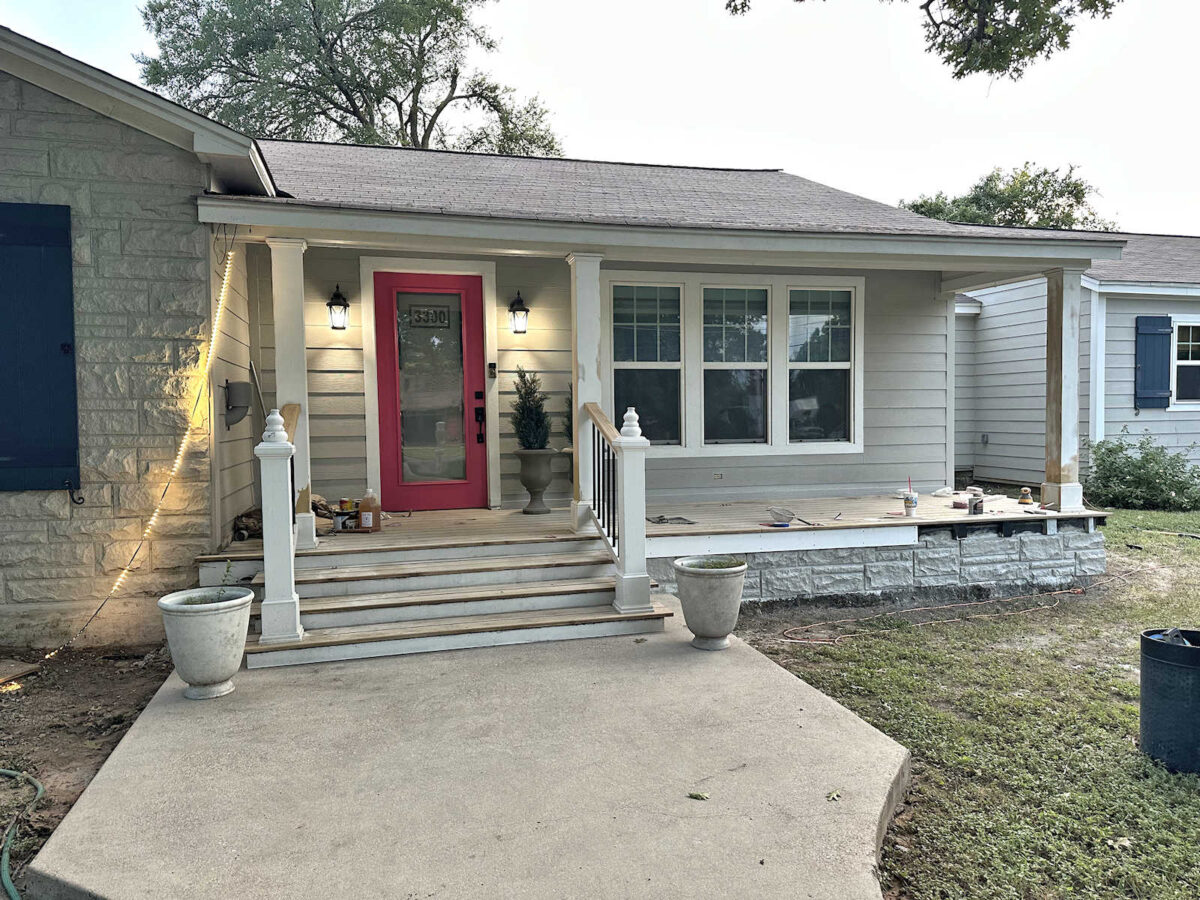
I have enjoyed working on these outdoor projects so much, though. It has been a very welcome change from working on rooms inside our house, so once the weather cools down, I’ll be very anxious to get back out here and do a few more projects. I really want to get some planting beds done!
More About Our House Exterior & Yard
see all exterior &
yard diy projects
read all exterior &
yard blog posts

Addicted 2 Decorating is where I share my DIY and decorating journey as I remodel and decorate the 1948 fixer upper that my husband, Matt, and I bought in 2013. Matt has M.S. and is unable to do physical work, so I do the majority of the work on the house by myself. You can learn more about me here.
I think it is funny the way you are so detail oriented, but can ignore large messy things. It will be beautiful in the end and it will come together, but I would definitely do that wood trim first around the base of the porch. I am not a DIY person so I might not understand that there is a reason not to do the wood trim now. This is not a criticism, but a chuckle.
I’ve never seen a dryer vent like that. What is the purpose of the cylindrical top? Is it an extra lint trap? Can it point down instead of up? My dryer vent is a louver flush with the house, much less conspicuous. Any gutters on your house to stop some of the water intrusion on your front porch?
Could you buy a larger faux plant that would cover your dryer vent from the front and side and still go with the two plants you already have? I bet once you’re done patching up the rotten areas they might last quite a while again. The front is going to be so pleasant to look at when you’re all done there.
You always do such a fabulous job!! Everything looks so great!
I was wondering about the board between the new skirting and the porch that is missing??
I wonder the same thing. Cleaning the curbing before fixing that part of the porch seems strange. Maybe she is waiting to finish the porch and doesn’t want it to mess that final piece .
Or someone who didn’t do any major projects you got a lot done. Personally I would consider the pressure washing and column repair and sanding major. It’s looking great. I’ve always loved your porch makeover but that skirting takes it to a whole new level. I’m looking forward to seeing the finished project.
I was wondering if you pressure washed the front porch siding, could it possibly be just dirty and that is why is it darker than the board you just painted? Will you be putting the rest of the board on just above the new stone you put on? I see it is partially done. Looking so much better though.
It’s looking great, Kristi! Are you considering some kind of decorative element to disguise the dryer vent cover? A slatted plant holder that would be open at the bottom and large enough to cover the vent but still be centered to please your sense of asymmetry? Something similar to this:
https://www.pinterest.com/pin/471892867203704018/
I really like the idea of camouflaging the dryer vent with plants or something else pleasing like that. And a few more boards to go along the tops of your new stone will set it off nicely. You’re doing wonderful Kristi! That is a question worth visiting… if you pressure washed the front porch siding, would it then match the fresh paint you just did on the bottom board?