Reader Project:: Candace’s Kitchen Valances
Well good morning, all! I know I’ve mentioned this before, but let me repeat myself. As a DIY home blogger, there are few things that thrill me more (when it comes to my blog) than when readers actually use my tutorials and then send me photos of their projects. Seriously, every time I get one of those e-mails, I get as giddy as a little school girl. So I’ve decided that rather than hoarding all of your amazing A2D-inspired projects to myself, I’m going to start showing them off! After all, that was my main intent for this blog in the first place…to inspire others (and equip them with the necessary instructions) to do it themselves.
Okay, blah, blah, blah. I’m rambling. Let’s get to the good stuff.
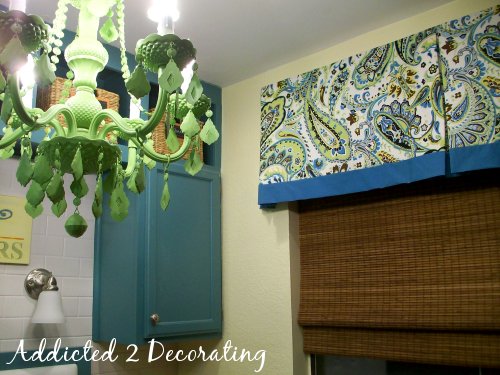
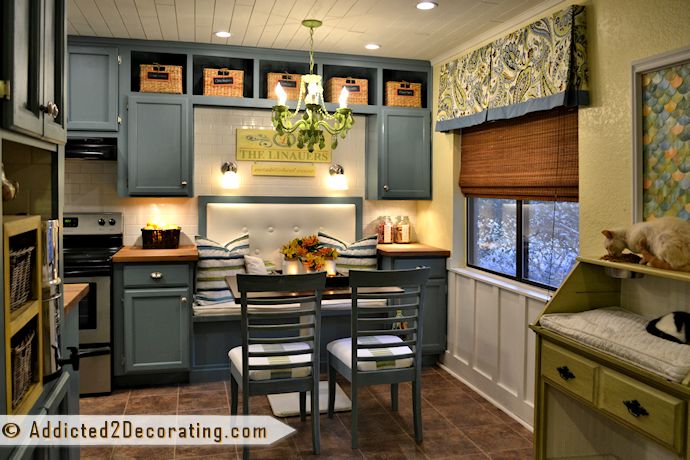
Remember the lined valance I have in my breakfast area? The one with the contrasting fabric band running along the bottom edge?
Well, it just so happens that I have a very detailed tutorial on how to make that valance. A reader named Candace happened upon that tutorial, and used it to make her very own valances. Here’s what she had to say:
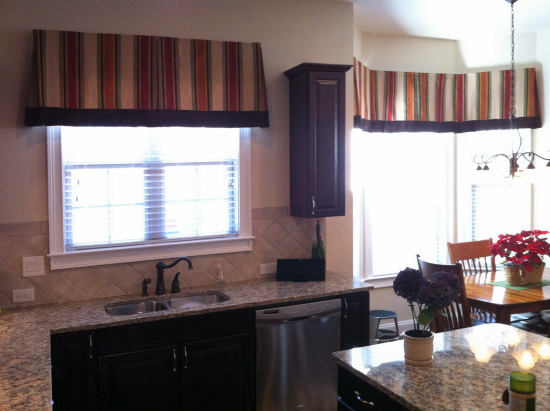
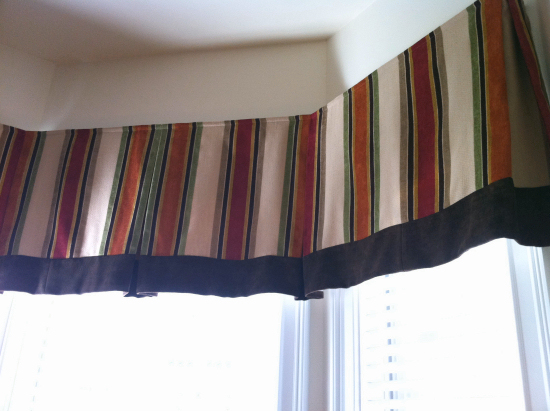
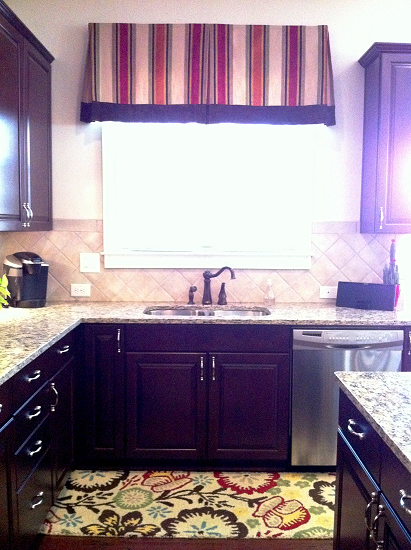
I wanted to thank you for the fantastic tutorial you provided for the lined valance with contrast band. It was exactly what I was looking for to finish off my kitchen windows! I made a few minor adjustments, but your step by step advice was excellent. I would consider my sewing skills advanced and as you stated, this project might be a bit difficult for beginners. The window over the sink has a 55″ wide valance and the bay window has 1 valance measuring 102″ from end to end with 5 pleats. I’m including photos of my finished project.
Here are the pictures of Candace’s finished valances…
Don’t those look great?! Here’s a closeup of the breakfast room valance that’s 102″ wide with five pleats. Wow!
And the kitchen sink area. I agree, the valance was the perfect finishing touch for this window!
So if you have decent sewing skills, and you have a kitchen window that needs some attention, the valance may be just the finishing touch you need. Give it a try! You just may surprise yourself with your mad sewing skills.
🙂
Thank you, Candace, for sharing your project with us!
Addicted 2 Decorating is where I share my DIY and decorating journey as I remodel and decorate the 1948 fixer upper that my husband, Matt, and I bought in 2013. Matt has M.S. and is unable to do physical work, so I do the majority of the work on the house by myself. You can learn more about me here.




Oh the envy I have for those with sewing skills! (and her rugs great too!)