Ideas For Low Cost Bathroom Updates
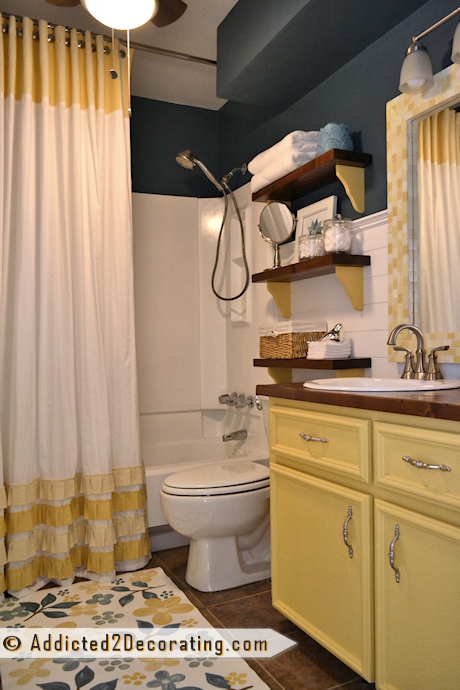
I’m finally winding down on my bathroom remodel. I’ve been at it since the end of January (although I haven’t been working on it exclusively for all of that time), and it was a complete down-to-the-studs remodel. My bathroom was seriously outdated and definitely needed an extensive remodel (in my humble opinion 🙂 ), but I’m sure many of you have bathrooms that are starting out with better “bones” and would require only a few relatively simple aesthetic updates to look like a brand new bathroom. If that’s the case for you, I’ve rounded up a few ideas for low cost bathroom updates.
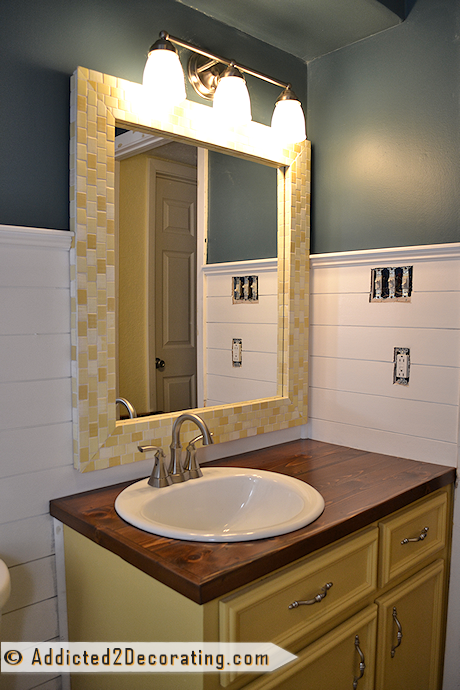
If you’re living with one of those ubiquitous builder-grade oak vanities, the most obvious update is to paint the vanity. Painting cabinets can be intimidating for many new DIYers, but there are so many great tutorials available for getting a smooth, durable painted finish.
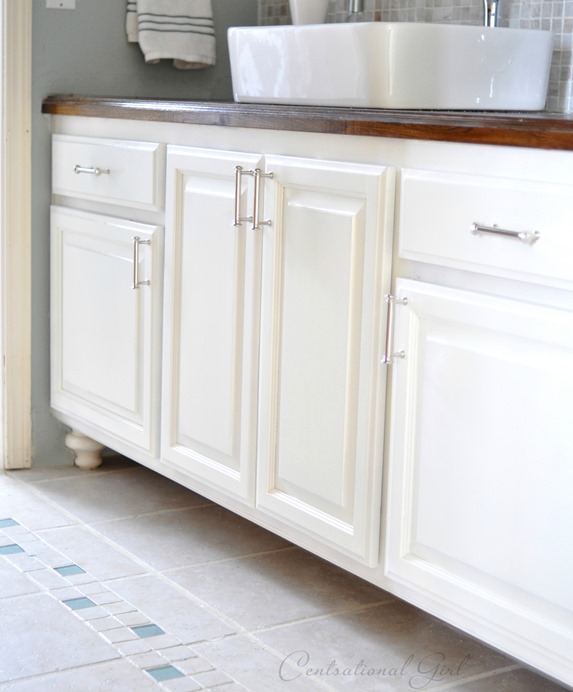 via Centsational Girl
Many of those old vanities have plain doors. Before you paint, you can add some interest to those plain doors by simply adding a few pieces of decorative trim.
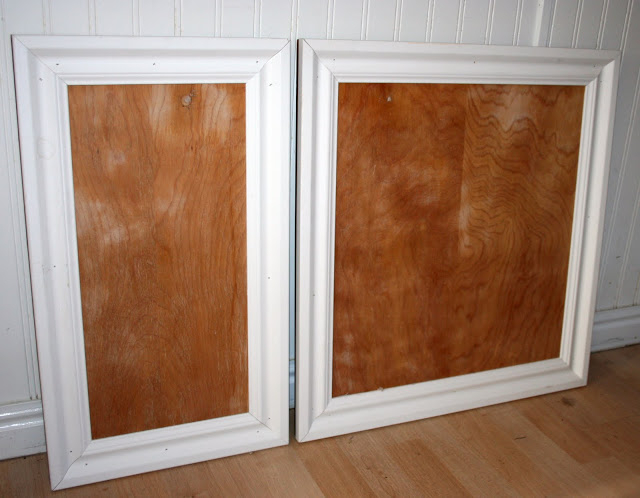 via Drab To Fab
In the case of our condo bathroom, our doors and drawer fronts were beyond salvaging, so I made brand new doors and drawer fronts. I know that sounds difficult, but I came up with a way to make cabinet doors and drawer fronts without the need for any fancy cabinet maker tools.
If your entire vanity is beyond repair, you can just build your own open shelf vanity for around $100. It’s easier than it sounds, especially if you have a great set of plans and a Kreg Jig.
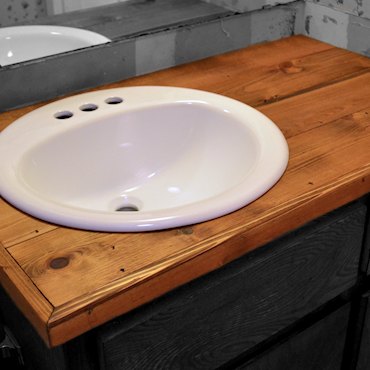
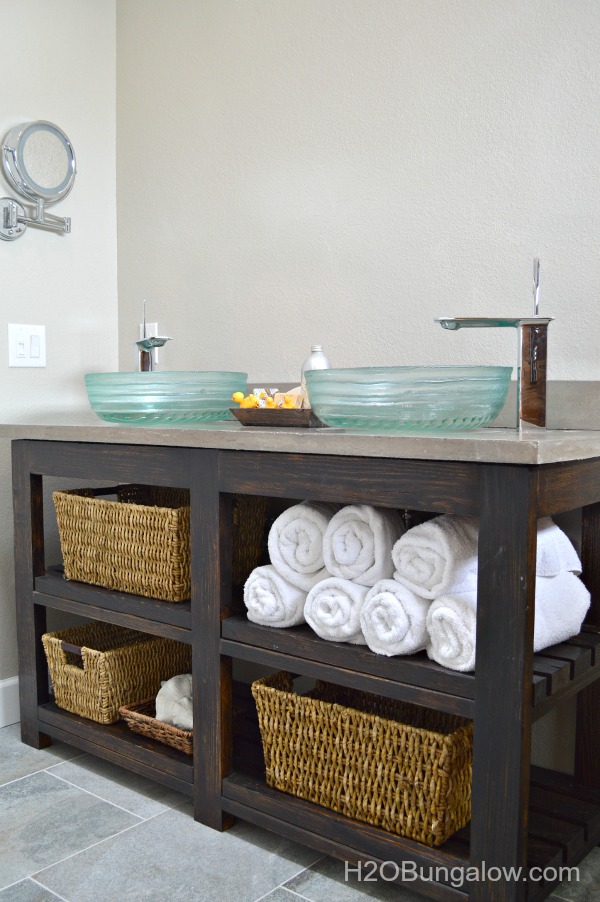 via H2O Bungalow
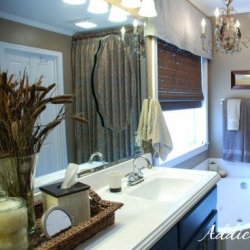
And of course, your newly painted/revamped/replaced vanity will need a countertop. You can turn your existing countertop into faux marble for a tiny fraction of the cost of the real stuff. I’ve seen a lot of faux such-and-such painted countertops over the years, but this one has to be one of the absolute best, not only in appearance, but also in durability because of the final surface treatment.
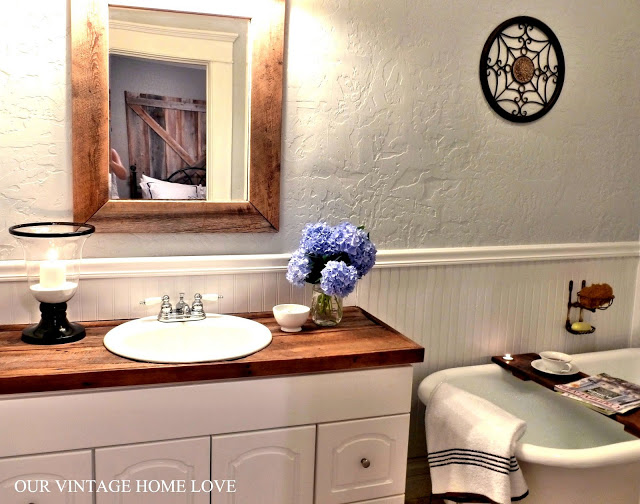
 via Batchelors Way
You can easily add some interest to your ceiling by adding beadboard to the ceiling and trimming out the edges. If you’re working on a small bathroom or powder room, one 4′ x 8′ sheet of beadboard will probably be enough for your entire ceiling. (This was actually the inspiration for my own bathroom ceiling, although I did mine a bit differently.)
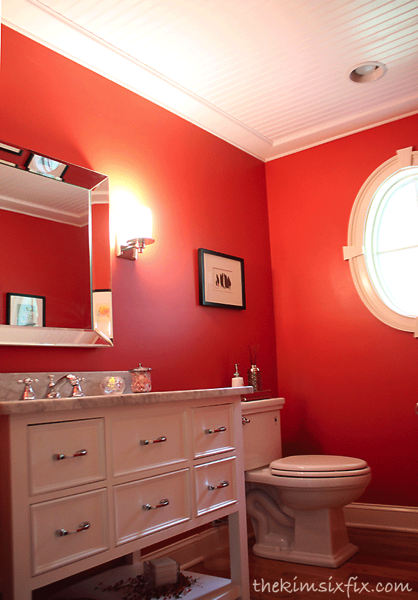 via The Kim Six Fix
If working above your head really isn’t appealing, you can add that texture to your wall instead using tongue-and-groove beadboard strips, beadboard panels, or even beadboard wallpaper. Out of those options, I would think the beadboard wallpaper would be the easiest option.
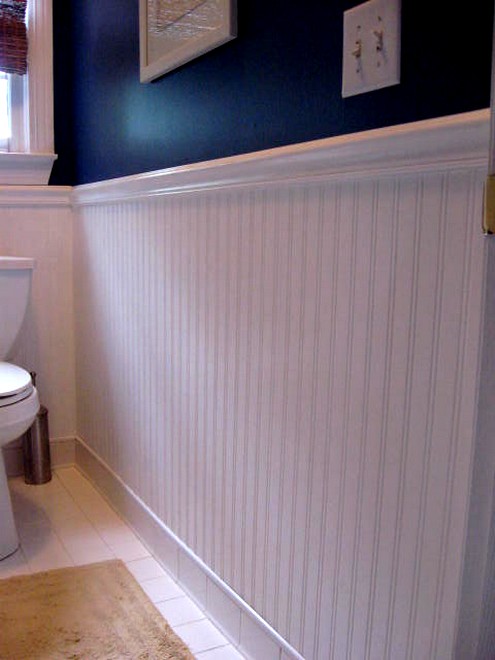 via Southern Hospitality
If you have seriously outdated tile, but you’re not quite ready to take a sledgehammer to it, you can paint the tile. Oh, what a difference paint makes! Just be sure to use a product that is specified for use on tile.
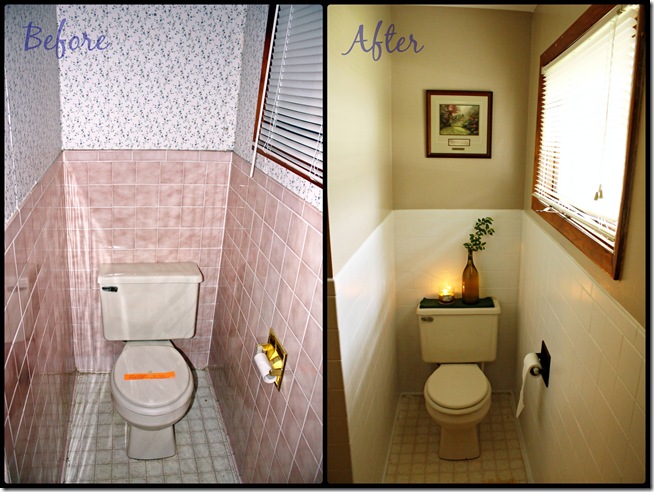 via Jane and Eugene
The moral of the story here is that you don’t have to live with an outdated bathroom. You can go a long way with just a couple hundred dollars and a free weekend or two.

Addicted 2 Decorating is where I share my DIY and decorating journey as I remodel and decorate the 1948 fixer upper that my husband, Matt, and I bought in 2013. Matt has M.S. and is unable to do physical work, so I do the majority of the work on the house by myself. You can learn more about me here.

Hey there!!! I’ve been following you for a loooooong time and love all that you do with your house. My question is, Do you plan on having your home appraised when you are done remodeling to see how much the value went up with all of your work? I know you plan on this house being your forever home… But I would be sooo curious about it if it was me. Haha!
I hadn’t thought about it! I guess I’ll cross that bridge when I come to it. I almost hate to willingly invite an increased appraisal value that will raise my property taxes. 😉
Exactly. Property taxes get raised often enough without attracting undue attention. *sigh*
I just finished a complete makeover for $80! I used a lot of the ideas in your post. Painting the walls and vanity cupboards, re-imagining the countertop and putting in reclaimed cedar as a focal point. You have be a bit resourceful but sometimes that challenge makes the result all that more satisfying 🙂
You wouldn’t happen to know where I can find ideas for updating a bathroom that is renter friendly?
Pinterest! 🙂 Just last night I came across several “renter friendly” idea roundups. It seems like a few were from Apartment Therapy, but I didn’t make not of the exact posts. But you can easily find them by searching on Pinterest.
Thanks so much! I will defintely look on Pinterest tonight and see what I can come up with! 🙂
Is there a preferred paint for bathroom vanities? I know you are not a fan of chalk paint, but do I need to use oil base or will latex work ok? I really want to add trim to get a shaker style door on my kitchen and bathroom plain flat cabinet doors. If everything is primed good there shouldn’t be a problem with new wood and stained wood together, right?
Latex paint will work fine on vanities. I’ve used it in the last three bathrooms I’ve done. It’s very durable, and easy to touch up if you get a scratch or ding in the paint. And no, you shouldn’t have a problem painting over a combo of old and new wood. Just be sure to use a good primer. I always use Zinsser Cover Stain (the oil-based version). It’s the absolute best, in my opinion.
Thanks for all the great ideas. I would definitely like to my bathroom cabinet and get hideous wallpaper in there. Beadboad is my choice for wall and would like to retile my tub to the ceiling, including the ceiling. On my to do list…
Another comedy of errors with my typing. That should read; I’d like to get rid of the hideous wallpaper AND paint the cabinet sigh
These are all great ideas. Super post.
When I remodeled my 3/4 bathroom a couple of years ago I used reclaimed cabinets with shaker style doors for the vanity, a 6″ deep wall storage cabinet, and for a medicine cabinet. Since they did not match I painted all three pieces white and added clear glass knbs to all the doors. This room at 4′-6″ by 5′-6″ is by no means spacious. What I did to both further tie the cabinetry together and expand the feel of the space was to add mirrors to all the doors. I had 1/8th” mirrors cut to fit each door and then glued them in place.
I ended up spending about $100 for the cabinets, knobs and mirrors. Since I totally remodeled the entire bath I needed to keep costs low where I could. The most problematic issue in remodeling this space though was fitting in a ladder to tile the shower stall to the ceiling.
The motivation for the remodel was to close off the entrance to the bathroom from a pantry off the kitchen and add a new entrance to the bath from the secondary bedroom creating a bathroom/bedroom suite. I use to lie in bed staring at the wall with the bath on the other side just dreaming of connecting it to my room. It was so satisfying to complete the project although it did take me around seven months to do so. So Kristie I have a lot of empathy for you and your long punch lists. having long punch. Oh BTW after I finished the bath I tackled the kitchen and am still working on finishing it. Great job and I love reading your blog.
Thank you so much for including my DIY Open Shelf Vanity! It was such a doable project and we still love it as much as the day I finished it! The plans are free to download for anyone who needs them from the link you posted! Love your work & DIY spirit!
Going to pin some these ideas for when we start painting our bathroom. Not sure how much of a remodel we’re going to do, but a little paint and possibly a new countertop will hopefully do it. Thanks for the inspiration!