A Bedroom Suite Foyer Update (Plus, A Comparison Of Museum Glass, Non-Glare Glass, and Regular Glass In Framed Art — Which One Is The Best?)
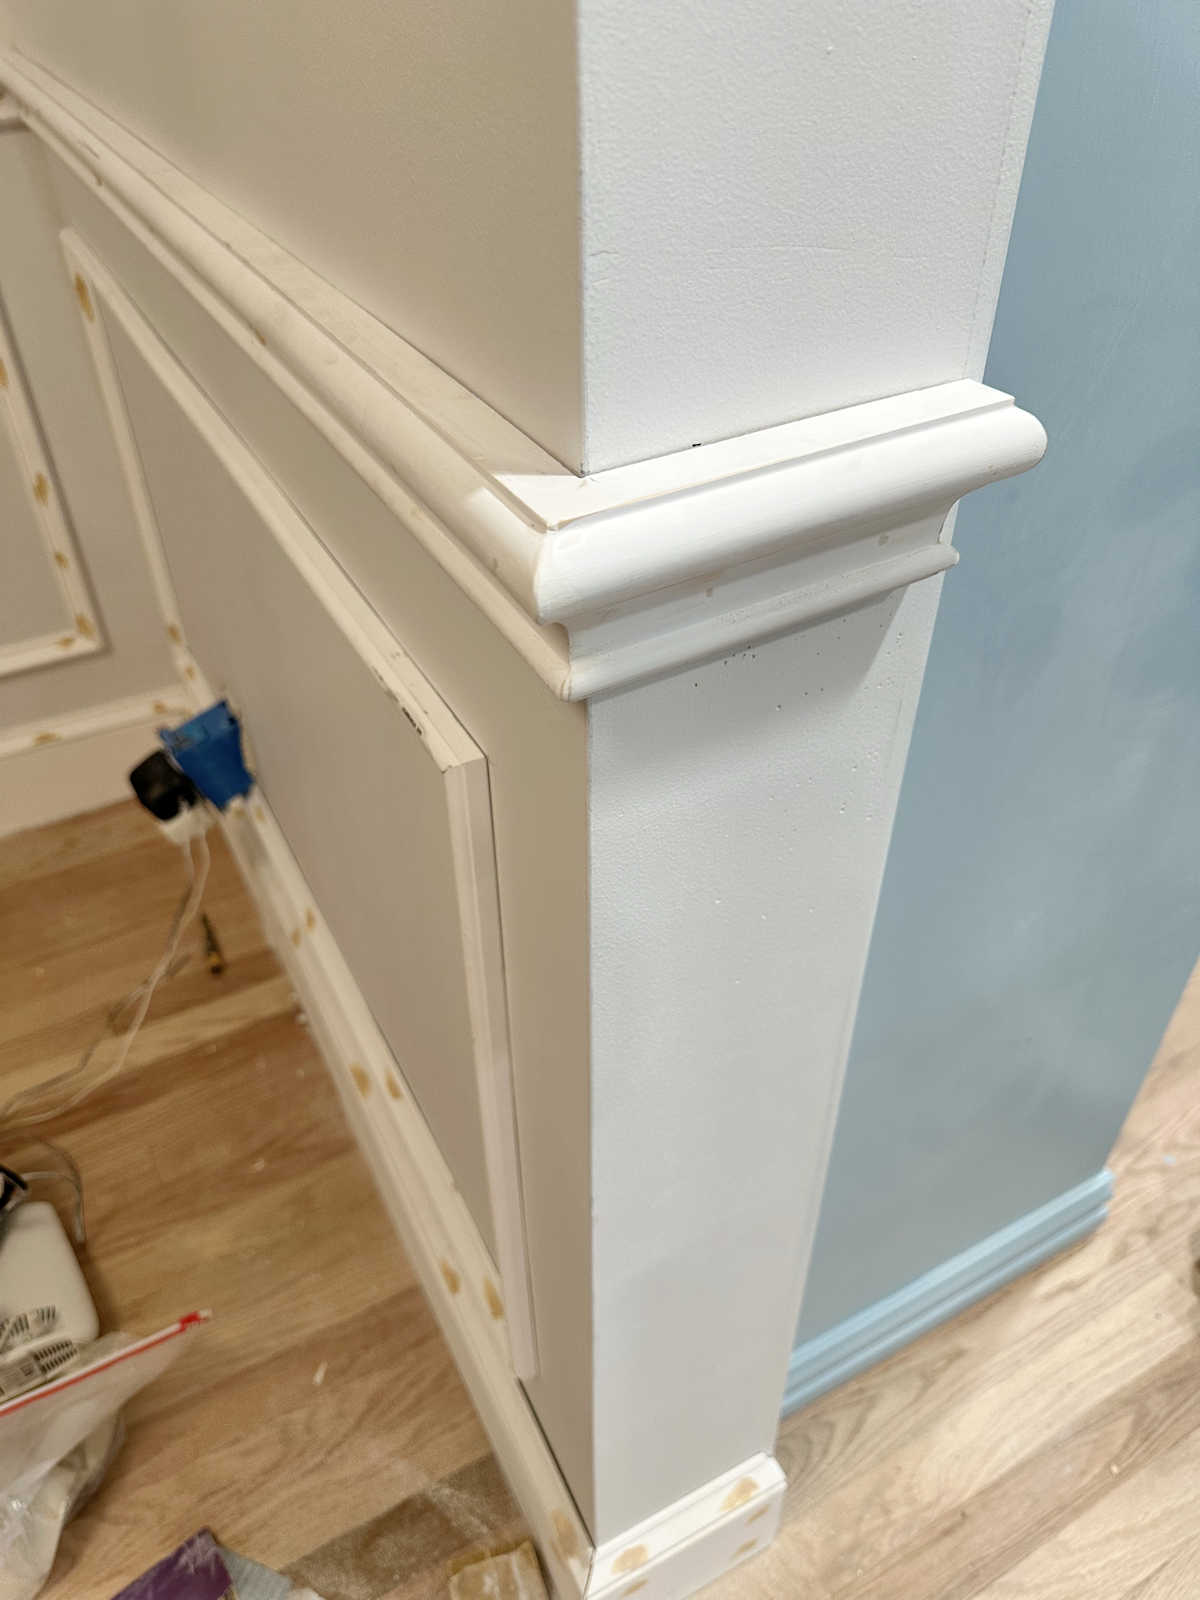
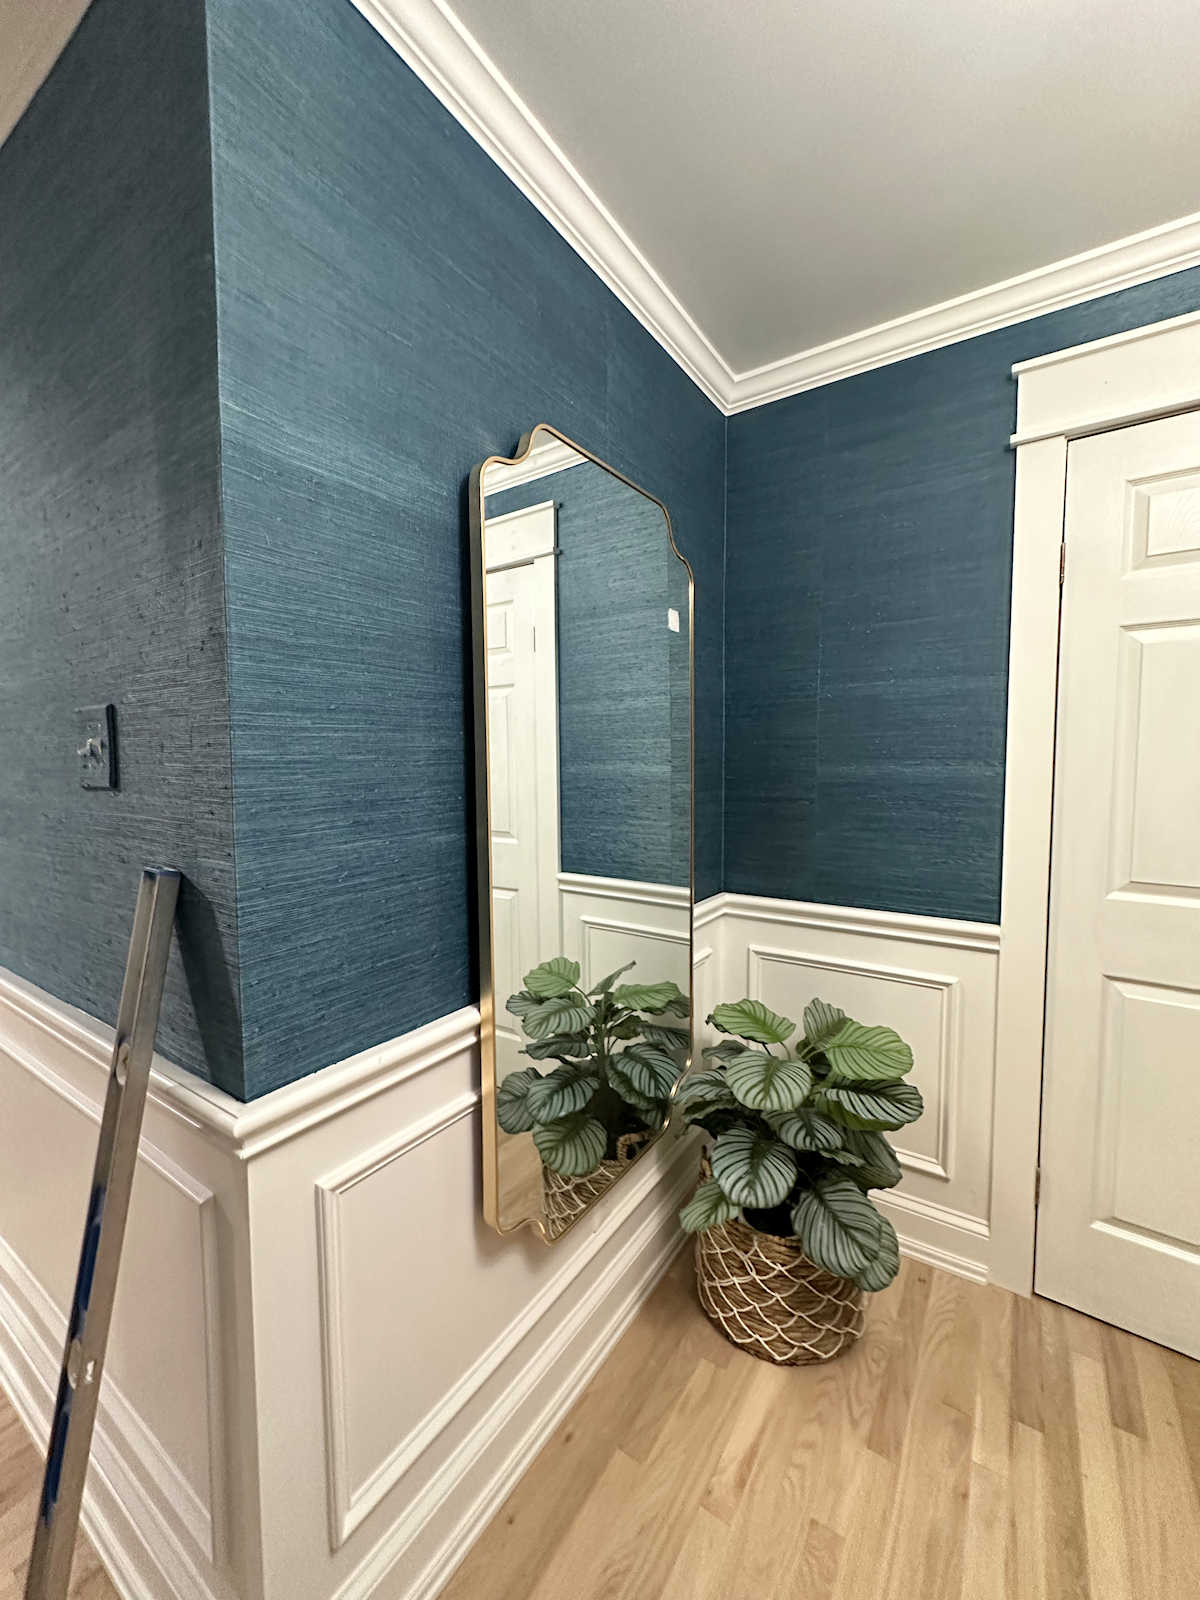
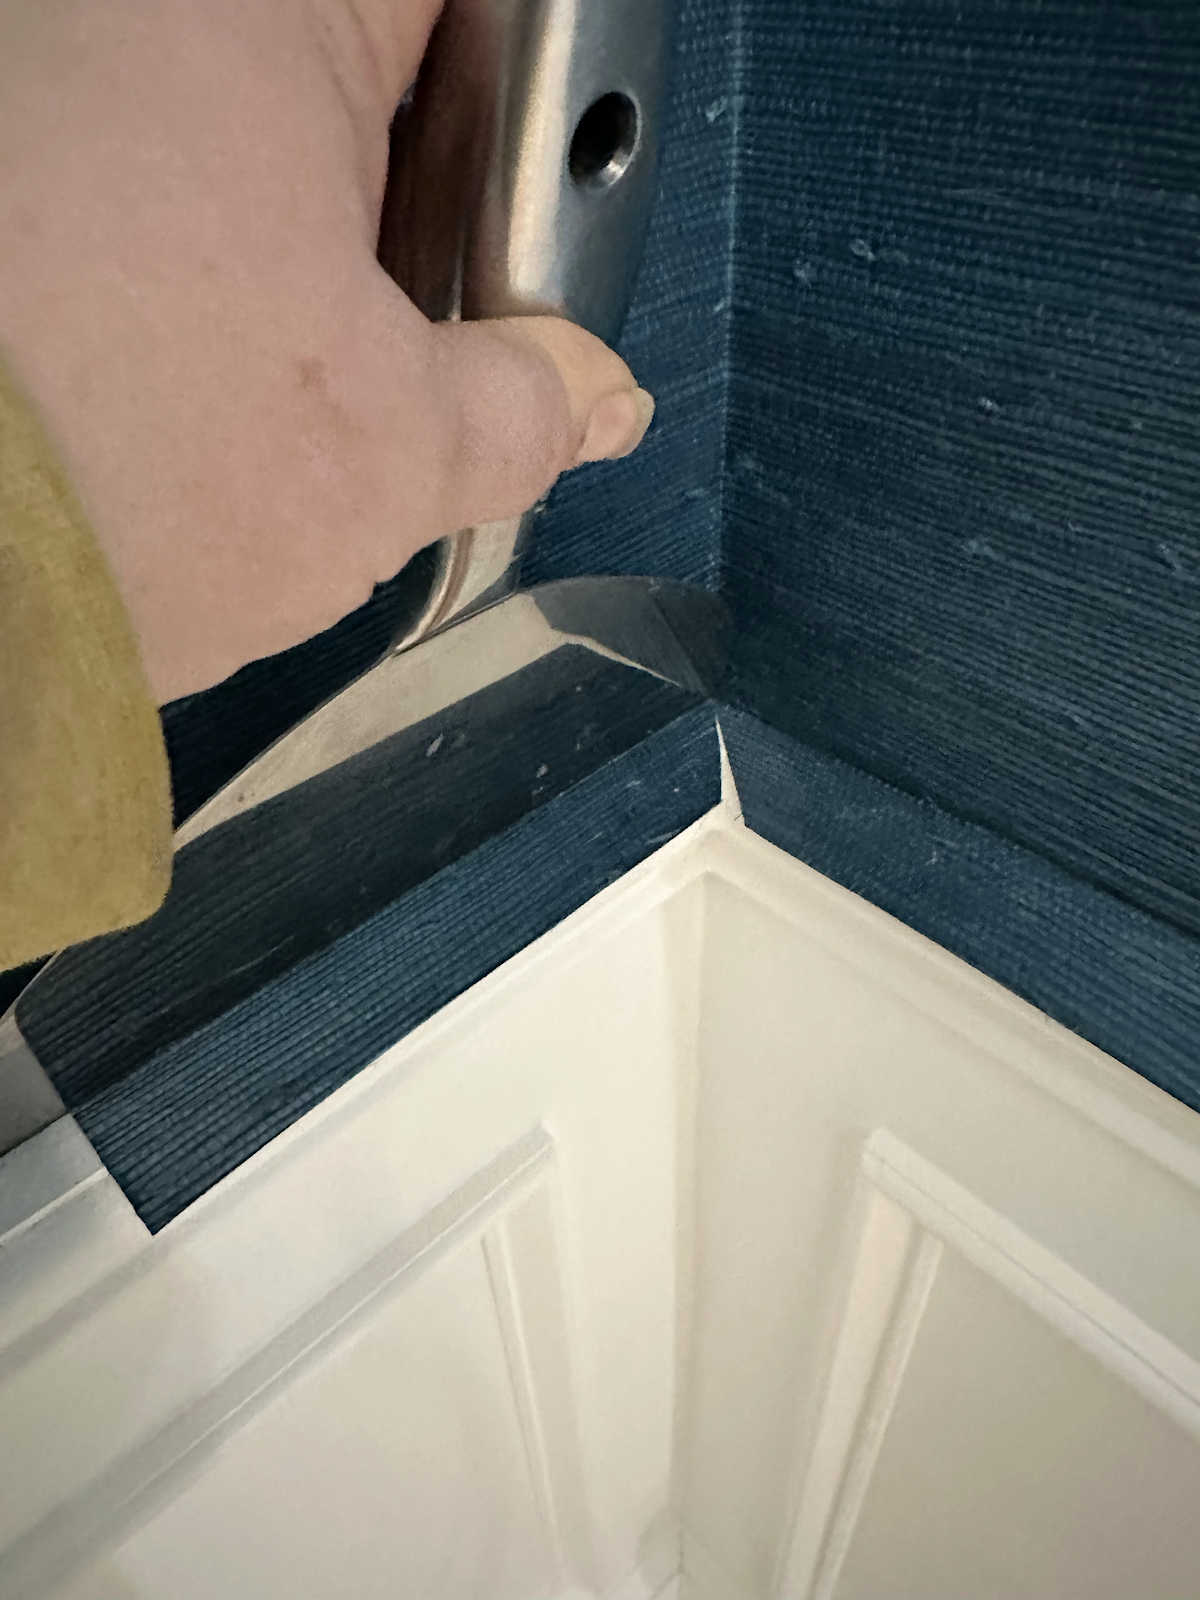
I finally got our newly matted and framed chapel picture back this past weekend, so I took some time yesterday to sew the two pillows for the bench and get the picture hung on the wall. Of course, the whole look is kind of upstaged by the grasscloth that got ruined by the leak in the roof. That leak will be taken care of soon (hopefully tomorrow) so that I can replace the grasscloth. But if we don’t count that, the rest of this corner of the foyer is finally finished.
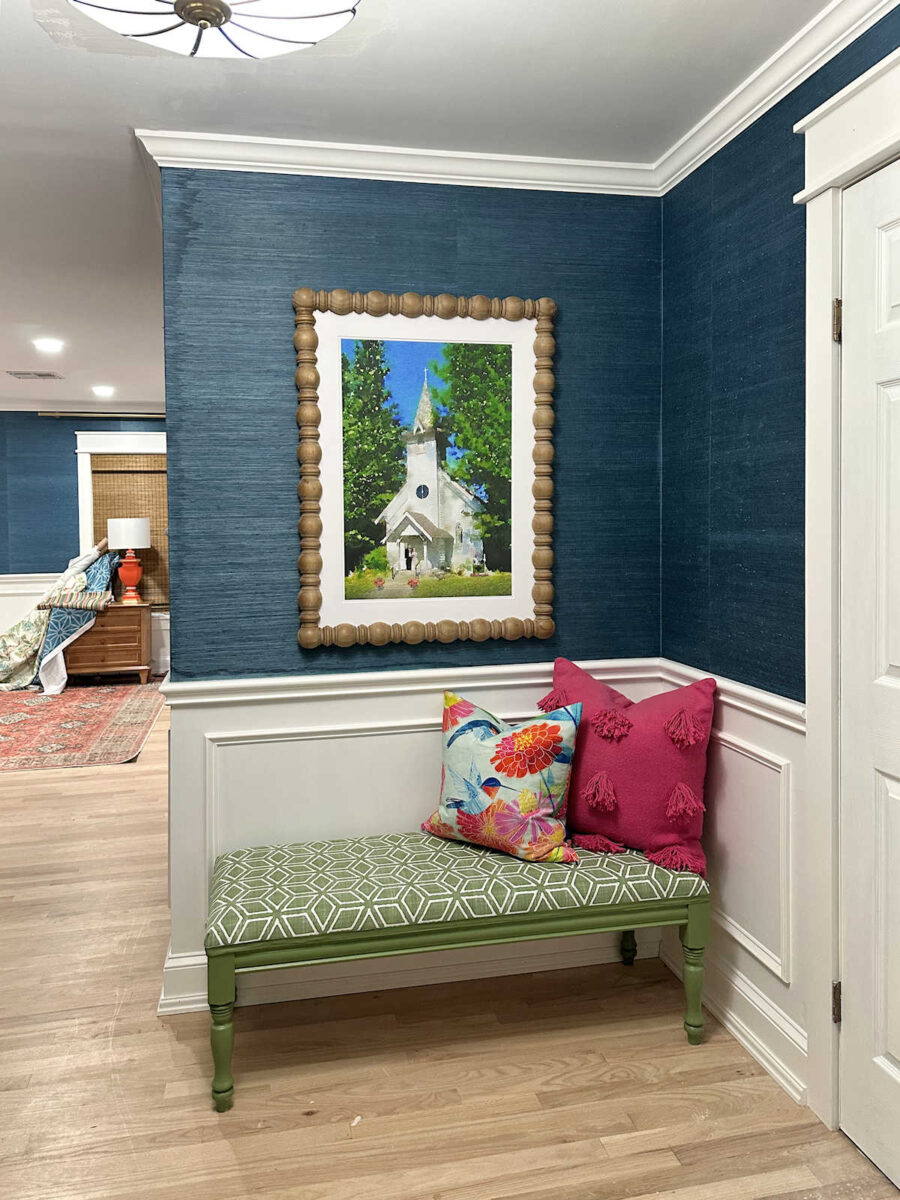
I know a lot of people weren’t thrilled with my choice of frame for this picture, but I absolutley love it. I love adding touches of natural wood finishes to all of my spaces, and of course, I’m drawn to things that look unique and unexpected. I like how the frame brings that wood color from our bedside tables into the foyer.

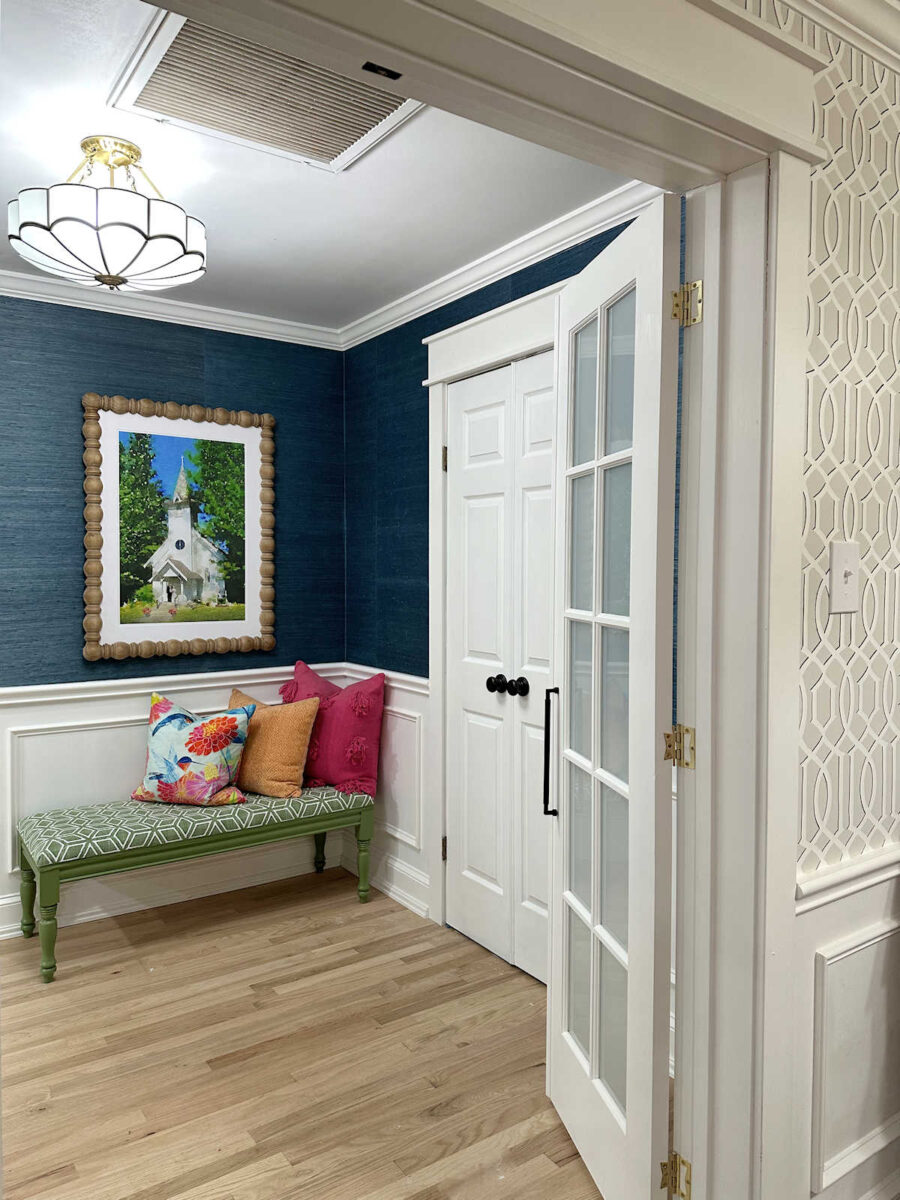
But the thing I’m the most impressed with is the glass. I chose museum glass for this picture because they only offered two types — standard glass and museum glass. The standard glass was very reflective, so I chose the museum glass. This is my first time using museum glass, and I couldn’t believe what a difference it makes. In fact, the museum glass is so clear that when I got the picture home and unwrapped it, I actually thought they forgot to put the glass in the frame. It does reflect bright lights, but that’s about it. Nothing else in the foyer is reflected in the glass.

No matter which direction I look at it, the only thing reflected is the bright ceiling light. I’m telling you, I’m sold on museum glass! It’s amazing stuff!

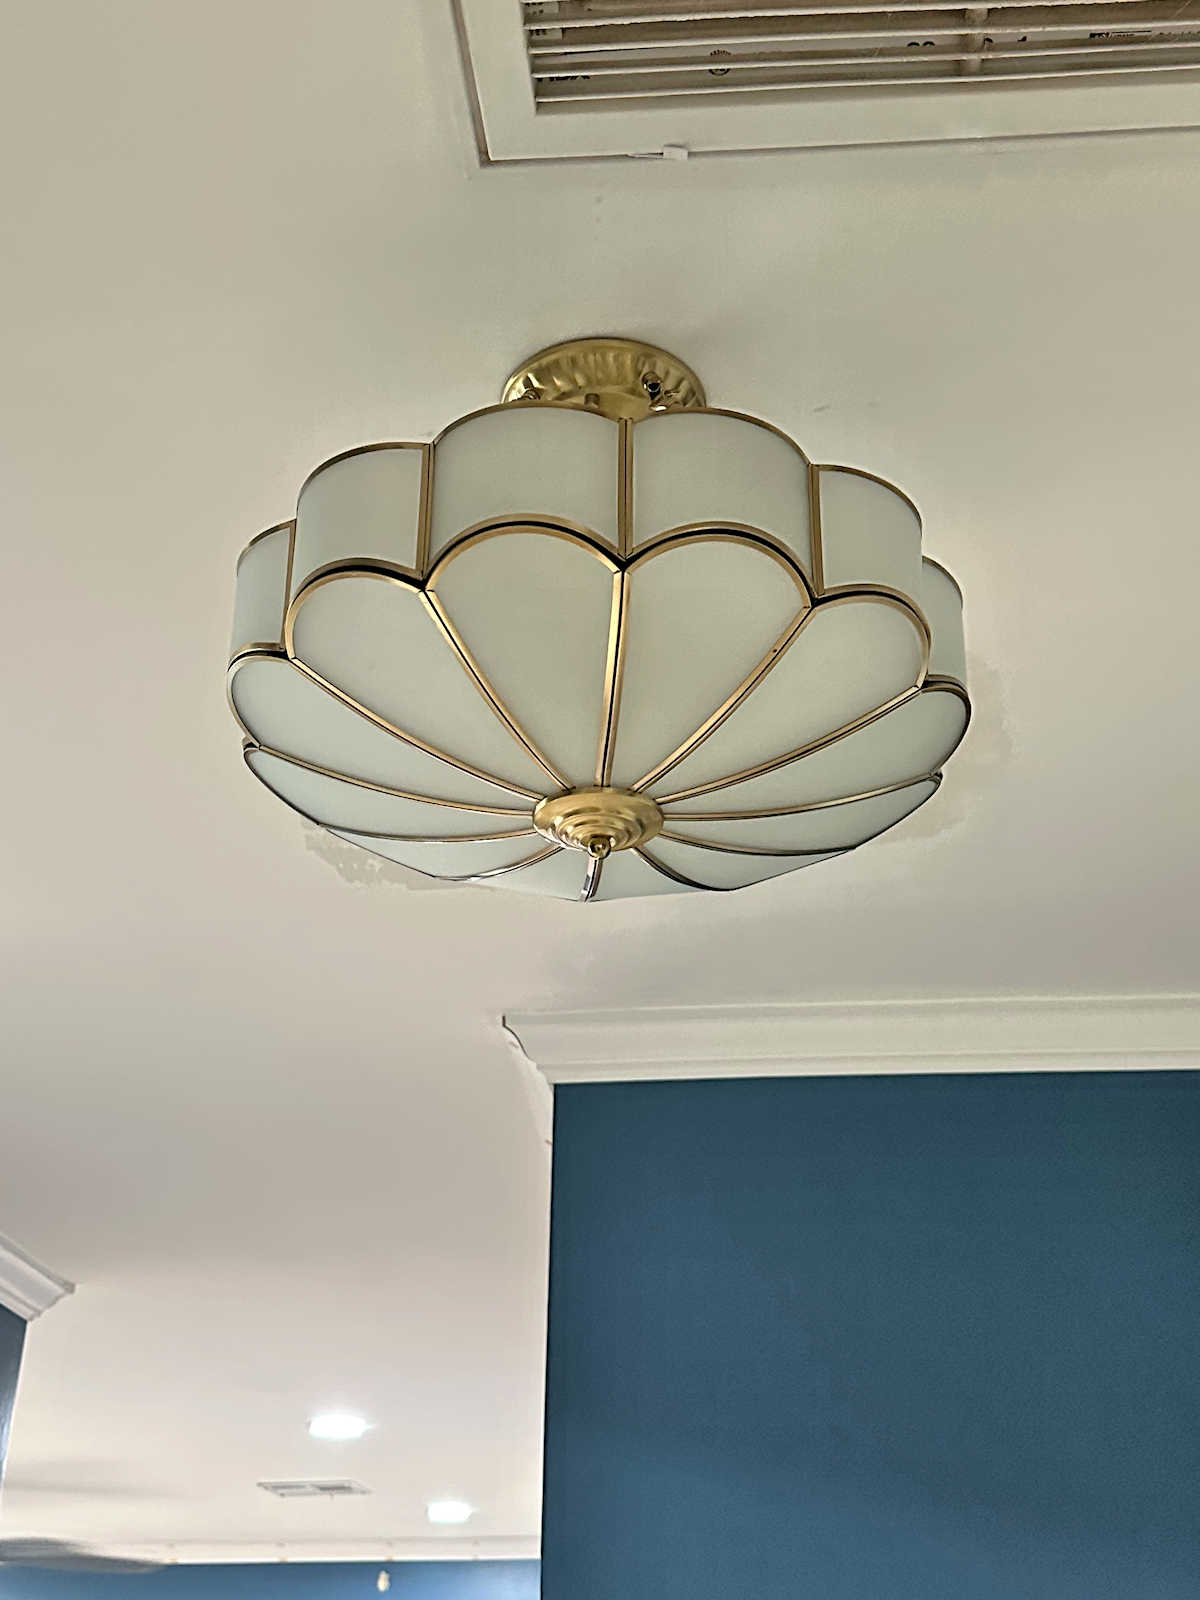
And here’s one quick look at the wide angle of this area so far. I still get sad looking at that damaged grasscloth, but for now, I’m trying to ignore it until the roof gets repaired. It has a temporary fix on it right now, so if it rains, it won’t leak. But I’m going to wait until it’s actually repaired (more than a temporary fix) before I replace that wallpaper.

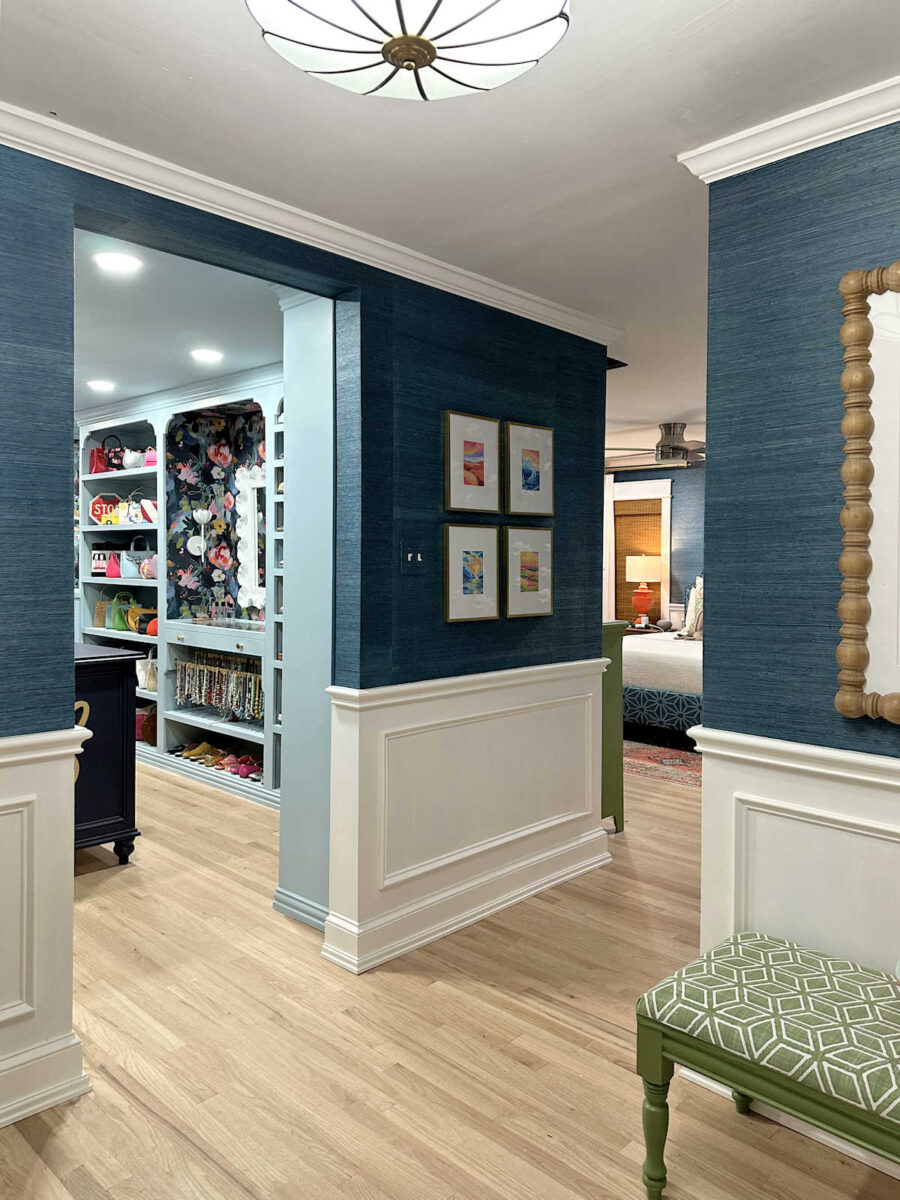
Just for comparison, here’s a look at the four pictures on the other side of that little “hallway” area that are framed with regular glass. You can see that the regular glass reflects literally everything around it.

With the regular glass, it’s not even possible to get a view from any angle where there are no reflections. Even if you’re looking at these straight on, there are reflections and glares.

And then there’s non-glare glass, which is probably the biggest disappointment for me. That’s what I used on my colorful “pinwheel” art in the living room. I paid a lot for this non-glare glass, but what a misnomer! You can see that even when you’re looking at it straight on, there are glares.

But the biggest disappointment with the non-glare glass is when you try to view the art from an angle. You can’t see clearly through the glass. It’s like your eyes (or camera) can’t focus on the art, but that’s just a feature of non-glare glass. Unless you’re looking at it straight on, everything gets a little blurry, as you can see below. That blurriness isn’t because your eyes are failing. It’s not because my camera isn’t focusing. It’s the non-glare glass distorting the view.
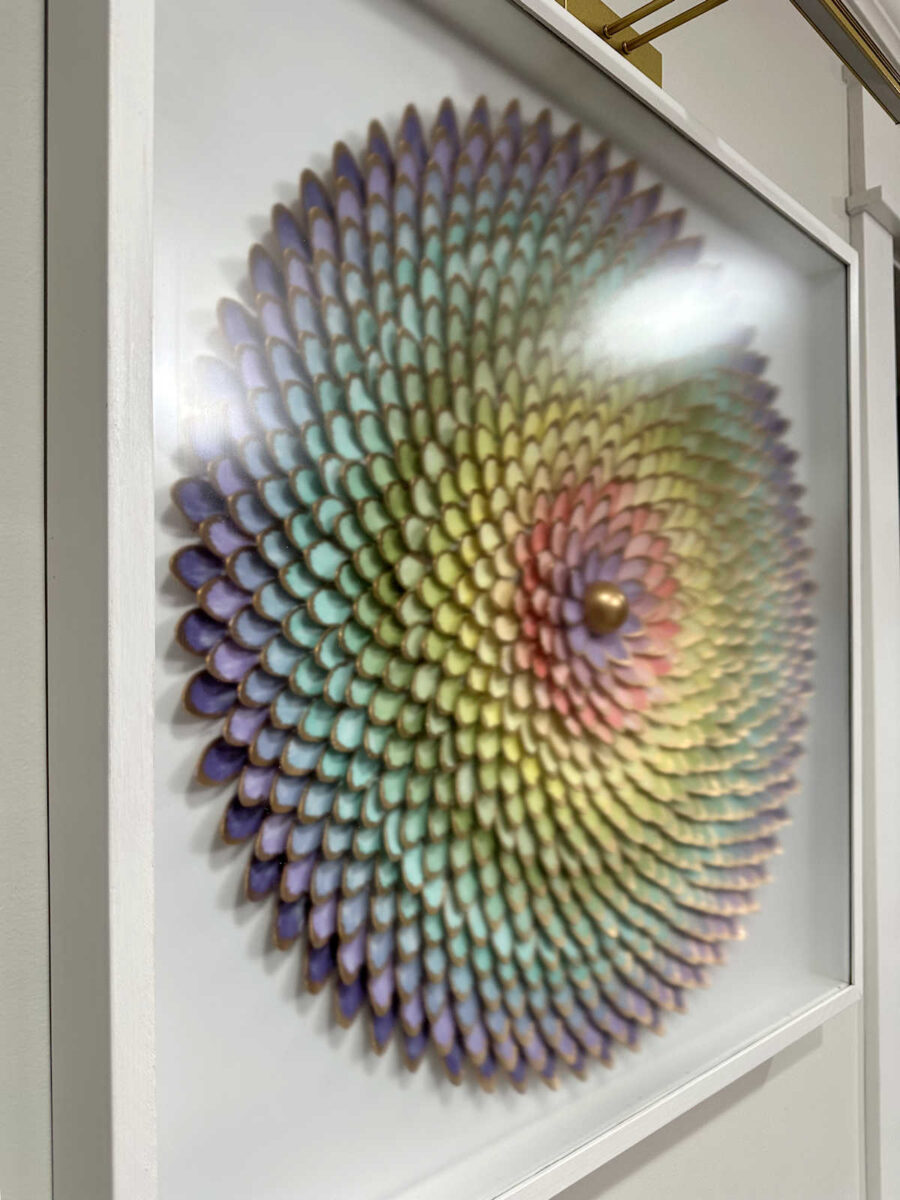
When I chose non-glare glass for this art, I had no idea that it would create this effect. I wanted a perfectly clear, non-glare glass so that the art could be seen clearly from all angles. Non-glare glass does not provide that at all. There are still plenty of glares, as you can see below, but they’re just a little bit more dulled than they are on regular glass. But my biggest complaint is that the view from any angle other than straight on gets blurry, like there’s a soft-focus filter over the art. It makes me feel like there’s something wrong with my eyes.

Now that I’ve seen in person what a huge different museum glass makes, I will be ordering a piece of museum glass for that pinwheel art very soon so that I can swap out that awful non-glare glass. And from now on, every piece of art that I have framed will be with museum glass. I can’t believe the difference that museum glass makes! I mean, seriously. Take one more look. There’s not a single glare or reflection to be seen anywhere on this picture from the bedroom doors, and you can see clearly through that glass from all angles. The only thing it reflects are really bright lights, and even those reflections are dulled compared to the other two types of glass that I’ve used.
More About Our Bedroom Suite Foyer
see all Bedroom Suite
Foyer diy projects
read all Bedroom Suite
Foyer blog posts

Addicted 2 Decorating is where I share my DIY and decorating journey as I remodel and decorate the 1948 fixer upper that my husband, Matt, and I bought in 2013. Matt has M.S. and is unable to do physical work, so I do the majority of the work on the house by myself. You can learn more about me here.
It’s coming together ❤️ that green bench is everything!
Museum quality glass is much more expensive than non-glare glass but sooooo worth the extra expense! After reading yesterday’s post I had to search for Parisian pleats because I had not heard of them before. Apparently they are the same as Euro pleat also known as a Butterfly pleat which I am familiar with. I have only seen those tacked at the very top of the pleats and not an inch down like yours. French pleats, also called pinch pleats, are tacked across the bottom of the pleats. So many interesting options!
I’m sold! Thanks for the comparison and I’ll look for museum glass options in the future!
Love those pillows with the green bench! Good to know about the museum glass!
Good to know!
I can’t believe the difference that frame makes for that picture. You made an excellent choice with that frame. It pulls the wood from the bedroom into the foyer and it makes the picture stand out so much more than before. Your rooms are just beautiful!
That museum glass is really nice. I’ve always used non-glare glass when framing my cross stitch projects and since all but one do not have direct sunlight I’ve never seen an issue. I have one close to completion and I may look into the cost difference. Especially since I have two that I want to reframe due to my tastes changing over the years.
Wow – good to know…I had no idea the non-glare distorts the art work. What a waste! Everything is coming along…love it!
That’s a good tip to know. Your willingness to share those kinds of tidbits and an honest appraisal of materials and tools are one of the things that I appreciate when reading your blog and seeing your vision come to life in your projects.
And while I agree with most of your followers when they see aone of your finished projects, I find it refreshing that you honor their commitments when they don’t particularly like something
I don’t care for the frame on the church picture, although I absolutely the that picture. The frame seems to heavy and overshadows the it.
And I loved the bird material and was sorry when you decided not to use it on the bedframe, but still I completely respect your choices and I learn so much about how different colors and textures can change the mood in a room. Your talents are amazing and inspiring
A bit of glass science.
I was oblivious until my chemist son worked in the 3M coating labs. The coatings for glass to make them function are amazing. think phones, touch screens like at check out, medical devices, windows, eyeglasses, & so much more.
Following shows how sophisticated, hence the cost.
Key steps in making museum glass:
Start with High-Quality Glass: A clear, inert glass (often silica-based) is used as the substrate to ensure excellent light transmission.
UV Protection Coating: A layer is applied to block harmful UV rays, which can fade artwork. This can be an organic absorber or an interference coating.
Anti-Reflective (AR) Coatings: Multiple, alternating layers of metal oxides (like silicon dioxide and titanium dioxide) are deposited onto the glass surface.
Vacuum Deposition (Sputtering): This is done under a high vacuum using a sputter coating process, where energized atoms from a target material settle onto the glass.
Interference Layers: The thickness of these metal oxide layers is precisely controlled to create destructive interference for light waves, cancelling out reflections and glare.
Curing & Quality Control: The coatings are cured to bond them permanently and are then scanned and visually inspected for perfect optical properties and clarity.
The result is glass with over 99% UV protection, minimal glare, and maximum light transmission, making the art appear almost uncovered.
I never knew there was such a thing as museum glass! Reading one of the comments regarding how it’s made was fascinating. Glad you were able to get that option. Question: Have you considered trying to lighten those concentrated water stains on the wallpaper? Didn’t you do that with a place near the door to the closet? Just an idea. As to the frame for the chapel picture, it reminds me of a Jenny Lind bed, or a Jacobean style chair. Very classic.
Not sure if it affects coatings on museum glass. Do be careful what you clean it with. My other half used sanitizer to wipe their glasses. To skip going crossing a warehouse floor to the bathroom on the job. Then learned it removed every coating (glare, anti scratch) on the lens over time from repeatedly doing so.
Wow, good to know! I had no idea museum glass made such a big difference.
It’s looking great so far.
That chapel pic is great!
I think you didn’t really get non-glare glass for your living room artwork. You probably paid for non-glare glass but got regular glass. I never heard of museum glass, but it sure looks nice on the chapel picture. Where are you having your pictures framed? I’d like to know because I have a couple of things to get framed including two tatted collars that were made in 1908 by my grandmother’s grandmother. I want them to look good.
I love your frame on your chapel picture. I also really like the pink pillow.
You do wonderful work even though you have different ideas than I do. HaHa