
Dining Room Marbled Air-Dry Clay Artwork (One Down, One To Go)
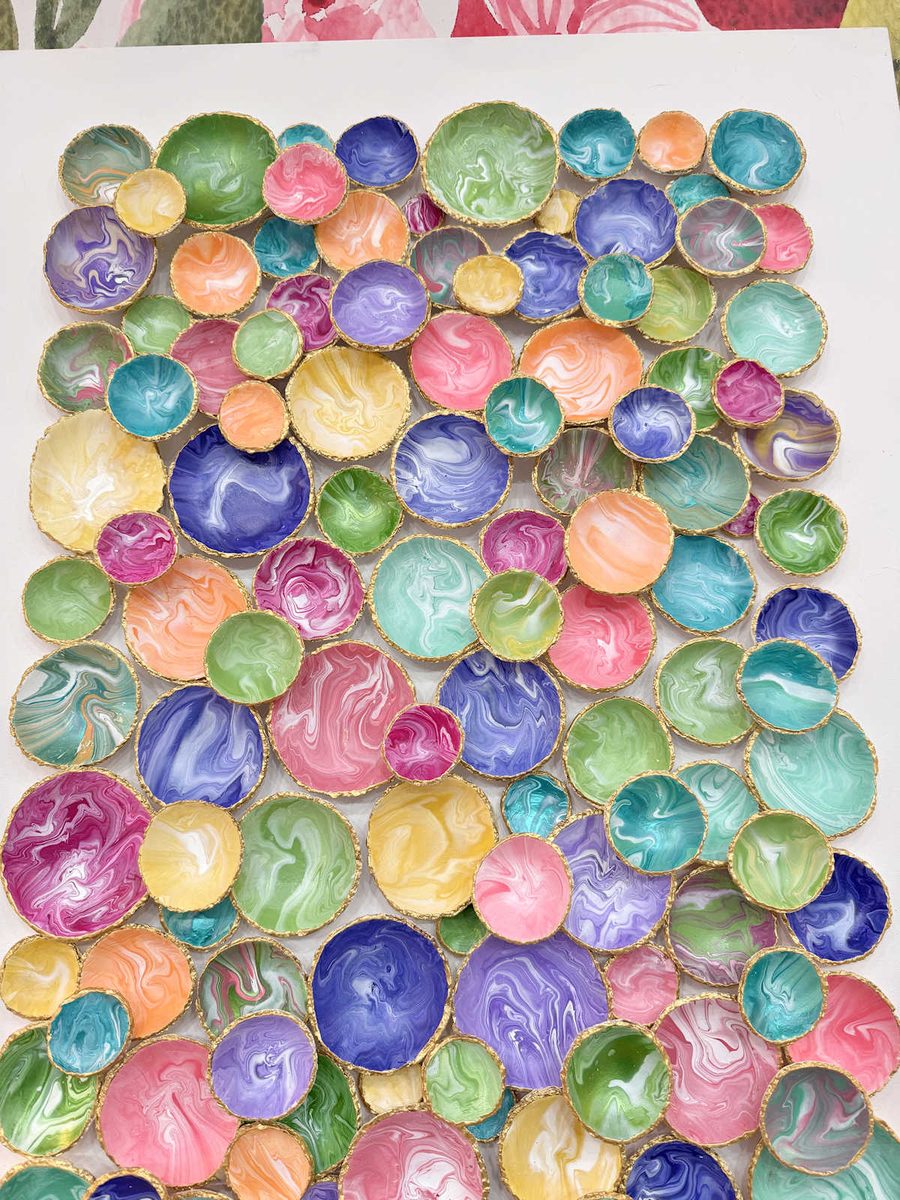
Our weekend weather here in central Texas turned cold and rainy, so it seemed like the perfect opportunity to stay in my studio and finish up the first of the two pieces of marbled air-dry clay artwork for the dining room. This whole thing was an experiment from beginning to end, and I just made it up as I went along. I had an overall vision for what I wanted — lots of circles overlapping each other, texture, color, gold accents. I had some points where I doubted the vision and thought about scrapping it and doing something else. But in the end, I’m glad I pressed on and completed it. It’s not framed yet, but I really love how it turned out, and I think it’s going to look fantastic once the whole thing is framed and under glass.
And mostly, I like that it’s different and unique. It’s not just a painting or a framed print, both of which I love and have in our home. But I also like artwork that is non-standard and unexpected. And this definitely fits the bill. I’m still not quite sure how I want to frame it. I’m contemplating two different options, which I’ll share at the end of this post. But for now, here’s how the artwork turned out.
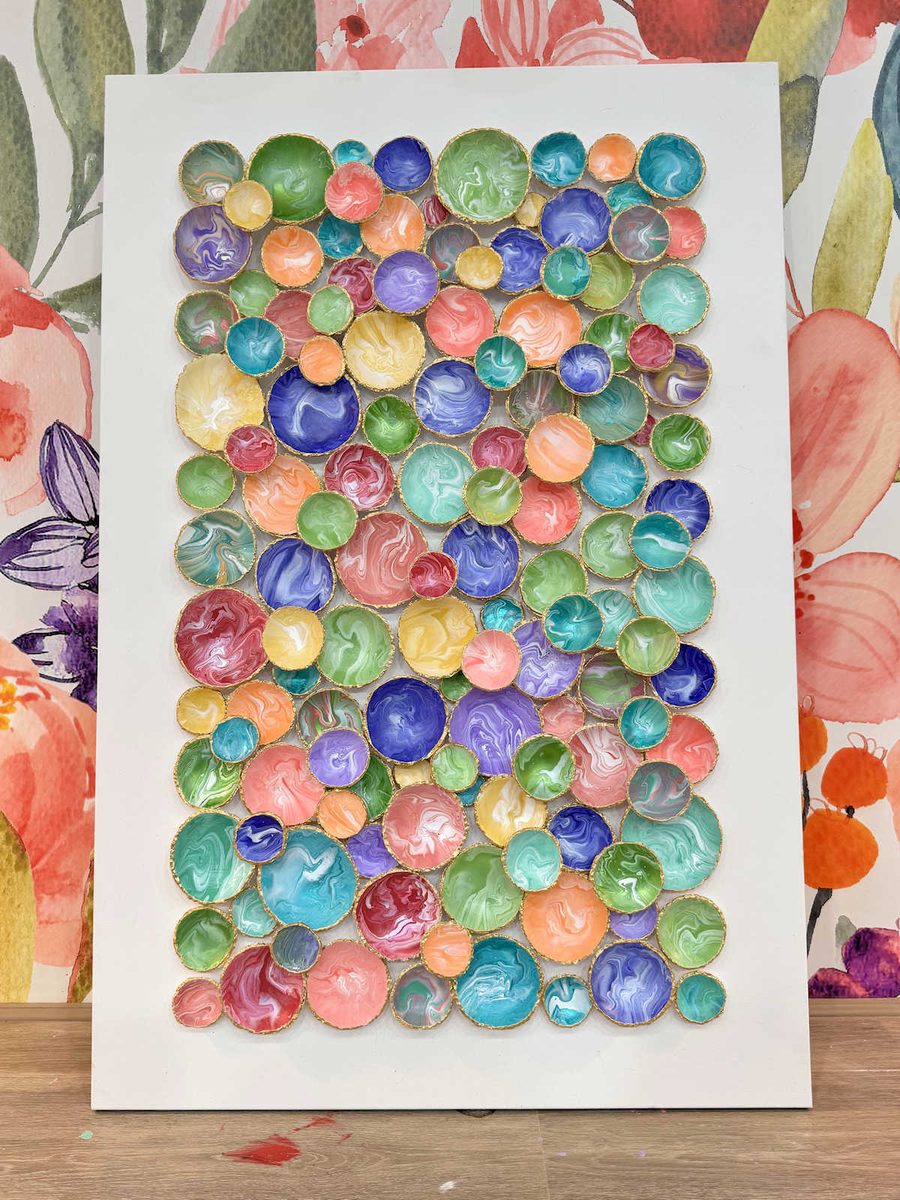
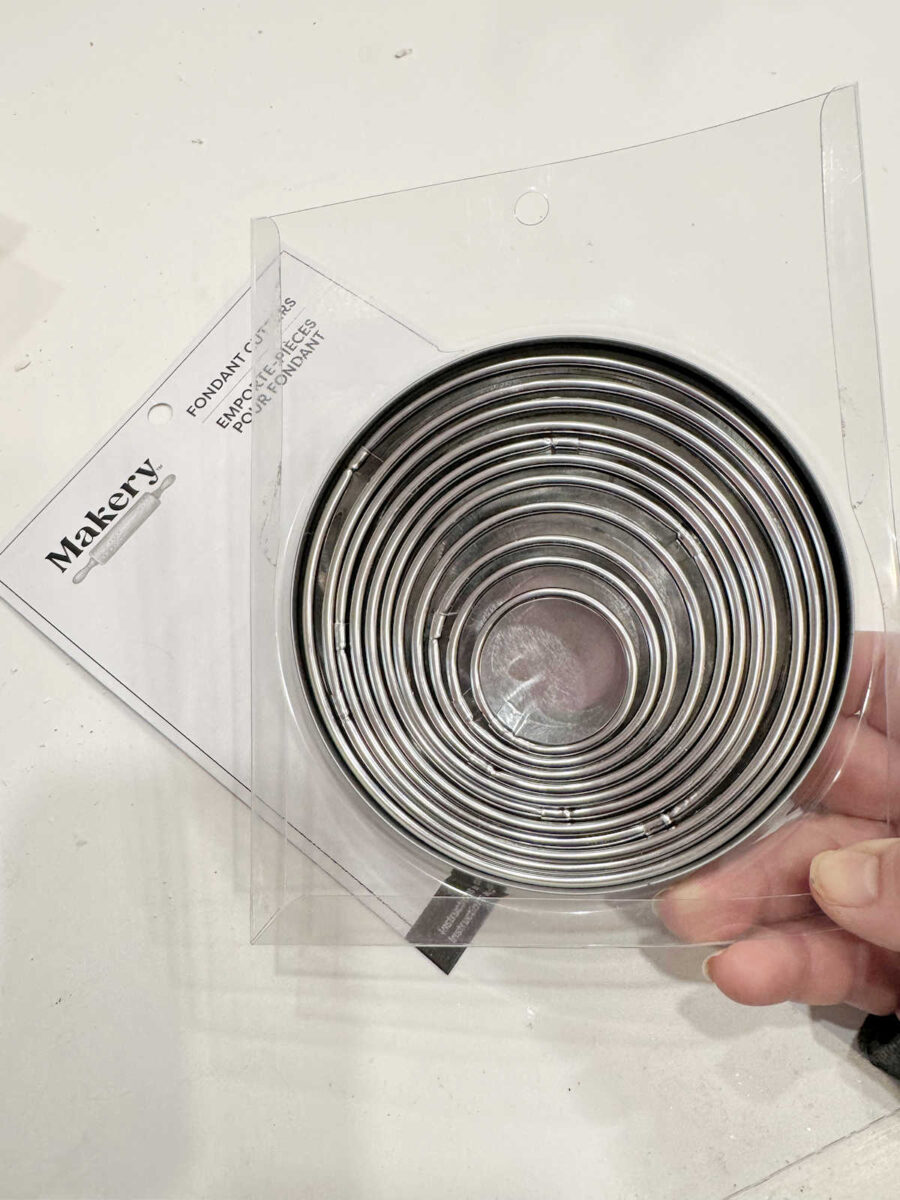
I have a lot more pictures to show of the finished piece, but first, let me give a quick recap of the process. I used these fondant cutters from Michael’s…
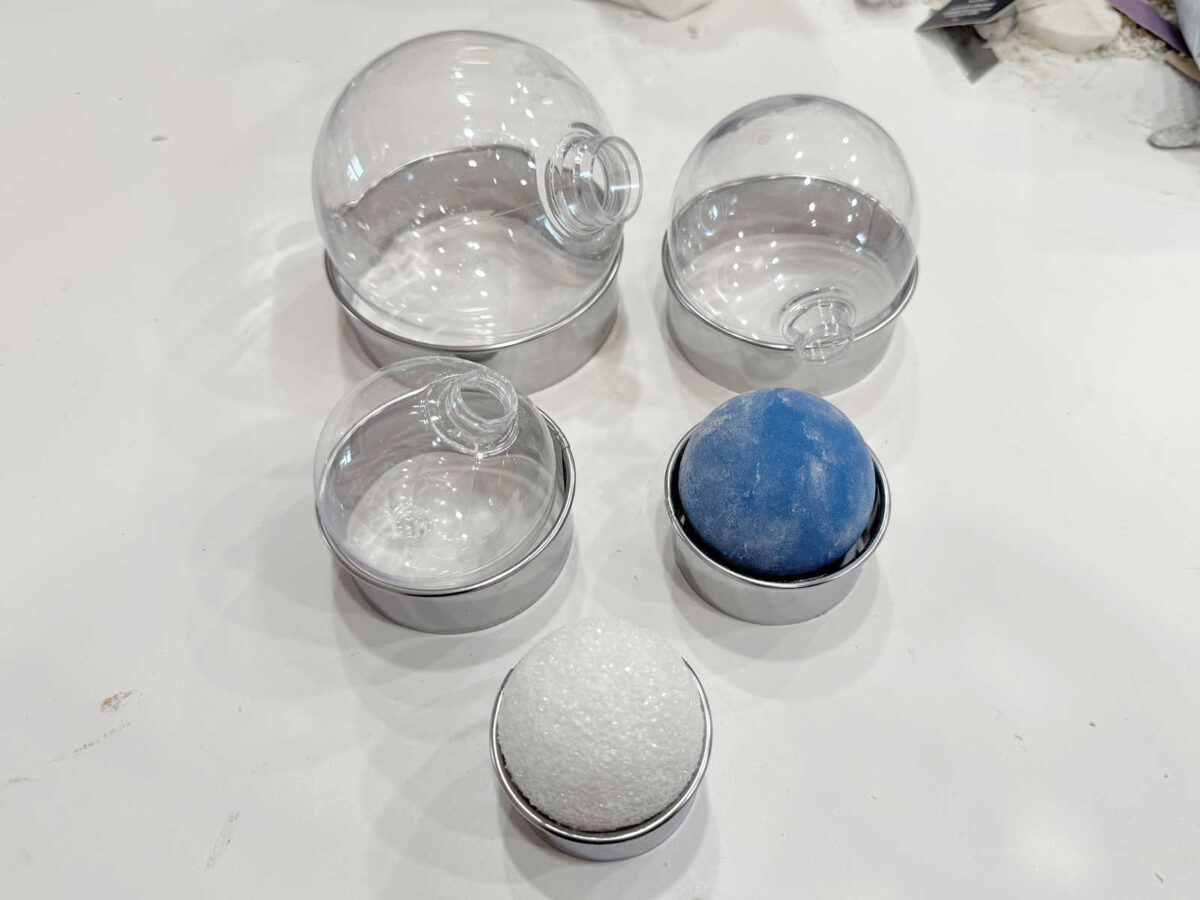
And I used five different sizes with corresponding spherical objects that I found.
After rolling out the air-dry clay between two paint stir sticks so that I could get a consistent thickness, I cut out the circles and then used the spherical objects to shape each one.
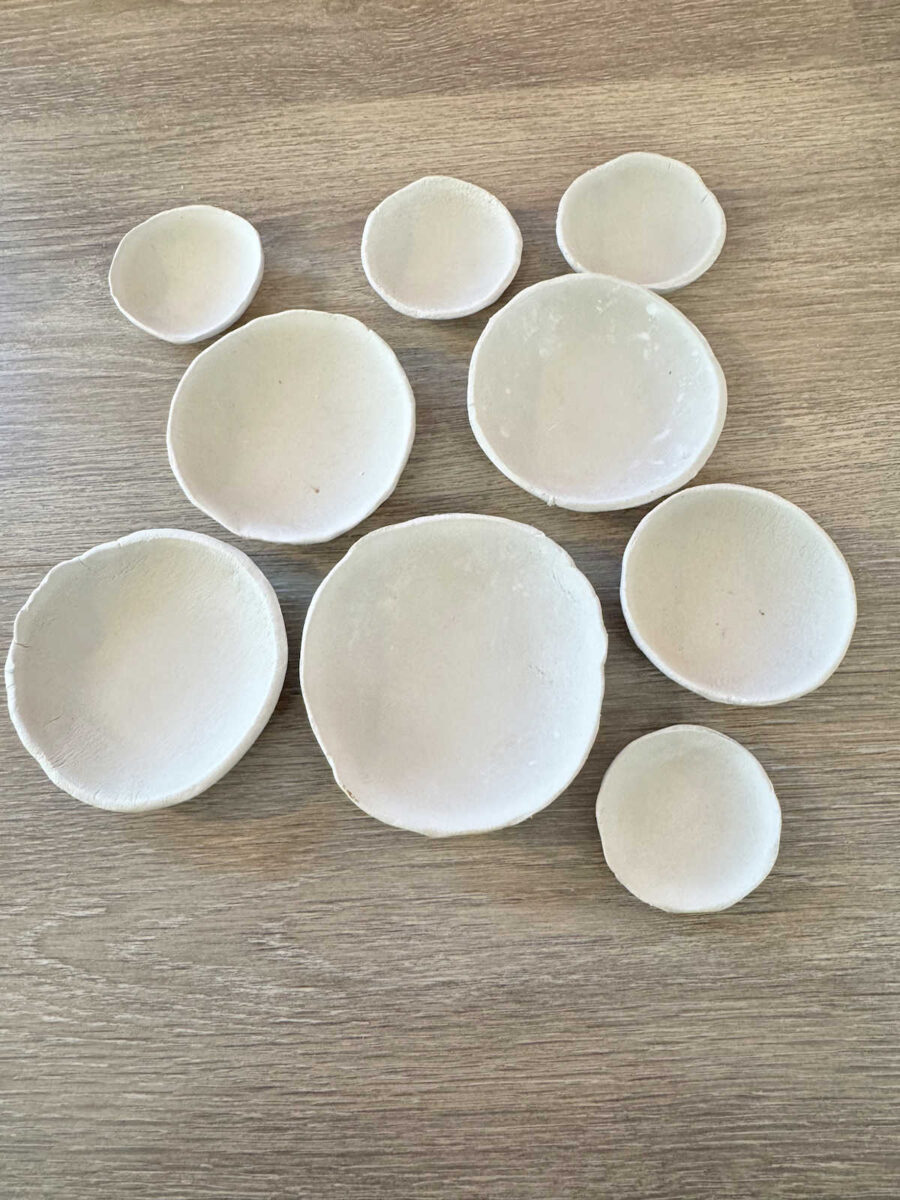
After they had been left to dry for a few hours, I tore the edges so that they had more of a rough, imperfect, handmade look to them.
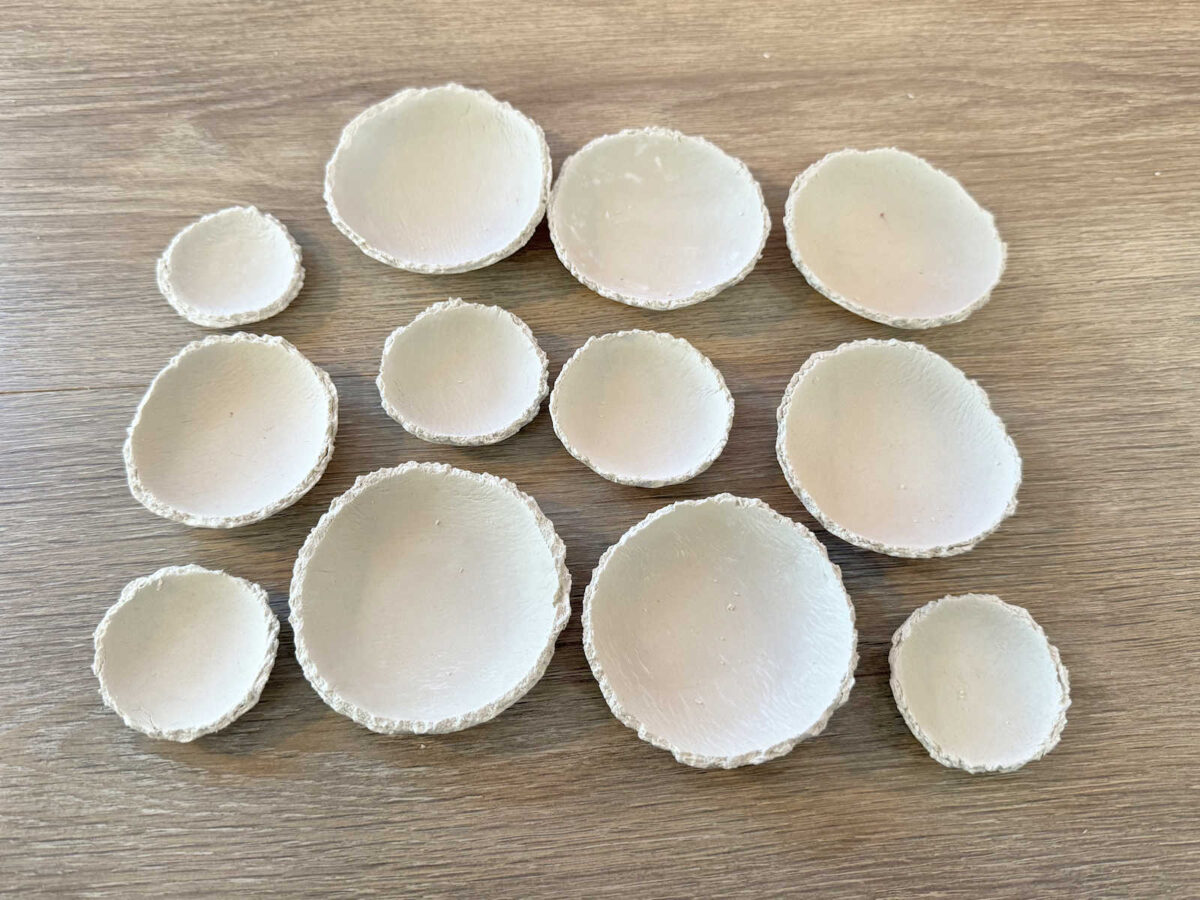
When they were fully dry (about 24 hours), I sanded each one with 220-grit sandpaper.
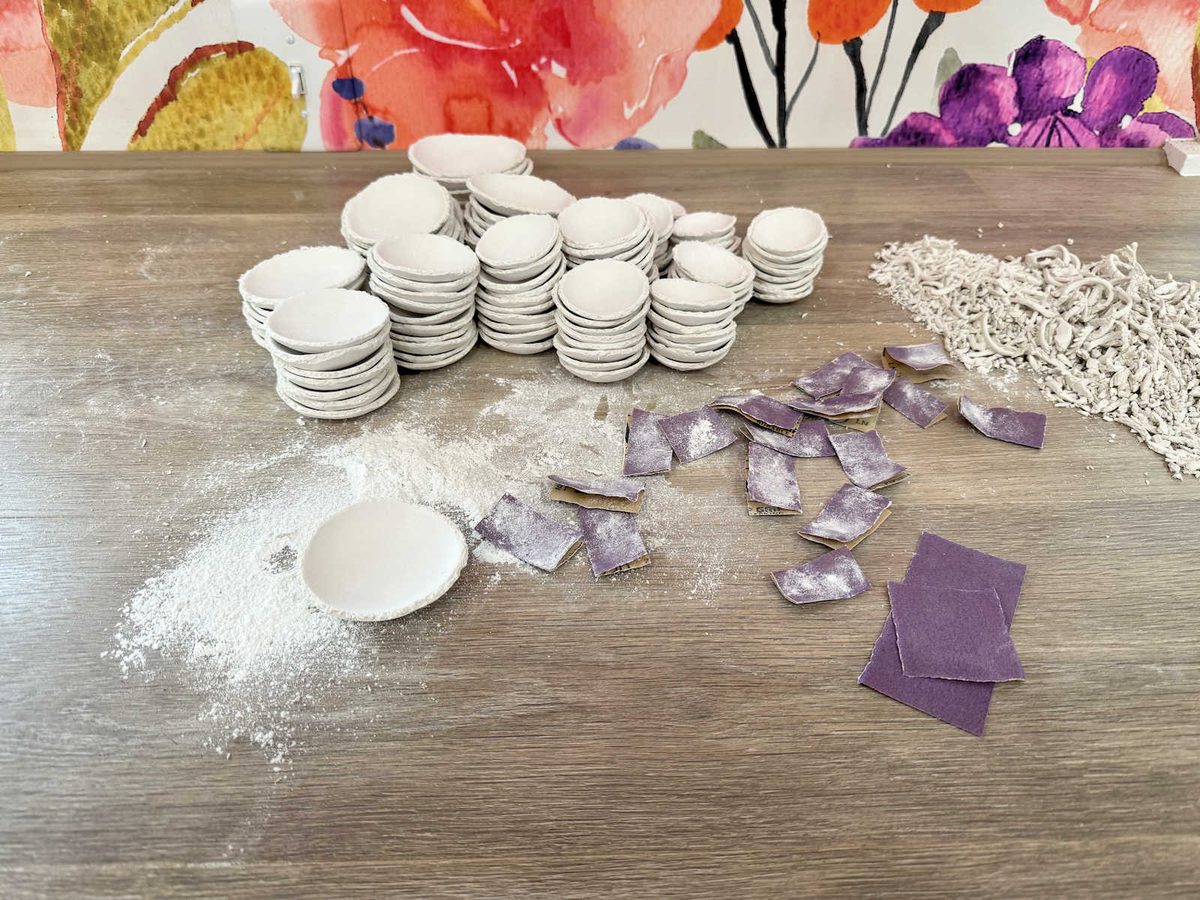
And then I wiped the dust off of them and gave them two coats of spray primer on each side.
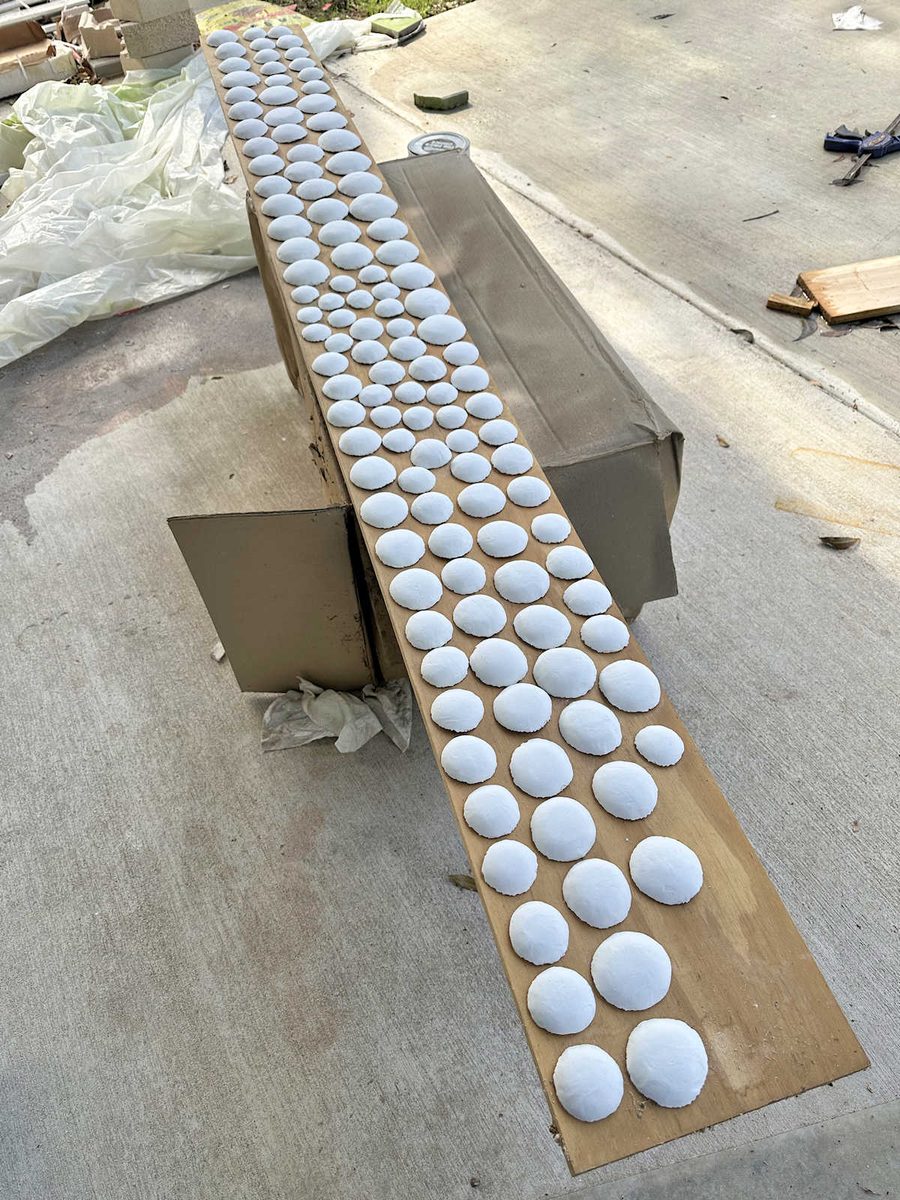
Once the primer was dry, I was ready to marble them. I mixed about ten different colors of acrylic paint, including a solid white. I used soft body acrylic paints and mixed each one with about 50% paint and 50% Floetrol, and then I added just a little bit of water to the mix. I painted each one with the white paint mix so that the paints would flow over the wet paint to make the marbling process easier.
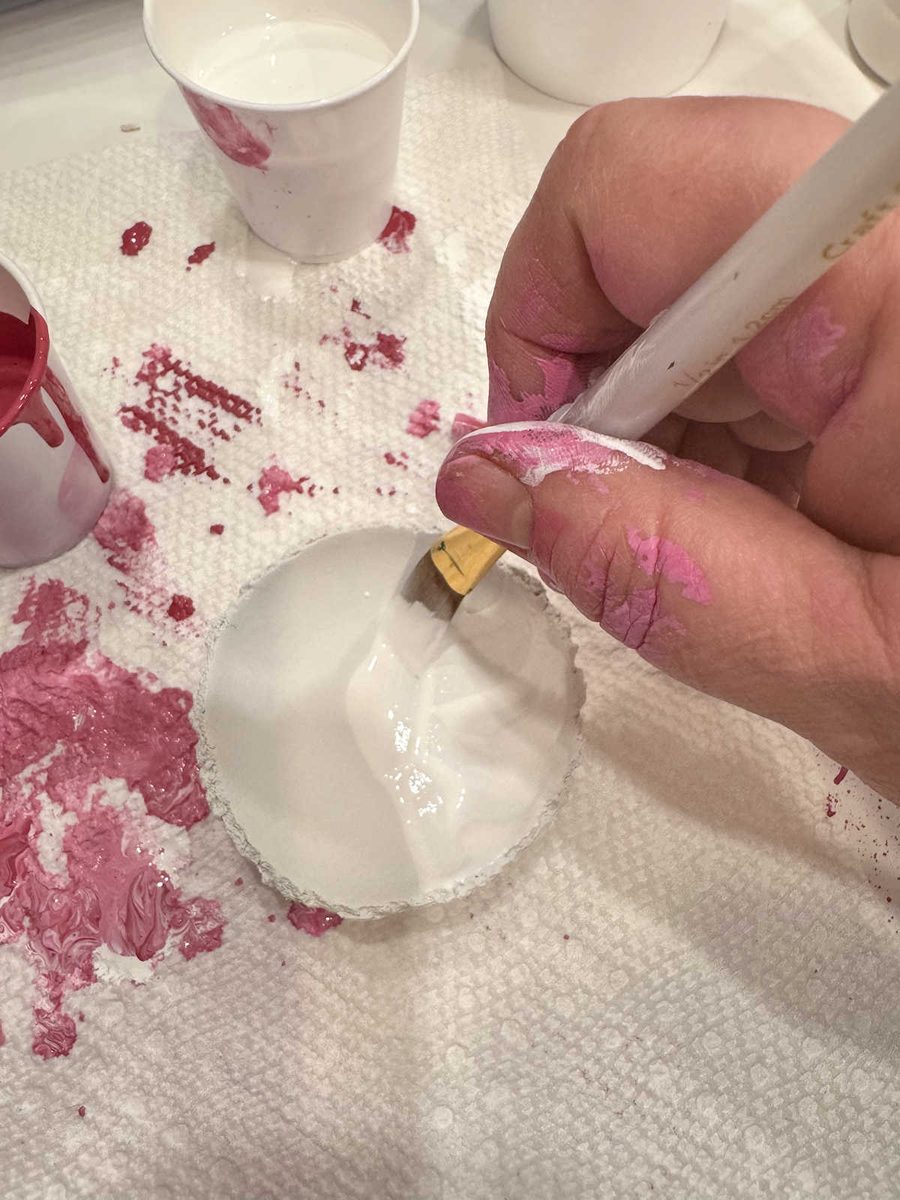
While the white paint was still wet, I poured a little bit of a color, then white, then the color again, and then more white.
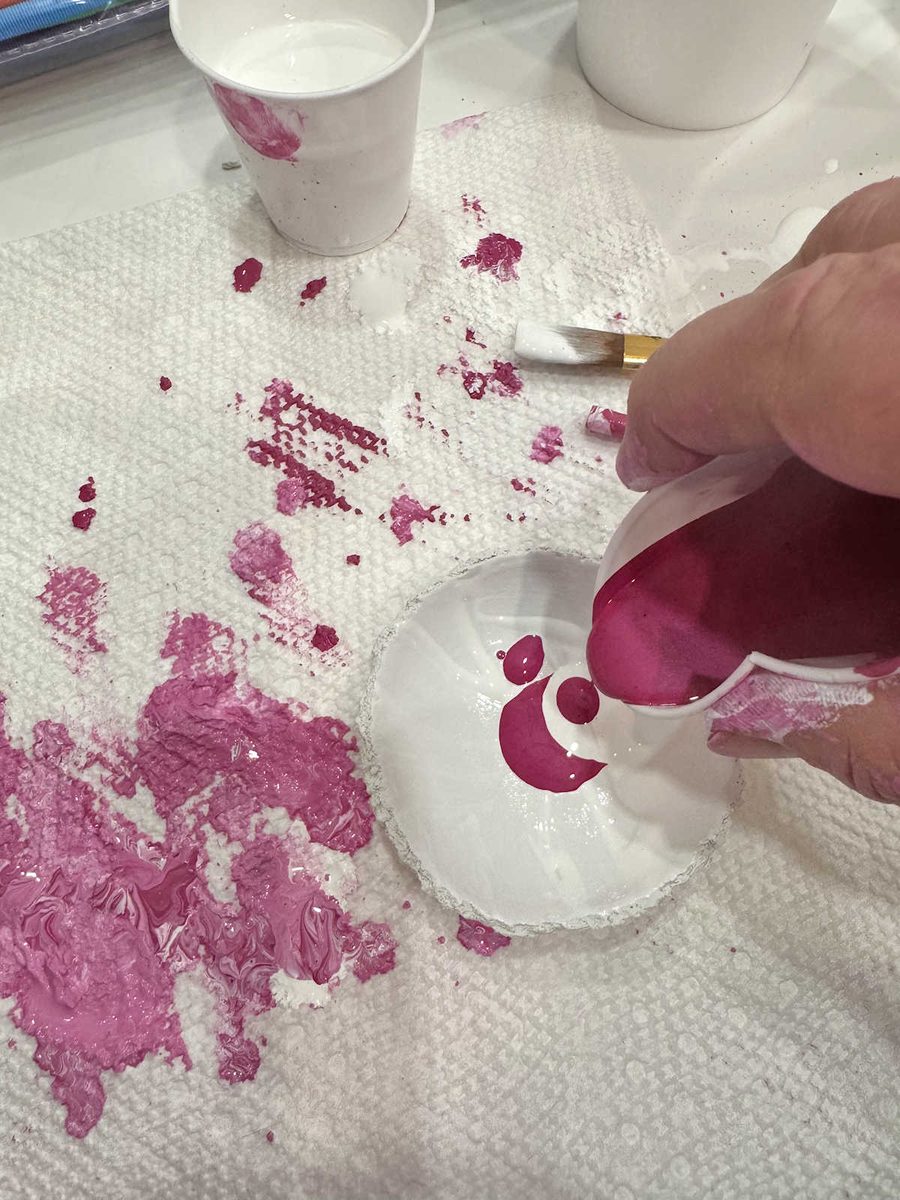
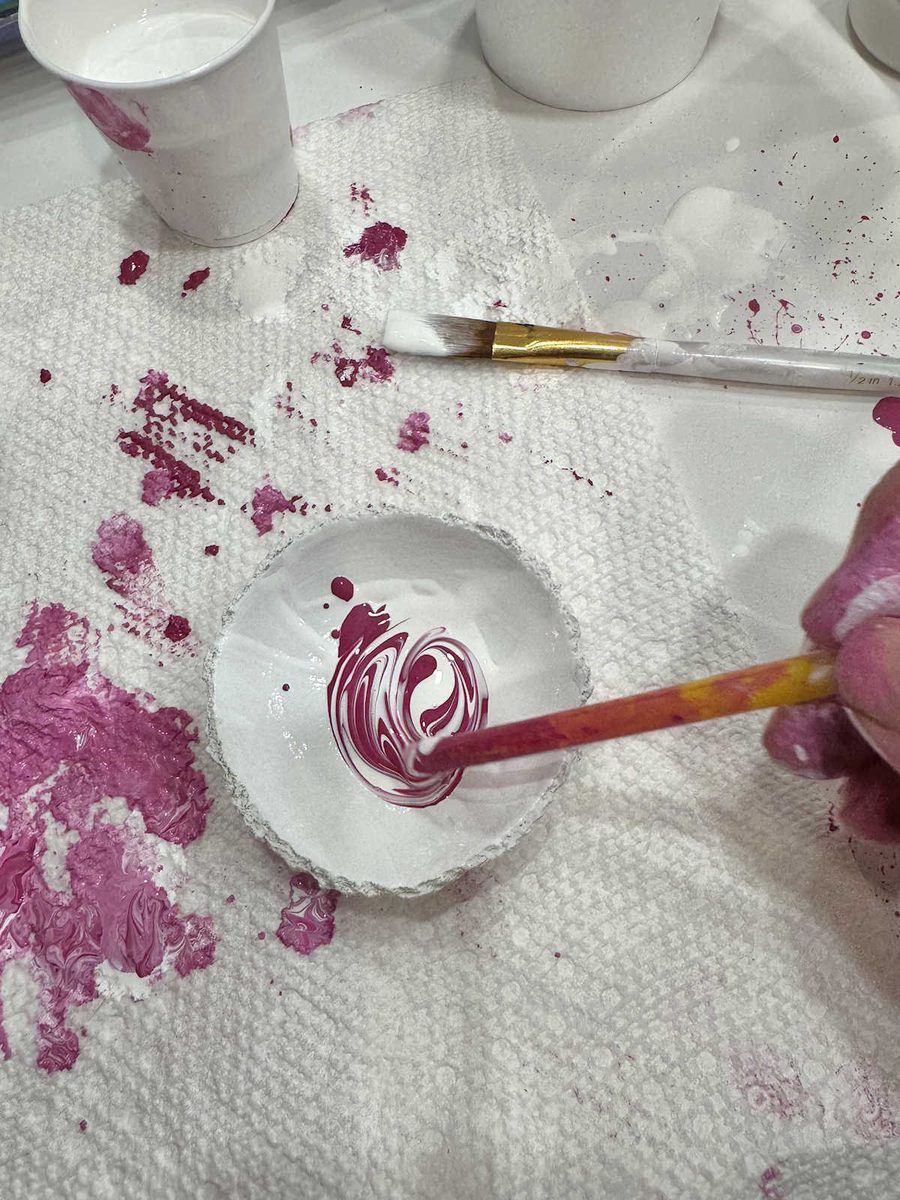
I stirred those together to get a marbled look.
And then I tipped the clay so that the marbled paint would flow to the edges all the way around.
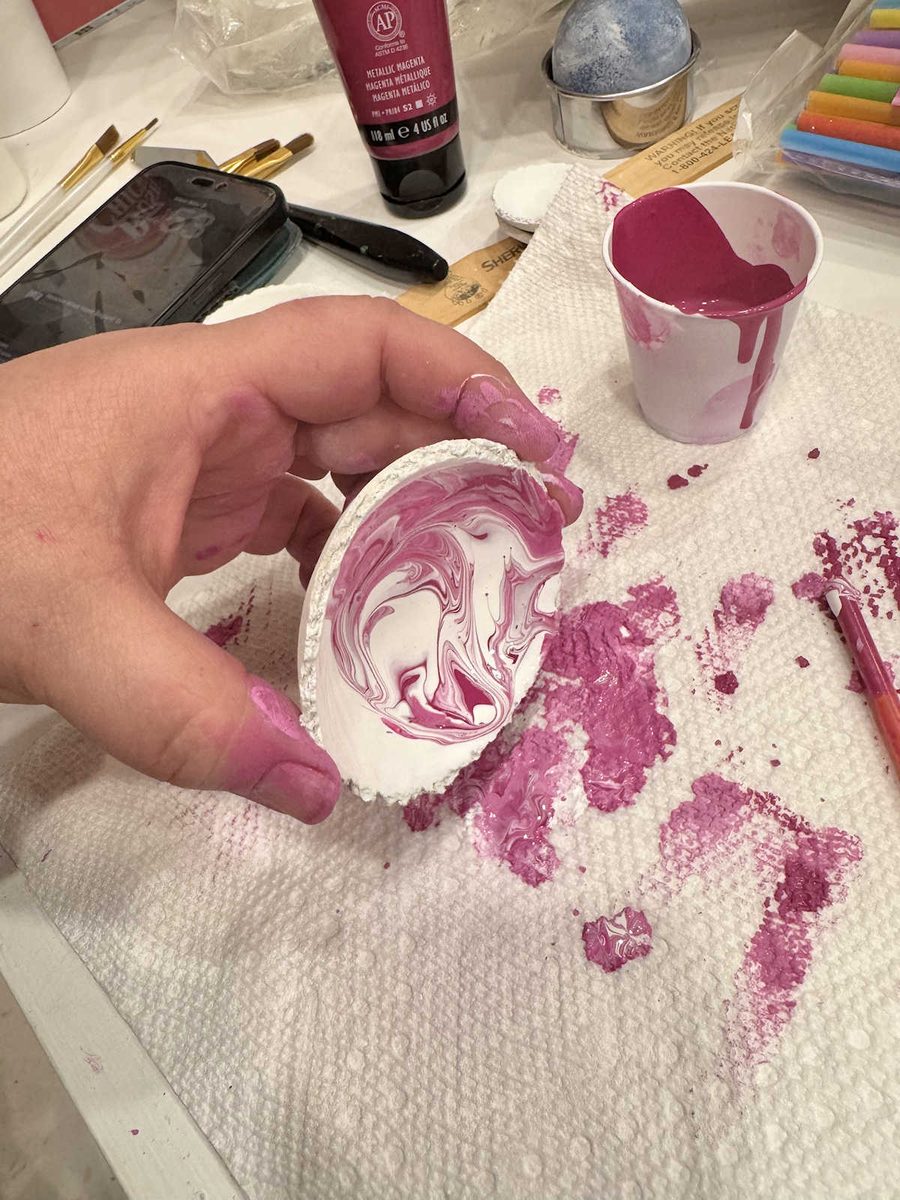
When the whole thing was covered, I set it aside to dry overnight.
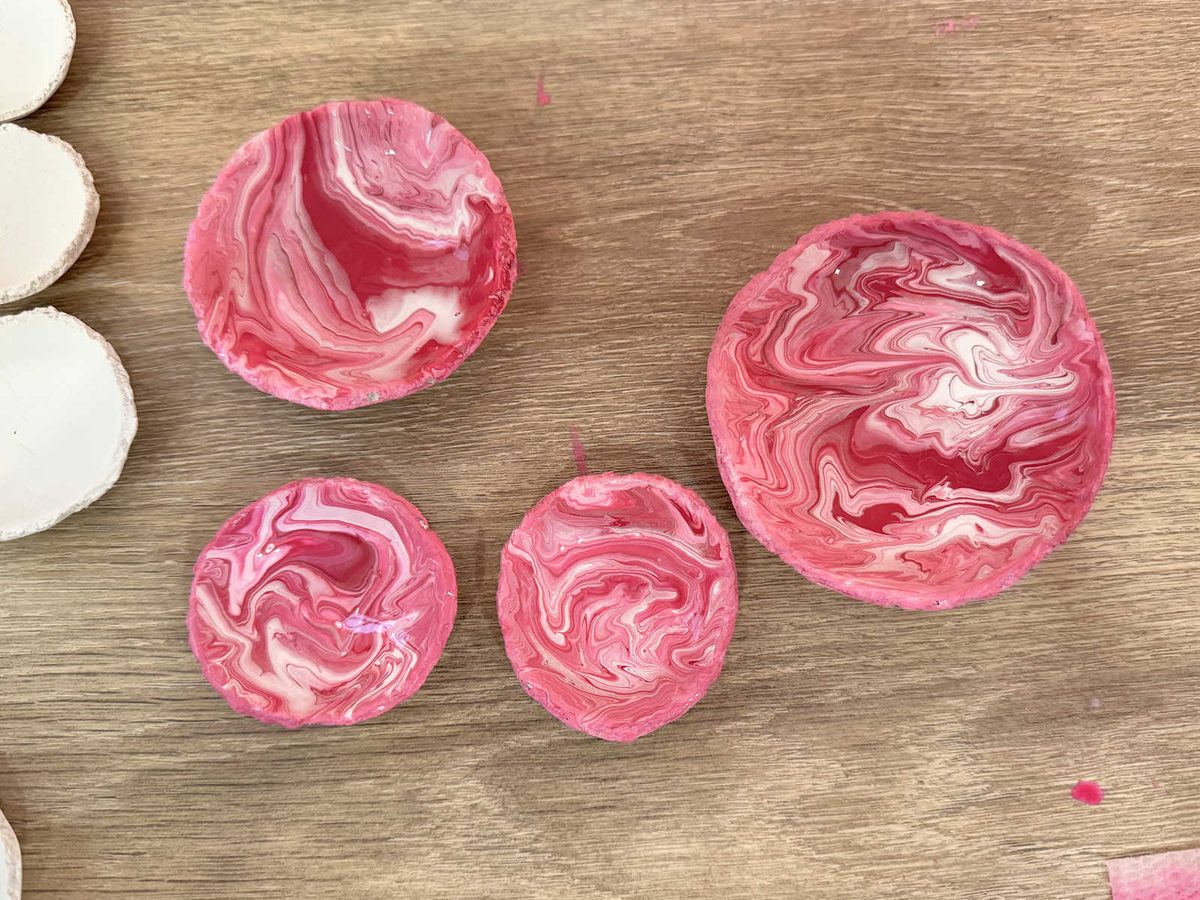
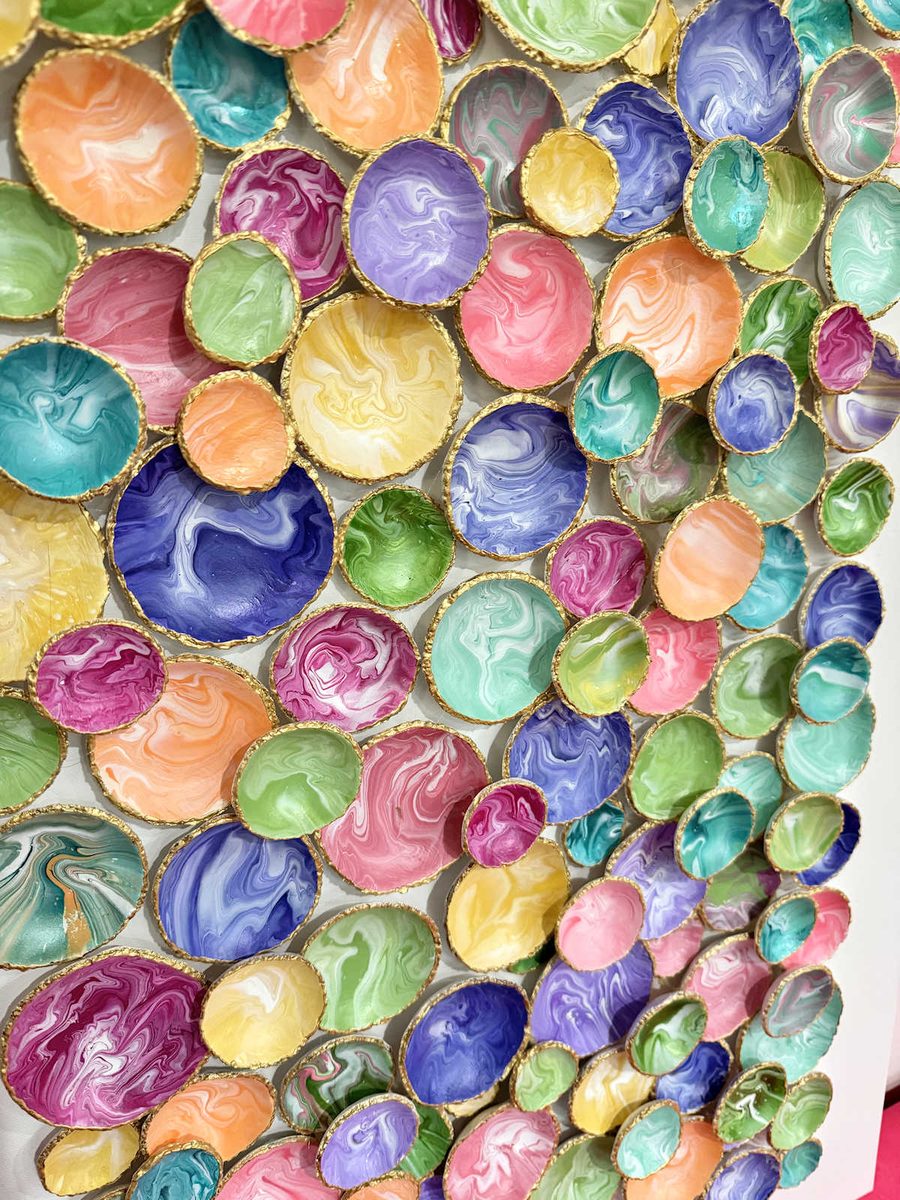
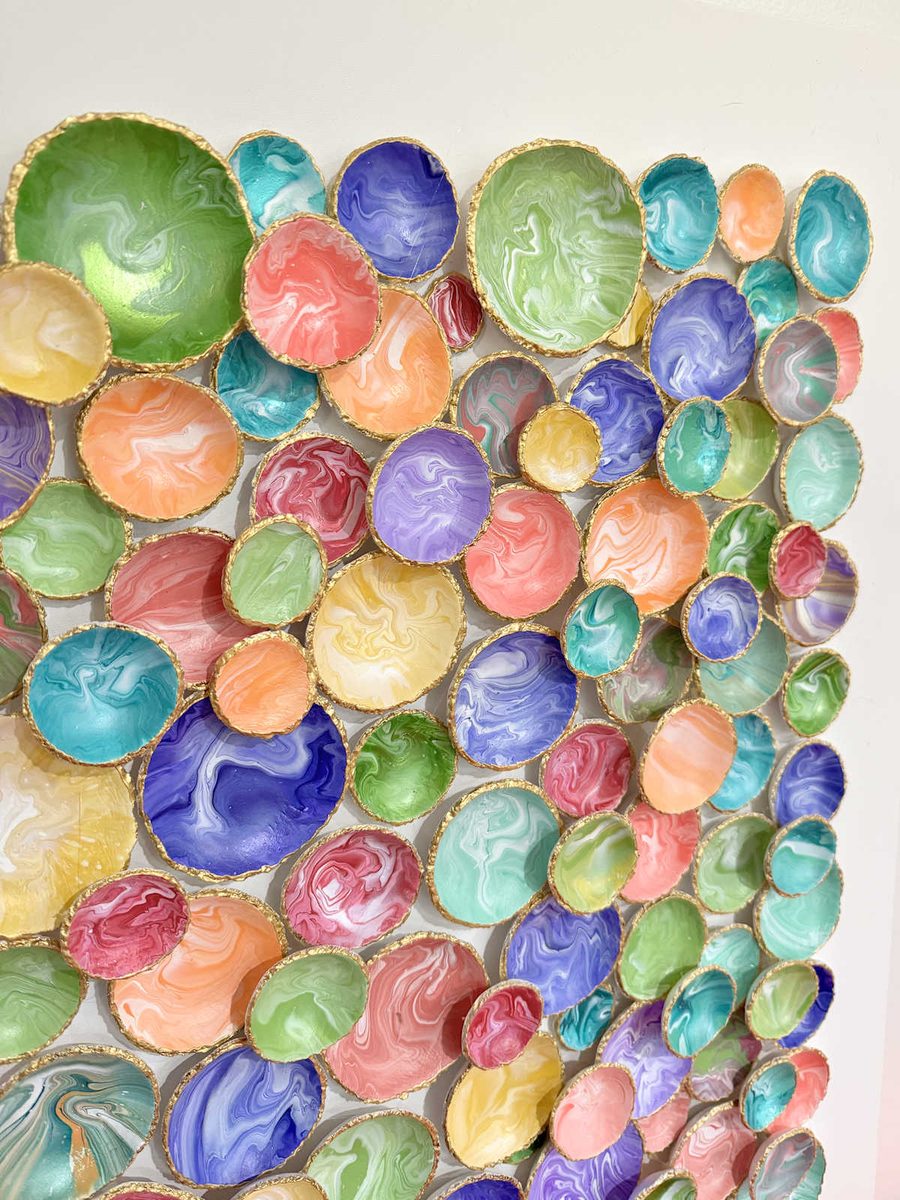
Before I began arranging them on my canvas, I painted the rough edges of each clay circle with liquid gold gilding, and then I painted the backs solid white just in case they showed from the sides.
And then I started arranging them on the canvas, leaving a wide border that I had taped off with wide painters tape to use as a guide. Once I got them arranged how I wanted them, I secured them to the canvas (and to each other for the ones “floating” on top) with hot glue.
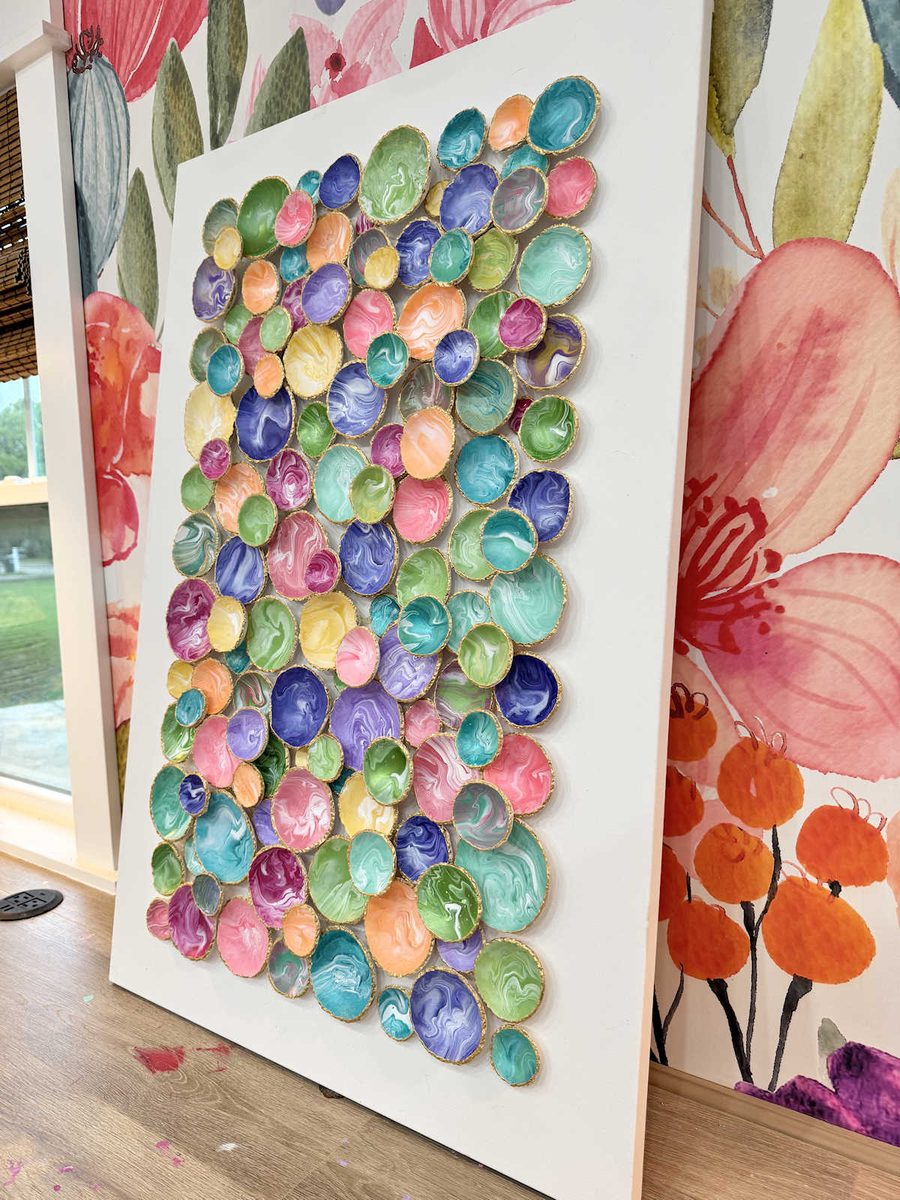
The whole process was very fun. I’ve learned over a few different projects that air-dry clay is one of my favorite art mediums to use. It’s so easy to use, and the things you can make with it are only limited by your imagination.
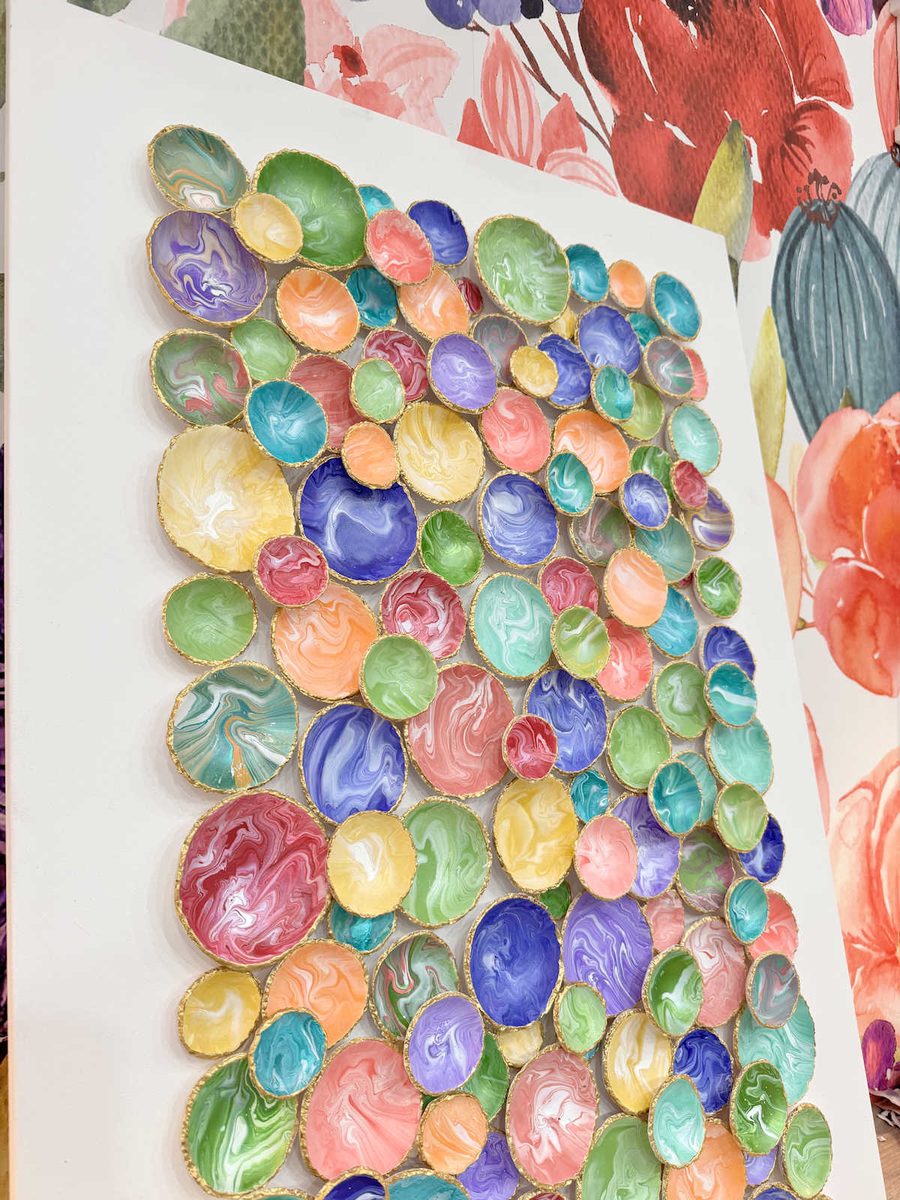
I wasn’t really wanting these to look like anything in particular. In other words, I wasn’t aiming for them to look like geodes or anything like that. I just wanted them to be colorful and fun.
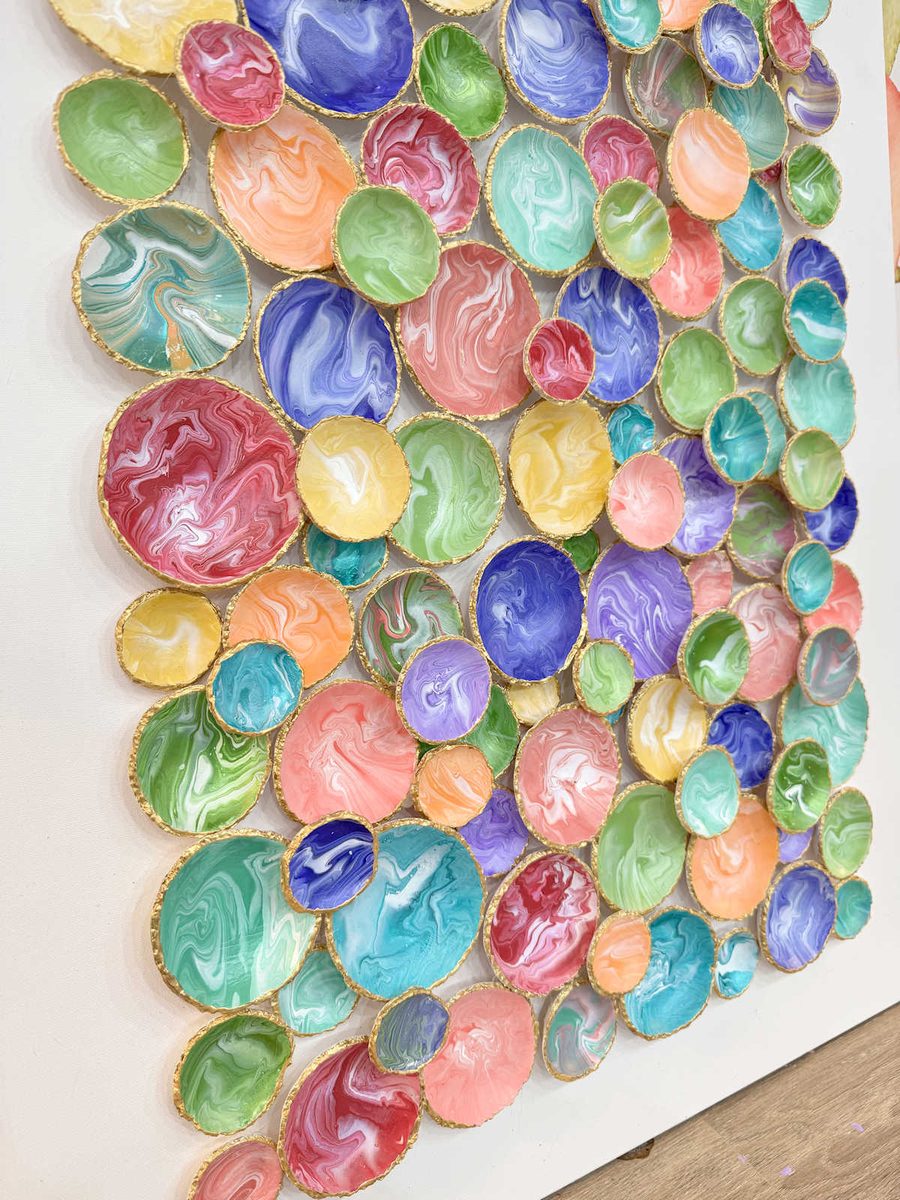
And I think I achieved that! It’s definitely a feast for the eyes for someone who loves color as much as I do.
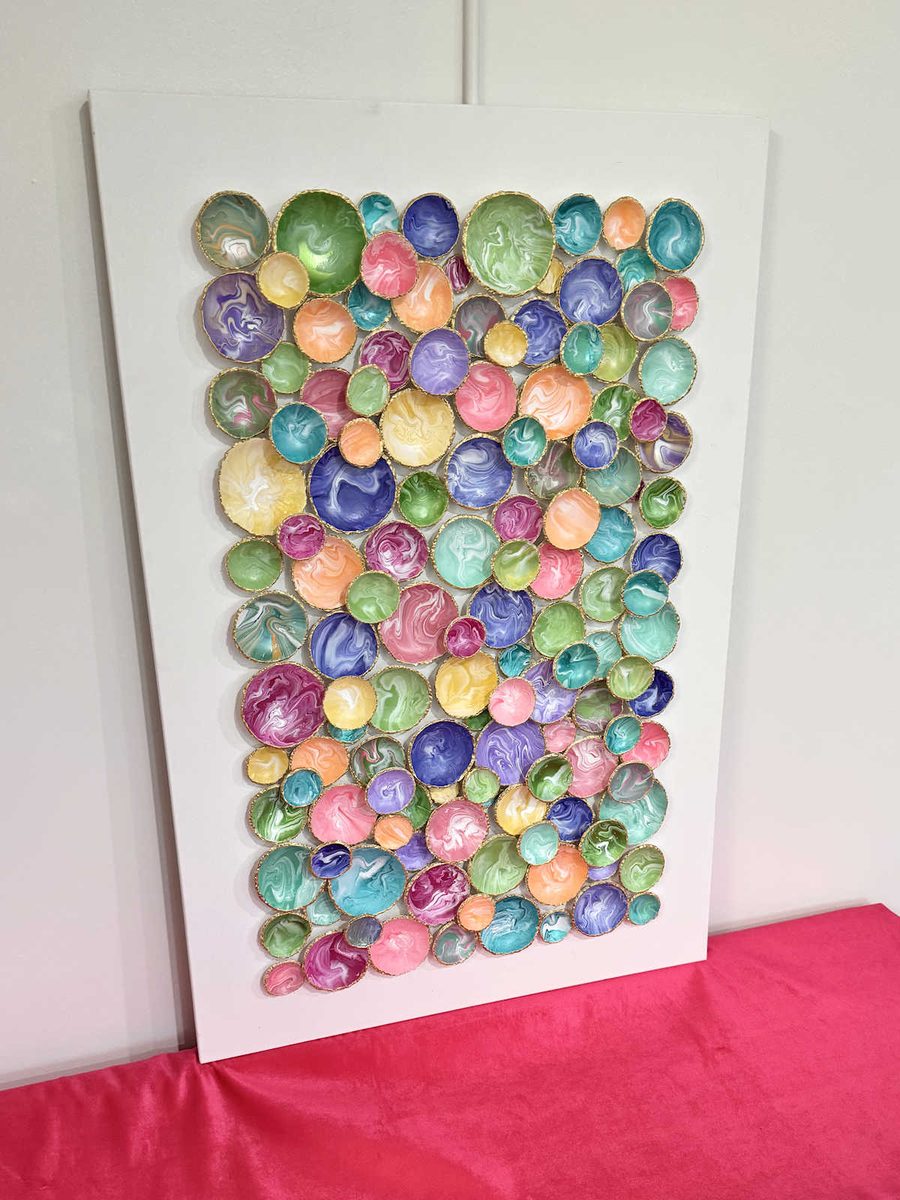
And now I just need to figure out how I want to frame it.
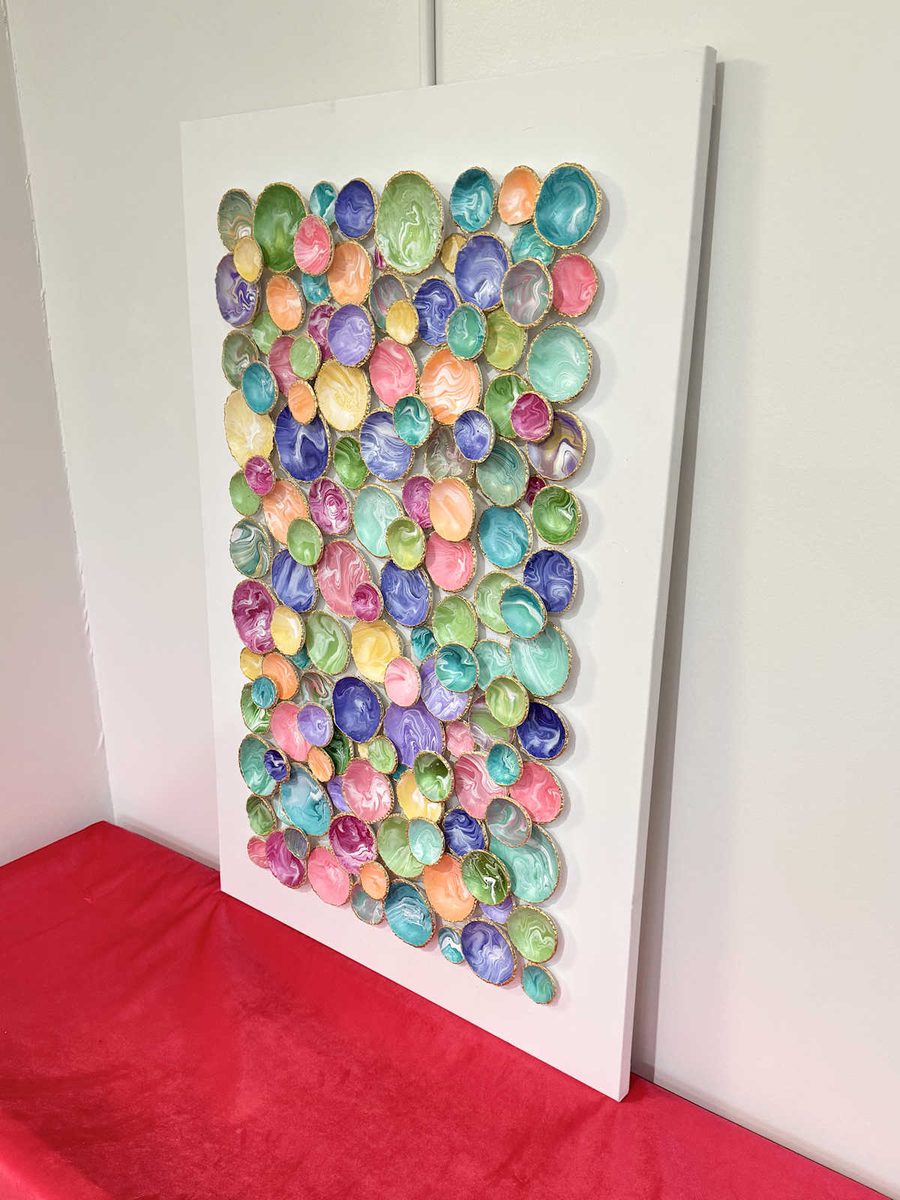
Option one is to make an acrylic box to fit over it. An acrylic box with acrylic sides would allow it to be viewed from the side so that the layered look would still be viewable.
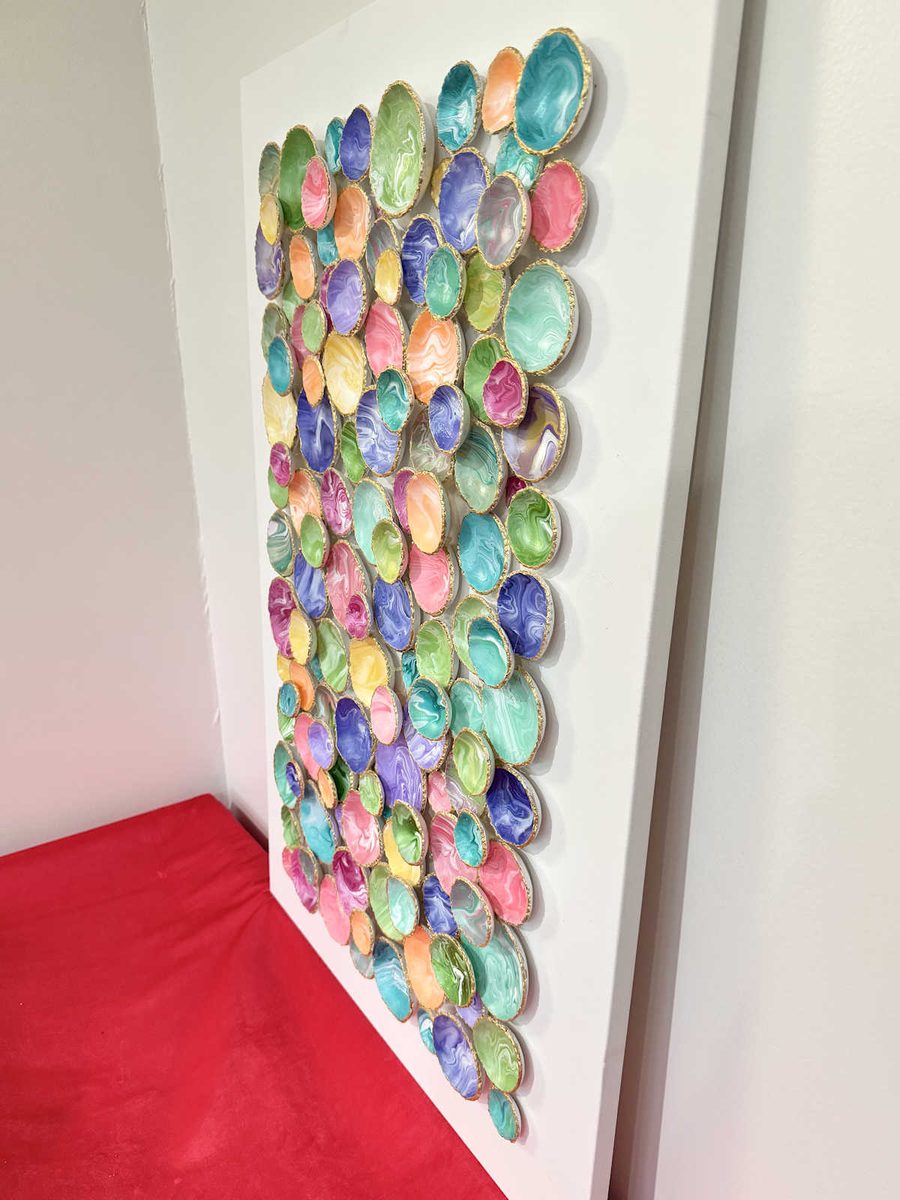
The other option is to make a wood shadow box frame with glass covering the piece. That would allow for less of a side view, but I think the frame would give the whole thing a more finished look.
I’m still weighing those options, and I may not even make my decision until I get the second piece finished and in place so that I can see them both hanging on the wall.
I might even want to get the benches and throw pillows finished first before I decide how to frame these. But either way, the framing will be the easy part. Making the artwork, while it wasn’t difficult, was the time-consuming part. So I have one done, and I have one more to go.

Addicted 2 Decorating is where I share my DIY and decorating journey as I remodel and decorate the 1948 fixer upper that my husband, Matt, and I bought in 2013. Matt has M.S. and is unable to do physical work, so I do the majority of the work on the house by myself. You can learn more about me here.
Wow – so different and colorful. So glad you stuck with it! The acrylic box frame sound nice and different…it might be perfect to really see the layers as well. It is going to look perfect either way!
I love your vision! I always like what you do, and though it’s not always my style, (I’m 72) I like the outcome and can’t wait to see the end result of everything you do.
I didn’t expect to like this art project so much, but it’s so fun! I can’t wait to see your room finished!
WOW!! Amazing!! 🤩
There’s no silver bullet. Start with a good/bad list for each material. Then Match up how these good/bad to a specific want, Then prioritize these wants to keep moving. Acrylic allows side views, but is still brittle, glossier, or have harder to manage imperfections. Different materials come together differently, in a DIY way.
Do take into account the benches and where everything hits. Take into account If it currently sticks out a bunch and if a head or shoulder (or chair back if you re-arrange things) could hit it. My gut is driven to a wood shadowbox frame – easier to build/repair and have more options for both glass/acrylic. It would be interesting to make an acrylic box as well.
Beautiful! I like your color saturation better than the inspo piece. Also, the gold gilded edges were a fantastic choice! Can’t wait to see them all finished and hung on the wall 🙂
LOOOOVE this 🥰 Another gorgeous Kristi project❣️
I love this and vote for the plexiglass box frame.
Beautiful 🙂 I like your version much more than the inspo!
So happy you made the edges irregular and then gilded them. It really takes it up a notch.
That turned out very well. I think I would go for the shadow box as a framing method. Is anyone really going to be viewing the pieces from the side?
This turned out really well. I am looking forward to seeing it above the finished benches. I know you like things to be symmetrical, but what if you made the second piece using a different shape? Maybe triangles or squares? Just a thought. Love what you do and share with us.
If you use an acrylic frame, will it glare? I know you prefer anti-glare glass.
Holy guacamole ♡♡♡
How many are on this canvas?
Your technique reminds me of acrylic pour, which reminds me, do you still have the table you made for that? I did a lot of acrylic pour canvases before I downsized and loved everything about it! Your air clay project has turned out so pretty. I love all the colors🥰🥰
It looks fantastic! I especially like that you used the gold paint on the rims and the color combos is perfection.