
Dining Room Textural Artwork Process And Progress
This past weekend, I had to get one last pretty important non-house-related task out of the way so that I could spend the next two months fully focused on getting the last two rooms finished before the end of the year. Unfortunately, I had to spend the weekend doing our taxes. If you’re an American, you’re probably thinking, “What? Taxes? In November?” Yes, I filed an extension this year, as I do every year, which means that it was due on October 15th. And then I completely forgot to file!!! So that’s how I spent most of the weekend. And you have no idea how torturous that was for me, sitting at my desk in my studio, doing the most boring task ever, seeing art supplies sitting just a few feet away, but knowing that I had to get this one last thing done before I could get moving full speed ahead on these fun house-related projects. 😀
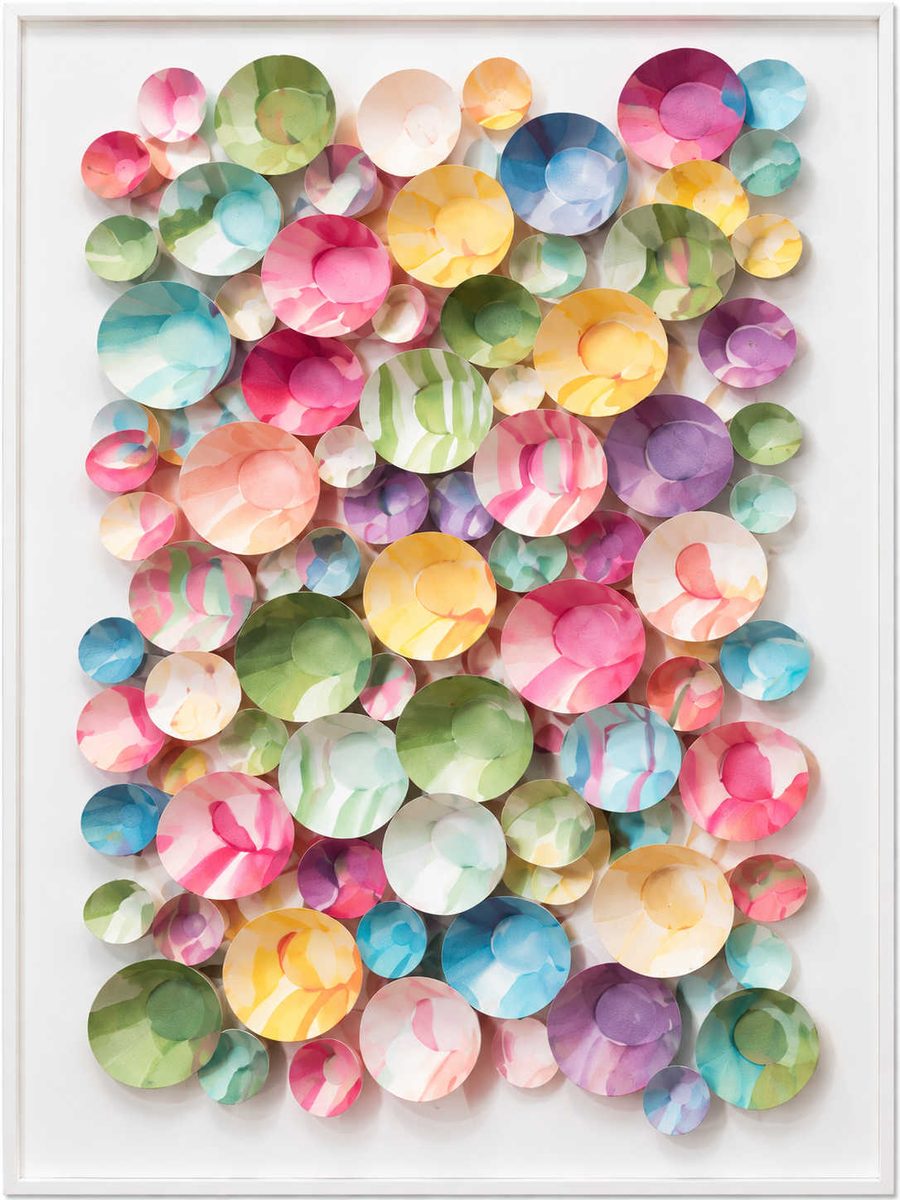
Anyway, I did allow myself to take a few breaks here and there to test out the idea that I was pretty sure I wanted to use to create the textural artwork for the dining room. As a reminder, here’s the AI version that ChatGPT created for me.
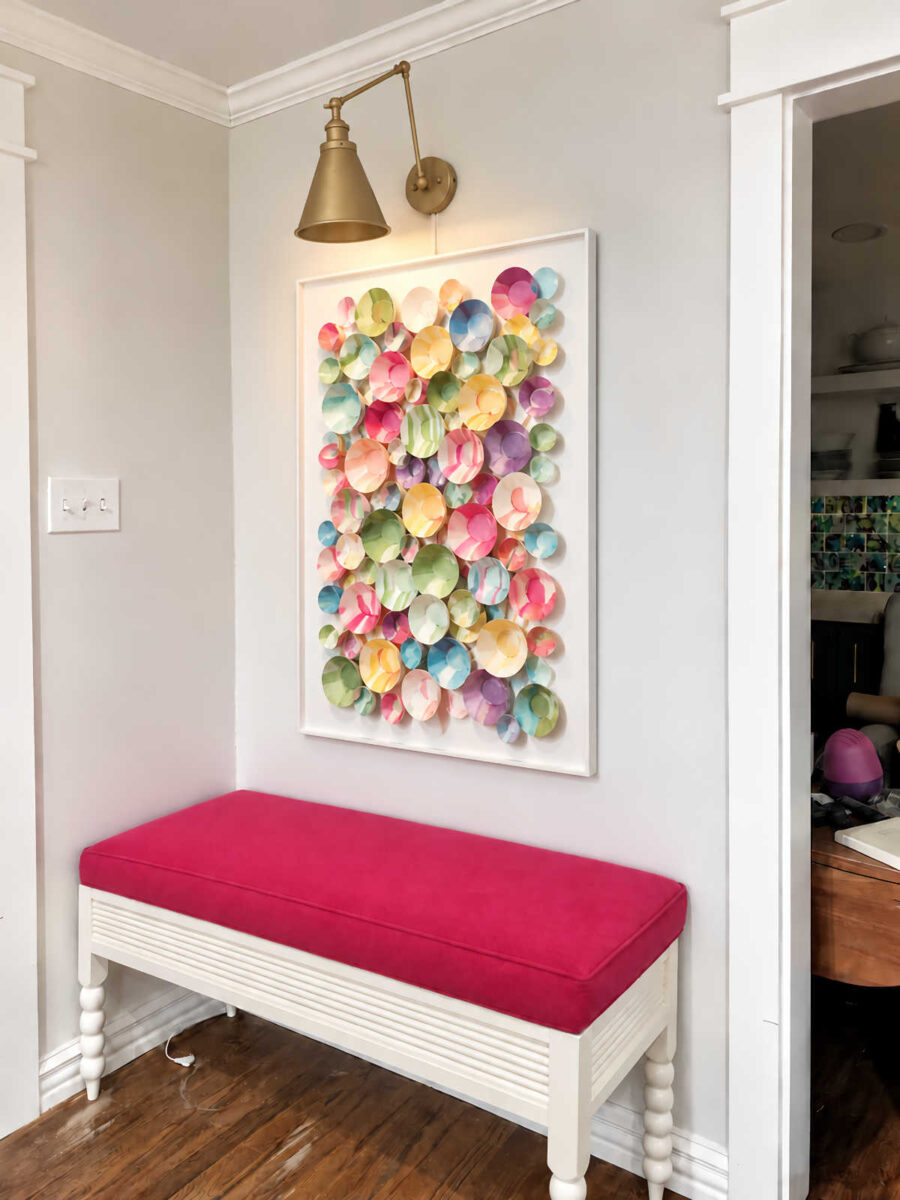
Last week, I shared a few options for creating that look, and many other people offered suggestions in the comments of that post as well. Those comments were a fun read. It’s so interesting to see how different creative minds would approach a project like this. But since it has become one of my favorite art mediums to use, I decided to start by trying out air-dry clay. And this is my favorite brand, which I order online.
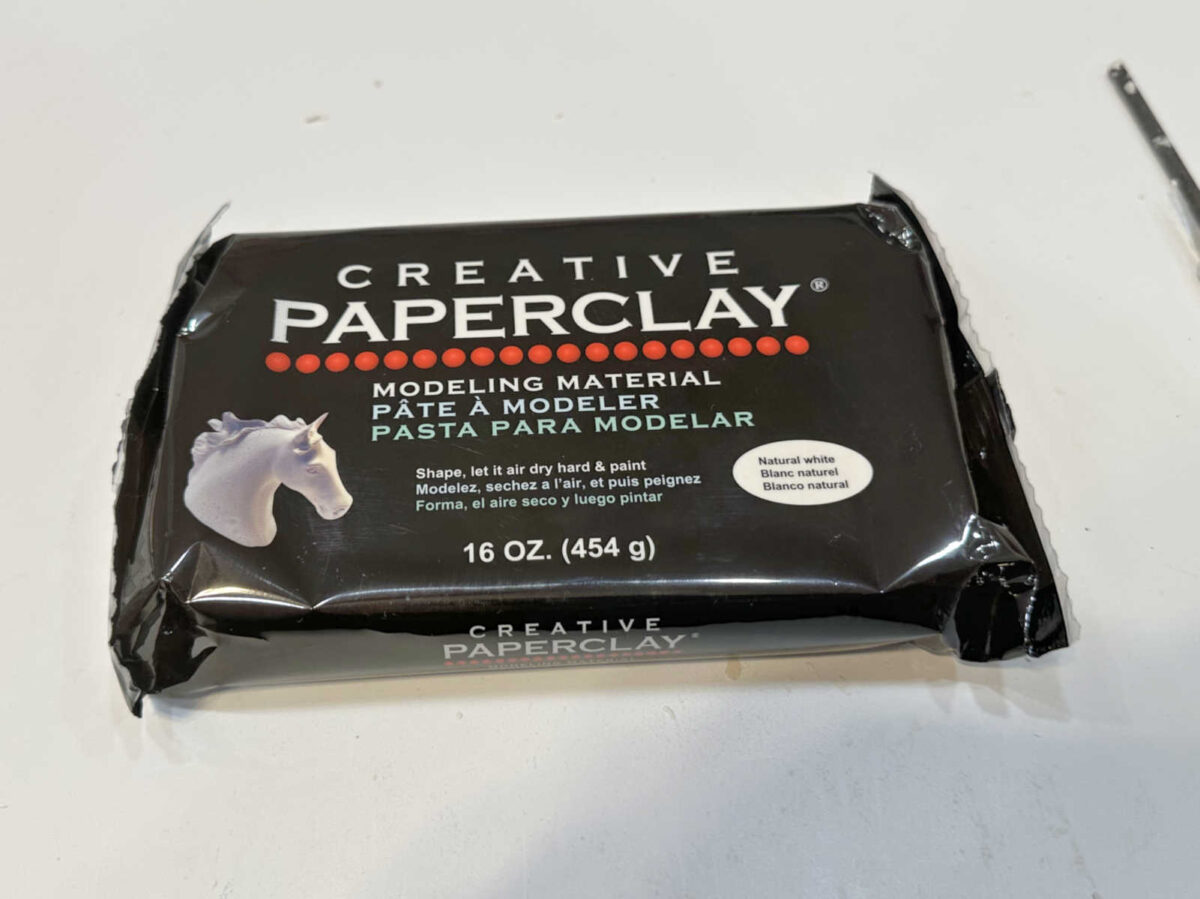
The main reason I decided to go with the clay is because I realized just how many pieces I would need to fill up two 24″x36″ canvases, and I need a lot of them. There’s no way I had enough paper pulp cup holders or styrofoam cups to create enough circular objects to make two pieces of artwork. And making enough circular objects out of papier-mâché would take forever. Clay is not only faster and easier to use, but it’s readily available (and also very easy to make) so I can purchase or make as much as I need to finish two canvases.
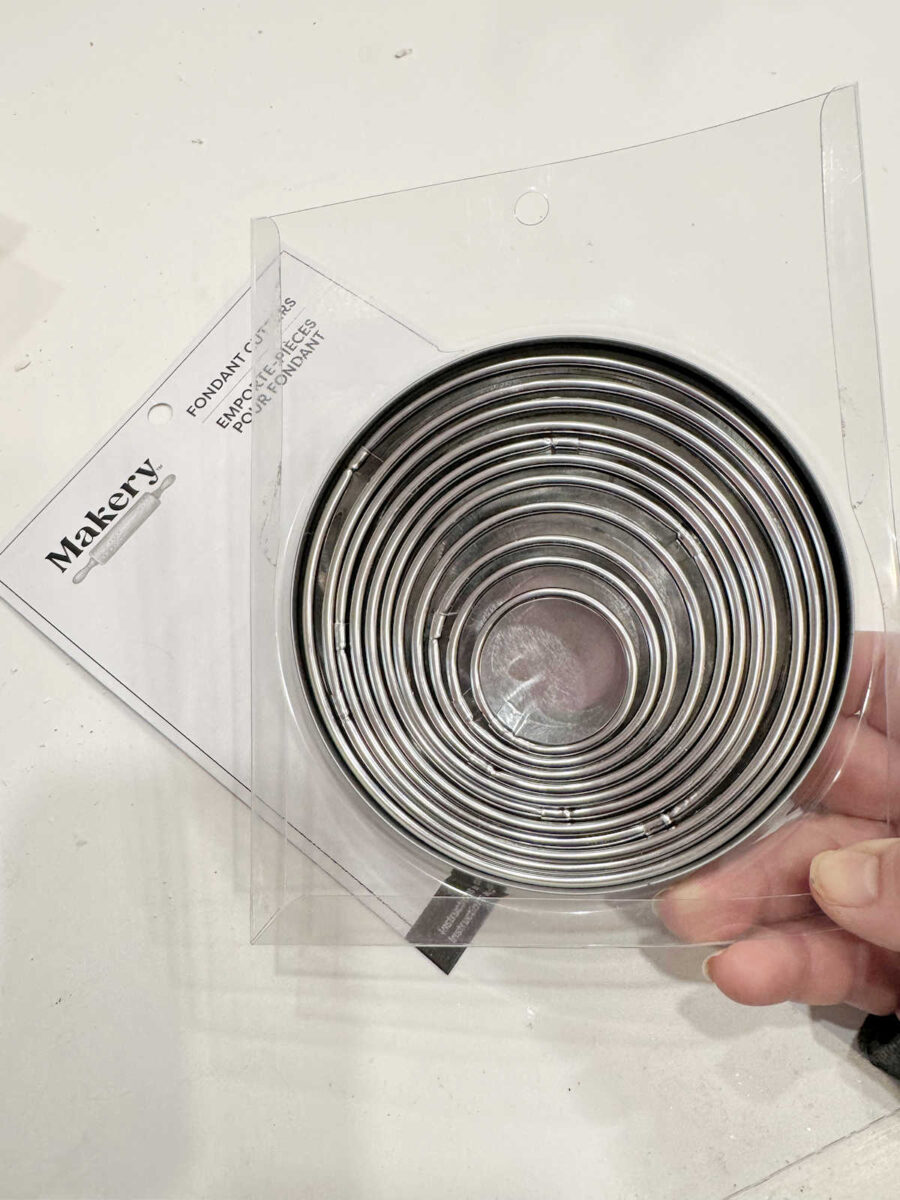
To create the pieces, I picked up this set of fondant cutters from Michael’s.
While at Michael’s, I also picked up three different sizes of plastic Christmas ornaments (sold individually, thank goodness, so I didn’t have to purchase a whole package of each size) and a package of small styrofoam balls. I already had the racquetball on hand. And then I chose the right size of fondant cutter to go with each one.
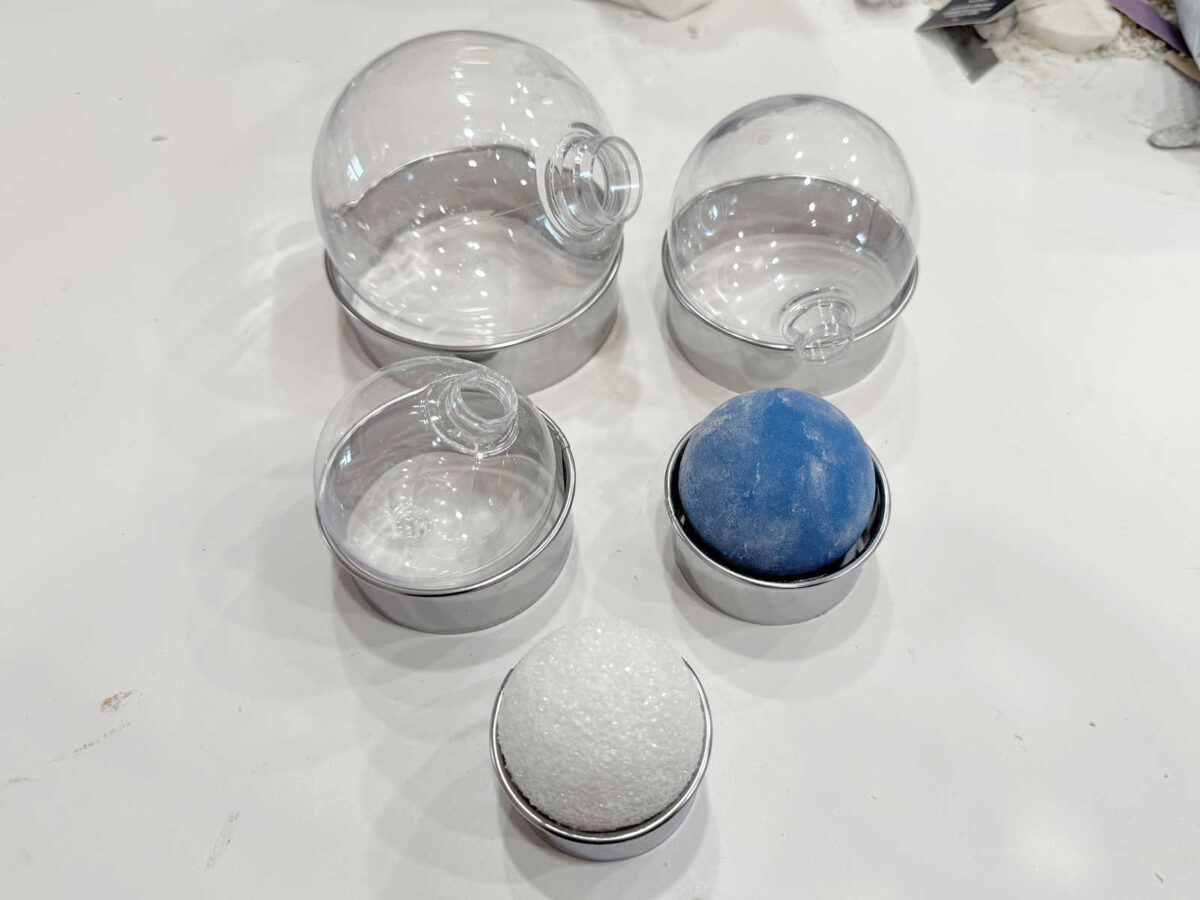
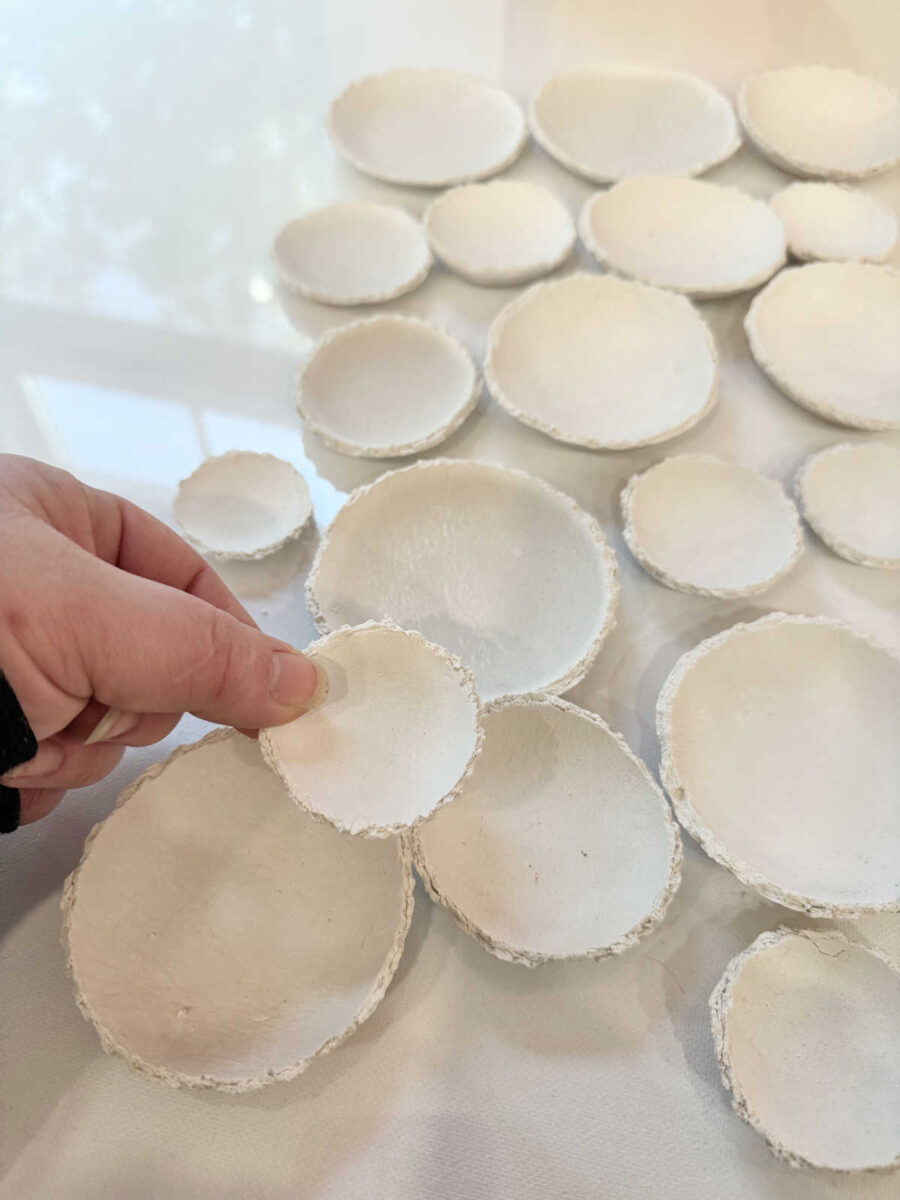
The process was pretty straightforward — roll out the clay, cut it with the fondant cutter, and shape it around the corresponding curved item. The Paperclay holds its shape really well once it’s shaped, so once they were shaped, I set them aside to dry.
When I came back to look at them several hours later, I wasn’t thrilled with the look. It looked like I was trying to make them look too perfect and completely missing the mark.
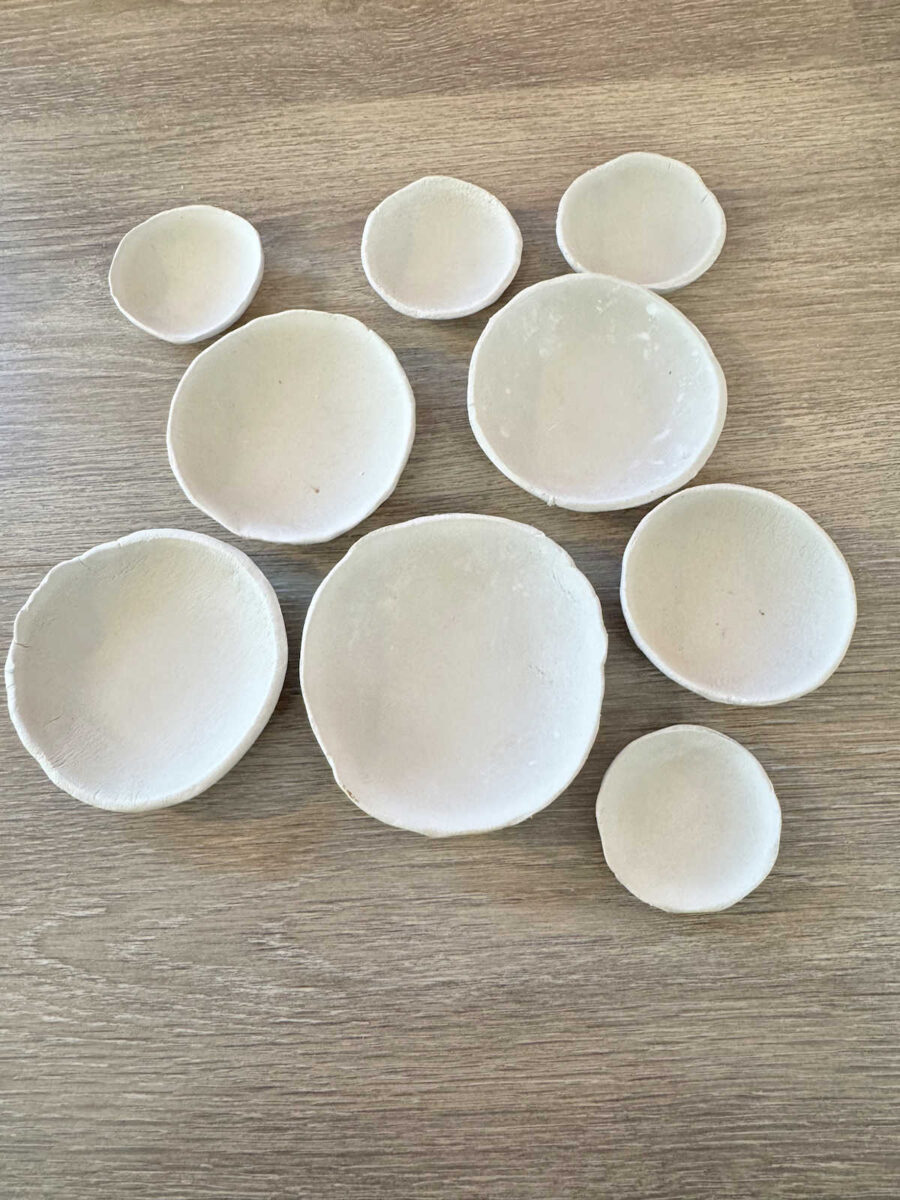
So I decided to make them intentionally imperfect by tearing away the top edge all the way around each one.
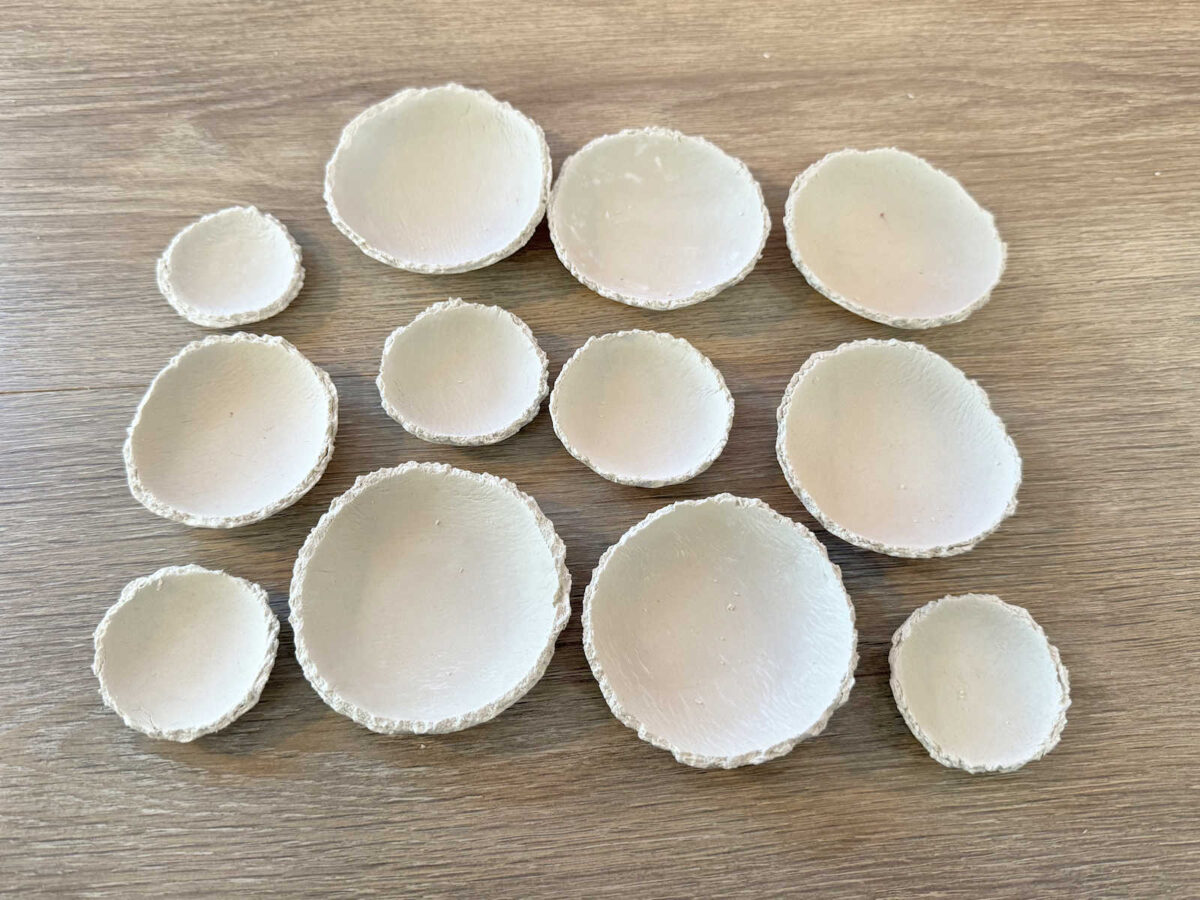
I liked this so much better. Intentional imperfection looks so much better than unintentional imperfection.
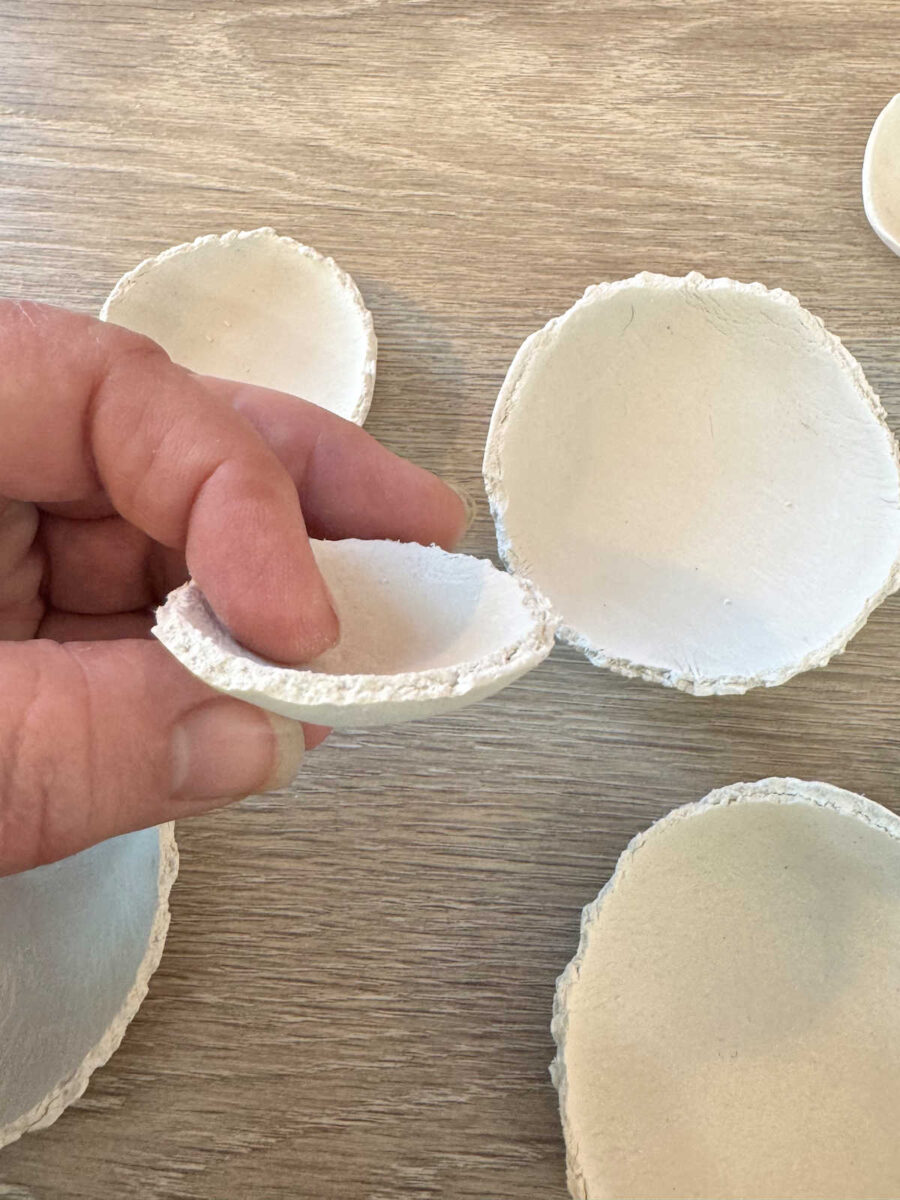
You can see the different between the two looks here.
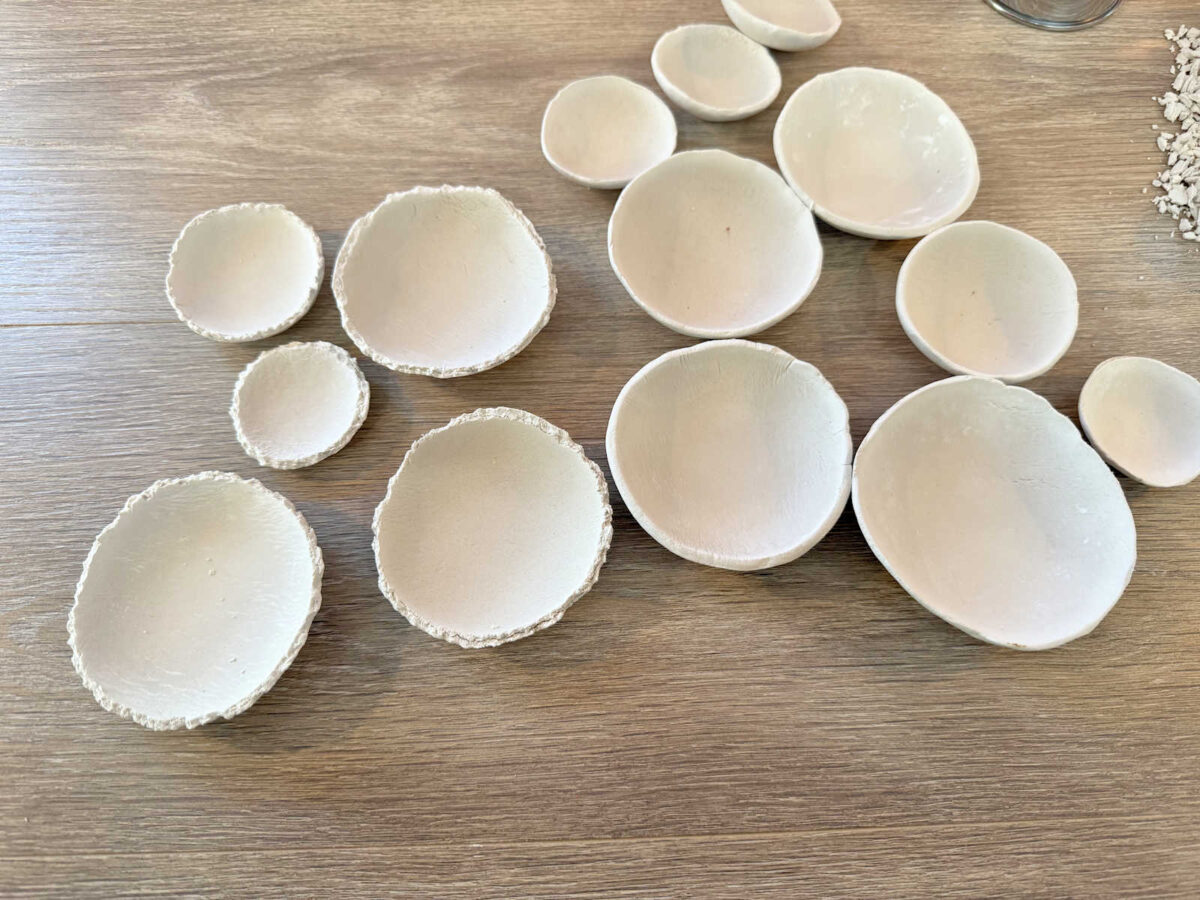
I didn’t get very far on this, but at least I now know exactly what process I’ll use. While I was at Michael’s, I went ahead and picked up two 24×36 canvases at Michael’s (they were buy one, get one free) so that I could know exactly how many I need to fill each canvas. Spoiler: I need a whole heck of a lot of them! 😀 And I will need not only enough to cover the canvas (leaving about a two-inch border around the canvas), but also enough to layer them to create that dimensional look.
So mine won’t end up looking exactly like this, and I’m okay with that. This was just supposed to be inspiration, but the finished product will have my own artistic twist to it.

Addicted 2 Decorating is where I share my DIY and decorating journey as I remodel and decorate the 1948 fixer upper that my husband, Matt, and I bought in 2013. Matt has M.S. and is unable to do physical work, so I do the majority of the work on the house by myself. You can learn more about me here.

I HATE doing taxes. Many years we put it off so long we file an extension too. I feel your pain. I hope you got through it, and there are no significant penalties. Just take a deep breath and carry on. We got almost six months before we have to do it again! Love your start on the artwork.
If there’s a penalty, it won’t be significant. We were paid up by April 15th. As I’m sure you know, an extension just applies to the paperwork, not to the payment. They still want their money by April 15th, extension or no extension. 😀
Seeing them side by side, I think a combination of intentionally imperfect and unintentionally imperfect would be a good look.
Did you play with rolling them thinner? They look a little chonky to me. Maybe pinching around the edges to thin them out? That’s part of what made the inspiration look light I think and not heavy or clunky. Also, are you using a pasta machine to roll out the clay? If not it might make the process easier, no matter how thick you end up making them!