Gwen’s Bedroom:: Finishing Touches (and Two Items Transformed)
As I mentioned yesterday, I’m still working on the finishing touches on Gwen’s bedroom. (If you missed the reveal of her finished bathroom, you can click here to view the full before and after.)
Anyway, as I’m finishing up the details, I wanted to share a couple of them with you.
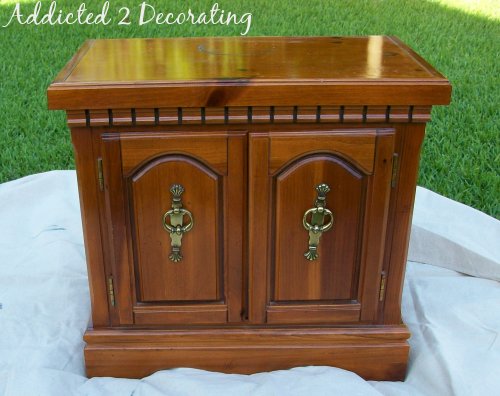
First, her nightstand underwent a little transformation. It matched the dresser and chest of drawers, but I didn’t want to paint them all the same, so I decided to do the bedside table black…with a twist.
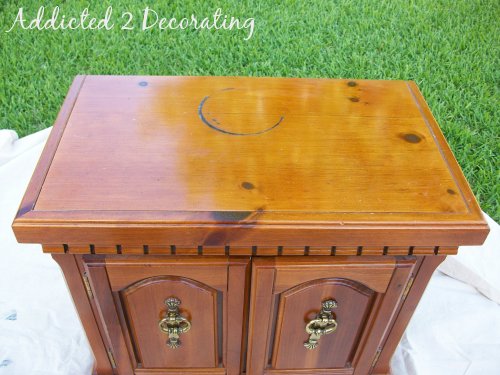
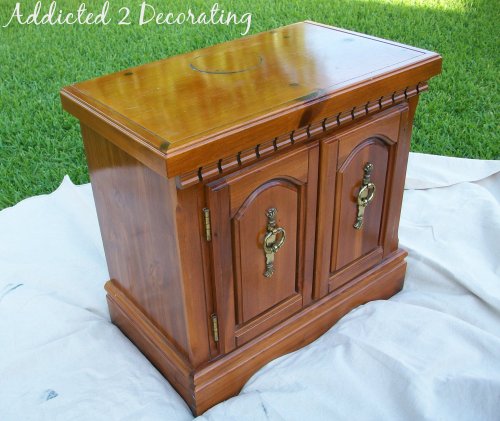
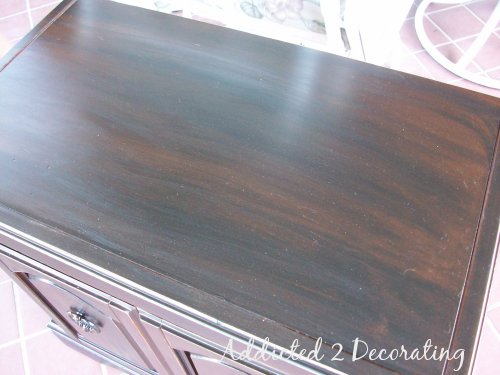
Here’s the before:
And here’s what it looks like now:
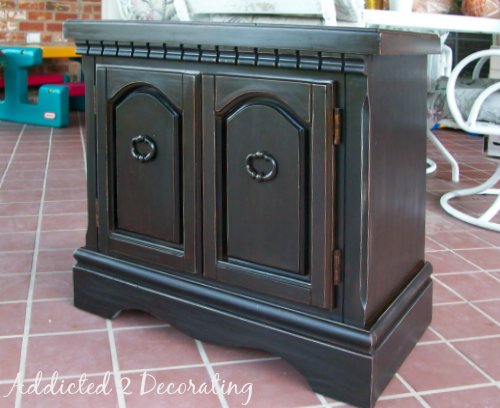
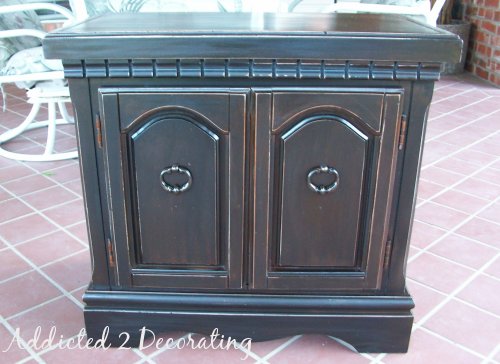
Can you tell what the “twist” is? I used the exact same paint technique that I used on the dresser and chest of drawers–sand/liquid sander, prime, spray paint, sand, stain. I love how it looks on the black. The plain spray painted black nightstand just looked so blah, but this gave it some depth and interest.
Now if I can just find a bedside table for the other side, we’ll be in business!! I’ve looked all over–Goodwill, Salvation Army, Craigslist. I have yet to find one that will work. The room won’t be really finished until I find one!!
Anywhooo…
The second project I’ll share is a trio of decorative metal wall hangings. I found them at Hobby Lobby, and they were 50% off this week, so each one cost about $7.50. Here’s what they looked like.

They were fine like that, but I was really hoping for something to bring in the blue accent color. No problem…I just picked up some beautiful Slate Blue spray paint.

While this is a beautiful color, it just looked a little too perfect…and bright.

So I used some sandpaper to antique it a bit.


That was better, but it was still a bit too bright, so I used black spray paint and lightly dusted it to darken the blue.

Much better. You can really see the difference with them side-by-side.


Isn’t paint amazing!? I love trying new things, and experimenting with different combinations and techniques.
Speaking of paint…be sure to check back next week (hopefully Monday) for the reveal of the dresser transformation for John & Alice’s bedroom.
Hope you have a great weekend!!

Addicted 2 Decorating is where I share my DIY and decorating journey as I remodel and decorate the 1948 fixer upper that my husband, Matt, and I bought in 2013. Matt has M.S. and is unable to do physical work, so I do the majority of the work on the house by myself. You can learn more about me here.

I LOVE this nightstand, I would like to do the exact same thing on my bedroom furniture. Can you please give me the colors you used on this nightstand? Thanks!
P.S. LOVE YOUR BLOG!
What a transformation on the nightstand… thanks for sharing… can't wait to see the finished room.
Anon, I used spray paint on the nightstand–black Rustoleum Painter's Touch Ultra Cover 2X. The stain I used over the top was regular 'ole Minwax stain in English Chestnut. I DID sand and spray prime the nightstand before painting it. And again, I used the Rustoleum spray primer.
I love the way you create an antique finish, I think it adds so much character to each piece. Thanks for sharing.
Spay paint is the bomb!! It's really amazing what can be done. It's a little scary to think about you "lightly" spraying for the antique effect, but it worked! can't wait to see the finished space.
Kristi
Can you tell me if you sprayed black paint all over the tin tile. It still has maintained enough of the blue color that I'm not sure if that happened with black paint added everywhere or just in a few places
Thanks
Sue
Hi Sue~
I would describe it more as "misting" the tin, and I did it all over. I did it very lightly–not a direct spray–and tried to get it as even as possible, but it just naturally settled in some areas heavier than in others.
Hope that helps!!