
How To Upholster A Dining Chair – Part 1
I’ve finally made a decision about the fabrics for my dining chairs. I ordered an additional fabric that I’ll need in order to finish them up, but I can get quite a bit done on them without the new fabric. So yesterday, I got busy and tried to get as much done as I could. I’ve shown step-by-step upholstery projects in the past, but I don’t think I’ve ever shown a three-section dining chair. So I thought I’d start from the beginning and show you how to upholster a dining chair that has three sections of upholstery — the seat, the front of the seat back, and the back of the seat back.
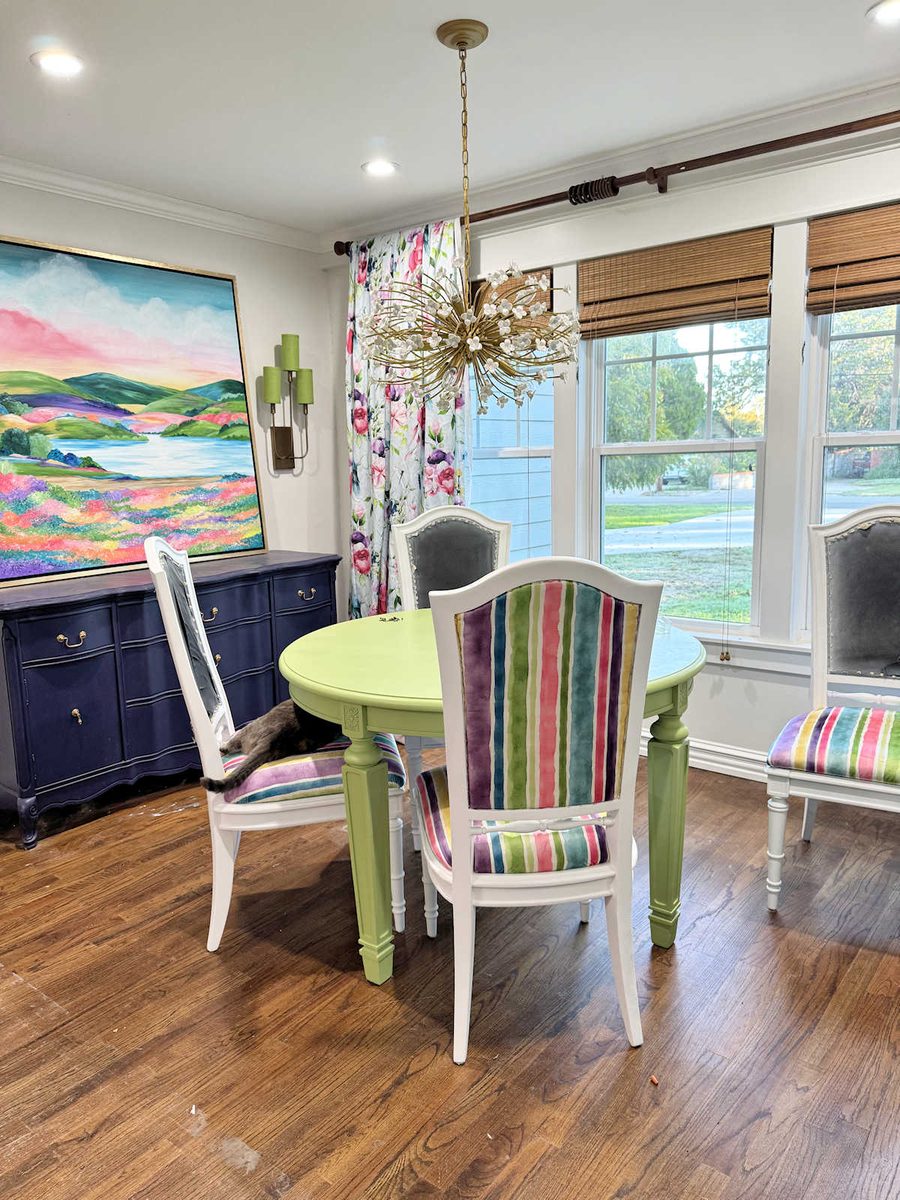
Here’s my progress so far:
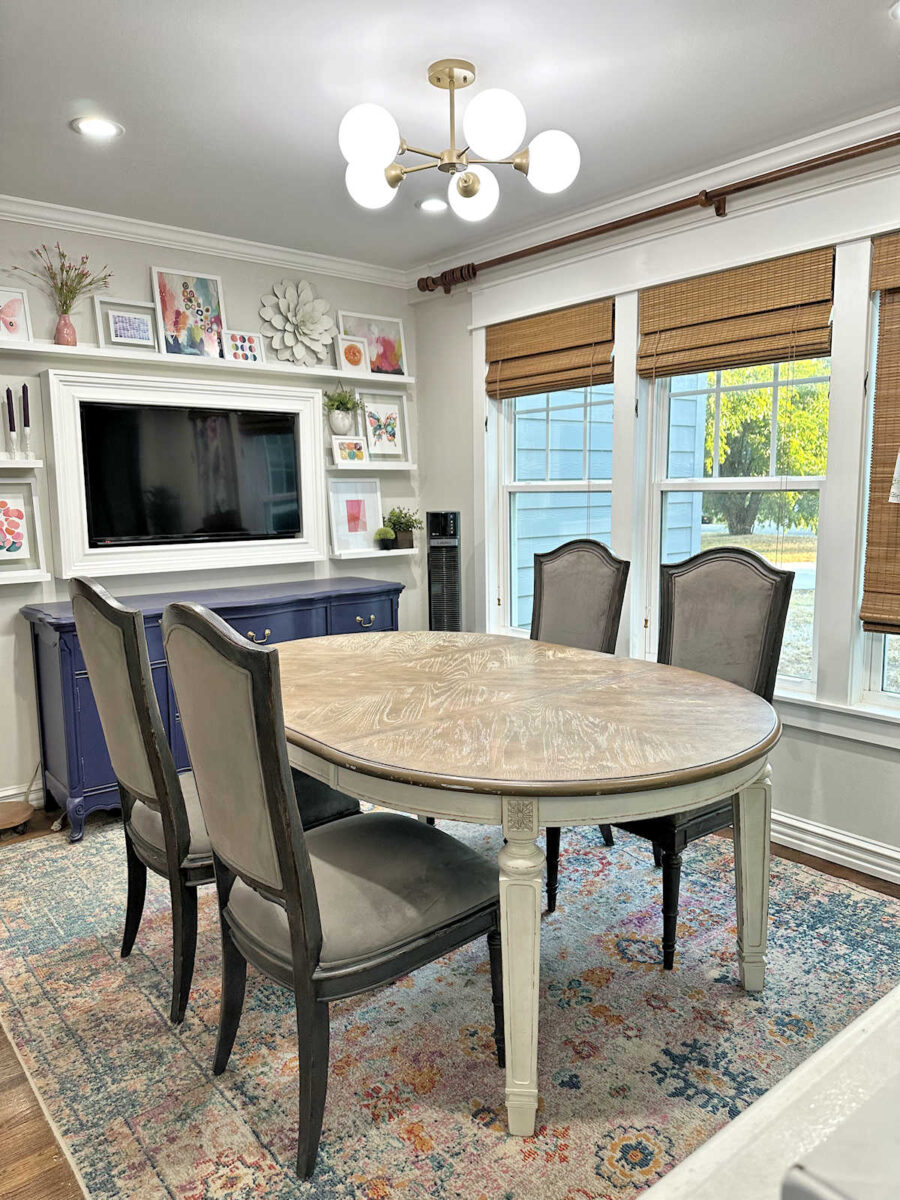
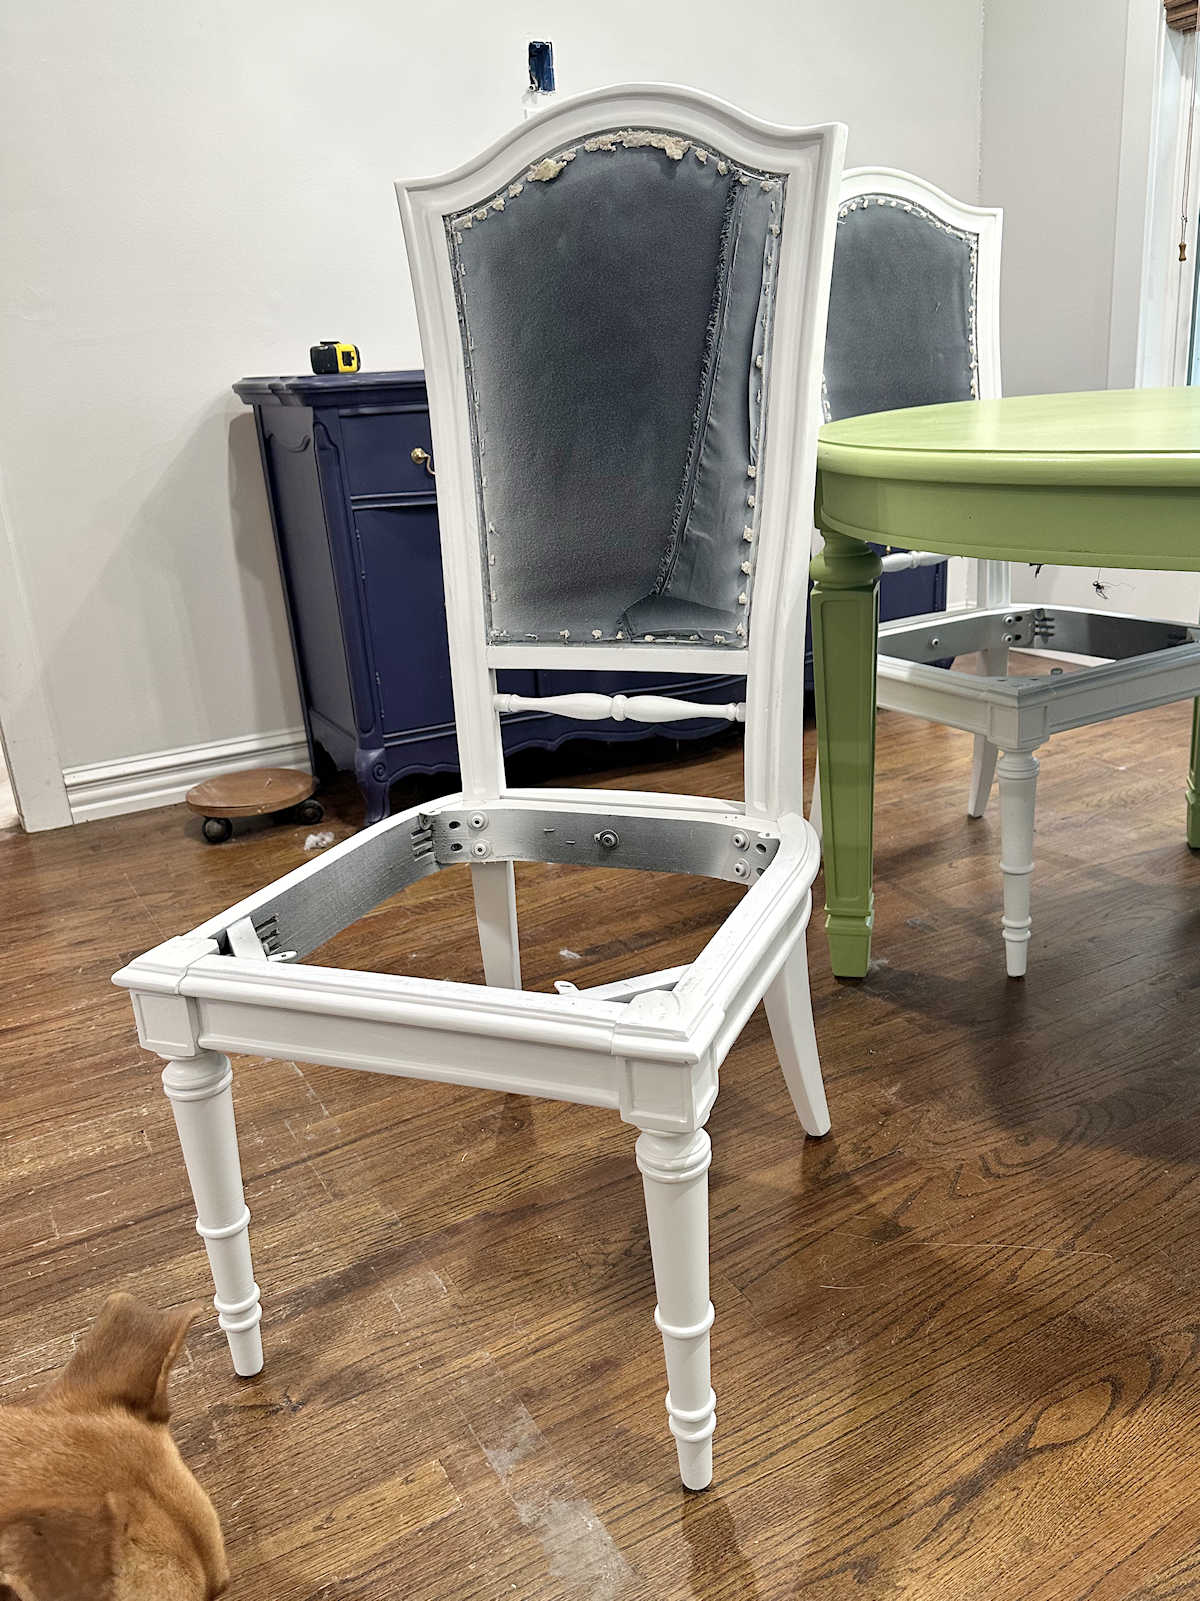
And here’s how these chairs looked when I purchased them on Facebook Marketplace…
I always start with the seats because they’re generally the easiest part, especially if they’re just a simple square or rectangle shape, which many of them are. Mine weren’t quite so simple, but the process was still pretty much the same.
The cushioned seats are almost always held onto the chair by four screws, so you just need to unscrew them from the chair to remove the upholstered seat. And any time I’m reupholstering any piece of furniture, and before I start ripping off the original fabric, I always take a close look at the original to see what I can learn from it. I also take pictures of anything I need to remember about how the piece is upholstered so I can use those pictures as a guide when I start the upholstering process. That’s less important on simple items like a dining chair, but I find it to be very important when upholstering something like a sofa or a wingback chair.
What stood out to me about the original upholstery on the seats is that the two indentations along the back where the seat wraps around the frame of the chair is going to be the hardest part to get smooth and tight.
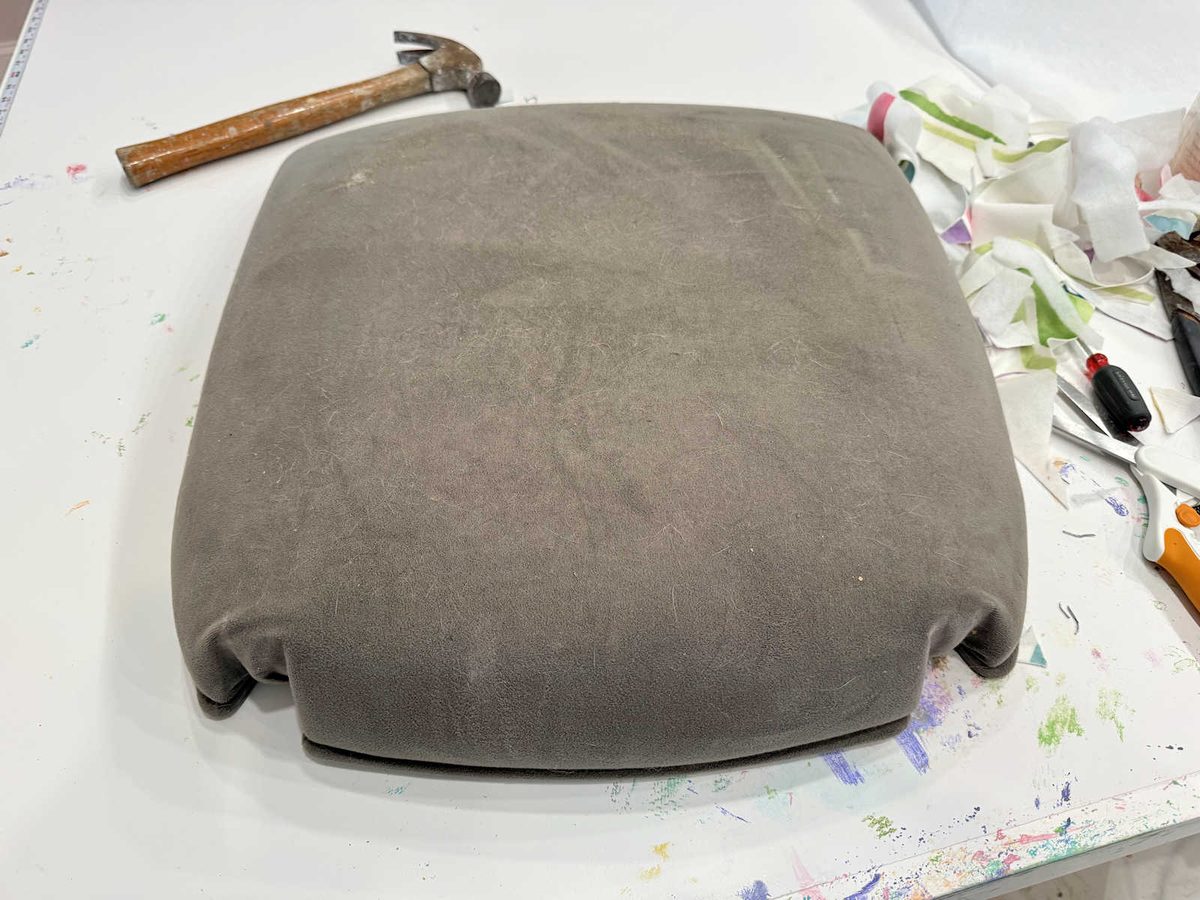
You can see that the original has gathers in it inside those indented areas. That’s good to keep in mind so that I won’t spend an hour trying to get those areas perfectly smooth and tight. If the pros can’t get it perfect, I won’t be able to, either. So I can cut myself some slack on those areas.
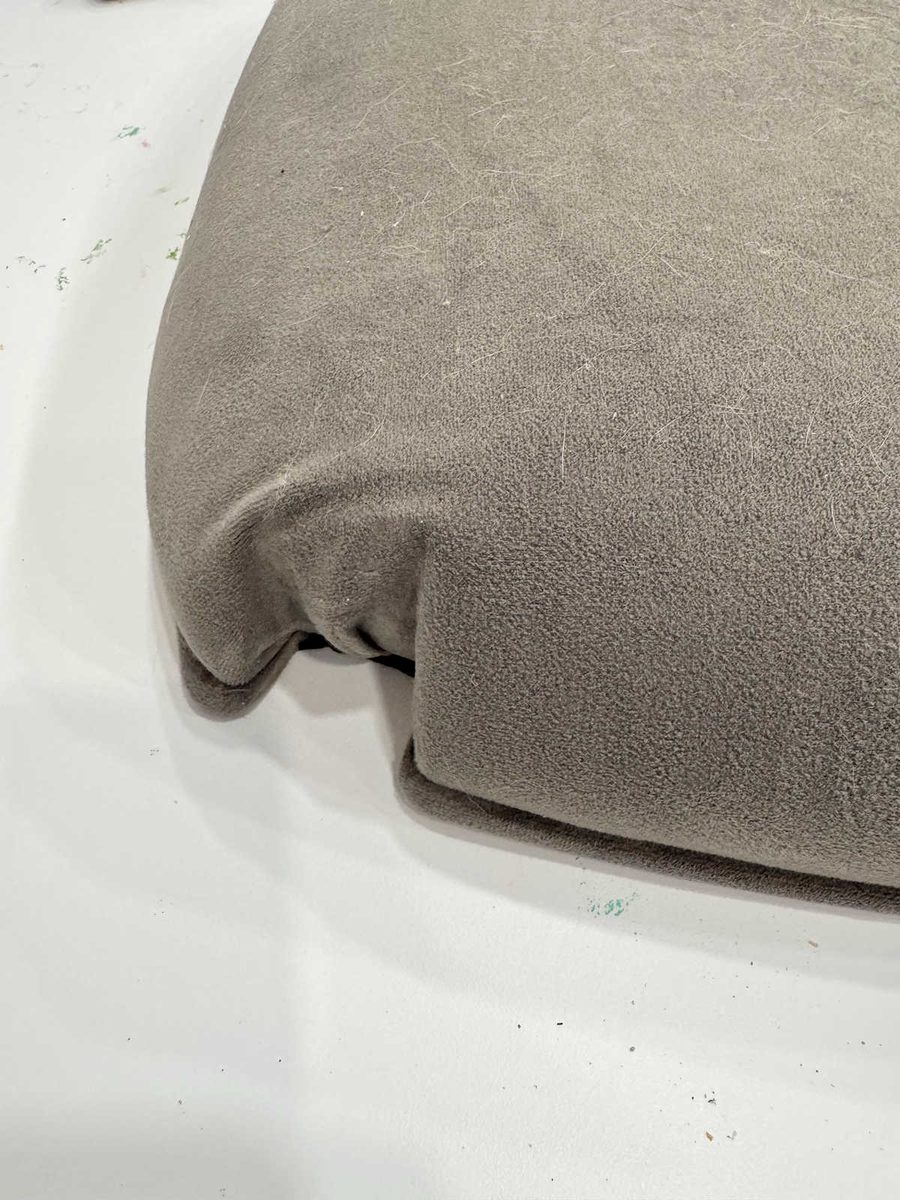
These are also mass produced chairs, so there are also things they do that I don’t want to do. I look for those things as well.
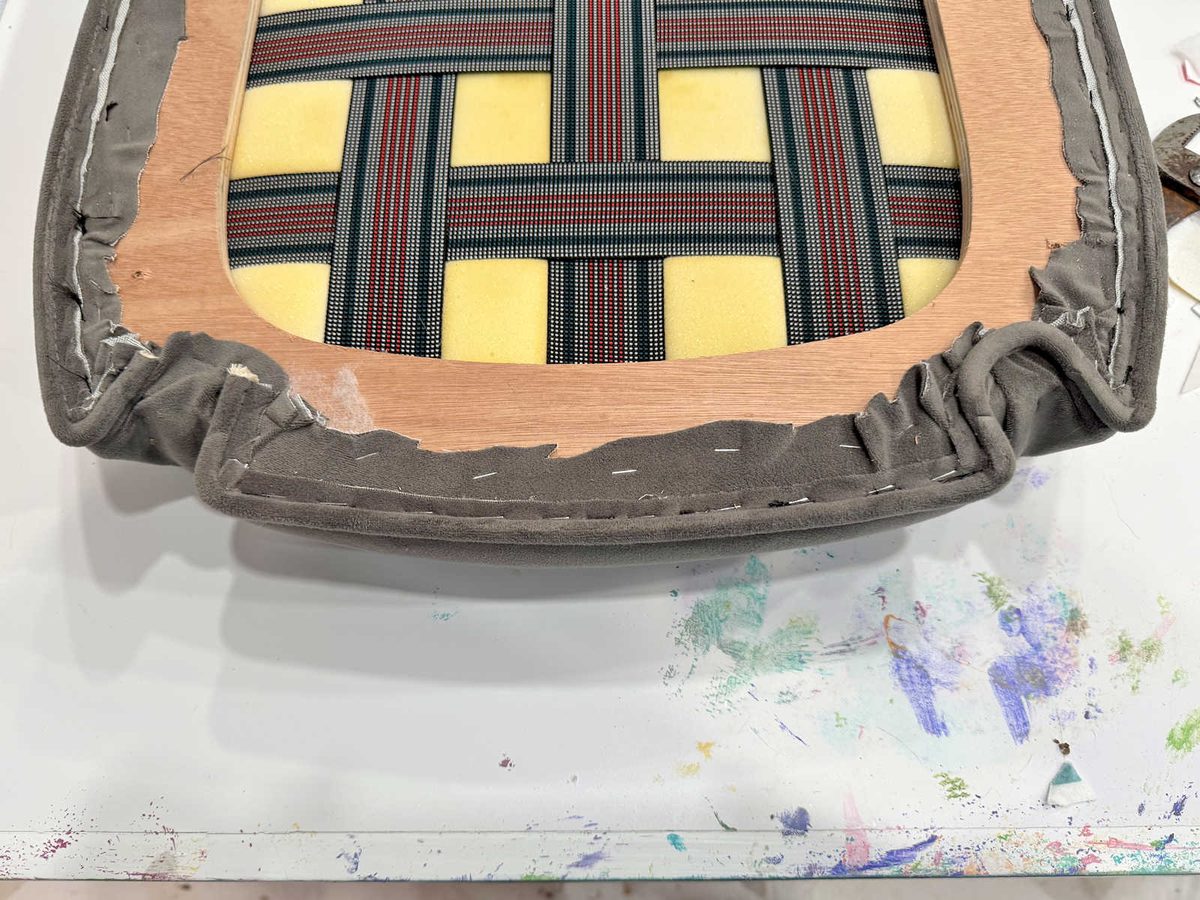
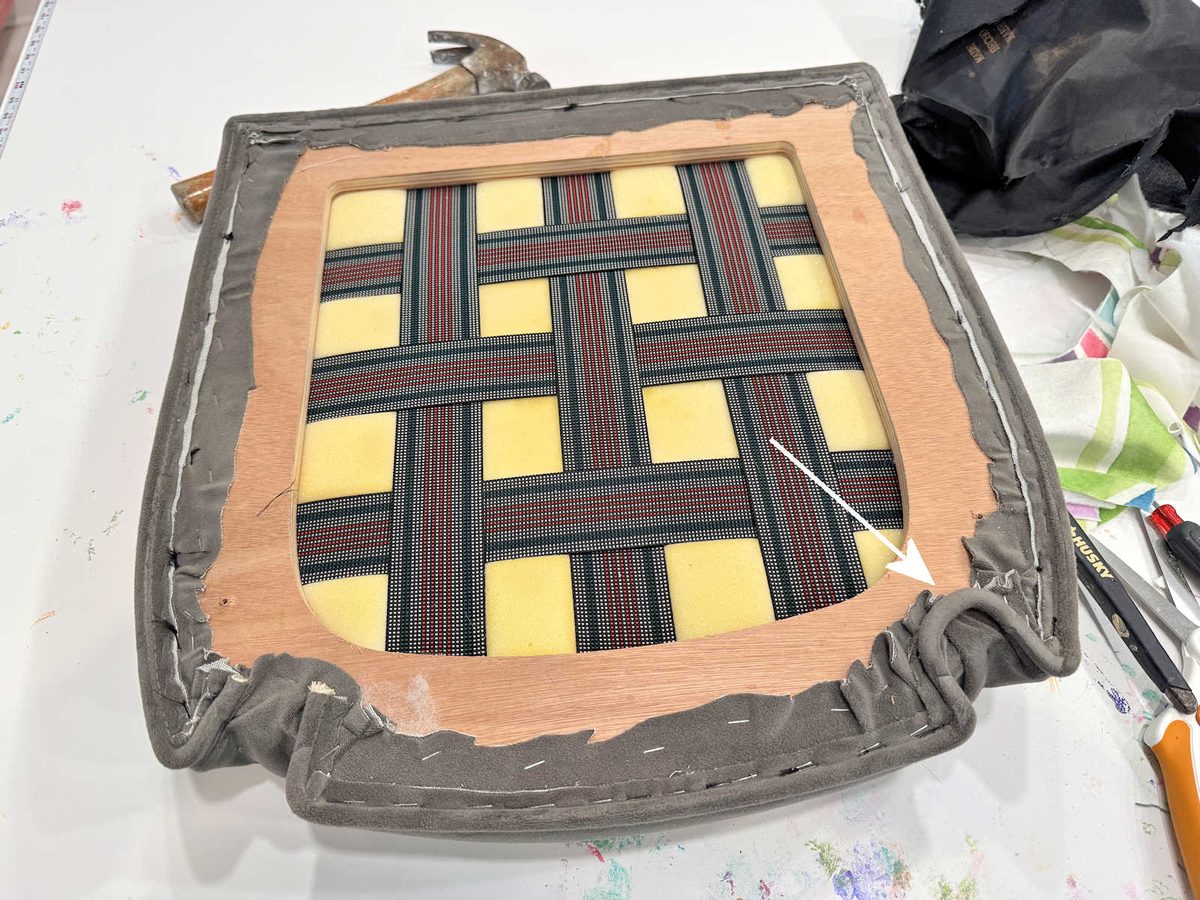
For example, this area has the cording stapled to the bottom of the seat where it wraps around the frame of the chair, but it’s only on one side. That could cause the seat to sit uneven on the frame. Those are things that are often done on mass-produced furniture, but when I’m taking my time to do it right, I don’t want to copy that. So I’ll either leave the cording off of both sides or staple it to the bottom on both sides so that the seat will sit evenly on the frame.
The first step is to get the cording off of the chair. I find a large pair of pliers to be the easiest way to do this.
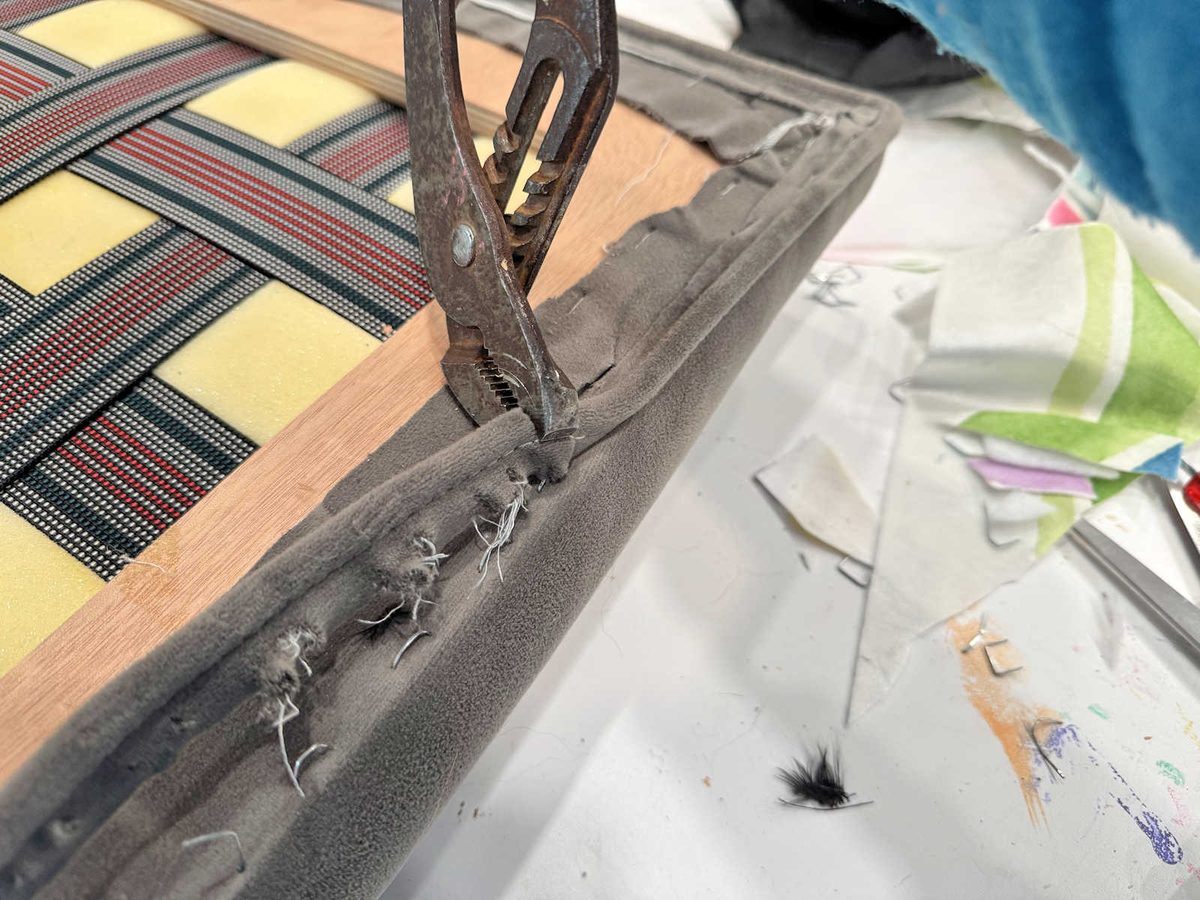
It leaves lots of staples behind, so I remove those with the pliers as well. And I try my hardest not the break any of them. I want all of the staples out without any little pieces being left behind.
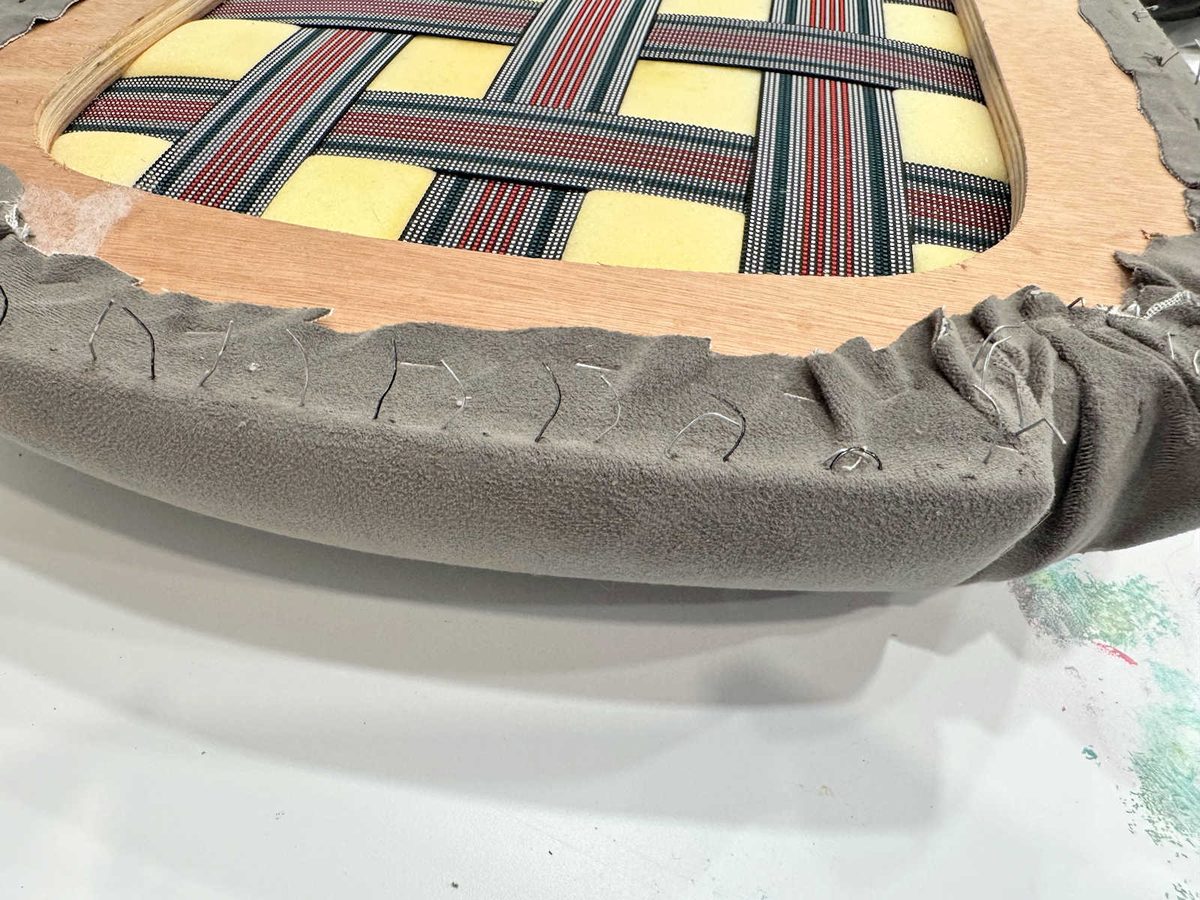
To remove the fabric, I see a lot of people just rip the fabric off. I don’t like to do that. I like to take the staples out using a small flathead screwdriver.
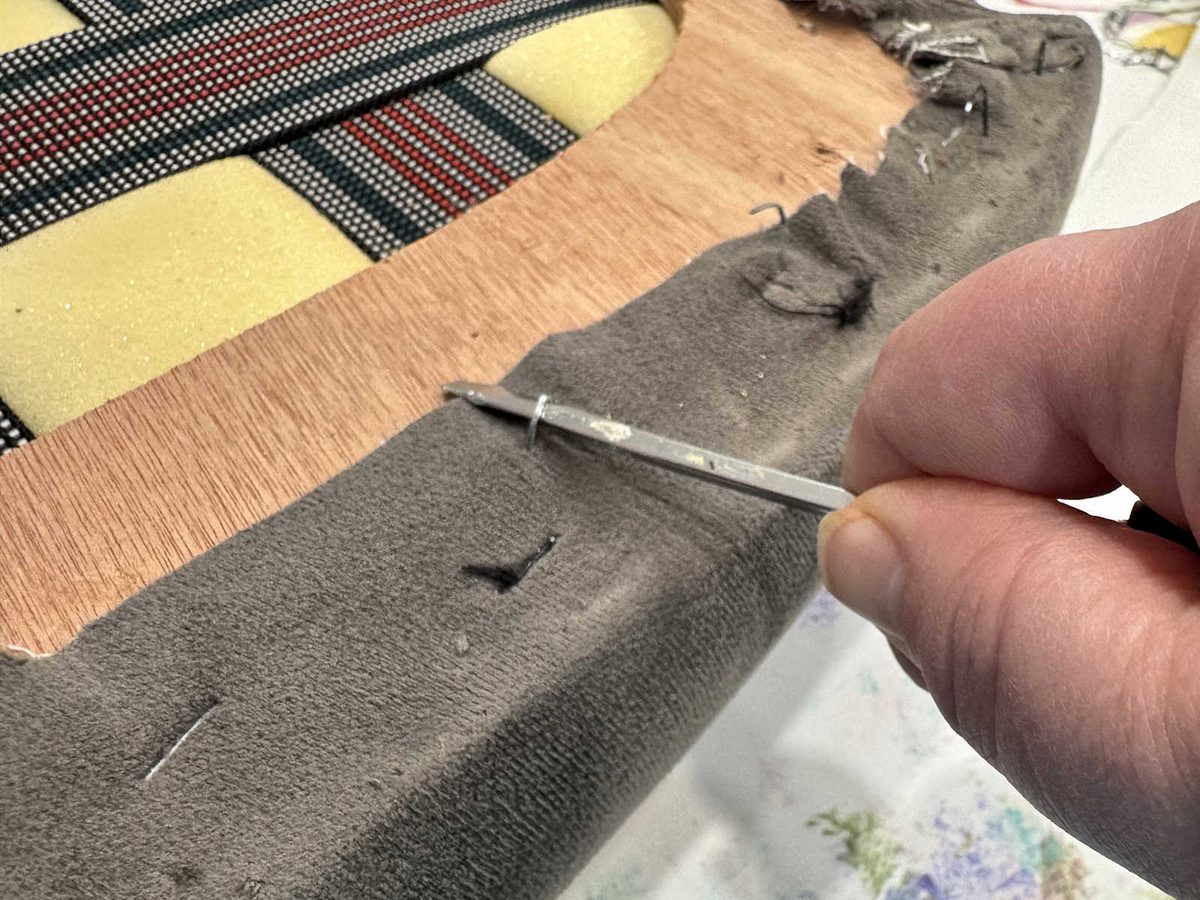
The reason I take the time to do that is because I like for all the staples to be removed. If you rip the fabric off and leave the staples, those could interfere with the new staples you’re putting in as you staple the new fabric onto the seat. So I like to start with a clean slate with no old staples left behind.
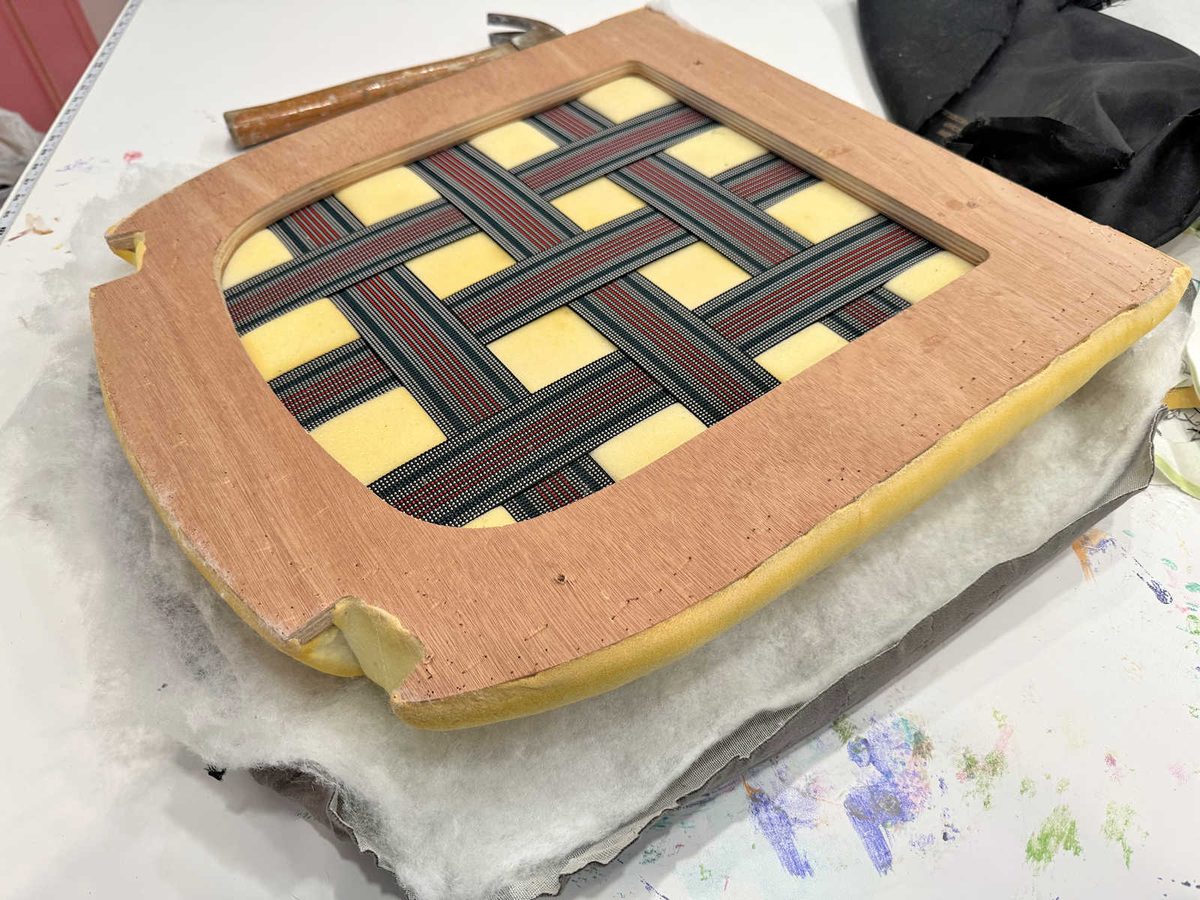
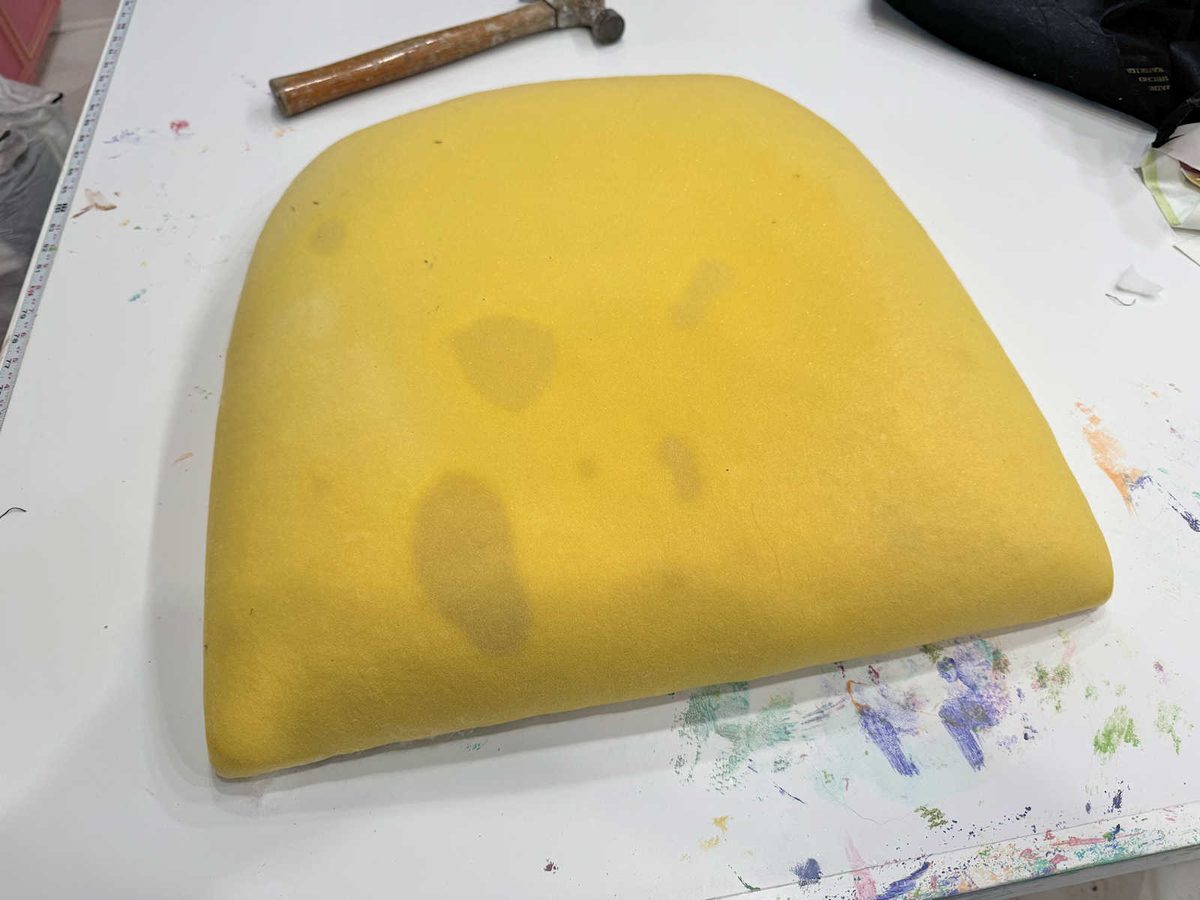
I always like to use the original foam if possible, but I replace the batting. When I took the batting off, I saw what looked like stains. You can decide if things like this bother you and if you want to replace the foam. The felt comfortable reusing this foam because whatever this discoloration is doesn’t appear to be anything that was spilled on the chair since there was no discoloration on the fabric or the batting. Those were perfectly clean and I couldn’t detect any type of smell on these areas. (Remember, I bought these chairs on Marketplace.) So I decided to stick with it, especially since the foam was already perfectly shaped. New foam wouldn’t have matched the perfectly curved shape of the original foam.
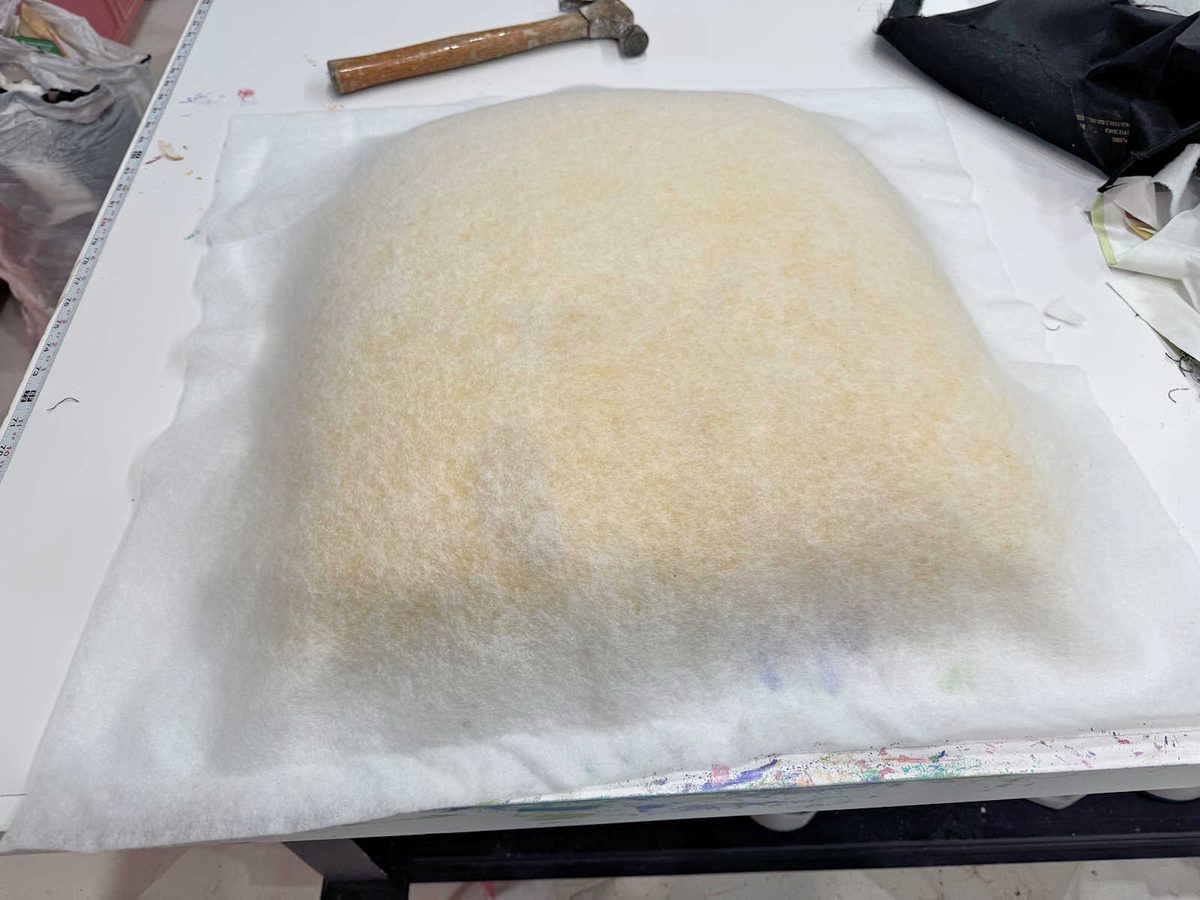
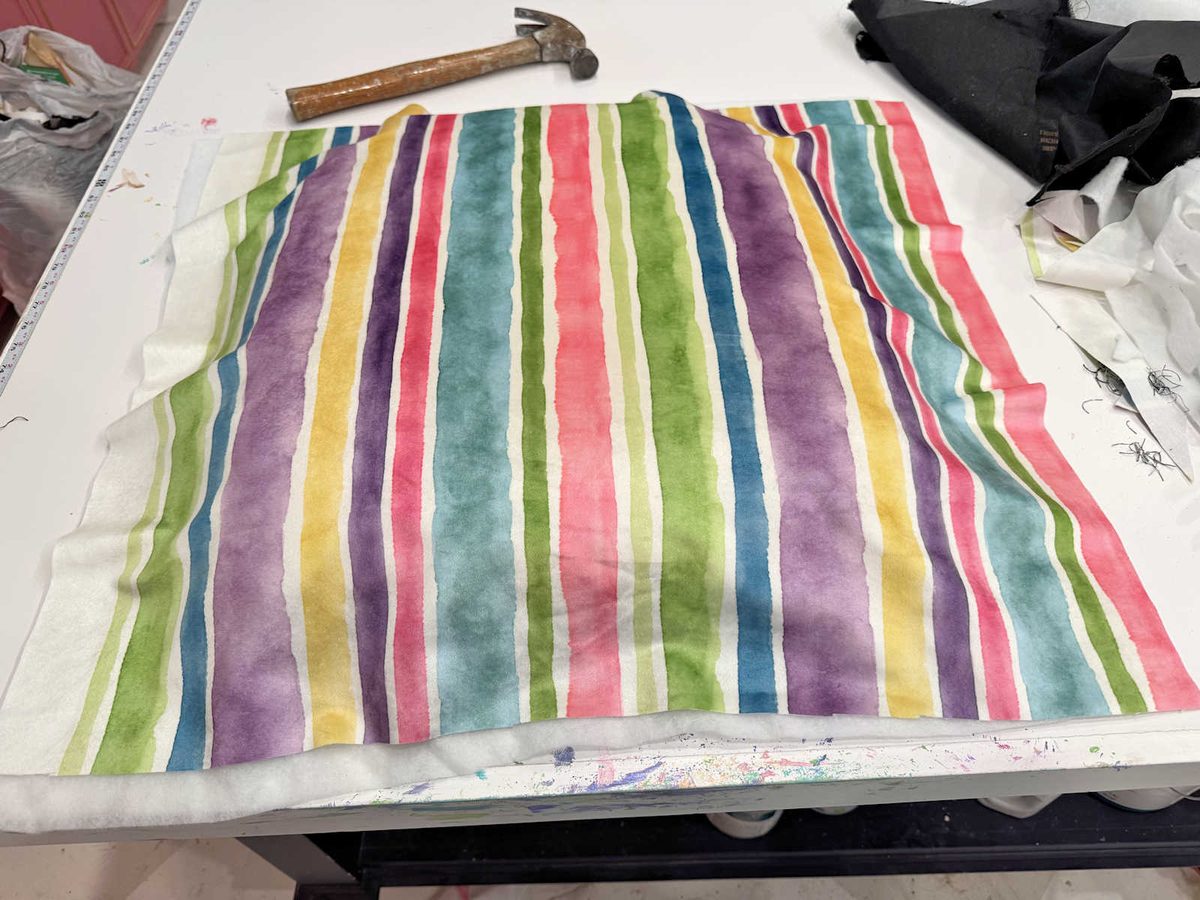
I started with a new layer of extra-loft batting.
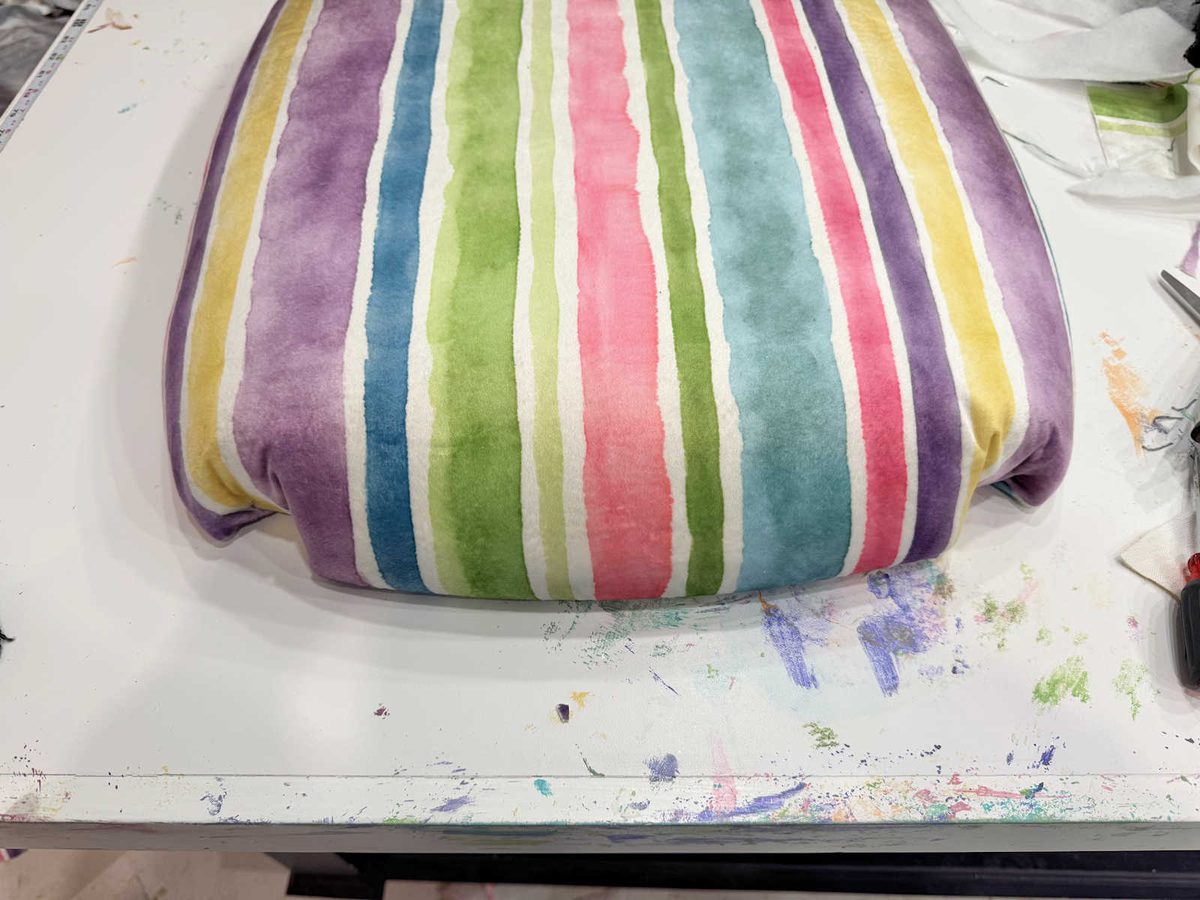
And then I got the placement of my new fabric as close to centered (the large pink stripe was my center) as possible.
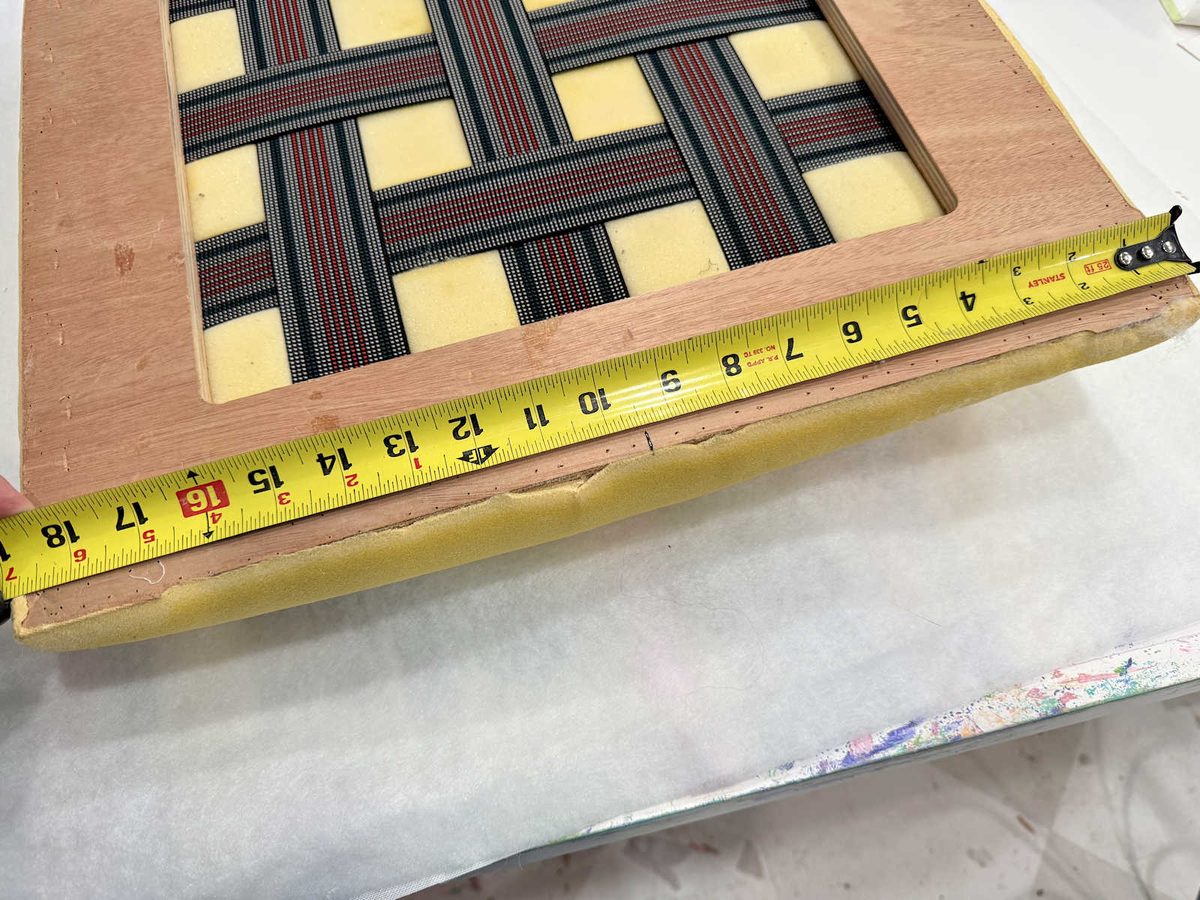
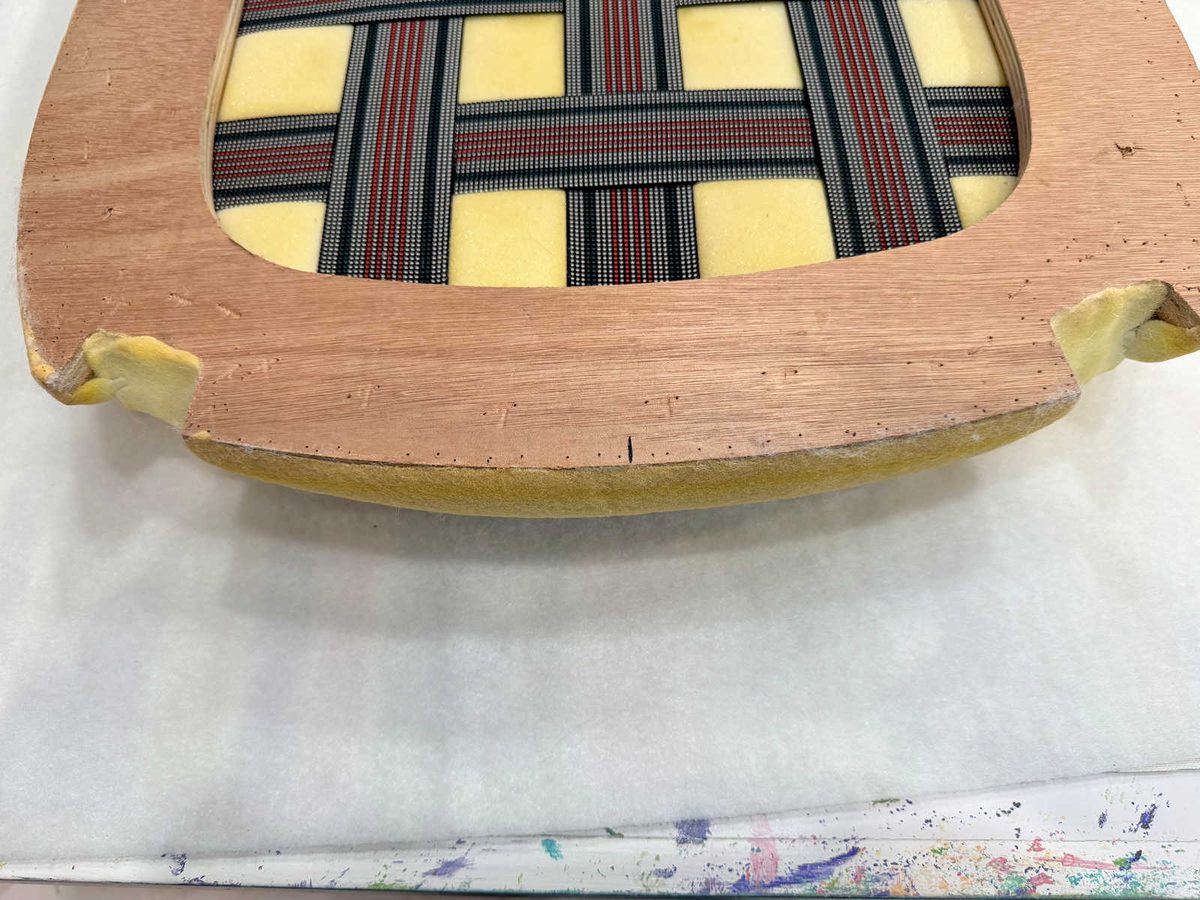
Then I turned it over and measured the front of the seat to mark the center so that I would know where to put my first staple.
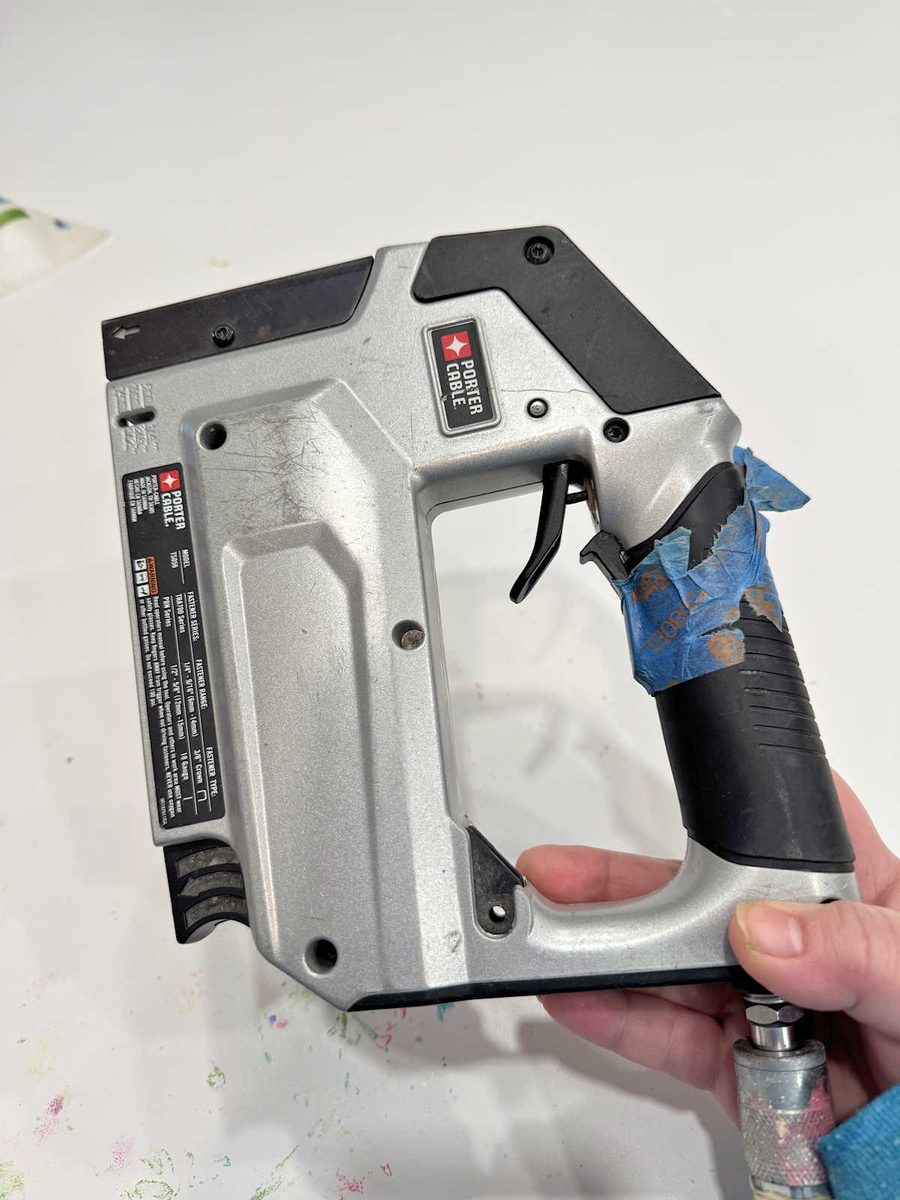
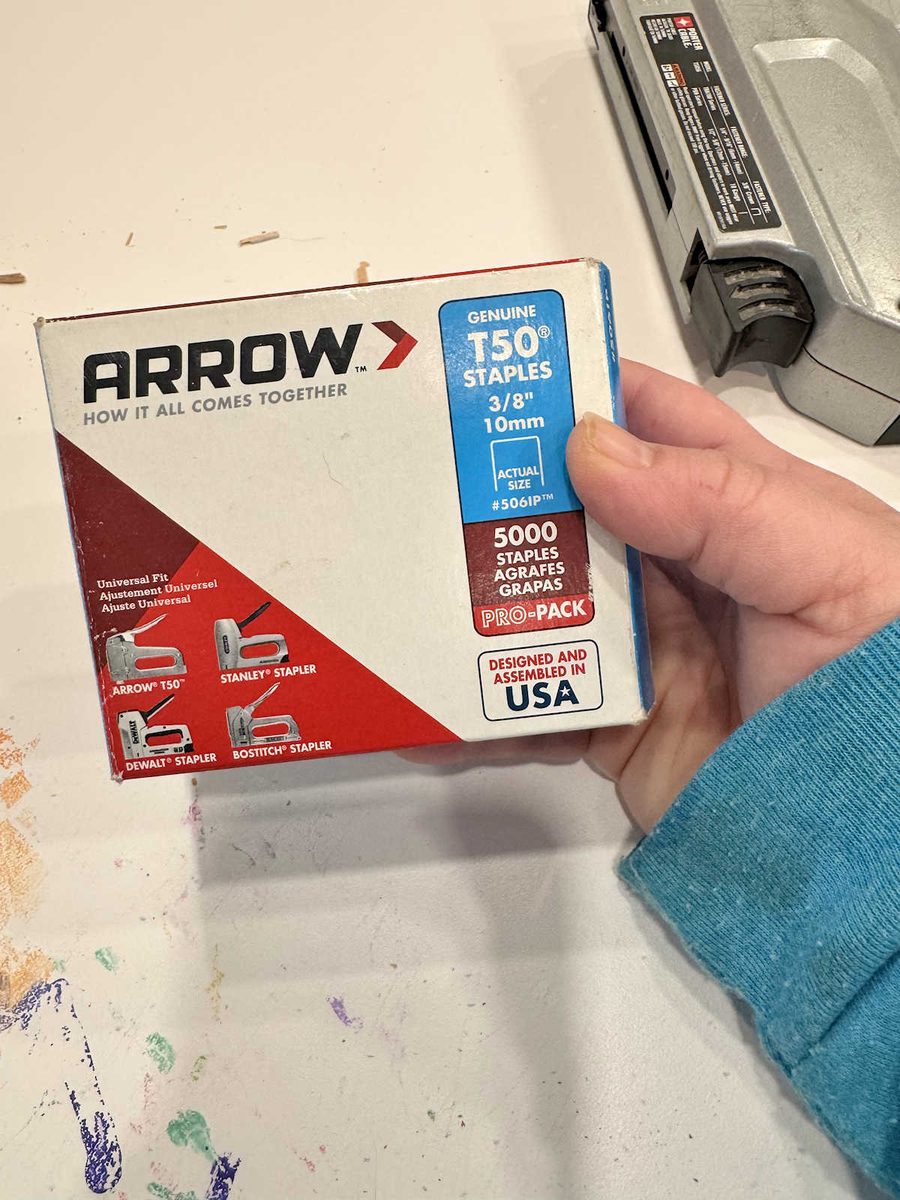
For the seats, I used my standard T-50 stapler.
Here’s what those staples look like…
I wrapped the fabric and foam around so that the stripe was centered on my mark and stapled it in place.
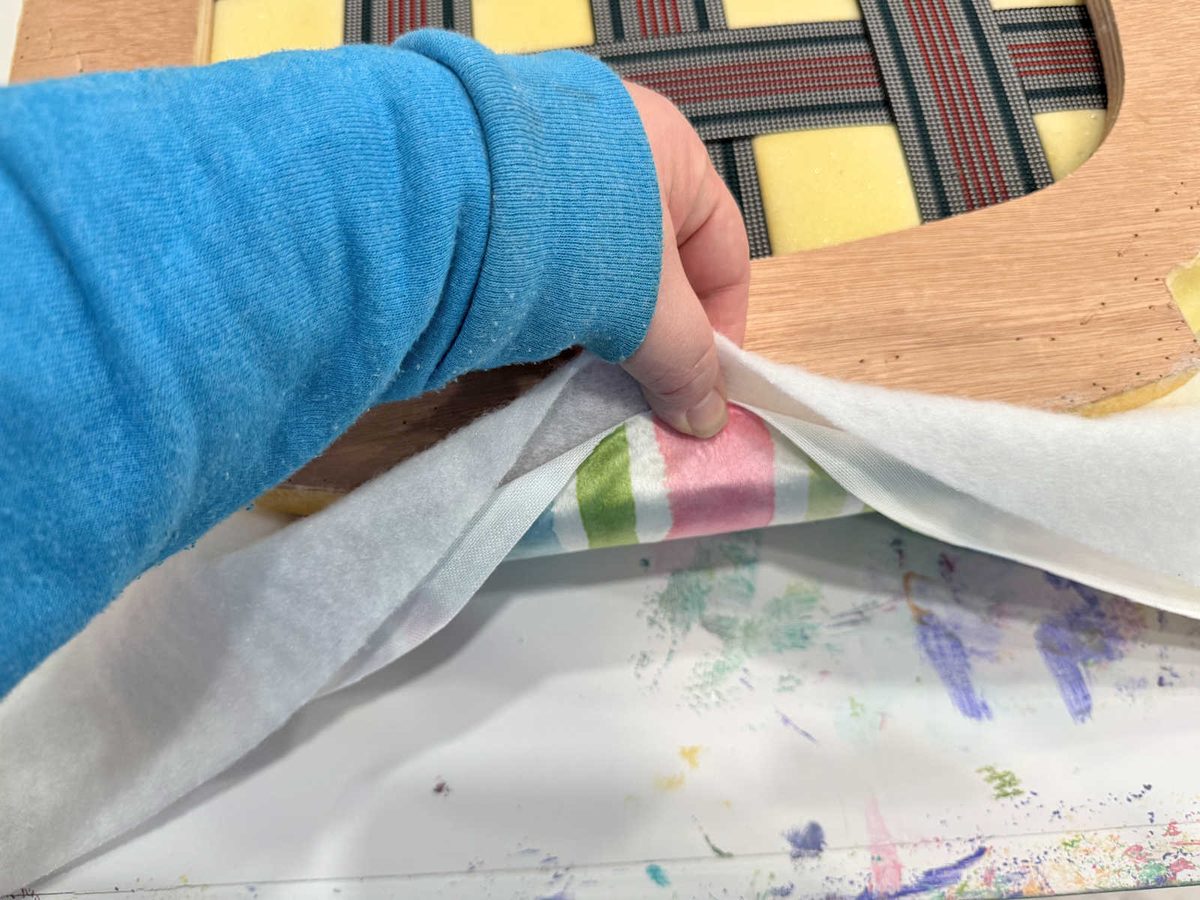
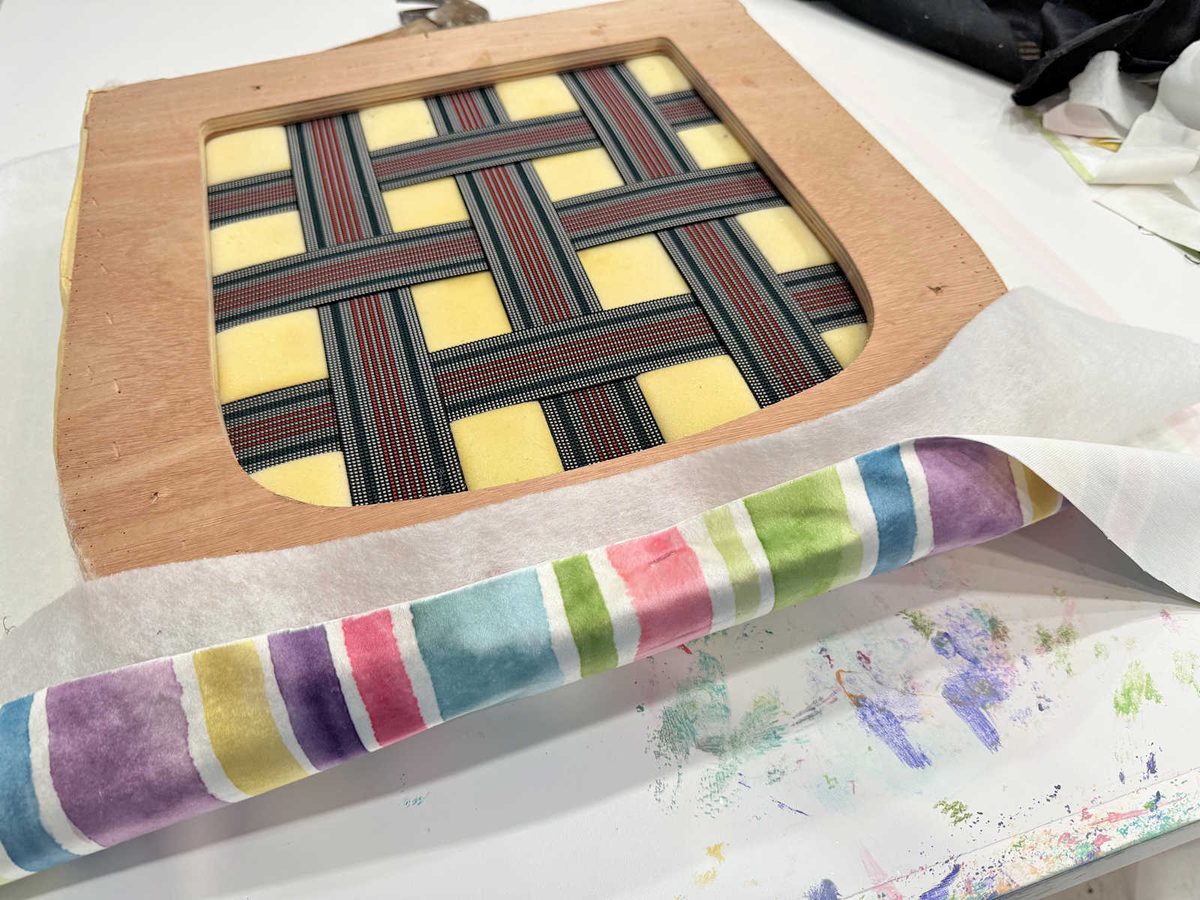
And then I turned the seat around and did the same thing on the back after marking the center on the back.
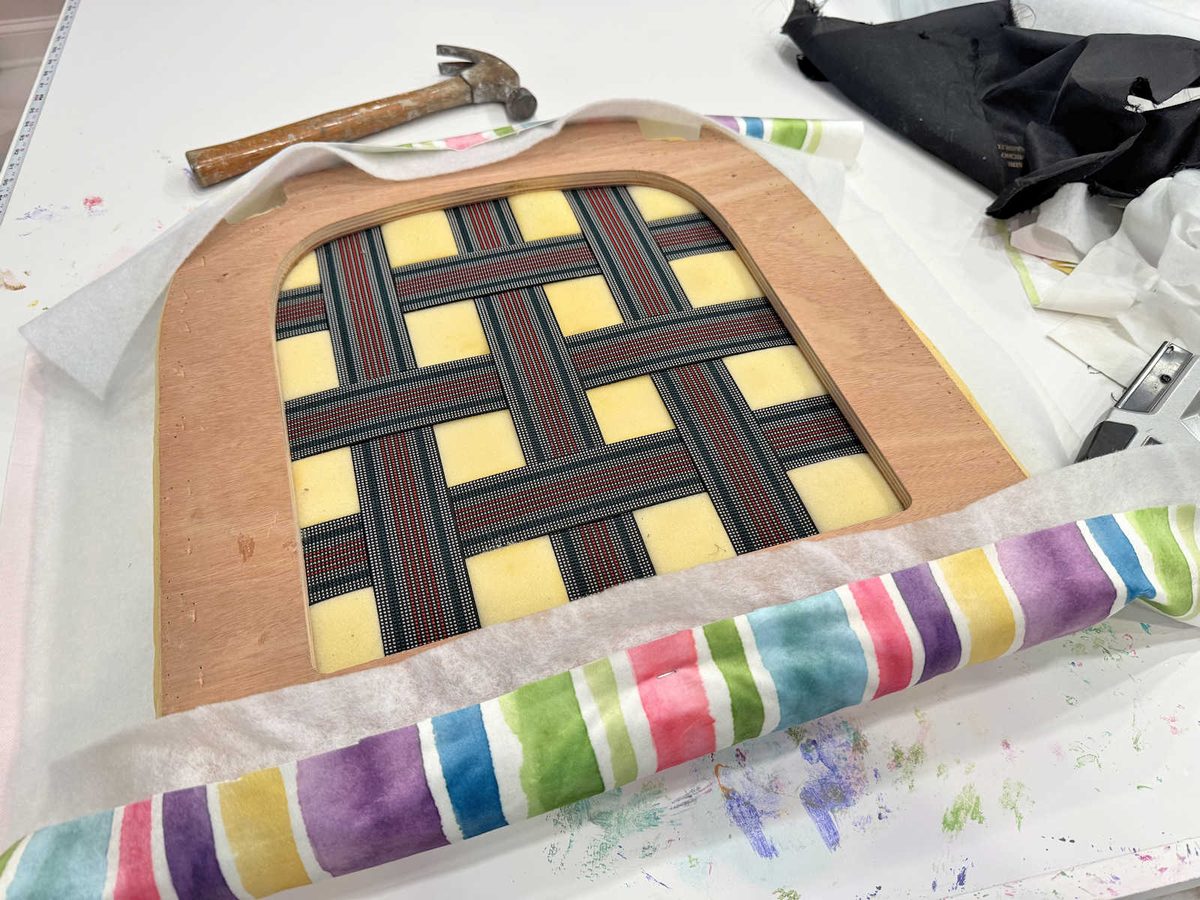
And then I pulled the sides taut and put one staple in the center of each side.
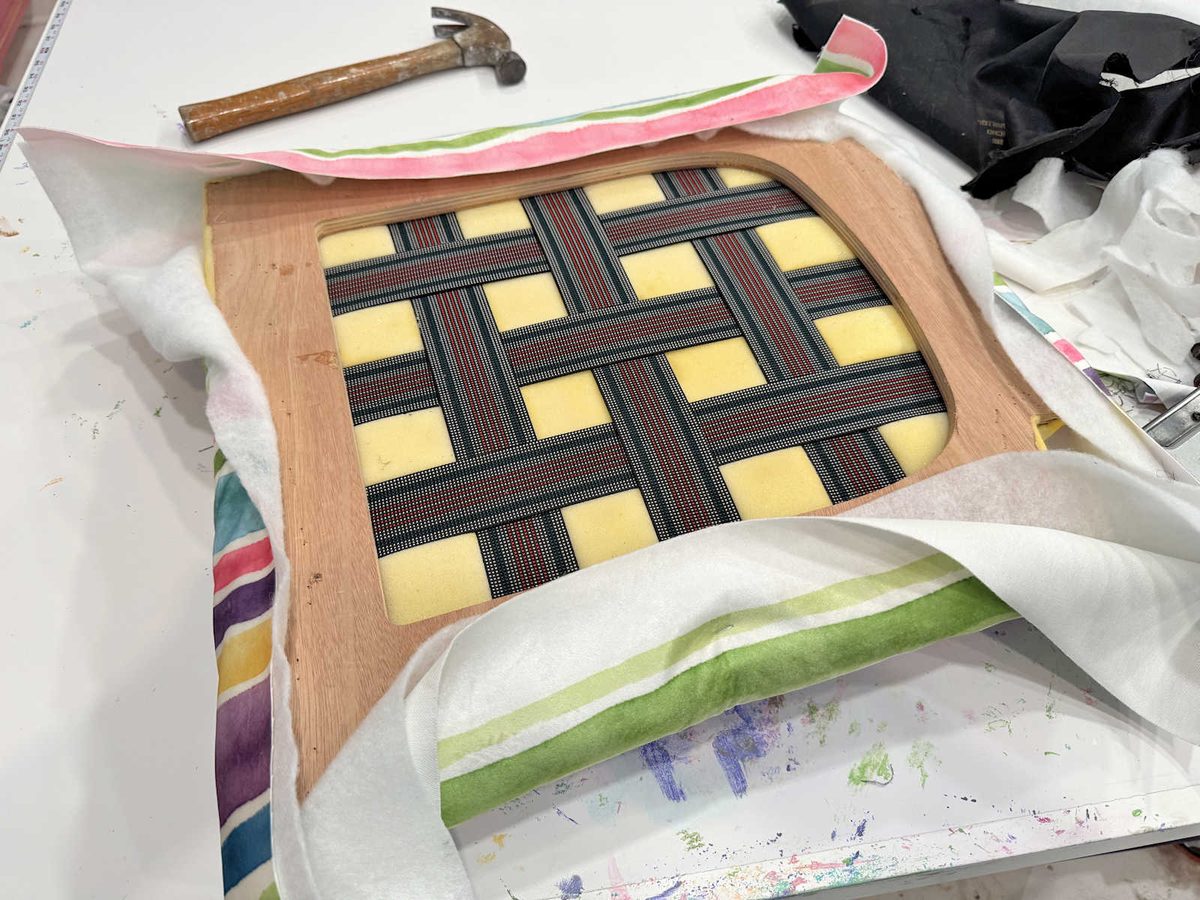
Once I had each side stapled, I turned it over to make sure everything looked good. I was checking to be sure that the stripes were straight and the batting hadn’t wrinkled or bunched under the fabric.
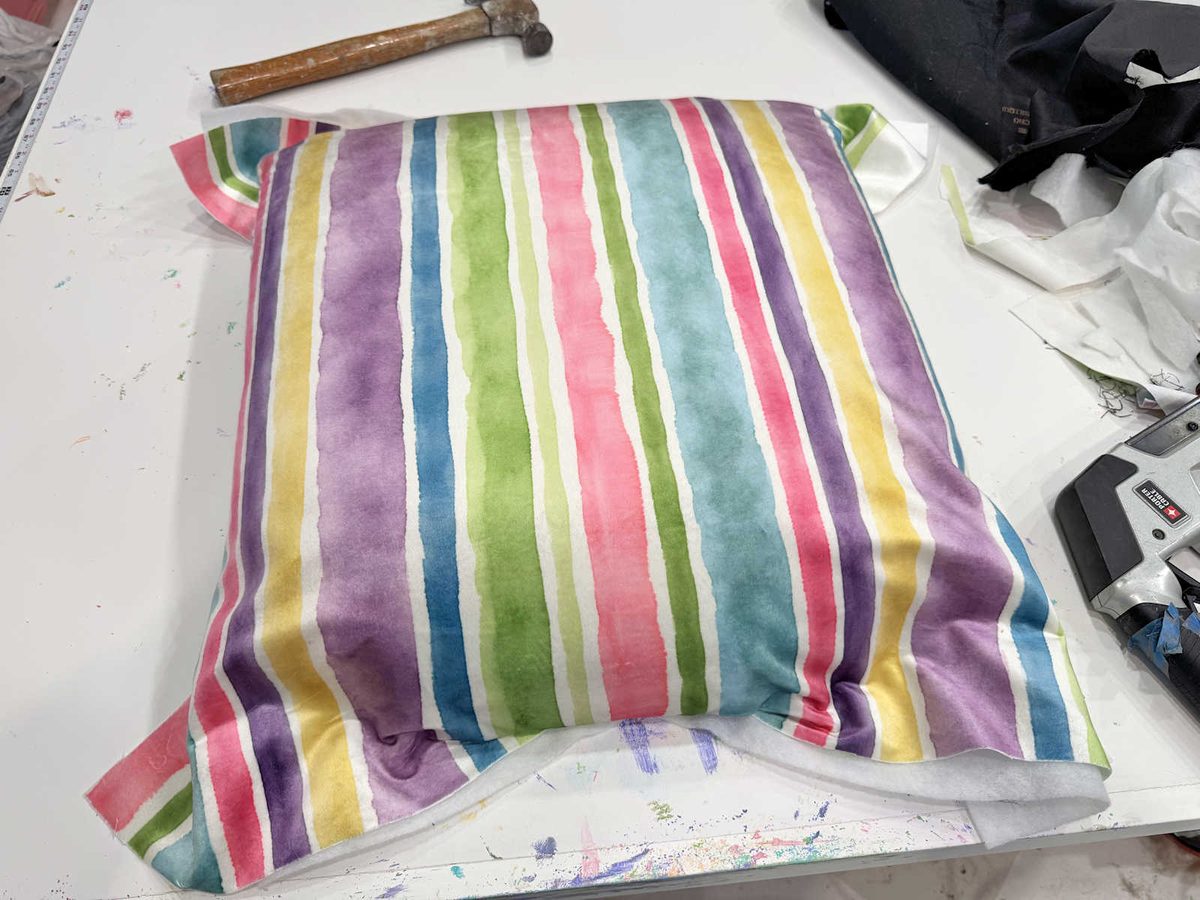
And then I turned it back over, and starting from those four staples on each side, I worked my way out towards the corners.
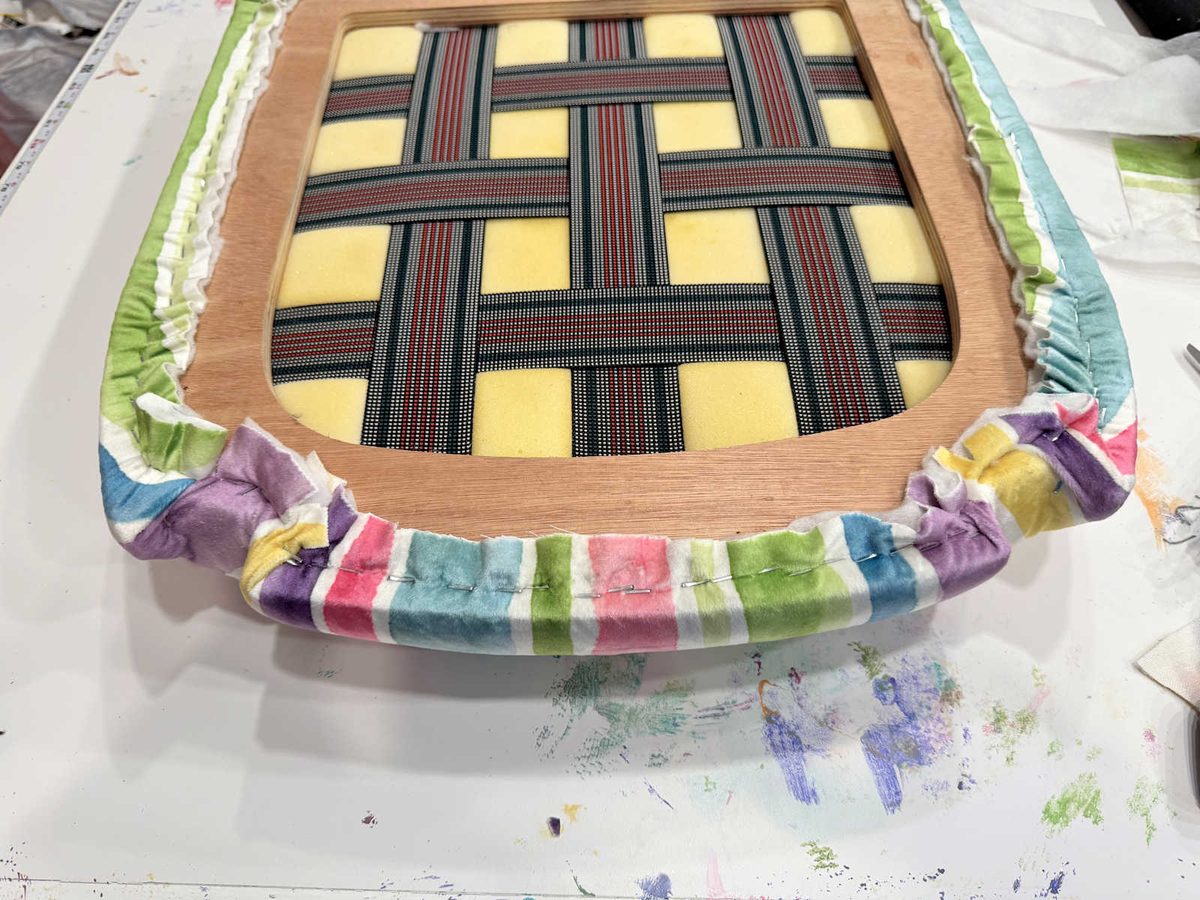
As expected, these indentations gave me a bit of trouble, but I just keep at it until I was satisfied with it. It took me a few tries, so I had to take the staples out and redo them a few times before I was satisfied.
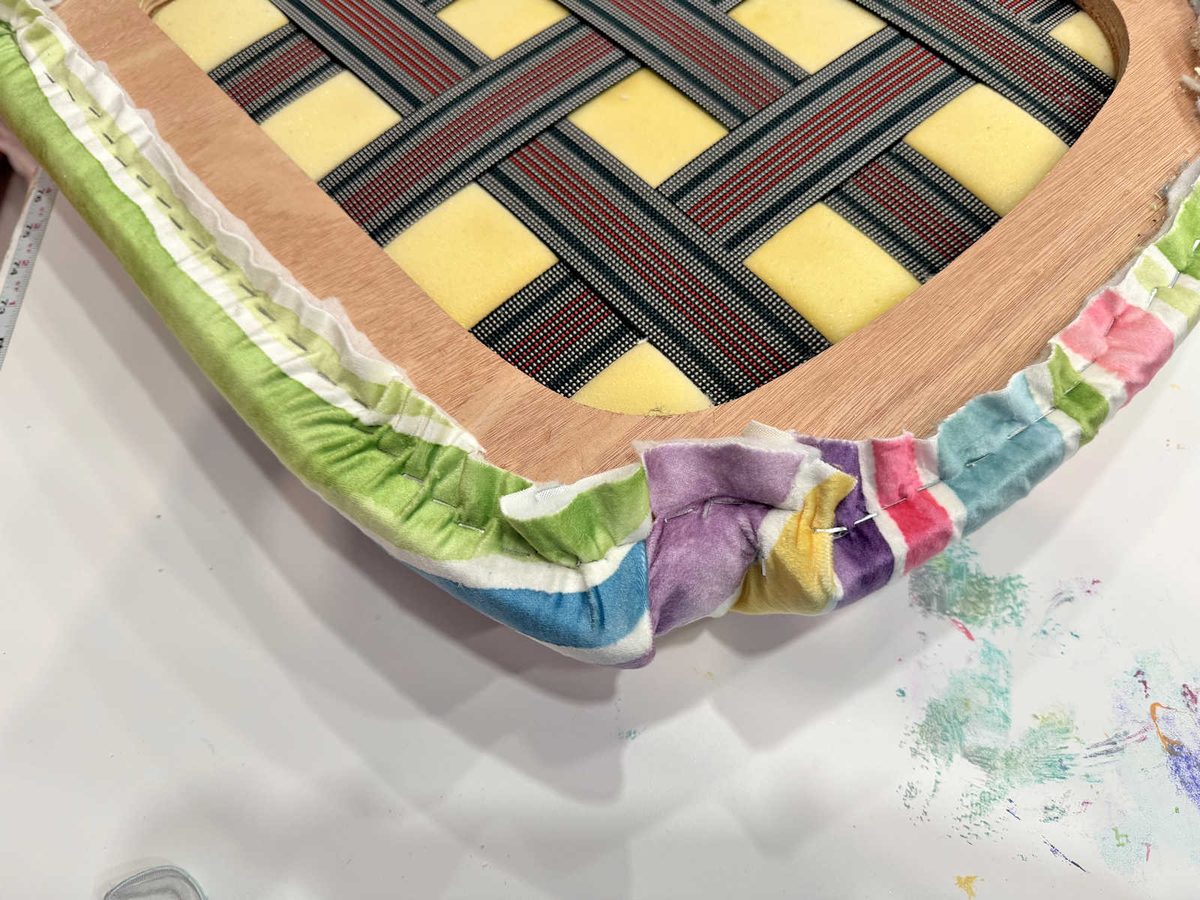
It’s not perfect, but it’s good enough!
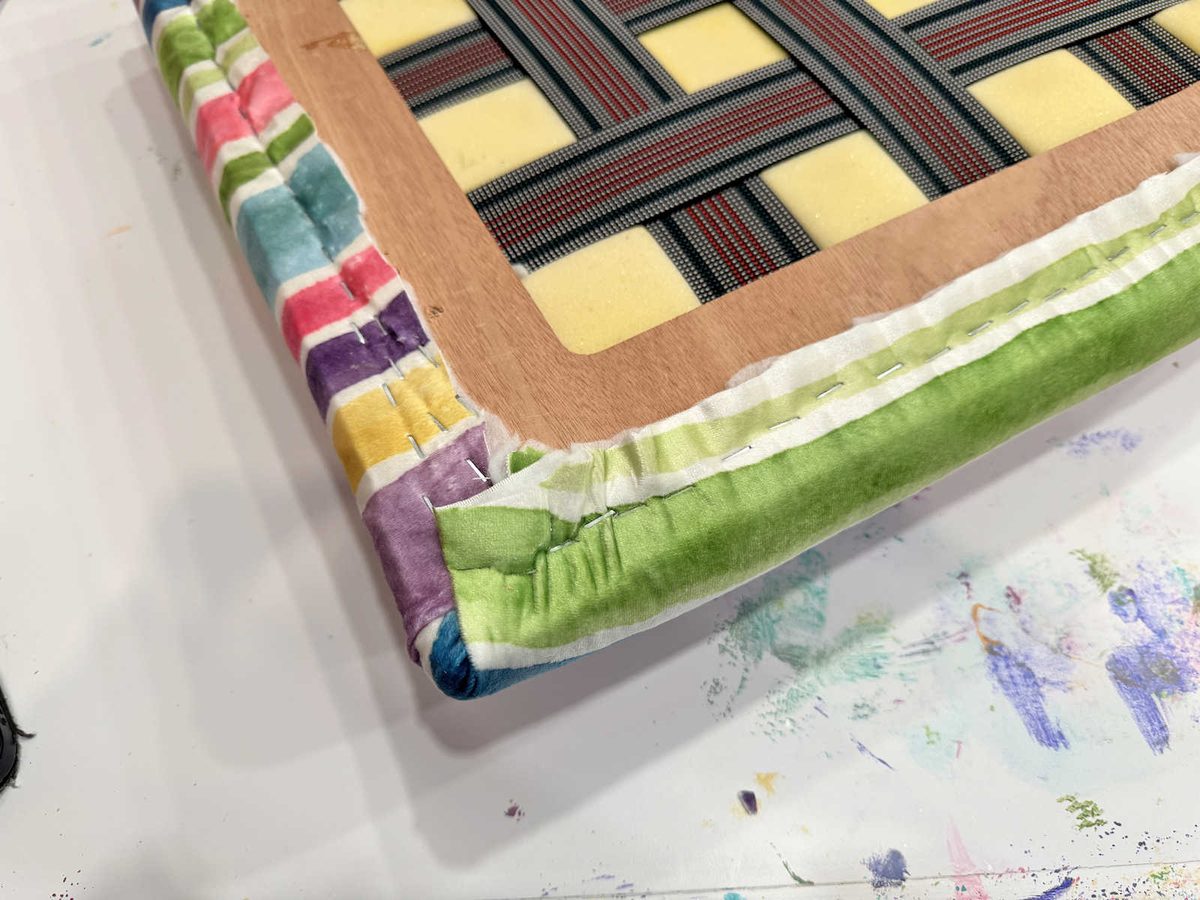
On the corners, I wrapped the fabric as best as I could so that it was smooth on the edges that would show while all of the gathers were on the bottom.
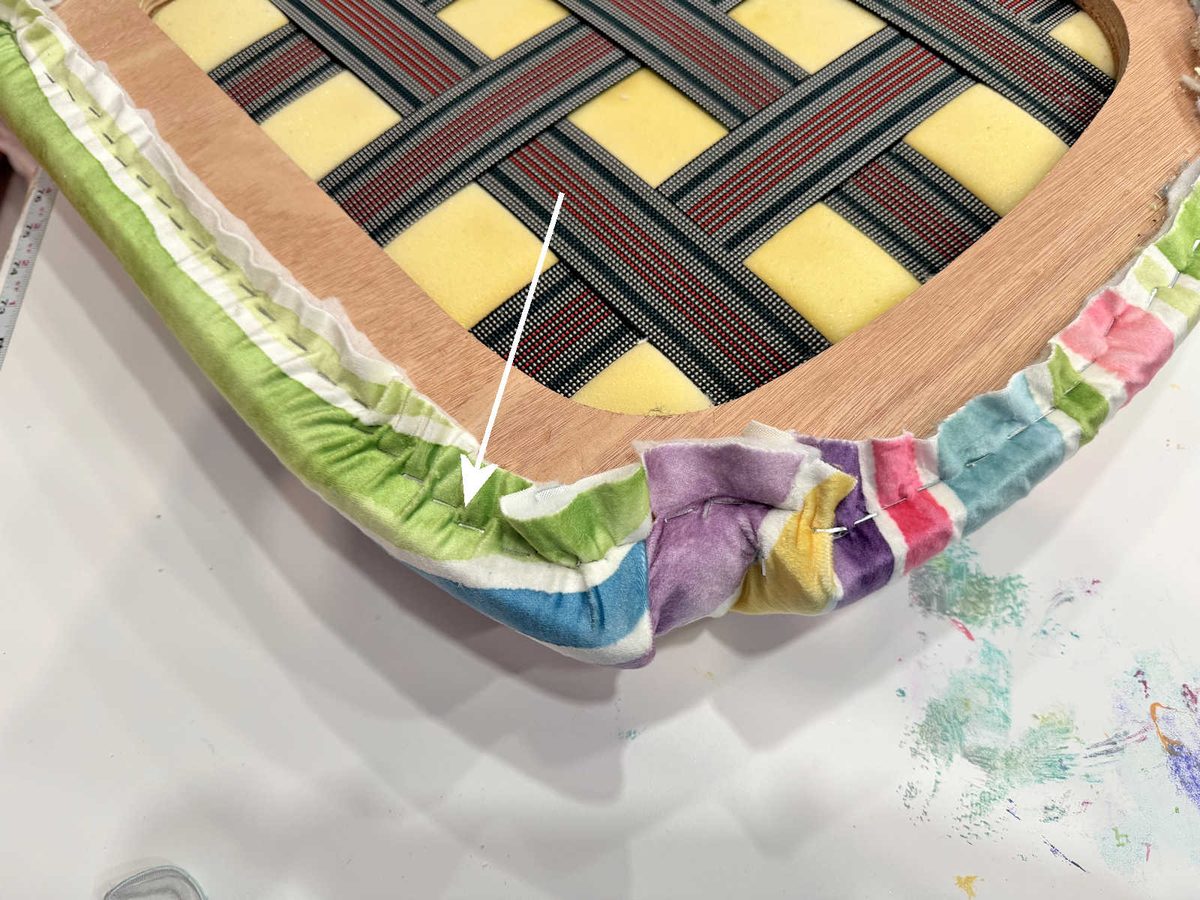
That was especially important on the curved areas.
With the seat done, I was ready to do the back of the chair. When taking the old fabric off of the backs, there’s really no easy way to do it. I just used pliers to grab the cording and pulled it off. And then I did the same thing with the fabric. It’s a lot more challenging to get the staples off of the backs, especially when they’re buried in the channel around the upholstered area, but I got as many out as I could using my little flathead screwdriver and pliers.
Once the old fabric and batting is off, you’ll usually find either a piece of cardboard or a piece of fabric stretched across the back. If there’s cardboard, I try to keep that intact and reuse it. If it’s fabric, I’ll keep it there as long as it’s in good condition. If it’s not, I’ll remove it as well. My chairs had fabric, but it was in good condition (with a little overspray from when I painted the chairs), so I left it, but I decided to add new fabric over it.
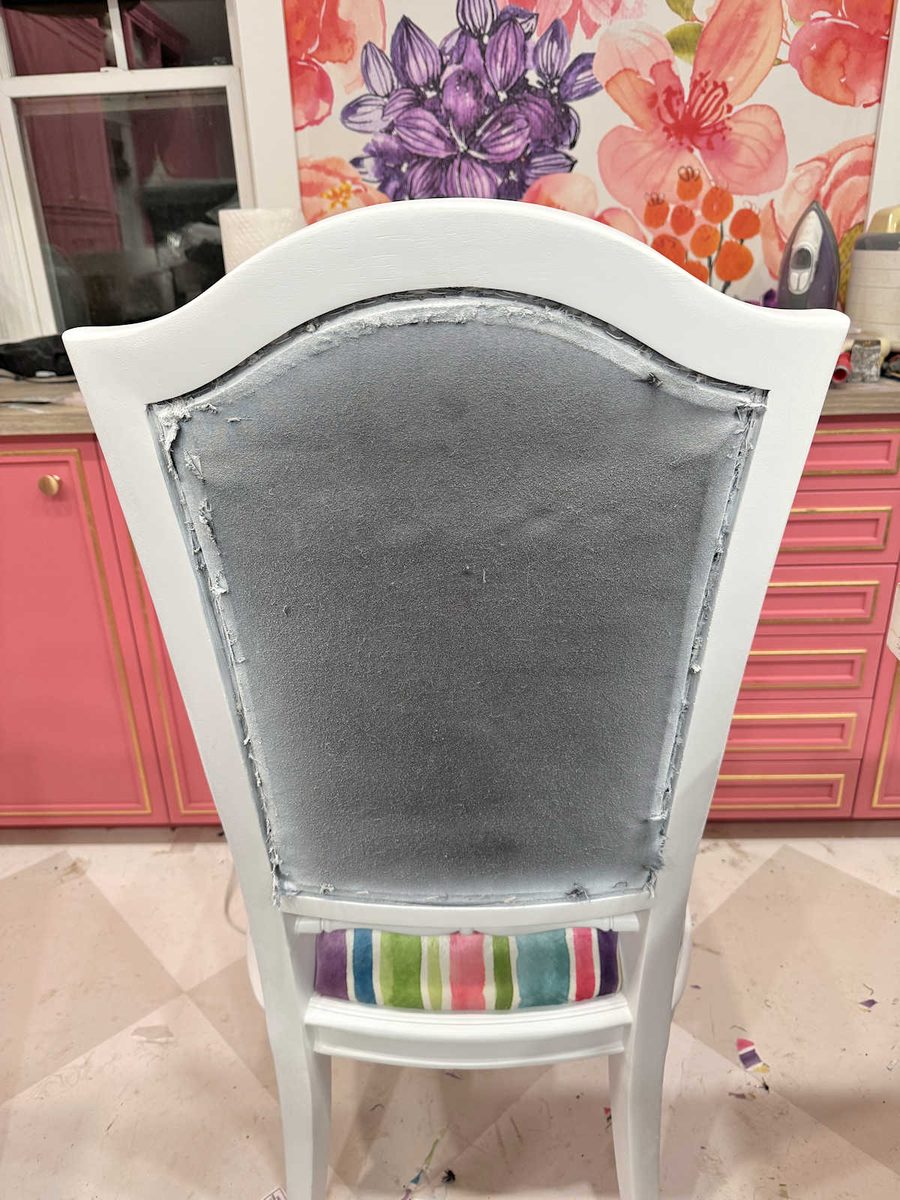
I started by stapling a new piece of thick fabric onto the back. For this, I used blackout drapery lining.
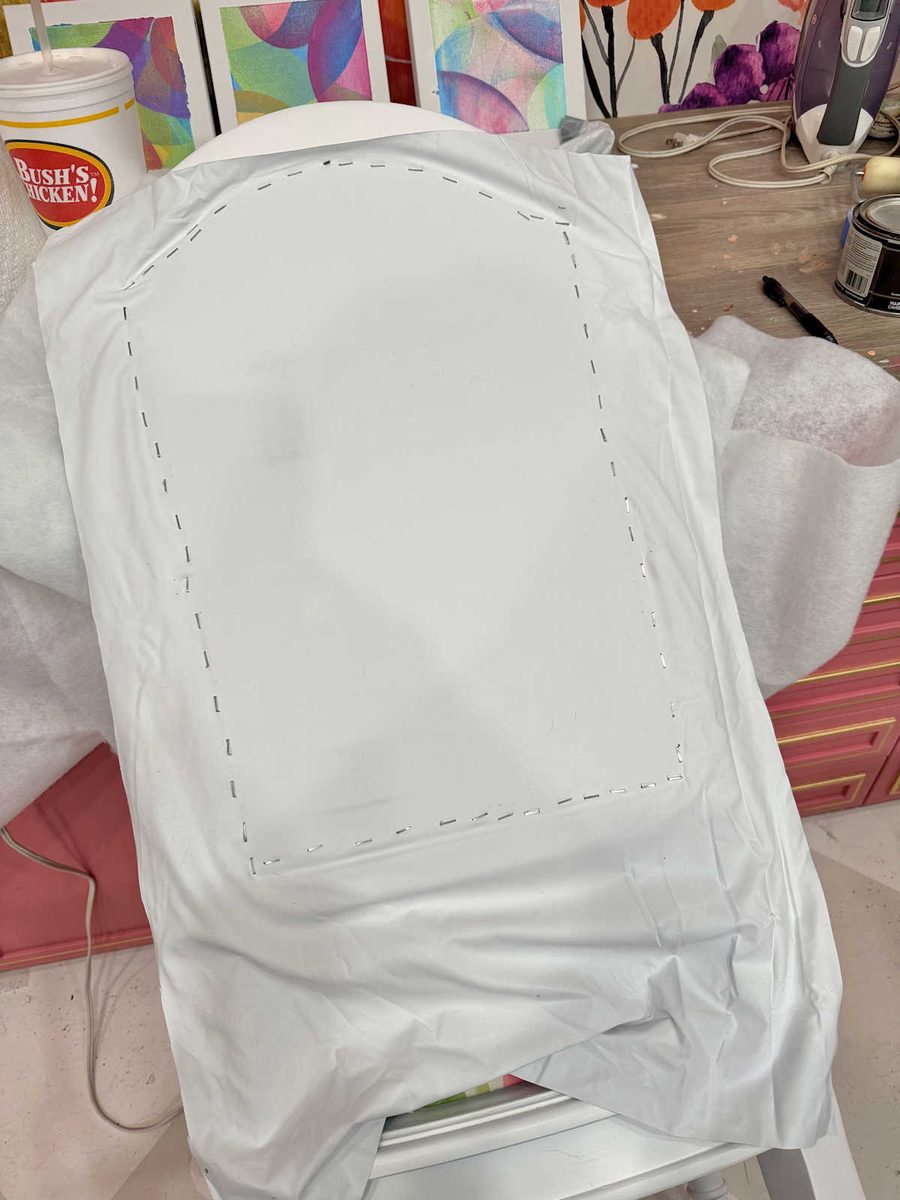
Here’s what it looked like once it was stapled and trimmed. In hindsight, I wish I would have removed the staples in the top left corner and removed that wrinkle. Unfortunately, I didn’t, and it showed on the finished back. Probably no one else would notice it, but I do, and it bothers me. But now that it’s finished, I’m not going to redo it. But those details do matter.
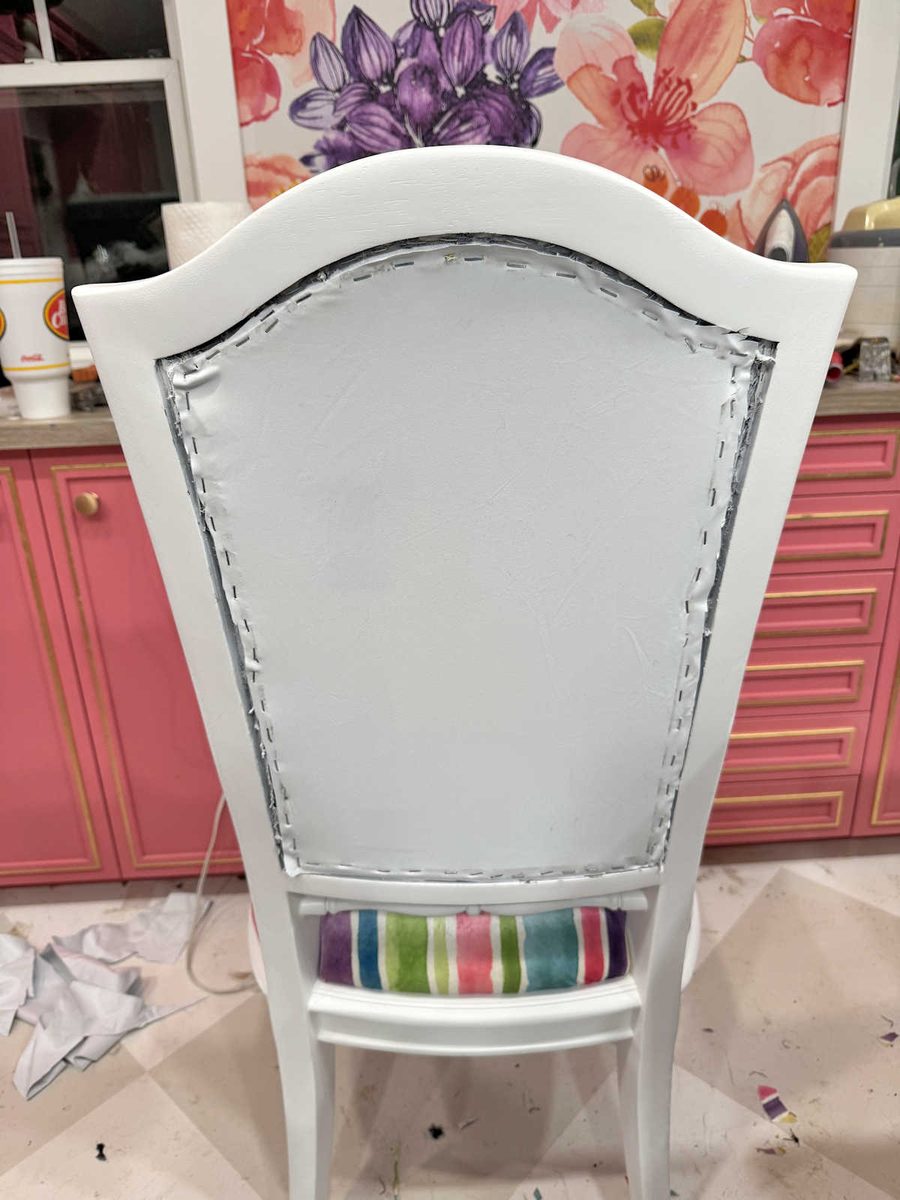
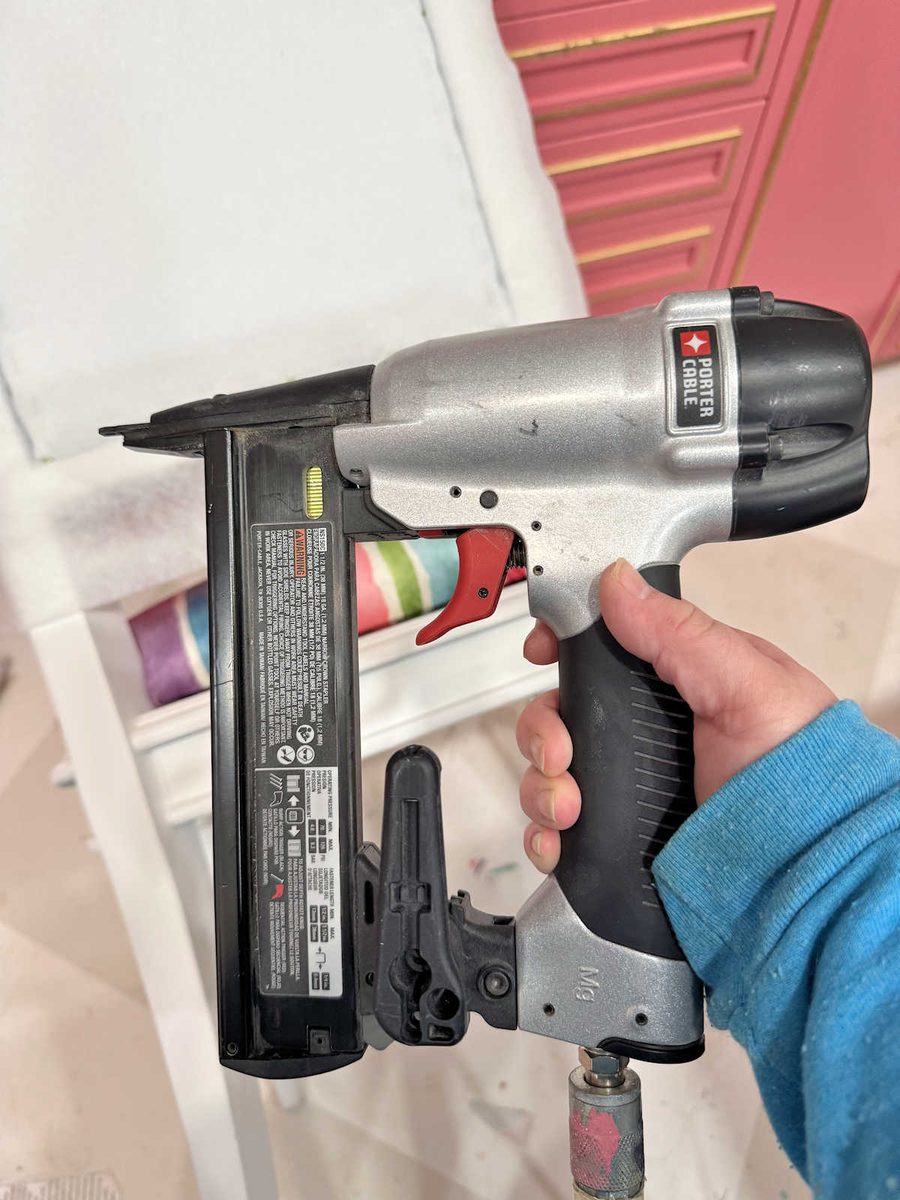
Next, I added the batting. For this, I switched to my narrow crown stapler because I needed these staples to go into the channel around the upholstered area.
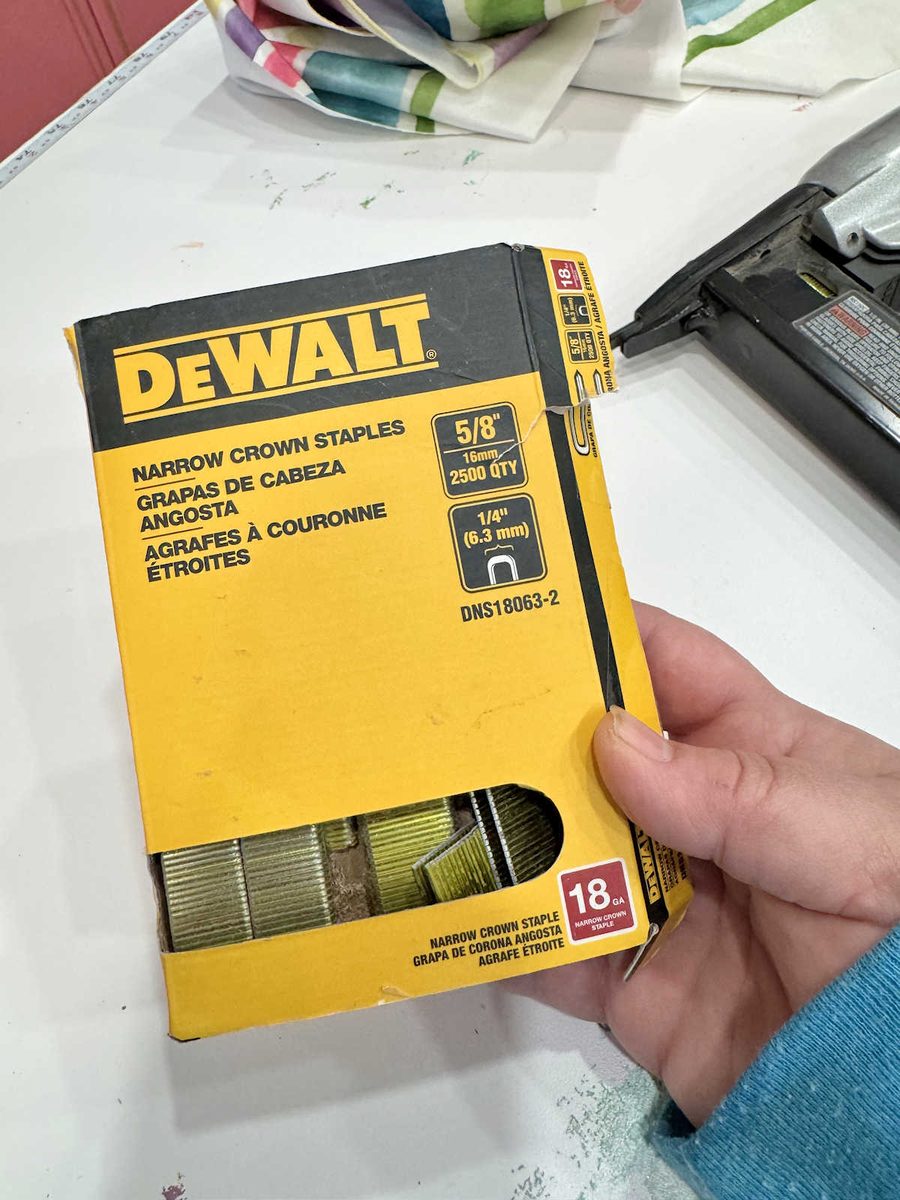
For this, I used 5/8″ narrow crown staples.
I tried not to use too many staples because, again, any staples that are there could interfere with the staples that I use to put the fabric on.
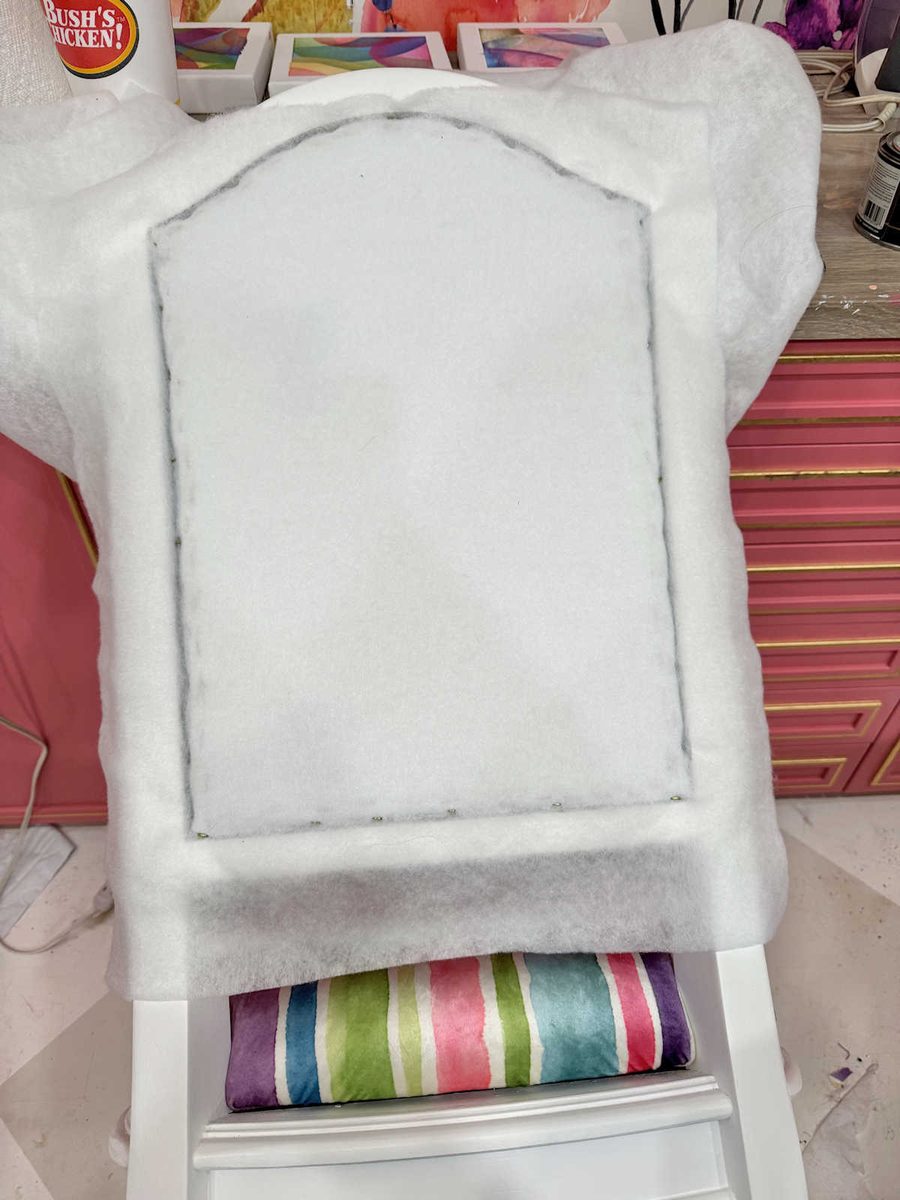
And here’s what that looked like once the excess batting was cut away.
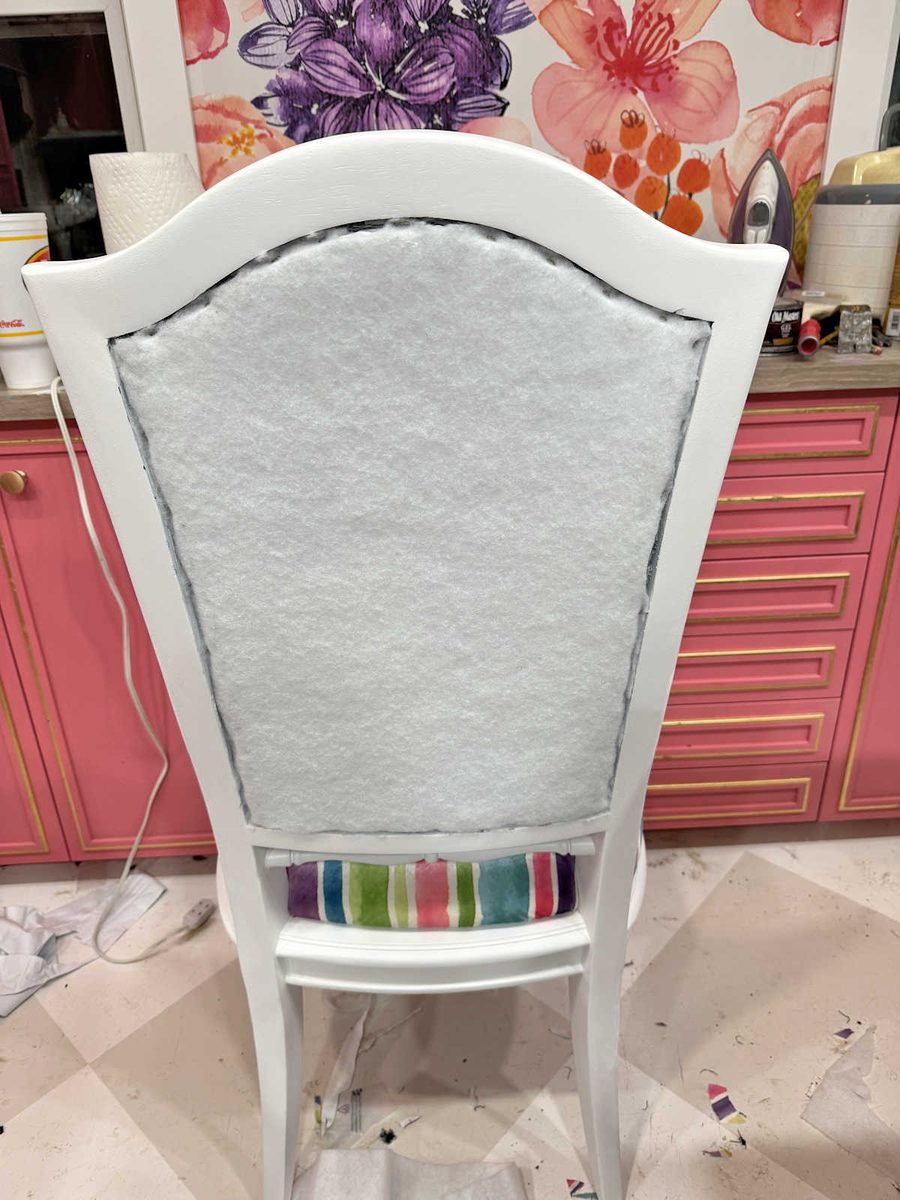
And finally, I added the fabric. To make it easy to match the pattern from the seat to the back, I placed the chair face down on my worktable.
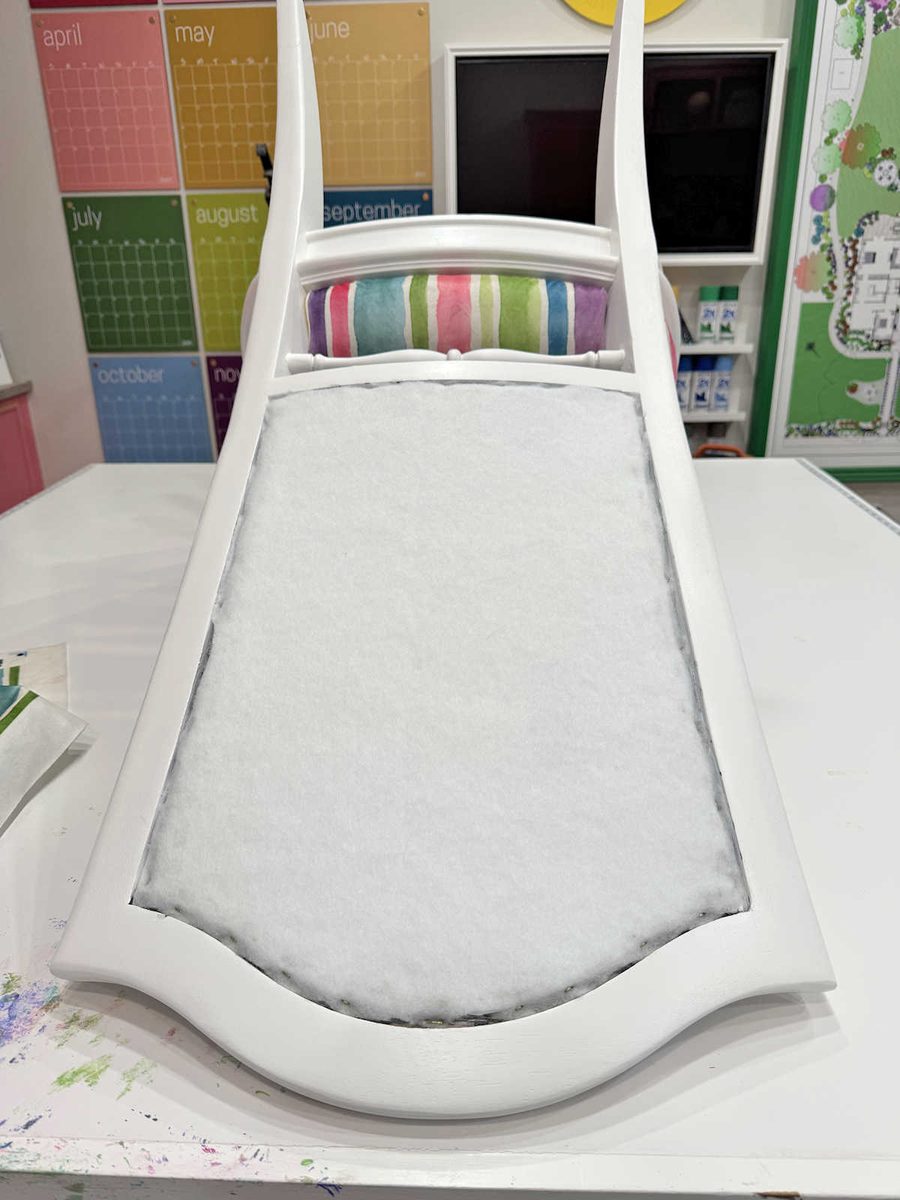
And then I placed the fabric onto the back and lined up the pattern from the seat to the back as close as I could. And then I used my narrow crown stapler to staple the fabric into the channel all along the bottom first so that I could keep the pattern straight and matched with the seat.
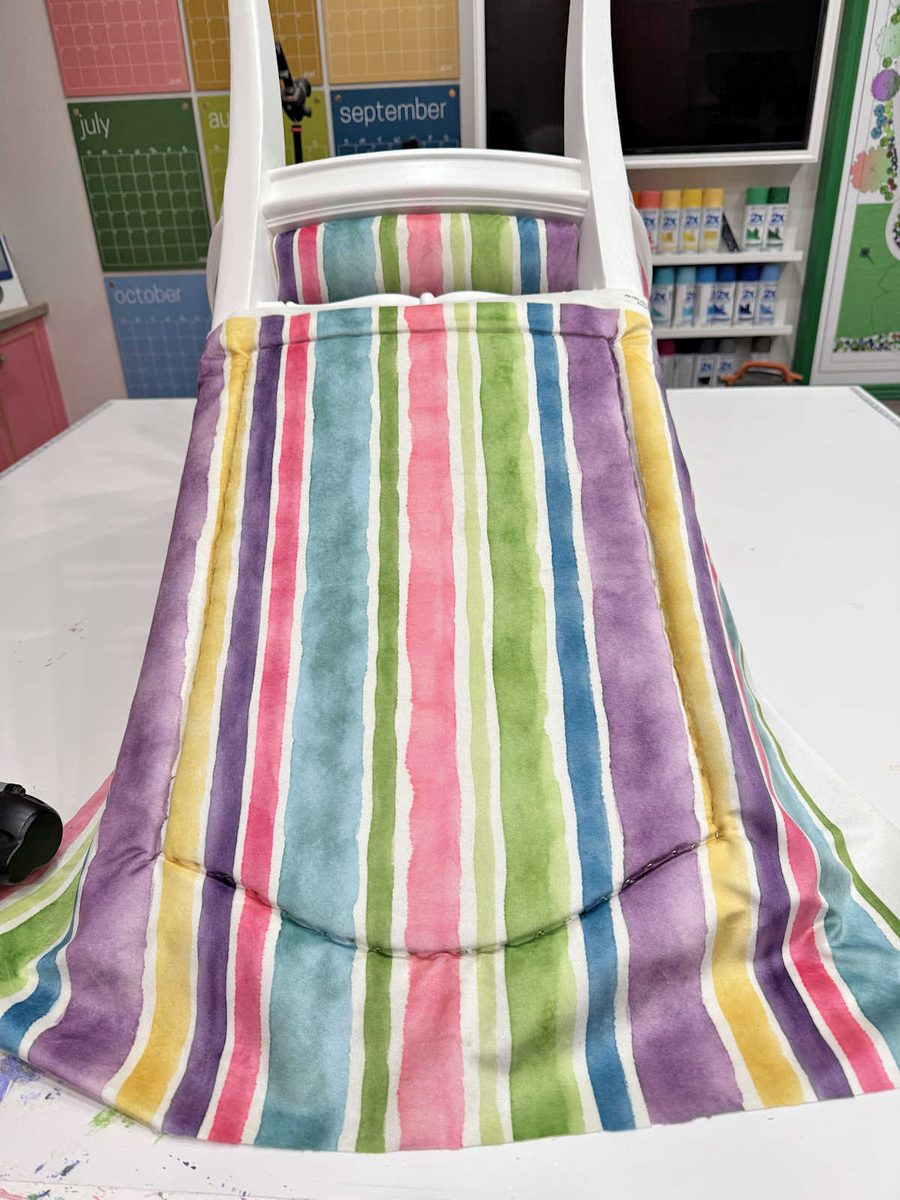
Once I got the bottom stapled all the way across, I pulled the fabric taut and put one staple in the center of the top and then one staple in the center of each side. And then I worked out from those areas until it was stapled all the way around. To remove the excess fabric, I used a brand-new, very sharp razor blade.
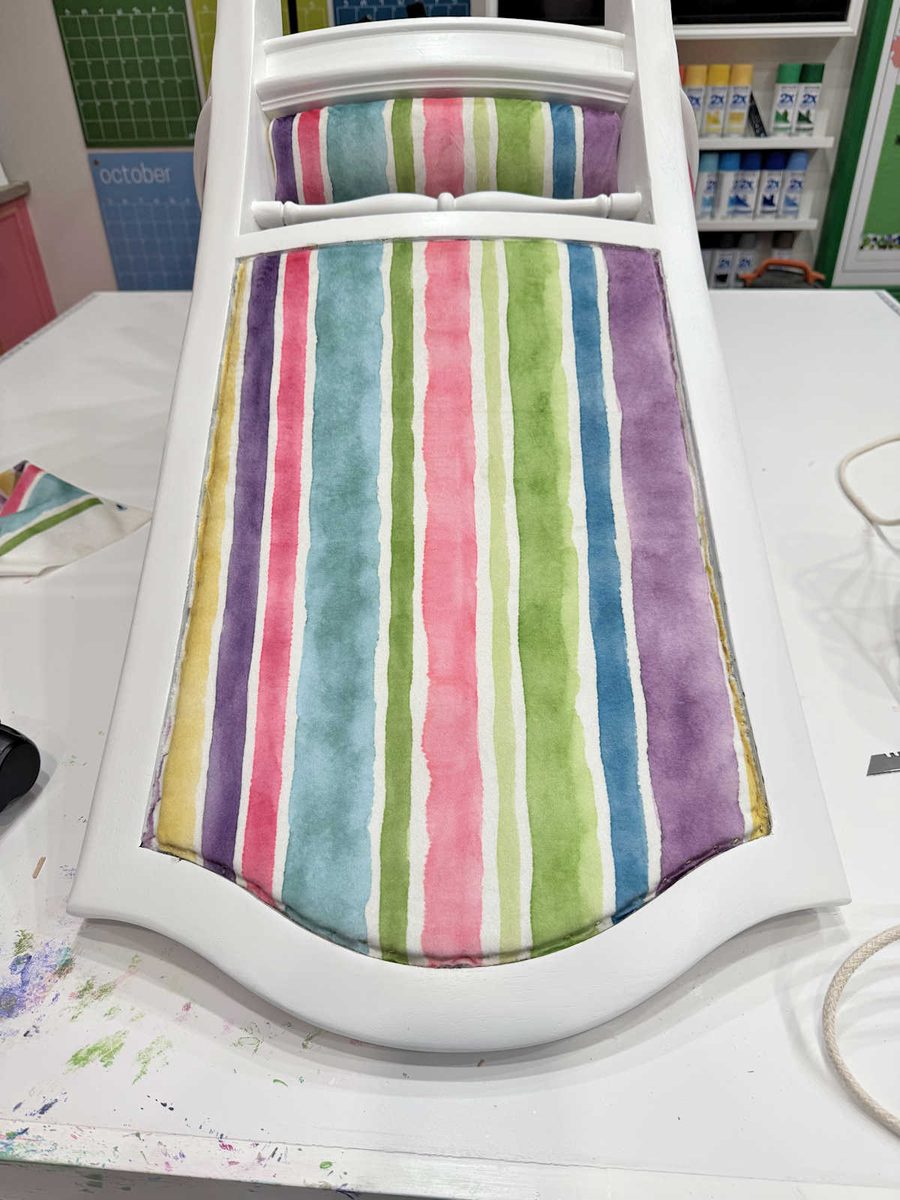
I still need to add the new cording on the seats and the backs, but here’s what they look like so far.
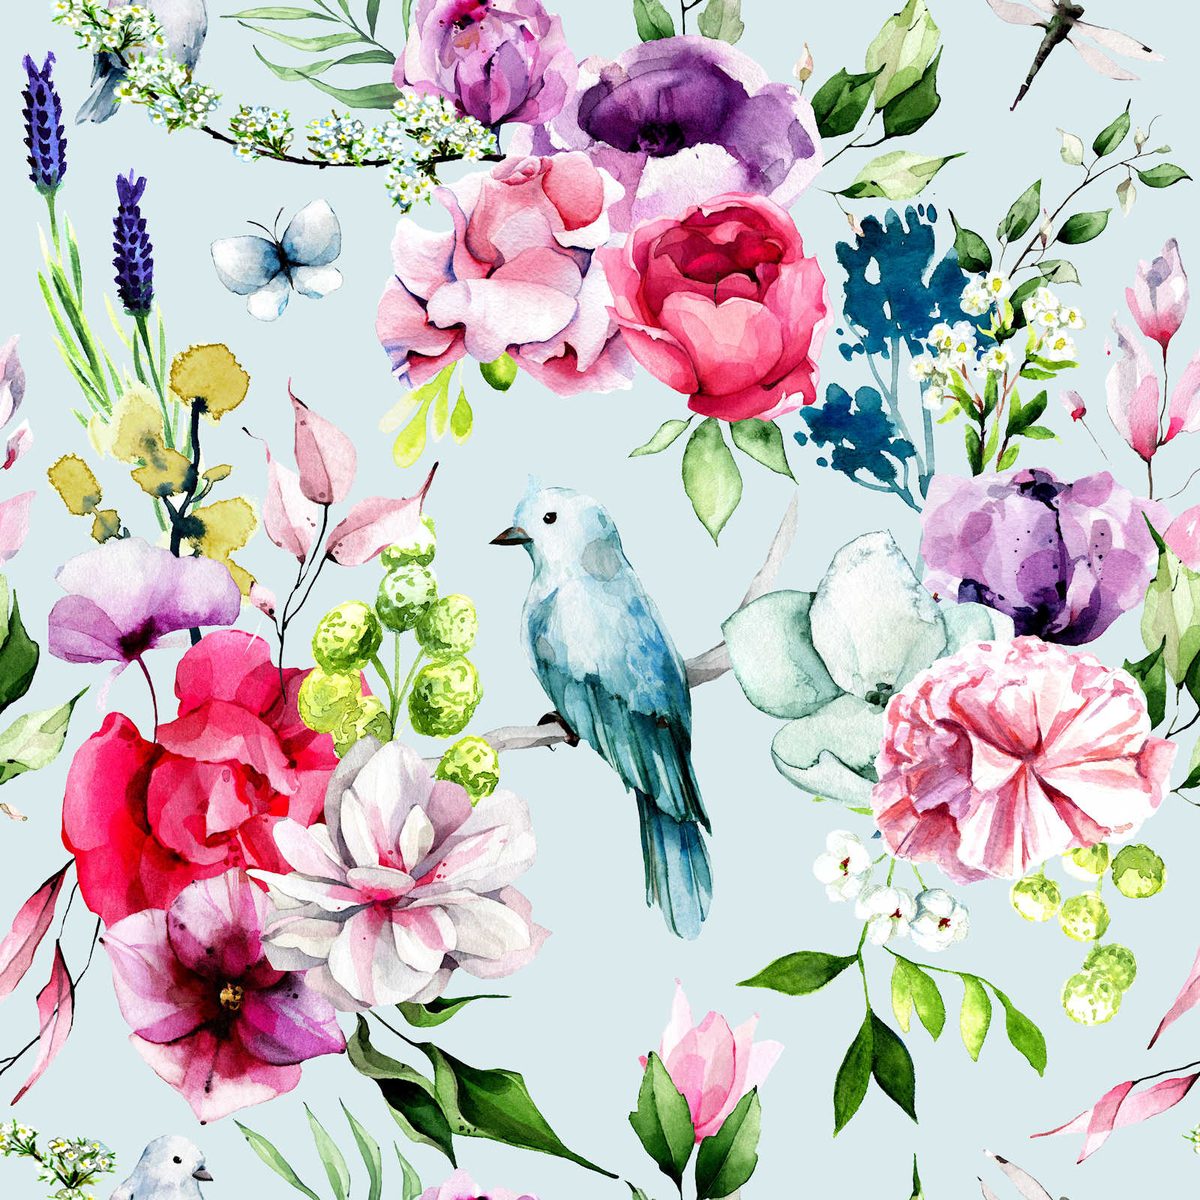
Now what about the front of the seat backs? Well, I’ve decided that I’m going to use a solid pink for that. The fabric kind of made the decision for me. I had actually decided to use the striped fabric on all three sections of the chairs. While I loved the idea of the three different fabrics, I just didn’t love the bird and flower fabric that close to the stripes. Plus, using three fabrics on the chairs would have meant using the striped fabric on the chair seats as well as the benches (because I have it, it wasn’t cheap, and I don’t want to waste money or fabric). So I draped the striped fabric over the bench frame so I could see what it would look like on both the dining chair seats and the benches, and I didn’t like it at all.
So I decided to go with all three sections of the dining chairs in the stripes. But as I worked on the chairs, I realized that that wouldn’t work either because of the fabric. Since I’m using velvet fabric in a striped pattern, in order to get the pattern to match on all three sections, that meant that the nap on one section would have to be the opposite of the other two. And if you put two pieces of the same velvet fabric together with the nap going in opposite directions, the color difference can be stark. It can be so stark that it looks like two different fabrics.
Had I used the stripe on the front of the seat backs, it would have had to go in the opposite direction as the seat and the back of the seat backs. I tried it, and sure enough, the colors appeared completely different. They looked really light and washed out compared to the other two sections.
But I also didn’t want to use the pink that I already have. That needs to be saved for the benches, but I don’t want to the dining chairs to match the benches anyway. I do want them to be pink, though. So I matched the dark pink stripe in the fabric and ordered two more yards of fabric. And this time, I ordered the velvet that isn’t shiny (the Performance Velvet).
So the front of the seat backs will still be pink, but they won’t be a perfect match to the benches. I like the idea of them coordinating but not matching perfectly. Here’s a look at the color I went with. This shows the striped fabric, the original pink color (left) that I’ll use on the benches, and the new pink color (right) that I’ll use on the dining chairs.
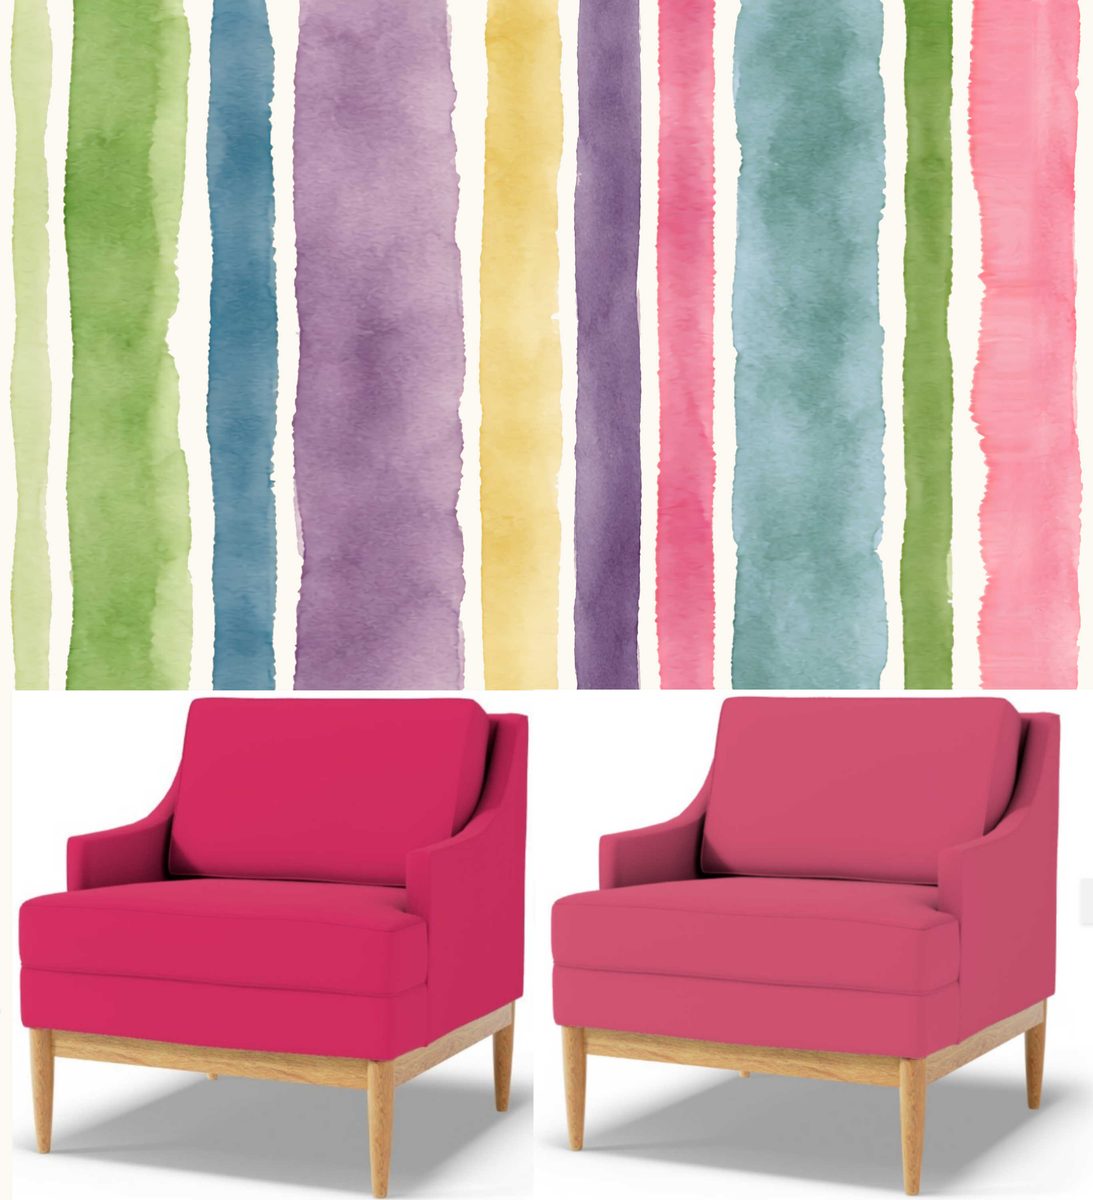
And since both of those pinks came from the drapery fabric, it should all complement each other when it’s all said and done.
So it might take a week or so to get the new fabric and to get the chairs completely finished. But in the meantime, I can get the rest of the chair backs finished and get the cording finished on the seats and the backs. I’m just glad to finally have the fabric decision made. I was really hoping I could make the three-fabric option for the dining chairs work, but I think this will be pretty as well.

Addicted 2 Decorating is where I share my DIY and decorating journey as I remodel and decorate the 1948 fixer upper that my husband, Matt, and I bought in 2013. Matt has M.S. and is unable to do physical work, so I do the majority of the work on the house by myself. You can learn more about me here.
Love your decision, beautiful!
Something to consider for that custom look you mentioned you like is the bird fabric on new lampshades for the sconces. A fun tiny detail for a fab fabric.
The chairs are going to be beautiful, Kristi. Yes, the new pink color looks so much richer. All along I hoped you would not be using the third design on the chairs. Thank you for the detailed tutorial. It is very clear.
Best wishes to you and Matt. I think of him often when your emails come. Also I am sending gentle pats for your accompanying audience of fur folks.
I really like how you have the stripes matched on the seat to the back. It looks very nice. I think you have a great handle on the upholstery. Thank you for sharing how to do this, as I have always wondered what was “under” the stuffing on the back of a chair!
LOVE that new shade of pink.
I probably would have picked something other than pink from the stripe. Possibly the teal. The two pinks shown on the chairs are very close in color. I hope it doesn’t look like you tried to match the two but they don’t. I am not sure I’d use a mat velvet with a shiny velvet on the same chair.