J & A Master Bedroom, Day 1:: Progress on Board & Batten Walls
Saturday was my first official work day at John & Alice’s house. I got quite a bit done, although I had hoped to do more (the story of my life).
I probably would have gotten much further if I hadn’t had so much trouble getting those darn baseboards up!! Removing existing baseboards isn’t required for installing board and batten. Remember Kimba’s walls?

She kept her existing baseboards, and shares her tips for creating a clean look where the existing baseboards and the new battens meet.
However, I wanted to trade out the existing skimpy little baseboards in John & Alice’s room with something much more substantial, but with the carpet and tack strips in the way, I had a heck of a time getting those baseboard off.
It’s a good thing John & Alice are getting new flooring, because I ended up having to pull the carpet up around the edges!! Even then, getting the baseboards up over the tack strips was a chore, but I managed.
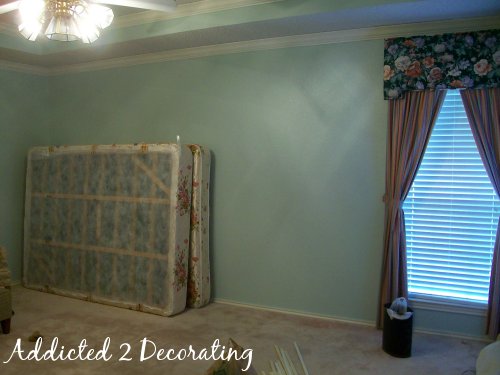
So anyway, let me show you my progress. First, pictures of the room before I started:
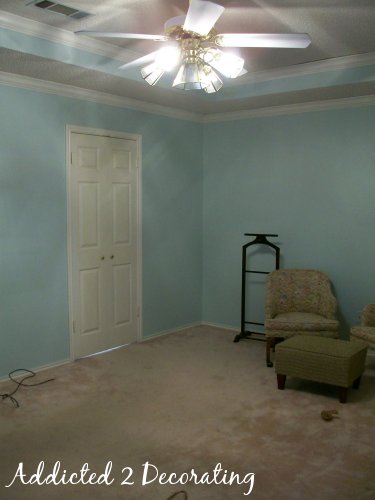

Of course, they’ll look completely different when I’m finished with them.)
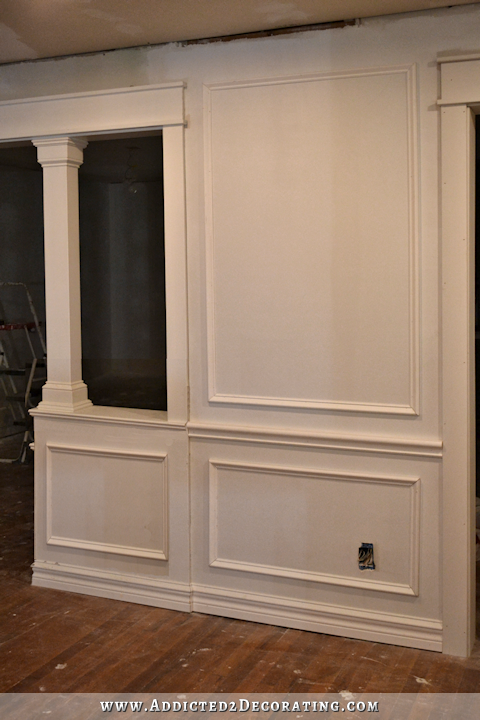
And now, my progress:
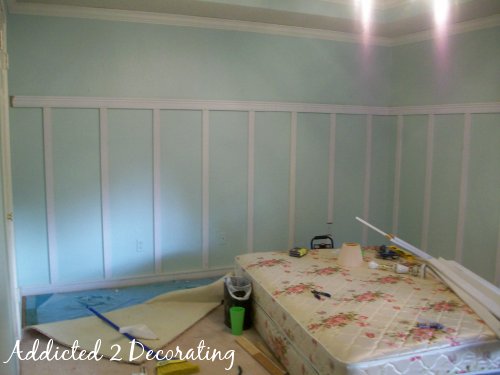
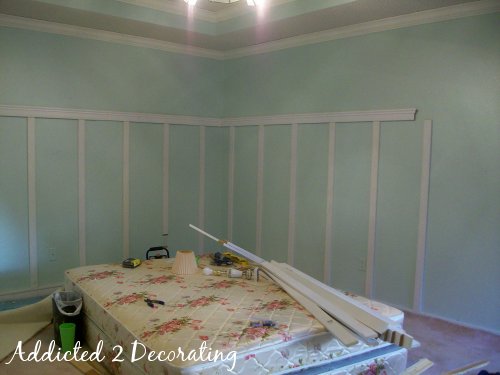
It’s getting there! And the bigger, more substantial baseboards are hidden by the loose carpet edges. But I promise…they’re there!! Once the new flooring is in, they’ll be completely visible.
The day didn’t go off completely without a hitch, because as you can see here…
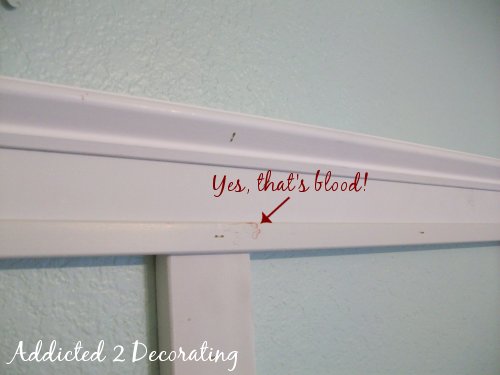
😀
Hey, when I say I put all of myself into the rooms I decorate, I’m not kidding!!!
Okay, okay…so I had a little mishap with the pneumatic nail gun. Everything’s fine. There’s really nothing to see here. Let’s just move on. 🙂
So installing the rest of the trim will be a breeze. Then begins the time-consuming…and most important…step of the process. The CAULKING!!

Addicted 2 Decorating is where I share my DIY and decorating journey as I remodel and decorate the 1948 fixer upper that my husband, Matt, and I bought in 2013. Matt has M.S. and is unable to do physical work, so I do the majority of the work on the house by myself. You can learn more about me here.
Oh, I hear you on the caulking… Kelly is in the midst of that project in our house. He was sneering at a show on HGTV the other day where people were installing and painting molding, but apparently not caulking. I told him that since it was some kind of challenge/timed show, that things like that get put aside.
Oh, I hate to see people skip such important details like caulking!! It's those details that take a project from "cheap DIY" to professional quality.
I've seen important details like that get overlooked even on shows where it's not timed, and where the budgets are extravagant. This doesn't have anything to do with caulking, but one of my biggest pet peeves with Candice Olsen's rooms is that when her carpenter is installing new built-in cabinets, he doesn't remove the baseboards so that the cabinet sits flush against the wall. Instead, he butts the new built-ins up against the baseboards, leaving about a 1/2" gap between the wall and the edge of the built-ins. It absolutely drives me crazy!!!
It's all in the details.
By the way, I've been inspired by all your DIY lately and this coming weekend I'm going to tackle our downstairs powder room! I'm going to install beadboard, caulk and paint, put up accessories, window treatments, etc. It's a small room (2' by 3') and it won't be entirely finished, as we will eventually do the floors in there too (when we do the rest of the landing area in tile) but it will be a good start! I even made up a mood board! Mary MacWitheyhttp://www.kellyandellen.org/house/2010/05/bathroom-ideas-in-visual-form/
oops you really put the blood & sweat into your work don't you? LOL Hope you're ok & I know this is going to be a fabulous room once done.
Hi Kristi, I think you have done a fabulous job–so detailed & thorough! I can't wait to see the continuing progress. I agree with you about caulking–messy, yes, time consuming, yes, but it makes everything so smooth and ungappy, and for me it covers up a lot of mistakes :). After it's painted it makes everthing look elegant & expensive. I just finished the beadboard in my bedroom & used the wide baseboard and wide molding at the top, caulked it all and painted and I can't believe how great it turned out!
Hi Kristi, Sorry about the blood! Caulk is so necessary…it is like clients who ask for "real" drapes (the moving, using kind) with no lining. It just isn't going to look the same at the end. The room is going to be gorgeous when you are done!
Hi kristi… I guess you are a dedicated hard worker since you just highlighted something during your work: You have a picture with a text "yeah that's blood". Anyway, I appreciate you for sharing this article.
Hope I can see some pictures of the place after remodeling it. Thanks in advance!
Really cute…funny I was just the other day telling my sister in-law that I love how wood on walls give a room texture to the look of a room. I do photography (for fun) and always look for different depths of things/items so that it is not a boring picture.
Ok I have a question. I came upon your site when I was searching pics of board and batten. Since I already love your blog and am a loyal follower, of course I had to click over. My question is this: I am doing board and batten in my living room/dining room. I have a fireplace and the board and batten will be going higher up on the wall than the fireplace mantle. So should I take the boards above the mantle? The board and batten isn’t going up the whole wall so if I took it above the mantle it would be about half way between the mantle and the ceiling. Will that be wierd? I cannot imagine how to just “skip” the fireplace. Any suggestions?? I hope you get this comment even on this older post. Thanks so much for the amazing blog!!