Master Bathroom — We Have Drywall And Lights!
Y’all, the master bathroom remodel is getting exciting! I love the stage of a remodel when the drywall goes up. That’s when it starts looking like a real room again, and I can really start envisioning the end result in my mind. And it’s also fun to remember just a couple of weeks ago when the room was nothing but floor joists (with the dirt below the house plainly visible), studs, and ceiling joists. It’s come a long way, and I’d say we’re about 1/3 of the way to the finish line.
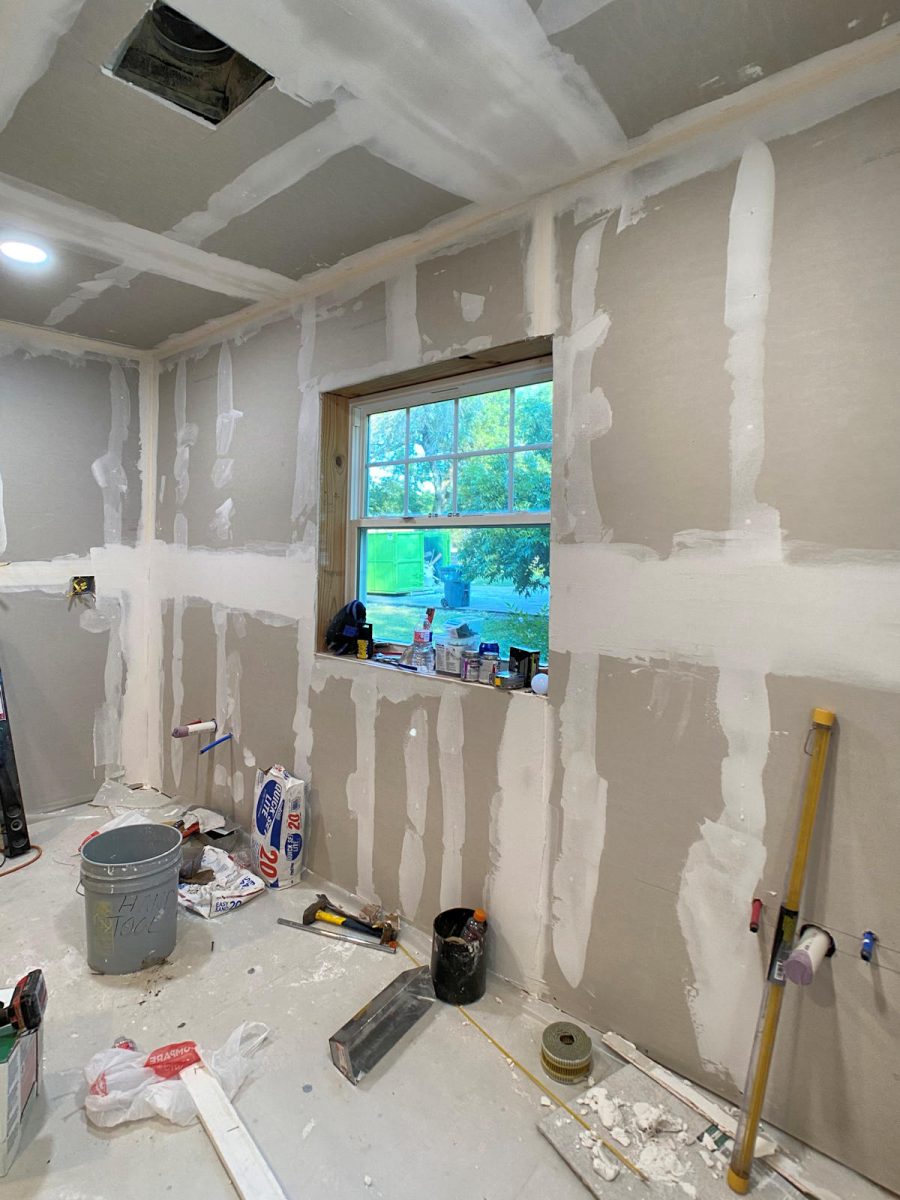
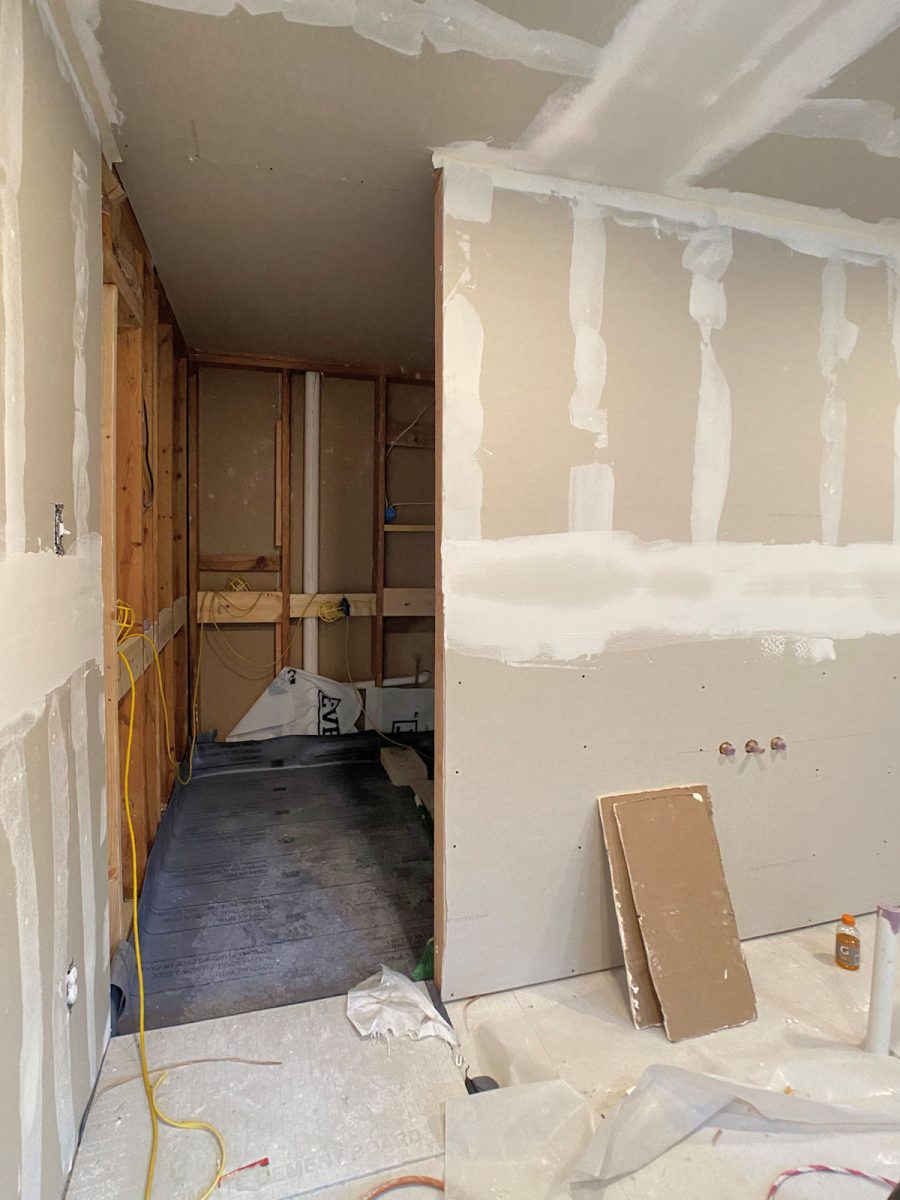
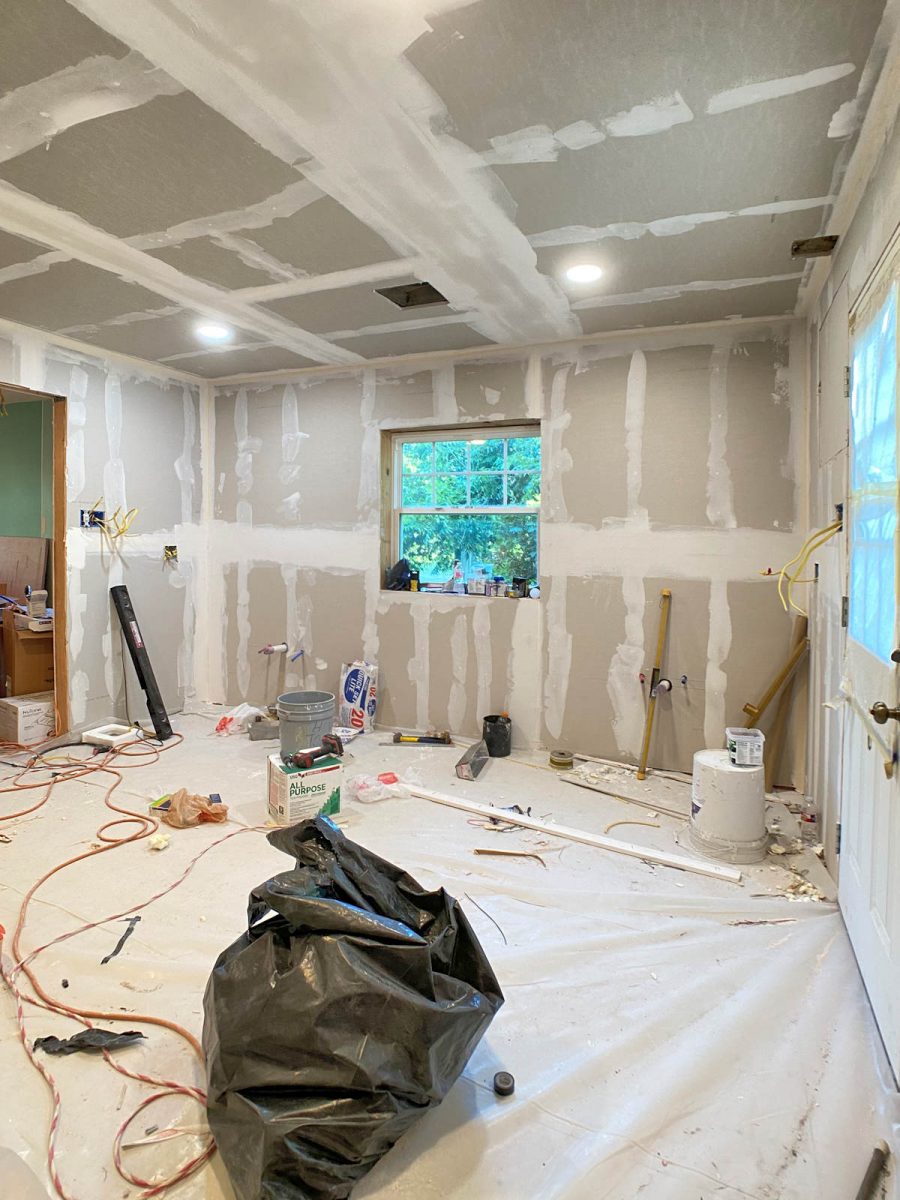
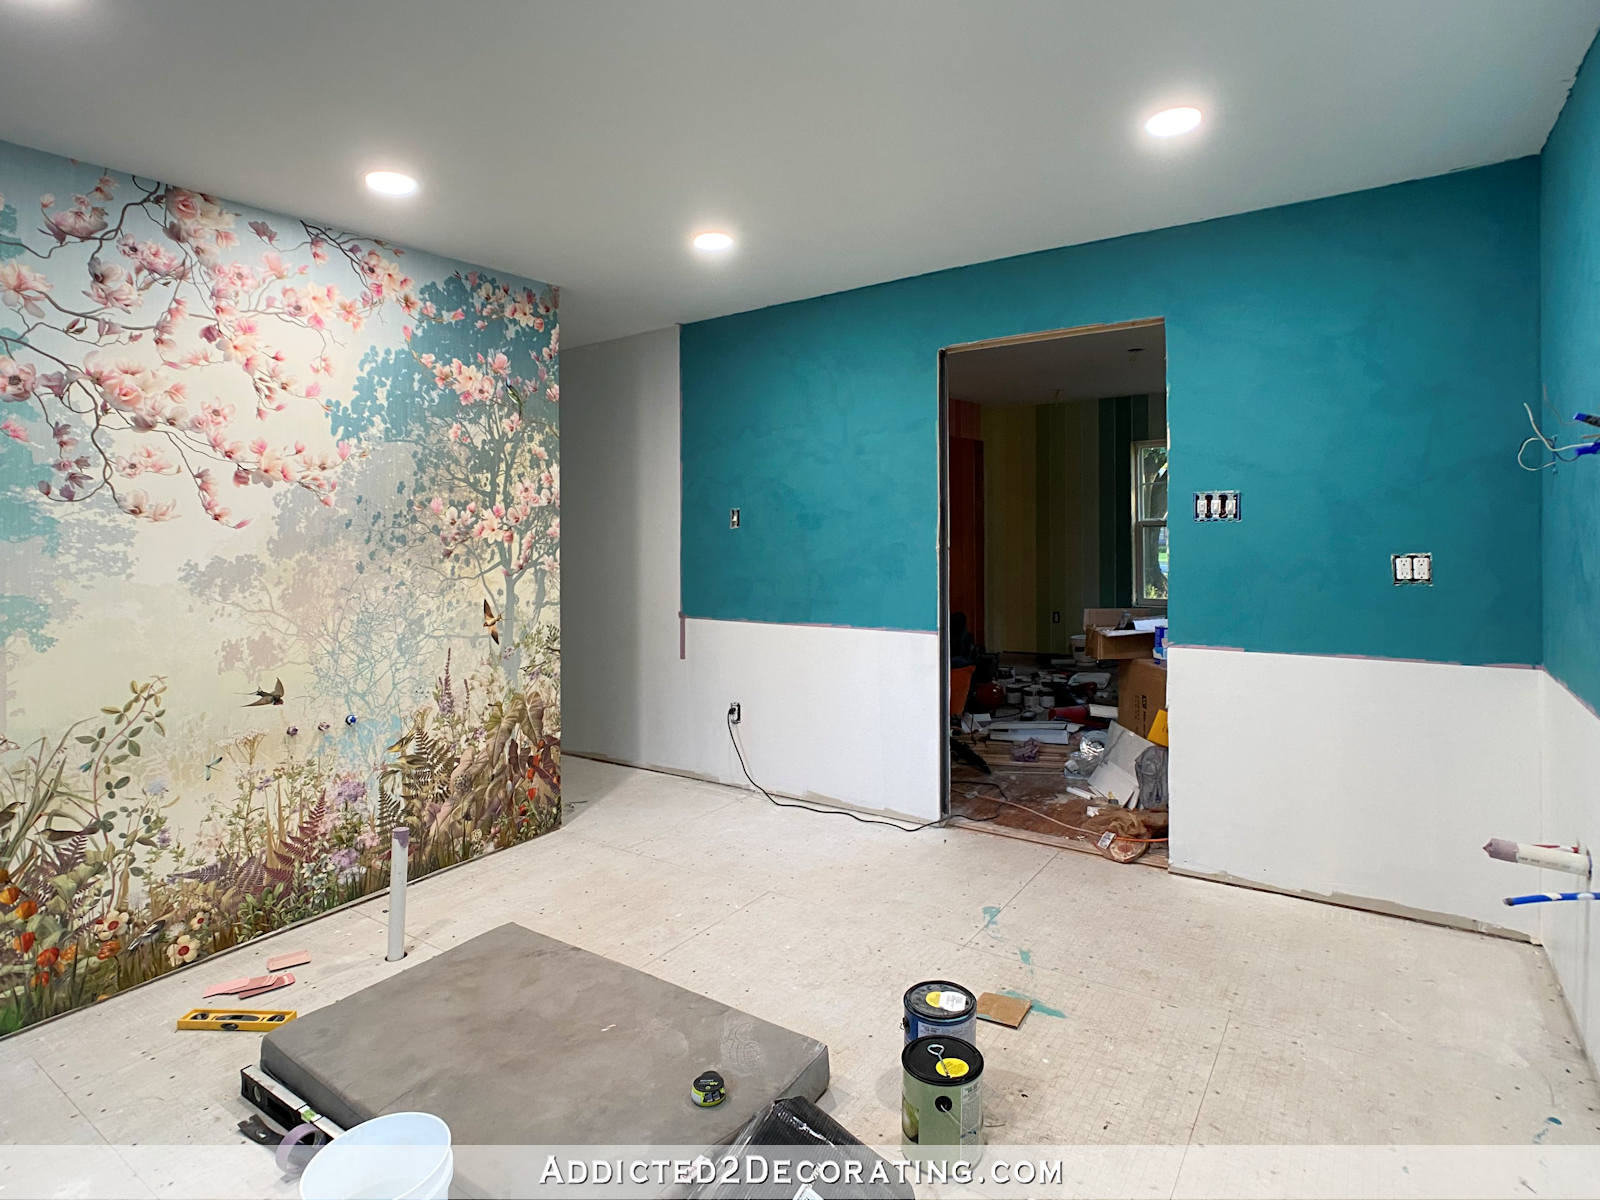
So here’s how it looked after the guys left yesterday. In the following few pictures, I’m standing in the doorway between the bathroom and the home gym for these views. This is the vanity wall…
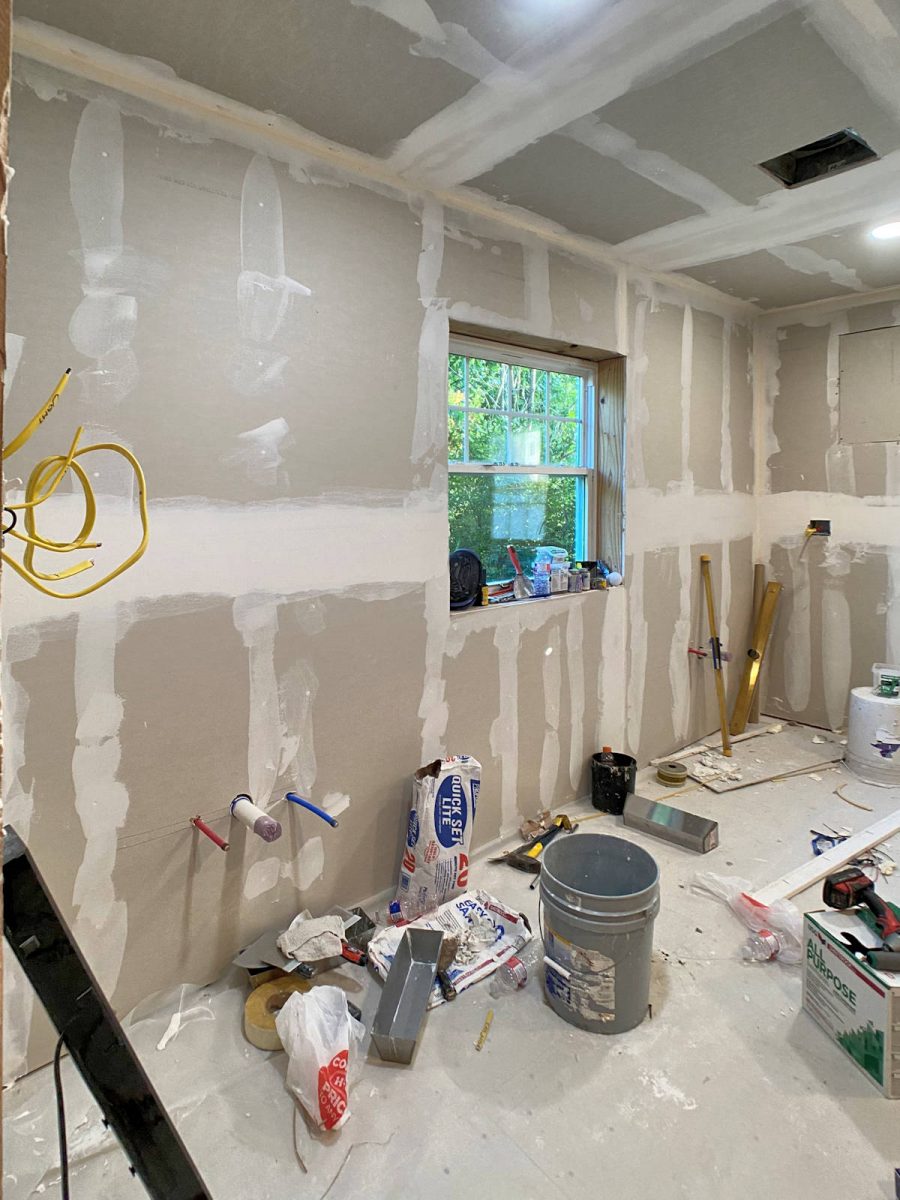
You can see the rough in plumbing where the sinks will go on either side of the window. (I used my wide angle lens to take these pictures, so the room may look a bit larger in these pictures than it really is in person.)
The door is an exterior door for now, which leads out to Cooper’s fenced-in yard. But that door will eventually lead to a large master bedroom.
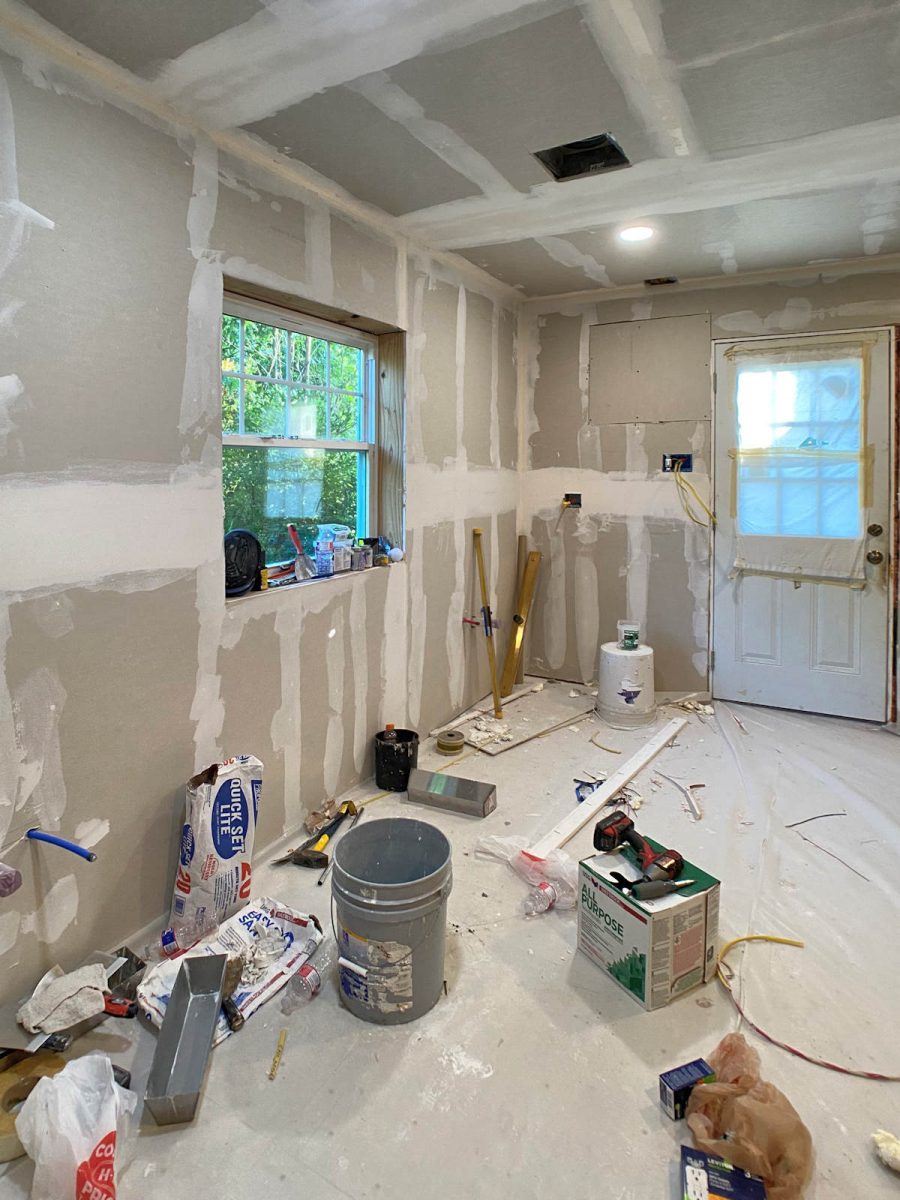
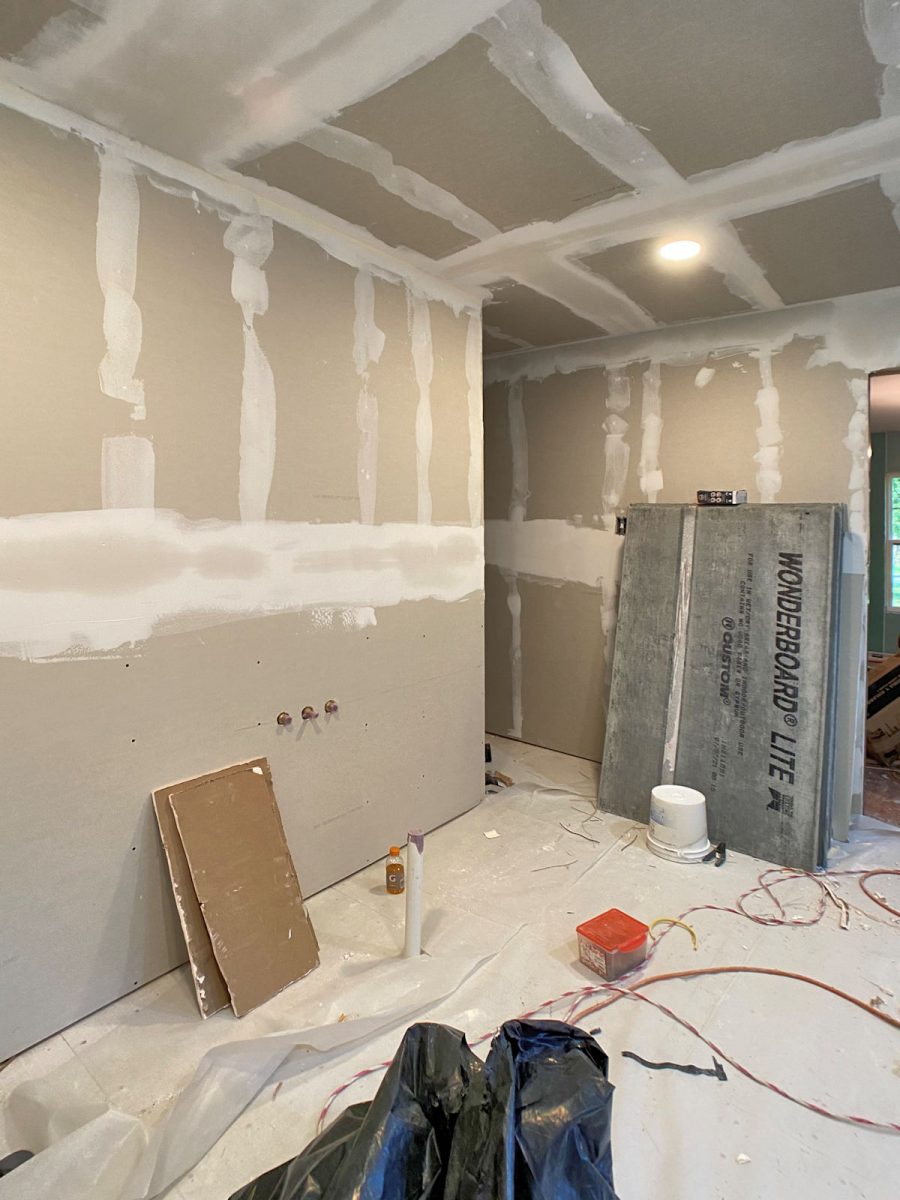
In this view, you can see the vanity wall on the left, and a tiny sliver of the bathtub wall on the right. The opening goes into the shower.
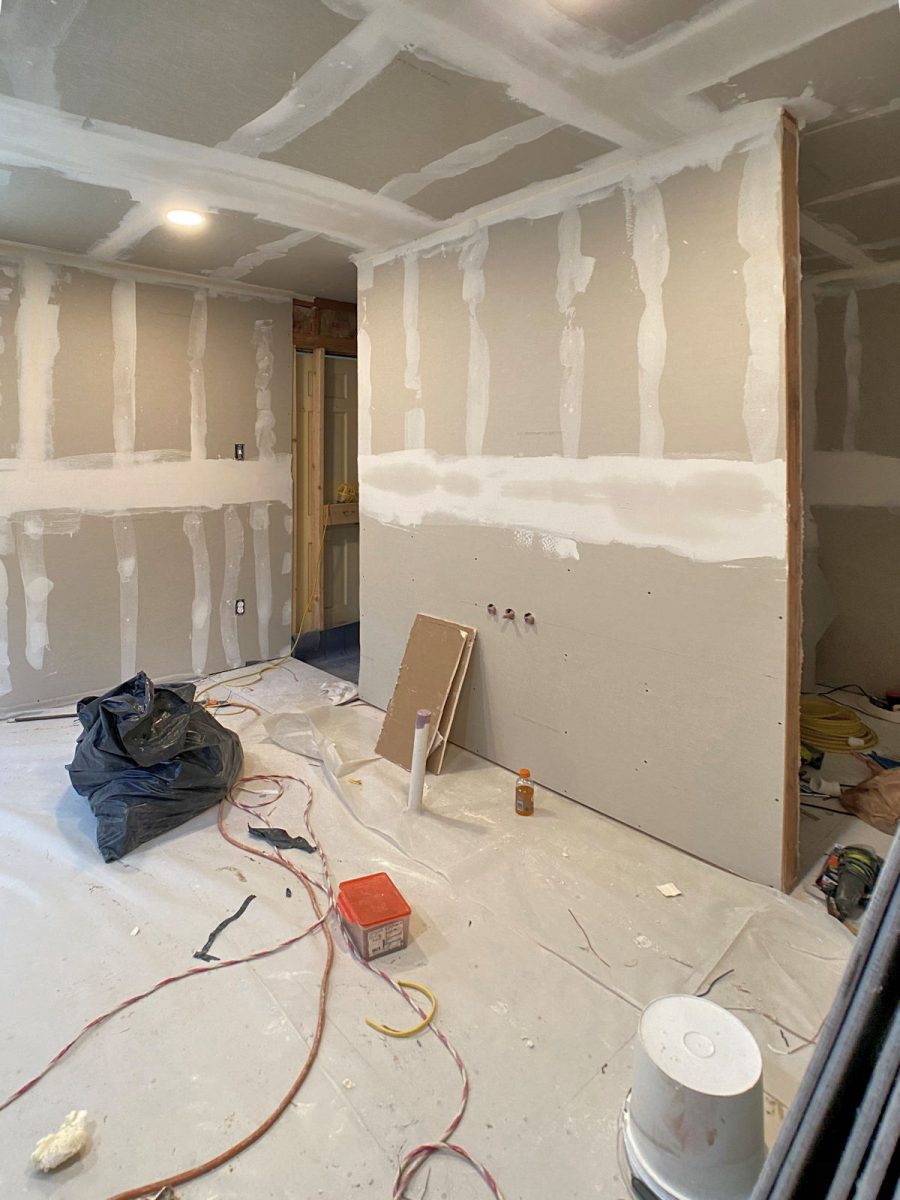
Here’s a better view of the bathtub wall, with an opening to the shower on the left, and an opening to the toilet area on the right.
Just about three weeks or so ago, that view looked like this…
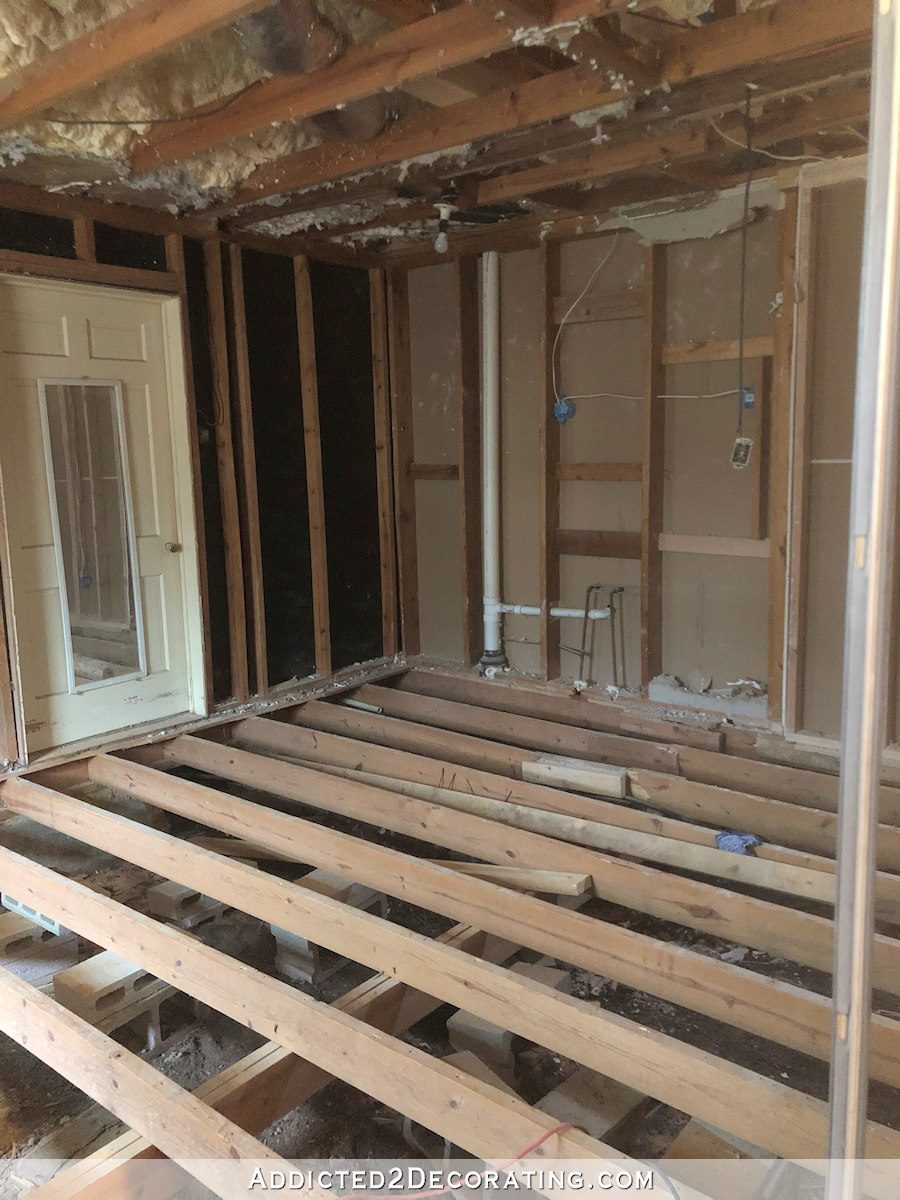
It’s come a long way! But there’s still quite a way to go. Anyway, moving on…
Here’s a better view of the toilet area.

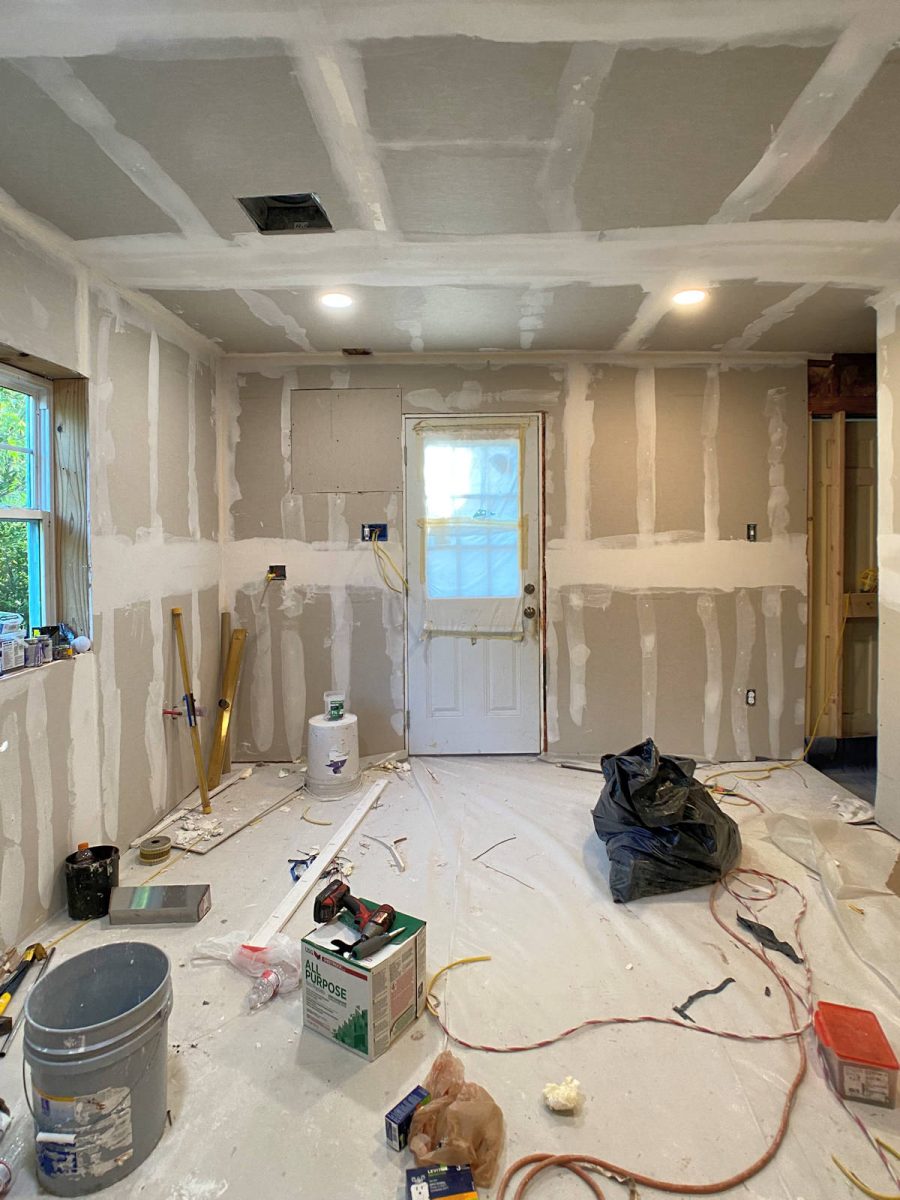
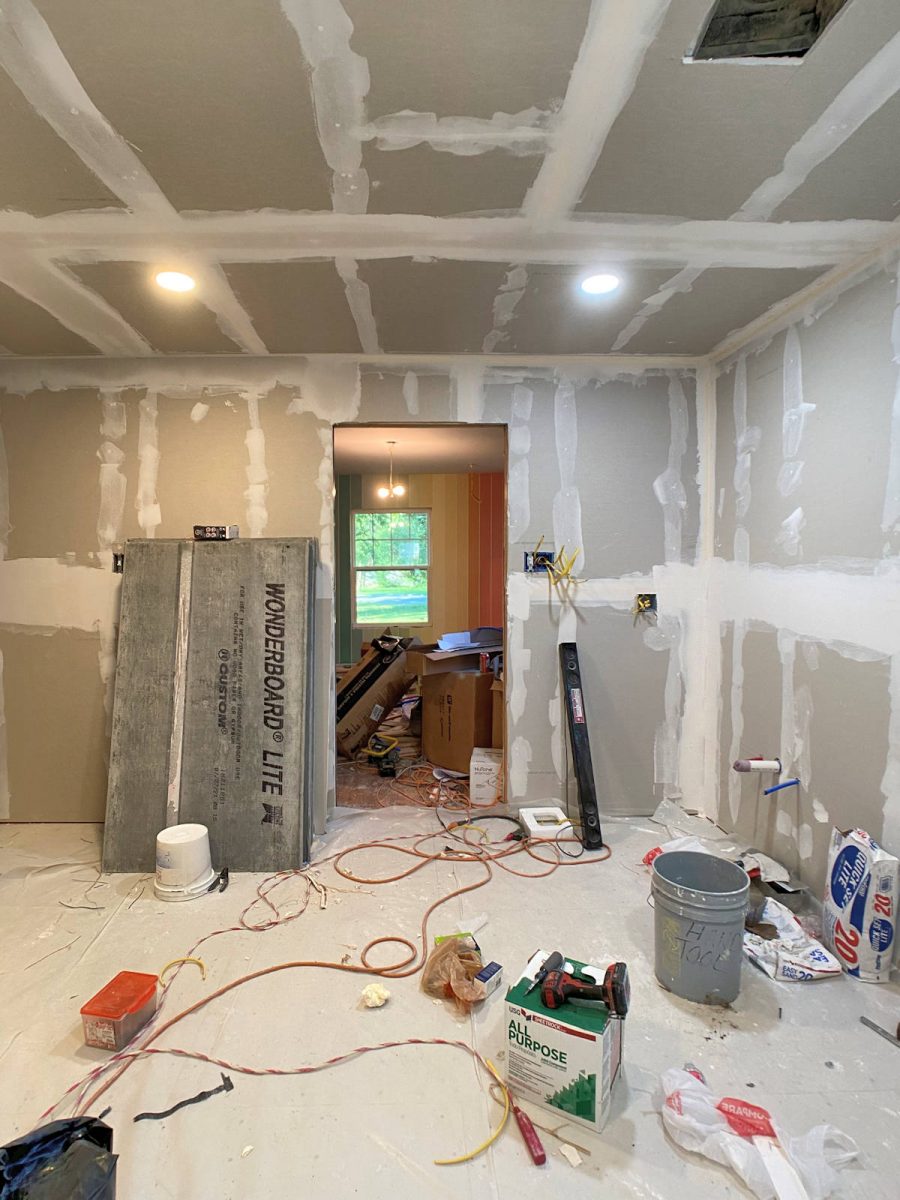
And now these next few pictures are from the perspective of standing right in front of the exterior door (i.e., future doorway to the future master bedroom). The vanity wall…

The view straight ahead is the doorway into the home gym…
And here’s the bathtub wall from this perspective, with the opening that leads to the toilet area.
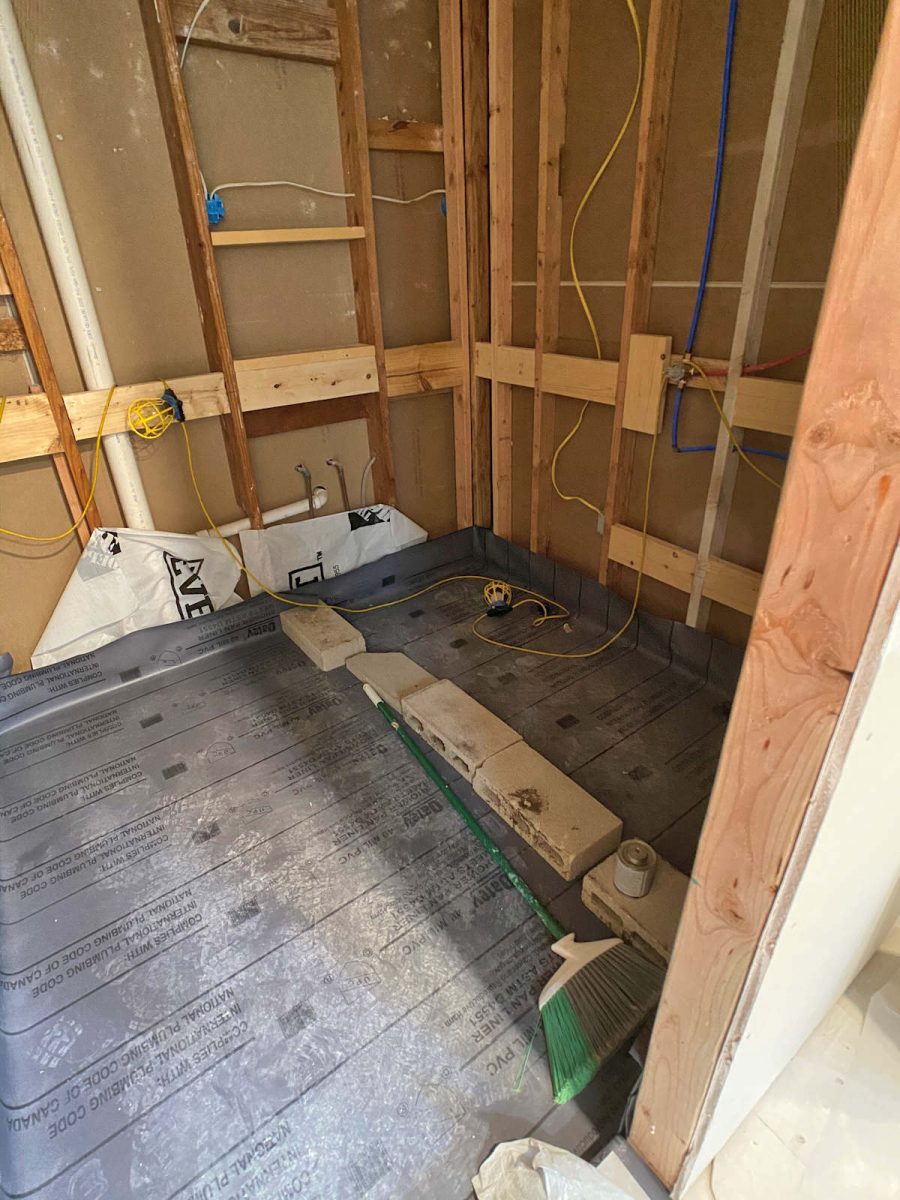
And the shower from this perspective…
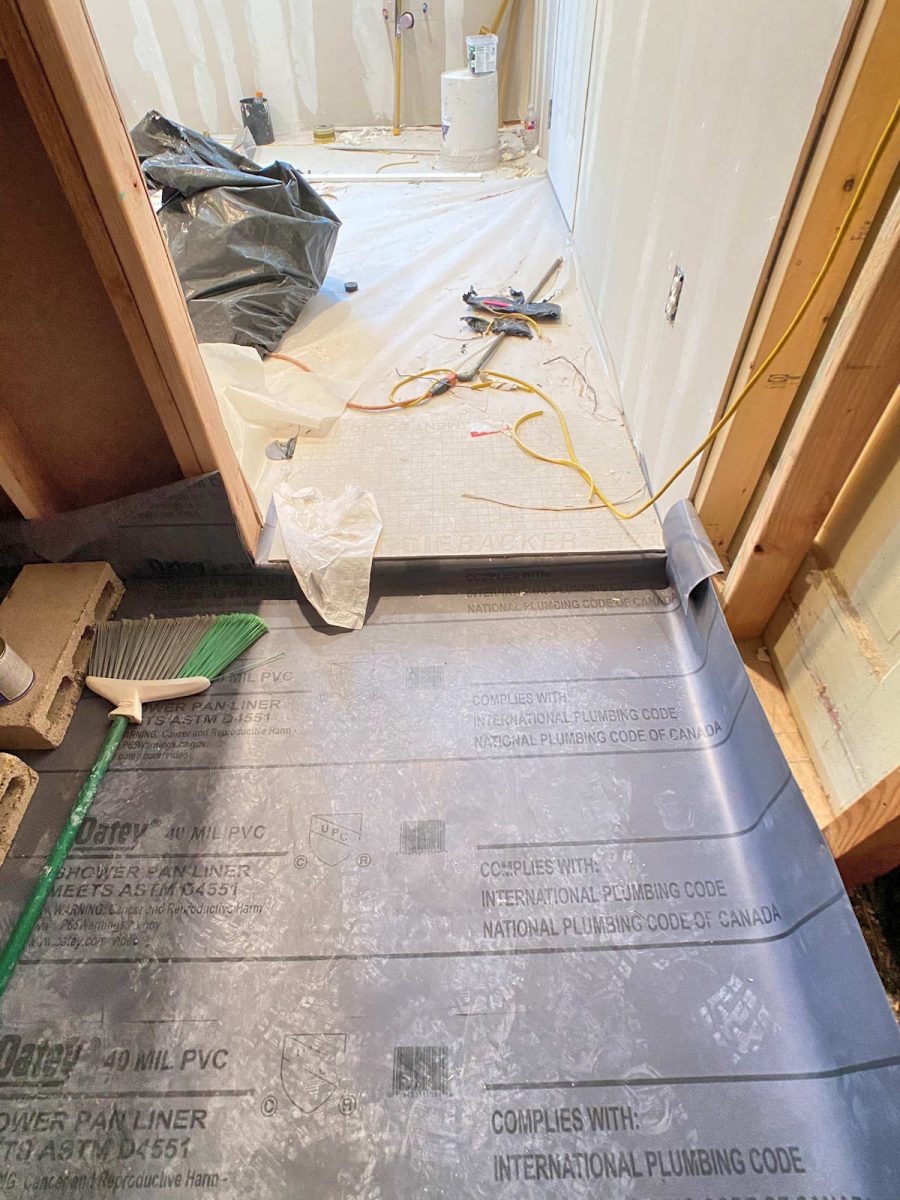
The shower is finally underway. The shower floor has the house wrap, insulation, subfloor, concrete board, and the shower pan liner, which is a very thick plastic that covers the bottom and wraps up onto the walls a few inches to create waterproof corners.
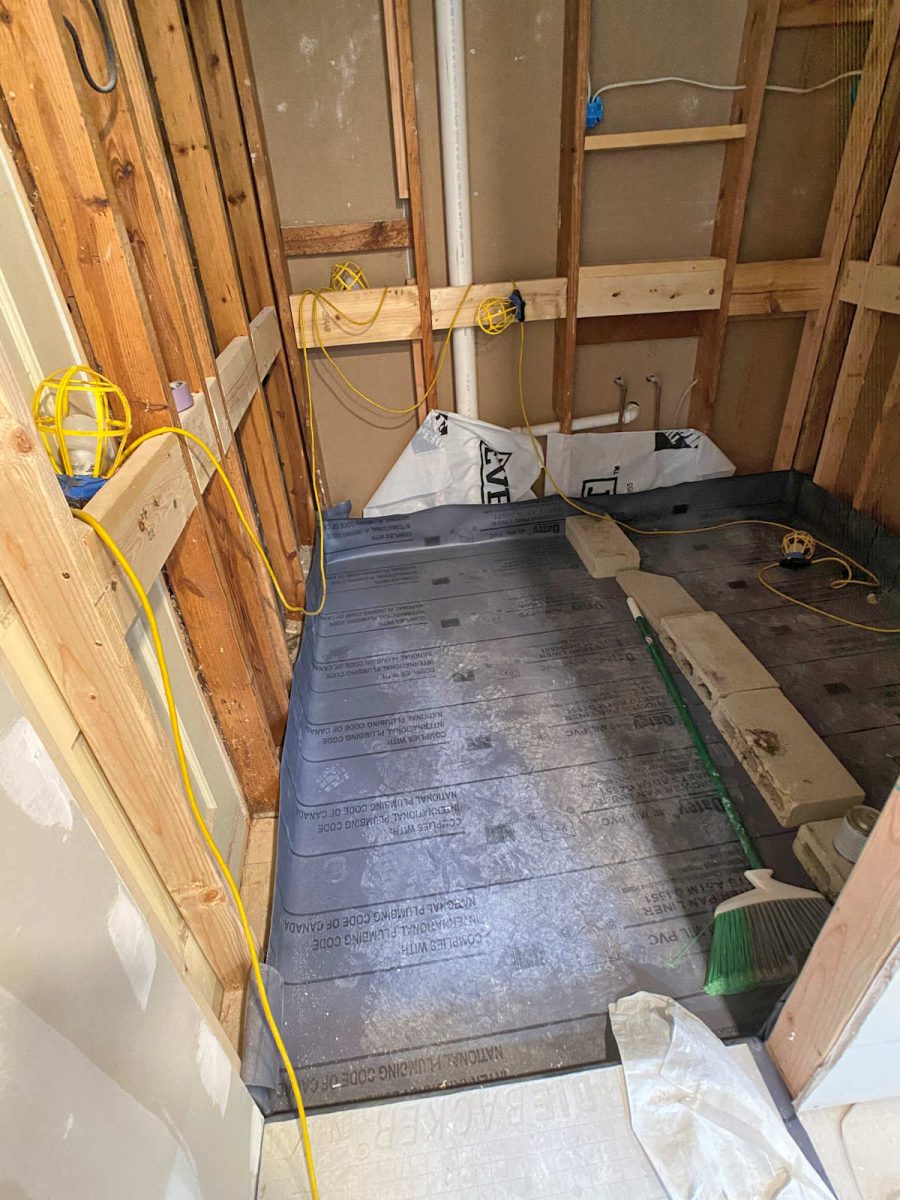
I’m not quite sure what the rest of the process will be, but the shower floor is still about 2.5 inches lower than the main floor, and when it’s finished, the two areas will be perfectly level with each other.
The shower is so big that the standard liner size didn’t cover the whole floor, so they had to overlap two pieces and use a special adhesive to seal them. It stunk to high heaven, and that’s why there are cement blocks in there right now. They were being used to put pressure on that seam.
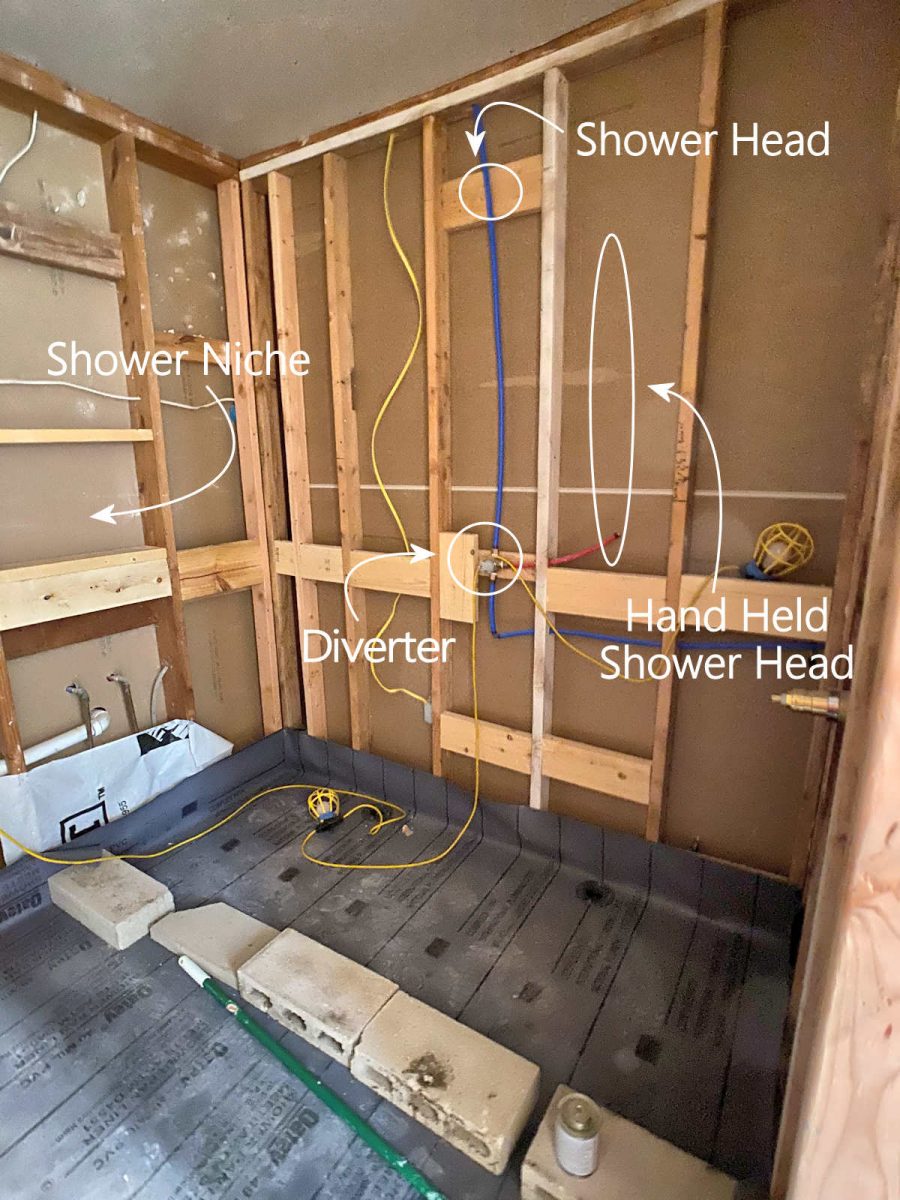
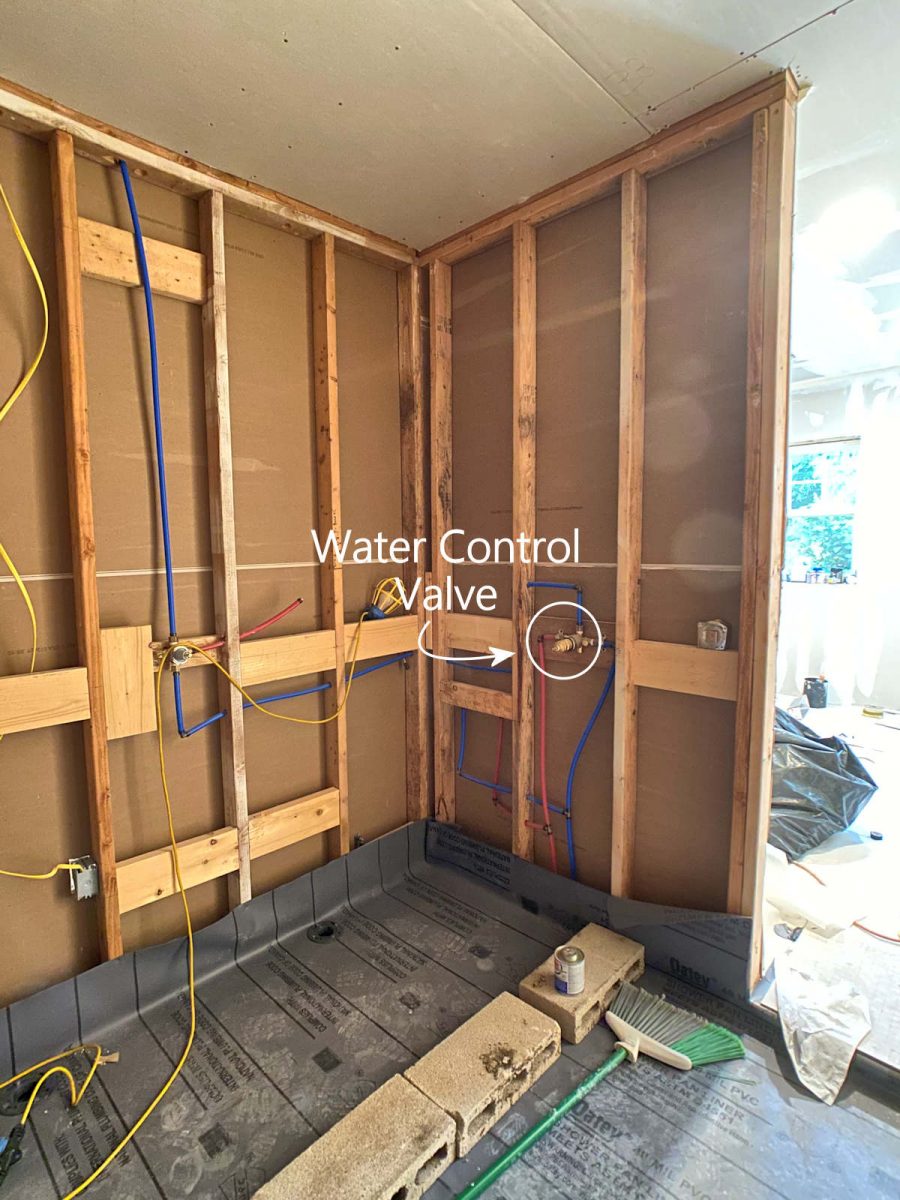
I know I’ve explained in a past post about my decisions regarding shower heads, placement of valves, diverters, etc., but here’s a visual. When standing in the opening to the shower, the shower head, hand held shower head, and diverter will be on the right wall. The shower niche will be on the wall straight ahead.

This might make things clearer…maybe. 😀 I had them put blocking for future grab bars all the way around the shower, so that limited the space we had for shower niches. That’s fine with me, since we really don’t use a whole lot of products anyway. So the shower niche is to the left of the wall with the shower head. The main shower head will have the three-way diverter under it. And the hand-held shower head, which will be attached to an adjustable bar, will be to the right of the shower head.
I also had them put blocking down low so that I can find a large (hopefully pretty) eyehook that I can use to keep Cooper in place while bathing him. That boy HATES water and baths, and he’s a very strong 95-pound dog who does everything he can to keep from having a bath, so I will need some way to tether him inside the shower if I’m going to have any chance of keeping him in there.

And I decided to put the water control valve just inside the shower opening to the right.
And to complete the 180-degree view of the shower, here’s a view from the shower back into the main part of the room.
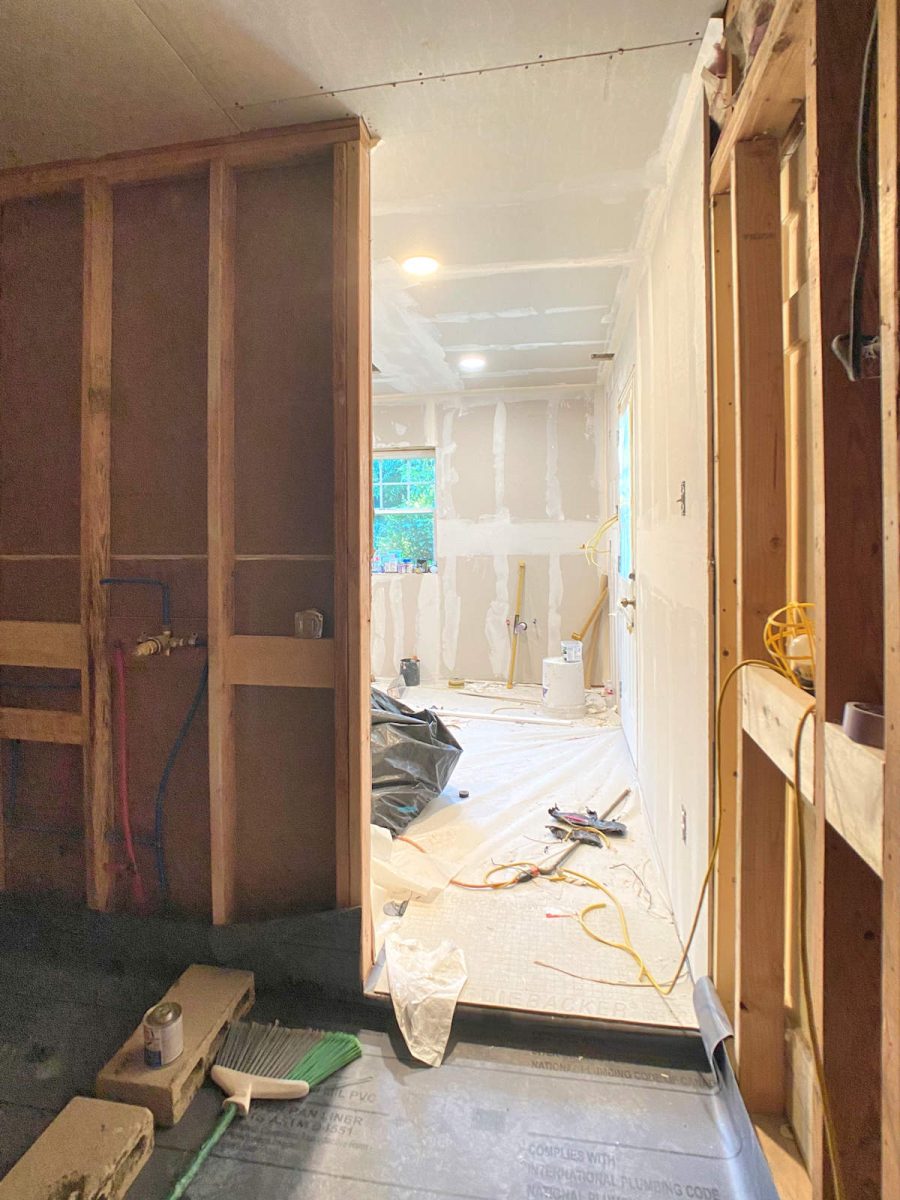
You can see here that there’s still quite a big step up from the shower into the main part of the room. But once everything is finished, there will be a smooth transition.
And this is the view from the shower opening looking towards the vanity wall…
And here’s one more view from the middle of the vanity wall looking towards the bathtub wall, with the shower on the left, and the toilet on the right.


Addicted 2 Decorating is where I share my DIY and decorating journey as I remodel and decorate the 1948 fixer upper that my husband, Matt, and I bought in 2013. Matt has M.S. and is unable to do physical work, so I do the majority of the work on the house by myself. You can learn more about me here.

It’s all coming along nicely and I would so love a bathroom this size. I find myself tripping over pets that insist that have keep an eye on me. I do have one question, why didn’t they put the seam in the shower membrane on the walk/roll in side rather than below where the water falls directly? I doubt you’ll ever have a failure but I guess I always plan for the worst and hope for the best.
I don’t think it’ll matter. The layers are overlapped considerably, adhered together, and the overlap is done just right with the slope of the floor towards the drain, like you overlap shingles on a roof so that the higher ones are overlapping the lower ones. I don’t think they could have done it a more secure way.
Brilliant!!!!
Thank you for the inspiration, the constant reminder to take progress pics. I now have enormous pleasure and pride when looking at my own progress and accomplishments through photos thanks to you. Anyone with a DIY, homeowner’s heart knows that even the littlest things can make a spirit soar. I did a small laundry/entry addition years ago….like near 25, and just last year got the laundry sink/cabinet installed. Simply thrills my heart to see that little bit progress and accomplishment. YOU CAN NEVER TAKE TOO MANY PICS! Congratulations on all your hard work. This is going to be awesome bathroom.
It is almost time to break out the champagne and take a bubble bath!
So exciting! I bet you are over the moon with the quick progress!
I have been following your posts for many years ~ but very seldom comment. I just wanted to say that a home should reflect the personality and interests of those living there ~ and your beautiful home absolutely does.
It’s exciting to see your master bedroom and bath come to life and shine a light once again on the both of you, and your sweet fur babies.
Thank you for sharing your journeys ups and downs , for your tutorials and your reveals with us ❣️ Your God given talents are amazing.
Will you have a special seat in there for Bill ? I can’t imagine him taking a shower in his wheelchair.
He’ll use a shower wheelchair. Adding a seat in the shower would take up precious space he needs to be able to move around easily.
VERY exciting to see progress! What was visualized in your mind is coming to fruition. Always a HEY!
You are a rock star for sure! Thanks for sharing all of your beautiful work.
Wow! Mind blowing. The most amazing bathroom ever.
That looks like a dream bathroom.
Love your creativity and I’m sure when all is done, it will look amazing. Looking at all the pictures makes me cringe when seeing all that mess, that’s the part where I can see myself cleaning up every evening after the contractors are done, lol. Anyway, I’m sure it will all look gorgeous once done.
WOW. lots of progress, and much easier to see how it will look. It is going to wonderful for you both, and even Cooper, although he might not be as pleased as you. 🤣 Our pups are only 9 pounds, but they also hate baths and when we use the laundry sink we all get wet! It’s going to be even more exciting when you get to do YOUR part…looking forward! I think I’m going to LOVE the colors you are going with. Thanks for the exciting update!
I can’t wait to see the tiling!!! How fun! But I couldn’t figure out where the chandelier was going, didn’t see a box for it. Assuming the hole in the ceiling by the vanity area is for a fan/vent or heat/cooling? Don’t you just want to put the tub in place so you can dream??? Hope you are exercising for when it’s your turn to take over. Wouldn’t want you to get sore or pull a muscle!
Awesome !! Have you thought about two hooks on either side to tether the dog better ? On our show animals growing up we use two . It kept the animals more still bathing and shearing. It just gives better tension on both sides. Love the bath.
Wow! I Love, Love, LOVE your Bathroom!!! I wish I could do this at my place, but alas no room so I settled for grab bars and a shower bench. You guys are so going to enjoy that shower. I’m so happy for you and Matt.
Looking great!!!!!
Wonderful progress on your very well thought out design. If a room does not function, it doesn’t matter how pretty it is, Yours always do.
Perhaps you have already thought of this and decided, but putting skylights into both the shower and the W.C. room would be a really good addition. I hate having to turn on lights in a room when the sun is out.
Looking great.
Consider going with two anchor points for Cooper so you can tether him between two points.
My self-grooming place has this and it makes life so much easier!
https://i.ebayimg.com/images/g/m-cAAOSw~9Fdyqgp/s-l300.jpg
I love the design of this bathroom – in every way. I know it was designed with Matt in mind but the layout and size would be great in any home. I look forward to seeing the progress!
I am sooo excited for you! I cannot wait to see your colors going into fruition.
So excited for you two and even Cooper! You are brilliant!
Having a bathroom that you not only love but functions for you and Matt will make your lives so much better,,,hard to believe, but I know from experience in redoing a small master bath.
Life is good when your day starts and ends in a place that is comfortable, convenient, and charming.
Lighting question: will there be any lighting in the shower or toilet areas? I was looking at the pictures, and it just looked dark. So, it just made me wonder. 🙂 Loving all the progress pictures!
Each area will have its own light/vent combo.