My Favorite Trim Combo For Beautiful Baseboards (Plus, A Bit Of Remodeling Absurdity)
I’ve been working on finishing up the trim in the studio, but I’ve been met with some challenges and one of the most absurd roadblocks I’ve ever experienced in all of my years of DIYing and remodeling. I mean, this is seriously one of the dumbest problems I’ve ever encountered. 😀
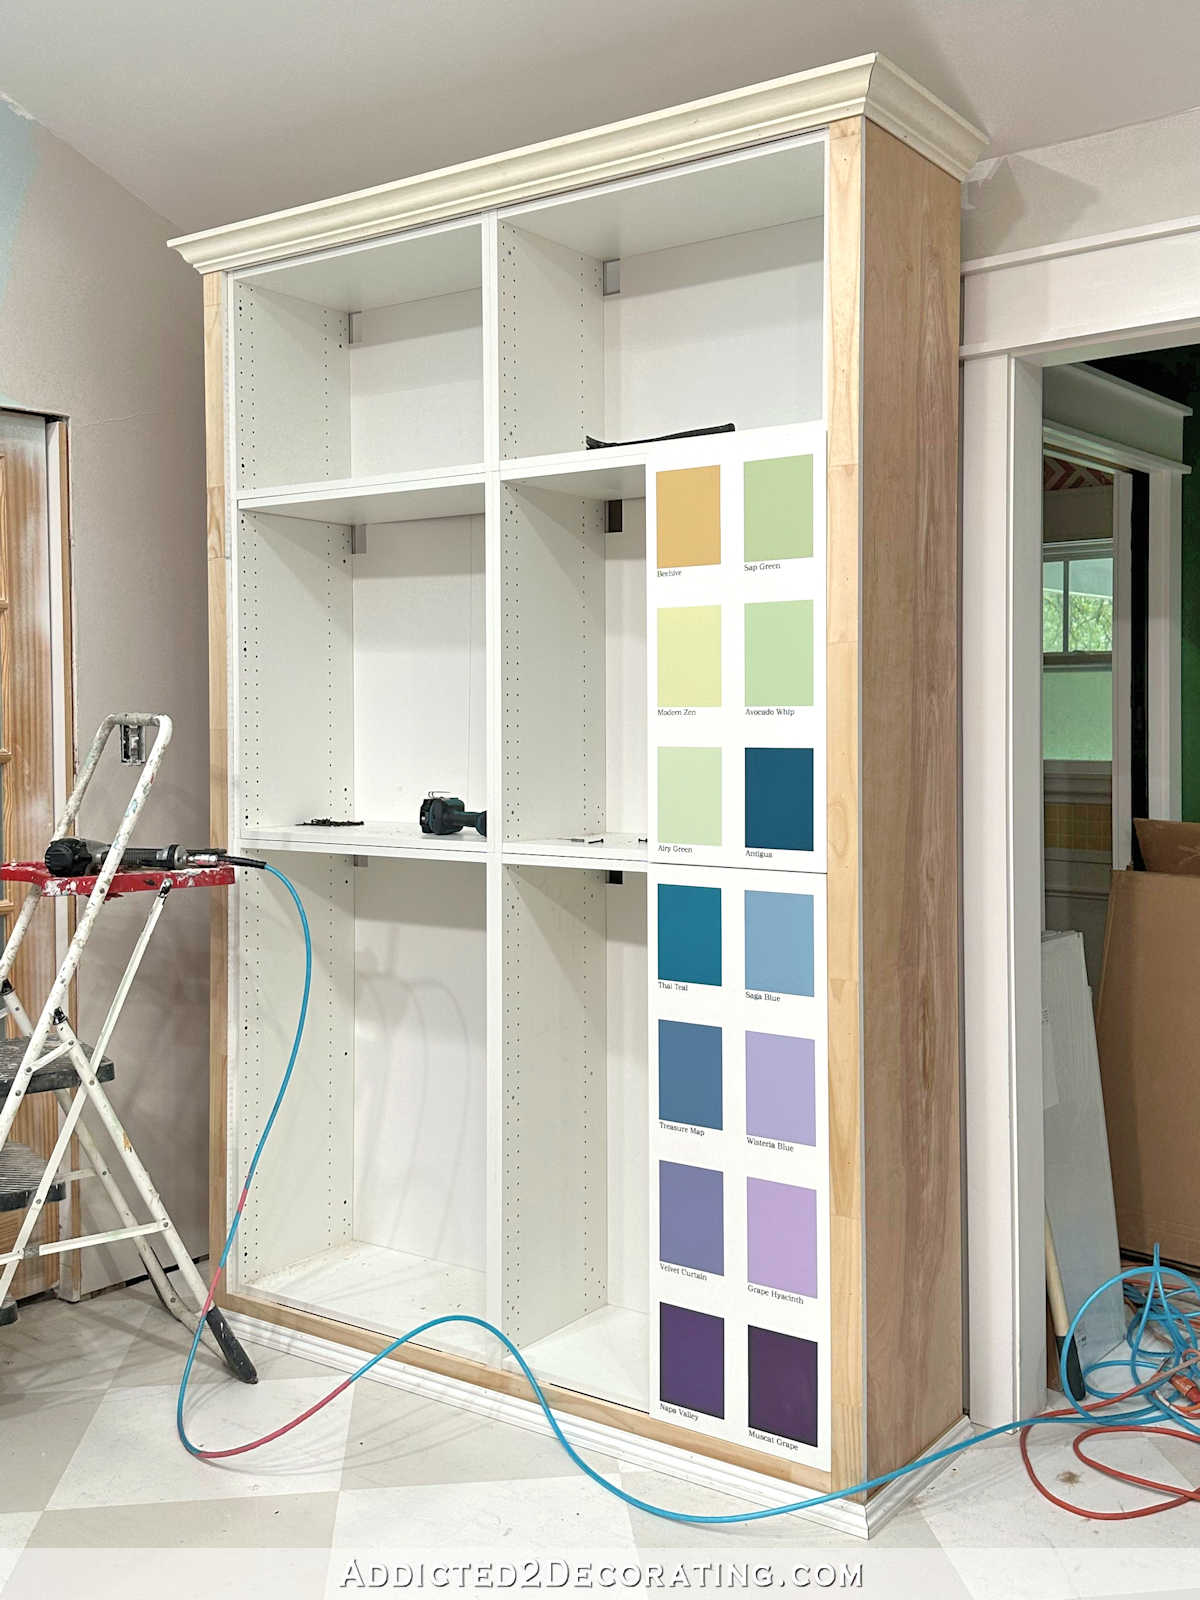
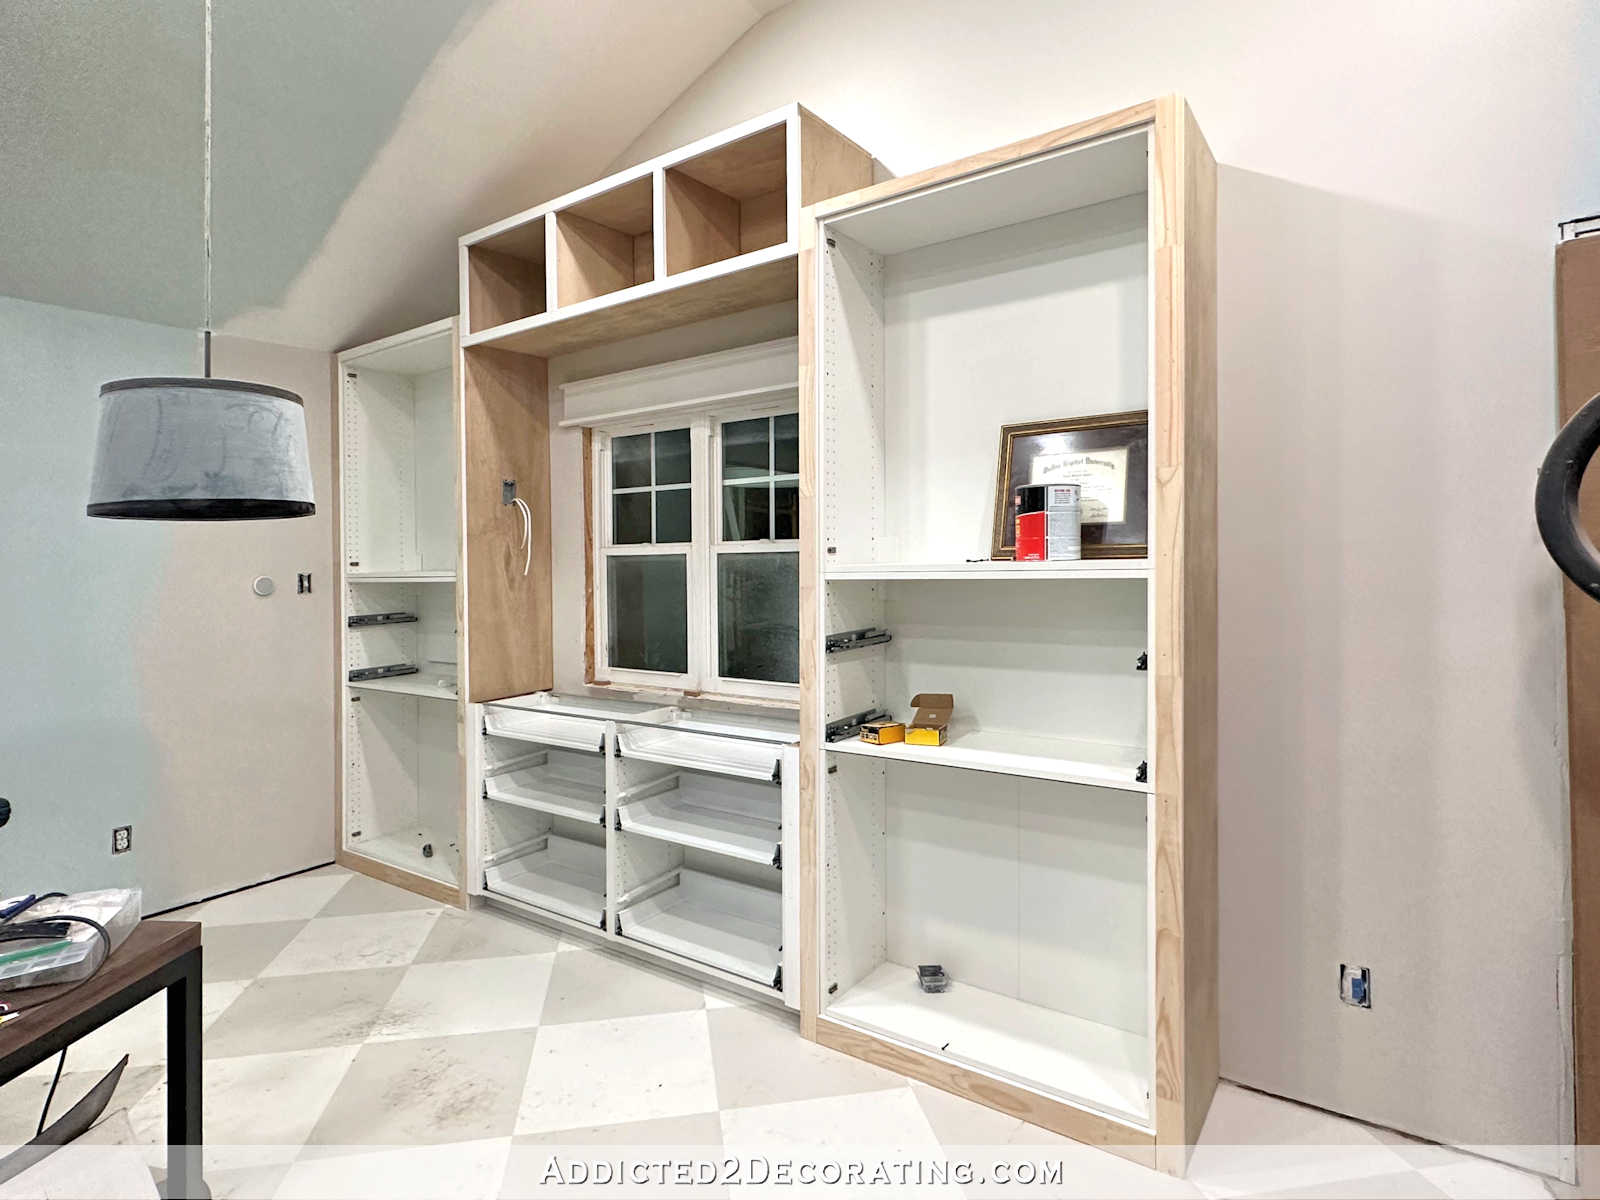
On a positive note, I’m very glad that I finally got this area to the left of the paint swatch cabinet trimmed out.

That area was a challenge. I had to move the cabinet out so that I had room to work back there, and that cabinets is huge and heavy. And then, I had to determine how much of each piece of trim had to be installed so that the baseboards would dead end into the side of the cabinet. And once I got that tiny bit of baseboard installed, I then had to move the huge, heavy cabinet back into place, making sure it was snug up against the baseboard with no gaps between the ends of the trim pieces and the cabinet. I thought I was never going to get the cabinet in place, but with sheer determination, patience, and a rubber mallet that helped me move the cabinet that last 1/4-inch, I finally got it where it needed to be.
I still have to do all of the caulking and painting, but I think I can get that part done with the cabinet in place.

With that done, I thought that I had finished the hardest part of the trim, but I was wrong. Next, I moved to trimming out the doorway that leads to the sitting room/breakfast room area. But when I went to install the half jamb on the studio side of the pocket door, I couldn’t get the door to move over in the slot enough for the 1″ x 2″ jamb piece to attach where it needed to go.
After getting a flashlight and trying to find the problem, I finally realized that there were two things pushing the door over to the side. First, there was a random piece of wood in there. You can see how the door is being pushed over to the studio side of the pocket.
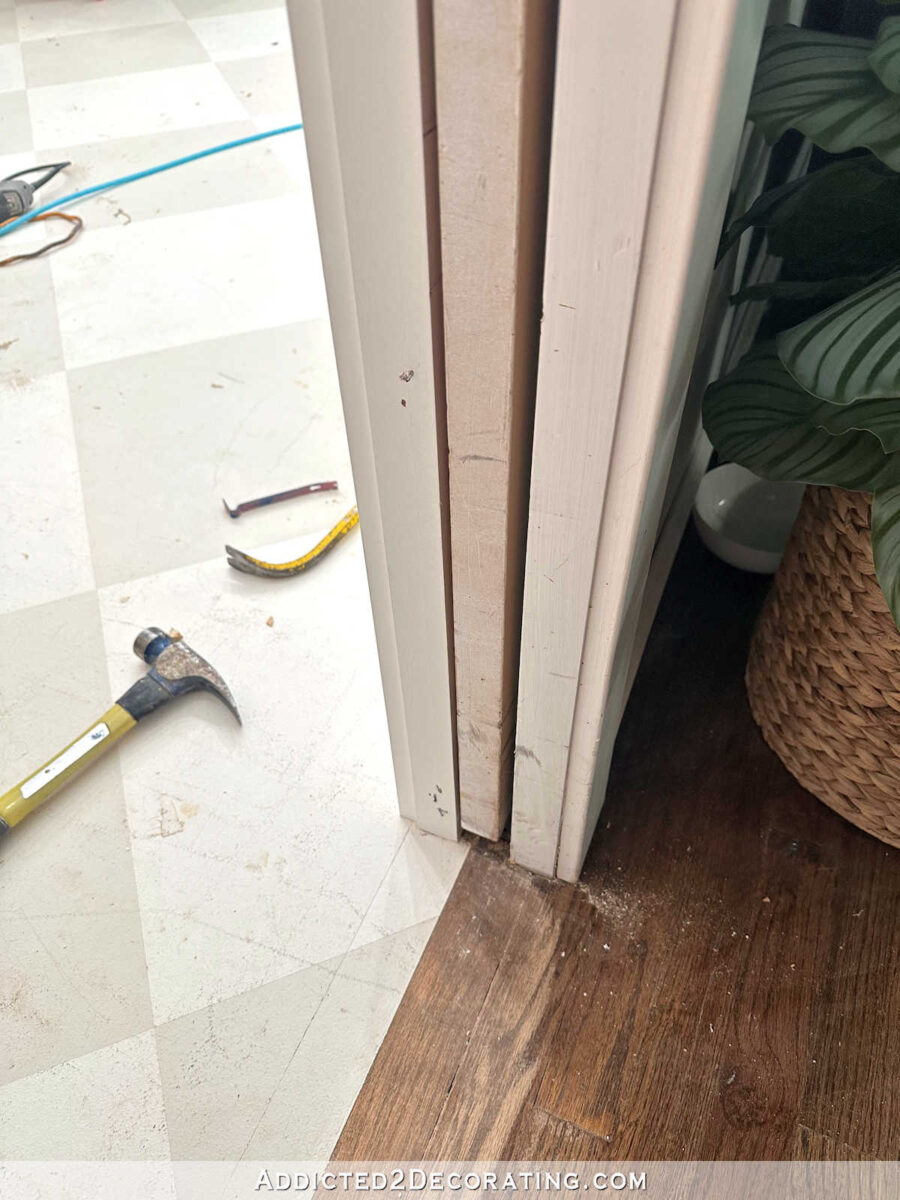
But also, there’s an entire roll of painter’s tape inside the pocket pushing on this side of the door!!! An entire roll of painters tape!

Y’all! How in the heck did that happen?! How and why is there an entire roll of painters tape inside the wall? And it’s on the breakfast room side of the door, so it’s pushing the door over in the slot and affecting the opening and closing of the door.
I spent about an hour trying everything I could think of to get that roll of painters tape out of there, but I had no success. I mean, I tried hot glue on the end of a paint stir stick, quick dry epoxy on the end of paint stir stick. But just as I’d start pulling the roll of painters tape, the adhesive would release and the tape would roll back.
The only thing I can think of is that I’ll have to cut a hole in the drywall on the breakfast room side, remove the painters tape (along with that random piece of wood), and then patch up the drywall.

This is truly one of the most absurd and baffling things I’ve ever had to deal with in my years of DIYing and remodeling. I mean…WHY? HOW? I have no explanation. 😀
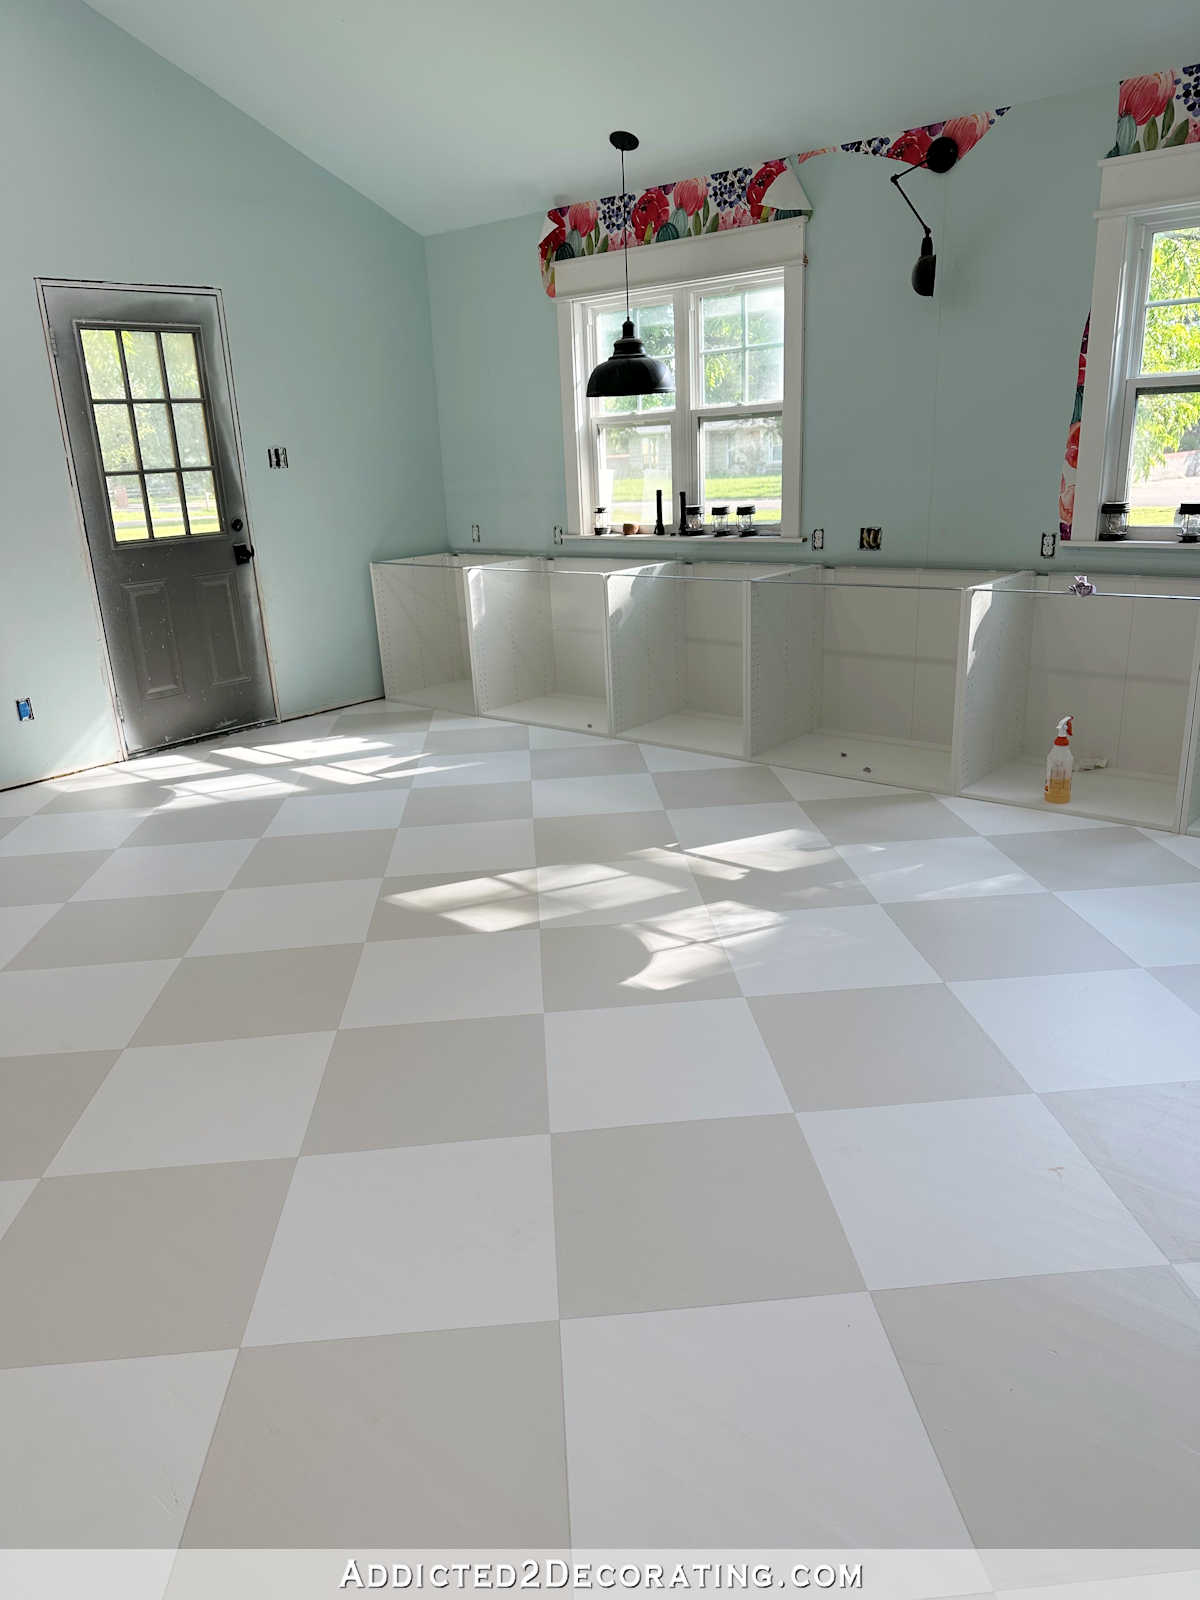
But I did manage to move the roll of tape just enough so that I could proceed with installing the trim. I got the door trimmed out, including that half jamb piece, and then I got the baseboards installed on the long wall.
And speaking of baseboards, I don’t know if I’ve ever shared with y’all my favorite baseboard combo, so here it is. First, I install 1″ x 4″ lumber as the main baseboard piece.

For this wall, I had to cut around the cabinets to make it fit. And then I accidentally chipped the paint on the cabinet when trying to get the baseboard into place, so that will need a touch up.

And then, along the floor, I add quarter round trim. Where the quarter round meets the door casing, I cut the end of the quarter round at a 22.5-degree angle. You can also use a shoe molding here, but I tend to prefer the thicker look of quarter round.

And then on top of the 1″ x 4″ piece, I add base cap trim. This is the one I use from Home Depot.

This will forever be my favorite baseboard combo. I love that it’s a simple, clean look, but it also has some weight to the look. I don’t like tiny, thin, insignificant baseboards. I like them to have some weight to them, without being too fancy.

And then once they’re caulked and painted, I think they look fantastic.

Also, I always paint my quarter round to match the baseboards. I know it’s traditional to match the quarter round to the floor if you have hardwood flooring. I personally don’t ever do that. I don’t like the way it looks at all because it makes the baseboards look short and stubby. I like a tall, substantial baseboard, so painting the quarter round to match the baseboards, rather than staining them to match hardwood flooring, is my preference to beef up the look of the baseboards.
While some flooring installers will tell you there’s absolutely a right and wrong way to do it, and the quarter round always needs to match the hardwood flooring, I’ll argue that it’s just a matter of personal preference, and you can do whatever the heck you want to do in your own home. 😀 And I’ll always paint my quarter round to match the baseboards (or cabinets in those instances where quarter round is used around toekicks and around the bottom of cabinets).
Anyway, I haven’t always used this style of baseboards, and in fact, most of the rest of the house has different baseboards. When I started remodeling this house, I chose a much fancier style. Some day, I’d love to go back and replace those fancier baseboards with this simple style.

Addicted 2 Decorating is where I share my DIY and decorating journey as I remodel and decorate the 1948 fixer upper that my husband, Matt, and I bought in 2013. Matt has M.S. and is unable to do physical work, so I do the majority of the work on the house by myself. You can learn more about me here.

Did you try a wire coathanger, undone with curly piece clipped off and that one end bent into a large J that would go down over the back of the tape so you could pull it toward you? Ditto for the piece of wood. I keep some wire hangers around just for things like this.
Great idea!
I didn’t, but I also came to the realization that even if I could get the roll of tape to come all the way forward, I don’t think there’s enough space to even pull it out past the jamb on that side. That tape is almost an inch wide, and even if I push the door wall the way over to one side, there’s not anywhere close to an inch of space for the tape to come through. This is seriously one of the dumbest problems I’ve ever encountered. 😀
Could you lift it so it is laying against the lower window of the pocket door? That may enable you to pull it out along with the door.
Ah yes! One of my go-tos! A wire coathanger, pulled out from the hook into a long, narrowish shape, also works well and you can maneuver the whole thing with the hook end nicely. It also works well with a sock over it to retrieve stuff (or clean) under the washer and dryer 🙂
I like to use those hospital slippers for all sorts of things like pulling them over the pedals of my bike when I put it on the car rack, and dusting fan blades and yes, under the washer, dryer, and refrigerator.
Of the four inside room doorways in our house, three have pocket doors.
Hubby says you should be able to remove the door from the top if it is a top-track pocket door. He’s had to remove our doors for “things inside the wall” incidents on occasion. He says there are YouTube videos that would help.
OK Now you got me worried…I have one pocket door in our house and it seems to hug one side and scrape up the other. Now I’m wondering if the construction guys left something inside the area as well. Is there an actual way to remove the door and look inside? Seems like not. It was all here when we bought the house, and now I wonder.
I have noticed on construction sites the guys throw their garbage in places like that figuring it will be inside the walls later. (I hate that) Well, I think I’m stuck with whatever it is!
Can you fish a piece of thin wire through the roll of tape and hook it back to you to pull out? I would use craft wire I keep for all sorts of fixes. It’s green and comes on a roll. This stuff is strong enough to have done some wall wire fishing for my wall hung tv.
I am going to try the baseboard trim design. I worry a bit about it being thicker and my house is small. I am always trying to make it feel bigger, but love the size.
Personally, I’ve never seen the quarter round stained to match wood flooring. Always painted to match baseboards.
Ditto!
in Australia, if 1/4 round molding is used in conjunction with the skirting (baseboard), it’s all always painted the same colour. If used by itself (rarely), it’s painted to match the floor.
What about one of those long-handled, pincher tools that are used to pick up trash? Like this . . .
https://www.homedepot.com/p/Grabber-Buddy-30-in-Reacher-Pick-Up-Tool-with-Rubber-Tips-Ergonomic-Handle-GB30/311655770
Does the quarter round bug you where it needs the vertical door trim?
For some reason, it bugs me because it doesn’t look flush and I am a “it’s just good enough” kind of gal. I don’t think there’s a way to miter it, but for some strange reason, it bothers me. I was going to suggest some sort of a hook mechanism to fish the role of tape out, but after reading your comment about how big it is, maybe taking the door out would be better than a hole in the wall. Anyhow, good luck, you’re making great progress, tape roll not withstanding.
Yep, I noticed that also.
Yes, me too. Was thinking it would eventually meet a vertical “something” added to the door trims. It would bug me too.
Great we’re thinking up more work for Kristi 😜
Can you get a yardstick into the door to push the tape out?
long tongs or barbque fork to stab the tape roll and get it out.
question about your baseboard combo.. does a lot of dust collect on the top and in between the grooves? Is it hard to clean? I’ve noticed a lot of lint accumulating on our baseboards since our towels are dark green and the baseboard is white. Makes it look extra dusty 🙁
I think when the quarter/shoe molding is stained to match the floor it looks like the floor is running up the wall.
Can you maybe drill a hole on the breakfast nook side of the drywall, run a long rigid wire looping the inside of the roll, run the other end through the same drilled hole looping the outside of the roll. Then having run both ends out the side of the pocket door with the tape roll “lassoed”, pull it out through the side? You’re in Texas, this should work. 😆
Or if you can work with it at all from the side, fish tape might help.
Another potential hazard for pocket doors is drywall screws or assorted nails that stick out from the wall into the door opening and scrape a nice groove in the door every time it opens or closes. Since the walls were already finished and I had no way of actually knowing where the offending hardware was we just opened the door all the way and framed in a regular hinged door in the opening.
I believe staining the quarter round the floor color is a regional design choice. I had not seen that until I moved to Texas (Houston). I’m with Kristi and much prefer the quarter painted the same color as the baseboards.
I am with you on painting the quarter round. To me it doesn’t make any sense to stain it to match flooring–it’s not floor. It’s trim. I suppose there’s an argument that stain will hold up better to wear and tear than paint, but I still think it looks weird as heck to have stained quarter round butted up to painted baseboards. And it does make them look shorter.