The Studio Office Area Cabinets Are Finished!
Last week kind of got away from me. Every time I’d try to get some work done on the studio, something else would need my attention. But Saturday and yesterday, I was able to focus and spend quite a bit of time getting some items check off of my studio to-do list. And I finally got all of the last details finished on the studio office area cabinets. To be clear, I still need to finish some electrical stuff. The sconces aren’t actually wired yet. But as far as the actual cabinets go, those are finished.
As a reminder, this is how the cabinets started out. These are IKEA Sektion cabinets, and I bought the Veddinge cabinet doors and drawer fronts.
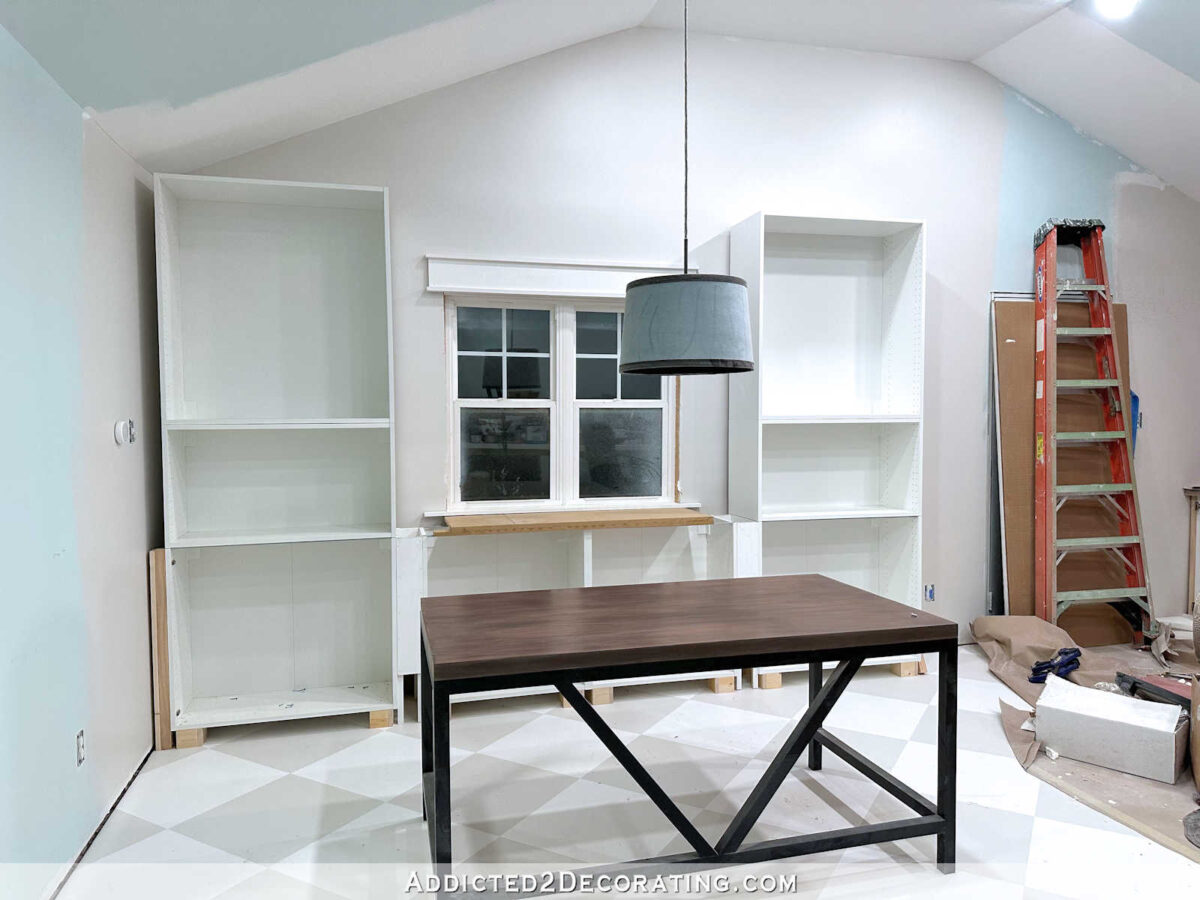
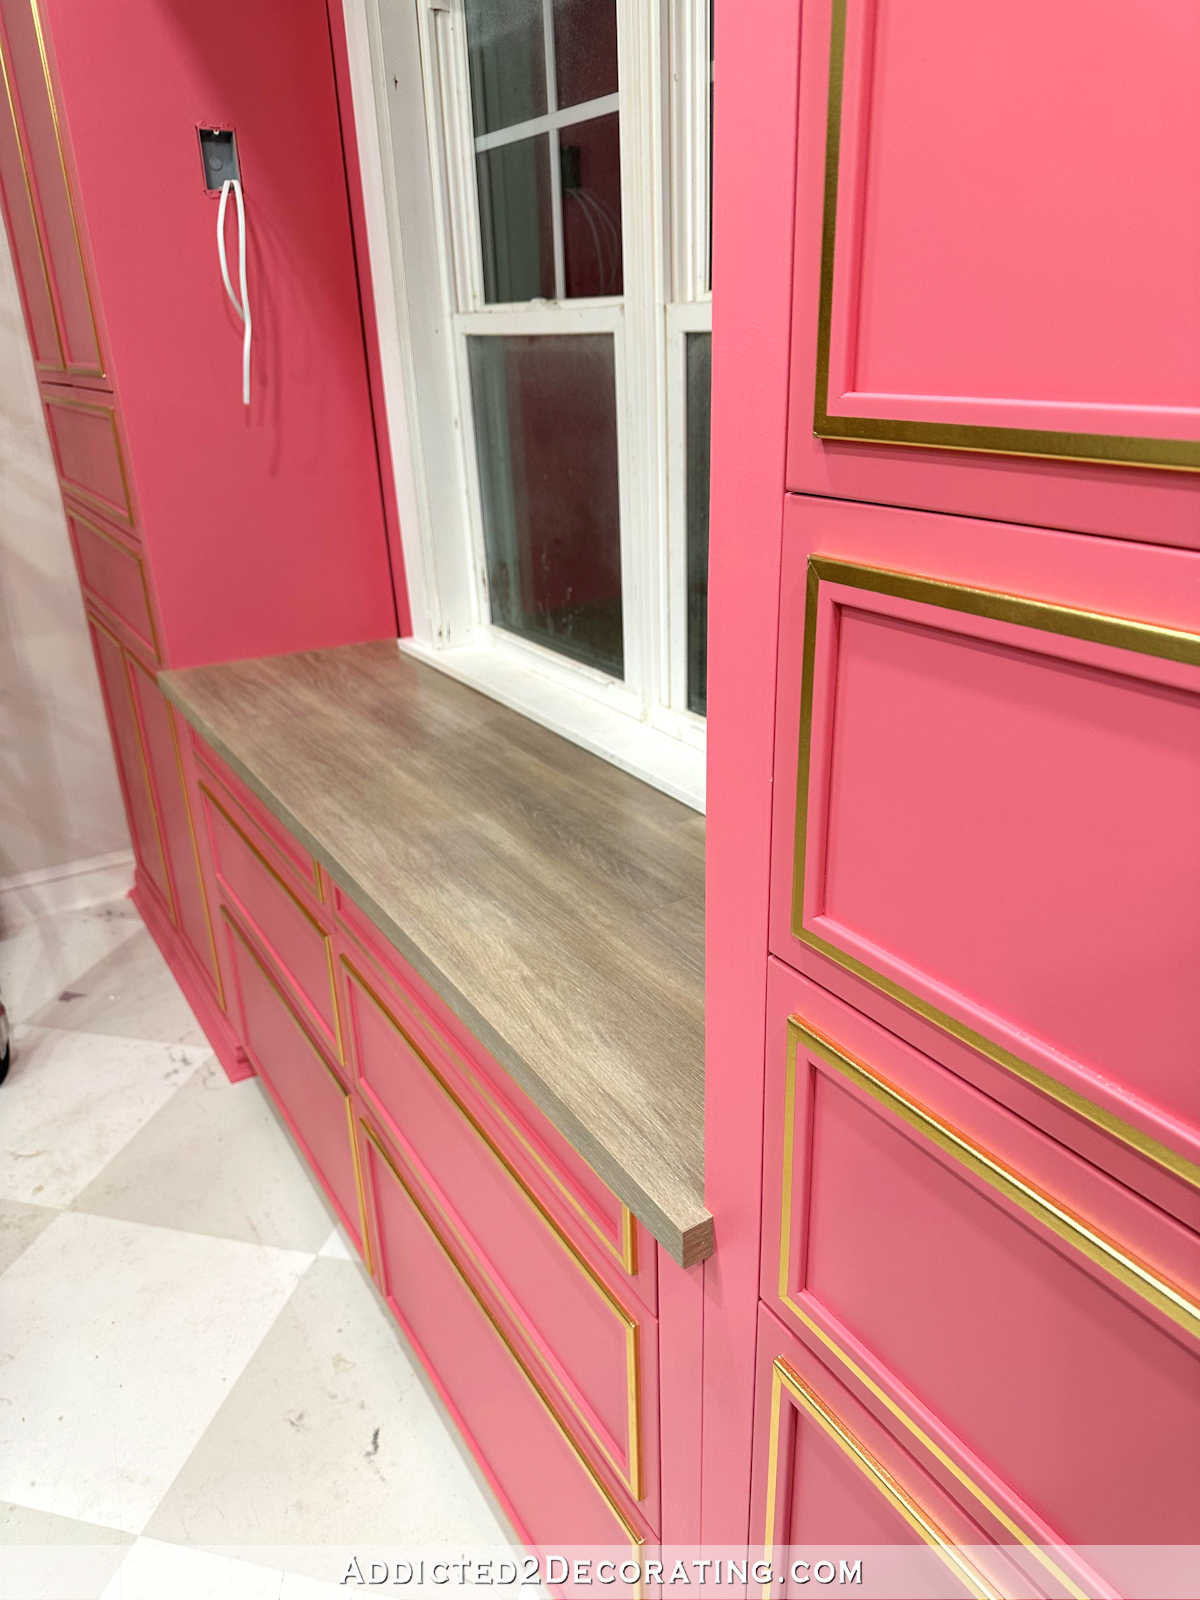
As of last week, I had gotten quite a bit done. I added trim to the doors and drawer fronts, built a bridge between the two upper side cabinets, trimmed out the cabinets, installed sconces, built a countertop, and trimmed out the window.
But I still needed to add cabinet trim in the window area, make a decision on what to do with the wall around the window (keep it pink or paint it the wall color?), decide what to do with the backs of the cubbies (keep them pink or paint them a different color?), paint the window trim, and install all of the cabinet knobs and pulls.
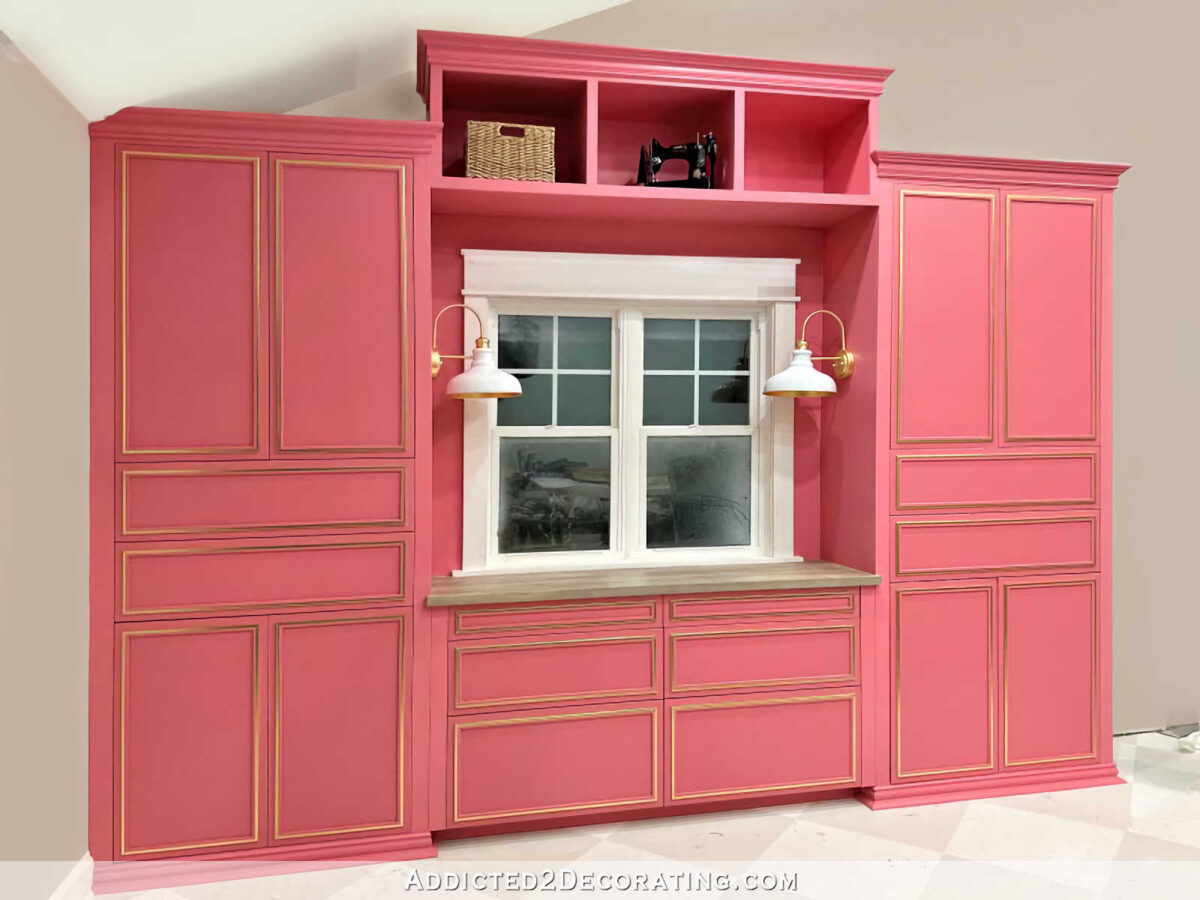
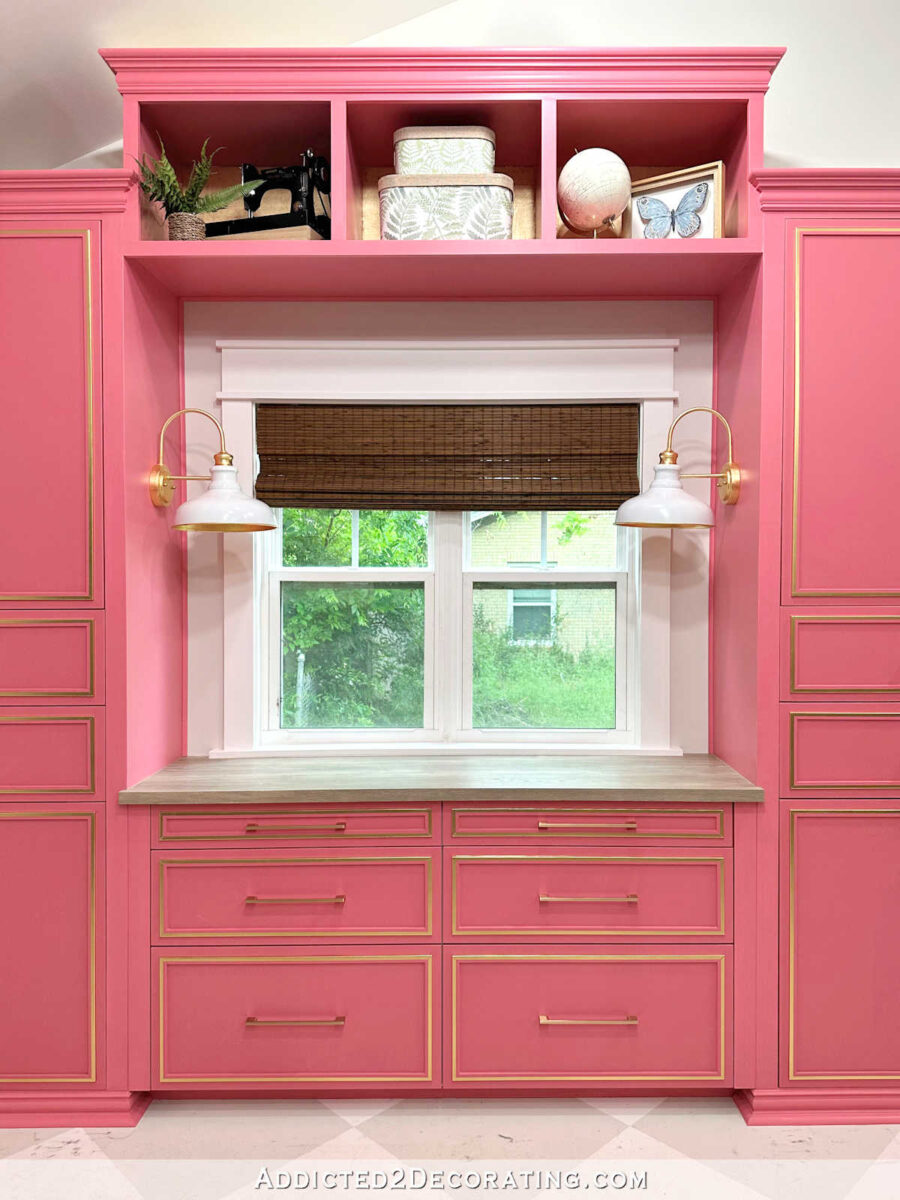
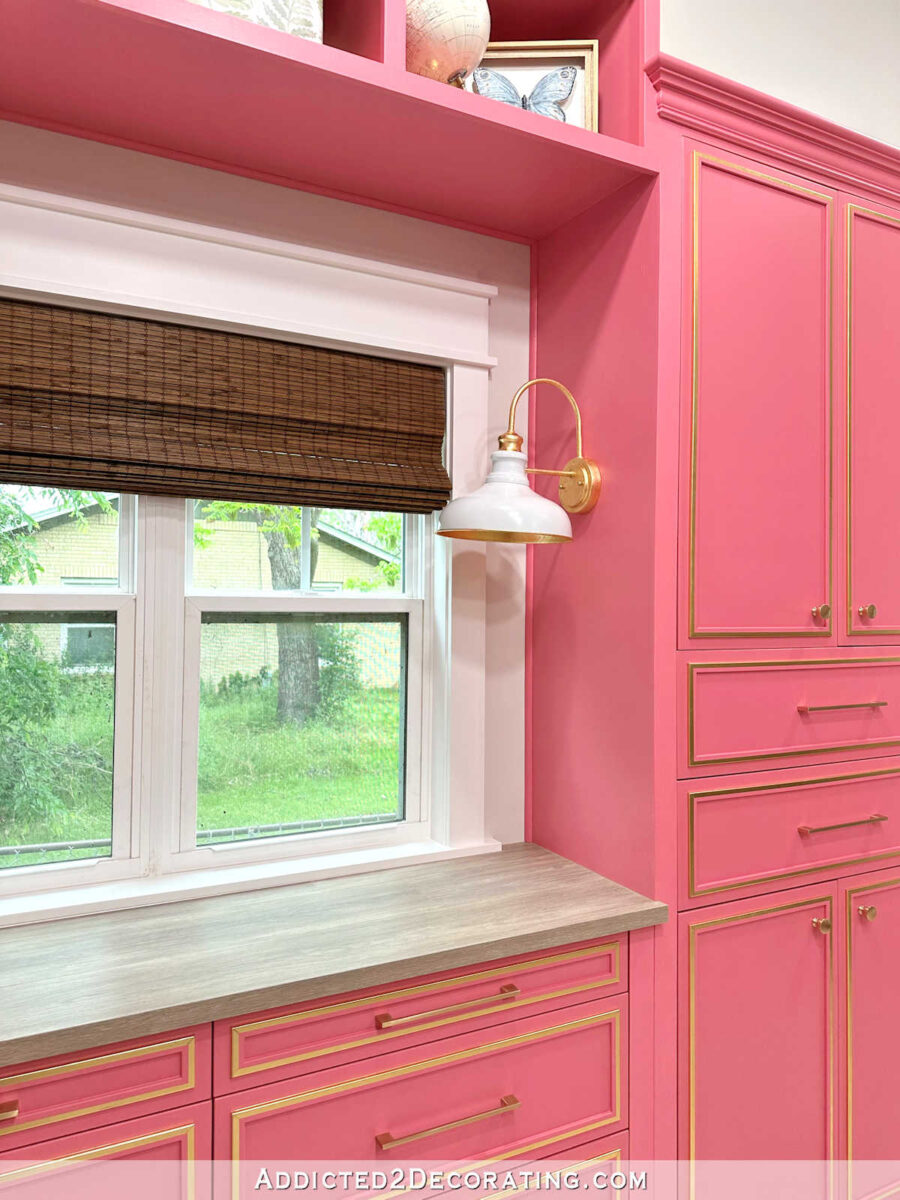
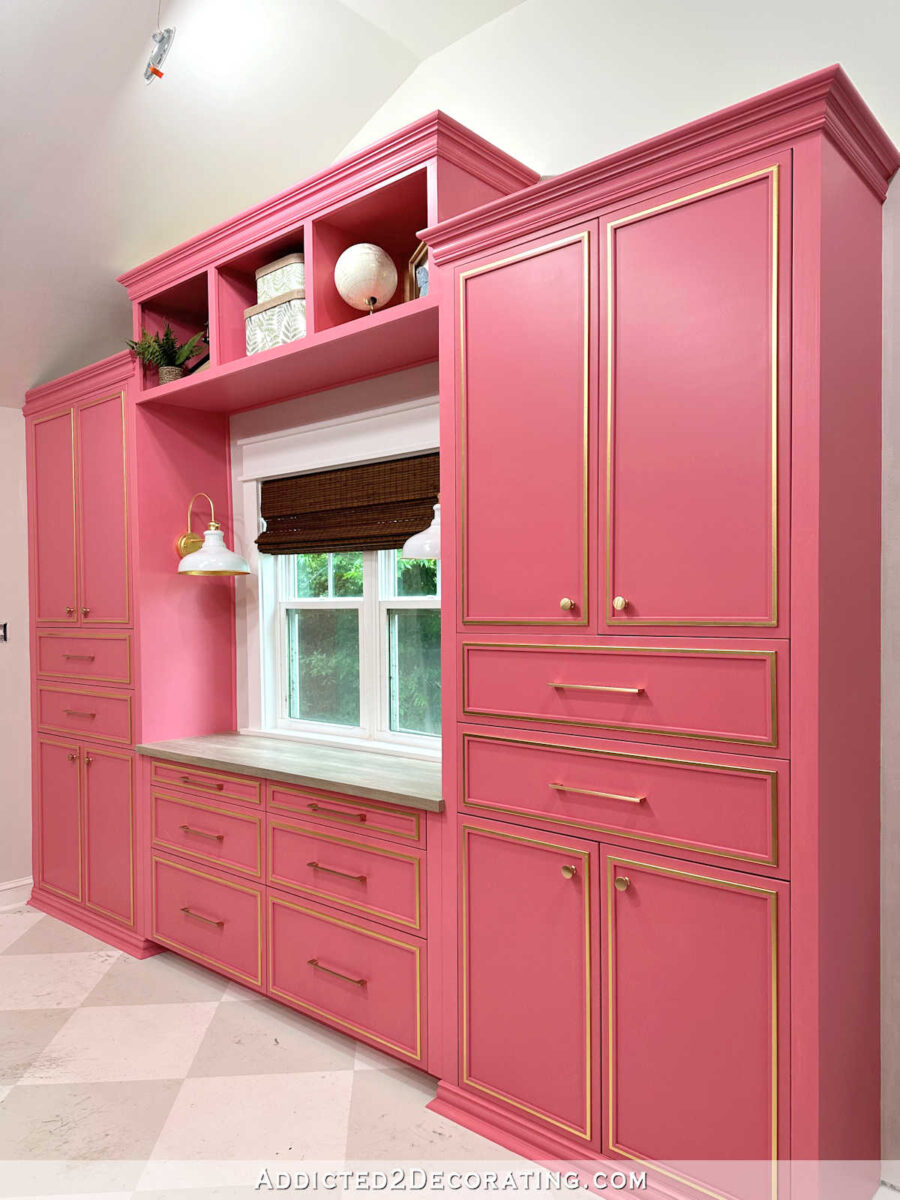
I got all of that finished last night, and here is my final decision. I went ahead and painted the area around the window the wall color (Benjamin Moore Classic Gray), which I think looks fantastic, especially now that the small trim is installed where the cabinets meet the wall around the window. It has such a clean, finished look, and that small amount of wall actually being the wall color instead of pink really did a lot to visually open up that area. And then, because it was the only solution that made sense in my mind, I gold leafed the backs of the cubbies so that the pink and gold bridge made sense and flowed better with the pink and gold doors and drawer fronts. It just made sense in my mind, and now that I have things in the cubbies, the gold is nothing more than a subtle backdrop.
I know these seemed like such small decisions, but these little details really do make a huge difference in the finished product. So I’m glad I spent some time wrestling with them and coming up with a solution that I really do love. I’m so proud of how these cabinets turned out.
I still might decide to add a little decorative something to the countertop to bring some interest and color, but right now, I’m just enjoying the fact that the cabinets themselves are finished.

I do wish that I had remembered to put the flush ceiling light back up in the ceiling while I still had the scaffolding there, but I didn’t realize it was still hanging down until I was taking pictures this morning. So I’m still undecided as to whether or not the cubbies actually need tape lights.
With that ceiling light hanging down and pointing towards the cubbies, it kind of washes out those items up there and floods the cubbies with light. But once that light is back in place, I might decide that the cubbies really do need some tape lights. So I’ll make that decision when I’m finishing up the outlets, and after the ceiling lights are back in place.
I’m just so excited to have this huge project finished! And I love how it turned out. Already this morning, I’ve gone into the studio several times just so I could stand and stare at the cabinets for a bit. 😀

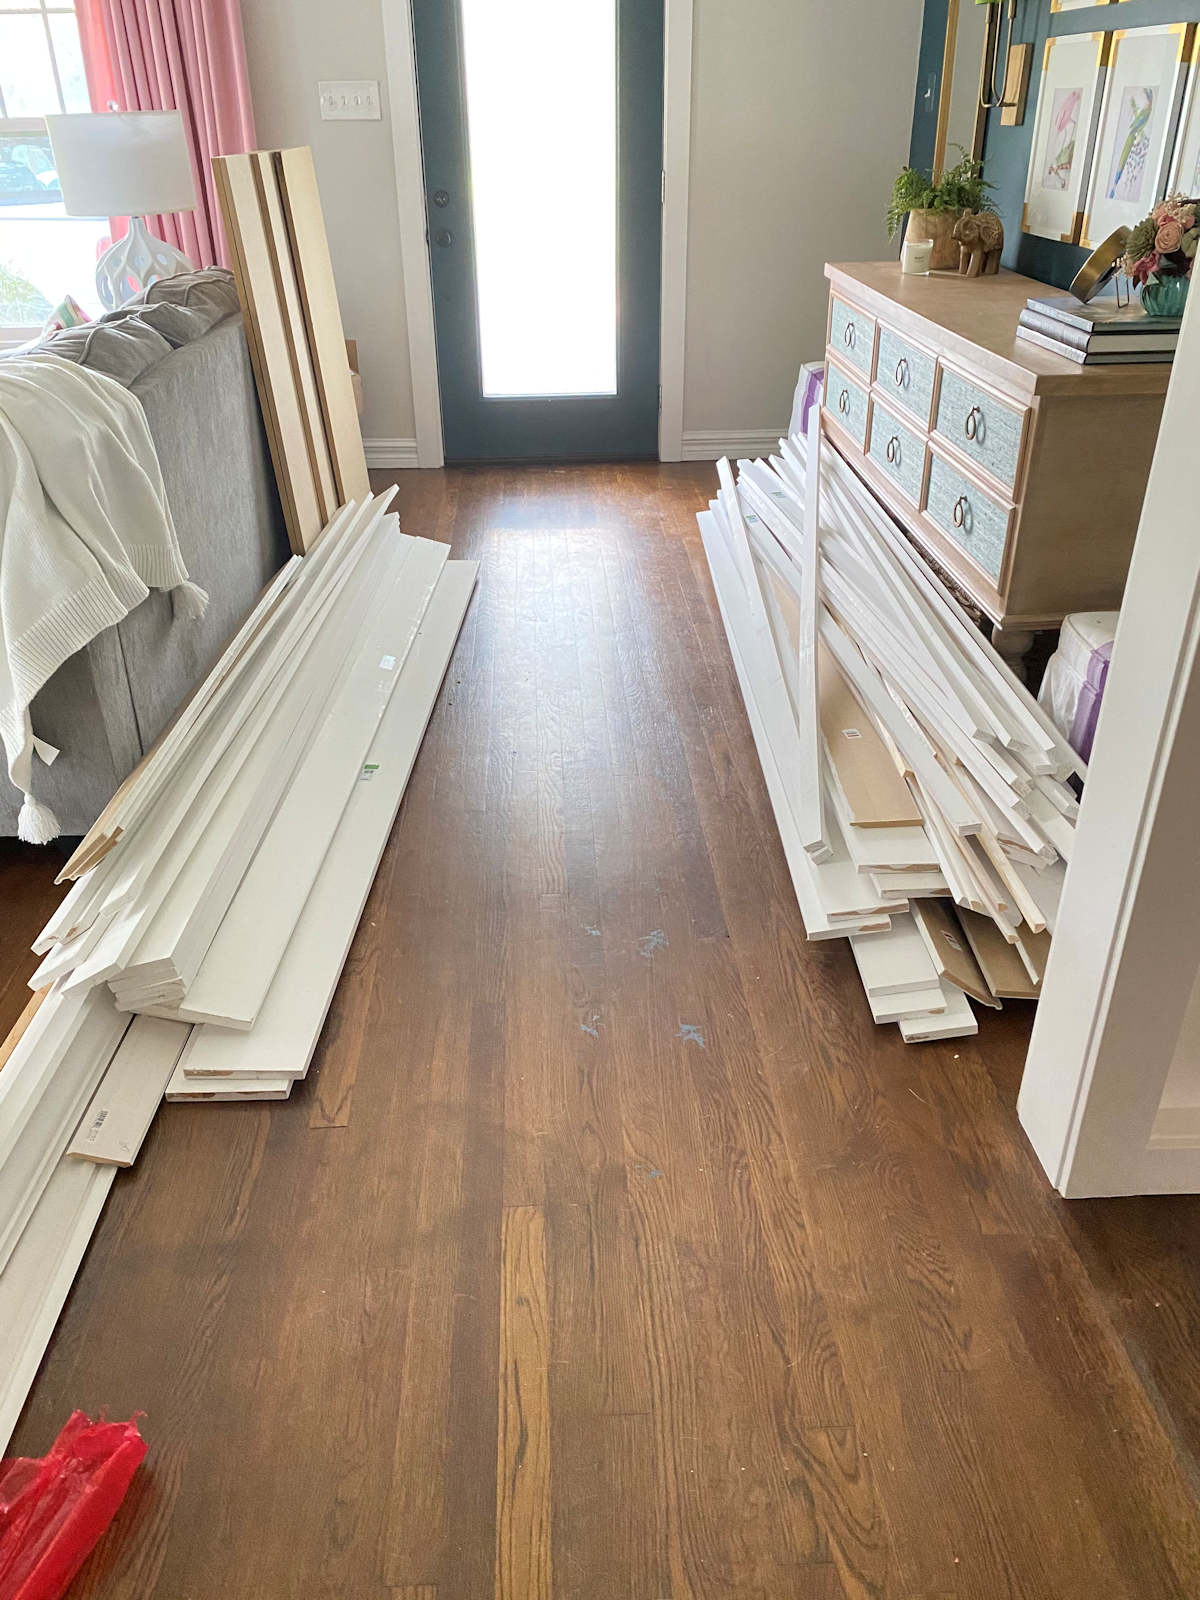
And now I’m on to the rest of the to-do list. I’m slowly but surely chipping away at that list and getting stuff DONE! I think I need to focus on getting all of the trim installed next. Of course, what I really want to do is the decorative stuff. That’s the fun stuff. But the trim really should be done first. Or should it? 😀 We’ll see.
Anyway, here’s what my to-do list looks like as of this morning. I had to add a couple of things to the list that I had left off, and I moved all of the “done” items to the bottom. But I’m getting them done!
- Install and paint baseboards;
- Install and paint door casings on two doors;
- Paint two doors;
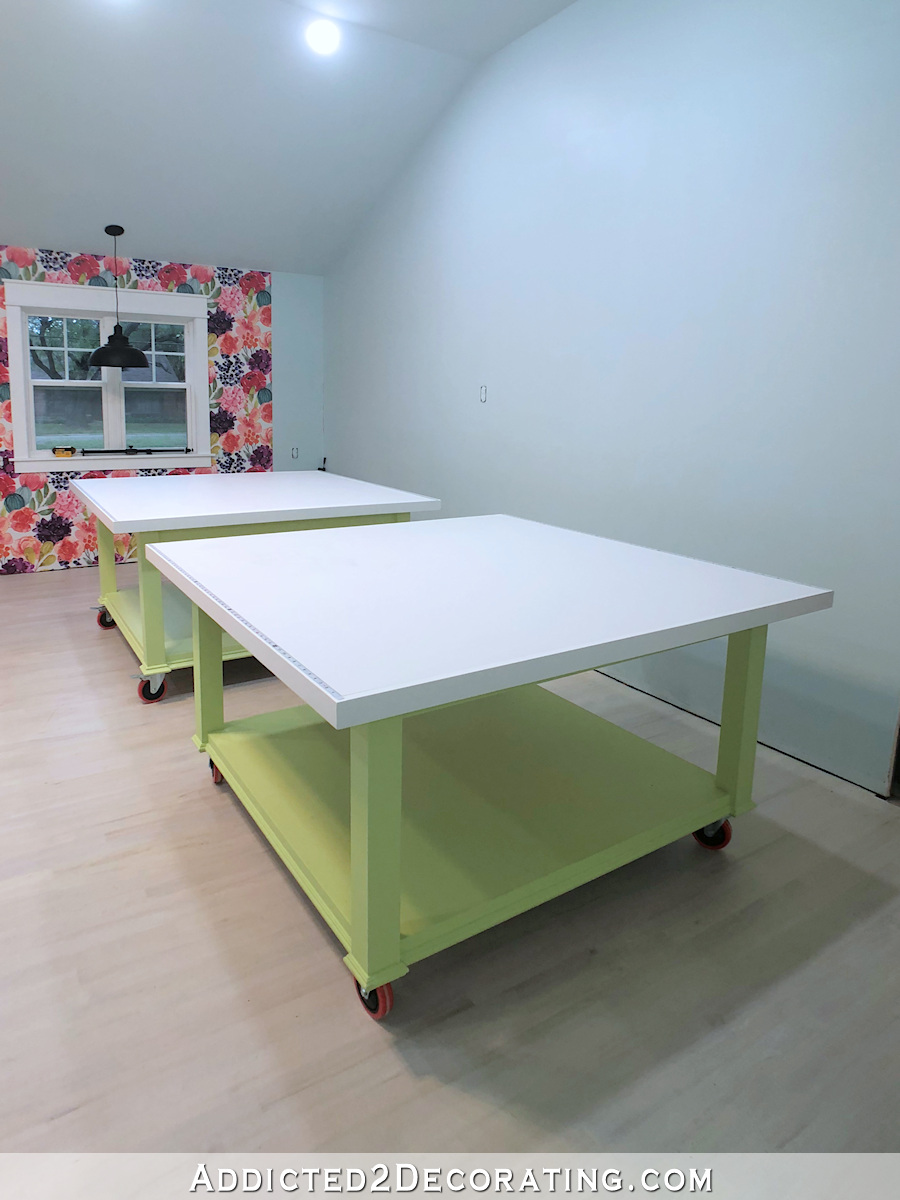
- Paint bases on work tables;
- Paint desk and add two drawers;
- Finish wiring electrical outlets;
- Add lights to cubbies;
- Reupholster desk chair;
- Make pendant light;
- Frame and hang landscape design;
- Decorate long, blank wall;
- Clean and touchup paint on floor;
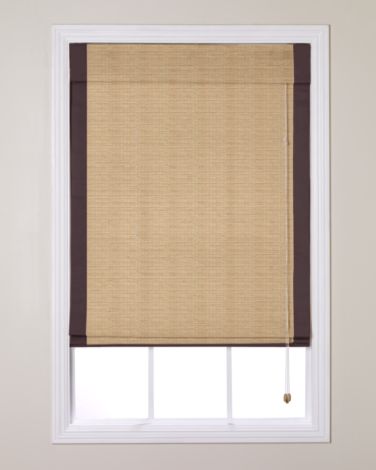
Paint wall around window;Gold leaf backs of cubbies;Finish trim on office area cabinets;Install window shade;Paint black parts of paint swatch cabinet white;Finish painting the ceiling and walls;Finish adjusting doors and drawers;Install drawer pulls and door knobs.

Addicted 2 Decorating is where I share my DIY and decorating journey as I remodel and decorate the 1948 fixer upper that my husband, Matt, and I bought in 2013. Matt has M.S. and is unable to do physical work, so I do the majority of the work on the house by myself. You can learn more about me here.
It is just right…as usual, due in part to your careful consideration of all the details!
Love the items you placed in the cubbies! The middle cubby with the patterned boxes perfectly relates to the wall color and floor. Love it all!
It looks great! I can relate to going to look at a room you just finished decorating just to admire it. I do the same!
It looks so finished and beautiful with the changes! I love it.
The cabinets look amazing
It’s a beautiful feminine room. So you! Joyous with color!
Oh I absolutely understand going back into the room and looking at it. Its beautiful and uou should be so proud.
Beautiful work and I cannot wait to see everything finished as I’m sure you do too…I am currently remodeling my kitchen (all by myself, as I live alone). It seems to take forever to finish because you cannot finish one thing without another thing done first so I understand totally.
Awesome! And so much of the to do list is painting and that’s something you like. I’d get all of the work stuff done in the next two weeks and leave the fluffing to the end as the reward.
You have mentioned that your cabinets are from IKEA. I have never been to an IKEA nor do I live anywhere near one. I assume you use them because of the quality and/or price. What would you use if you didn’t have access to IKEA?
Frances,
I used to live near an IKEA but now I live in a part of Texas where there are none, but they do deliver–I ordered a large number of bookcases and other items and they were delivered in a short time frame without issue.
Me too, Michelle! I waited years for Columbus to get an IKEA, and 2 yrs later we moved to Az. Closest one is 150 mi away!
I don’t really live close to an IKEA. The closest one is an hour-and-a-half drive away. But I ordered online and had all of these delivered directly to my door. I really like these because of the quality and convenience. But if I didn’t have access to IKEA, I’d build from scratch, just like I did in our walk-in pantry.
I love Ikea cabinets. I have done a couple of small kitchens with them. There is also a company called Semihandmade, which will make custom doors if you don’t like the Ikea options for door finishes.
It looks terrific! You made the right choice in painting the surround of the window the color you did! The to do list is getting smaller and smaller! 🙂
Stunning!! I love the choices you made!
Looks amazing!
Since I hadn’t heard from you, I was concerned about you or Matt. Glad everything is okay. The studio looks amazing, absolutely gorgeous. It seems you still have a lot of work to do, but just look at what you have finished. I’ve decided that when you are completely finished, before the addition, you can come work on my house. 😁😁😁 I need a decorator!
Have a good week.
Putting gold foil on the backs of the cubbies is an inspired addition. Painting the wall around the window really lightens the visual appearance of the wall of cabinetry. Perfect.
I am so excited for you. This is monumental!
Love it! I’ve been thinking about the large wall opposite the “office” area. What do you think about adding some sort of rail (chair rail or maybe higher) and hanging a mural? Or painting a mural scene? It would be lovely to look at a serene landscape type scene, maybe a meadow or something of that sort. This would also solve the problem of how to set different artworks in an awkward space. Here is a Texas landscape example!
I guess the link failed, but I just googled “Texas painted mural” for examples. I know you are a great artist and could create something just right!
Absolutely beautiful, beyond what I envisioned when you started!
Enjoy your weekend, and get some much needed rest!
The cabinets look awesome!!
Your cabinets look amazing. You have done an awesome job here.
Maybe it’s because I’m old and my hips complain a lot, but wouldn’t it be easier to paint the trim first, then install?
The paint around the window looks fantastic. But my eyes still want the sconces mounted as high as possible or have simple pot/puck lights for task work. Additionally, I vote for keeping the countertop clean and clutter free.
But I don’t really have a dog in this race and I wholeheartedly applaud your talent and progress. Well done you!!
Wow Kristi! That looks awesome! You should be so proud of yourself! I love how you persevere until you find the solution that works best for you and it’s always perfect.
Love, love, love it!!!
You are brilliant!!! So beautiful!!
They look beautiful! Wow.
Wow!!
You did an amazing job! If I could do that, I would walk in and stand and look at it too! 😁
Well done!
Oh, you SHOULD be so proud. You have accomplished a lot and it all looks so perfect.
I love how you decided to finish that wall. It must be so eye pleasing to you as you walk through that room. Another wonderful job…on to more!
I agree that the cabinets really needed something backing the cubbies, and your solution is an excellent one. It’s not the wall color, but still substantial enough to not look like they are backless. And painting the wall around the window ties it to the rest of the studio and puts the focus on the GORGEOUS cabinets! Egg-cellent, Kristi!
This looks bloody brilliant! Well done!
Looks absolutely fabulous!
Beautiful!! As always, you find a way to pull it all together and make something already great, better!!
Absolutely beautiful! Your attention to detail and final decisions just put you at a whole different level. I love your posts.
This came in my junk spam mail. Thank goodness I saw it.