How To Tie A Perfect Bow
Good morning, all! Well, today I’m getting down to basics. I mean, really basic here. I want to show you how to tie a perfect bow.

This might seem like it’s coming out of left field, but I promise, it isn’t. Yesterday as I was browsing different blogs, I came across a wonderful project on a blog. Everything about the project was fantastic…that is, everything except the bow, which was all caddywhompus, and very distracting.
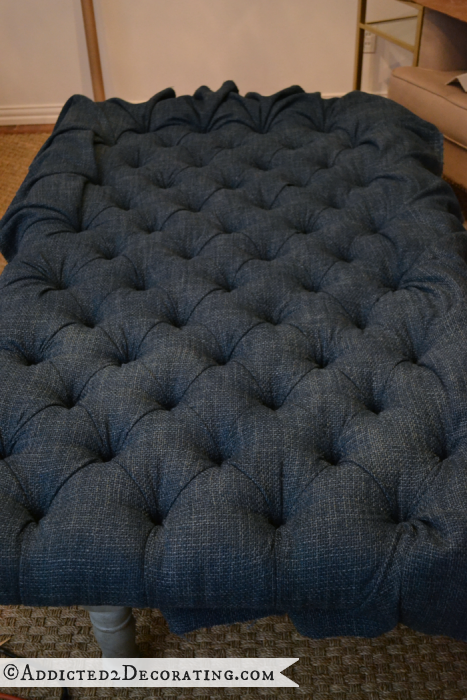
Then last night, I was looking through my photos (trying to figure out how in the world to organize and store my ever-growing files of pictures), and I came across the pictures of the chair that I reupholstered for John & Alice’s bedroom. I realized that that chair is the exact type of project that could be absolutely ruined by a less-than-perfect bow.

The fact is, bows aren’t just for little girls’ hair. If you’re a crafter, a seamstress, and/or a DIYer, chances are that you’ll need to tie a bow at one time or another, and the bow will affect the look of your whole project.
Have you ever tried to tie a beautiful bow, and it turns out like this?

Yep, that’s very common. And no matter how much you tug and pull on that thing, there’s no way it’s ever going to line up straight and look perfect.
There’s one simple step you can take to avoid a cockeyed bow like that, and to make your bow perfectly straight. Here’s how to tie a perfect bow…
First, start just like any other bow by tying the first knot.

Then make the loop with one side. Now here is where you make or break your perfect bow. Look at the direction that the other side is coming out of the first knot that you tied. Is it coming out of the bottom, as pictured below?

If it’s coming out of the bottom, then you absolutely must wrap it around the bottom of the loop.

After you tuck it through to make the second loop, keep everything loose at first until you can get everything lined up straight.

Then pull tight, adjust a bit more, and you have a perfect bow.

In the bow above, the non-looped end was coming out the bottom of the first knot. So in this next example, let’s look at it coming out the top of the first knot.

If the non-looped end comes out of the top of the first knot, then it must be wrapped around the top of the first loop.

The key is in keeping the direction of the non-looped end consistent. If it’s coming out of the bottom of the first knot, then wrap it around the bottom of the first loop. If it’s coming out of the top of the first knot, then wrap it around the top of the first loop. Follow this simple rule, and you’ll get a perfect bow each time.

Do just the opposite, and you’ll wind up with this frustration…

Addicted 2 Decorating is where I share my DIY and decorating journey as I remodel and decorate the 1948 fixer upper that my husband, Matt, and I bought in 2013. Matt has M.S. and is unable to do physical work, so I do the majority of the work on the house by myself. You can learn more about me here.


Thank you soooooo much for showing us how to do this..mine usually turn out showing the back side of the fabric….Im a bow failure. I can’t wait to go home and try this method!! 😀
The timing of this post was perfect for me! I am getting ready to put a bow on a wreath for my post tomorrow. I seriously did not know the bottom/top loop instruction … I am so excited! Thank you for getting back to basics!
Missi
Good to know! So simple, yet a mistake I’ve made often.
You know, it may be basic, but I didn’t know this! Thank you. My next bows will be beautiful. You can count on it!
This is such good information! I have had sporadic luck with making a perfect bow, but never knew why! I struggled with a bow on a package this past weekend with my results looking like your oopsy photos. Thank you for the explanation. It’s going to help tremendously!
You are awesome!! Such a simple post that really rocked my world. I love you! 🙂 Thanks for the great tip. Now I don’t have to bribe my neighbor with homemade goodies anymore to tie all of my bows on packages.
Kristi, Thank you for such a simple but great tip! Hopefully my bows will be caddywhompus no more. Your the best!
Sharla
It looks kinda hard to do from the photos that you show. Im a bow disaster maker too!
This tutorial broke the code for me, too. I could never figure out why my bows looked lopsided. I knew perfect bows were possible, but I’d given up, thinking I just didn’t have the magic touch. Thanks so much!
I’m sorry but I must be stupid or something 9in the very least, not at all crafty or able to tie a nice bow). I just don’t get by what you mean “wrap it around the bottom of the loop”. From there on you lost me.
I cannot believe I have lived my whole entire 46 years without knowing this, and WONDERING why my bows always look stupid…. I just grabbed the closest piece of ribbon and tied 329 perfect little bows!!! Thanks for that!!!!! @ Sarah – as you are holding the loop, in either hand…(Kristi must be a lefty?) whichever side the loose end is coming out of your first tied part, for instance top, wrap it up and over your loop before poking it thru the hole…. bottom, wrap it under and around before poking. IDK, that’s no help, is it? LOL!!! I will leave this to the professional!!!!!
Julie, not sure if you made the bow-tying instructions any clearer, but I think you’d be great at teaching the “How to Use Birth Control” chapter in a Sex Ed class! You really tickled my funny bone… 😉
I too am a bow failure…. and I’m confused just like Sarah about wrapping it around the bottom…. so how do you make the second loop of the bow? and then how do you get that nice little “knot” in the center? 🙂
Likewise – I gather we three tie our bows somewhat differently – I’m trying to ‘tie’ it by pulling anything THROUGH a loop with no luck… Perhaps a vid would make it more clear? My problem is making it purdy despite using single sided ribbon (that is, no print on the back side)… help?
“How To Tie A Perfect Bow” ended up being a remarkable article.
If solely there were much more sites similar to this amazing
one on the world wide web. Anyhow, thanks for your time, Greg
two words…MIND BLOWN! 🙂
Thank you, that was a huge help! The silver wire bows on our pink pillar candles look beautiful thanks to this easy to understand and follow website.
Thank you, but these directions are a little unclear…I agree a video might be nice, but the main thing that would make the instructions clearer is using more specific language instead of pronouns (e.g., it).
Thank you! I had to cut and pin the bow on the previous wreath to make it straight. I just tied a straight bow on my new fall wreath. Thank you!
Perfect! Since christmas time is coming, i can make perfect ribbons for the gifts.
Thanks for the great instructions! I was trying and trying, tying and tying, and finally got my bows on my tie-up valances to lie just right!
OMG, thank you so much! I am a 65 year old crafter who has always struggled with bows, and now I find your brilliant instruction! I am beyond grateful!
What size mirror did you use for the Chrysanthemum mirror?
Probably around 8-10 inch.