Studio Bathroom Walls Progress
I didn’t get as far as I had hoped on the bathroom this weekend because I was a little distracted by other things (as I’m sure many of us were), but the good news is that I got most of the walls prepped for paint today. So I’ll show you my process and progress.
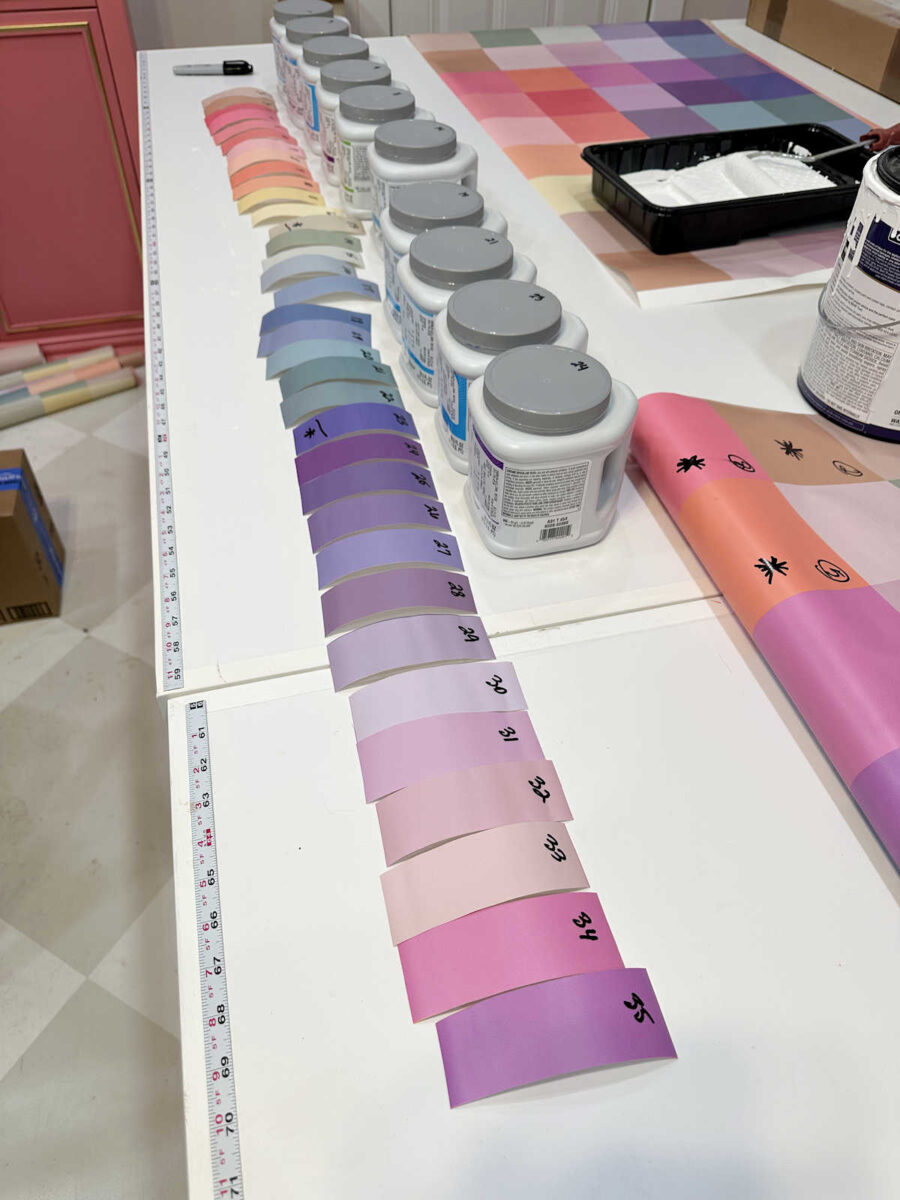
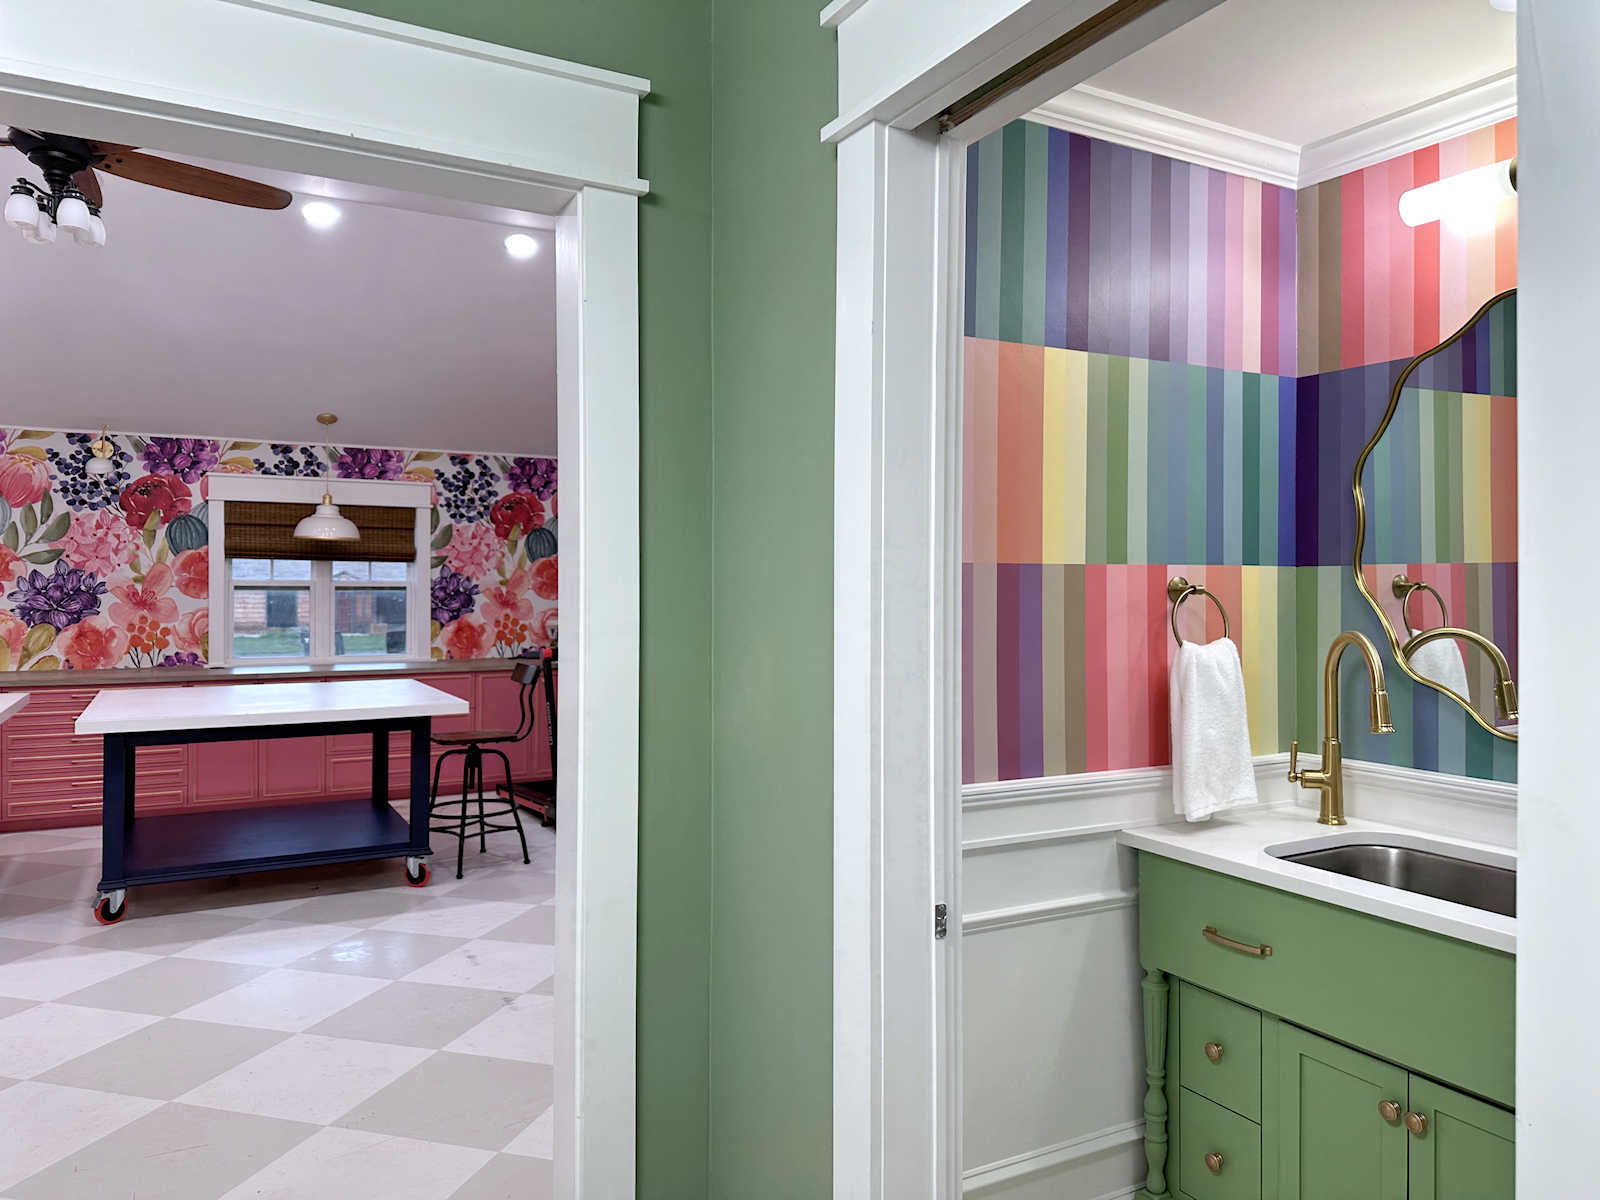
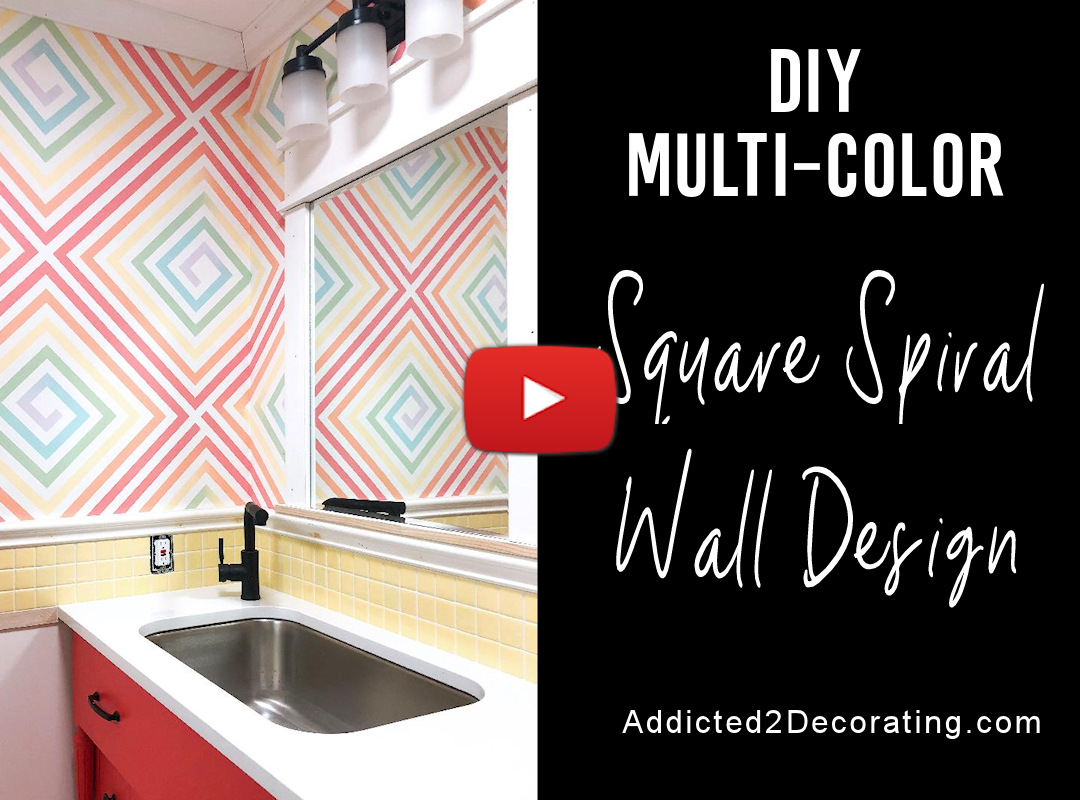
I started by deciding on the order in which I wanted to paint the 35 paint colors that will make up this wall design. This probably took the longest. I wasn’t sure if I wanted it to be completely random, or if I wanted the colors grouped together in like colors. In the mockup that I did, I showed the color in a very random order…
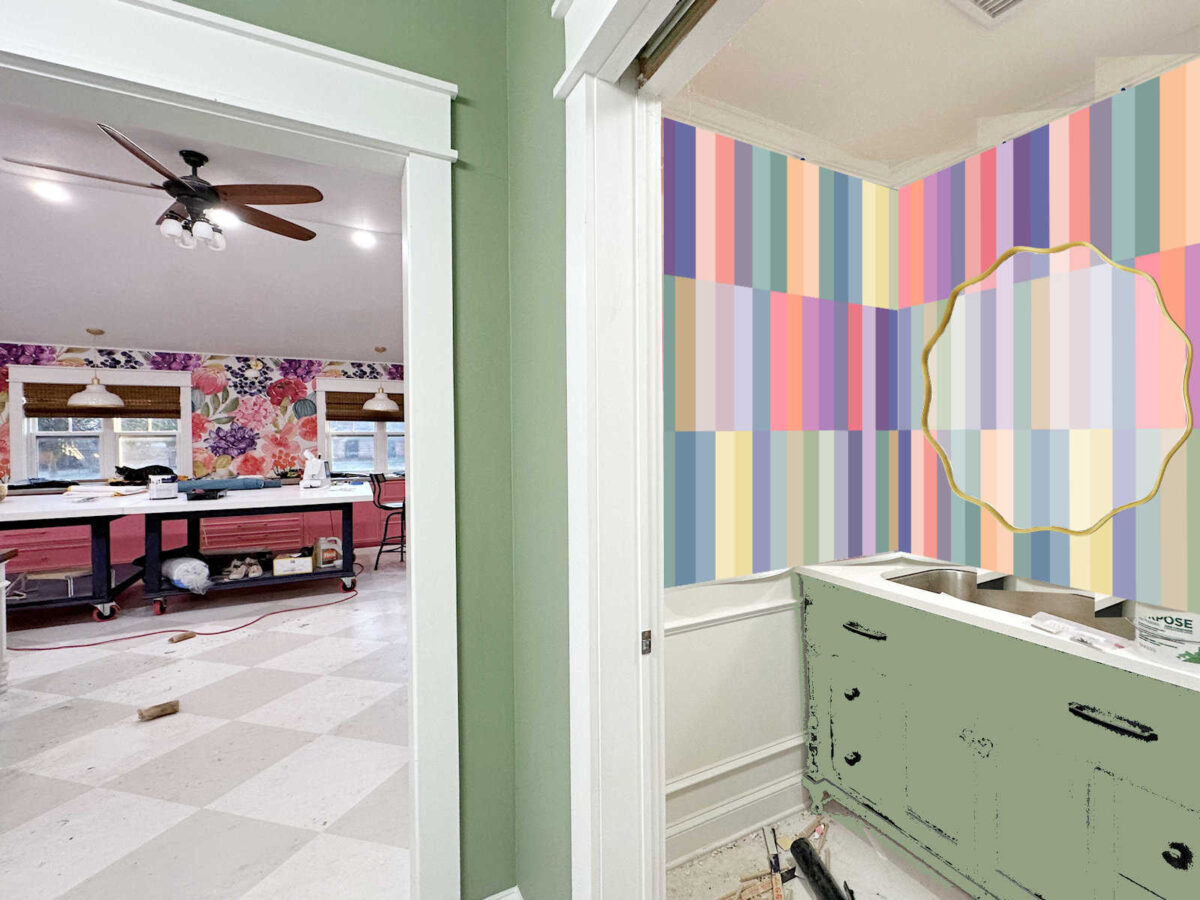
I think that’s the reason that several people thought that the colors on that mockup were different from the colors on the mockup of the wallpaper with the squares. The wallpaper has the colors arranged so that they’re more grouped by color. It’s not a perfect grouping, but you can see what I mean. The colors aren’t completely random in their placement, and I did that intentionally when designing the wallpaper.
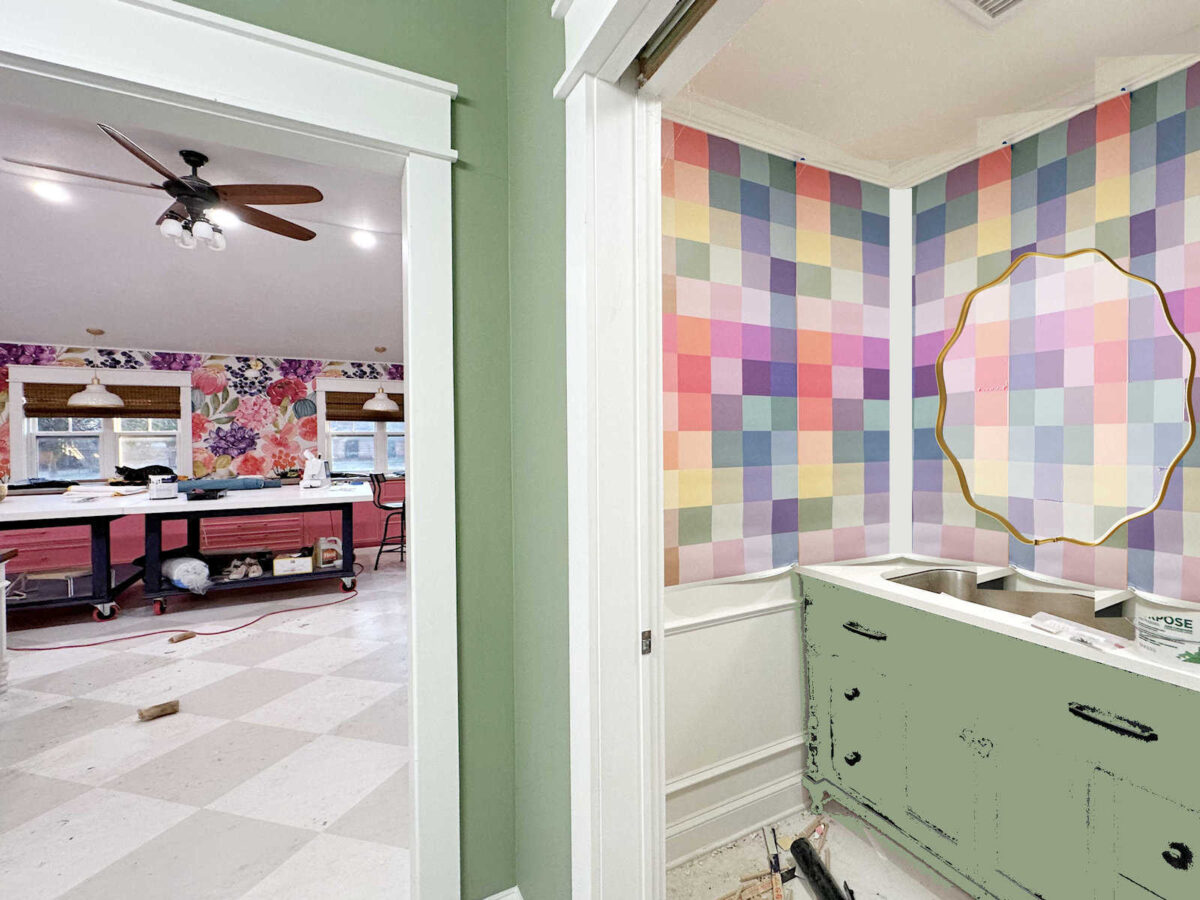
I think having the colors grouped like that gives them a softer appearance. In the end, I decided to do the same thing for the striped design, so this is the final arrangement I decided to go with. Once I made the decision, I numbered them from 1 to 35.
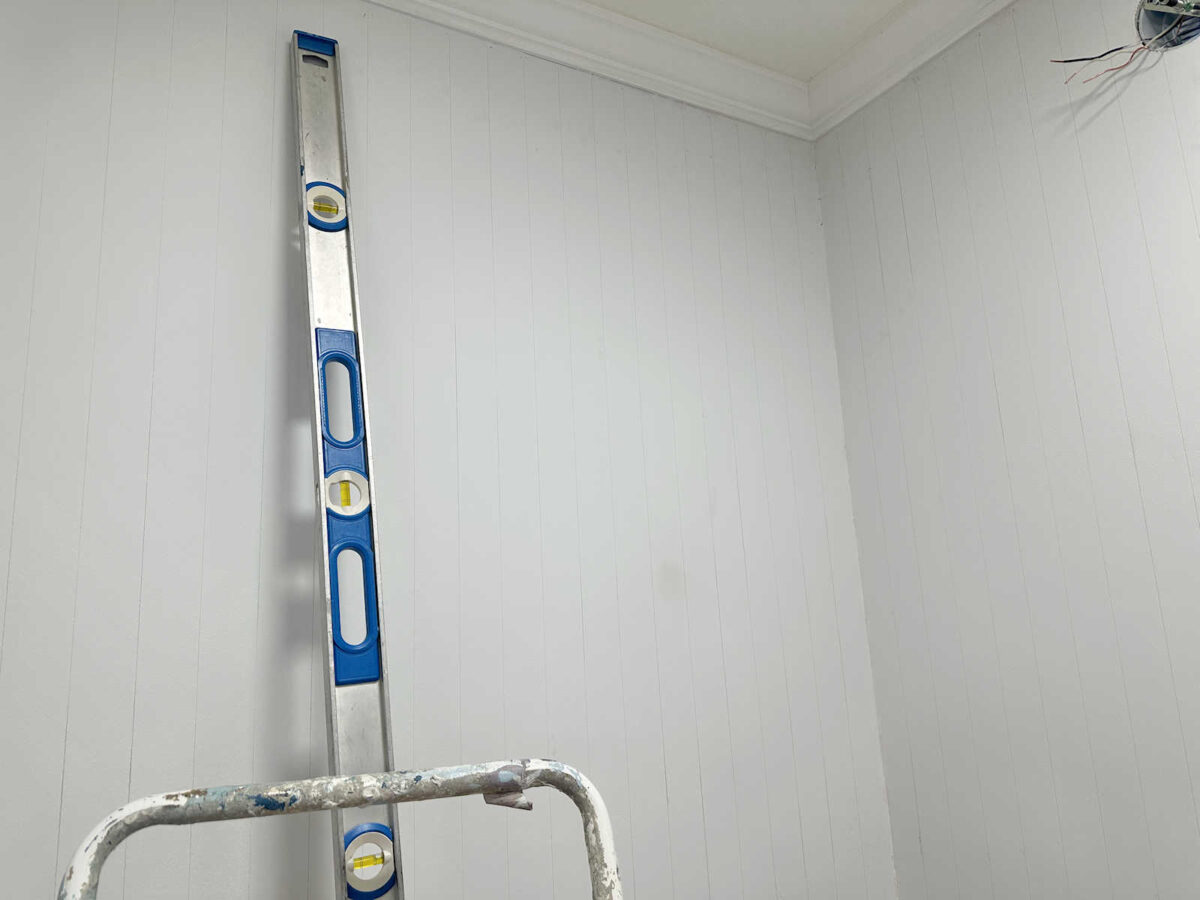
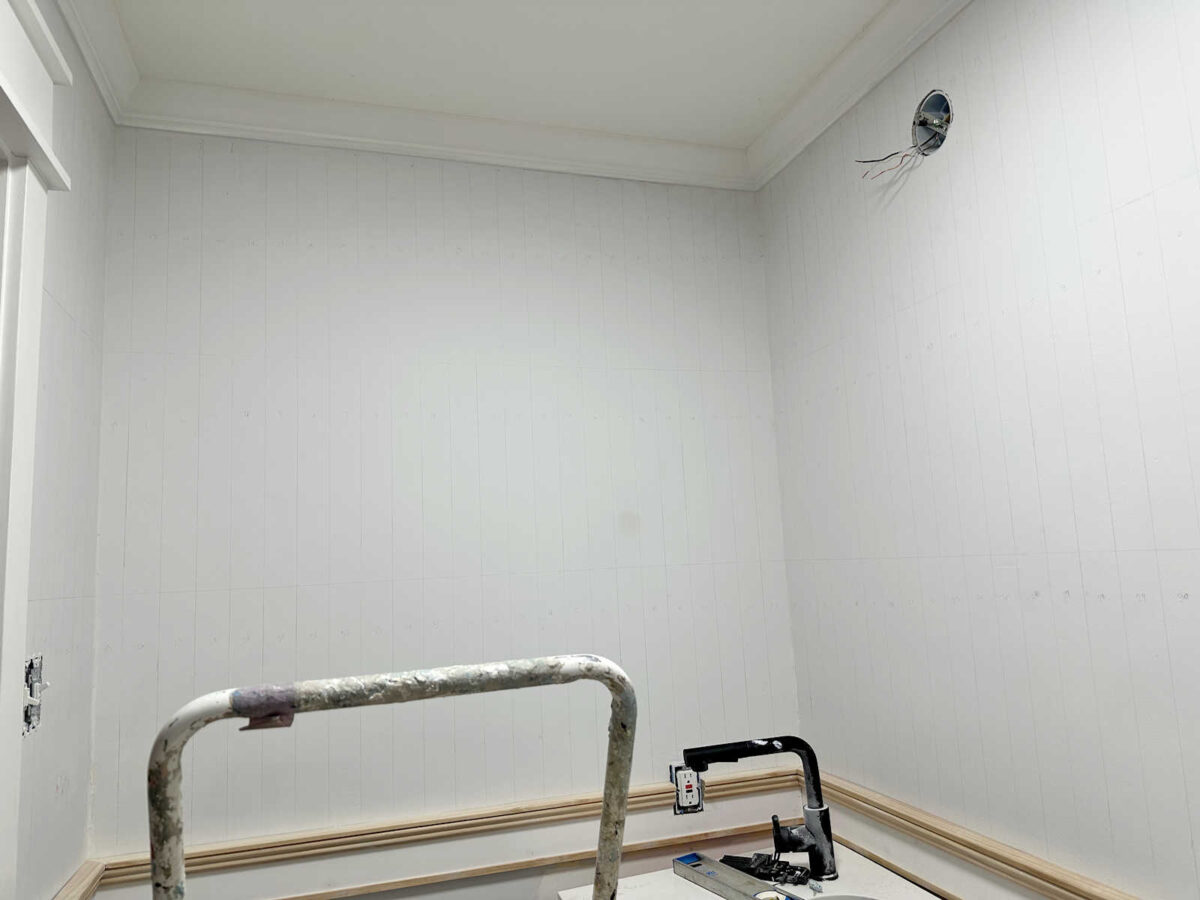
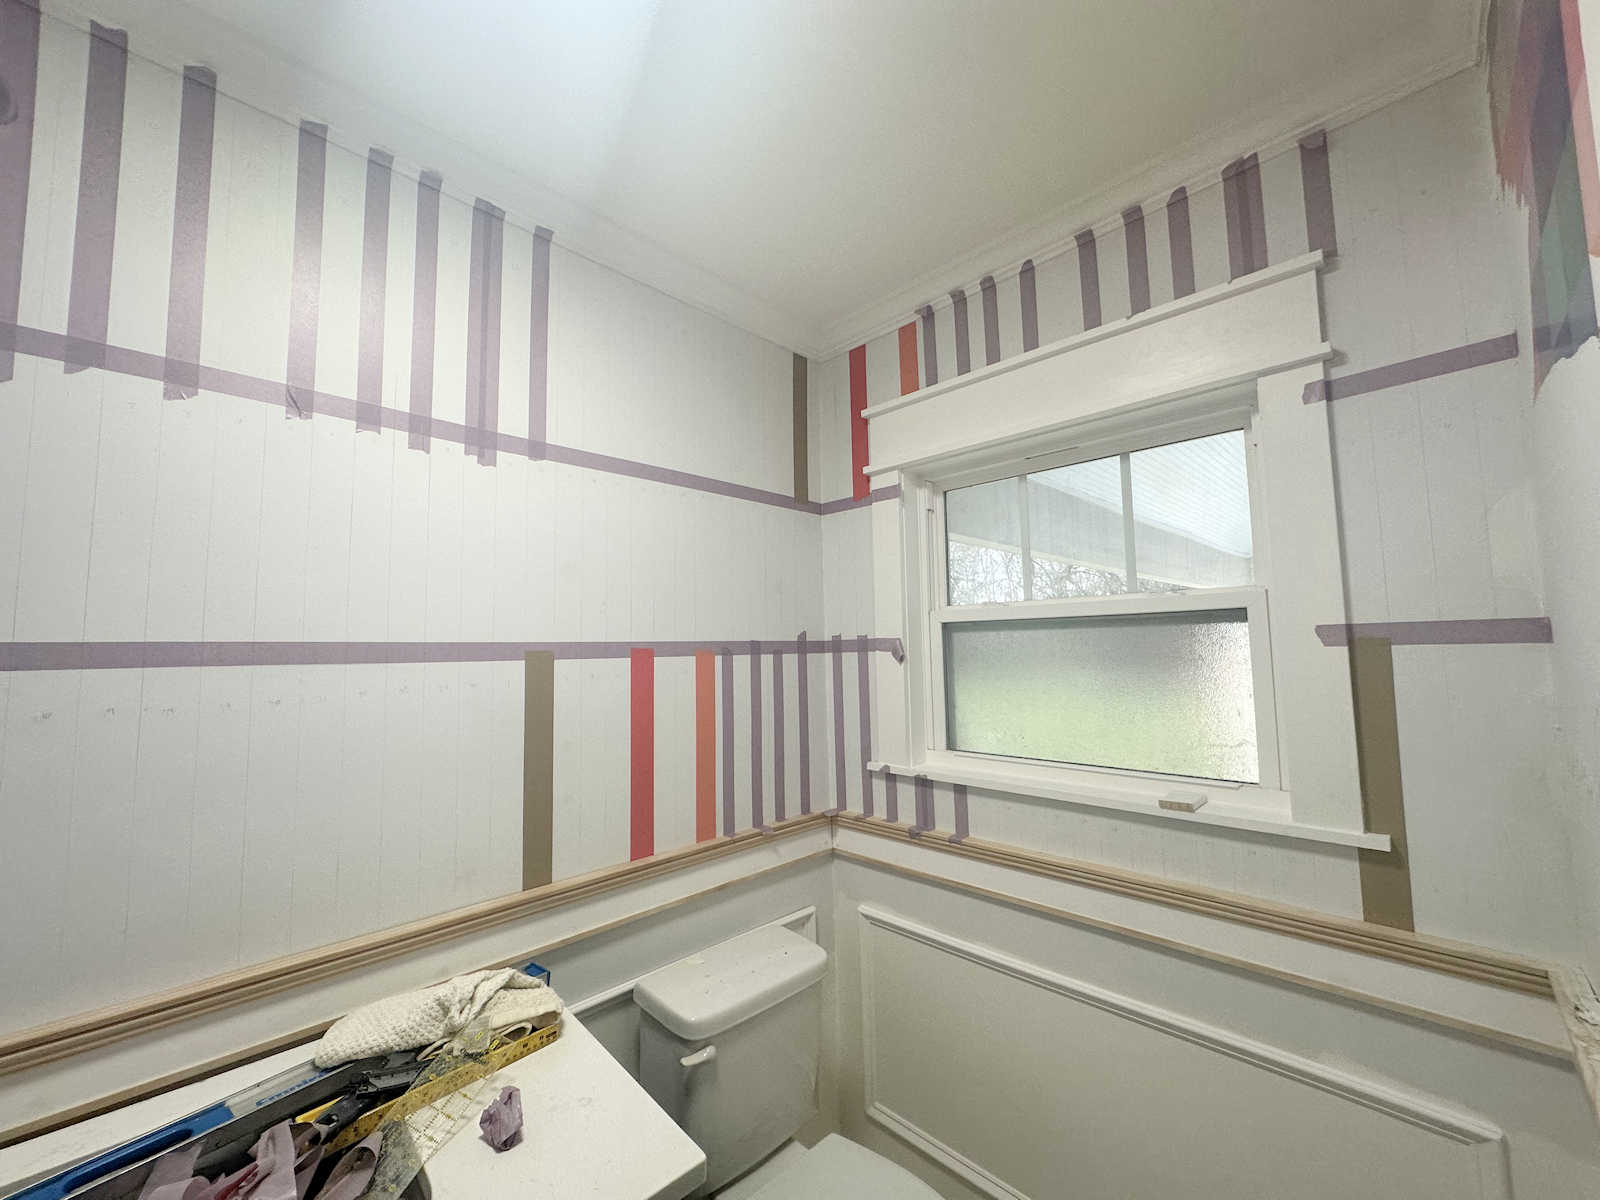
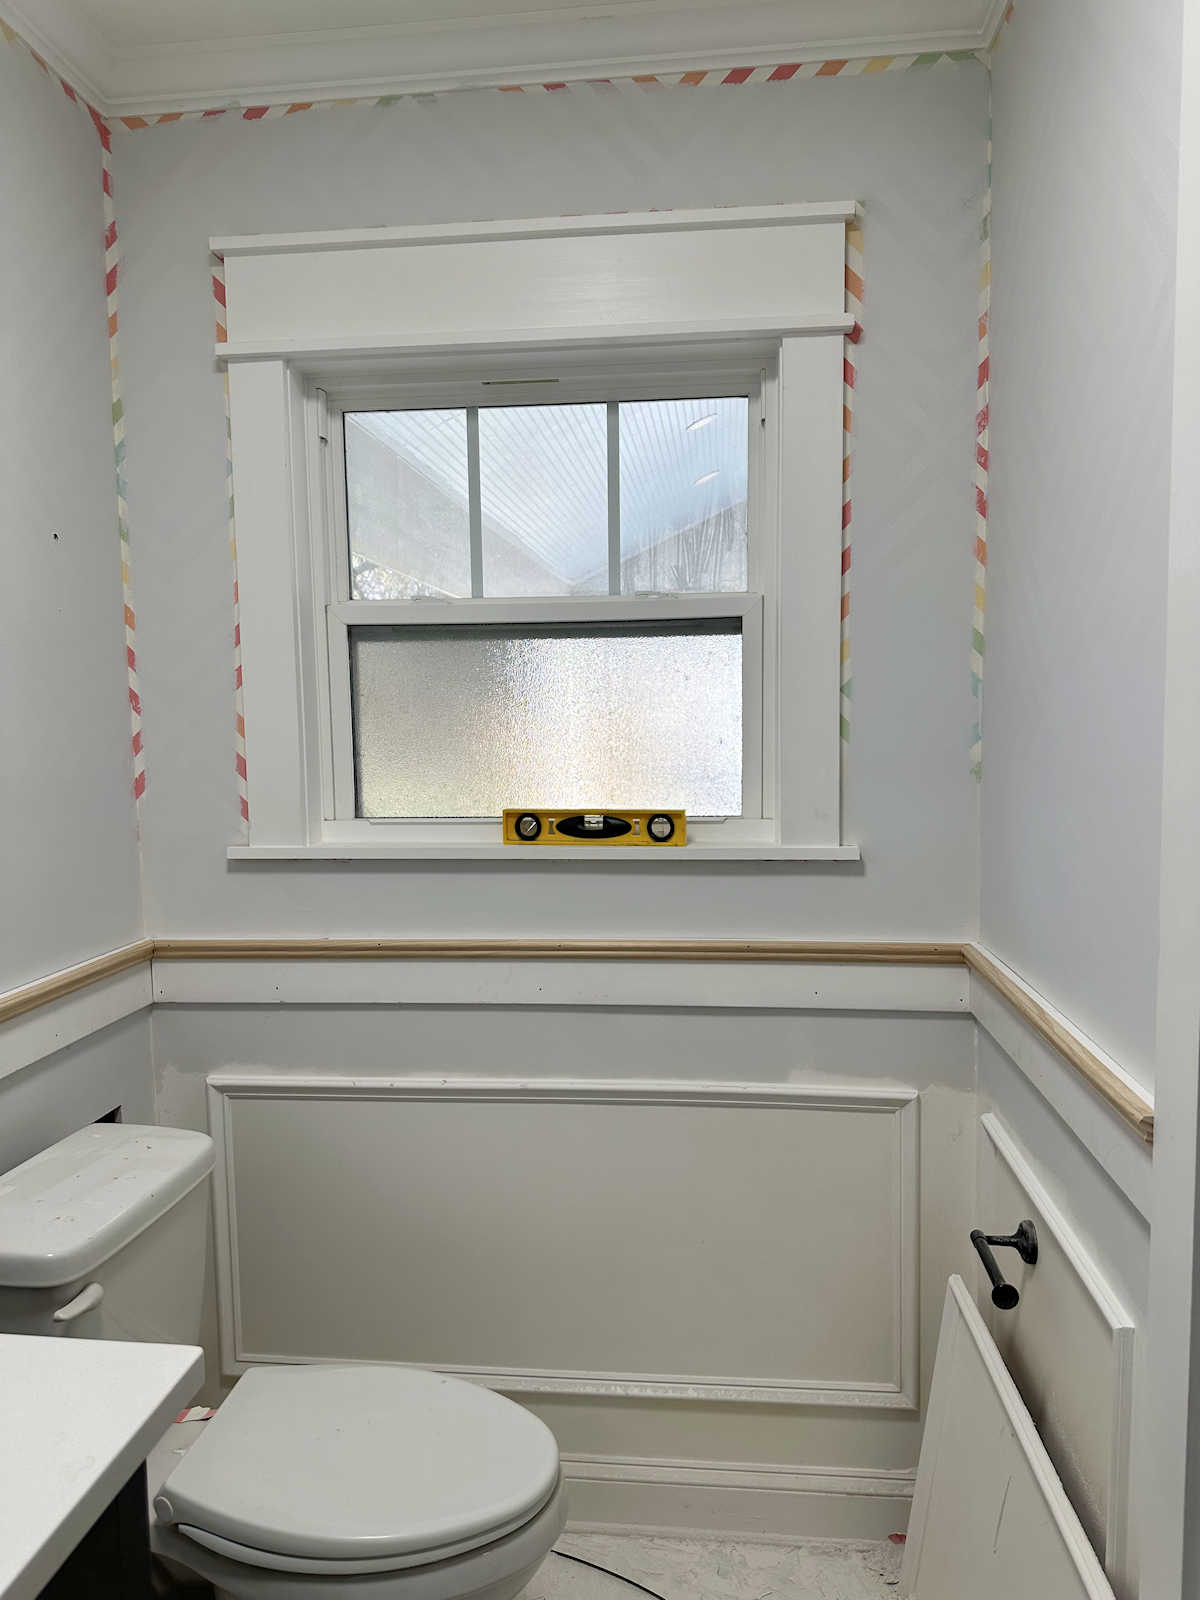
Then I needed to determine the width of the stripes. I decided to make it as easy as possible and just use my long level as the width of the strips. That way, there would be no need to measure and mark for each stripe. I just placed the level along the previous line and drew the next line lightly with a pencil. Since I marked the lines as lightly as possible, they may be hard to see, but they’re there if you look closely.
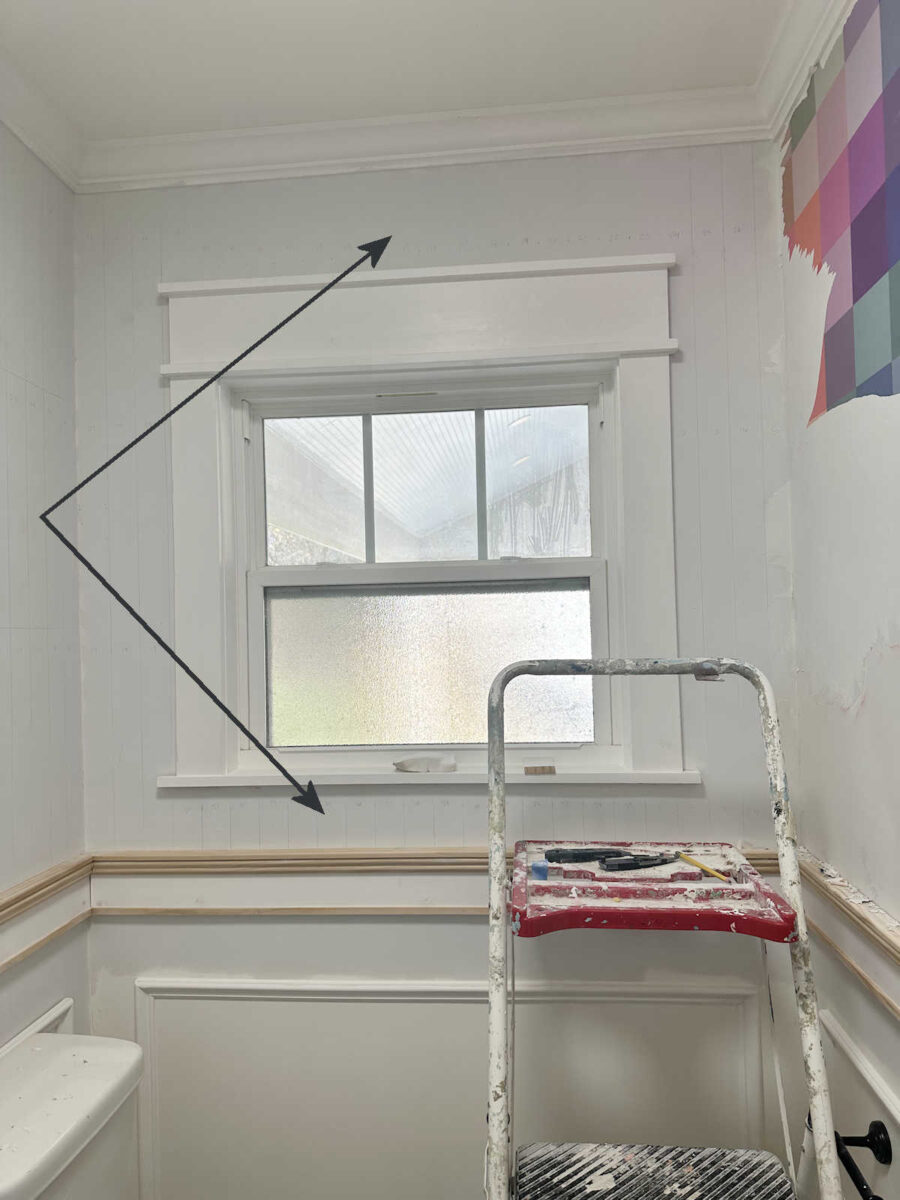
Once I got to this wall, I had a bit of a challenge. Obviously, I couldn’t use the four-foot level to mark these areas, so I did actually have to measure and mark them. I didn’t expect complications here, but I did actually have trouble getting the lines to line up perfectly so that they met accurately on the other side of the window. That took me a couple of tries to get it right. Thankfully, pencil marks come off very quickly and easily with a Magic Eraser.
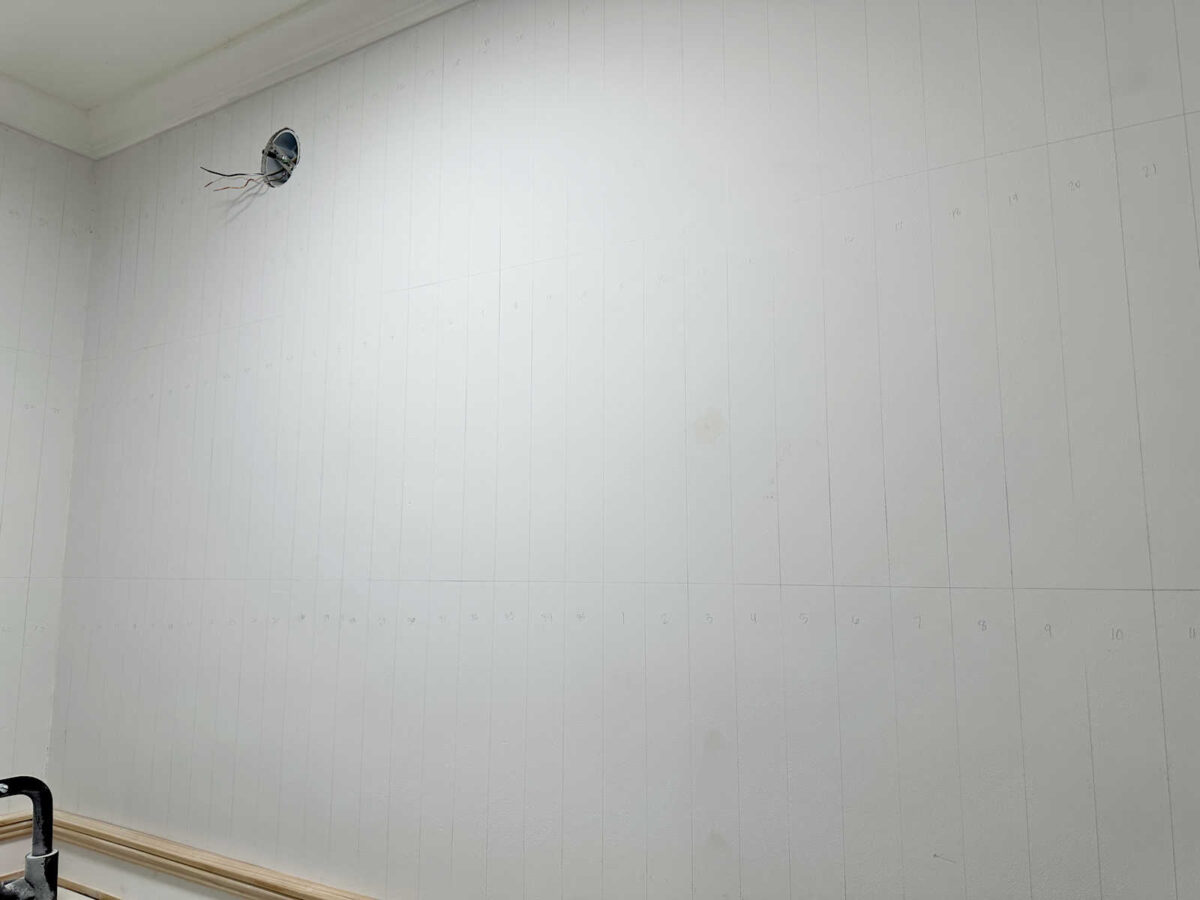
And once the vertical lines were drawn, I divided the height into thirds and marked those lines using my level. Again, I’m sorry that it’s so hard to see, but I wanted to mark them as lightly as possible since pencil marks will often bleed through paint.
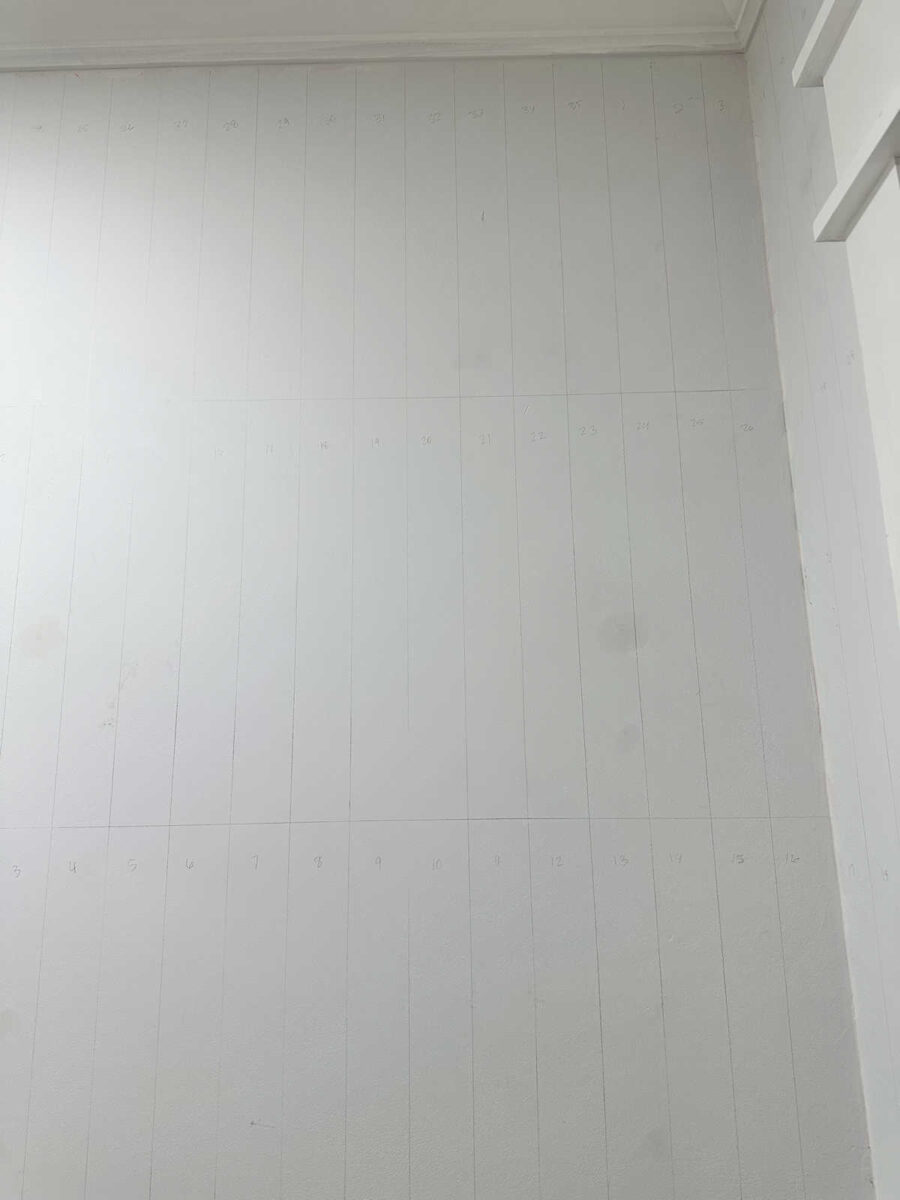
Once that was done, I started numbering each stripe. Starting on the top row, I decided on my starting point, and then numbered those stripes from 1 to 35 going around the room. Then I dropped down to the second row, and beginning under stripe number 13 in the top row, I started numbering the middle row from 1 to 35, and repeated that all the way around. And then I did the same on the bottom row, starting the numbering on the bottom row underneath the number 23 stripe on the top row. When I get ready to paint each stripe, I’ll use my Magic Eraser to remove those numbers, as well as any pencil marks not covered by the painters tape, just before I paint the stripe. If you look closely, you can see the numbers in each stripe.
So at this point, I have most of the walls marked, numbered, and ready for taping and painting.
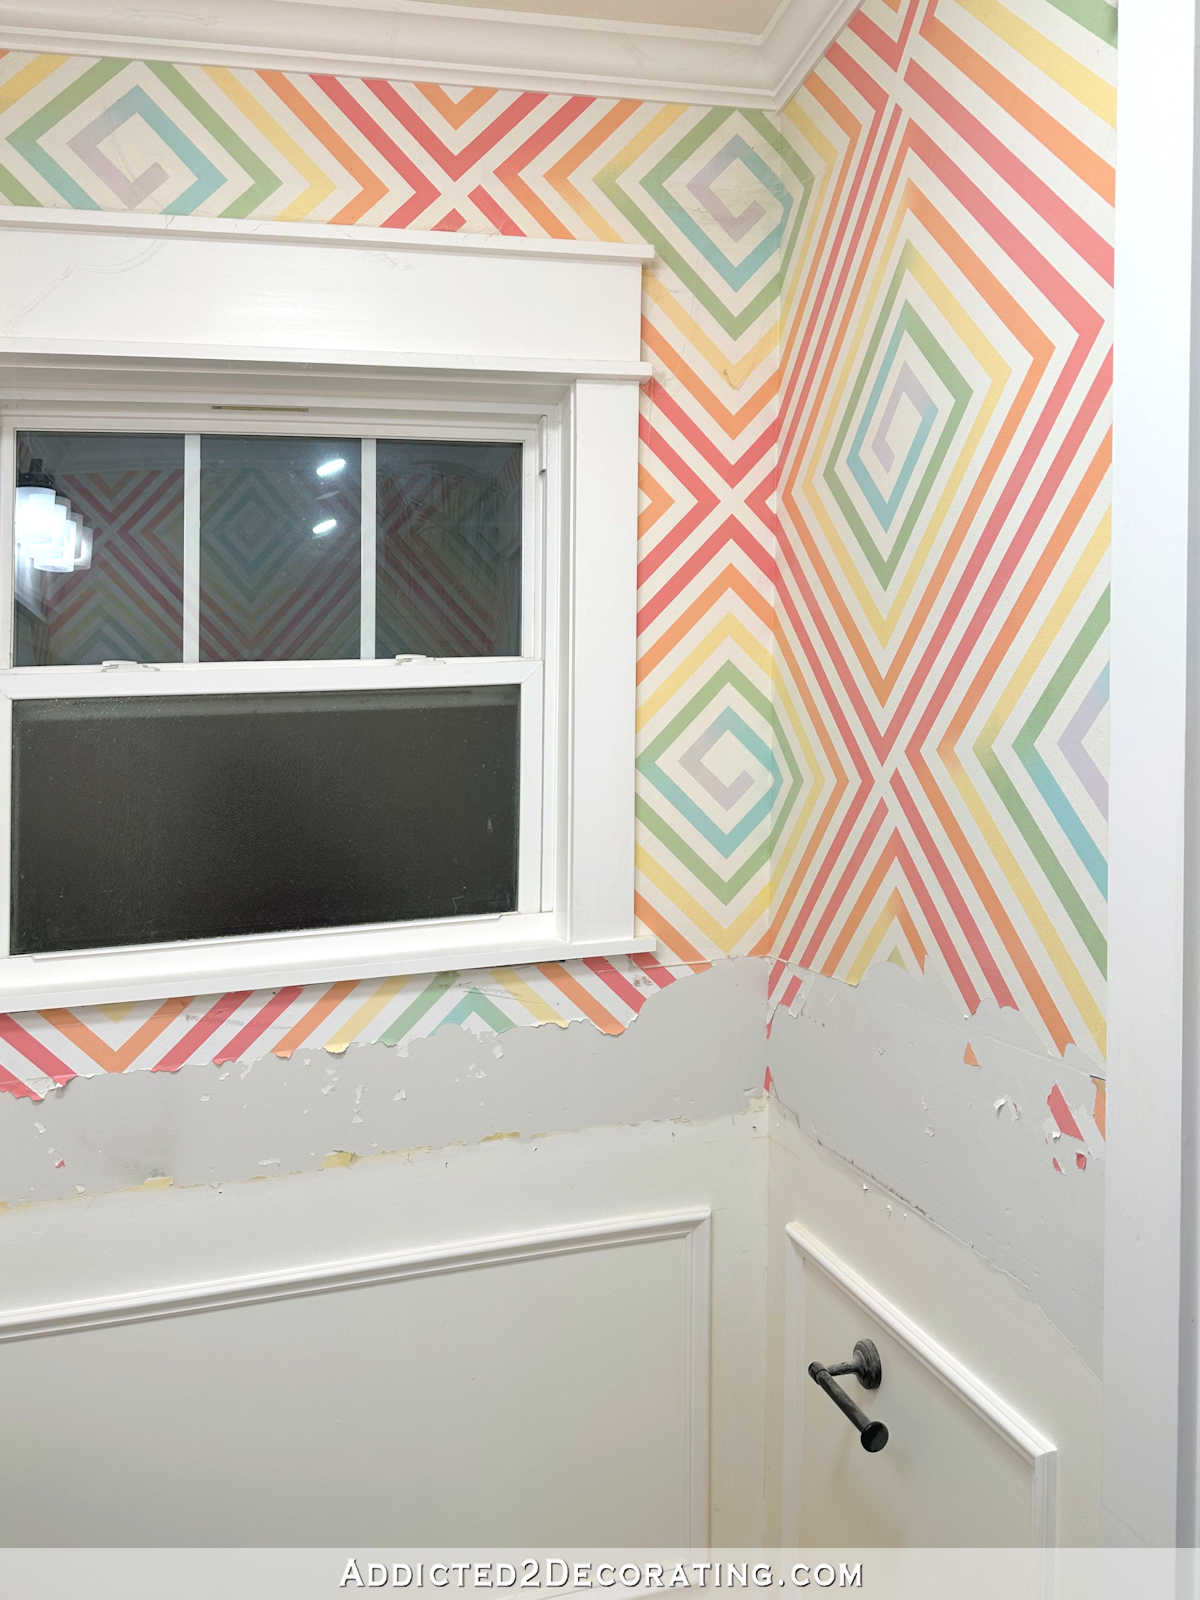
I say “most” because I still have this situation to deal with. Let’s just say that if you’re going to risk it and put wallpaper up before the paint underneath is fully cured, you better be sure you actually want that wallpaper to stay up for a very long time. Because removing it is just as horrible as removing 3-year-old wallpaper that comes off one tiny sliver at a time while also destroying the wall surface underneath it.
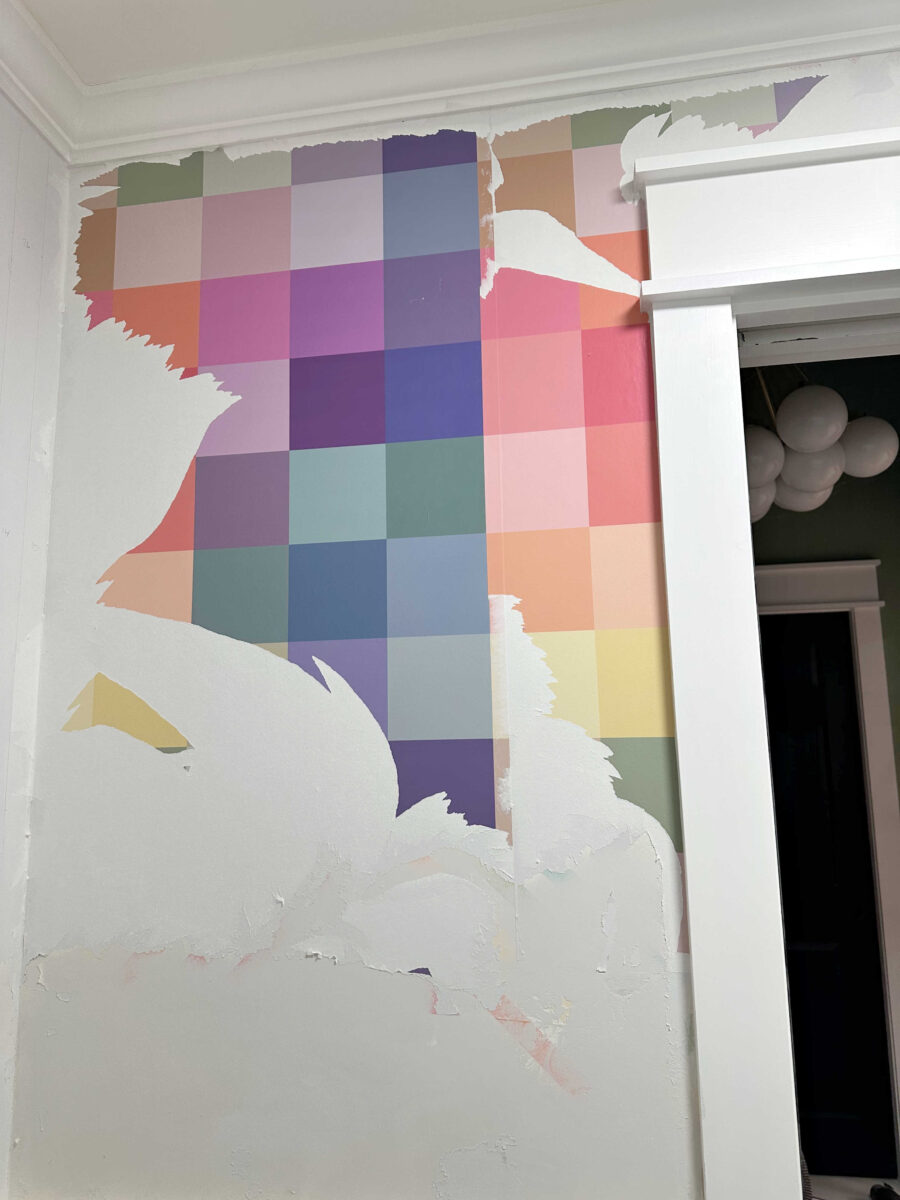
This is Spoonflower wallpaper, and I don’t want to give this wallpaper a bad name. I can assure you that this is user error. When you apply Spoonflower wallpaper over properly primed/painted walls that have been allowed to cure properly before application, this wallpaper comes off in whole sheets. I know because I have personal experience with that. When I removed the original floral wallpaper from the studio walls and put up the bigger floral mural, that first wallpaper came off in whole sheets. Removing the wallpaper from that whole wall took about 30 minutes.
So this is a lesson learned. No matter how anxious I am to get a project done, I really do need to wait and do it properly. Of course, when I put this wallpaper up, I had no idea I was going to turn right around and remove it. But no one really ever plans for mistakes like that to happen, do they? If I had just waited for that paint to cure first, I wouldn’t be in this situation, and I’d be full steam ahead on the stripes. So learn from my error. Cure times for paint are important.
Regardless of that one messy wall, I’m still determined to get paint on the walls TODAY. I’m ready to see some color in this room!

Addicted 2 Decorating is where I share my DIY and decorating journey as I remodel and decorate the 1948 fixer upper that my husband, Matt, and I bought in 2013. Matt has M.S. and is unable to do physical work, so I do the majority of the work on the house by myself. You can learn more about me here.
It is going to be lovely!! So excited to see it!
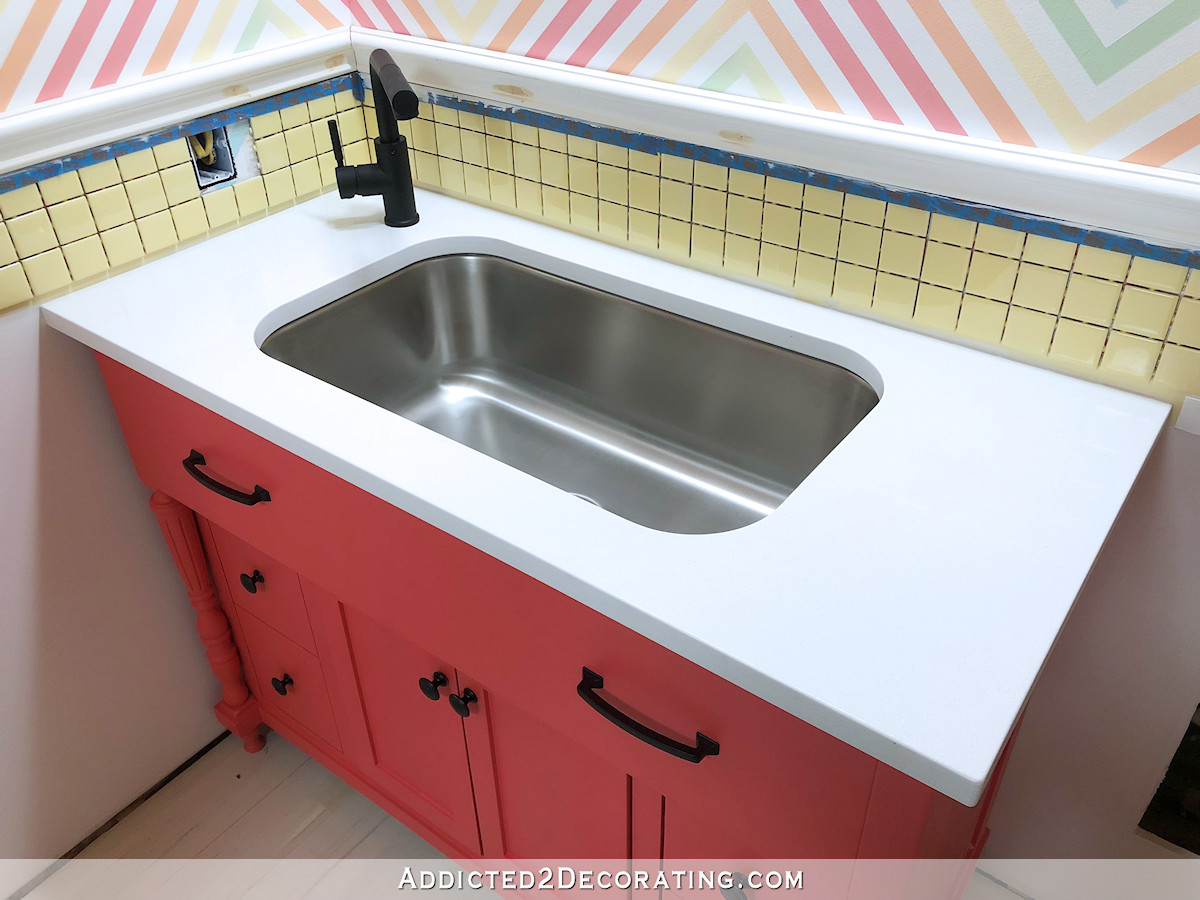
Will you be putting a bottom apron on the window now that the trim is lower?
Thank you for sharing your home with us!!
I will, but I’m going to paint first.
I bet you’re feeling frustrated with this room about now, but wouldn’t it be better to finish all of your prep work before you begin painting all of those stripes? It would be a shame for some of them to be damaged as you sand those small moulding pieces. Also, I have been told by Sherwin Williams (both a manager and a regular employee) that their quart sample containers of paint are not a “finished” product. They require an additional coat of either actual paint or some other top coat. The labels used to mention that. Perhaps their formula has changed in the last 4 years and no longer requires the top coat.
Their samples are tinted primer. I’ll be using a topcoat.
Quick tip. Use a buckle to mark your walls. The mark doesn’t bleed through paid like a pencil will.
What is a buckle?