Bedroom Progress — The Trim Isn’t Finished, But It’s Getting There!
The trim in the bedroom has been a pretty slow project because of how wonky these walls are, but I’ve made some really great progress over the last few days. First, I got all of the crown molding up! I was really dreading having to install the crown molding by myself, but it actually went much smoother than I had expected.
I did end up having to cut all of the pieces into two so that I could handle the pieces myself. I learned that as long as the piece is around 110″ or under, I can handle it and install it pretty easily by myself. Anything longer gets very challenging when working by myself. So every single wall has at least one joint in it, but since those joints were almost all two pieces cut from one longer piece, the joints went together flawlessly. Once they’re filled and sanded, I don’t think they’ll be noticeable at all.
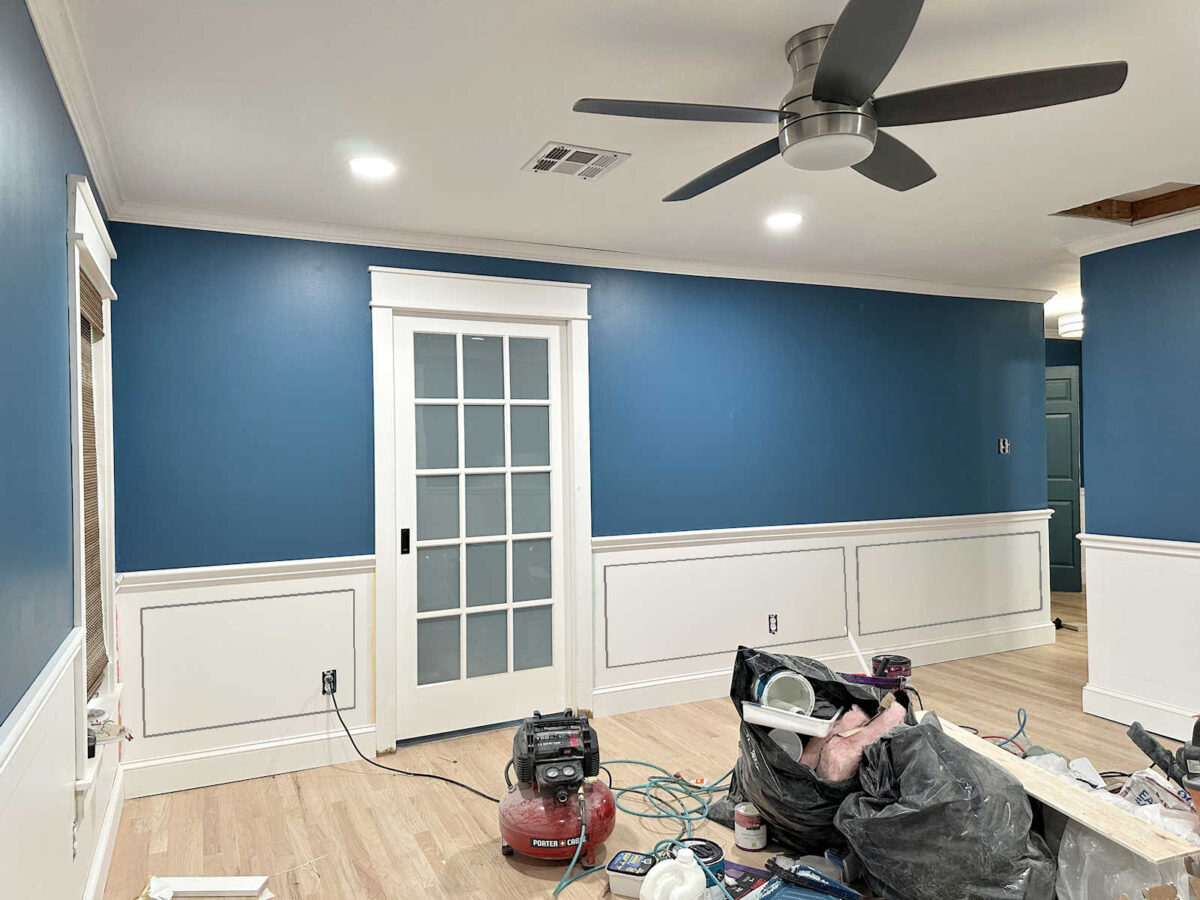
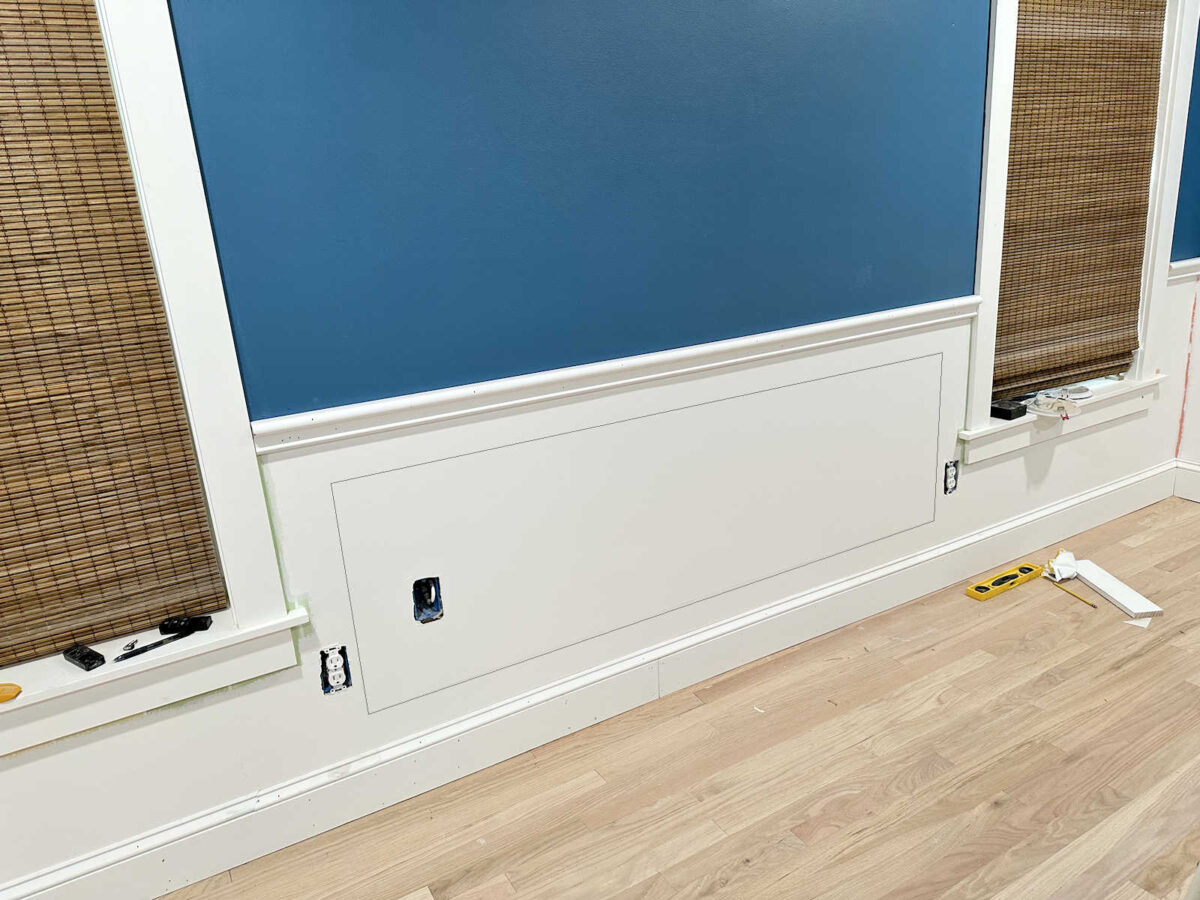
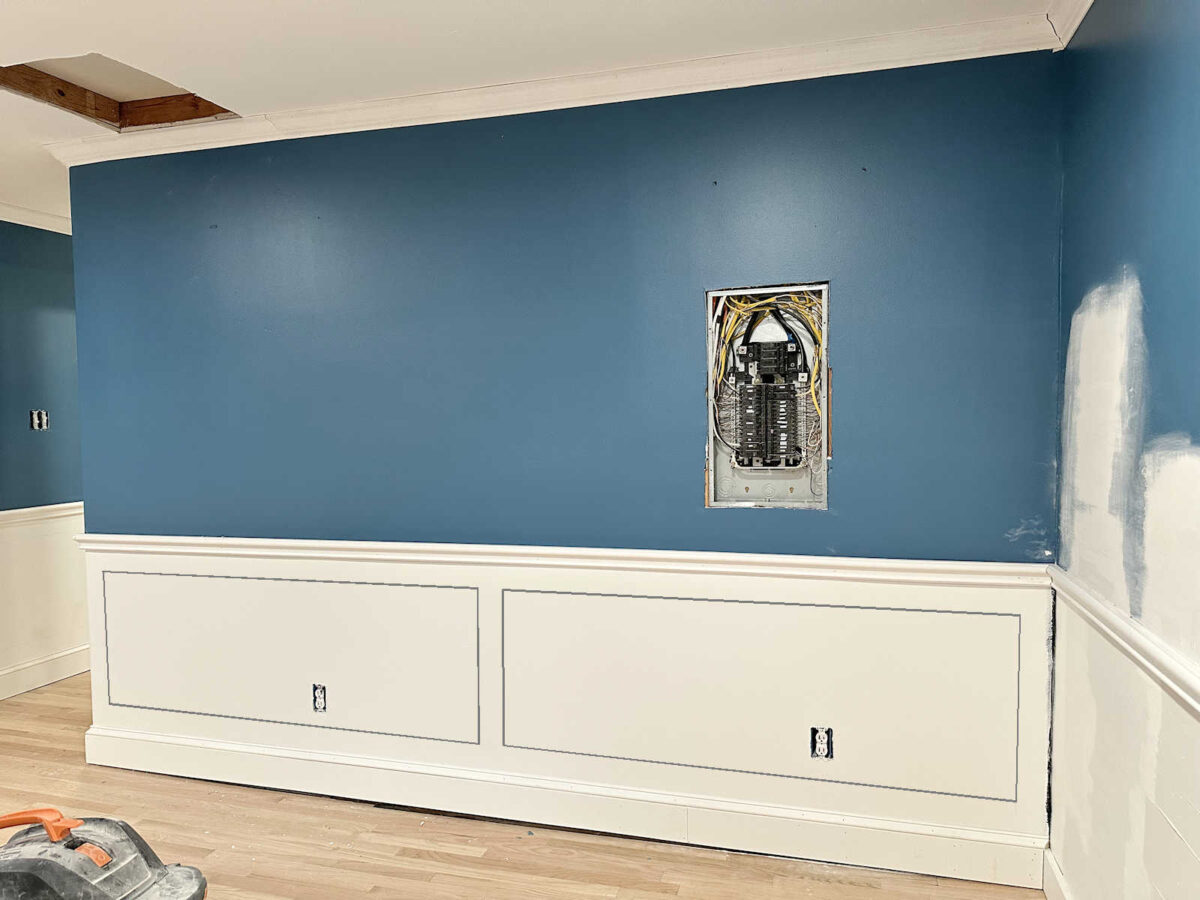
And then I got all of the show molding installed (except for the one problem wall), and got all of the boxes marked off for the picture frame molding. Those marks are really light, so I enhanced them on some of these photos, like the one above.
My biggest fear before starting the crown molding was that the crown would highlight just how unlevel and wonky the walls are. I was afraid that it would especially show above the doors and windows. And while it’s certainly not perfect, especially in that one problem corner to the left of that left window, I think it looks pretty good.
The biggest problem with the crown molding was at the very end where the bedroom crown meets the foyer crown. I had to use a separate piece right at the end that’s about 7 inches long, and I had to split the difference with that one piece, bringing the left corner down just a bit to meet the corner of the foyer crown. It’s not perfect, but again, I think it’ll look fine once everything is said and done.
And once that piece was on, there was a pretty significant gap between the two crown pieces, so I used my air dry clay once again to fill in that gap. That will give me more control over blending those two pieces together on that corner since I can do a little bit of creative sanding to make them meet and blend together.
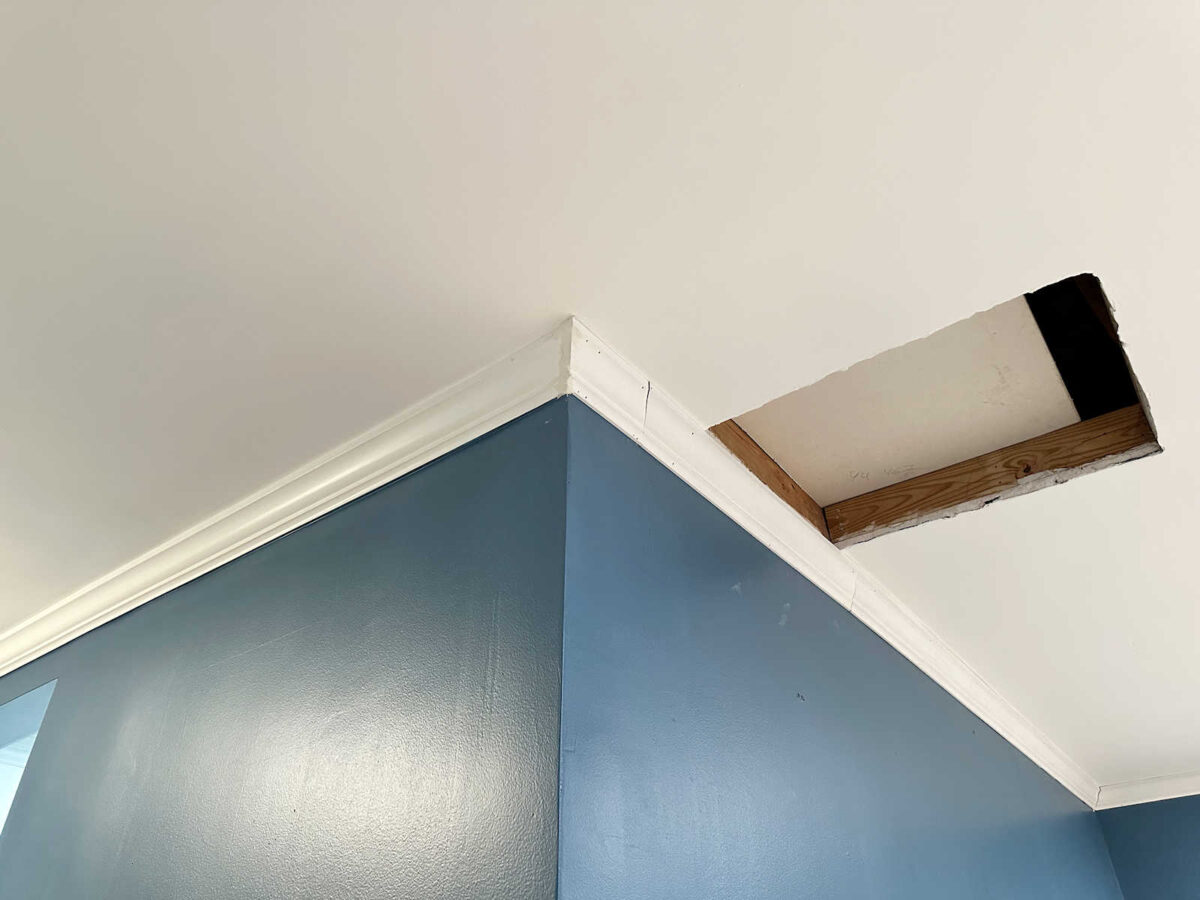
I also redid this problem corner. This is the corner that slopes up quite a bit.

So I ended up taking off those two baseboards, and then I placed the baseboard back on the wall so that it met the floor on the right side and was level all the way across.
And then I used a piece of wood that was equal in height to the gap on the left, and placed my pen on top to draw a line across the bottom of that baseboard.
And then I used my table saw to cut along that line. I repeated that process on the baseboard on the other wall so that the two pieces met perfectly in the corner.
It’s still not great, and it’s especially noticeable when you look at that wall straight on.
But I’m counting on the fact that that corner will be covered by draperies, and that straight-on view will be blocked by the bed. And at least with the top of the baseboard level, that means that the picture frame molding can be square, which is the most important thing. It would be very obvious if that picture frame molding was wonky.
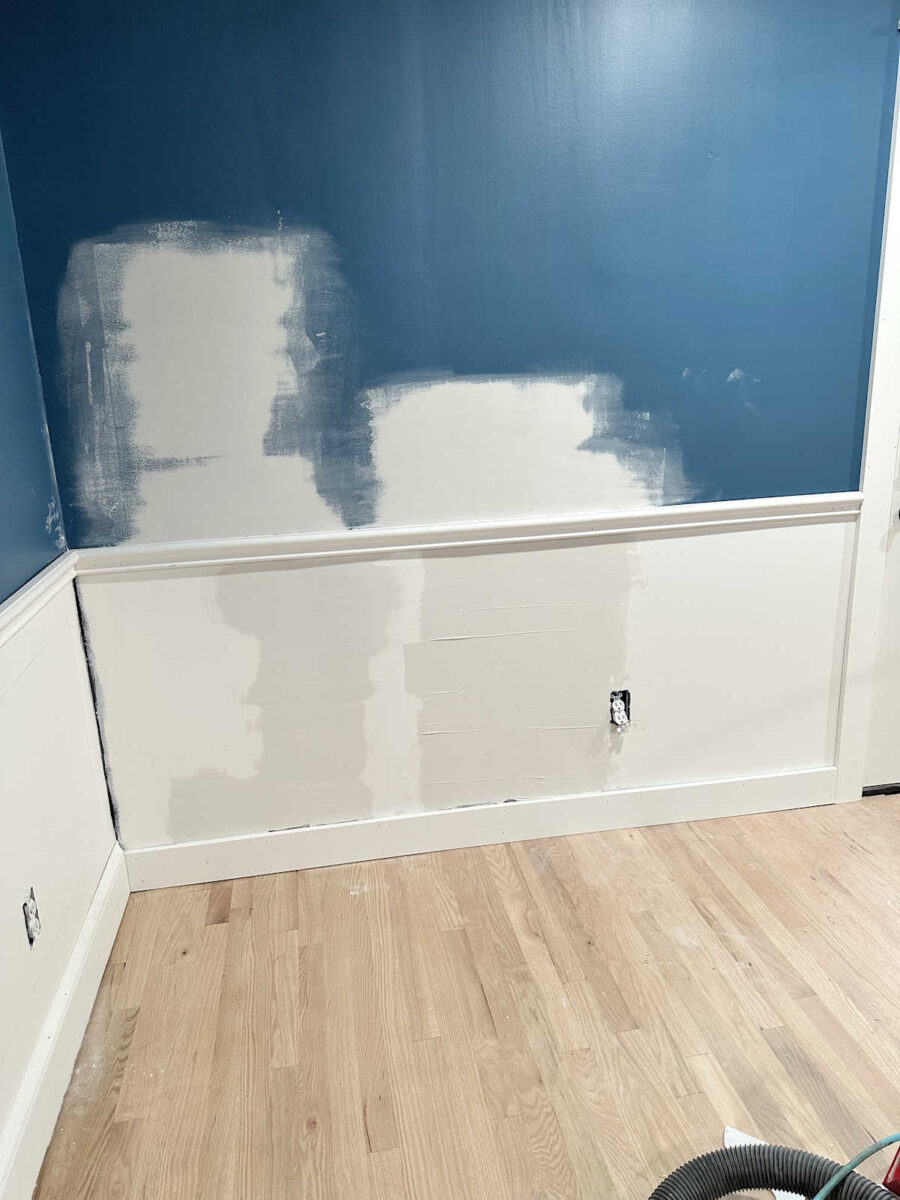
And then there’s the problem wall. The wavy wall. The wonkiest wall in the whole room. I decided to fix this wall with drywall mud, and I’ve lost count on just how many layers of drywall mud it took to flatten out these areas. I think I might be on layer number four.
If you’ll remember, here’s how that gap looked before. It was way too big to fill with caulk. Believe me, in person, it’s way bigger than it appears in the photo.
So after layers of drywall mud, I’ve built out that dip in the wall so that it’s more even with the chair rail. There’s still a little bit of a gap in some areas, but those are caulkable.
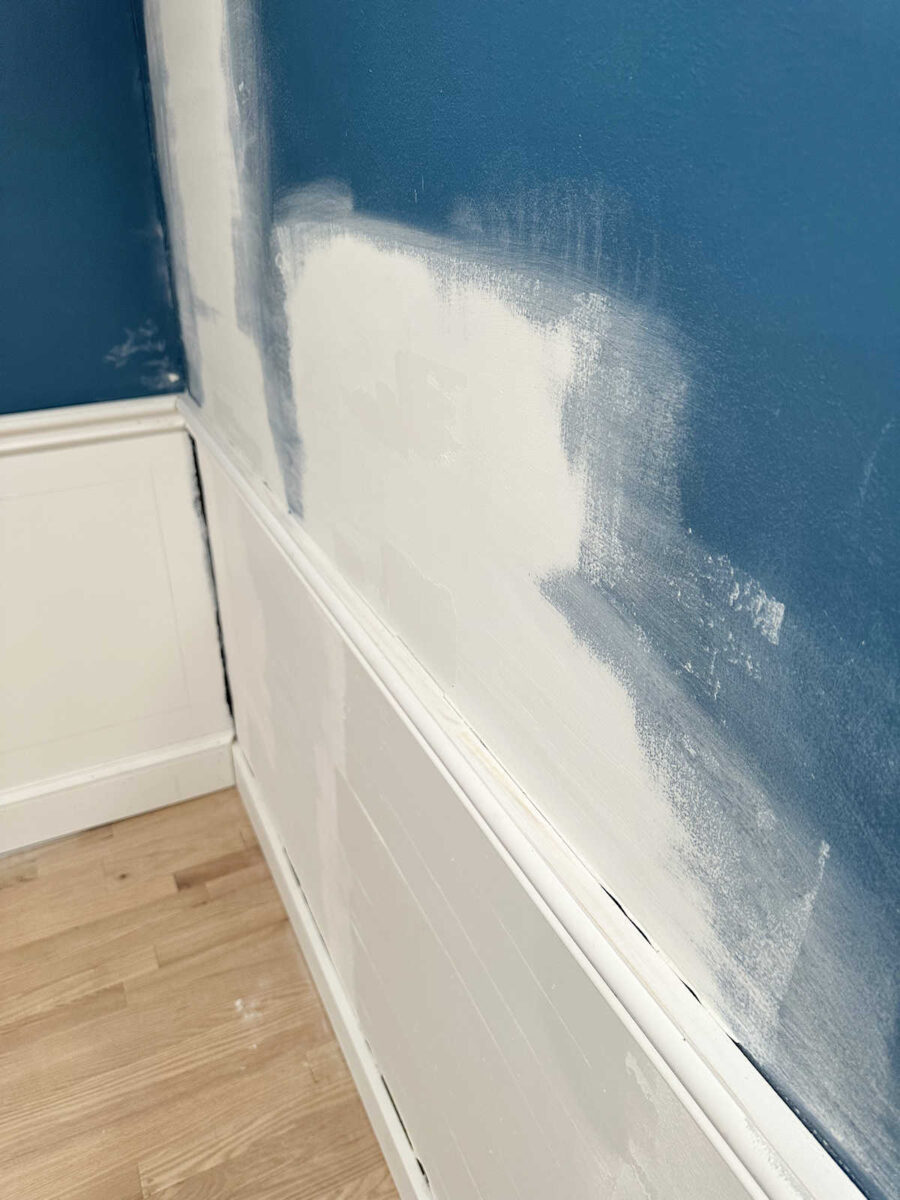
And I had to do the same with the bottom portion of the wall. Again, this gap was way bigger than how it appears in the photo. In the photo, it actually looks like a caulkable gap, but it wasn’t.
So I did the same thing on the bottom portion of the wall. You can see that I still have to sand that last layer of drywall mud, and while there’s still a gap at the bottom, it’s now within the caulkable range.

So that’s the progress. If I weren’t working with such wonky walls, I could have been finished by now, but I’m working with what I have. Old houses can be a real pain in the rear.
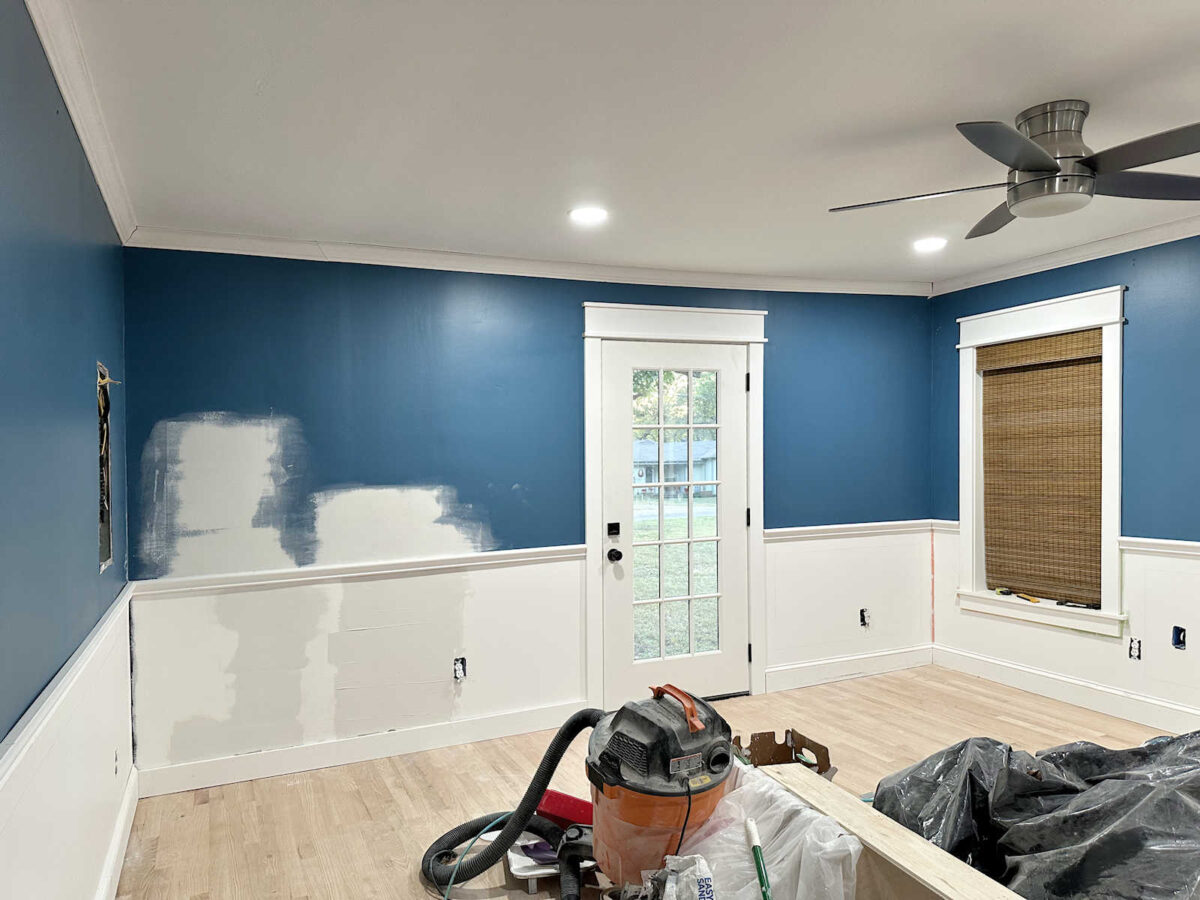
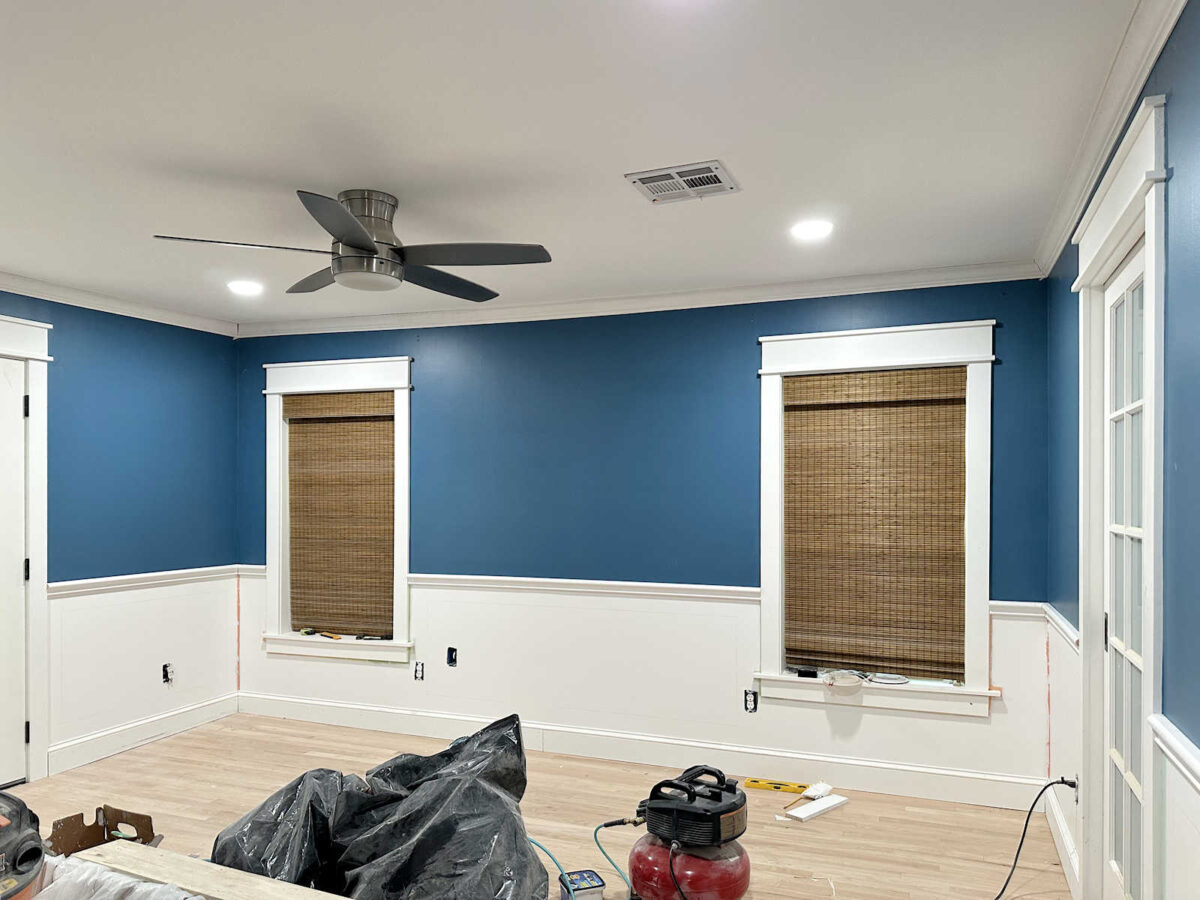
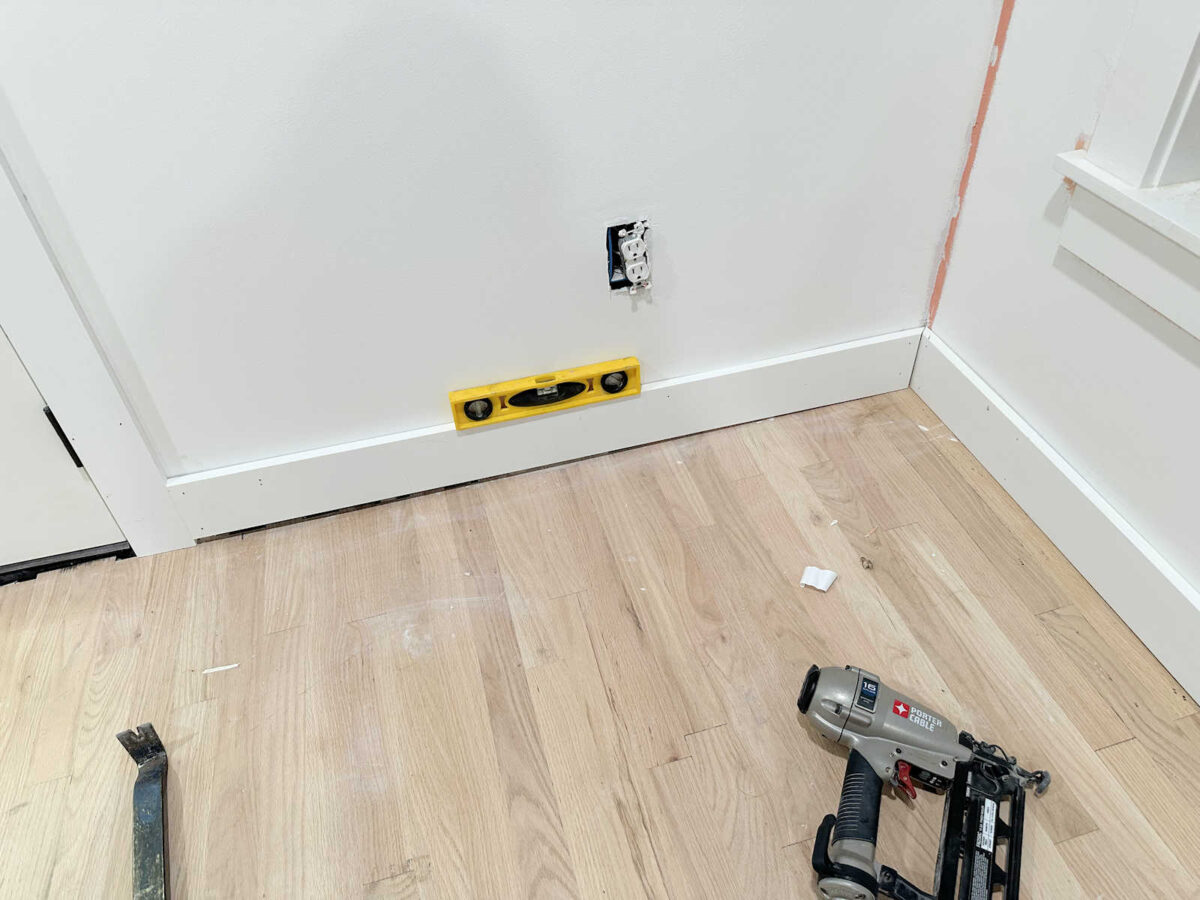
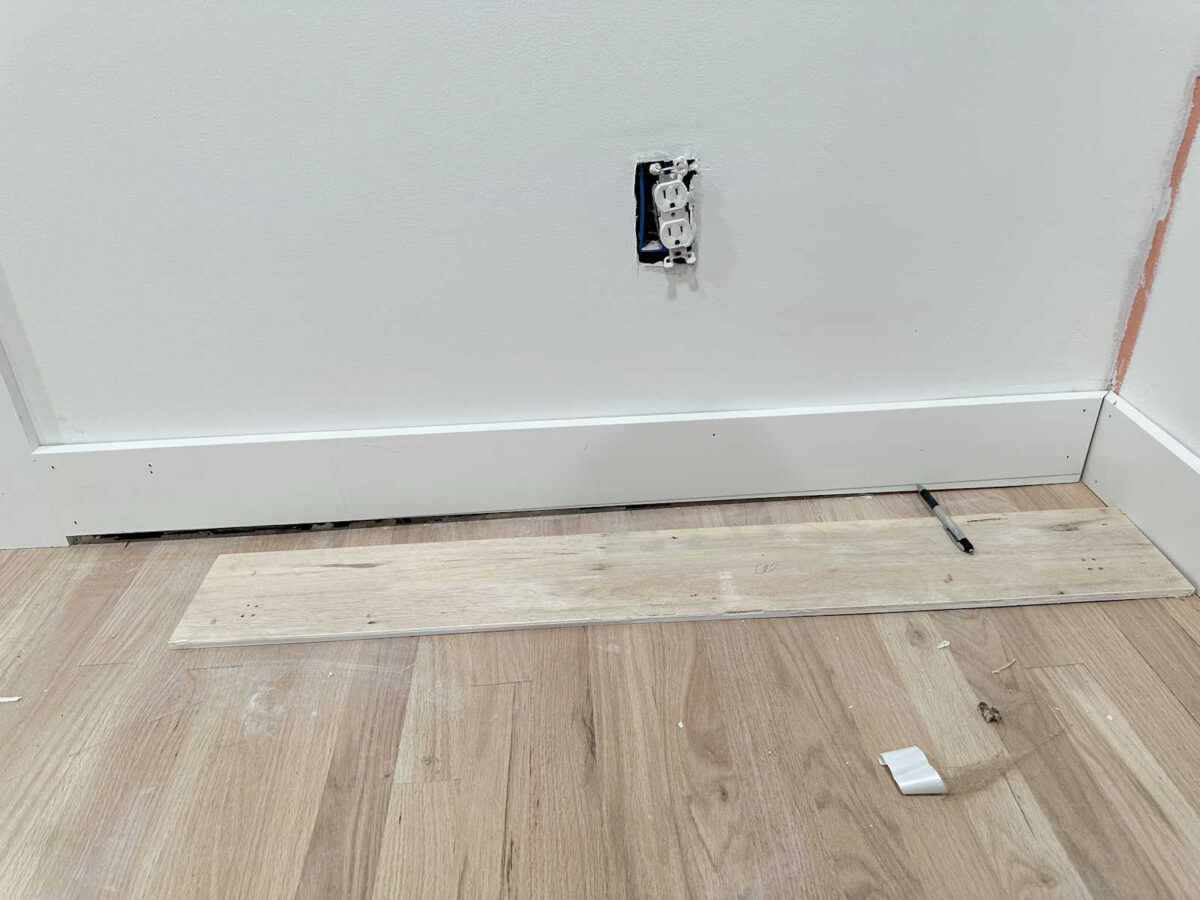
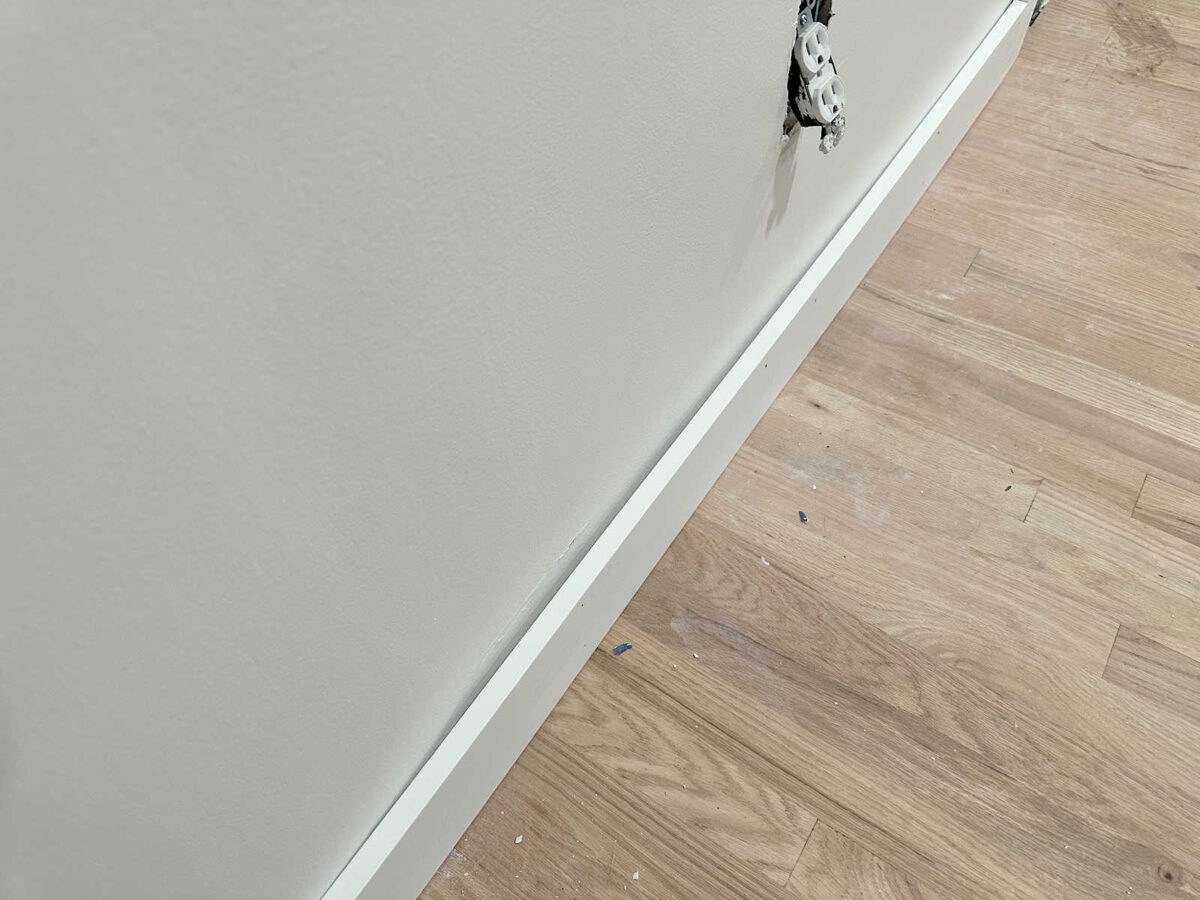
I was a little bit concerned about this wall because of the outlets. I wasn’t sure if I’d be able to use the same spacing for the picture frame molding that I’ve used on all of the other walls. But it looks like it’ll work out perfectly! That was a relief. The last thing I needed was another problem wall in this room. 😀
Tomorrow, I’ll start on the picture frame molding. I’m pretty sure I can get that done in a day. And then I can finally wood fill all the holes, sand, caulk, and get the trim painted. I’m going to do my best to stay focused (something I’ve struggled with lately) and work diligently so that I can get these walls finished by the end of the weekend.
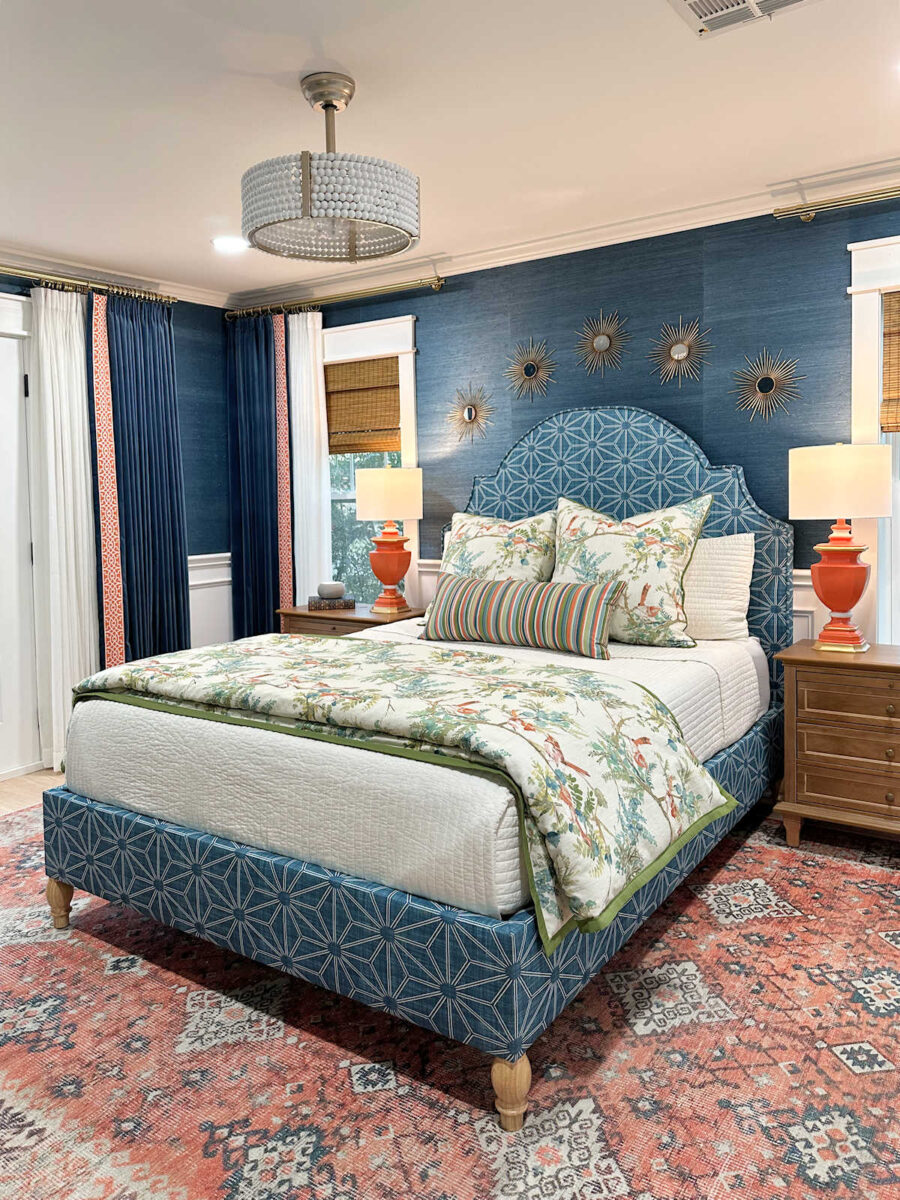
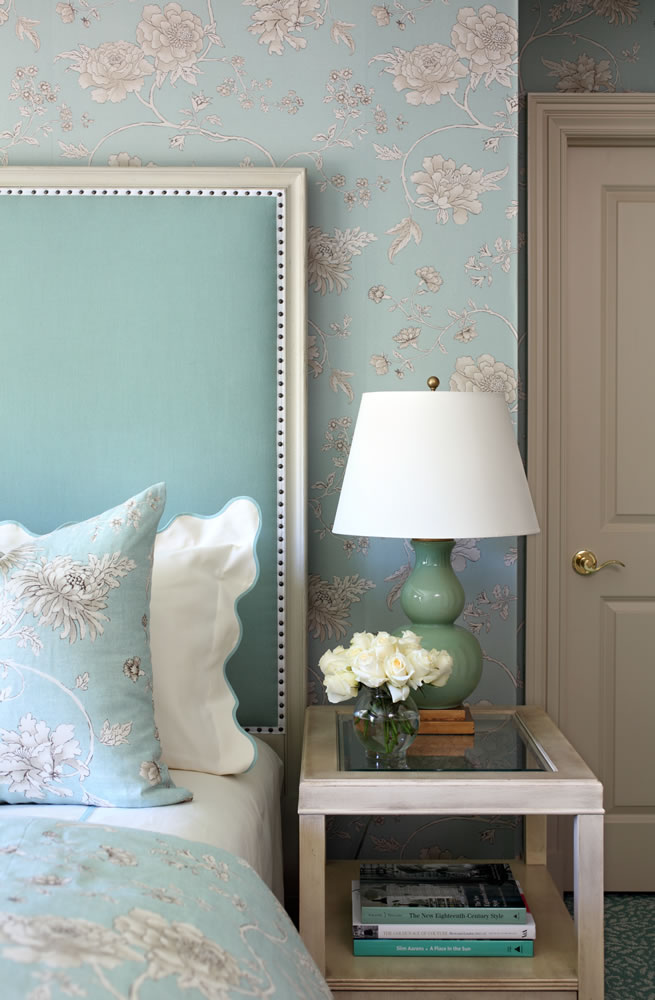
I’ll be so happy to get these walls finished. I’m ready to move on to the next project, which I think will be the upholstered headboard. I’m anxious to get to a fun, pretty project.
More About Our Master Bedroom
see all master
bedroom diy projects

read all master
bedroom blog posts

Addicted 2 Decorating is where I share my DIY and decorating journey as I remodel and decorate the 1948 fixer upper that my husband, Matt, and I bought in 2013. Matt has M.S. and is unable to do physical work, so I do the majority of the work on the house by myself. You can learn more about me here.

It amazes me how one doesn’t notice the wonky walls, floors and ceilings until you go to install mouldings! We didn’t notice that the wall running behind our cooktop bowed out 5/8″ until the granite installers measured for 4″ high backsplashes and showed us with a long straight edge. We had a full stone backsplash up to the cabinets installed to cover it up. We didn’t notice the wall in our office was bowed until we tried to install mouldings on the ceiling. We skipped those and just used crown mouldings which could bend to fit against the wall. It happens in newer homes as well as older ones. Ours is 25 years old. I’m glad you were able to figure out solutions. The mouldings are looking great! When the wallpaper and paint are done it will look perfect.
Wow, your hard work leaves me in awe. You’ve fixed the worst problems, and you are so good at everything. I’m simply amazed. It’s always a pleasure to do something pretty and creative (besides painting, woodwork, etc.), isn’t it?
You are so awesome and inspiring, Kristi! It’s looking amazing and your problem solving has been incredible. Thanks for sharing it all.
Will there be room for outlet covers next to the molding on that one wall? It looks pretty close together. Your bedroom is going to be amazing! I’ve been following you since the condo, look forward to every post.
You’re doing such a great job of correcting and/or disguising the things that just about everyone has to deal with in our homes. The pros do this all the time and we don’t even realize it.
I am sorry that you are having to get creative to address all the issues but not really. You see by you showing how you worked around imperfections, you have probably made a bigger impact on someone else that is trying to do a diy project and just can’t figure out how to solve a similar problem.
Have you ever considered using backer rod to fill some of the larger gaps and then caulk?
Outstanding progress and brilliant problem solving!
One idea for your headboard: Upholster it in a plain muslin, then make a fitted slipcover with your beautiful fabric. This way, it can be removed and dry cleaned or laundered, and stay looking clean and perfect. I am so happy I did our master headboard this way. I wash it every spring.
Love this!
You are slowly resolving all the wonky wall problems and everything looks good.
You are doing a great job on your room.