Breakfast Room/Pantry Hardwood Flooring Installation Progress
Y’all, I’m so excited about this that I’m practically giddy, and I didn’t want to wait until tomorrow (when it’ll hopefully be finished) to share with you. For the last two years, I’ve been living with a 2-inch step down from the hardwood floor in the kitchen to the old, ugly, asbestos tile-covered concrete floor in the breakfast room. And I’ve been waiting and dreaming of the day that I would have one continuous floor from one room to the next.
Well, that day is here, and I couldn’t be more pleased or relieved that it worked out just as I had hoped.
I’ve been especially concerned about the transition from one room to the next, since there was a gap in the subfloor and a slight unevenness that I thought might make things difficult. But with my belt sander and lots of construction adhesive to fill the gap, I now have a smooth transition from the kitchen to the breakfast room.
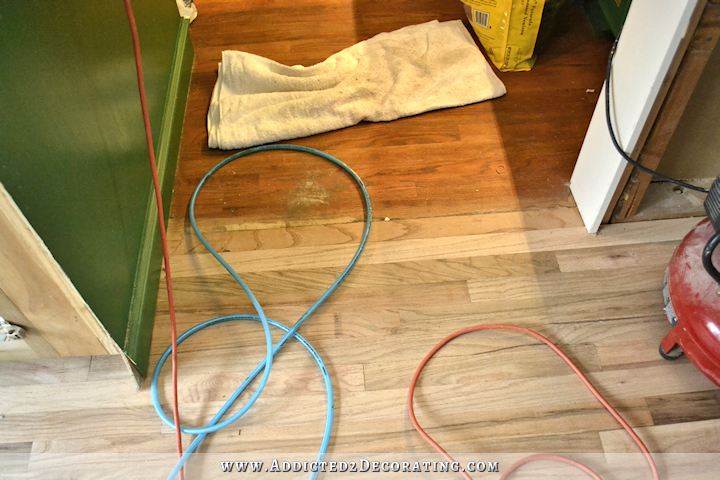
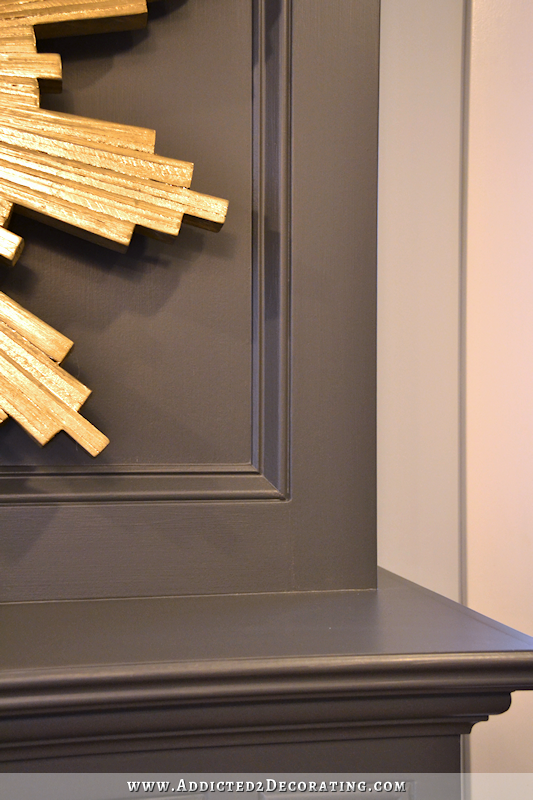
And you can see above that the entire side of the peninsula now looks like it’s sitting on the floor, rather than half of it appearing to cantilever over a floor that’s two inches below. I can’t tell you how relieved I am that this transition worked out!
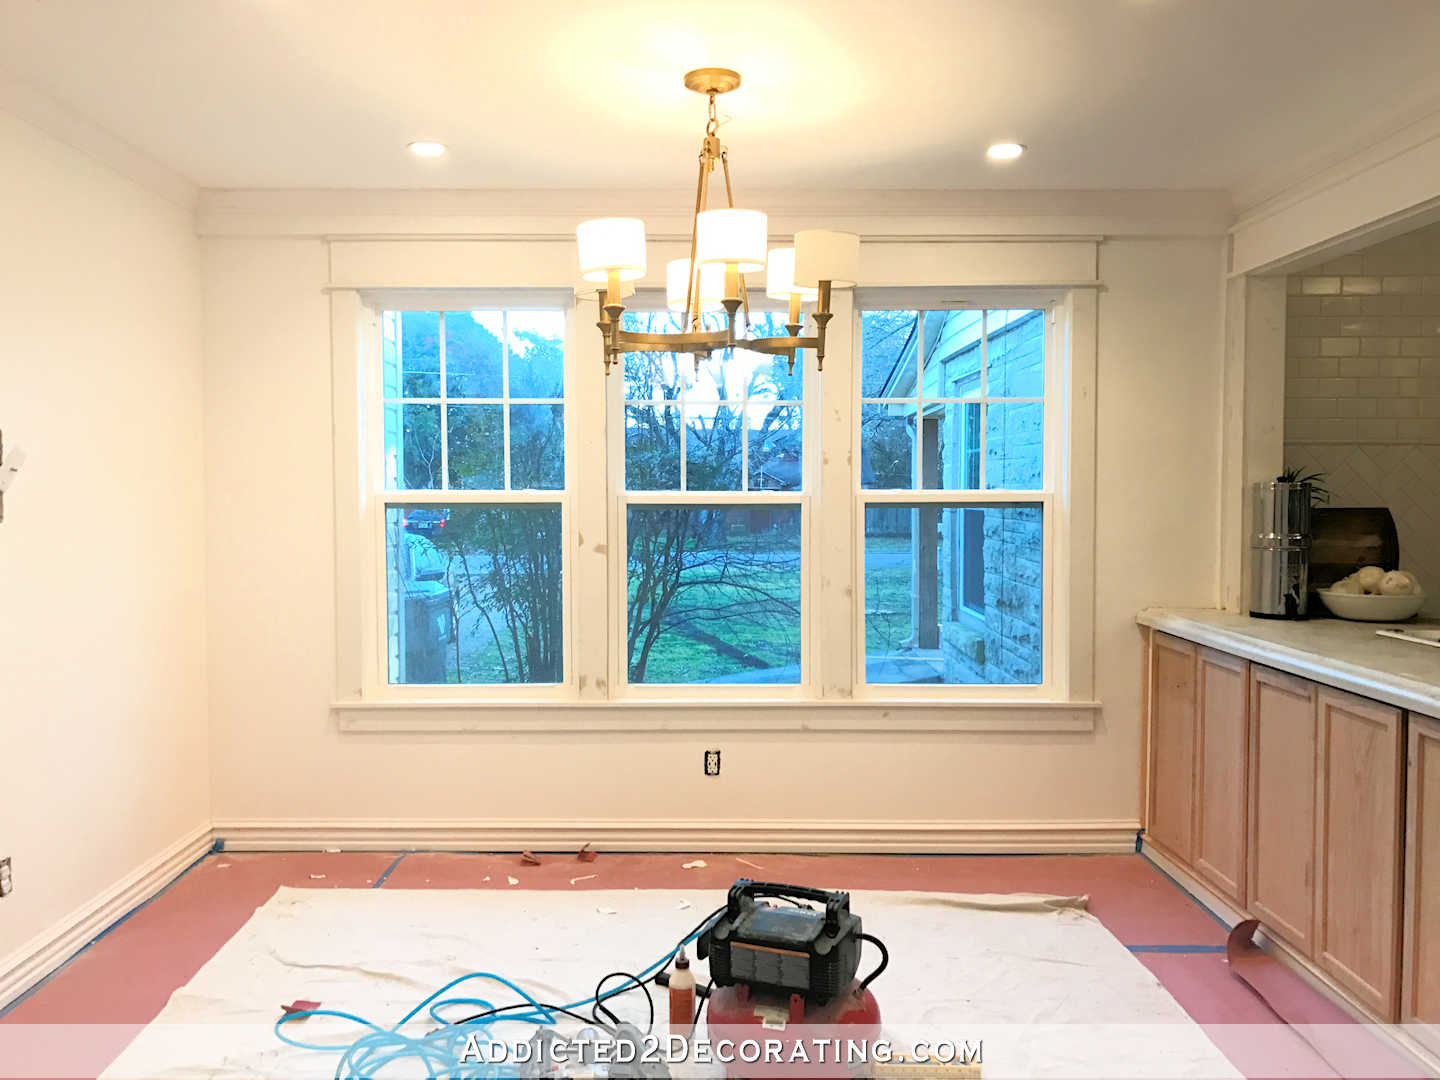
The second challenge was getting the first row of boards all the way to the front window wall installed since it was underneath the cabinets. I didn’t bother to go all the way back, so there’s still a gap of about 9 inches under there where there is no hardwood flooring. But once the trim is added to the bottom of the cabinets and it looks like an actual peninsula that’s sitting on the floor, it won’t be visible at all.
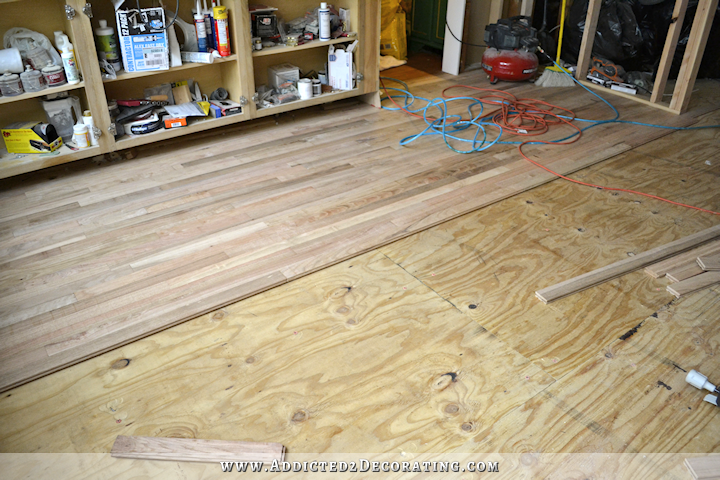
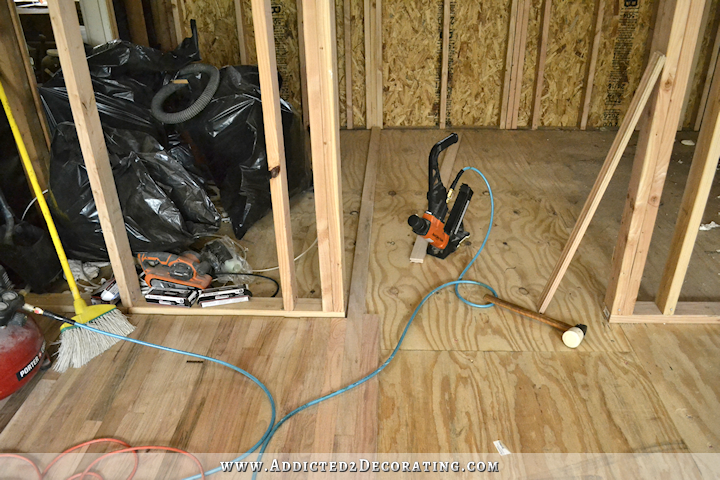
So those first three rows were a challenge. Not only did I have to be sure to get that first row as straight as possible since there were no previous rows of wood to line it up with, but I also had to nail the first three rows with my 16-gauge nail gun on my hands and knees since the flooring nailer wouldn’t fit that closely to the cabinets.
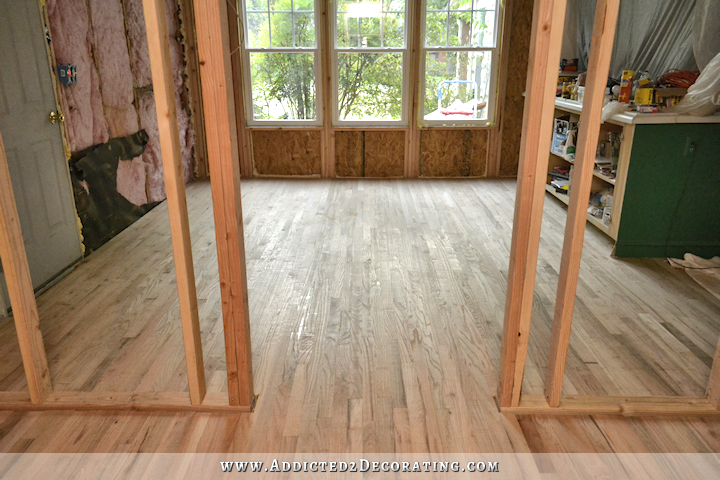
And then the third challenge was figuring out how to run the flooring from the breakfast room to the pantry. I couldn’t figure out how to make the flooring flow seamlessly since I would have to work backwards on part of it, and therefore would have no tongue to nail through. But after much searching, I finally discovered that there are splines made specifically for changing direction of hardwood flooring. So basically on that one board you see in the photo below, the tongue (where the nails go) is on the right side. I will insert a spline in the groove on the left side to create a tongue so that I can then work back towards the left side of the pantry.
If that totally confused you, I’ll take pictures when I do that and share more details (hopefully tomorrow).
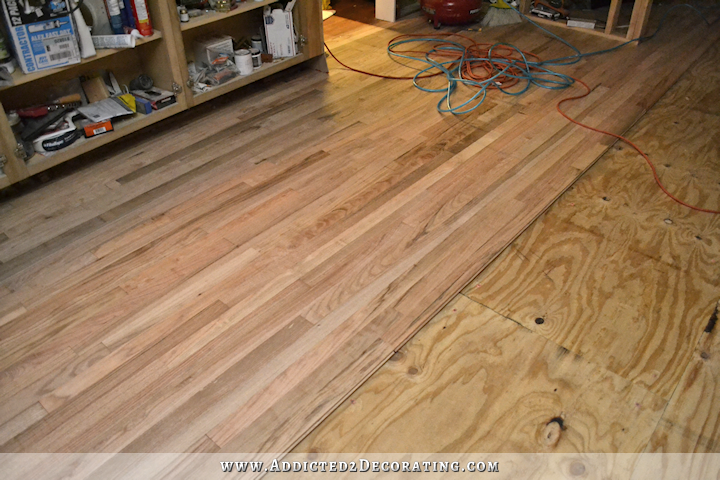
But so far, I’m loving how this floor is turning out!

I think it might be a lofty goal, but I’m really hoping to get the rest installed today.

Addicted 2 Decorating is where I share my DIY and decorating journey as I remodel and decorate the 1948 fixer upper that my husband, Matt, and I bought in 2013. Matt has M.S. and is unable to do physical work, so I do the majority of the work on the house by myself. You can learn more about me here.
![Breakfast Room Ceiling (It’s Very Good News!) – [VIDEO]](https://www.addicted2decorating.com/wp-content/uploads/2016/08/breakfast-room-removing-plywood-from-ceiling-square-thumbnail-2.png)

Way to go – it’s looking good. What an improvement!
Your talents and commitment astound me! Can’t wait, with every post, what you will deliver to us next! Keep on keepin’ on!
Nothing stops you. You stumble upon a challenge and don’t quit until you find proper solutions. Good find on the floor piece. I’m rooting for a seemless, problem-free future ahead for you with all the pretty things going in now. *fingers crossed*
Where did you get your flooring and what is it? Unfinished oak?
Yes, it’s a solid 3/4″ unfinished red oak. The Home Depot here keeps it in stock, but I think that’s because it’s so common here. Most houses built in this area around the time that my house was built (30’s, 40’s, 50’s) have red oak flooring in them, and this stuff is a really good match.
Our house here in Virginia was built in 1959 and our floors are red oak too. Clearly must have been the thing to do at that time!
It is a lofty goal, but a fun one! If you don’t make it, who cares! It’s just exciting that this is getting done!
*claps with giddy excitement*
** Swoon **
I get so excited for you when I see your plans come together. Even with a project that is partially done, when I read your words I just want to cheer for you! It’s going to be awesome.
So excited for you. I remember the feeling when I accomplished a project. I am so rooting for you with each project. Your spirit I hope encourages other women to try anything. You can do most anything you put you mind to it. Research and learn each time you try you get better.
This is looking great!! Can you post a few “before” photos to compare with? It would make it easier to see side by side the difficulties you have had to overcome (i.e. the cantilevered cabinets and transition area). Keep going! I can’t wait to see the final product.
Absolutely! I’ll do that tomorrow (or when I finish) so we can compare the original floor to the new pretty wood floor. 🙂
Love how you have used the back of the peninsula for junk~ You always find someplace to put your work stuff. I think it looks great. I would have had to have pros do this for me, and I think I would have had them create a change at the pantry. I would have gone to the wall, and then at the opening and the full pantry floor, I think I would have gone sideways. Visually for me, I would have like it better. I don’t know why, I just do. You will have this done tomorrow, have you gotten the front wall shored up already? Take it easy!
You have done a wonderful job! The transition from one room to the next is great and I’m sure Matt with love it! The flooring looks amazing and I can’t wait to see all of it put down. This breakfast room is really coming together and I am imagining you and Matt spending a lot of time enjoying meals there. Woot! Woot!
Again!, awesome work! So excited for you. This house is going to be so homey when you are done!
We are all cheering you on! Such a dramatic improvement.
Glad the floor is working out so well. A little confused that the flooring is going down before the wall board has gone up on the pantry wall. Will you have problems with expansion and contraction of the wood flooring during the various seasons?
You rock😊
I’ve never attempted anything on the scale or complexity you have but enjoy reading and seeing the transformation you are accomplishing of your home.
Woohoo! so excited for you! It’s ben a loooong time a’comin’, but it shore iz purty!
I am so happy and excited for you! You and Matt deserve a home to move freely in.
Woot! Woot! Such a change! Way to go, Kristi! What a feeling of accomplishment. 🙂
It looks truly wonderful! I’m very happy for you!
It’s looking great! Years ago my husband & I installed hardwood floors just like yours. We had the same issue of having to go backwards at one point. We struggled to make it work and spent a lot of time trying to come up with a solution and ended up splicing two boards. We had the floors professionally finished, and when I showed the hardwood floor guy our “master piece” solution, he said all we had to do was turn the board around and put the two flat sides together which allows you to go in the other direction. You can hand nail a nail or two in that one board for stability and fill the nail holes. Works like a charm!
Is that the nail gun in the picture? What’s a flooring nailer? Got a pic of that?
I really like the new floor. Please please don’t paint it black and white, the natural flooring is so beautiful … But that’s just my opinion and I have to admit, I have boring taste and no imagination when it comes to decorating. I probably just sold you on the B&W geometric floor.
Your project really inspire…drink a mimosa for me!
Christie, can you stain red oak so that the color is lighter – like an amber/honey color? And do you sand your newly installed floors before staining? Thanks!