Building The Workshop Steps – Part 2 (The Finished Steps!)
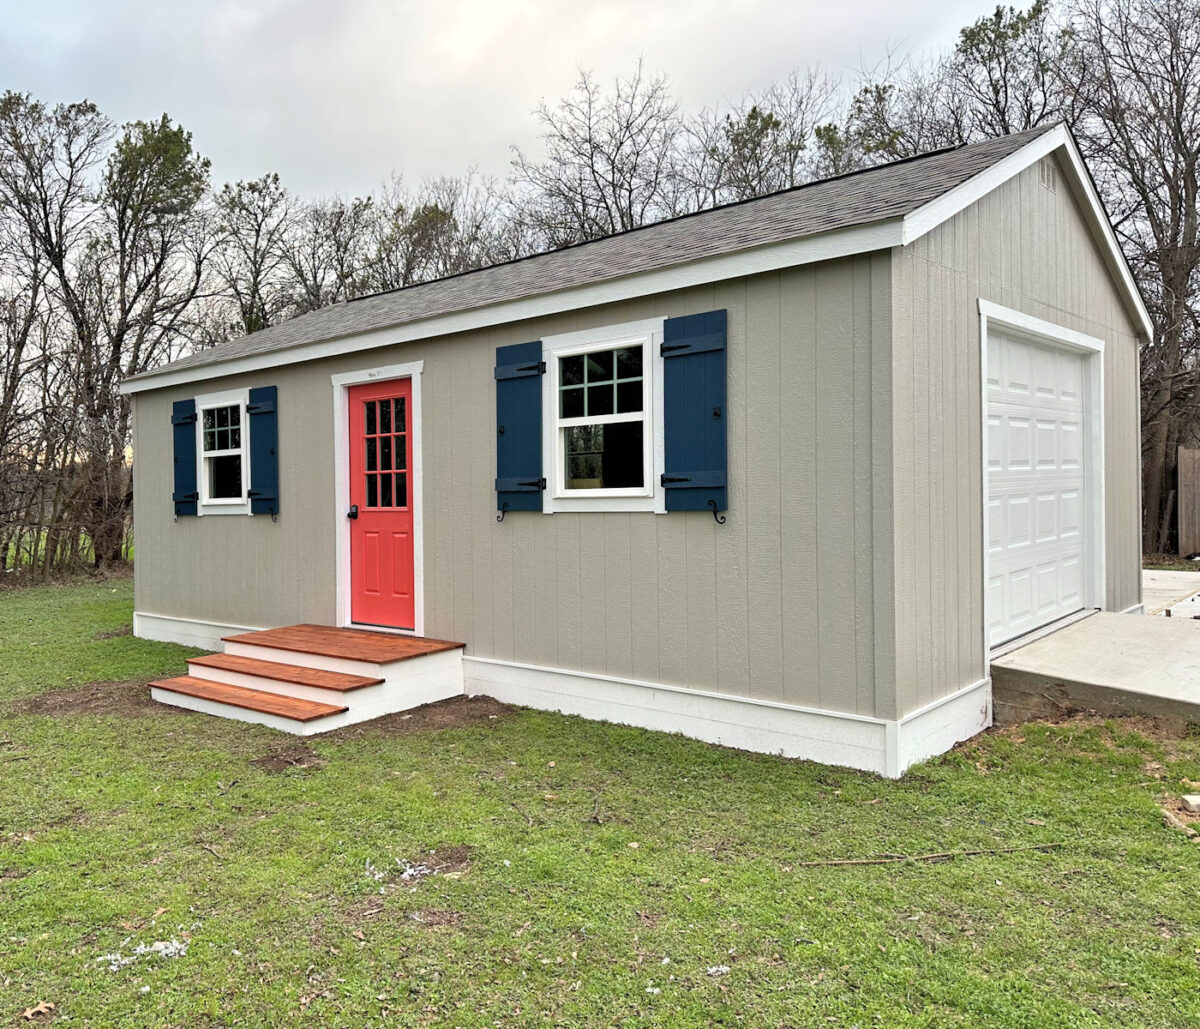
The front steps to my workshop are finished, and I can’t believe how much they add to the front of the workshop. Take a look at the difference they made.
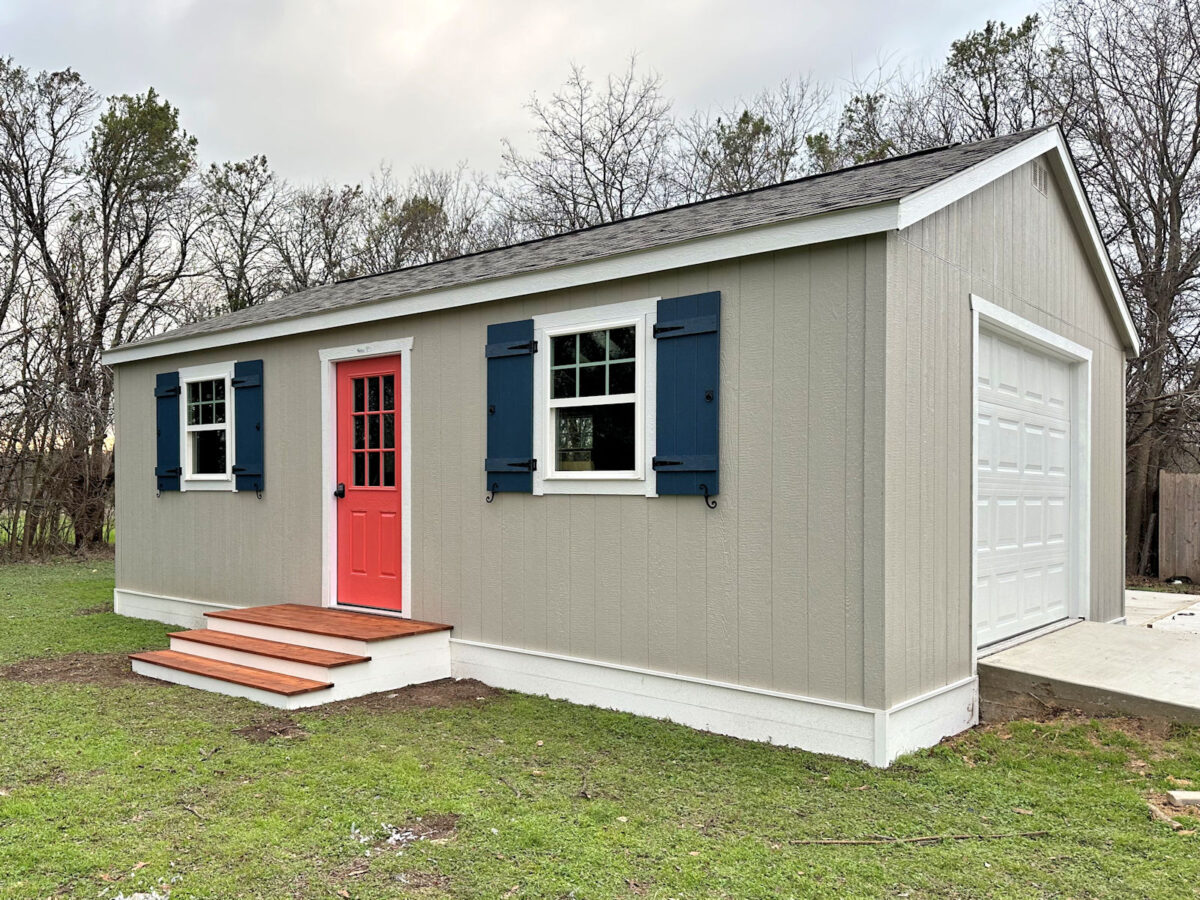
I still have a few more projects planned, and already this is a day and night difference from where this little workshop began.

Things are taking shape, and with each project, I get closer to that “cottage” vision I have in my mind. Isn’t this a remarkable difference? It’s amazing what a few DIY projects can do to transform a shed (or house).
This is Part 2 of this project. If you missed Part 1, you can find it here: Building The Steps To My Workshop – Part 1
And if you’d like to see a video of the whole process from start to finish, you can see that here:
So let me jump right back into this project. At the end of Part 1, I had the basic build on the steps finished, and they looked like this…

And then after I lost sunlight for the day, I decided to do a quick coat of Cabot Australian Timber Oil on the steps. The color isn’t exactly what I want, so I’ll still need to do a second coat of a different color. I just need to do some searching and reading to find what color I want to use.

After the stain was dry, the next step was to clad the frames/risers with PVC boards. Before I added those PVC boards, I first added these vertical spacers to the frames. These are 1/4″ PVC lattice strips, and the purpose of these is to add space between the PVC boards and the wood frames so that rainwater can drain away easily. Even though I’m using pressure treated lumber and PVC boards, I still don’t want them up against each other where water can get trapped.

I added these spacers all the way around, including on the front risers.

I didn’t space them perfectly. I didn’t think that was all that important. Just as long as they’re reasonably spaced, they’ll do their job.

Next, I was ready to add the PVC boards. I used 1×6’s for this, but each one had to be ripped down to the corresponding width of the frame boards. So for the bottom frame, I ripped the side PVC boards to 4″, and for the second and third frame, I ripped the PVC boards to 5″.

For the top board to fit properly, I also had to use my Dremel Multi-Max to cut away a chunk of the ledger board on the skirting. You can see the piece I cut away lying on the ground. With that piece gone, the board could slip right in where it needed to go.

On the top and middle board, I also had to notch out a little area to fit around the deck board. I used my table saw for that, but the Dremel Multi-Max or a jigsaw would have worked as well.

And this is what that side looked like with all three boards nailed on.

I repeated that whole process on the other side.

And then that just left the front risers. These were easy and required no notching. These were just straight cut boards ripped to the right height on the table saw.

And once those three riser boards were attached, I had my finished steps! Well, they’re not completely finished. They still need to be caulked and painted, but I’m waiting for prettier weather to be outside caulking and painting. The skirting still needs to be caulked and painted so I just need about two days of really pretty weather to get those jobs done. Hopefully we’ll get that soon and I can finish up, but for now, I think both the skirting and the steps look fanstastic.

And this little building is looking more and more like my “cottage” vision with each new project.
If you want to keep up with my 2025 list of home goals (and my progress with links to finished projects!) you can see that here: 2025 Master List of Home Goals

Addicted 2 Decorating is where I share my DIY and decorating journey as I remodel and decorate the 1948 fixer upper that my husband, Matt, and I bought in 2013. Matt has M.S. and is unable to do physical work, so I do the majority of the work on the house by myself. You can learn more about me here.
![The Current State Of My Studio (The Reason For My Procrastination) [VIDEO]](https://www.addicted2decorating.com/wp-content/uploads/2018/05/video-thumbail-1.jpg)
The steps look great! Have I lost my mind or didn’t you already build the
flower boxes??
My thoughts as well!
The posts on the blog run about 1.5 weeks behind real time since I started doing videos this year. That takes more time for things to show up on the blog. So if you watch my stories on Instagram or Facebook, you’re seeing real time.
The workshop will be so charming when the pergola, light fixtures and flower boxes are completed! You’ve done an amazing job so far.
Your finish work is always commendable. Love the way the cottage look is coming along. And when spring arrives we will see flowers in the window boxes you will build.
Absolutely amazing! Your workshop looks so beautiful! You do such professional work! Everything you do comes out so perfect, I love that you re-do what you are not 100% happy with. Your are truly an inspiration!
Have you considered installing gutters? They can be the same color as the trim so not to detract from the color scheme, but it will help tremendously to keep the water away from the foundation and also the splash back onto the skirting. If you decide not to install gutters, it would suggest flower beds with stone instead of mulch to prevent splash back…
I plan on installing gutters and also marking off a flower bed area all the way around the building where I’ll be putting down cardboard, mulch or pea gravel, and holding it all in place with mulch glue.
You are so handy. You never take shortcuts. Your work is perfect. You are so extremely talented. Does Matt know he is married to Super Woman?
I like the color of the steps just for the record.
The “feel like” temp this morning was 9 degrees.
Beautiful work! My shed is looking worse the better yours becomes! 😀
The transformation is incredible. You’ve been doing yet again, another fantastic job. You’re certainly getting things checked off your ‘to do’ list. Well done Kristi. This is going to be another exciting year for us following you, seeing you create your major planned projects!