How To Mount And Frame A HUGE Print (My 52″ x 78″ Landscape Design Print), FINISHED!
It was quite a job to mount and frame my huge print of our landscape plan, but it’s finally finished, and I couldn’t be more excited about how it turned out! Here’s a look at the finished 52″ x 78″ mounted and framed print.

Note: This is the final post of a three-post project. You can see Part 1 here: How To Mount And Frame A HUGE Print (My 52″ x 78″ Landscape Design Print), Part 1
And you can see Part 2 here: How To Mount And Frame A HUGE Print (My 52″ x 78″ Landscape Design Print), Part 2
At the end of the last post, I had added a very basic frame around the plywood panel, and then attached the print to the panel.

Once the print was mounted to the plywood, I needed to finish the frame. I did this by attaching this trim to cover the edges of the print.

For this, I used this polystyrene stop molding from Home Depot.

And I attached it just inside the outer frame piece (i.e., the 1″ x 4″ piece that I ripped to 2.5 inches). I cut these pieces to length and mitered the corners, and then attached them using 1.5-inch 18-gauge nails.

And then I added pine pane molding on top of the previous to pieces, lined up so that the outer edge of this pine molding was flush with the outer edge of the 1″ x 2.5″ outer frame piece, and it covered the area where that outside frame piece met the white trim piece

This is the pine panel molding from Home Depot that I used for this.

I cut those pieces to length and mitered them on the corners, and then attached them using 1.5-inch 18-gauge nails. Here’s what it looked like when all of the trim had been attached.

After using wood filler on all of the nail holes, and then caulking to fill in those tiny cracks where the different types of trim met each other, I was ready to paint. It made me nervous to put painters tape on the print, so I opted to use printer paper and slide it under the inside trim piece and tape those to each other.

In hindsight, I really think the print would have been perfectly fine if I had used painters tape for delicate surfaces, but at this point, I was already committed to this option. And since printer paper isn’t really thick, I made sure that I used several thin coats of paint on that inside trim piece rather than my standard two thicker coats.

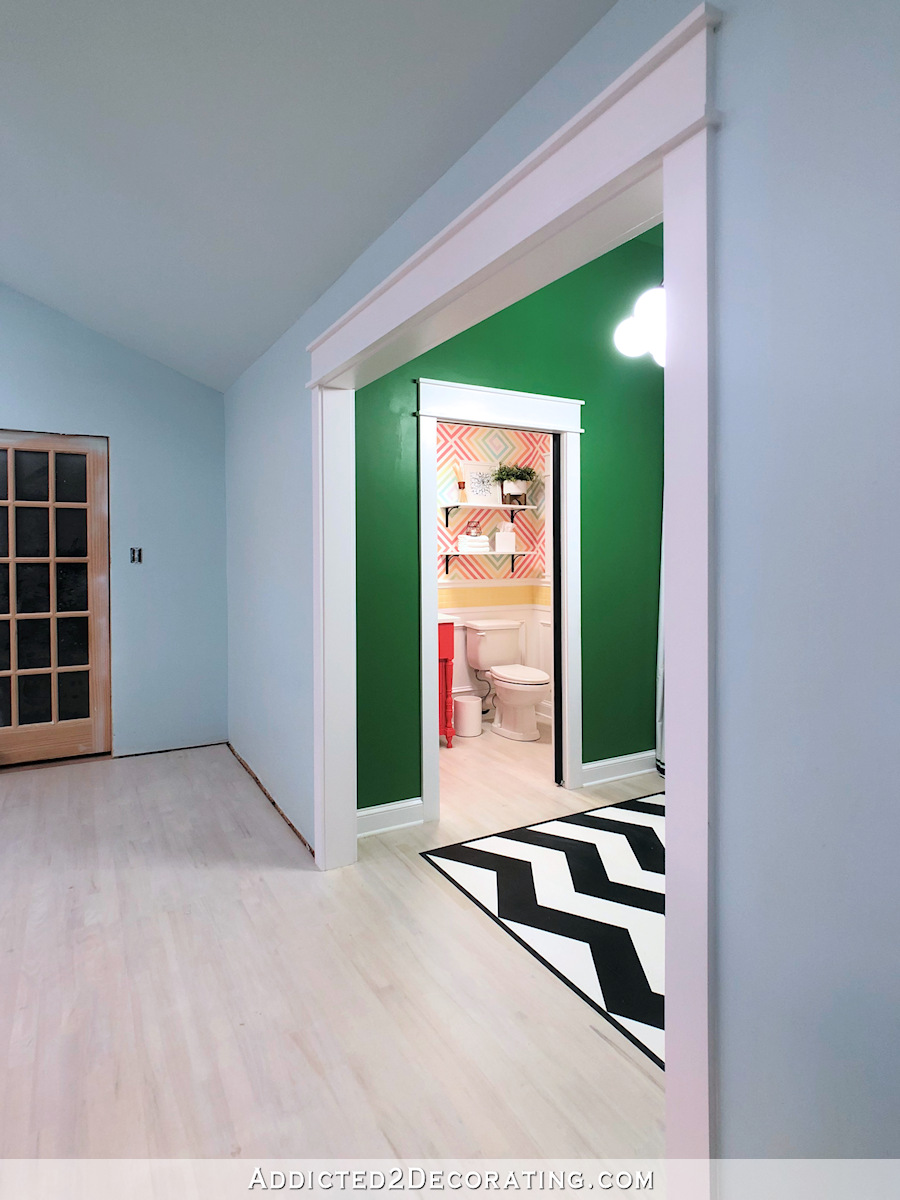
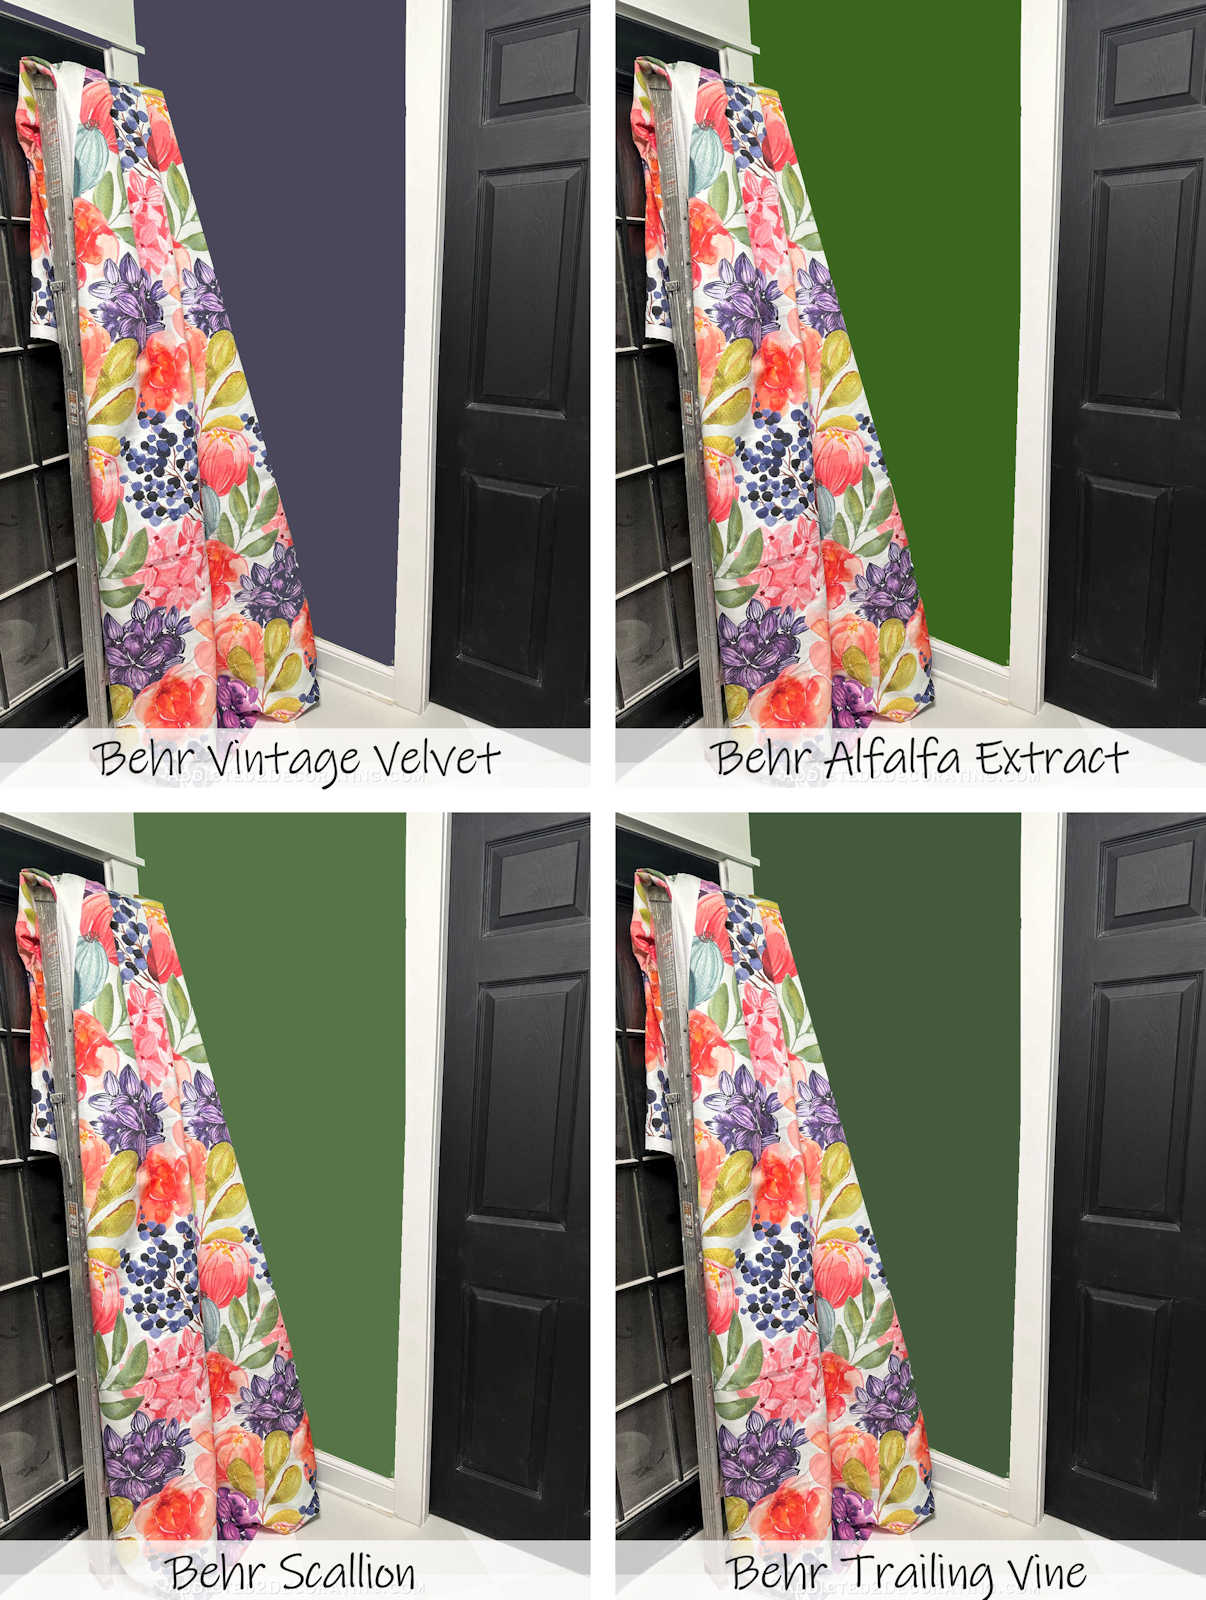
I had narrowed the paint color options down to three Behr paint colors: Hills of Ireland, Belfast, and Blarney Stone. I had to laugh at the obvious theme that emerged. 😀 In the end, I opted for Behr Blarney Stone. It’s reminiscent of the paint color that I used to have on the walls in the back entry of the studio.
Once the frame was finished, I had one more thing I wanted to do. The print was printed on shiny paper. If you scroll back up and look at the pictures again, you can see what I’m talking about. I prefer a matte finish, so I bought two cans of Rust-Oleum Painter’s Touch clear matte spray, and I gave the print three coats of spray, which took almost all of the two cans.

And the end result was a gorgeous matte print set off perfectly in a Blarney Stone green frame.

I’m so happy with how this turned out! Between this and the resin petri wall display, I don’t know that I’ll ever actually get anything done in this studio. 😀

I just love how HUGE this thing is! And I’m so glad I actually had a wall that could accommodate a print this big.
And I’m very happy with how the frame turned out. I’m so glad I took the time to make the plywood panel, and then mount the print to the panel rather than just attaching the print directly to the wall like wallpaper. I don’t think that would have done it justice at all. By making the panel first, and then attaching the print to the panel, it gives it more of a presence, and allowed for a much more substantial frame that really makes the print look and feel like something special.

Here’s one last look at this huge, amazing print with my 100-pound dog in the foreground for scale. Just kidding. I didn’t direct him there. Cooper wasn’t quite as impressed with my huge framed print as I was. He was very subtly trying to get my attention because he was ready to have a snack and go outside. 😀

Next up, I’m going to finish the rest of this wall. I need to finish the trim and the door, and then I have several more things that are going on this wall. I’m anxious to see the whole wall finished.

Addicted 2 Decorating is where I share my DIY and decorating journey as I remodel and decorate the 1948 fixer upper that my husband, Matt, and I bought in 2013. Matt has M.S. and is unable to do physical work, so I do the majority of the work on the house by myself. You can learn more about me here.
Wow – looks wonderful. The print is so gorgeous already, and you made it so special. I thought the little white frame was it, but this is SO much nicer! Yes, until you get used to admiring it, it will distract from work for a while. I know it would me, and that other wall with the petri dishes as well. And this wall isn’t even done! So cool.
I don’t know how you know how to do all these things. You must study the shelves at Home Depot! The landscape looks wonderful, actually perfect. I love that green. I must find something I can paint that color.
Keep up the good work.
I love this!
Of course it turned out beautifully! I am just so impressed, always, with your vision. You come up with such cool projects and then execute them so creatively. You are such an inspiration!
(LOL! I love that you put the outlet cover on for the last picture!)
Wow, wish I had your vision. I liked the print on its own but it would never occur to me how beautiful it could be with this green frame
It looks stunning! Great job!!!
So good! What an awesome studio this is going to be – already most of the way there!
Just beautiful! I’m curious where will you keep your big work tables once this wall is finished bc they won’t be able to rest up against the wall.
Absolutely gorgeous!! That green frame is perfect!
OMG! This turned out AMAZING! I love the matte spray…I would have never though of that. What a great addition to your beautiful studio.
Thanks to YOU!! ❤️❤️
LOVE IT!!
Perfect. Love it.
Truly stunning! This whole idea is just amazing, and your frame, the color, the size… WOW. Well done!!!
That came out great. I’m loving the green frame.
Hi Kristi. I can’t believe how much I love this. I thought it was a good idea, and that it would look nice, but holy cow. This is gorgeous!
God Bless
Linda D.
Gorgeous!
Your landscape plan looks really nice. I love the way you have done it.
Oh my gosh. Your attention to detail just takes this artwork over the top! The framing, the color – all of it is gorgeous!
The green for the frame is just so perfect! Somehow I knew it was Blarney Stone before I read it – weird! Great execution on this project! You are amazing!
So there will be no glass or plexiglass on picture. The spray cover is going to be total protective cover.
No, I don’t plan to have glass or plexiglas over it.