My Finished (For The Most Part) Studio Office Area Cabinets!
Y’all, this has been a long road, but the cabinets in the office area of my studio are just about done! There are still some finishing touches that need to be done, but I can’t do those things until other projects are done. I’ll explain that later in this post. But I’ve gotten these cabinets as finished as they can be for now.
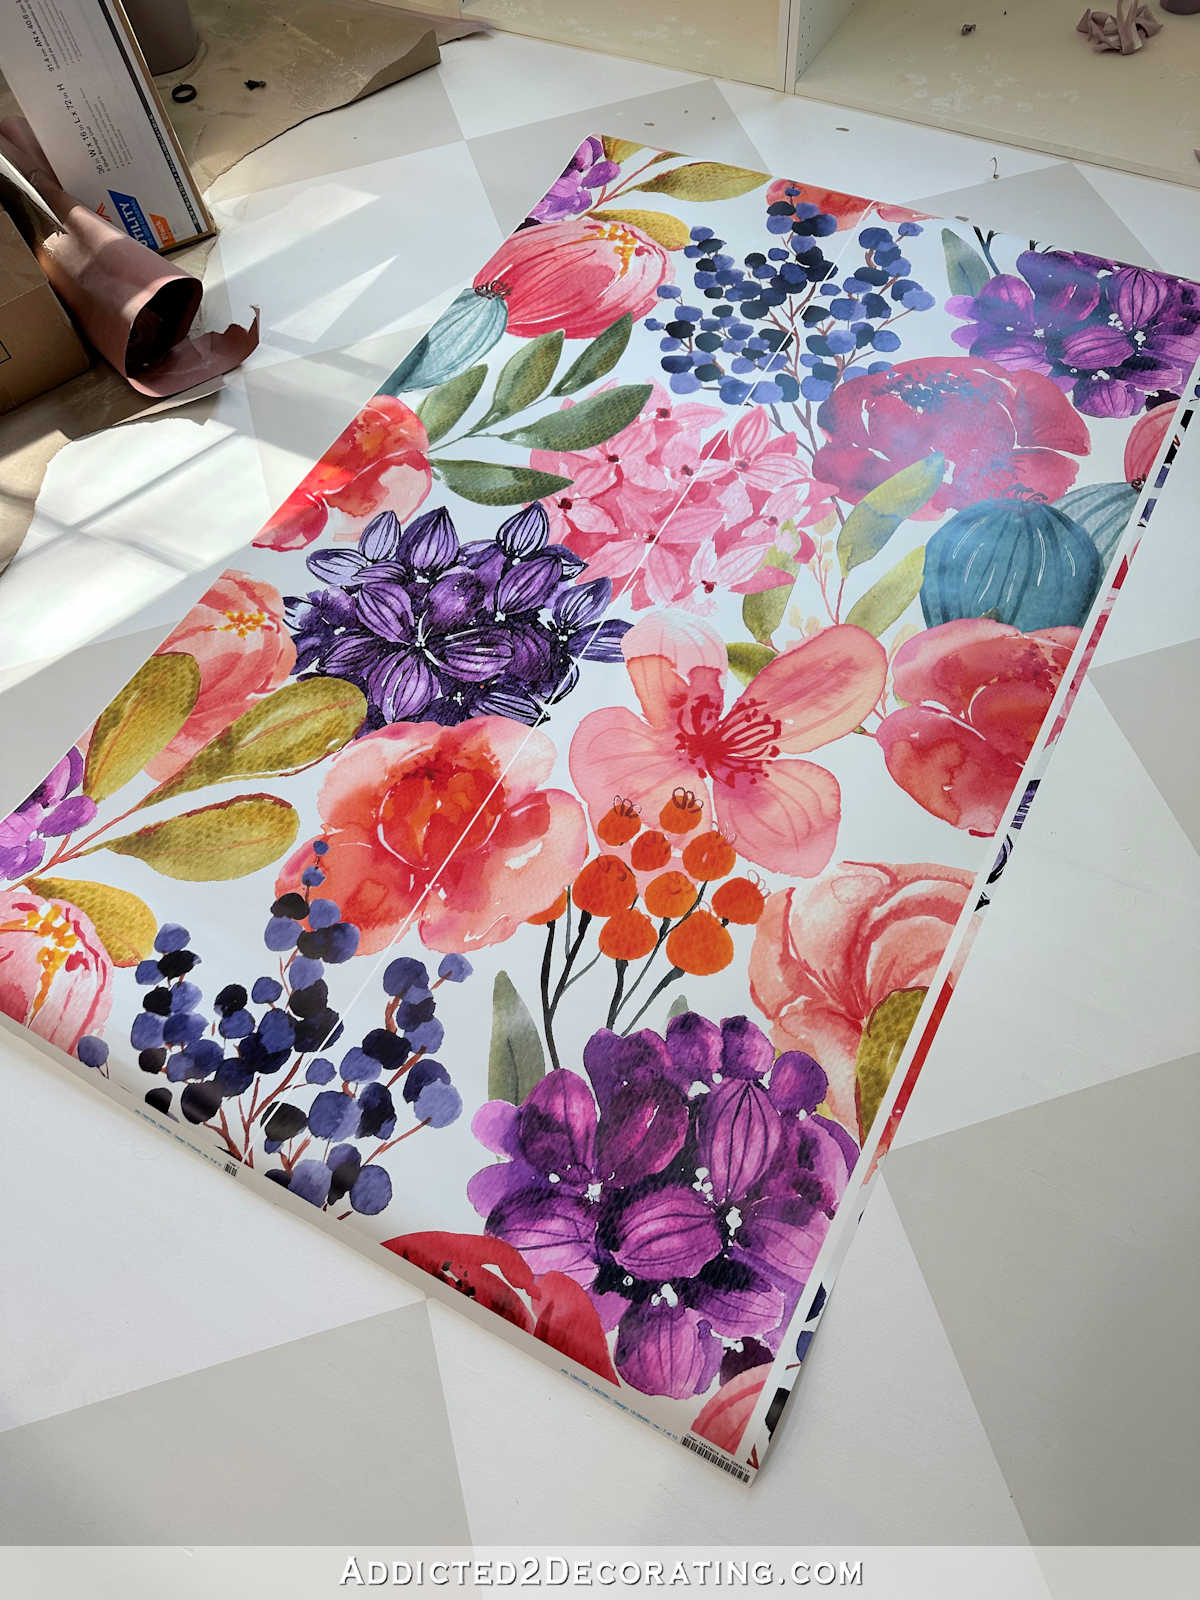
Before I show you, let’s go back and remember how these started out. I started with basic IKEA Sektion cabinets with Veddinge doors and drawer fronts. After I installed the cabinet boxes, they looked like this…
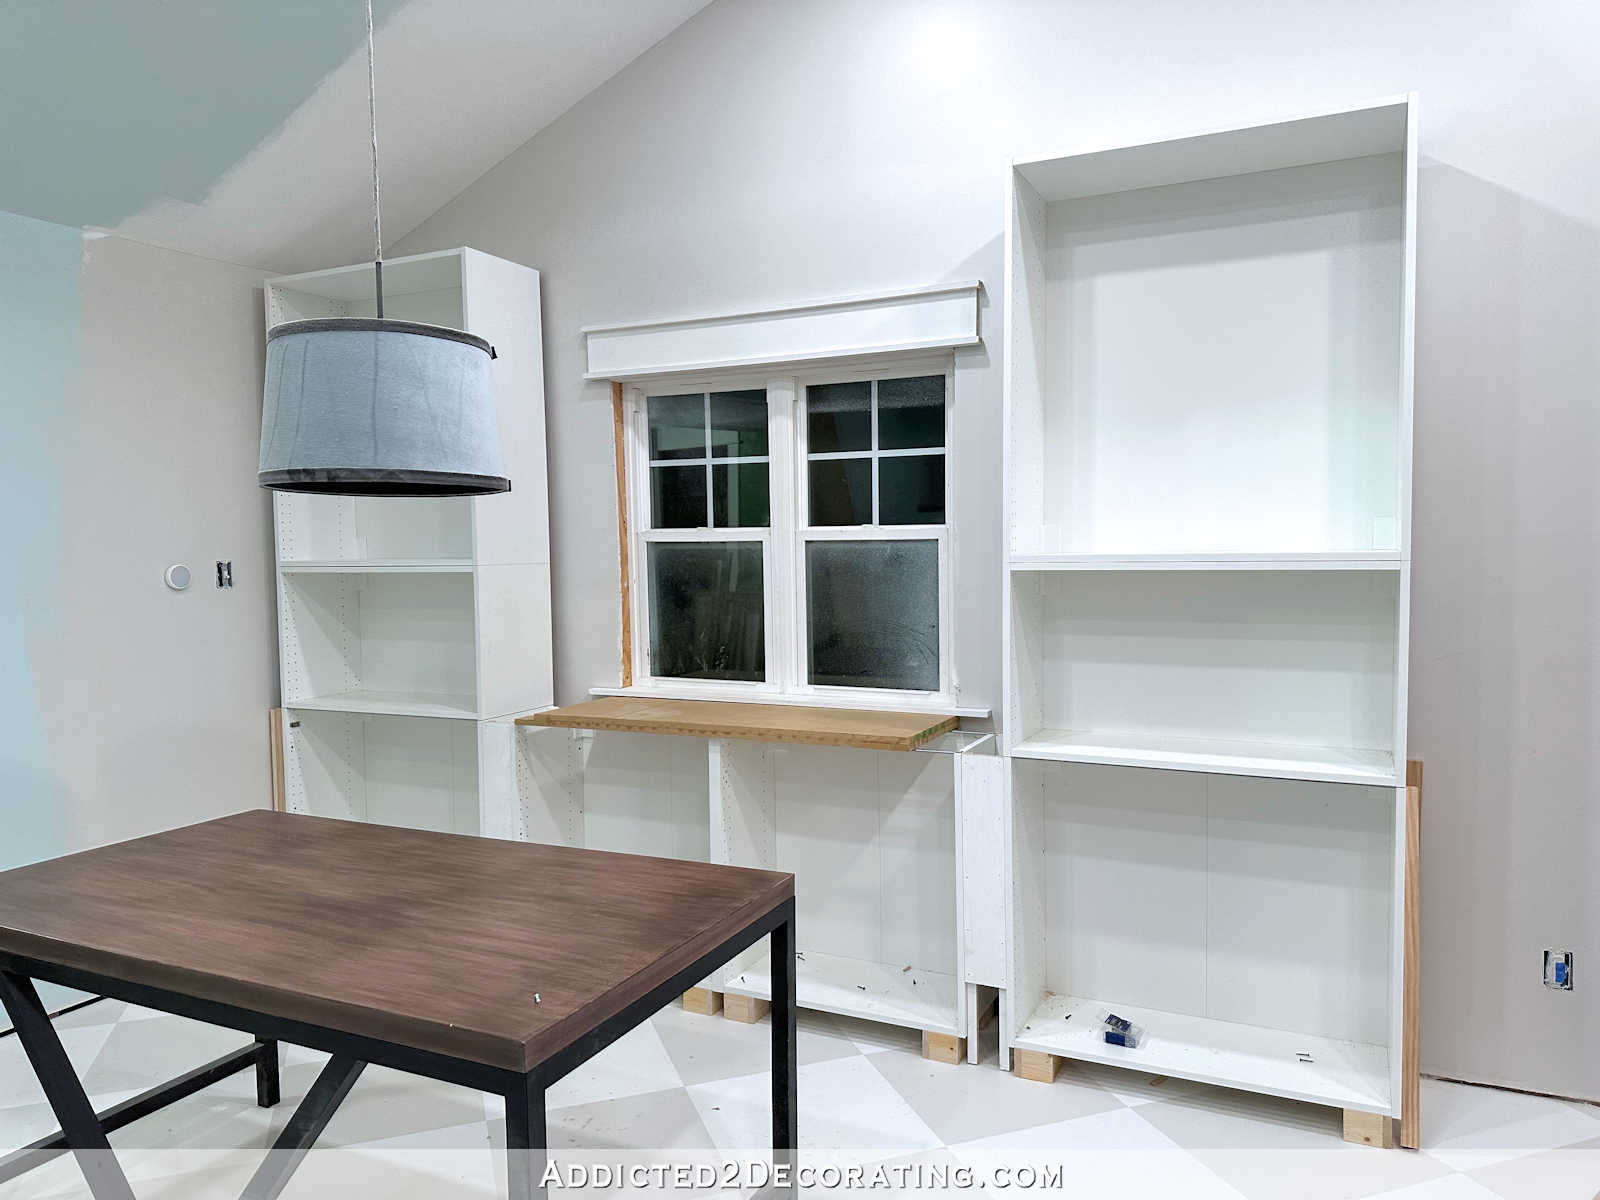
And the Veddinge doors and drawer fronts looked like this…

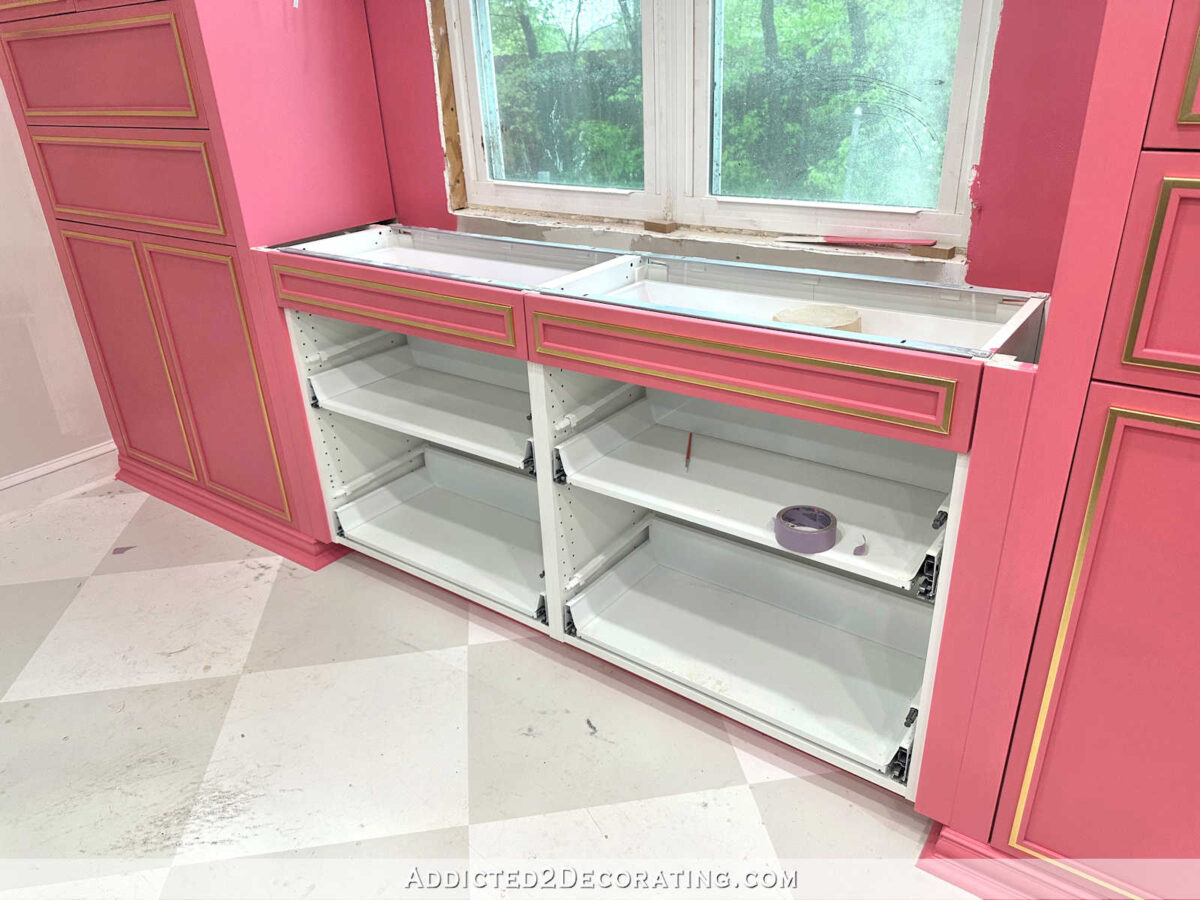
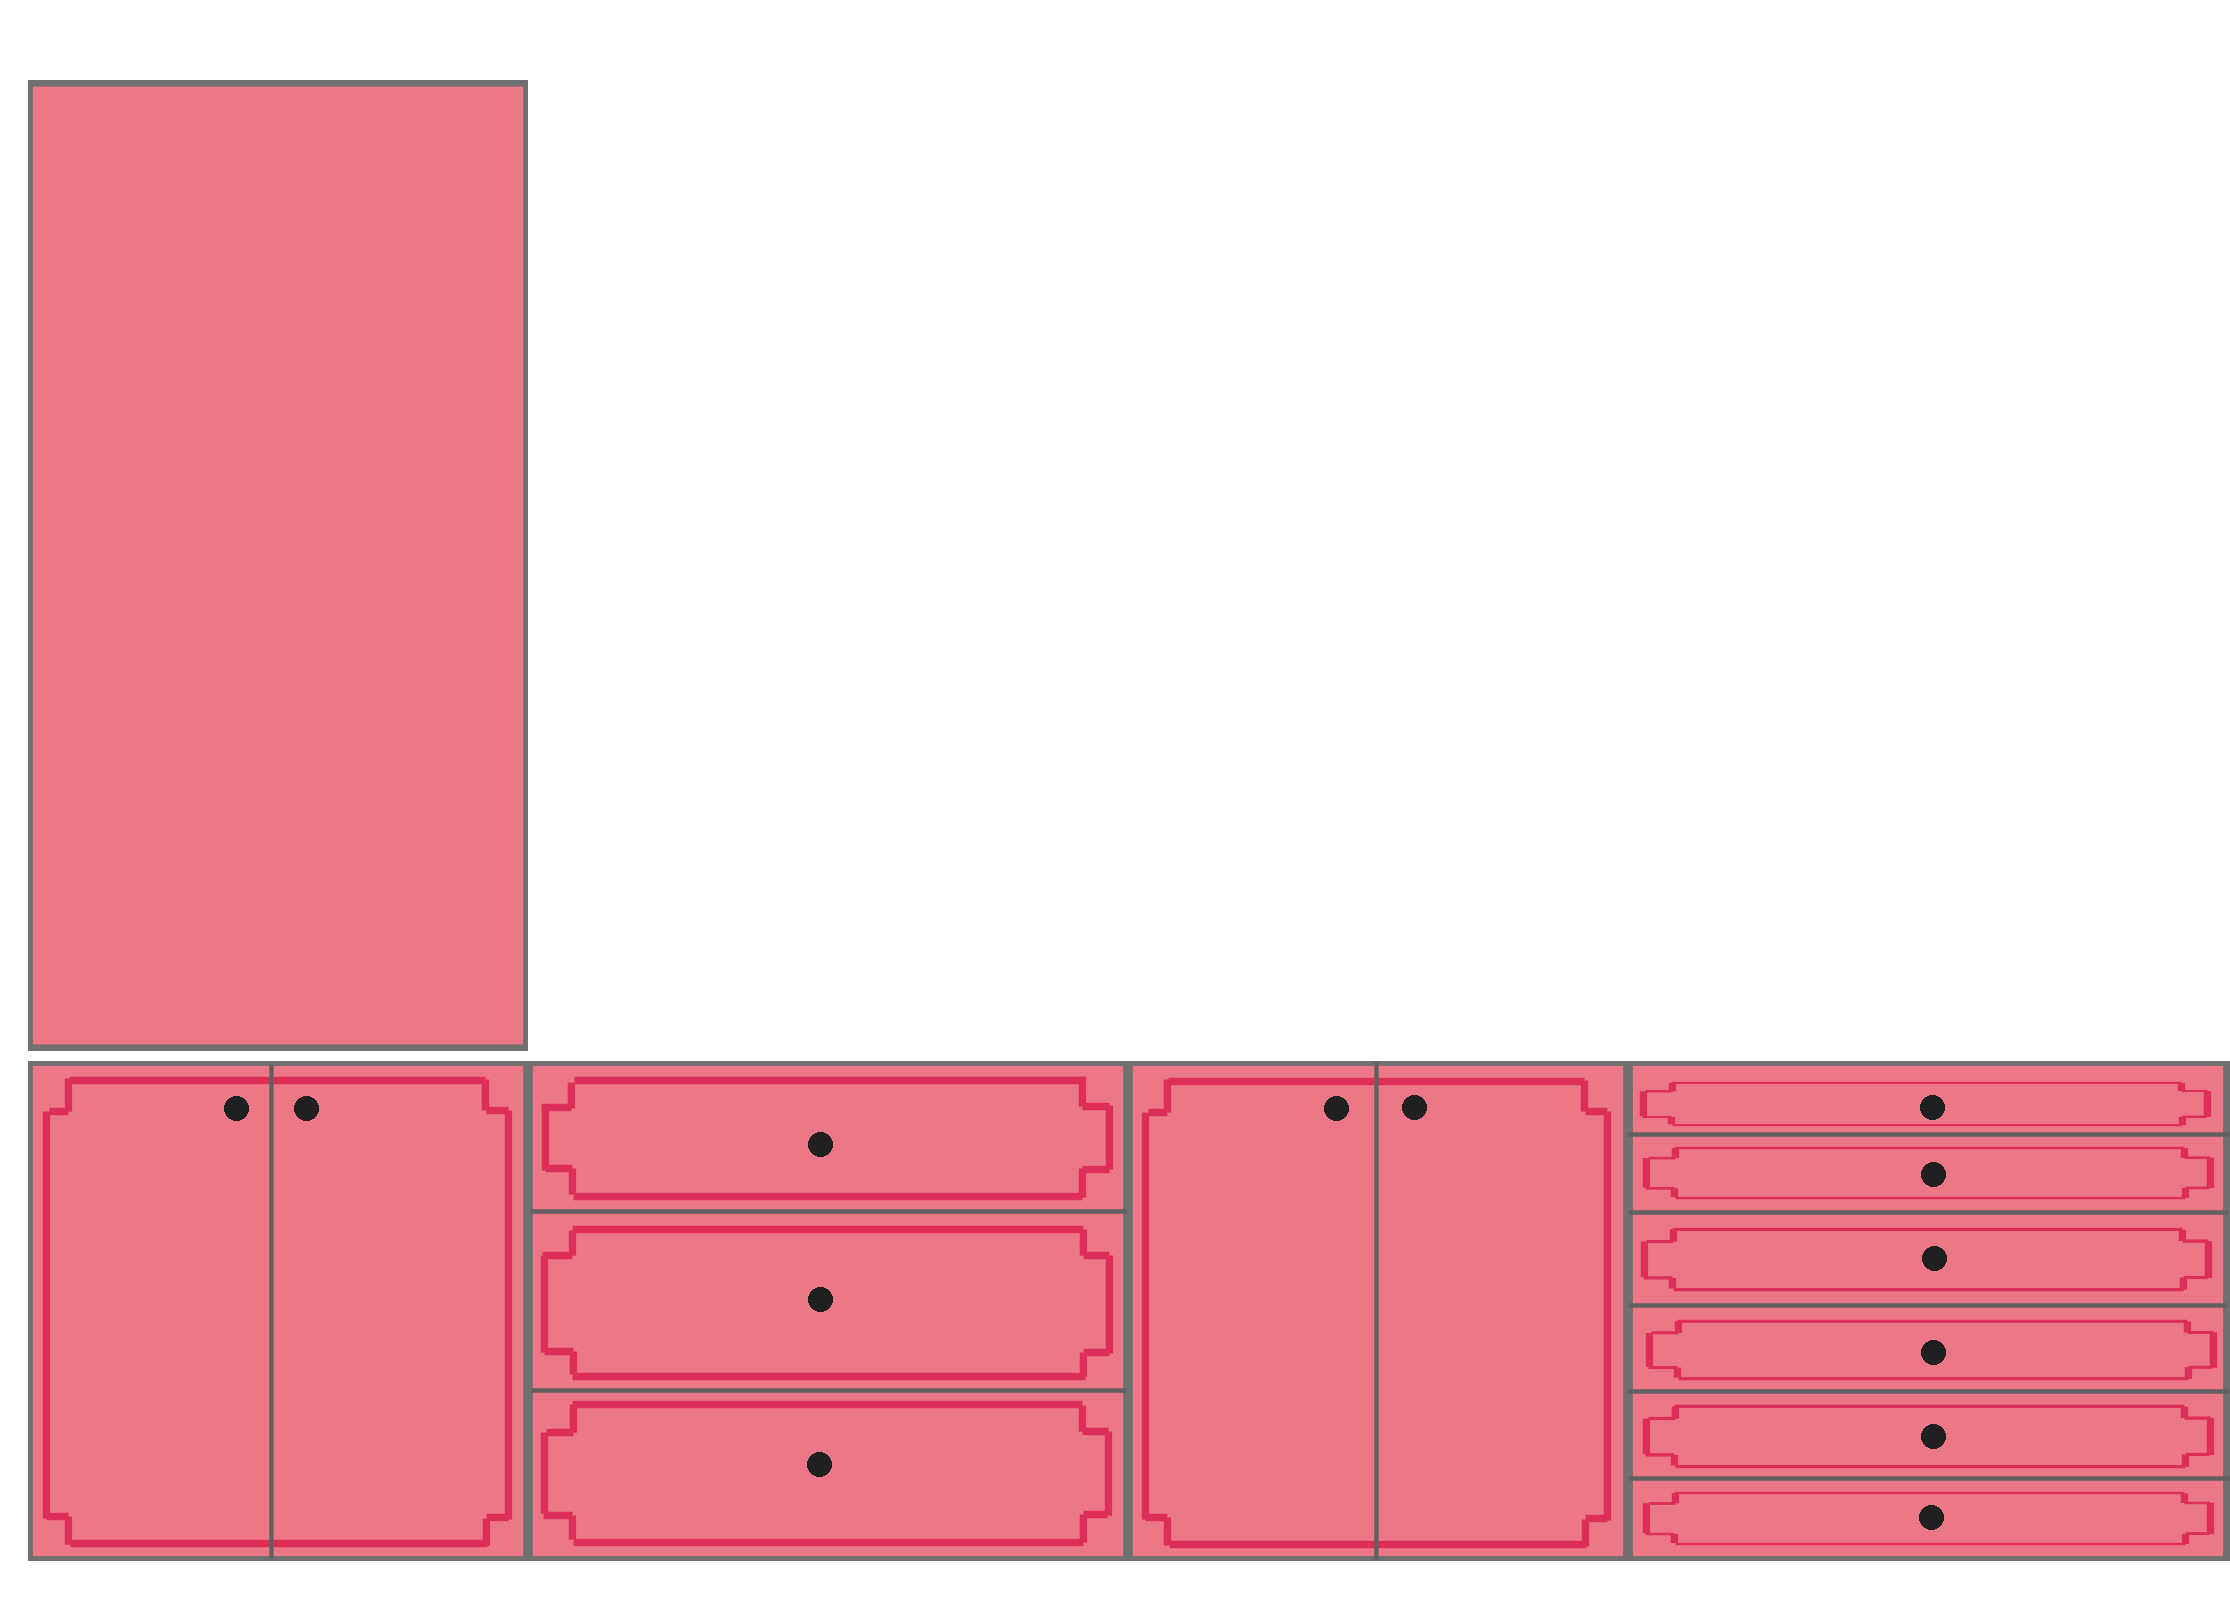
And after adding my customizations, the progress looks like this…

So let me explain the most obvious unfinished part — the missing drawer fronts. These four drawer fronts are painted, gold foiled, and ready to be attached. I had high hopes that I could get that done, but the instruction manual showing how to assemble and attach those drawer fronts is buried somewhere in the depths of my very messy studio.
I quickly searched for it this morning, but couldn’t find it. So I tried to find it online with no success. I thought I could figure it out without the instruction manual, but if you’ve ever assembled IKEA Sektion cabinets with drawers, you know that the brackets have to be attached in a certain way depending on the specific drawer arrangement you have for your particular cabinet.
I finally figured out the small drawers without the instruction manual, but not after trying at least six different (wrong) ways of attaching the brackets. I finally got it on about the sixth or seventh attempt. And these little drawers only use one kind of bracket.
The bigger drawer fronts use two different types of brackets with probably 16 different possible configurations, so there was no way I was going to try to guess. I know I tucked that instruction manual away in a safe spot so that I wouldn’t lose it. But now I can’t remember where that safe spot is. 😀 As soon as I find it (or find the instructions online), I’ll attach those last four drawer fronts.
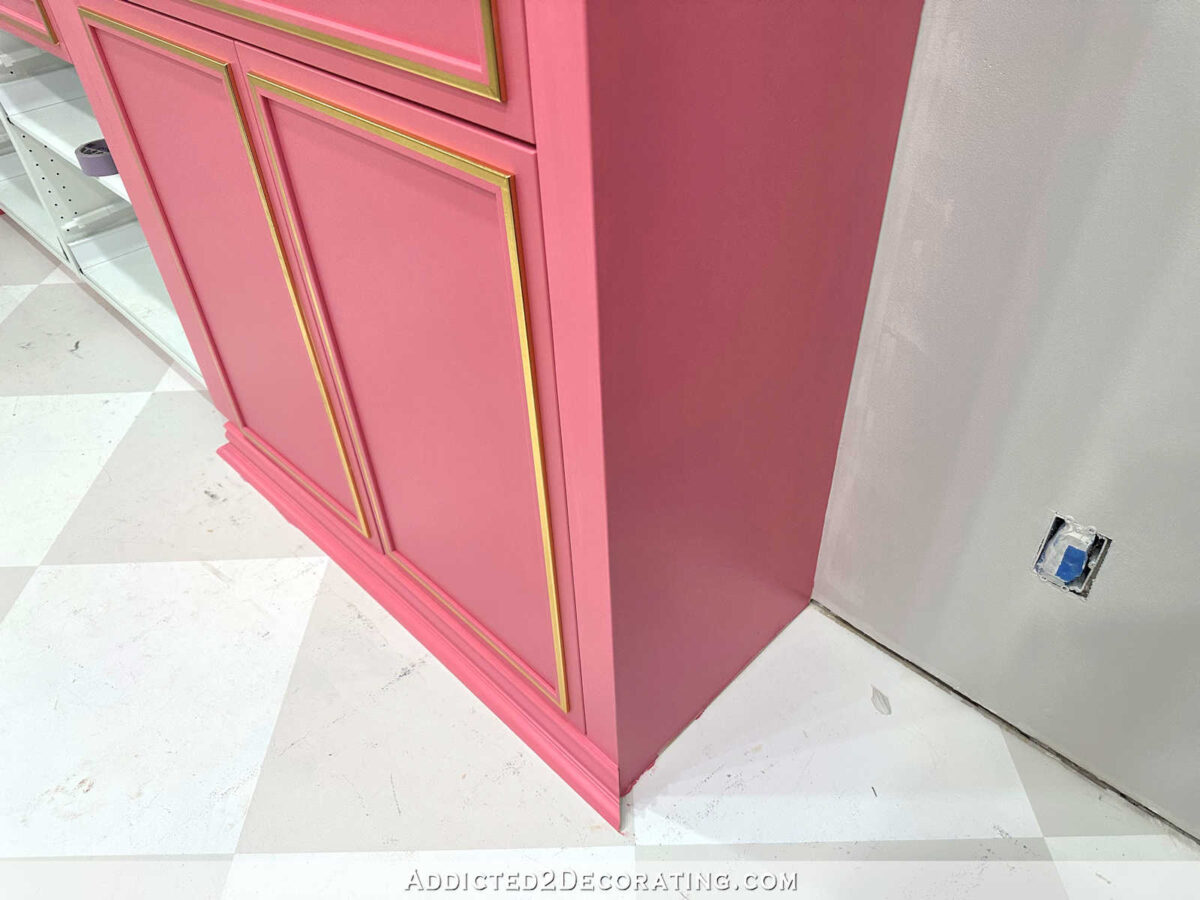
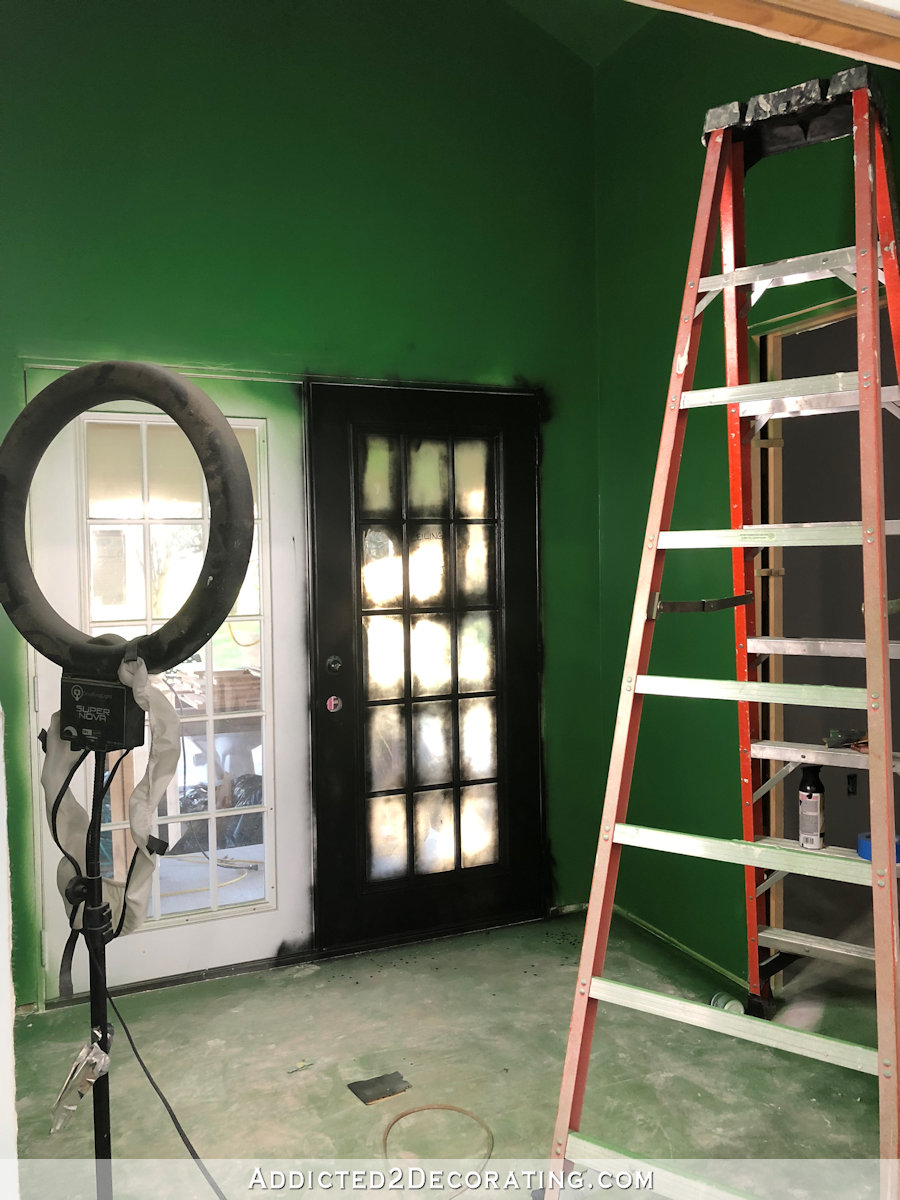
I also still need to do this piece of trim at the floor on this one cabinet, but I can’t do that until the baseboard is installed, and I can’t install the baseboard until that exterior door just to the right of these cabinets is trimmed out.
I also have a couple of defective parts, which surprised me. This cabinet door isn’t even installed properly because the part of the hinge that attaches inside the cabinet is defective. They’re all supposed to be three-way adjustable, but I can’t get that one to adjust at all, so it pulls the door down too low so that it won’t close. I’ll need to get a replacement for that. I also have a drawer slide with a defective soft close on it. The drawer won’t close unless I push it closed all the way.
This area where the cabinets meet the wall will need some small trim to cover those cracks. I was tempted to use caulk to fill them, but with as much as our house moves and shifts throughout the year, I think the caulk would crack and have to be refilled regularly. A small trim would look much better, but I can’t install that until the countertop is installed.

So the cabinets are done for the most part. All of the big stuff — adding trim, painting, clear coating, adding the gold accents, etc. — are finished.

My next step is to make the countertop, and I have to admit that I’m terrified. I have put this off as long as I can because when I made the countertop on the other wall, the dust from those boards caused such painful skin problems for me that literally lasted for months. It was awful. (I shared about it here.)
In all of my 30+ years of DIYing, I had never experienced any kind of reaction to any product I’ve used, so I didn’t take any precautions to cover my skin before running the boards through my table saw. But this time, you better believe I’ll be covering myself head to toe, and then showering directly after all of the pieces are cut. The thought of potentially having to go through that again genuinely terrifies me.
Thankfully, it’s a small countertop and should be a relatively quick project. Once that’s done, I can install the window casing, add that little trim where the cabinets meet the wall, and then finish the sconces and get them installed. Oh! And I still need to add the cabinet door and drawer pulls! Cabinets need jewelry, too!
I’m so incredibly excited to have the bulk of this massive project finished. The rest should be a breeze! And by the way, as soon as I find that instruction manual and get those last for drawer fronts on, I’ll add a picture to this post. I’m hoping that will be later today! I just need to remember where that spot is where I tucked that instruction manual away for safe keeping. 😀
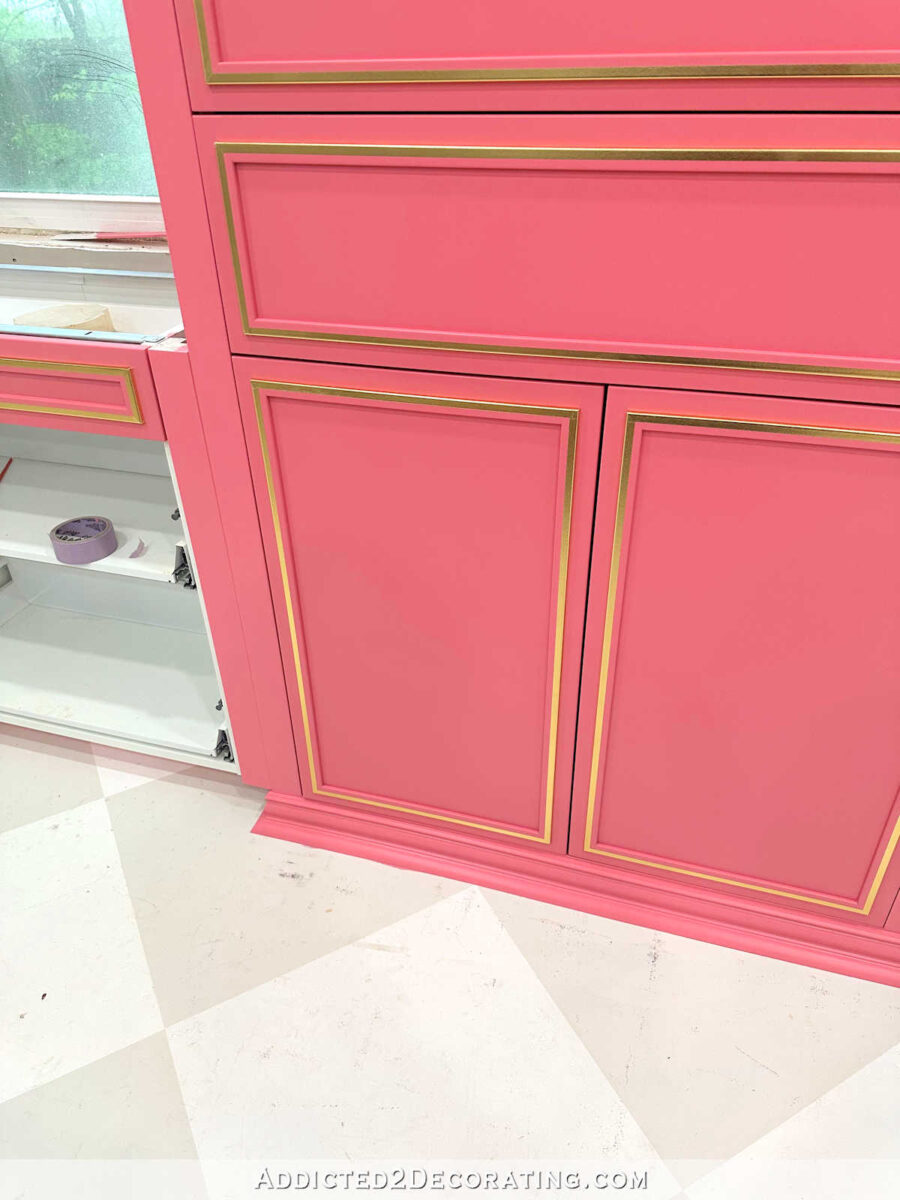
UPDATE! I found it! About ten seconds after I hit the “publish” button on this post, I remembered where I put that instruction manual, so here are the cabinets with the rest of the drawer fronts attached.

I can’t wait to get this area finished!! It’s been a long time coming, and I’m so excited to finally see it become reality.

FYI, the reflections on the gold accents sometimes cause an optical illusion where it looks like the trim is curved. That’s something that only happens in pictures. In person, there is no such optical illusion. But rest assured, all of the trim and gold foil accents are perfectly straight on my cabinets, and none of my cabinet doors or drawers are bowed. 🙂

Addicted 2 Decorating is where I share my DIY and decorating journey as I remodel and decorate the 1948 fixer upper that my husband, Matt, and I bought in 2013. Matt has M.S. and is unable to do physical work, so I do the majority of the work on the house by myself. You can learn more about me here.

All we see is beautiful!
I TOTALLY AGREE….!!!!!
This looks so good! I did wonder, would you consider adding any gold accents to the top “cubbies”? I feel like that could look so nice, but obviously its your decision!
Also re the drawer front instructions, I suspect the drawers are the Maximera ones maybe – if so could this help? https://www.ikea.com/ca/en/assembly_instructions/maximera-drawer-high-white__AA-1020562-3-2.pdf
Or maybe put a couple gold accessories in the cubbies.
Ooo, I agree! A little bit of gold on the cubbies area would be a great finishing touch!
The cabinets look great! You’ve gotten over the hard part and can sigh happily about your progress. Well done!
I know how frustrating it is to safely put instructions away and then, well, you know the rest.
You made so much progress in so little time. The installation looks great and I can picture it all done with you sitting at your desk working away. It will be a pleasant feast for the eyes, both yours and ours. Meanwhile, you have already worked out the steps to finish the details. You are almost there.
The lamp project will be fun for you. I am wondering where you will work on it.
I found this for IKEA defective parts, and if all else fails, it might work for replacing instructions too. On IKEA site it says:
“Order small spare parts”
“You can order smaller spare parts such as screws, knobs or hinges at no cost using our self-service tool. Small spare parts will be delivered directly to your address in approximately 7 to 10 business days. “
https://www.ikea.com/us/en/customer-service/spare-parts/
I second adding gold accent to the “cubbies”, maybe even a detail of gold to part of the crown to bring eye up?
Gorgeous!
Absolutely gorgeous!
That’s looking fabulous! I *hate* when that happens with instructions (or in my case scissors in my sewing room,ugh), but glad you found them.
I HIGHLY recommend getting a zip up full body tyvek painting coverall when you make the countertop. They aren’t expensive, and cover literally everything but your face and hands. I wore one when I was pulling HUGE poison ivy plants down from my oak trees a few years ago. Of course I also wore gloves, glasses, and a bandana on my face. It worked great and might work to keep that nasty dust off your skin. They are reusable too.
I love watching your progress!
…and hose yourself off before removing it! Great idea!
Absolutely gorgeous!
I am so incredibly excited for you!! I have been waiting for you to come back to this project!! I hope you take us along when you organize everything!! I loved that when you did your pantry.
Absolutely beautiful!
Oh my! Look how beautiful they look! So happy for you to have the bulk of this done–and that they turned out so excellently!
Looks great! I wish I had a nickel for every time I put something away for safe keeping that I couldn’t find when I needed it! But now you have a place to keep them all in your fabulous drawers and cabinets!
Ahh…the chicklet game…I love that game. I played it with 16 army moves in 27 years and am still playing it now in our forever home…I think it is required. You have your “Safe Place” I have my, “I put it somewhere clever”…which in the end is never a clever place. I love how it is all turning out; you are awesome. Don’t worry about the other stuff, it is still forward progress and that is all that counts. Cheers.
Wow! This turned out even better than I could have imagined it! Great job!
WOW…loving it all. I know those little details won’t take you long once you get the parts in, etc. IKEA is really great about replacing parts. I just got some for a cabinet I purchased long ago. The anchors for their tall bookcases that I sold, but couldn’t find the anchors that we didn’t use in the new house. I ordered them for the buyer and sent them as I worried about their children. Came very fast. I love the idea of a little gold up top – even if it is decorative inside the cubbies. I adore the look of what you made…and I know it will be such a great space for you to use. OH, be so careful with that darn wood you have to work with…glad it’s just a small project. COVER your face with one of those ski masks! 🤣 – with glasses/goggles and everything else covered you will be safe. Strip off by the washer and shower. Hopefully you will NOT go through that again! I have to do that with poison ivy when it starts in the yard, and any fiberglass handling. UGH.
For your safety I would suggest a different top to these cabinets. Surely there is a similar looking color/design that would look close enough to the other and would spare you the physical reaction.
I’m speechless!🫨
Those cabinets are so beautiful!!!
So fantastic Kristi! You have to be proud and relieved all at once.
Have a rest this weekend, you deserve it.
I think the cubbies need some gold trim, also.
So, my allergist told me that you want to protect all of your membranes. So, in addition to your protective gear, slather on a thick layer of lotion on your body and face. Also use eyedrops and nose spray. Then anything that gets past your protective here gets caught by the barrier you’ve put on your skin. Then wash it all off promptly. Should be a good extra protection.
Very pretty!!!!
They all look so pretty! And I am so sympathetic to you losing the instructions! I had done that so many times over the years, that I now grab a large manila envelope to stash them inside, and tape it to the inside of a close by closet door! That way, I always remember it’s a CLOSET, that it is the CLOSEST CLOSET to where I’m working, and that it’s inside on the door! It might be in the next room, but it’s always the closest closet. It works for me! I also add any parts I won’t need until later. I’m pretty obsessive on keeping organized with projects, because my husband is the opposite – so someone needed to pick up the slack! LOL!
Love it. Just beautiful.
You have made me so happy.
My goodness Kristi you are a pro. This cabinet could not be duplicated by ANY professional furniture builder or professional handyman. I applaud you. You have worked hard, body and mind, and created this beautiful one of a kind work studio with so many surprises. I’m just so amazed.
Can’t wait to show this to my family and friends.
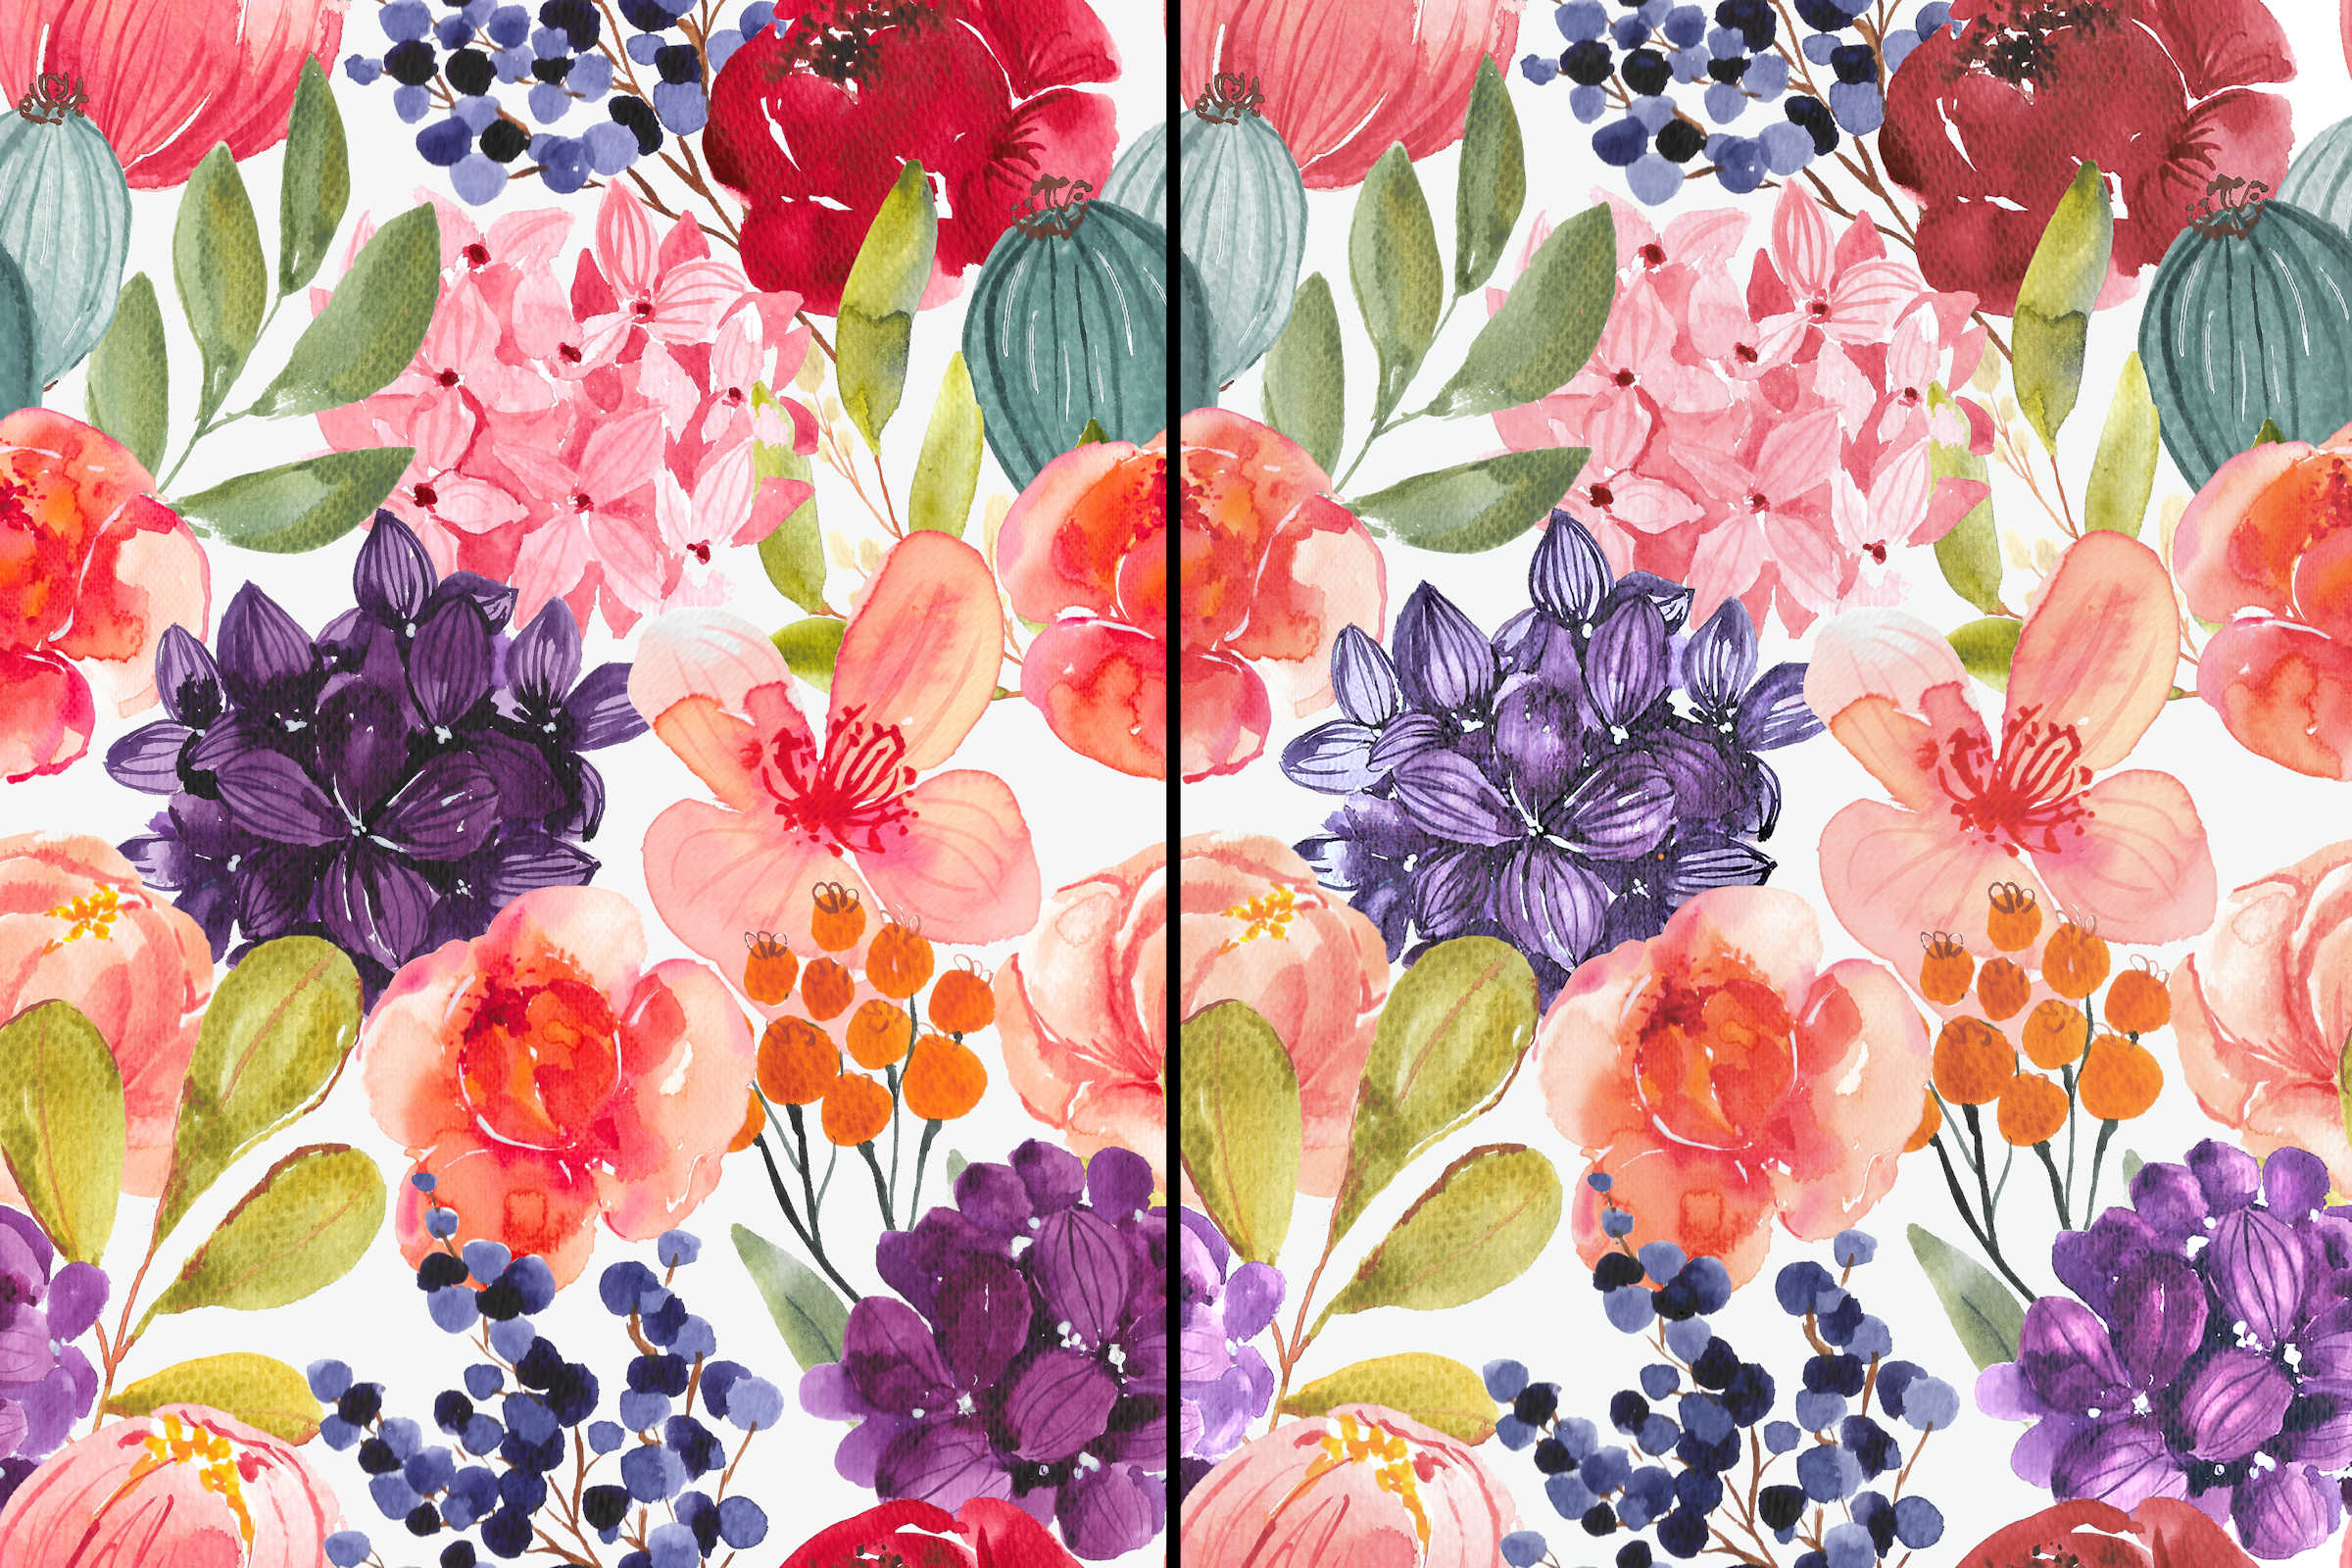
What about using the same wallpaper on the wall surrounding the new cabinet? They are so pretty on their own, they might blend into the wall if you paint it the same color. Just a thought.
K Girl! That is a magnificent piece of furniture! Well done!
You are the fastest painter ever! I’m still working up the motivation to paint a step stool! LOL
Did you spray these or roll/brush? They look AMAZING. Maybe even more amazing than the first set!!
I rolled and brushed these, but that may have been a mistake. The cabinets turned out slightly lighter in color than the doors and drawer fronts, and I think that’s the difference between spraying the doors and drawer fronts, and brushing/rolling the cabinets. I know it makes a difference in the sheen, but I can tell a sight difference in the color this time. I might end up going back and spraying the cabinets (at least with the clear coat) before all is said and done.
Absolutely gorgeous!
Haha, I love that you remembered where the manual was as soon as you posted. Classic 🙂 Looks great!!
OH. MY. GOSH! That is fabulous! It turned out beautiful! I’m so happy for you Kristi! WOW. How neat that you’re so close to being done.
Looks amazing! When you cut your laminate for the counters, place a floor fan behind you pointing to the saw to blow the dust away from you as you cut. Hopefully that will minimize the dust for you.
Spectacular! And I meant to comment yesterday about the gold foil tape: I love it. It looks perfect. Thanks for sharing!
You really are incredible! Just gorgeous.
Oh my gosh Kristi, the cabinets look absolutely beautiful. You must be so proud of both your achievement and accomplishment. The projects you achieve on your own never cease to amaze us all. Well done; you’ve done a brilliant job. Your studio is really coming together.
Soooo pretty! What a cheerful studio to work in! Your hard work is really coming together. Glad you remembered where those instructions were, lol. I’m also looking forward to seeing the whole area completed. Onward and Upward!
Stunning and outstanding!
The cabinets are beautiful!!
I love your style and colors.
It looks great! I would suggest some kind of “feet” under the middle section of the cabinets though. They appear to be floating with the trim on either side. I also agree with the other poster that you’ll need to pull gold up to the cubbies somehow too. This could be done with whatever you put in the cubbies though.
I hope you are proud of yourself. That is an incredible build!