Our Swedish Ladder (a.k.a., Stall Bars) Is Installed!
Yesterday, I finally tackled the thing that I’ve been dreading — installing the Swedish ladder. This is an exercise apparatus, also called stall bars, that can be used to do hundreds of different stretches and exercises. If you’ve never heard of it before, hop over to YouTube and search “stall bar exercises,” and you can get an idea of how it’s used. This video is a very quick demonstration of about 75 different exercises that can be done, but even that is just the tip of the iceberg.
I had originally planned to build my own Swedish ladder from scratch, but then I started to feel a bit insecure about that. These things needs to be able to hold full body weight, and I felt much better about buying one that had a metal frame and 1.5-inch-diameter bars. I ended up buying this one from The Beam Store.
After unpacking it and putting it together (without tightening all of the bolts or screwing the bars into place), it looked like this with the light colored bars.
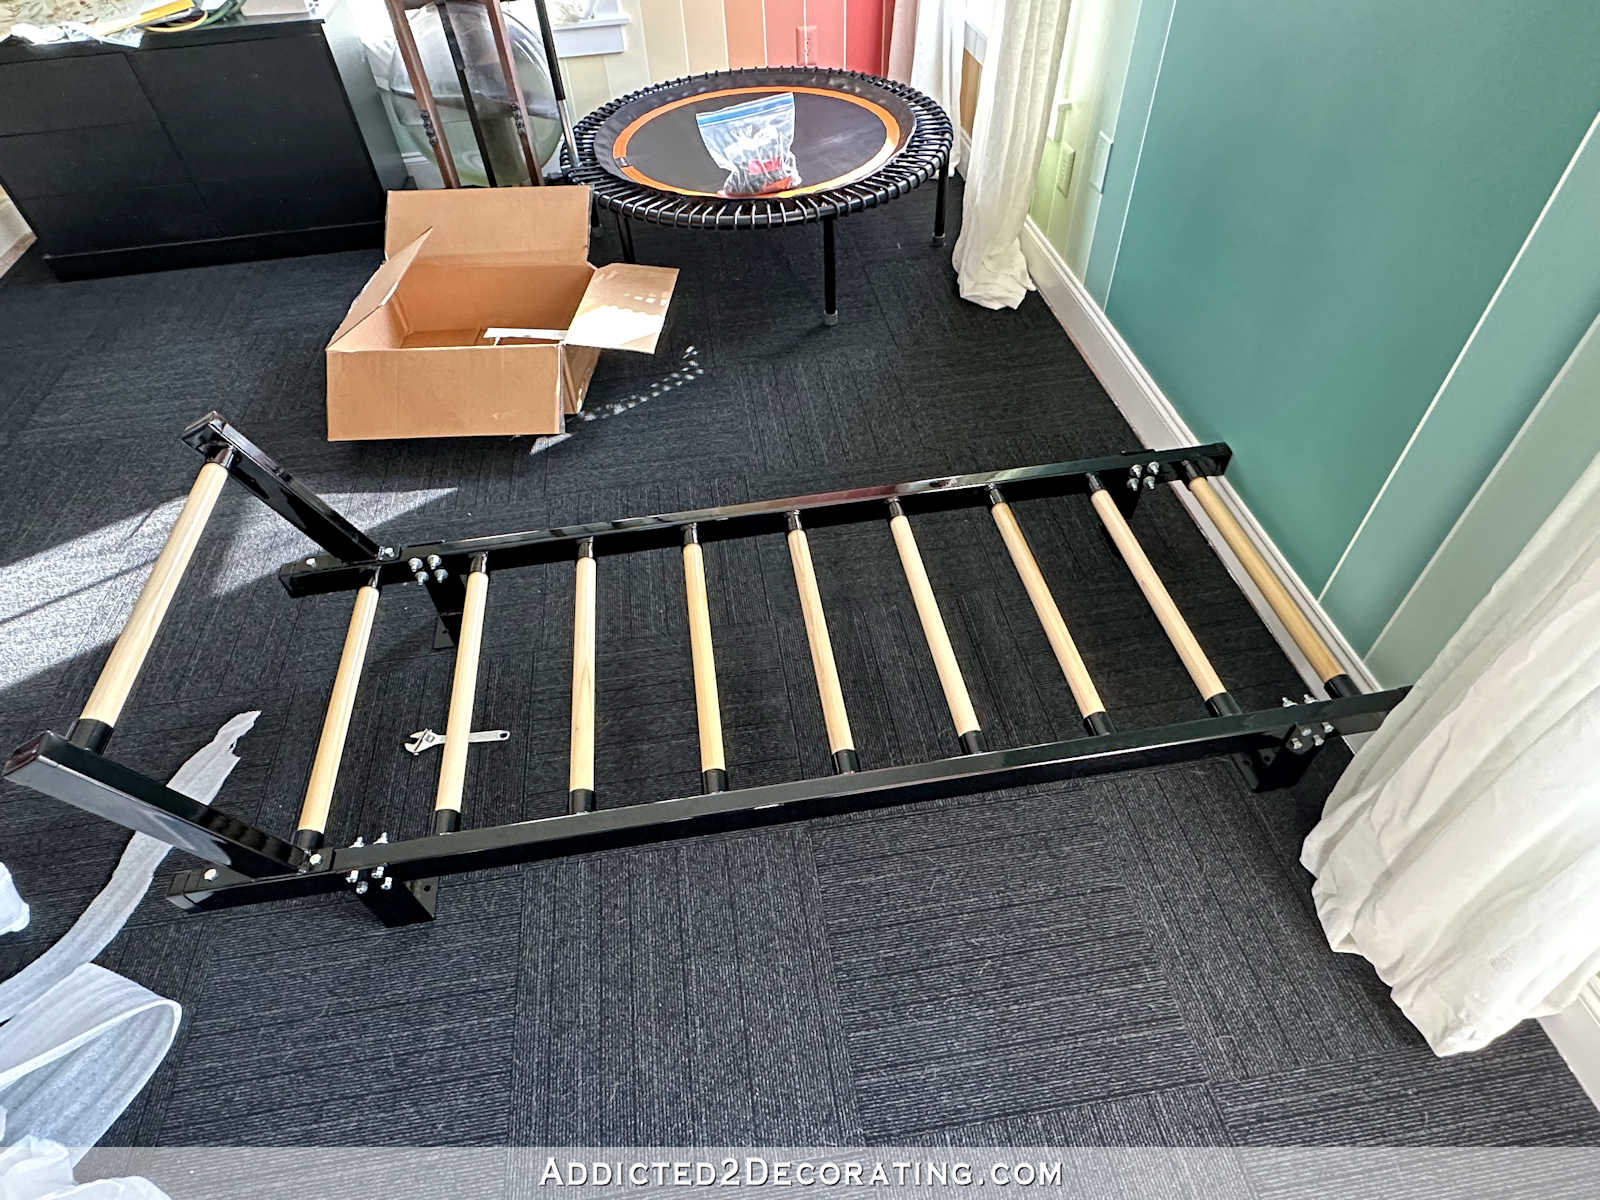
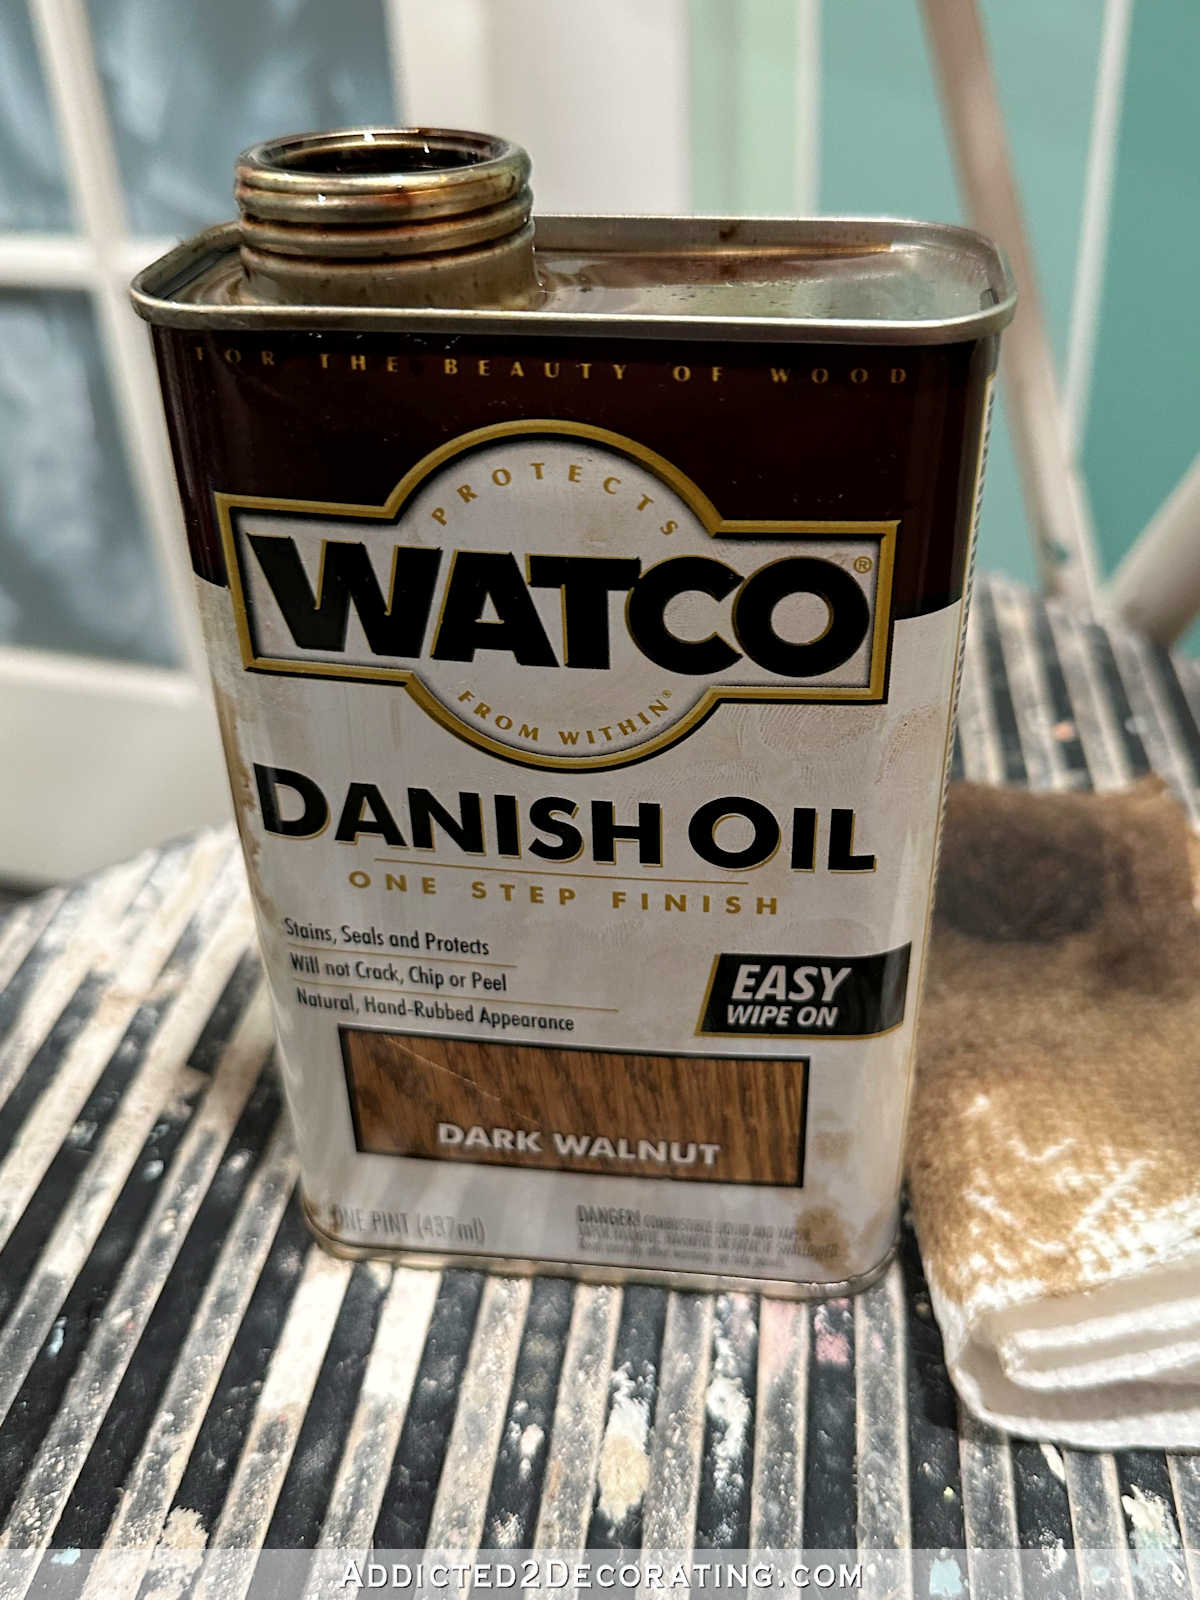
I ended up sanding and staining the bars so that the whole thing would go with my “walnut and black” plan for the accents in the room. I got that done a few days ago, and then the Swedish ladder continued to sit on the floor because I was so dreading the installation.
In my mind, the installation was going to be really difficult, but it would take an hour…or 90 minutes at the most. It ended up being a fairly simple project, but it took me four hours. 😀 Oh my gosh, this was such a long and drawn out process. Nothing about it was particularly difficult, but it just took so long because I was figuring it out as I went along, and I basically installed it twice.
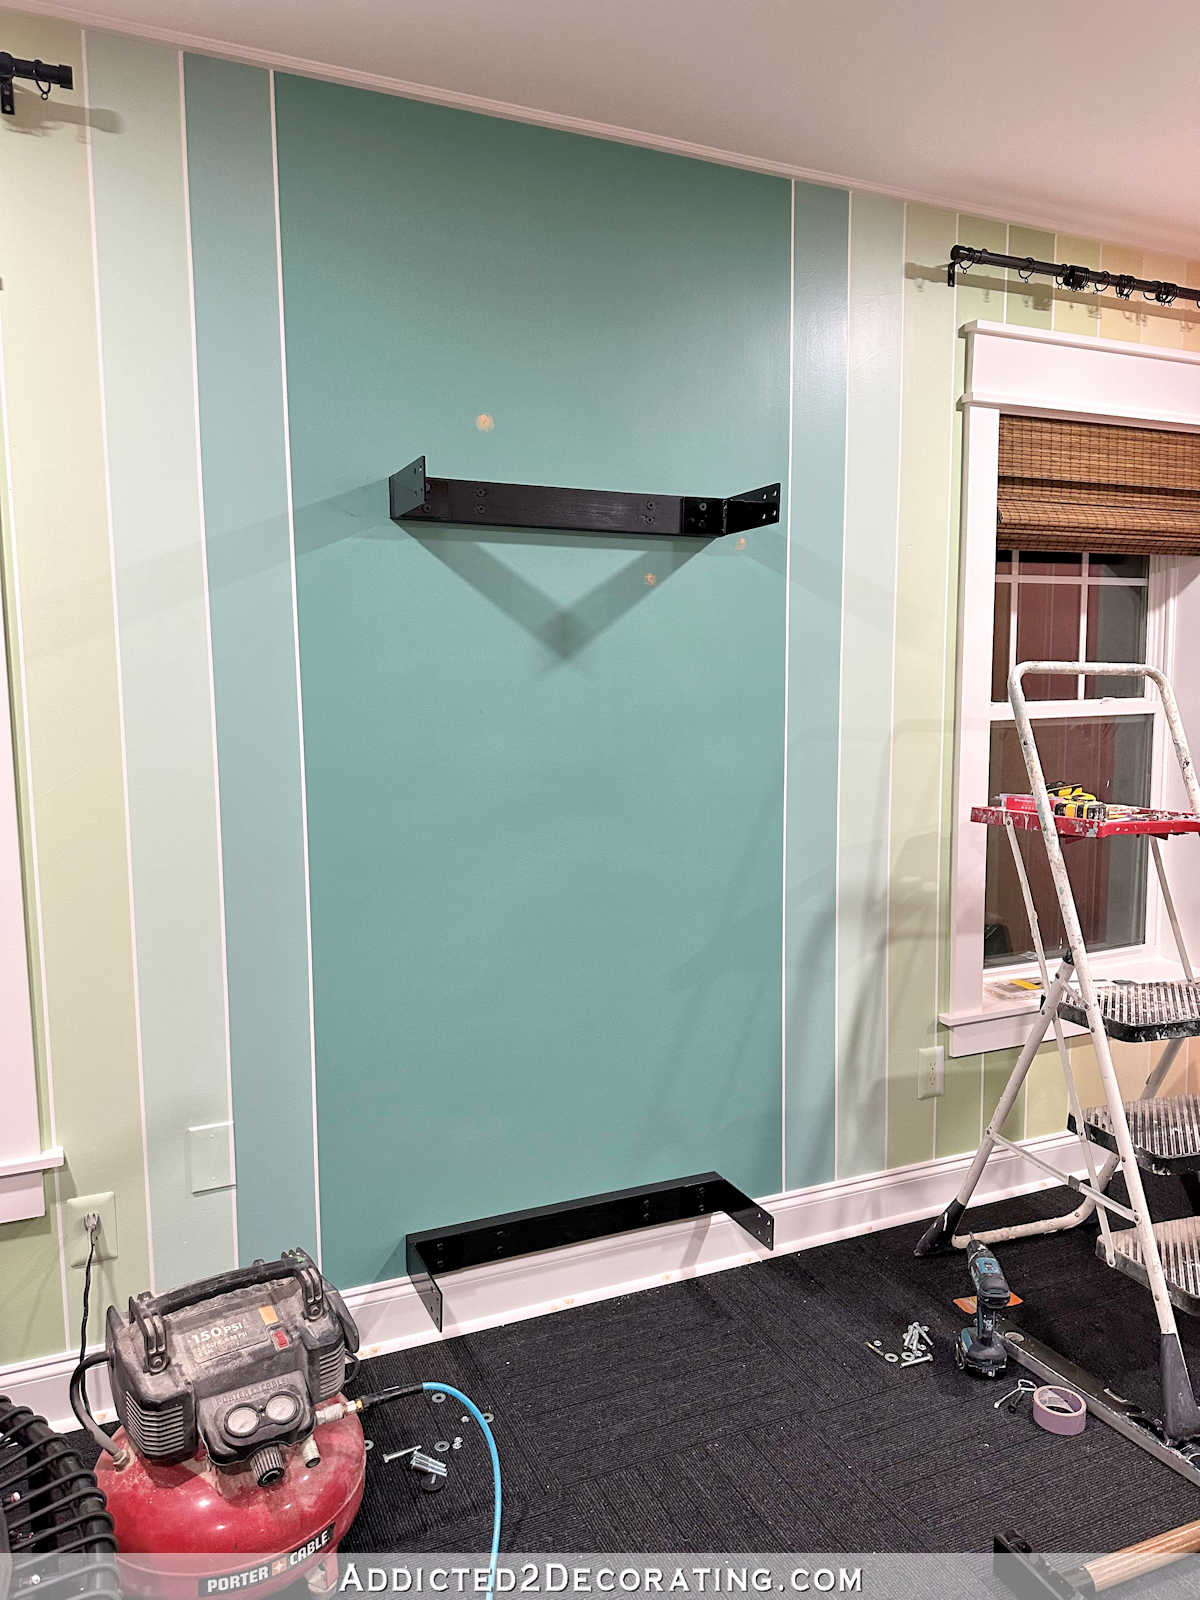
For obvious reasons, the Swedish ladder has to be secured to studs with lag screws. (I actually used something different, but more on that below.) So after getting the whole thing put together again (I had taken it apart to stain the bars), I had to figure out how to install it on a wall where the brackets on the Swedish ladder didn’t line up with the studs in the wall. The solution I came up with was to use 2″ x 4″ lumber, secure that to the studs, and then attach the brackets on the Swedish ladder to the 2″ x 4″ lumber.
As I’m sure you know, 2 x 4s aren’t the prettiest lumber. They’re rough, and the edges are rounded. I wanted these to look pretty and finished. So before I could even start on the installation, I took the 2 x 4 to my table saw and cut off just enough of each edge to remove those rounded corners and give them nice, non-rounded corners. And then I sanded the heck out of them, starting with 80-grit sanding discs and working my way up to 150-grit. Once those were prepared, I proceeded with the installation.
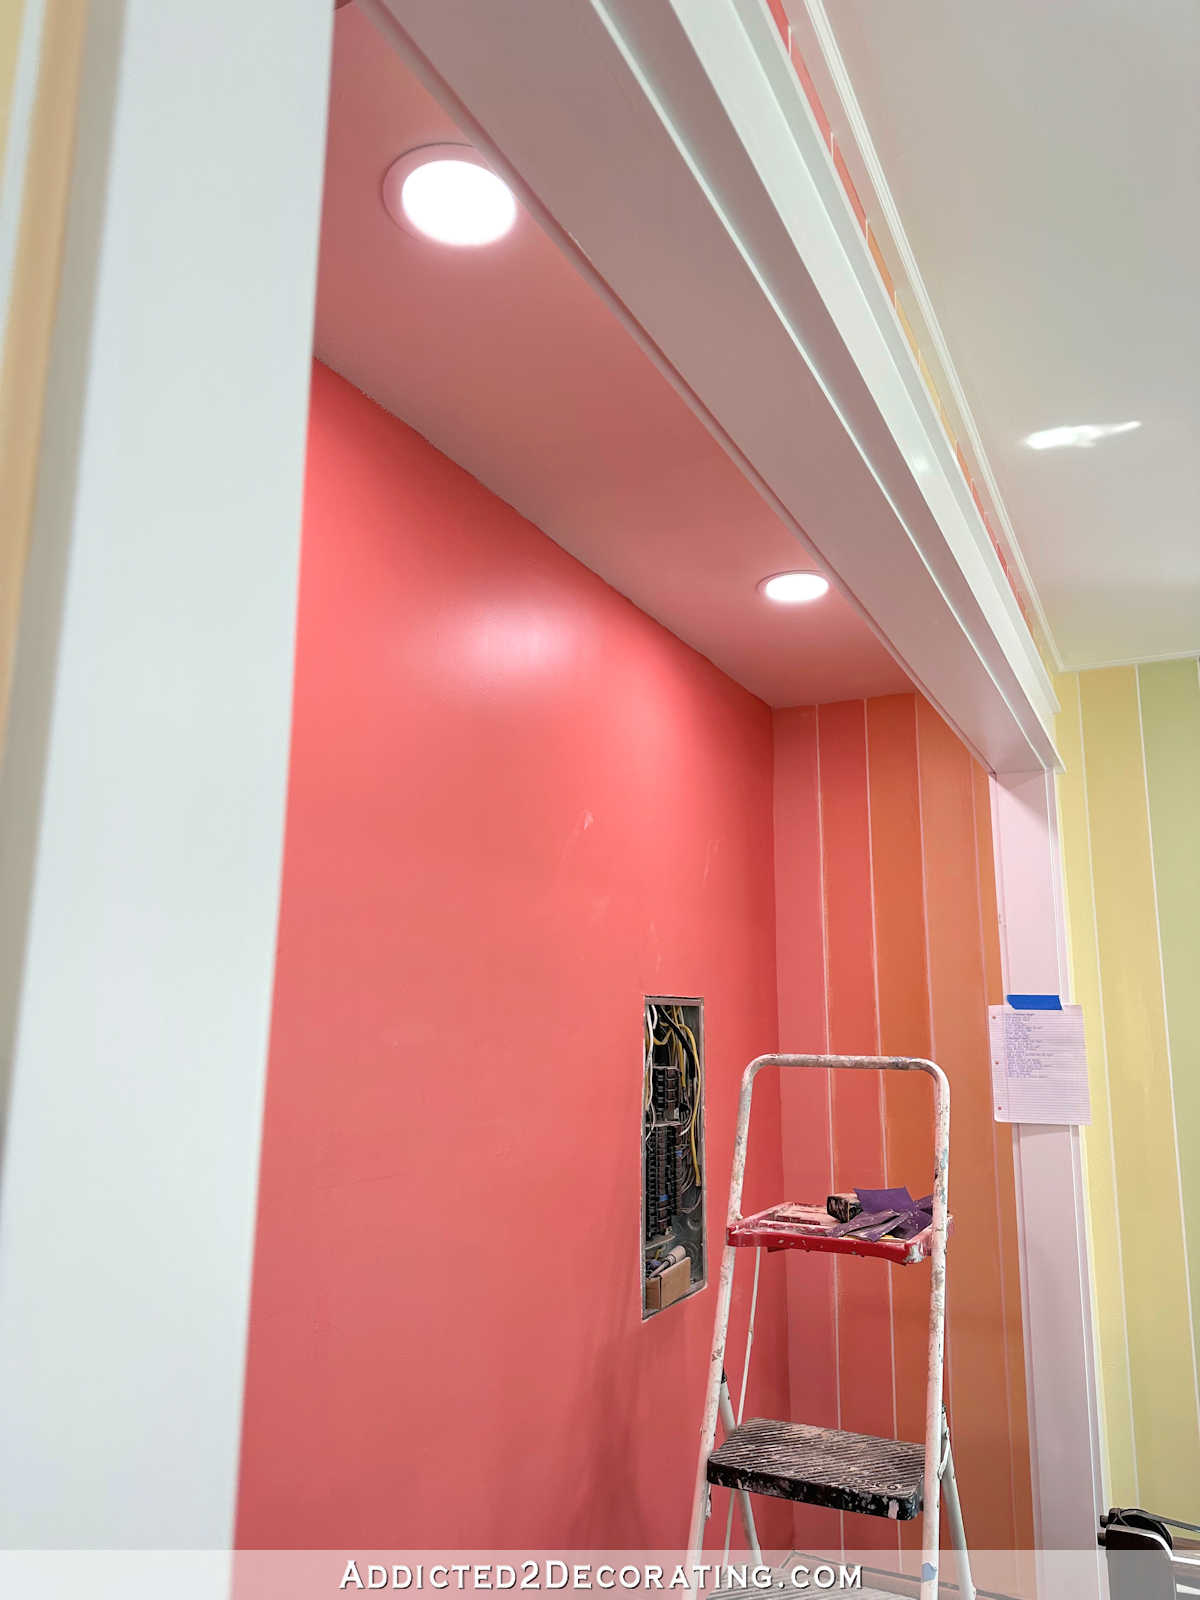
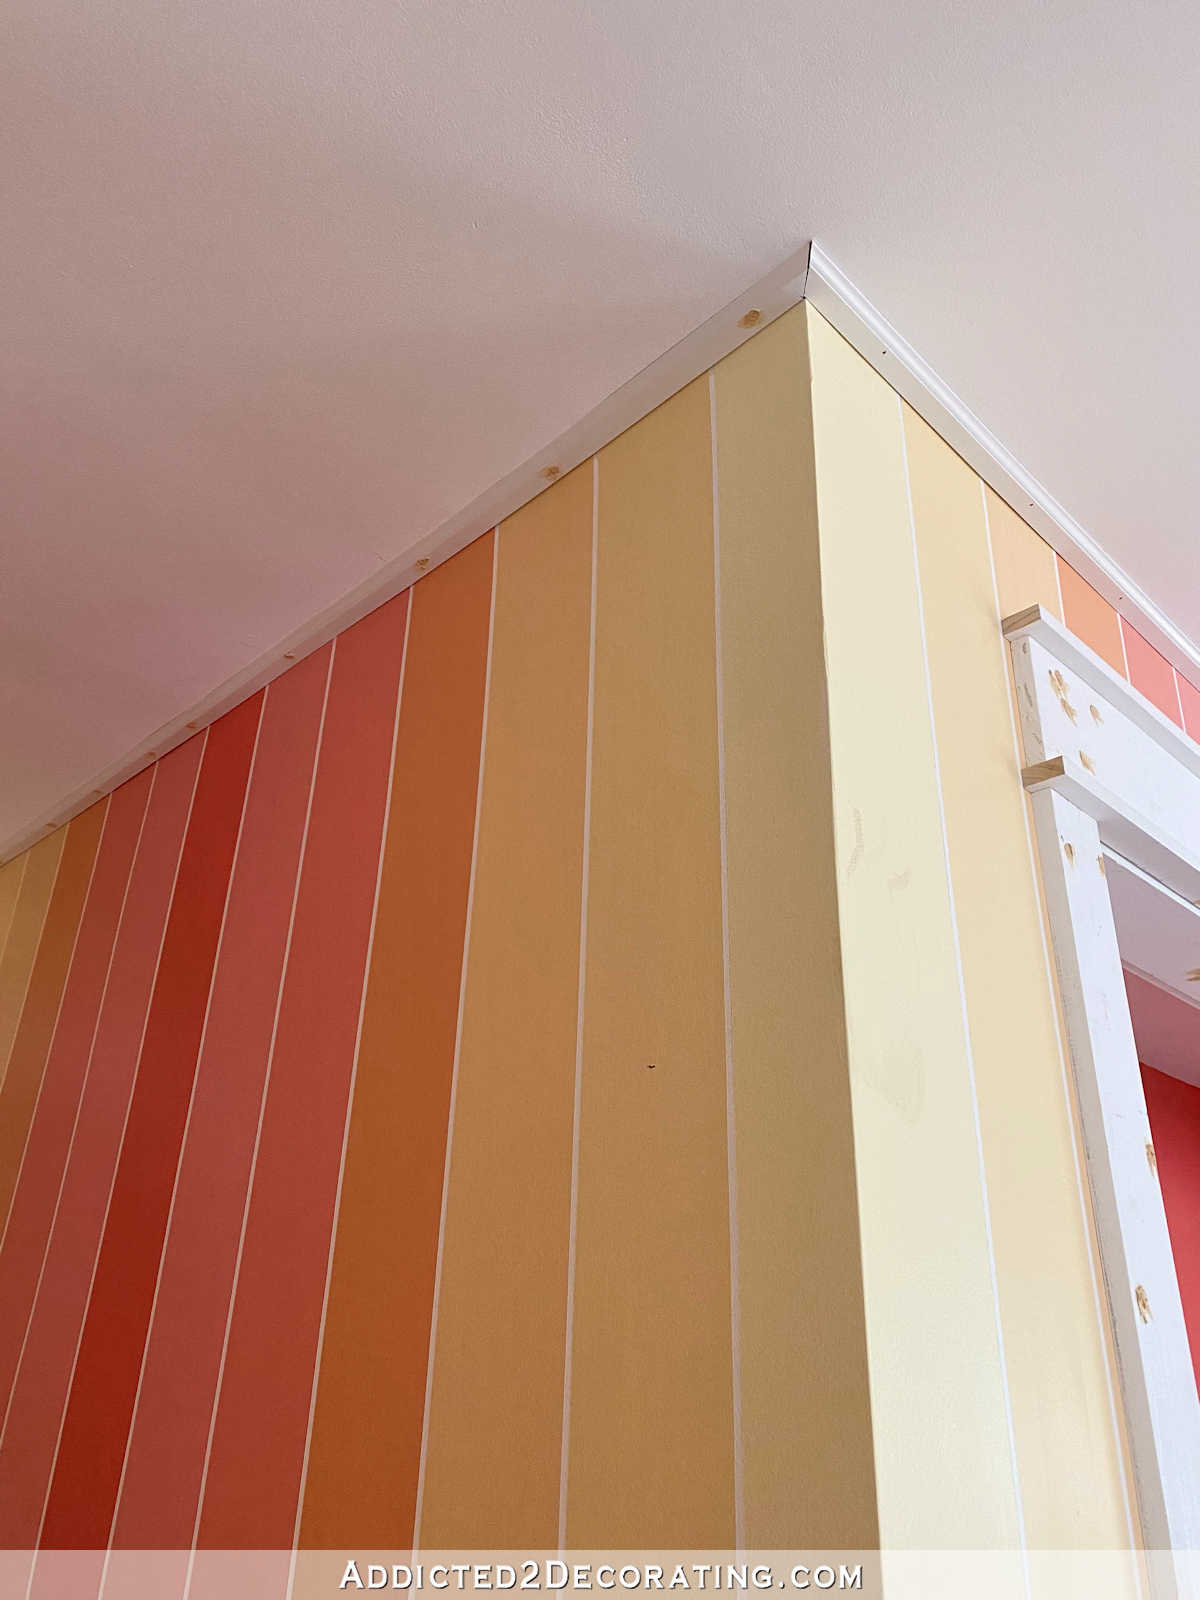
So with the Swedish ladder lying on the floor, I screwed the brackets onto the 2 x 4s, and then stood the whole thing up against the wall. While holding it in place against the wall, I moved my ladder over in front of the Swedish ladder, got up onto my ladder, held the Swedish ladder in place with my head, and then had my hands free to use my stud finder and then screw the 2 x 4 into the studs. You have to get creative when working by yourself. 😀 Here’s what it looked like at that point.
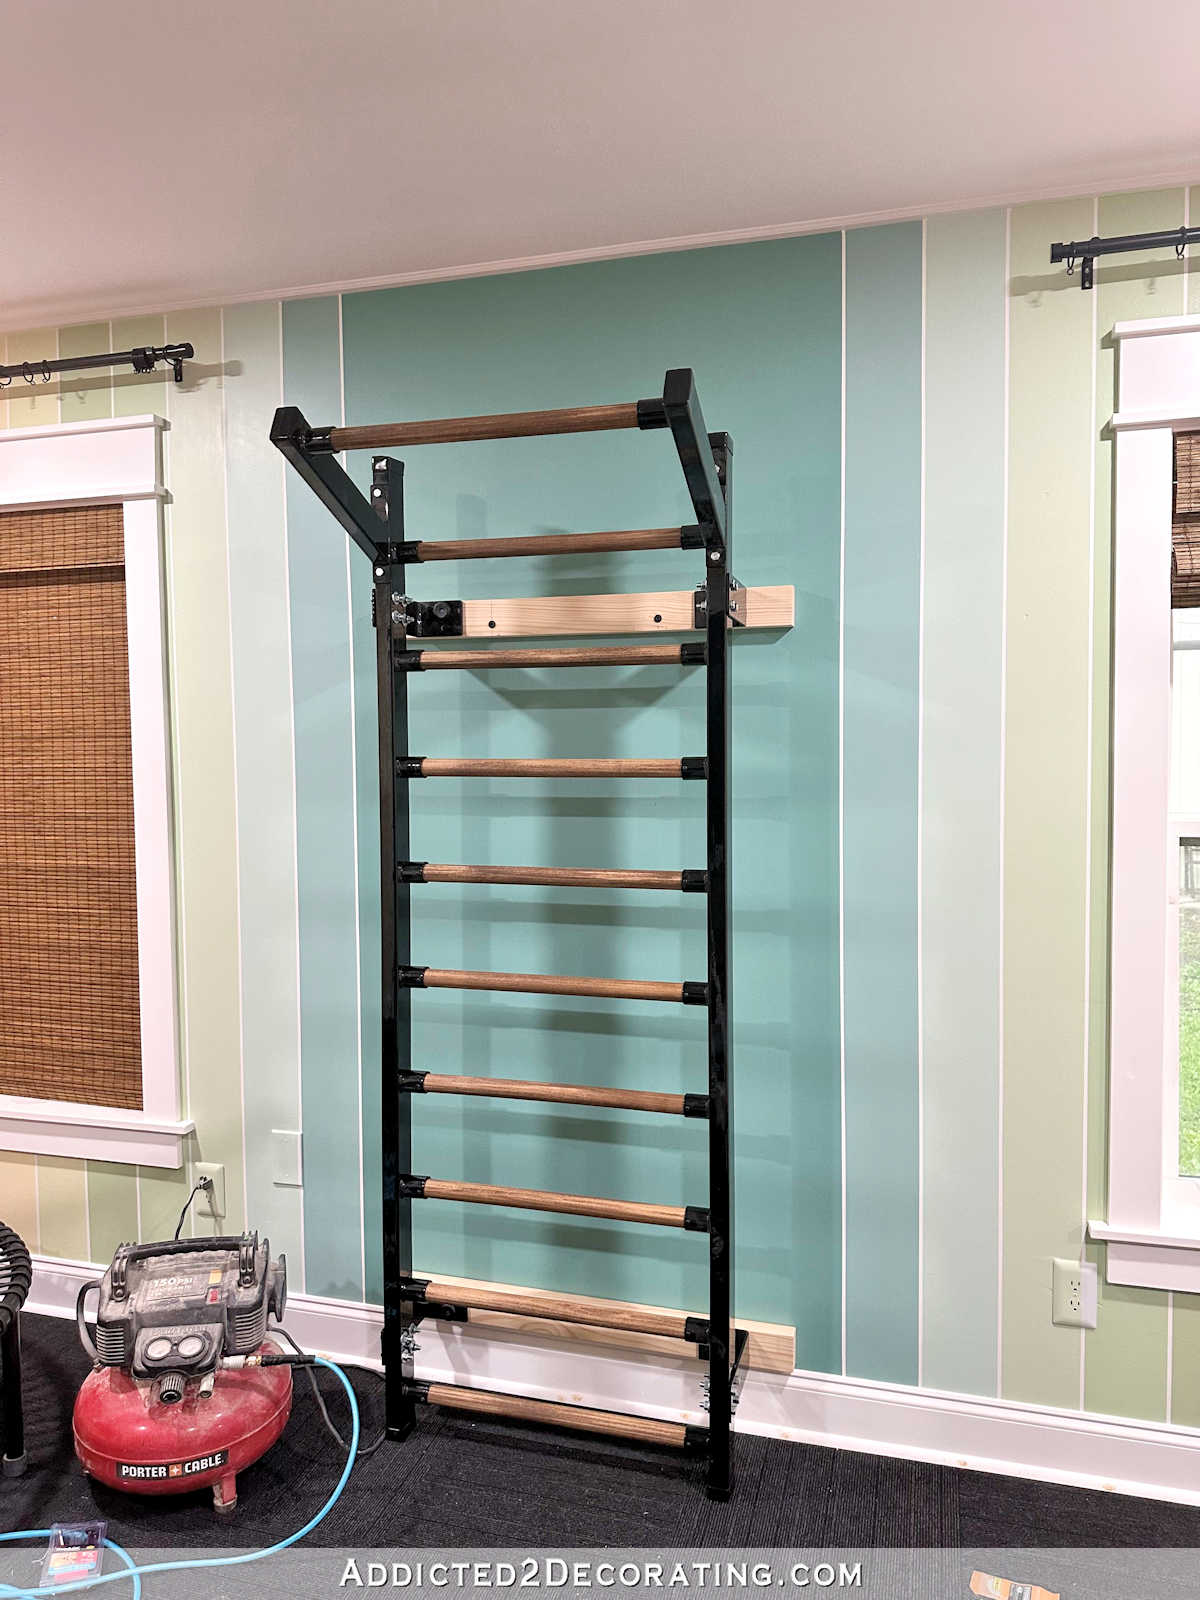
I wanted to get everything in place, and get at least two screws in to each 2 x 4 before cutting the 2 x 4s to size and finishing them. I was unsure about what to do with those 2 x 4s as far as the finish. I had three options. I could (1) paint them the wall color, (2) stain them the walnut color, or (3) paint them black.
So after I got it installed to the point that you see above, I actually removed the Swedish ladder from the wall, removed the brackets, and removed the 2 x 4s from the wall so that I could cut them to the exact width I needed them to be and finish them. At that point, I thought I might stain them, and I needed to do that and then let them dry before reinstalling them.
But after thinking about it more, I decided to paint them black so that they would look like part of the frame. That meant that I could reinstall the unfinished 2 x 4s, and then paint them after they were on the wall.
I didn’t use the lag screws that came with the Swedish ladder. Instead, I used these HeadLOK screws, which I find so much easier to use than lag screws. These don’t require pre-drilling, and they won’t split the wood. And they go in so easily.
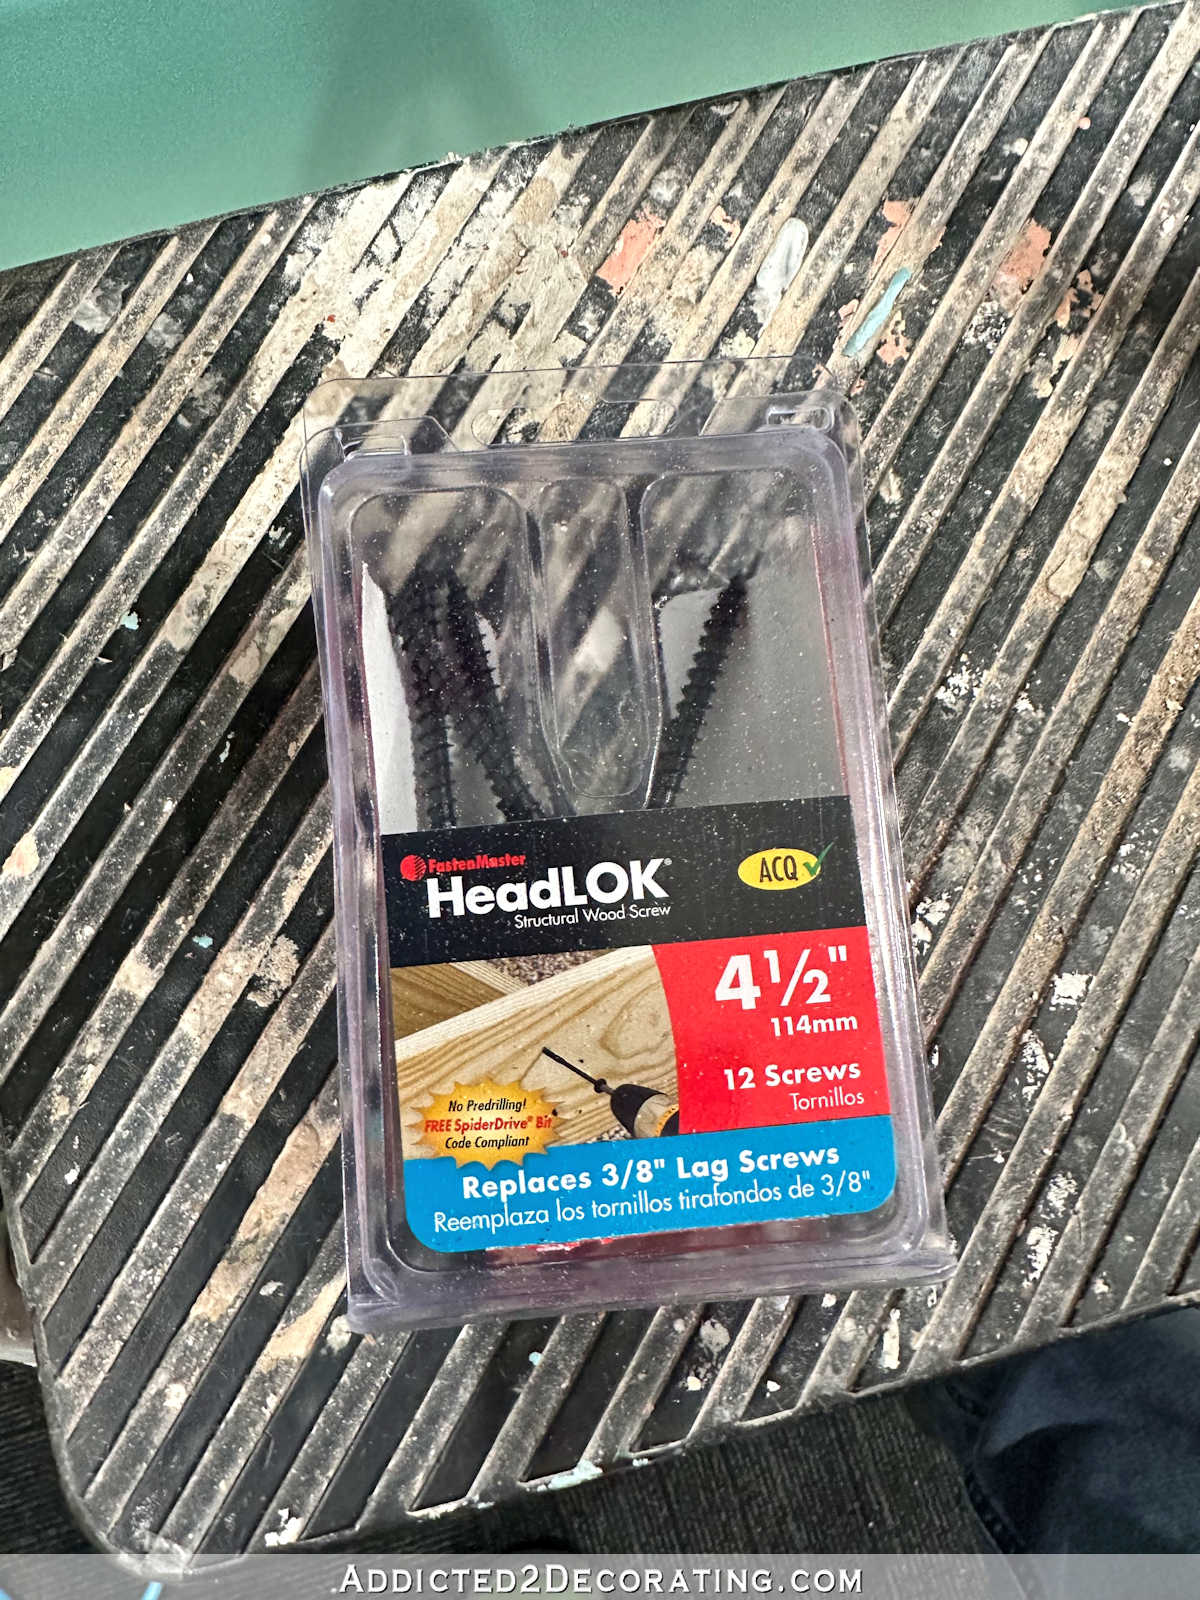
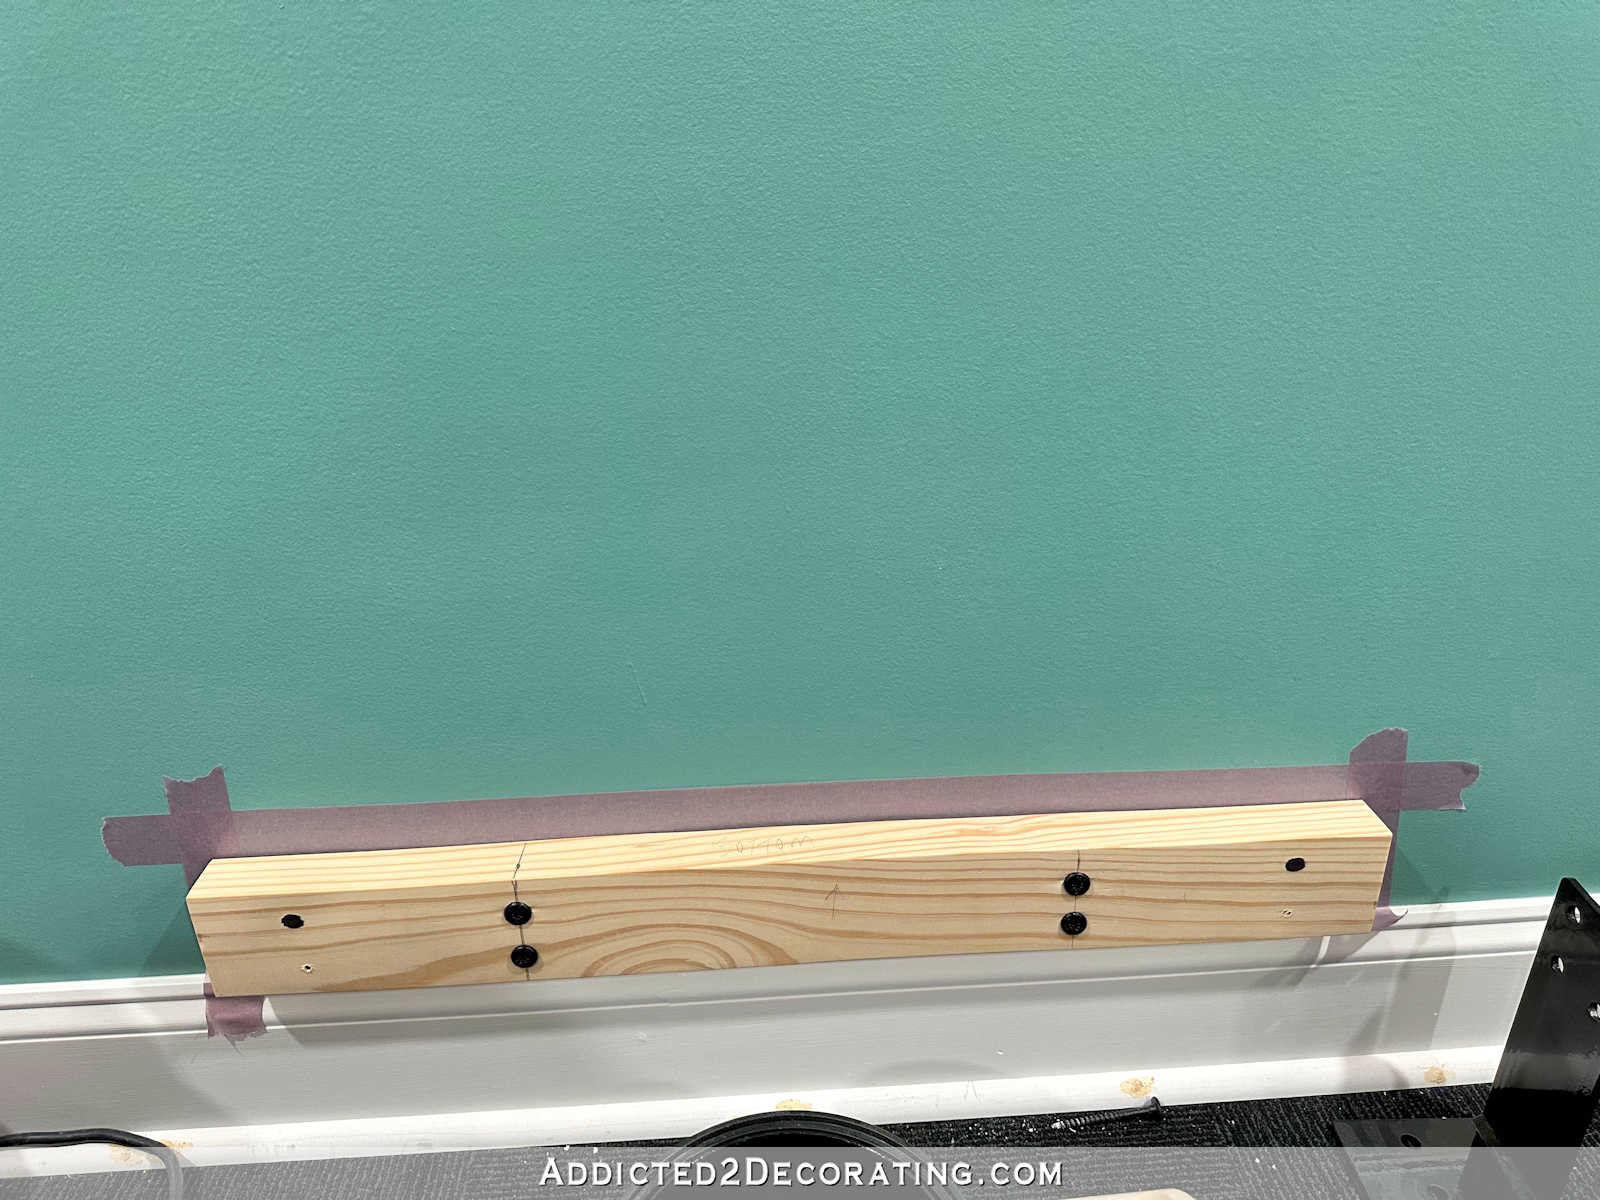
They require a special driver bit, but each package comes with the driver bit, so it’s not a separate purchase. Here’s what the screw looks like. To secure the 2 x 4s to the studs, I used 4.5-inch screws.

These work so well, and they snugged the 2 x 4 so securely to the studs, that I had three areas where the drywall screws (or rather, the drywall mud covering the drywall screws) popped out a bit. So those will require some sanding and touch up.

Once the 2 x 4s were secured to the studs, I taped them off and gave them two coats of the same black that I used on the closet walls.
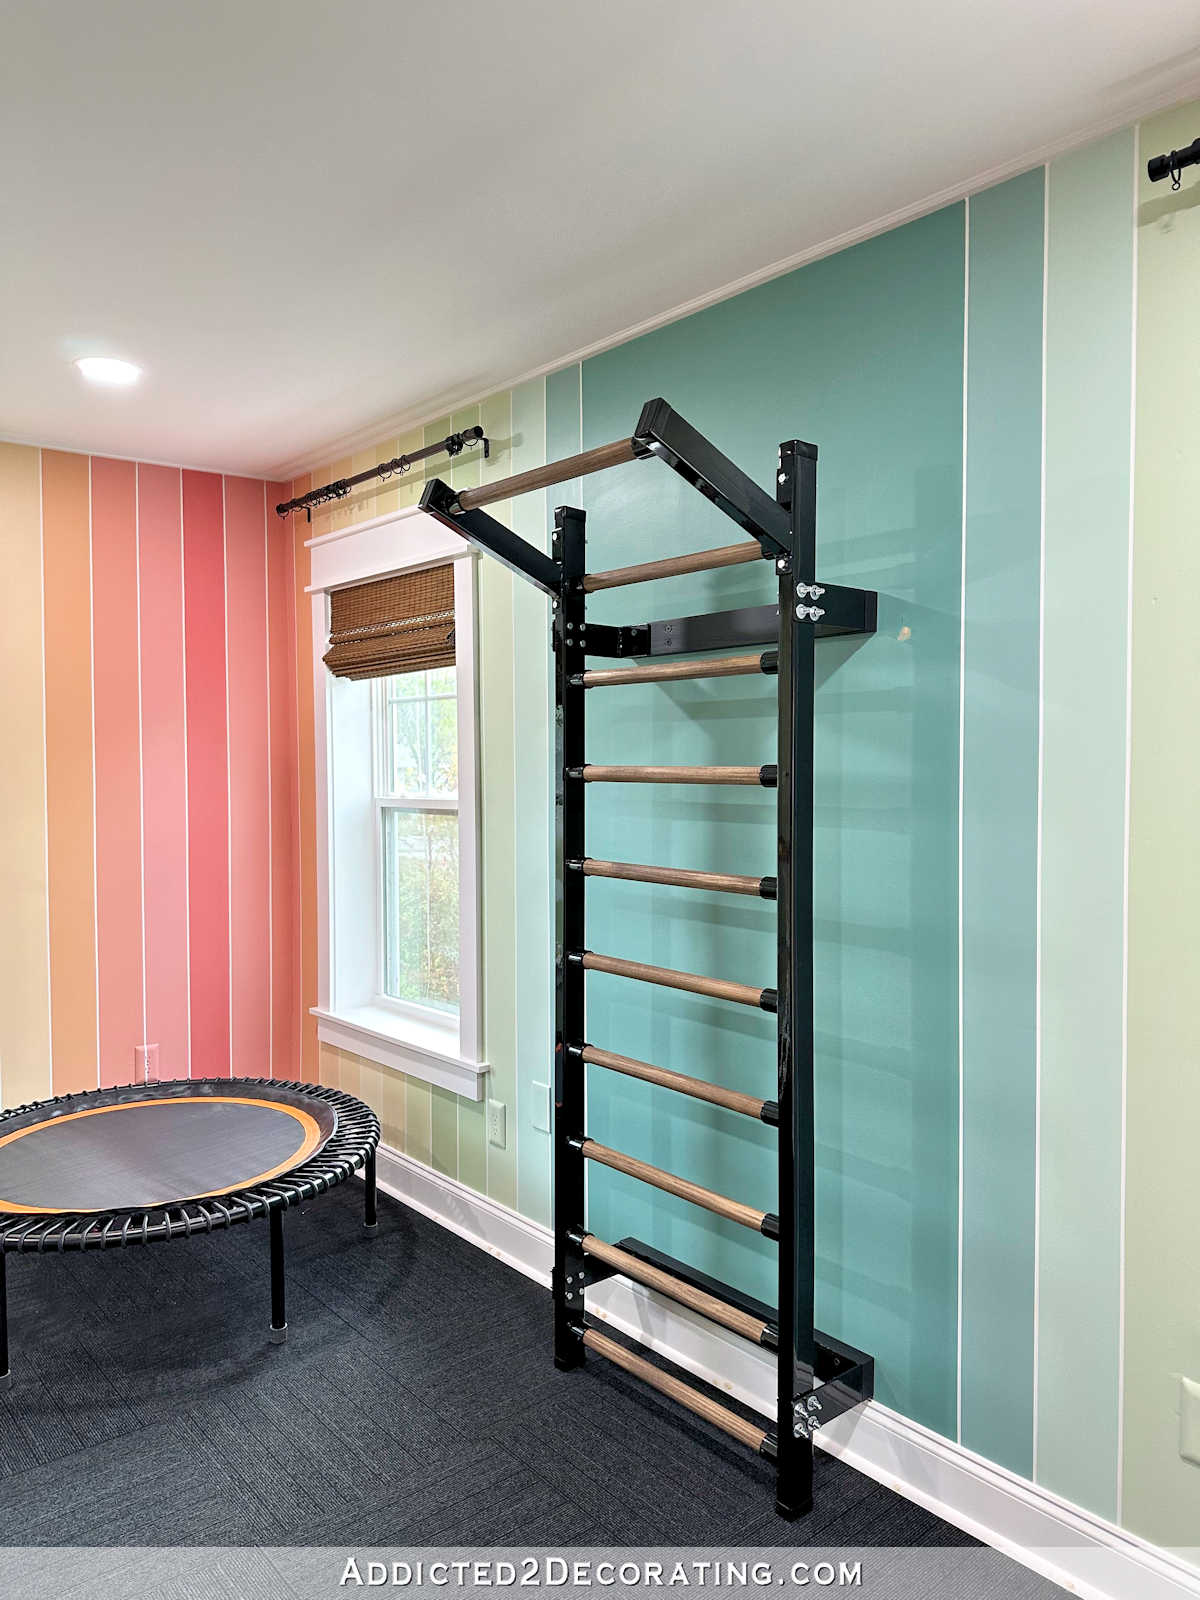
Once that was done, reinstalling the Swedish ladder was fairly easy since the holes had been pre-drilled. I installed the brackets separately this time, and I was very pleased with how it looked with the black 2 x 4s.
And then I put the Swedish ladder back into place, secured all of the bolts, and tightened everything very securely.
I’m sure that a post about “how to install stall bars” is not helpful to anyone, but if you can take away anything from this post, remember those HeadLOK screws. Seriously, if you ever have a project that requires lag screws, grab the HeadLOK screws instead. They are so much easier to use, and they are every bit as secure as lag screws.
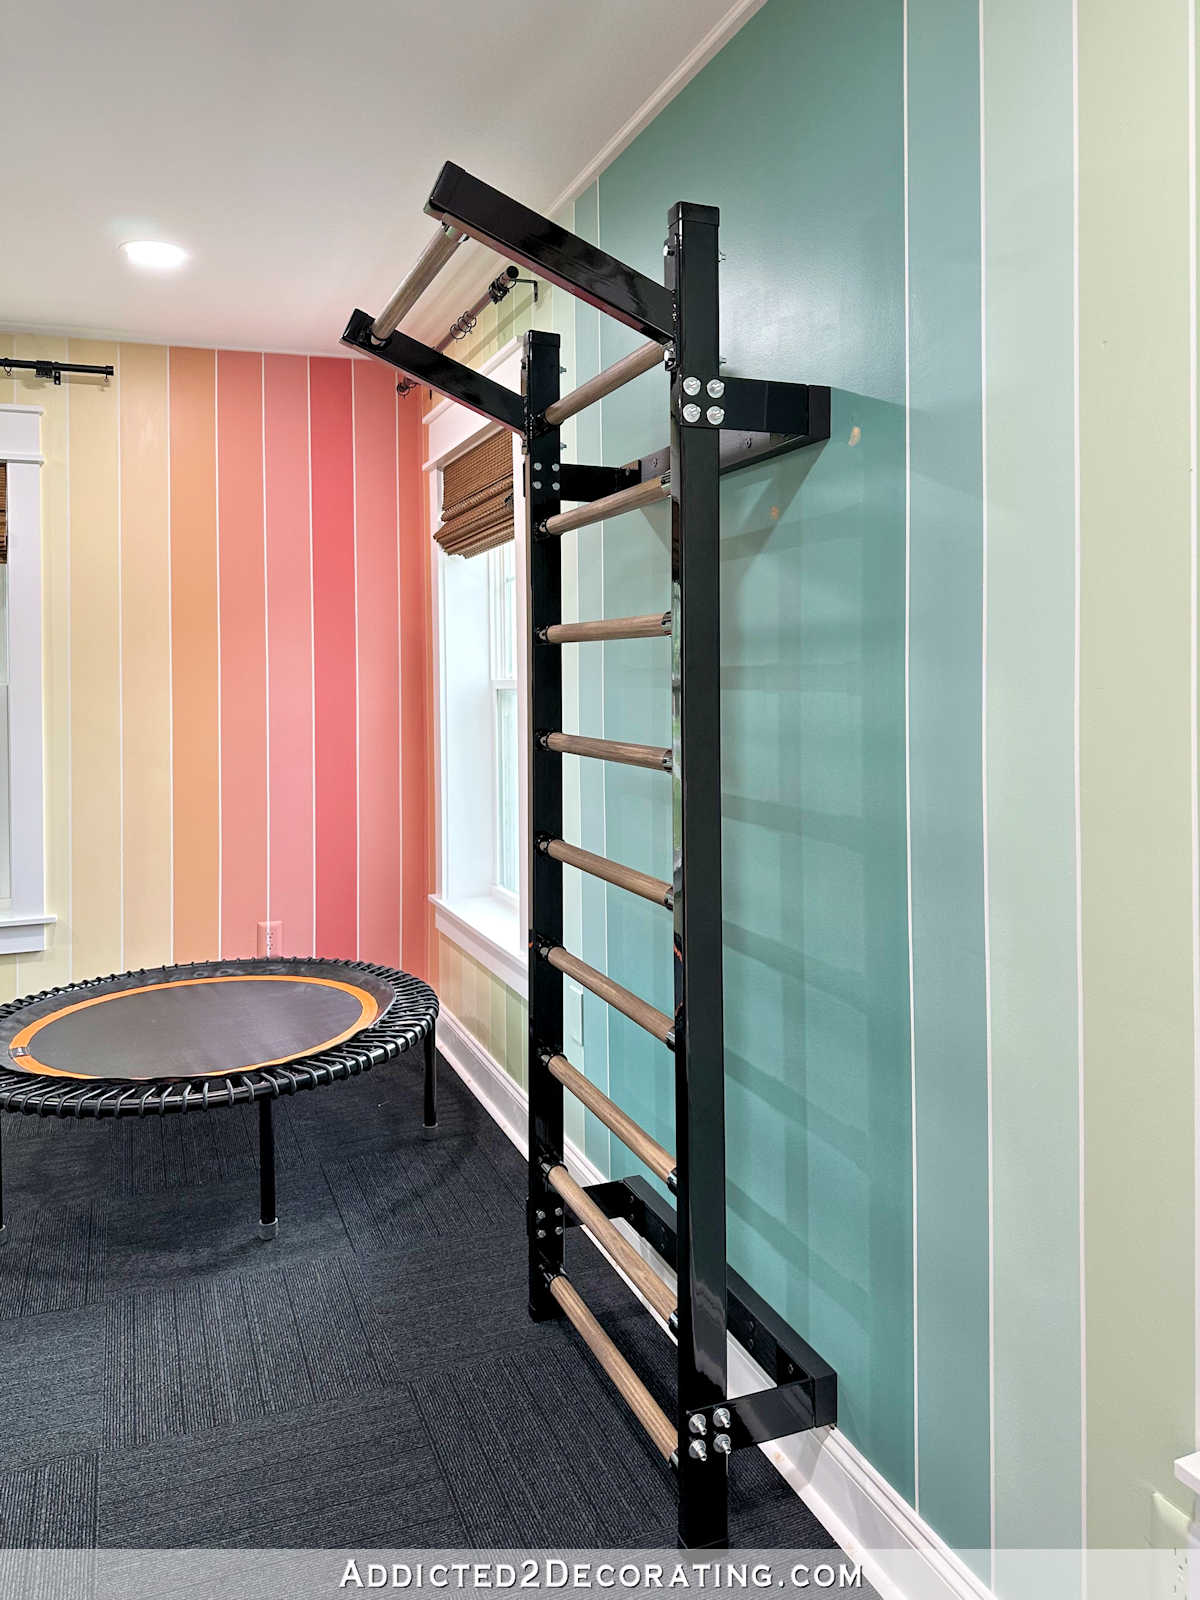
I wasn’t confident at all going into this installation, but I’m very confident now that this Swedish ladder isn’t going anywhere. It is incredibly secure on that wall.

And I got it pretty close to perfectly centered on that wide stripe as possible, just as planned. It’s fun to see a plan come together.

And with that, the room is practically finished. All of the big projects are done, and I have a few small things left to do, like install the light in the entry, and install the ceiling fan. Also, my mom hemmed the curtains for me, so I need to get those ironed and hung back up. Then I have a few paint touchups, and that should be it! I’m hoping to show y’all the final home gym, along with all of the before and afters, early next week.

Addicted 2 Decorating is where I share my DIY and decorating journey as I remodel and decorate the 1948 fixer upper that my husband, Matt, and I bought in 2013. Matt has M.S. and is unable to do physical work, so I do the majority of the work on the house by myself. You can learn more about me here.

It looks awesome!! Good call on the black paint!! And helpful tip on the HeadLOK screws. Amazing work and vision. Looking forward to seeing it all finished 🙂
Love it! It looks like a piece of gym art now. Painting the 2×4’s black was a great call!
As a Norwegian having grown up with these (we had at least 30 in our gym at elementary/middle/high school) I’m wondering why you put it so low to the ground?
Because it’s in a room with an eight foot ceiling. 🙂 If I had a gymnasium with a 20-foot ceiling, it would be higher. But the top bar is a chin up bar, so there has to be room above that bar for my head. Otherwise, I’d be banging my head into the ceiling.
Another major part of the room done! Cool. I’m excited to see Matt’s set up too. Almost ready color this one in too on your floorplan! You are the bomb!
That looks great, black paint was the perfect choice for the 2×4’s. I hadn’t heard of this piece of equipment until you mentioned it here some time ago, but it looks really useful and interesting.
That thing is awesome!
Wow! Another project completed, and a useful addition to your lovely home. Yours is the prettiest gym I’ve ever seen! It would make me smile just to go in there. Now all we need is a video of you using the exercise equipment, lol.
I love this!!! I love your momma hemmed your curtains! my momma would have too! I can only imagine how proud she is of her talented, creative daughter and your blog. I’ve followed from the beginning; I hope you never stop!
What vision you have, it must be so nice to see it come together as you imagined. You make even exercise equipment look amazing!
It looks amazing, we had faith in you that you could do,, and you have, ,,,
😍 beautiful wonderful! Thanks for the how to do tutorial Kristi! Yes I agree that very few people will be installing swedish ladders in their homes however it is still interesting 🤔
Wonderful Kristi! The room is turning out so great! I have a question. What technique do you use to touch up your paint when there are problems to be remedied or corrections to be made? Also, one more question. What is your go-to finish on your paint? Flat, matte, eggshell, etc.? Please forgive me if this is all in one of your posts. I try to keep up, but sometimes I miss some entries. Thank you so much!!!
I try to do touchups using the same application method that was used to apply the paint originally. If I’m touching up a wall that was painted with a roller, I touch up with a tiny roller (more here: https://www.addicted2decorating.com/how-to-touch-up-wall-paint-if-youre-having-trouble-getting-sheens-to-match.html). If I’m touching up something that was brushed, I touch up with a brush. If you mix methods of application, it’s very likely that the sheen won’t match, even if you’re using paint out of the exact same can that was used originally. Application method affects the sheen.
My go-to finish for trim and doors is satin, and for walls I like to use eggshell. I don’t like shiny finishes, so you’ll almost never see me use anything shinier than satin. I can’t stand semi-gloss or glossy paint for 99% of applications. If I want to use a flat finish (which I really do prefer with dark colors), I will only use Benjamin Moore Aura paint. It’s the absolute best flat/matte paint, in my opinion.
The 2X4s aren’t even noticeable at all! The walnut stained bars look much better than the original. Well done!
wow! It’s look great
wow! Your ladder is look great
This looks great! I’m wondering about the quality of these stall bars and if you would recommend them to others looking to buy some?
I’ve loved them so far! I use them just about every day for certain exercises, so from my experience, I definitely recommend them.
Hello! Wondering (if you remember) what size screws you used to secure the bracket to the 2x4s?
Looks great!
I don’t remember exactly, but I’m pretty sure I used shorter HeadLok screws for that. I know that the stall bars came with bolts, but I didn’t use those. I’m pretty sure I found HeadLok screws that were a comparable size.