
Storage Room Update – I’ve Hit A Major Roadblock
I wish that I could tell you that things were going smoothly with the storage room progress, but they’re not. I’ve hit a pretty big roadblock. Here’s how things have gone since Friday.
On Friday, the plumber came over to give me a quote on capping off all of the plumbing to the areas where I don’t need plumbing anymore, and running new plumbing to the corner where I want to put the sink. He was able to give me a ballpark idea of the cost, but in order to give me a precise price, he said he would need to look under the house. Well, that’s a problem because we haven’t had a scuttle hole to the crawl space of our house for many months now. That scuttle hole used to be in the closet area of the home gym which is now our bedroom. And since I didn’t want a scuttle hole in the floor of our bedroom, the plan has been to put the new scuttle hole in this storage room. But on Friday when he was here, I hadn’t even finished removing the old tile, so there was no new scuttle hole.
I told him that I was certain that I could get the rest of the tile and the concrete board up over the weekend, and then I would either have a new scuttle hole cut in the plywood subfloor or I would just unscrew a piece of the plywood subfloor and remove it so that he could take a look underneath. He said that was no problem, and he’d just swing by very quickly on Monday morning and take a look underneath the house.
So over the weekend, I got to work. I finally removed the toilet. I got the rest of the tile removed from the concrete board, bagged up, and taken out of the room. And then I started trying to take up the concrete board. For some reason, I thought it would be a simple task that involved unscrewing the concrete boards from the plywood subfloor and taking them out of the room one by one.
But after I unscrewed the first board, it didn’t budge. I couldn’t figure out why. Had I missed some screws? Why couldn’t I easily pry up the board from the floor? So I got out my phone, opened up my blog, and searched for the post that I wrote all those years ago when I remodeled this bathroom to review the process I had used to put down the concrete board. And that’s when I realized that the concrete boards weren’t just screwed to the plywood subfloor, but they were also mortared to the plywood! I had totally forgotten about that.
That’s the proper way to do it, so hurray for Past Kristi doing things right. But Past Kristi has made Current Kristi’s work an absolute nightmare. I worked and worked and worked for what seemed like hours to get this concrete board up. I used my hammer to try to crack it and chip it off of the plywood. I used my prybar and hammer to try to get underneath it. I used my Dremel Multi-Max to try to get underneath it.
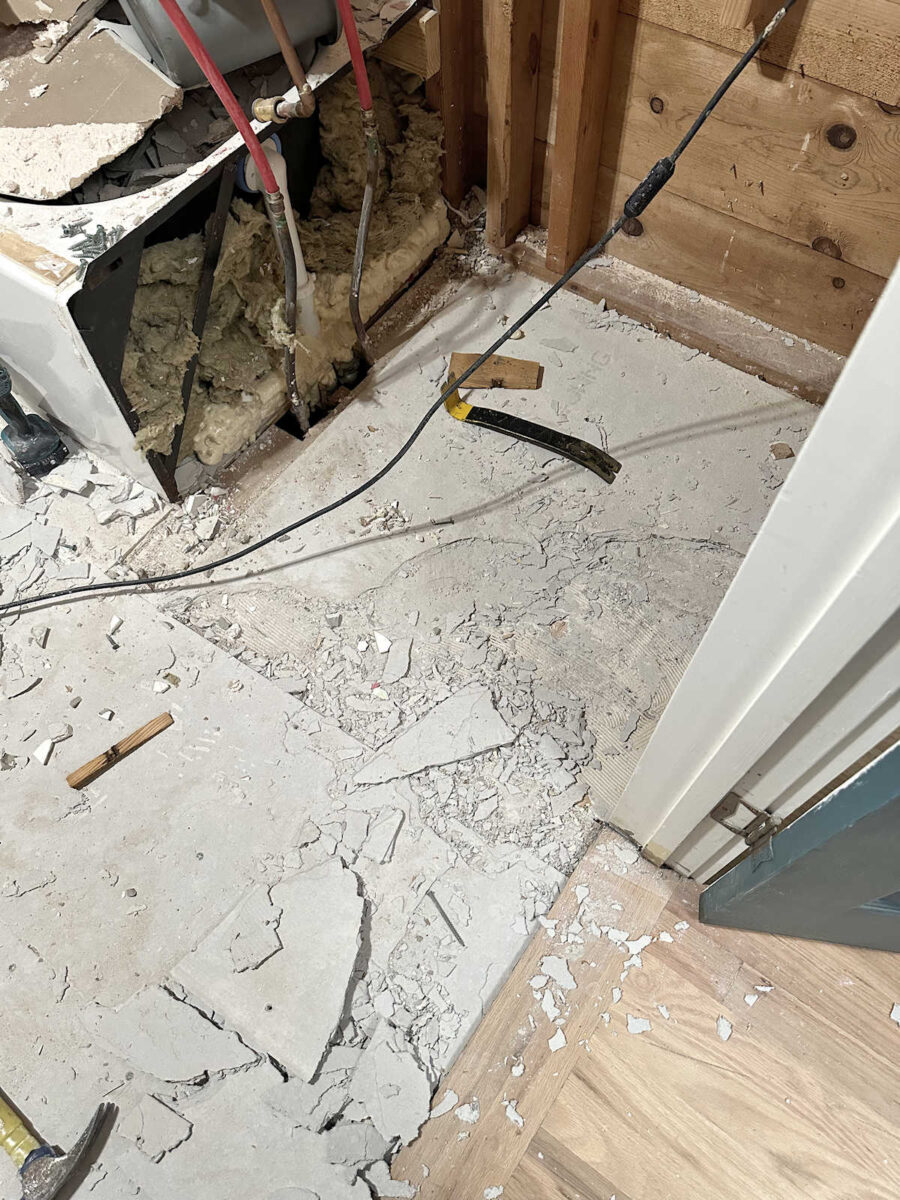
And after all of that work and all of that time, I had only removed this much.
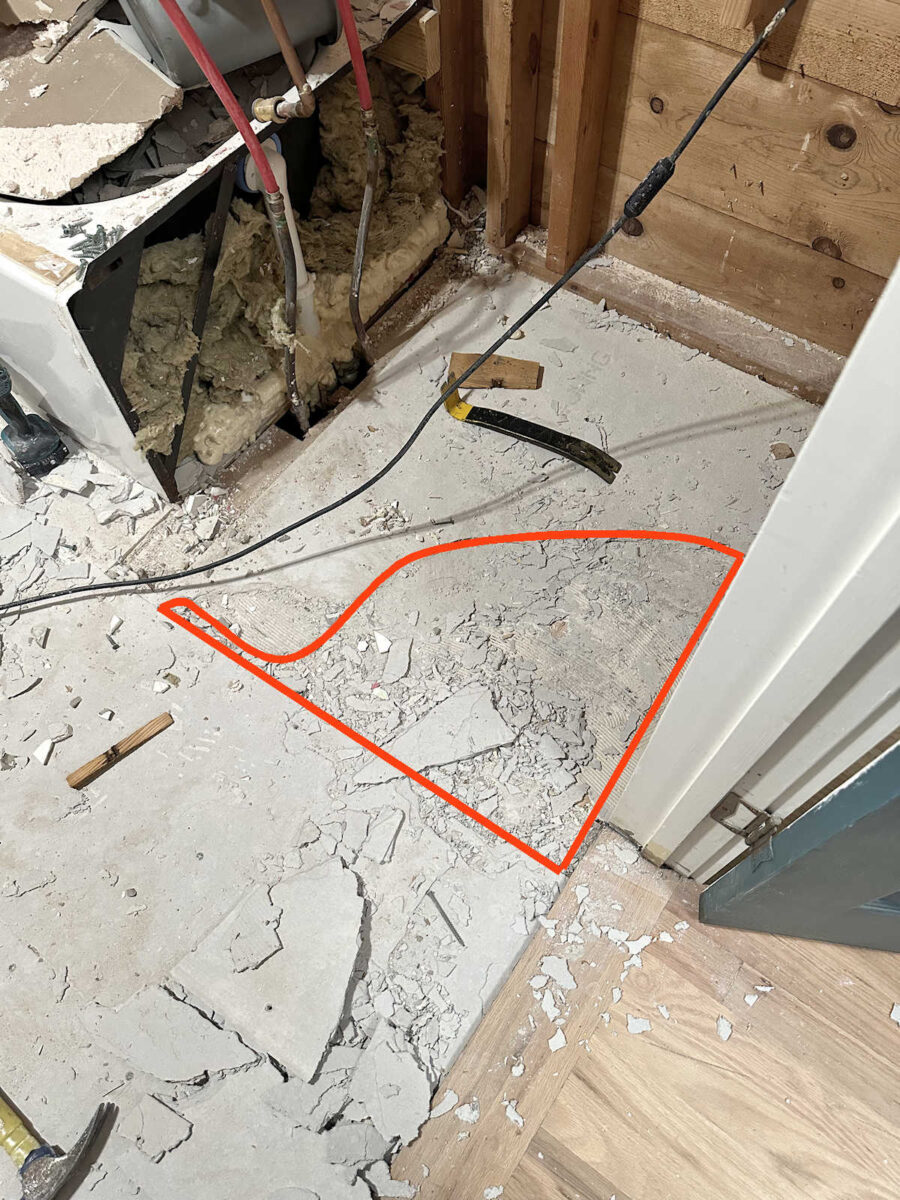
I thought about buying a flat blade for my hammer drill, which is a great tool for getting tile off of a floor. But I was afraid that it would also gouge my plywood subfloor. Even just using the hammer, prybar, and Dremel, I had already made a couple of gouges in the plywood, so I knew that the risk would be even greater with a more powerful tool. So I quit. It’s not often that I give up, but I had to take some time to clear my head, get past my frustration, and come up with a clear plan.
I really wanted to continue the hardwood flooring in this room not only because I think it would look nice to continue the flooring from the foyer, but also, I already have three boxes of the hardwood flooring on hand left over from when the new flooring was installed in the rest of this area (foyer, closet, and bedroom). And spending less out-of-pocket money right now for this project was a huge plus for me. But the only way to get the hardwood flooring in this room seemed to be taking up not only the concrete board, but also the plywood subfloor and replacing the subfloor with new plywood.
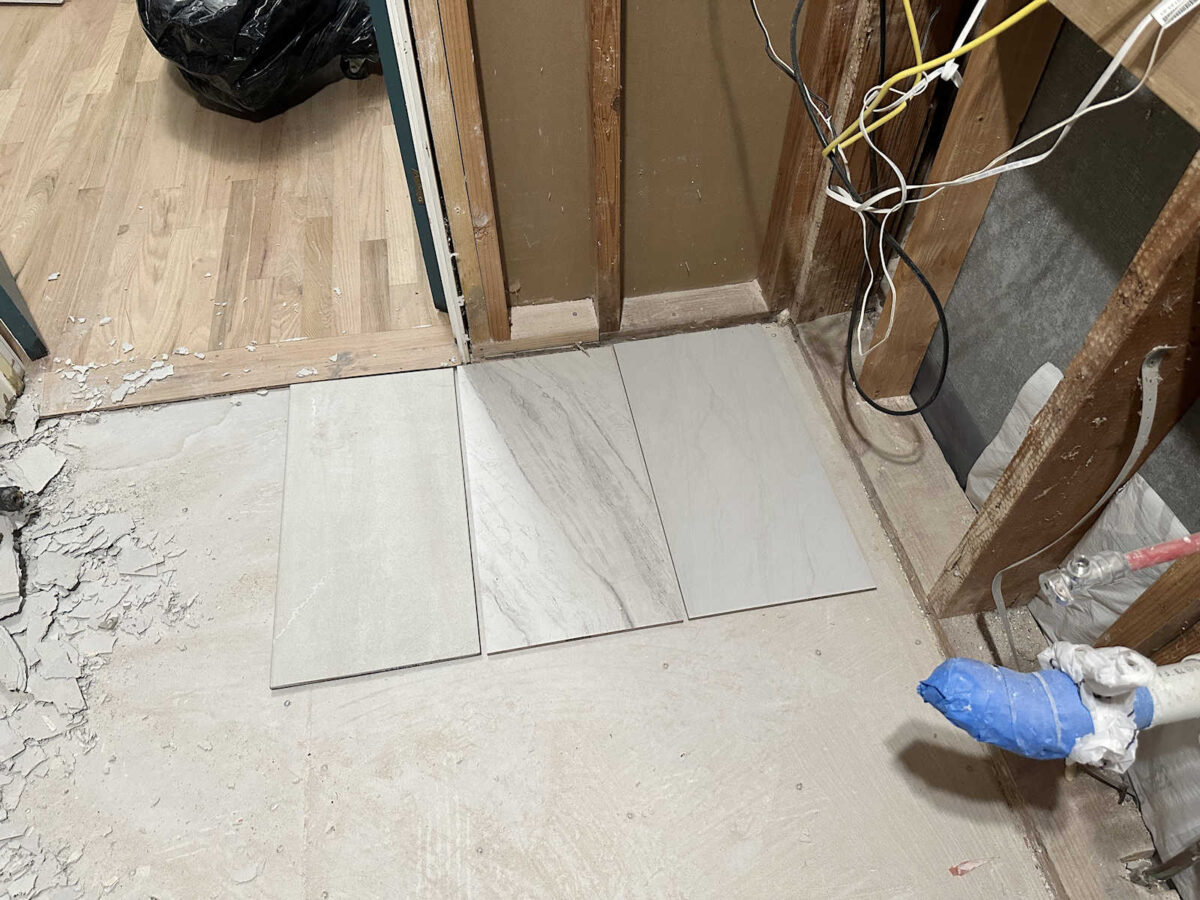
I haven’t completely ruled out that options, and I’ll explain why in a minute. But I also considered another option. Since the old tile had come up so cleanly, my second option was to simply put down new tile. So I headed to Home Depot to check out the options. I only found three that I like of the ones available in stock. I brought them home to look at them in the room.
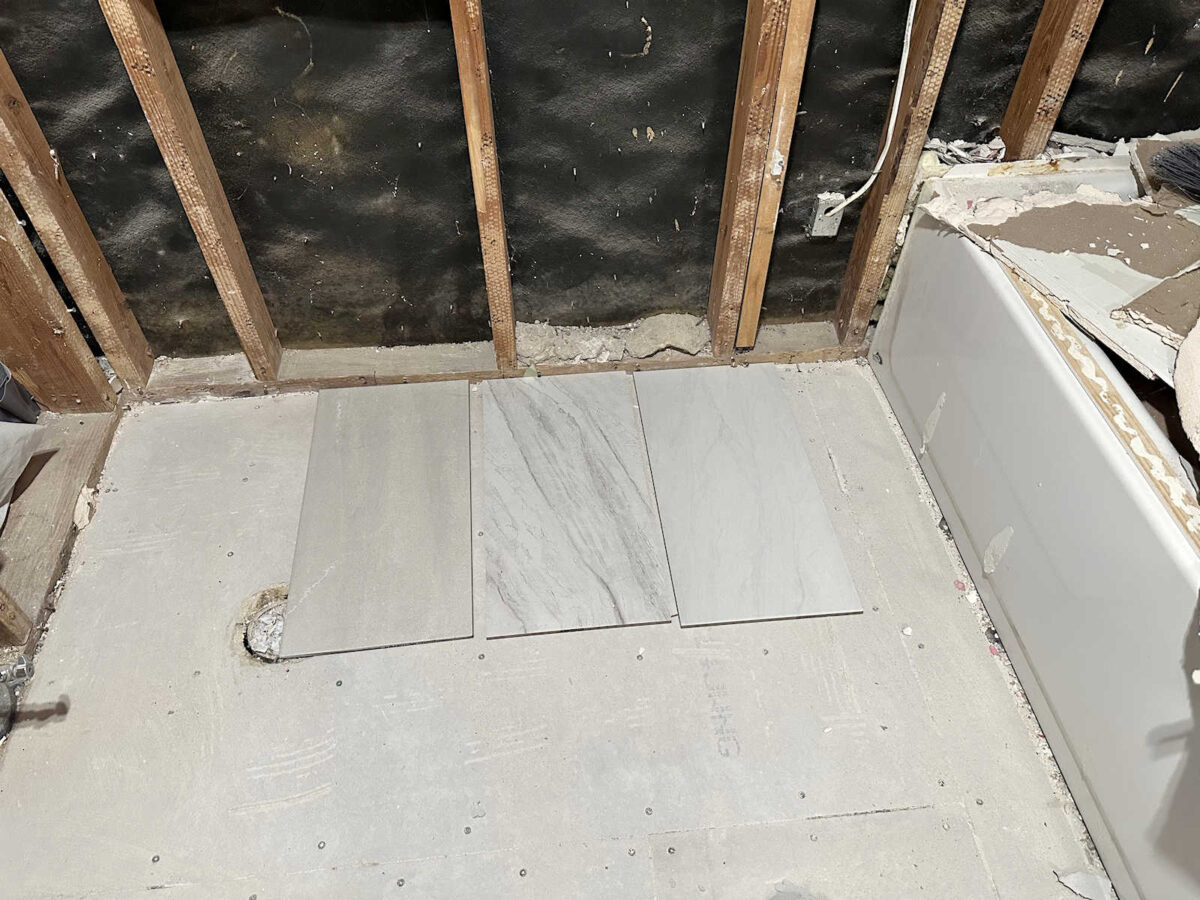
Of the three, the one on the left is my favorite (although, it seems to have a slight green undertone, which I don’t love) with the one on the right as a runner up. I don’t like the heavy veins in the middle one.
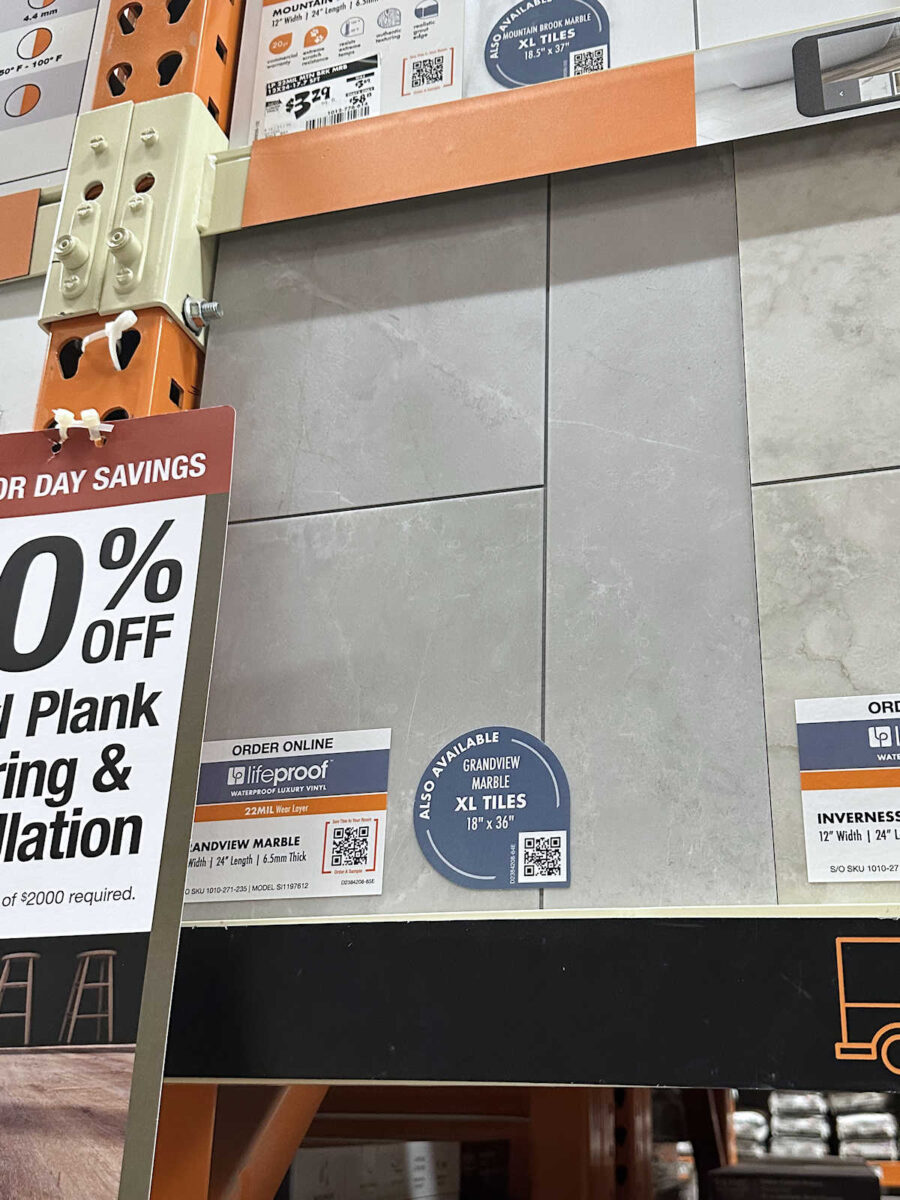
But while I was there, I also checked out other options since the idea of laying real tile leaves me with a sense of dread. It’s a project that I hadn’t planned for, so I just can’t make myself get excited about installing tile. So I also looked at the vinyl tile. Of the options, this Lifeproof Grandview Marble is the only one that I liked.
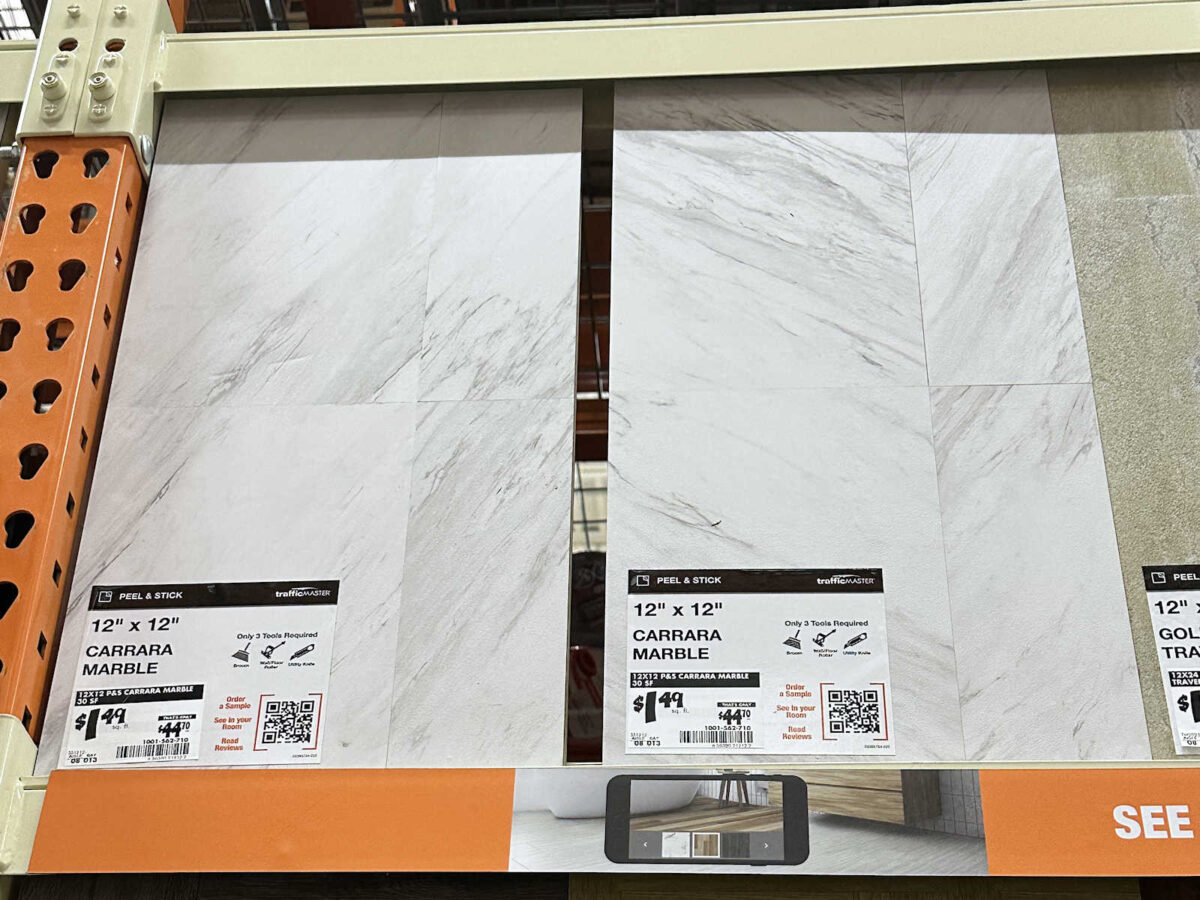
And I’m also not opposed to peel-and-stick tiles. After all, it’s just a storage room. Of those options, I liked this Carrara Marble…
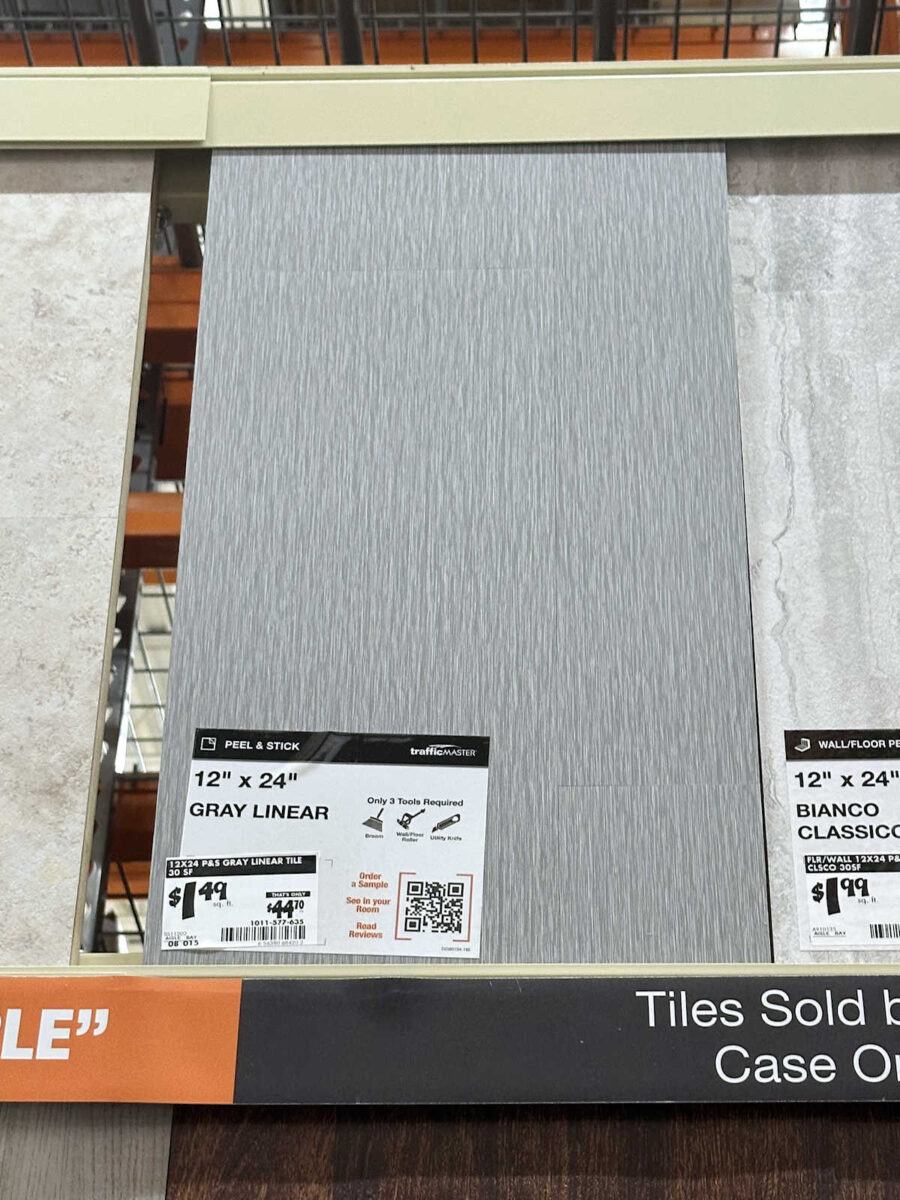
And I also liked this Gray Linear…
Here’s the problem. If I just repair the small area that I messed up on the concrete board (I have a plan for that) and then put new tile over it, I have no idea where to cut my scuttle hole. I was really counting on being able to take the concrete board up and then unscrewing a piece of the plywood subfloor and taking it up so that I could get a visual and accurate measurements of where the floor joists are in the room. Then I’d know exactly where to cut the plywood for the scuttle hole.
Without being able to do that, I’m just guessing. I’d have to cut a random hole in the area where I want the scuttle hole that’s large enough for me to see underneath the floor to determine exactly where the joists are and then mark exactly where to cut the scuttle hole. Either way, there’s really no simple option at this point. *Sigh* Just like all of the other roadblocks I’ve hit in past projects on this house, I know that I’ll figure it out, and I’ll eventually be at a place in this project where I’ll look back on this and think to myself, “That really wasn’t the big deal I thought it was at the time.” It happens every single time. But at the current moment, it feels like I’m stuck with no good options and way more work than I had bargained for.

Addicted 2 Decorating is where I share my DIY and decorating journey as I remodel and decorate the 1948 fixer upper that my husband, Matt, and I bought in 2013. Matt has M.S. and is unable to do physical work, so I do the majority of the work on the house by myself. You can learn more about me here.
Oh, my gosh. I’m so sorry you ran into this roadblock. Is there a way to get under the house from the sunroom or the sealed off bathroom? I’m sure you’ll figure something out. I do like the ceramic tile and think it would work well if you can’t use the wood flooring. Would you be able to use the wood in the remodeled sunroom down the road?
Fair warning:I used peel and stick vinyl tile from Home Depot 5 years ago and the colored paper layer that’s laminated to the top has peeled off a couple, there’s chips in a couple and the black adhesive is oozing up at the cracks on a few. I did grout them which the listing said was okay and I definitely wouldn’t do that again either.
You’ve got this. It is just more work disguised as a problem, that will be easy to overcome the minute you get the board up. I love the floor options if you go the tile route, they look great and even if this is just a “storage” room, it will still be a masterpiece. Remember to breathe, and that everything will work out just right.
Cheers to you, Matt and the Fur Contracting Crew!
If understand this correctly, you plan to remove all the cement board and plywood down to the joists. The issue is you don’t know where those joists are located. If that’s the case, maybe you can set a circular saw blade to a depth of 1/2″ (or whatever you think the subfloor depth is) and cut a 12″ square for starters. If you take shallow cuts until you can get a chunk of sub floor removed, you’ve be able to locate the joists. And if you happen to cut unto one, it should only be a small knick. Hope that makes sense.
I agree, easy to decide where to make final cuts. Or measure from wall into the room, using the 16″ on center measure for beam spacing. Cut the 12″ square, and figure from there. I’m not sure why people are suggesting cutting the hole under the tub, unless they mean just for exploratory access. That gives more repairs to do. When this happens to me, I walk away, come back later with a clear mind. Then the problem usually finds a solution. Good luck.
Have you removed the tub? What is under there? Any chance it is just plywood?
I was going to suggest this as well.
The cement board is under there. She wanted a sturdy subfloor.
https://www.addicted2decorating.com/bathroom-rebuild-begins-plus-new-tub.html
Order a tiny inspection camera from Amazon. All you have to do is drill a small hole to put the camera through!! https://a.co/d/0dCrDoUH
That is the best idea for her to pursue. And not expensive
Wonder if they can be rented from a tool rental store 👍
Hi there,
I was wondering if you could pot the scuttle hole where the bath tub is? For the tiles I like the right one but even if I love wood floor like the rest, tiles might be easier to clean.
This comment has nothing to with this post. I remember you saying you plan to use IKEA shelving for this storage room. Just want to make sure you know their storage solutions are on sale right now.
I know nothing about building stuff…but I so enjoy watching the process of ALL of it…at my home and yours…especially reading about all your projects and your planning strategies and descriptions and excellent reasons of ‘why’ for certain decisions….So with that disclaimer here’s my question…
I was wondering if you could find the joists with a ‘stud’ finder?…my husband has one and it works for him?…I could search all day and never know what the sound is…
That’s what I was wondering…wouldn’t a stud finder help you get an idea?
What about your pantry for crawlspace access? Not easily visible and not in a public area of the home. I can’t remember if that’s on the same foundation as the rest of the house though. You could also locate it in an area where you know you will ALWAYS have a rug. Just inside the front door? The rug under the bed? Sorry this sucks. 🙁
Oh, I should have read through the other comments first. Under the bath tub would be ideal, I hope that works out for you!
Why don’t you remove the tub and easily cut a scuttle hole there? you said yourslef that you didn’t tile underneath the tub (which is why you went in the hard wood direction) so if you would just finish the demo of the large items you wouldn’t have to get through concrete board – right?
But she did put down cement board.
Well, re-evaluate the plan knowing what you know now. Define the problem, List solutions. Do cost/benefit for solutions (time & cost). Then decide. I’m thinking too much on this what I wrote into a mess. Turn your labor into a cost $300/day for labor (then double, tripple on the mystery demo tasks) to establish a single cost to compare solutions.
My scuttle notes: You had a concern on depth to get under at a point. Part of me defaults to cutting it strategically out and replacing the subfloor if the repair of what you’ve done is minor right now, your alt floor idea may be best.
Ways to investigate:
Do you have a studfinder or inspection camera? An alt is combing the blog for pics of the subfloor and joists… You got a some from the hallway subfloor re-do.
Poss solutions:
1. The cost and energy to redo down to subfloor to use the available oak flooring (labor seems to be a big unkown)
2. Figure out a hole and fix the dent. Explore scuttle in bath (final scuttle) or old bath (temp scuttle). You got that bath you don’t care for.. break into that?
Get the tub out of there, there is no cement board under there. Then Bob’s your uncle, you have access. 🙂 Kara
There IS cement board under the tub though.
Would it work to place the scuttle hole where the bathtub is now? Once you remove that, what is underneath it?
Possibly try what my Mr. uses, it’s called a worm saw, it’s made to go through many layers. You can set the depth to whatever you need to. We had to demo an old bathroom of ours for remodeling. It must have been built on an old covered porch at on time. He ended up cutting through 7 (seven) layers of various types of flooring before he actually hit a floor joist! Crazy work. That saw was a beast, yet it didnt look like much more than a beefy circular saw? But possilby use that to cut spaced stripes and use a pry bar and hammer to break out that flooring. Or hire out some muscle for this task! Best of luck to you!
My 1st thought was what is under the bathtub that you will be removing? Is that also mortar? I always see them using jackhammers on mortar on TV. I have no experience with it, so I’m no help. Good luck, I know you’ll come up with something!
Is it possible to see the joists under the new storage room by removing a small portion near the bottom of the shared wall in the sunroom? Since you’ll eventually be updating that wall sometime, it won’t be something that needs attention right away and allows you to continue this storage room project.
Also. Re flooring: which surface will help keep the transition from foyer to storage room completely level ensuring smooth movement of Matt’s mobility devices.
You are in inspiration! Thank you for sharing your thought processes:-)
Looking at your pictures, it looks like there might not be cement board under the tub. If there isn’t, get the tub out and make the hole there.
If there is cement board under there, maybe drill a six inch hole to get your phone thru and take pictures in every direction. If you come out about 6-8 inches from the wall, that would give you an option. Maybe drill a skinny hole to see if you hit a joist. If you get thru the two layers and then no resistance, you’re home free! That would give you a starting point to cut a bigger hole to get to the joists and finalize your plan. Knowing which way your joists run is also a big help! I think you already know that! Lol
Oh, that gray linear is really nice…so neat and clean looking. I know you will figure this out soon and move forward. And do keep in mind it will be very nice for a storage room no matter how you do it…because you are YOU…you work on it until it is pleasing to YOU. Looking forward to seeing what you decide.
Have you tried C4? That might work. I feel for you because I have mopped myself in a corner like that a time or two. I always had someone to call to help me figure it out. Tear up the floor plus the subfloor and haul it out. Get your brother to help you. Or hire some help. Then put down new subfloor after deciding where to put the skuttle hole. Then use the hard
flooring like you wanted to use. It will look better than any kind of tile in the room.
I would certainly look at getting under the bathroom floor from the sunroom wall. It won’t have concrete to deal with. Then I would start thinking of crawlspace access either in the currently sealed off bathroom or sunroom floor when you raise the floor. But for now, making a hinged access panel in the sunroom wall should be easy. Remember, you are amzing!
You are such a hard worker. You seem to have an inexhaustible supply of determination and creative problem solutions. You’ll figure something out and it will be good. Carry on, Kristi you put us all to shame.
Lynda
In your blog post titled “Hallway Bathroom Demolition” you have pictures of the floor joists in relation to the wall joists. Could you use that to cut out an opening? The wall is exposed since you removed the drywall. Just a thought.