Part 1 – Studio Desk Makeover
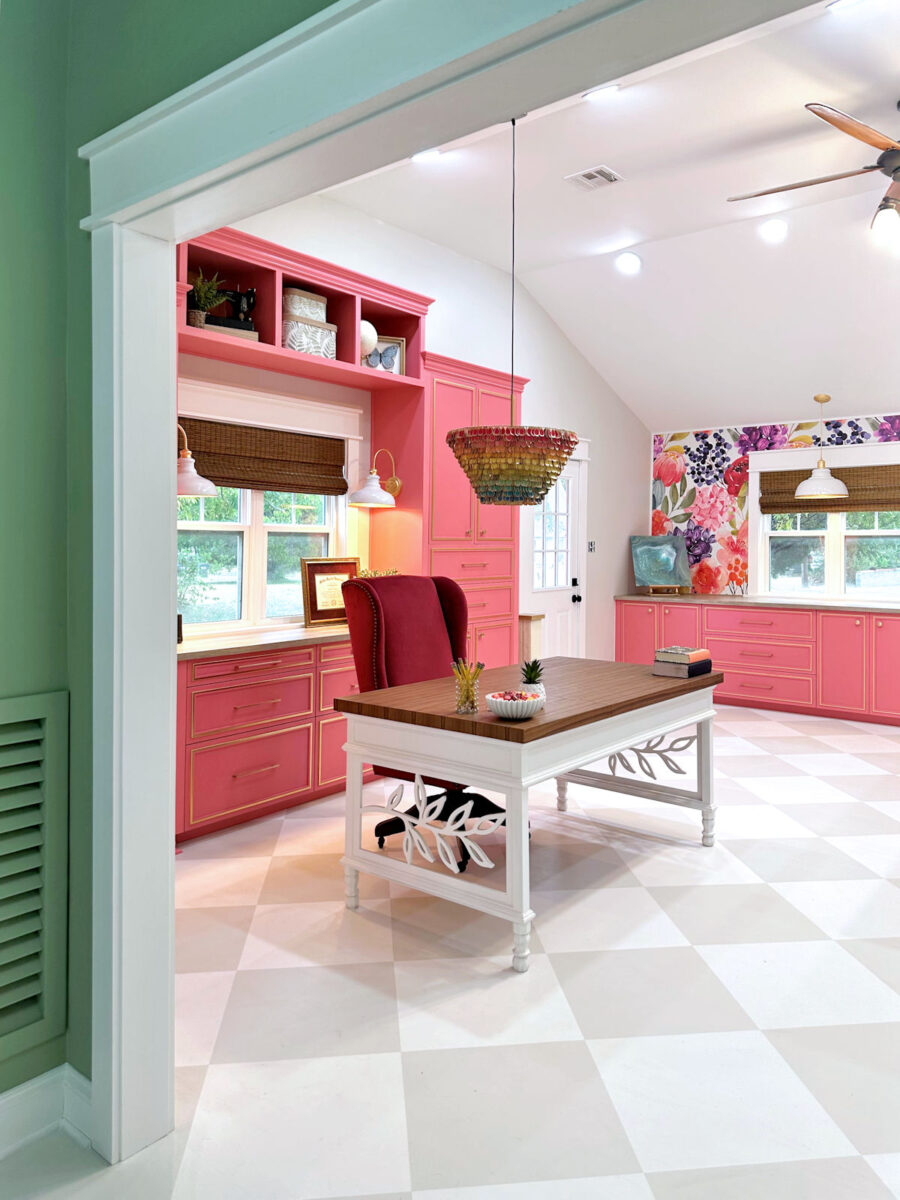
Yesterday, I got started on the desk makeover for my studio. (I’m still not ready to talk about my pendant light. I’ll share when it’s finished, but for now, I’m moving on to other things.) I made this desk back when I had a very specific vision for my studio that included lots of black, for some reason. But when I decided to finally work on my studio and get it finished, my vision changed for the room. I didn’t want as much (or any) black in the room. I wanted the room to be light, bright, colorful, and feminine.
That meant that the desk needed a makeover. With it’s black base and thick brown top, it looked way too dark and heavy for the room. So my plan is to reconfigure the base, paint it a light color (I still haven’t decided if it will be white or gold), and then paint the desktop white. I also wanted to add a decorative detail to the sides, and add two drawers.

If you missed this original project, you can see how I built this very simple writing desk here:
Part 1: How To Build A Simple DIY Writing Desk.
Part 2: My Finished DIY Writing Desk
I started this makeover by removing the boards that created the “V” detail on the front. These were attached with nails and wood glue, so I removed them very easily with a few good, swift hits with a rubber mallet.

Then I removed the bottom horizontal brace board. This was attached with four screws through pocket holes, so it as very simple to remove using my drill with a screwdriver bit.

I turned the base so that it was lying with the front facing up, and I reattached that board towards the top. I’ll eventually add some plywood inside so that this section isn’t see-through, and that will provide the cover needed to hide the new drawers.

After that was attached, I sat the base back upright, and this is what it looked like…

Next, I repeated that same process on the side…

And then I wanted to figure out how to attach these decorative leaf cutouts that I found at Hobby Lobby. I started by cutting some 1″ x 4″ lumber to form a rough frame around the leaf design, and to figure out exactly how I wanted the leaf pattern to sit inside the frame. I decided on this, with the leaf design touching the frame on four points — one on each side of the frame. At this point, my main goal was to figure out the rough dimensions of the inside of the frame.

Once I got the inside dimensions figured out, I ran those boards through my planer three times each to plane them down to 1/2-inch thickness to match the leaf cutout.

Next, I needed to figure out just how wide those boards needed to be for the frame. The space they needed to fill on the desk is 29 inches wide, so I measured the overall width of the cutout with the frame, subtracted 29 inches from that width, and then divided that number by two to get the amount of width I needed to cut off of each board so that the finished product would be 29 inches wide. I used my table saw to cut the boards down to the correct width.

Before cutting the sides down, I wanted to go ahead and assemble the pieces, making sure everything was square, so that I would know exactly how much to cut off. The leaf cutout is a little bit bendy, so until I got the pieces assembled, it was hard to tell exactly how much needed to be cut off of those side pieces.
I started by assembling the top and the side pieces using wood glue and 1.5-inch 18-gauge nails shot through the edges of the side pieces into the ends of the top piece.

With those pieces assembled, I placed the leaf cutout into the frame, and then I could accurately determine where the bottom piece needed to be. I attached the bottom piece using wood glue and nails just like the other pieces.

And then I nailed the leaf cutout into place by shooting the nails through the outside edge of the frame and into the four points where the cutout touched the frame. So this nail went through the frame and into the edge of the leaf.

And this one went through the frame and into the edge of the stem.

You get the point. This is why I needed to make sure that the leaf cutout made contact with the frame on all four sides.

On this side, I had a misfire before getting a nail to go into the leaf. But that’s nothing that my Dremel Multi-Max and a little wood filler and sanding won’t fix. I generally don’t pull out misfired nails (although it depends on the exact scenario) because it risks tearing and splitting the wood. I generally use my Dremel Multi-Max with a blade that will cut through nails, and I just cut off the protruding portion of the nail. If the blade cuts into the wood a bit, I fix it with wood filler.

Once I got this much done, it was too late to use my miter saw to cut off the extra pieces on the frame. (Matt had a HORRIBLE day yesterday, so most of my time was spent caring for him, and I didn’t get nearly as much work done as I had hoped.) But I did set the leaf design in place so that we could get a preview of what it will look like.

But again, you’ll just have to imagine it with those extra bits cut off, and a new 2″ x 2″ piece attached below the frame. And then, you’ll have to imagine the whole base painted one solid color.

So what do you think? White or gold? I’m undecided right now, but I might be leaning slightly towards gold on the base with a white top.
UPDATE: You can see the next post in this project here: Studio Desk Makeover – Part 2 (It’s Just Not Quite Right)
More About My Studio

see all studio
diy projects
read all studio
blog posts

Addicted 2 Decorating is where I share my DIY and decorating journey as I remodel and decorate the 1948 fixer upper that my husband, Matt, and I bought in 2013. Matt has M.S. and is unable to do physical work, so I do the majority of the work on the house by myself. You can learn more about me here.

I love the progress on this! It’s turning out even better than I pictured. When you attach the framed leaf to the side, would you have it inset back a little fro the edge of the legs as shown in your last pic, or make it flush with the front edge of the legs? ( My vote, fwiw, is flush.)
I love the idea of gold for the base, but I’m less certain about the white on the top. I’d personally stick with a wood finish top (similar tones to the counters) with the gold base.
Wonderful solution. I think with all the gold leaf detail in this studio, those leaves need to be gold, somehow…
I agree. I was thinking gold on the leaves and maybe the base white with a light wood top.
I like this idea!
My vote, too.
I think black is a nice contrast, especially with it open and airy….or use the eggplant you have on the doors. I think it’s the top that makes it look so heavy and that would be hard to be gold due to wear and tear. It would be great to find some type of granite or even formica that has a cool vein running through it.
I don’t think white really fits in the room–too stark. But just my opinion, do what you live.
I’m with Meghan on keeping the desk top a stained wood finish. I think it would make the desk seem more elegant.
I also wouldn’t do the base in white – it would make the leaf design less noticeable/disappear with the light colors of the studio floor. The entire base in gold might be a bit much/gaudy; have you considered doing just the leaf or the leaf and its frame gold and keeping the rest of the base black?
I vote gold.
I am so sorry Matt had a bad day. I am so glad you and he have each other. I also feel you on the light project. I appears frustrations are building for you during this time. Getting the desk completed may help with that. The studio is truly coming along beautifully. As I am reading this on Wednesday I will wish you an enjoyable and relaxing day off. Perhaps you dear Mom will have some advice for the lighting situation!
I send good vibes, juju and luck your way for the next week! Lol
Sheila F.
Very pretty!
Why not try a white base with gold on the leaf detail or gold base with white on the leaf detail?
I love the leaf on the sides, it brings a wonderful element to the whole room. I do wish you would paint the desk base black, but that is just my opinion. You are such a talented decorator, what every ou do is always perfect—praying for Matt and you as I know how hard it is to be a caregiver to your loved one.
Go with G0LD in whatever way you want, but I do like the idea given of staining the top the same color as your countertops. Of course you can go with your heart, as I know it will be great no matter what!!
So sorry Matt had a bad day. You are incredible! It’s amazing what you can build and create.
Love it! I’m thinking gold!
Looks good so far but I’m not a fan of large wood things painted gold so for me it’s white. I was thinking it might be cool to gold leaf the edges of the leaf insert though for just a pop of sparkle.
When I’m reincarnated I want to come back as you! Absolutely love everything you do.
I love how that is coming out. Not sure about the colors yet…white with gold leaves? Anyway, it looks charming, and much nicer for your office…love the leaves, and am going to love the lighter colors. I also like the idea of making it a lighter wood on top of the desk…similar to your counter tops would be nice. Hugs to Matt…sorry he and you had to endure a bad day…hopefully today is much better, and you are out with mom for lunch. 😎
This is going to be lovely. I’d go with white because there is so much gold in the room. But I know you love gold. I wouldn’t have a gold top if I had gold frame. If I had a white frame, I’d still have a white top.
How is Matt? I spent Tuesday at the heart doctor with Gary, my husband. He goes next Wednesday into the hospital to have his heart shocked back into rhythm. That has changed my plans, but it has really changed his plans. I have a sewing retreat with two friends tomorrow and Friday, so that will keep me busy.
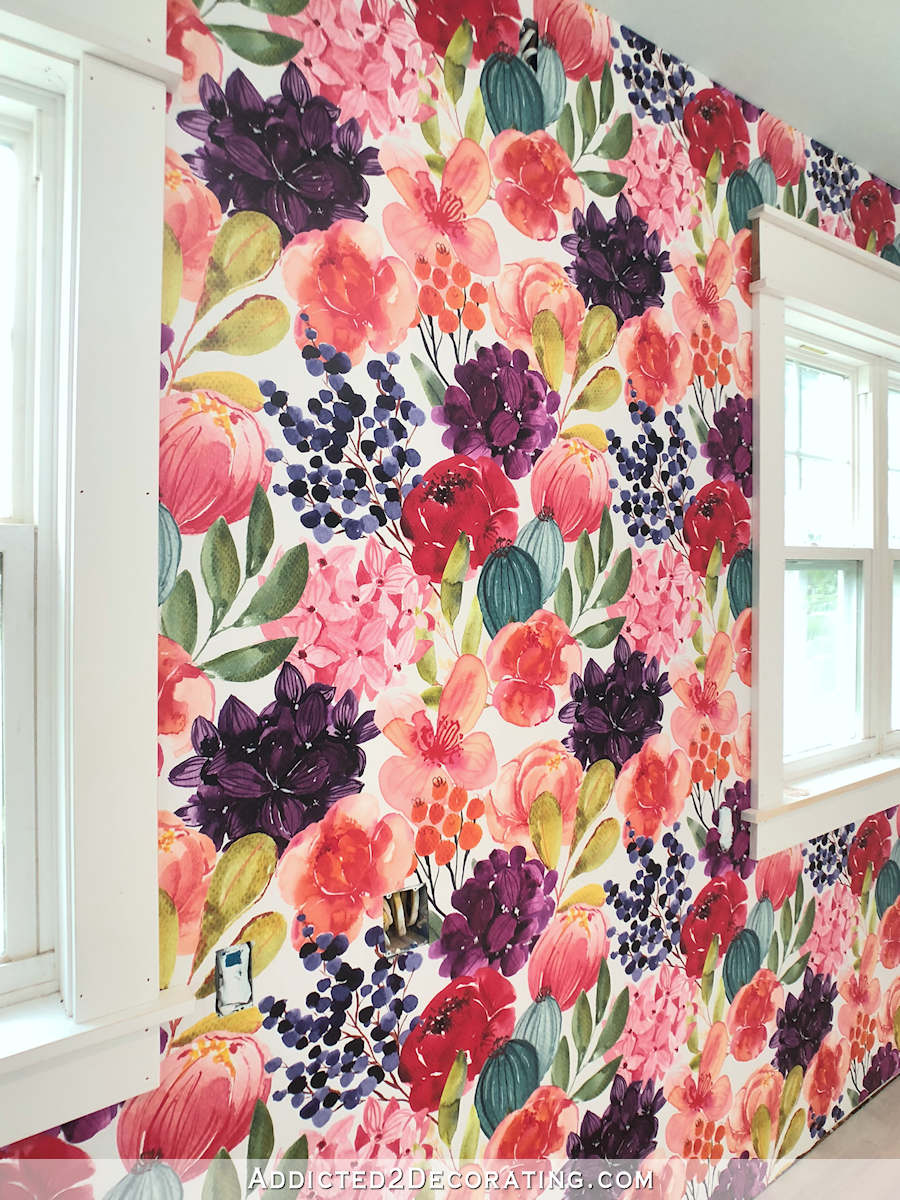
The accents on the ends of the desk look like they should have been there all along. So nice. A wooden top will make things match with you long counter on your flowery wall. That might tie in best.
This is going to look so great! I just love it. I would do gold on the legs and frame, and maybe use your subtle faux marble technique (like you did on the coffee table) for the top. I think that would be a nice contrast to your wood countertops. This room is really coming along! 🙂
White top with a gold base sounds perfect. Does that mean the leaves would be gold too? I think the leaves would be beautiful being gold too. Those leaves just make the desk and blend right in perfectly with everything else in your studio.
I love the light, white top. It makes the area look clean and bright. The gold base is great and makes it look again light and airy. My favorite desk is the white top with gold base, the one with the little drawer.