Studio Progress: I (Kind Of ) Have Cabinets!
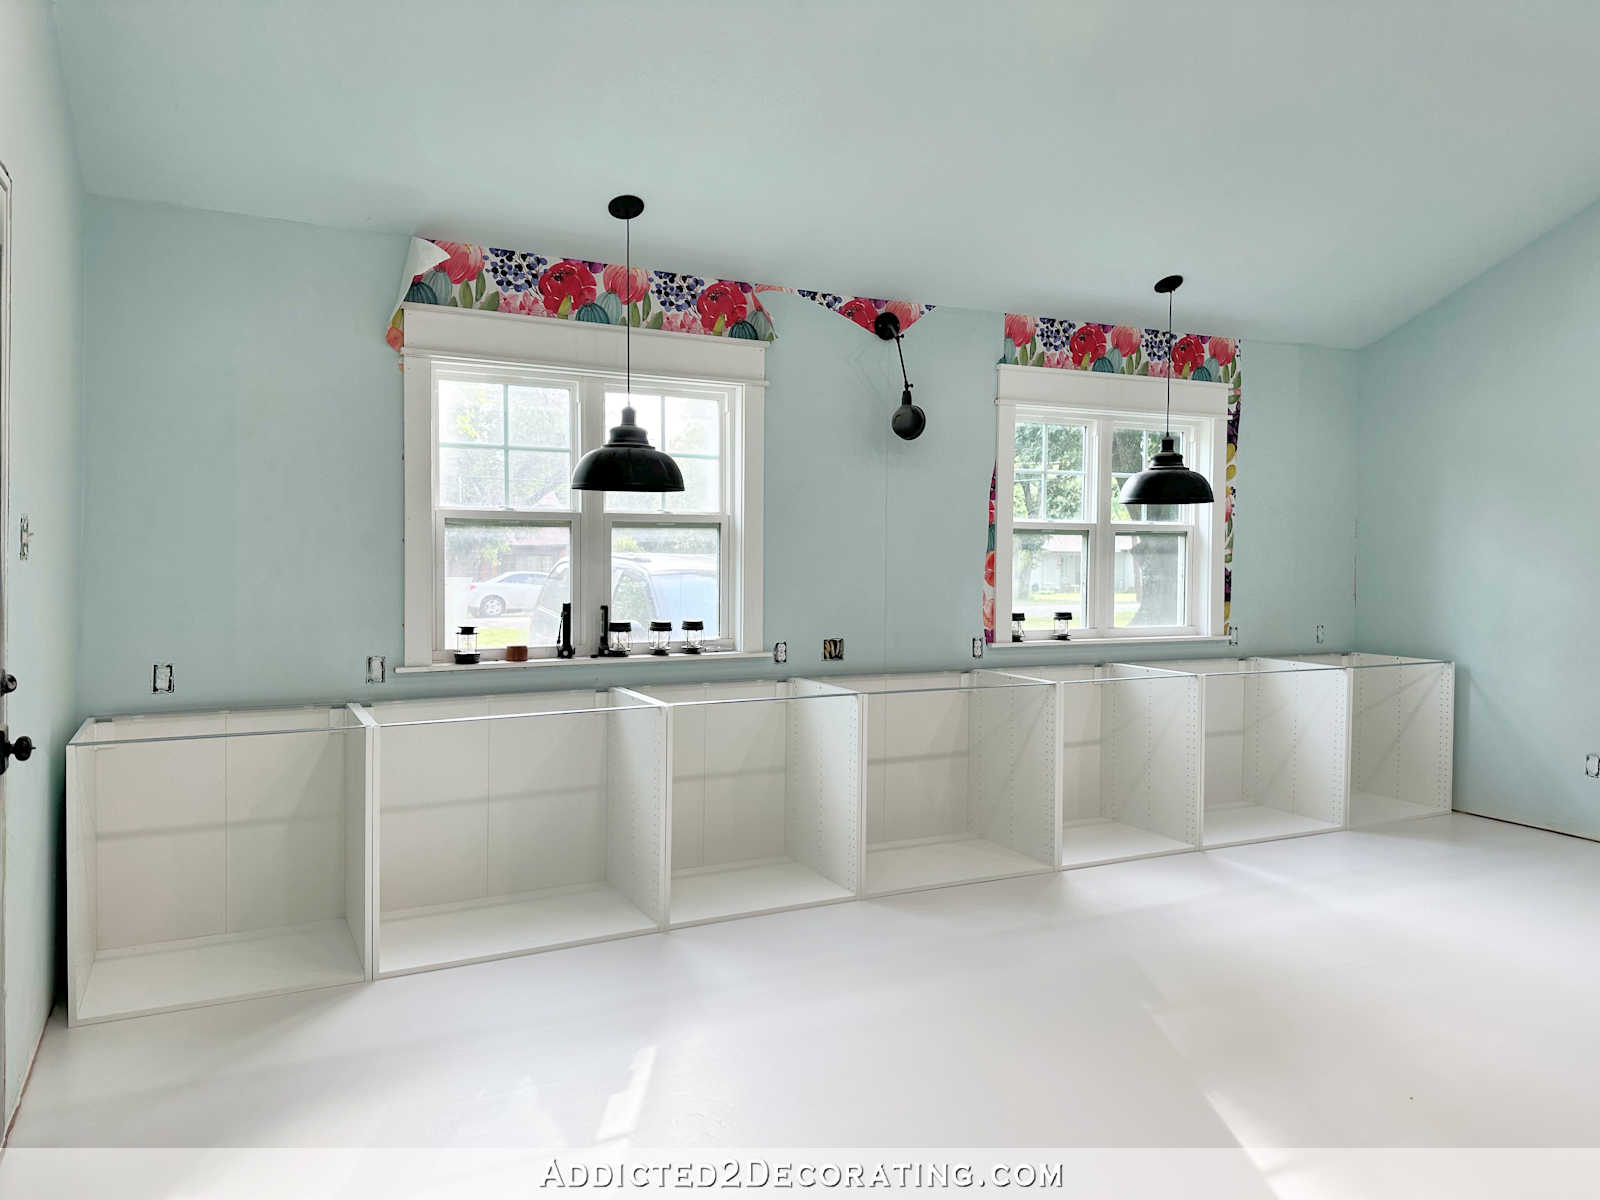
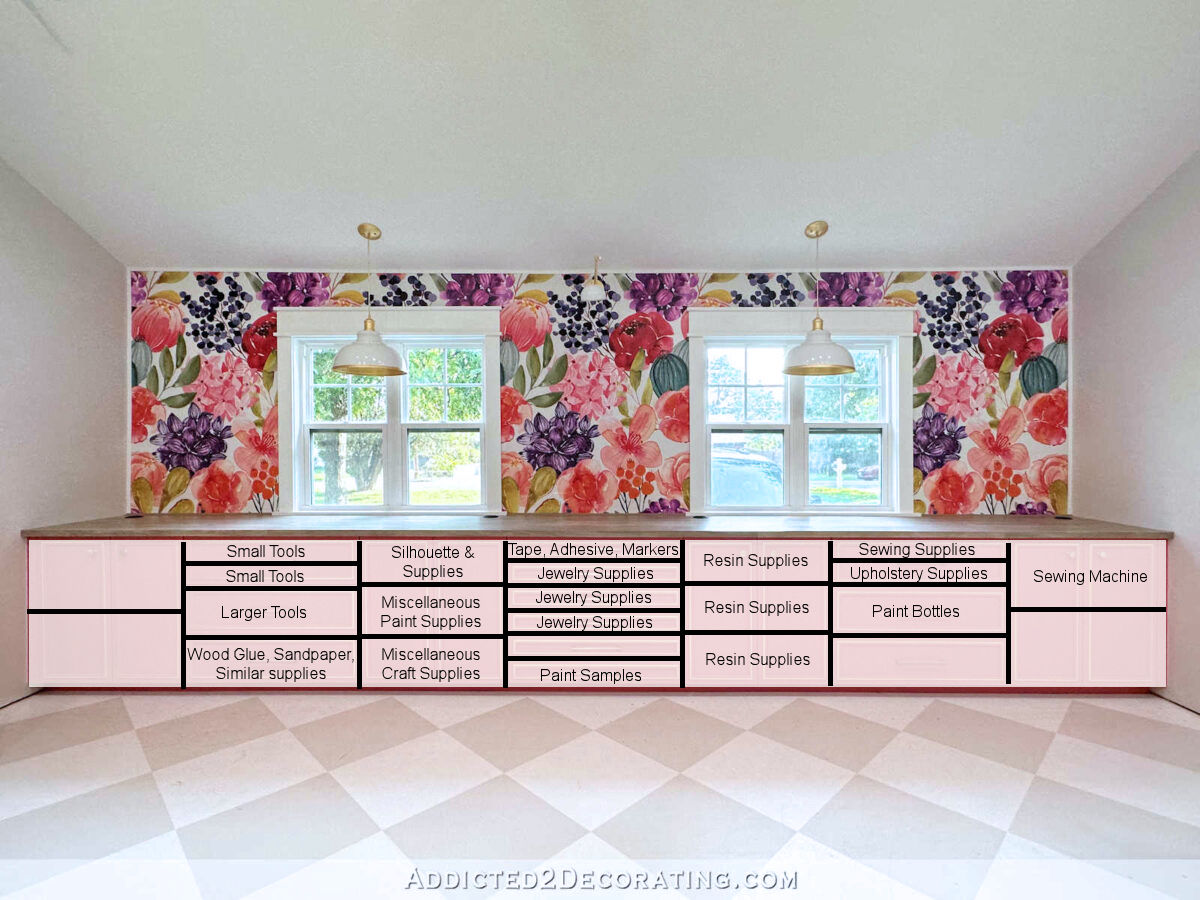
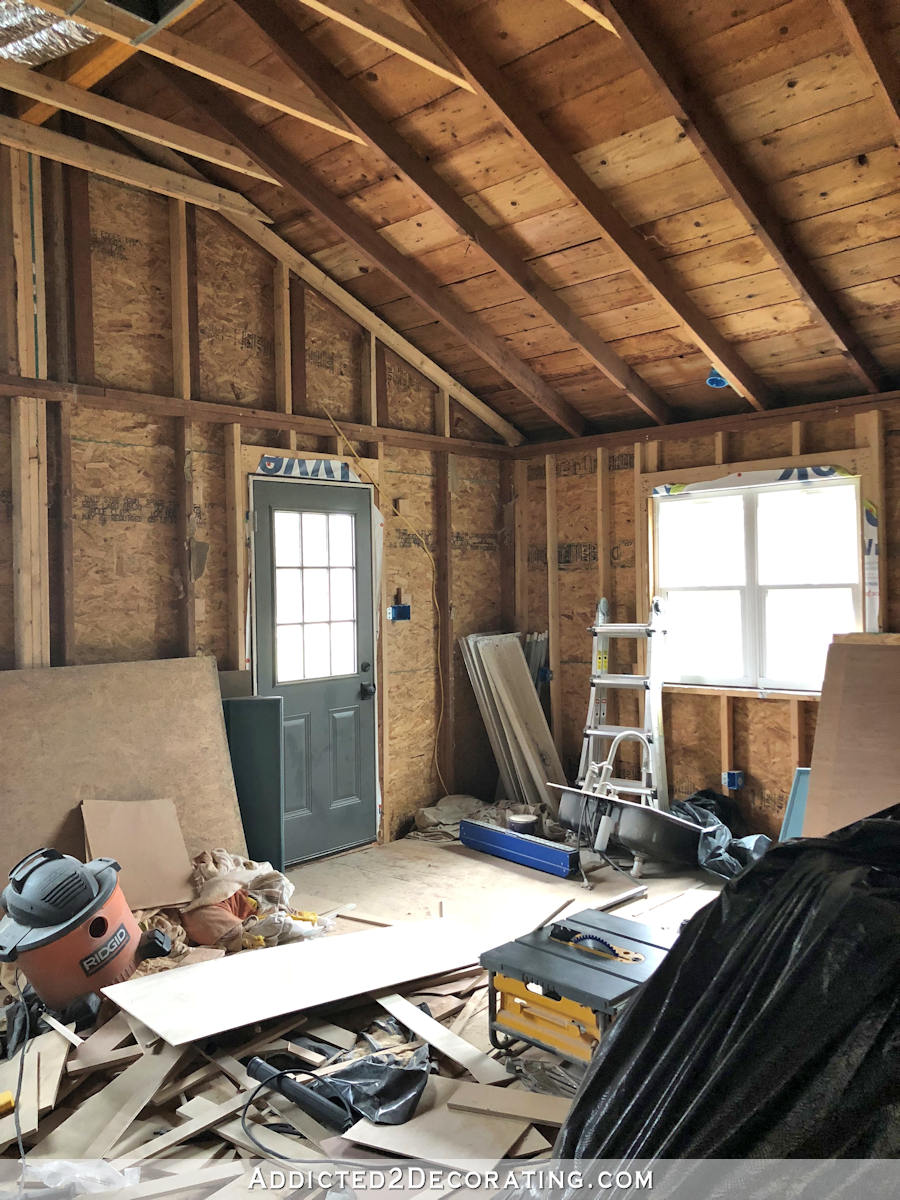
I won’t even share with you how much time I spent yesterday in my studio just standing and staring and pondering the floor design decision. It’s embarrassing. After wasting far too much time trying to make a decision, I finally decided that perhaps things would be much clearer if I could see some cabinets in place. So I spent the rest of the afternoon and evening putting together the base cabinets for the long front wall. The wall is obviously far from finished, but just seeing this small amount of progress makes me so excited to get it done!!

This studio has been sitting here half finished for years, and during that time, I considered so many different options for cabinets in this room. I considered everything from completely DIY to IKEA to RTA cabinets, and just about every other options and combination you could think of.
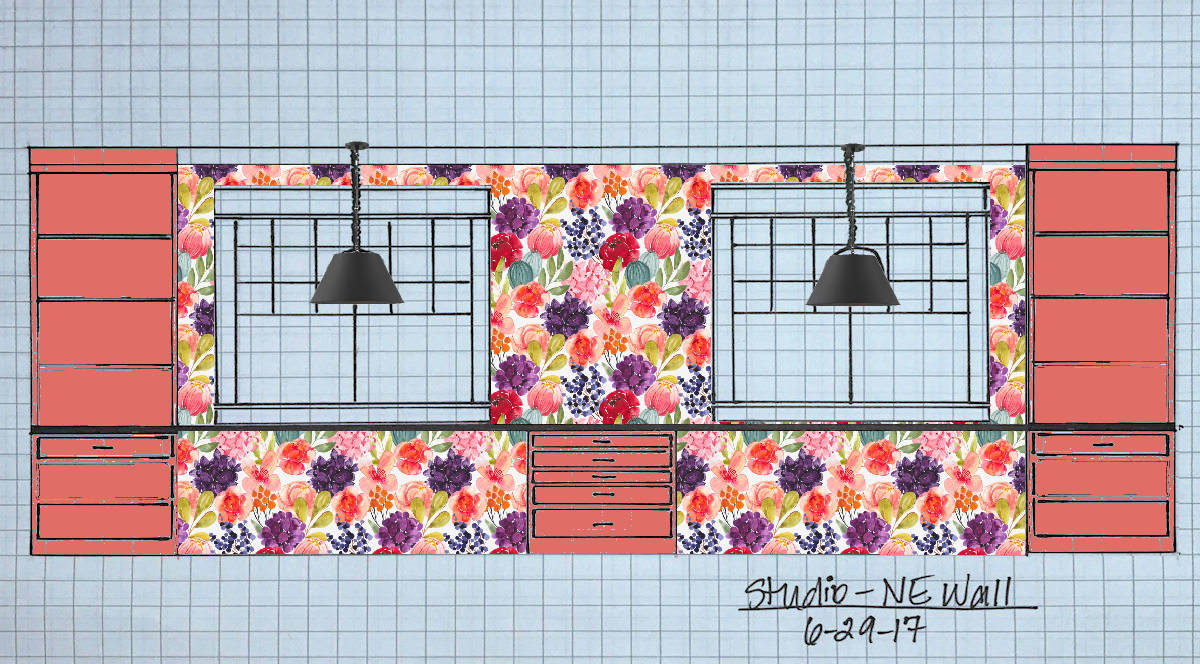
Early on, when I looked at the IKEA cabinets, I ruled them out for one reason. I had planned on this wall consisting of lower and upper cabinets, and a desk top work space that spanned the entire wall.
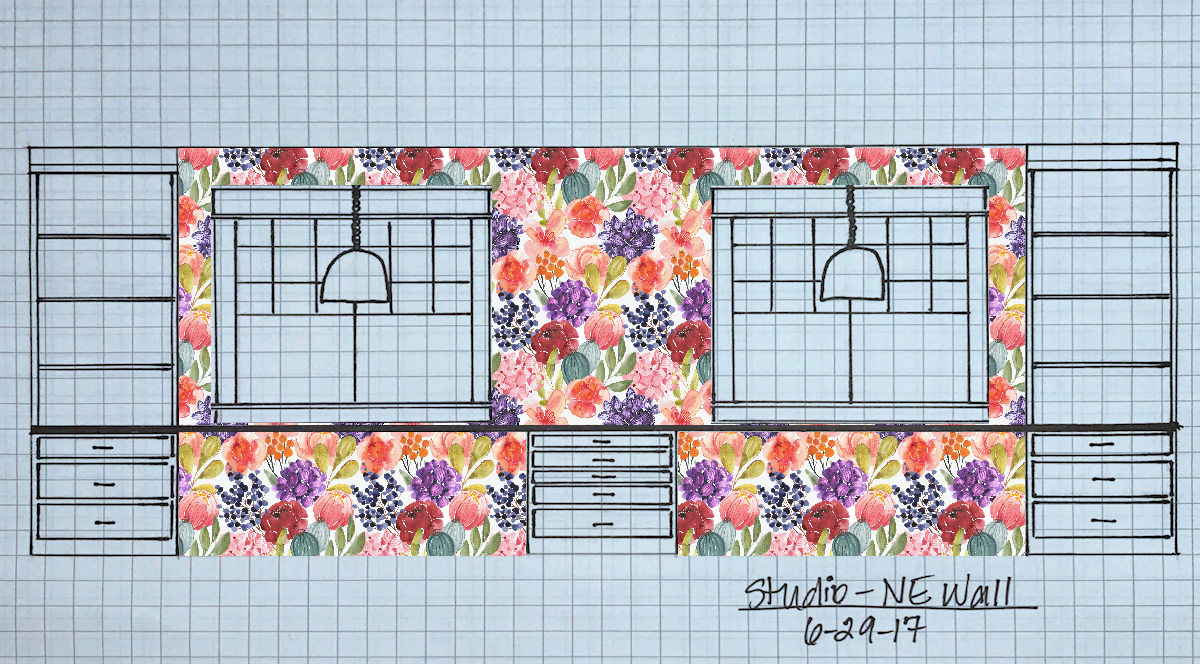
And the standard height for desktops is 30 inches. The IKEA Sektion cabinets are intended to be kitchen cabinets, which are a standard height of 36 inches.
I eventually decided that I didn’t need this wall to have a long desk area, so I opted for storage from wall to wall. But because of the window placement (which I determined specifically based on a 30-inch-high wall-to-wall desktop), I’m still limited in what I can put here, and 36-inch-high kitchen cabinets won’t fit.
But the great thing about IKEA cabinets is that the actual cabinet boxes are only 30 inches high. If you want to use them as kitchen cabinets, you purchase legs separately to raise the height, and then cover those legs with a long toekick piece that hides the legs. So without the legs, the cabinets are just very basic 30-inch-high boxes.
They still won’t work for a standard 30-inch-high desktop because you’d still have to add a countertop, which adds a minimum of 3/4-inch to the height. But also, the cabinets can’t really sit directly on the floor like this because the doors and drawers cover the edges of the cabinet frame, and having a door or drawer front that close to the floor is not only completely impractical, but it also looks strange.
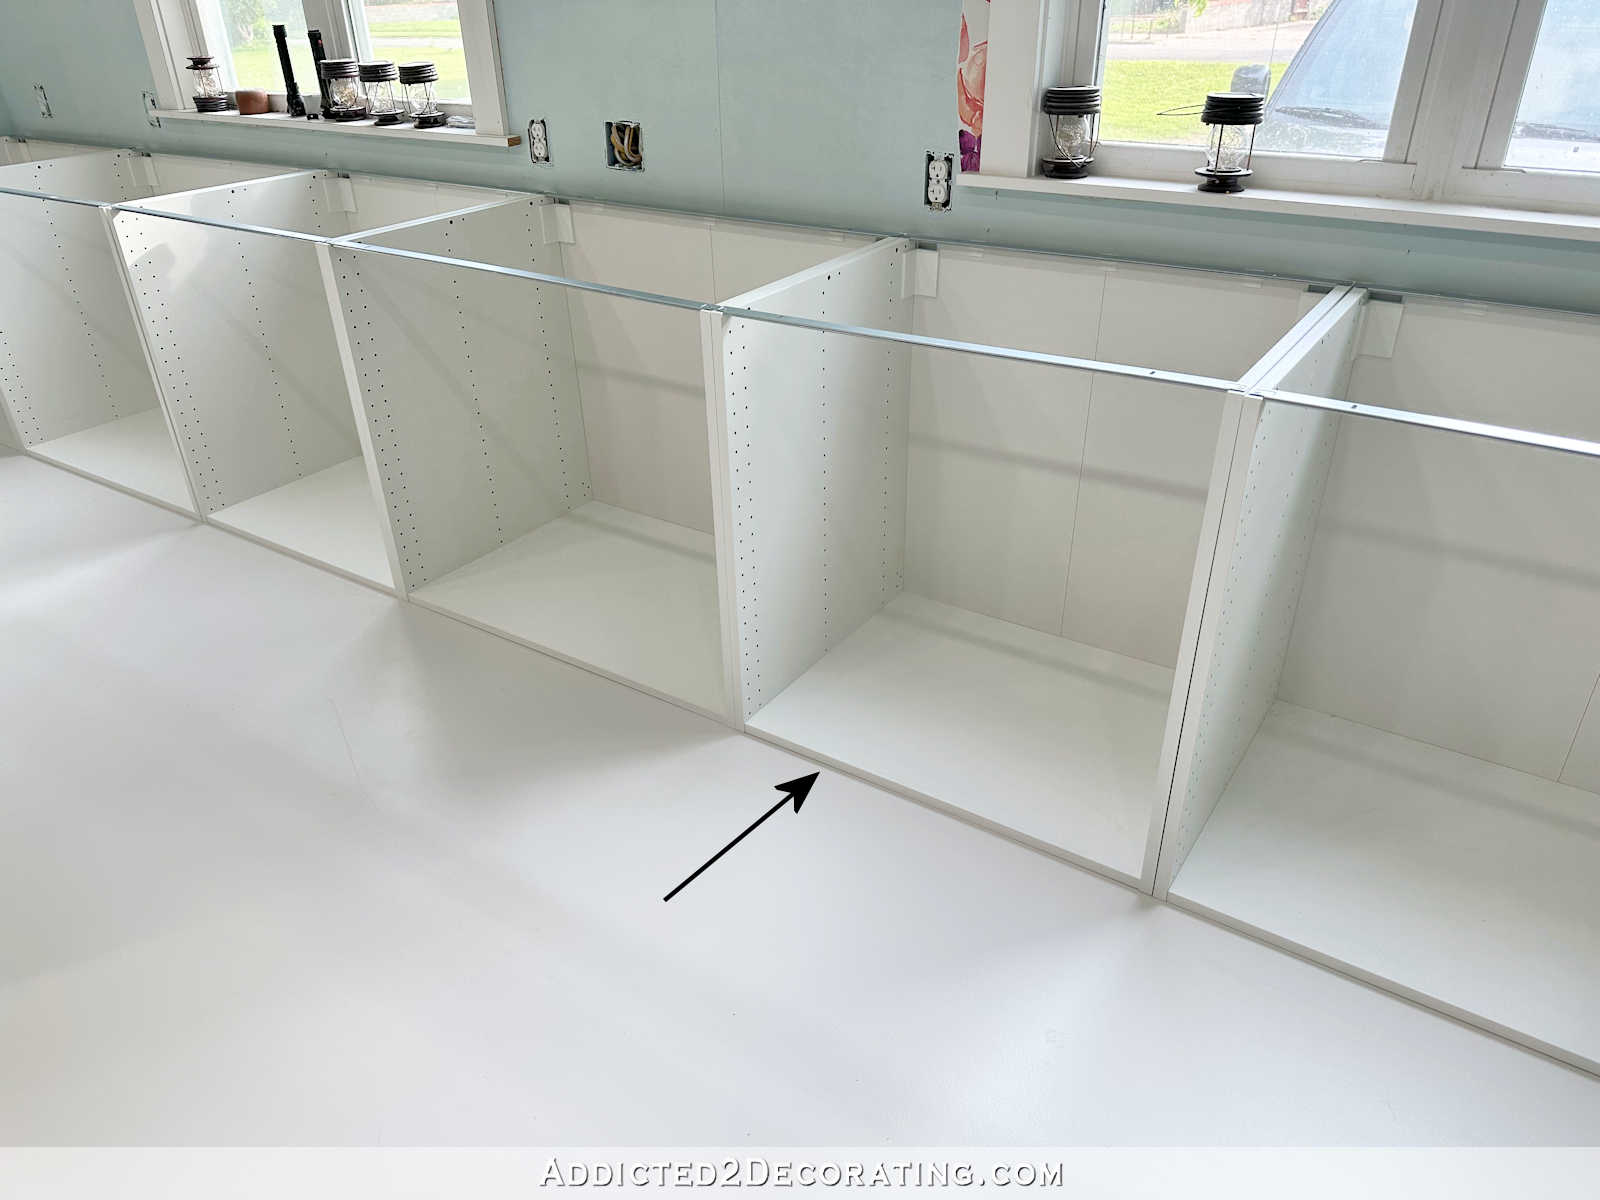
So while I don’t have to use the IKEA legs that add several inches to the height, I do have to come up with a plan to raise the cabinets off of the floor at least two inches. Whatever the solution, it needs to not only add height, but also give the bottom of the cabinets a clean, finished, intentional look.
There are definitely some drawbacks to trying to use IKEA Sektion cabinets as anything other than kitchen cabinets. But there are some definite benefits as well. I mean, I got seven base cabinets put together in one day. Had I built these cabinet boxes from scratch, it would have taken me several afternoons and evenings to make this much progress. So that’s a huge plus for using IKEA cabinets!
And just as I thought, turning my attention away from the floor and to a completely different project did help to bring some clarity to my floor decision. I’ve decided combine a couple of the ideas from yesterday and go borderless in the main part of the room, while adding a border to the back entry, and using a solid color on the bathroom and storage room floors. So it’ll look something like this…

Addicted 2 Decorating is where I share my DIY and decorating journey as I remodel and decorate the 1948 fixer upper that my husband, Matt, and I bought in 2013. Matt has M.S. and is unable to do physical work, so I do the majority of the work on the house by myself. You can learn more about me here.

Wonderful solution all the way around!!! I knew you would come up with something terrific!
I agree its a perfect solution
Kristi, awesome on the cabinets. We did something similar in our formal living room in using upper cabinets for the bases for our bookcases. We framed out 2X4 bases for them sit on and wrapped them in the baseboard that we installed in the whole house. We didn’t need a toe-kick area for them since they are just built-in bookcases. We used uppers to save room since they were not structural so no worries. Love the floor, you nail it every time. I love your creativity, and energy.
I did that same exact thing in our condo living room. It turned out great! I won’t be able to use 2 x 4 bases on these because that will make them too high, unless I lie them flat so that the 4-inch side is against the floor, and the 2-inch side provides the height. That might work.
I was going to suggest this very thing with the 2X4s – lay them flat. Love your floor decision!
Would it be more economical to rip the 2×4’s in half? You’d only need half as many.
Perhaps. I don’t really like ripping 2 x 4’s. Or I should say, my table saw doesn’t like them. But I may end up having to do that.
Best look of all I believe, so it helped to think about something else. That will look great. Love your ideas.
I agree 🙂
Of all the choices of floor design you’ve shown so far, I like the last one best. It makes the main part of the room look more expansive, and the smaller design in the back foyer gives the impression of an area rug. You’re making progress, and I’m looking forward to seeing the completed floor.
Yes! This is a great solution!
Good choice on the flooring design. It will look much more finished. I think a border would have been too busy.
Could you use the ikea legs and toe kicks, just cut them down to the size you need?
The IKEA legs don’t really look like they’d be easy to cut down. I think using wood would be much easier.
This is my favorite idea. It looks intentional and thoughtful. The checkerboard is my favorite painted floor design.
I love this look. It made me smile 🙂 as soon as I looked at it..
Peggy
Glad you came up with a plan! For the cabinet base, couldn’t you rip 2x4s on your table saw to give you the exact height you’re looking for? It’d be a very sturdy and relatively inexpensive option I think.
This too is a good idea instead of laying the whole board flat, rip the 4 inch side down to 2 inches and safe some cost on wood.
I like this idea very much……..no borders.
First, I really like how you now are planning to do the floor…kind of the best of all ideas. The cabinets are exciting to see even just set up, and love that you are deciding how you will raise them a bit. And I see the paper is gone until you are ready for the new improved design. This, is getting exciting to watch. I bet you are feeling pretty good about getting a start on this room. That is A LOT of great storage you will be getting.
Will you be able to open and close your windows without struggling? Although, probably in Texas you won’t be doing much of that?
I’m five feet tall, There are few things I can do without struggling. 😀 But a step stool will solve that problem.
Great solution. Simple and interesting. Good for you! All that brain work was worth it.
Great solution!