The Current State Of Our Master Bedroom Suite
Winter has officially hit central Texas, so my work on the workshop has come to a grinding halt over the last few days. I’m bummed about it because I was really on a roll with those projects, and I was feeling incredibly motivated to continue. But my motivation couldn’t push me to work outside in the 30-degree temps, especially when it’s windy. I tried, and I just couldn’t do it. But it’s supposed to warm up starting tomorrow, so I hope to get back outside and get a few more projects done on the workshop before I officially turn my attention to our master bedroom suite.
But speaking of our bedroom suite, I wanted to fully document what it looks like right now, at the beginning of 2025, before I start any work on it. So I thought I’d share this documentation with you so that we can all see the official 2025 starting point on this project.
I’m pretty sure the entrance to the bedroom suite looks exactly as it did at the end of last year. I starting installing the new French doors in December, but I still haven’t finished those. That will be the first thing I do so that I can actually close the doors and keep Cooper and Felicity out of this area of the house as the work begins. Right now, they can both easily push the doors open and get into this area.

To the right is the entrance to the guest bathroom, which will have to stay here for the near future. When all is said and done, the entrance into this bathroom will be moved out of the bedroom suite and this bathroom will be accessible via a hallway on the other side of the bathroom.

To the left, just inside the bedroom suite, is the doorway to what will be the big walk-in closet and laundry room combo. I had the door completely removed, and I had the doorway centered on the wall of that room and opened up as high as it could go without having to remove the top plates of the load bearing wall. I have a vision for this, but it’s too hard to explain without illustrations, so y’all will probably just have to wait and see it as it comes to reality.

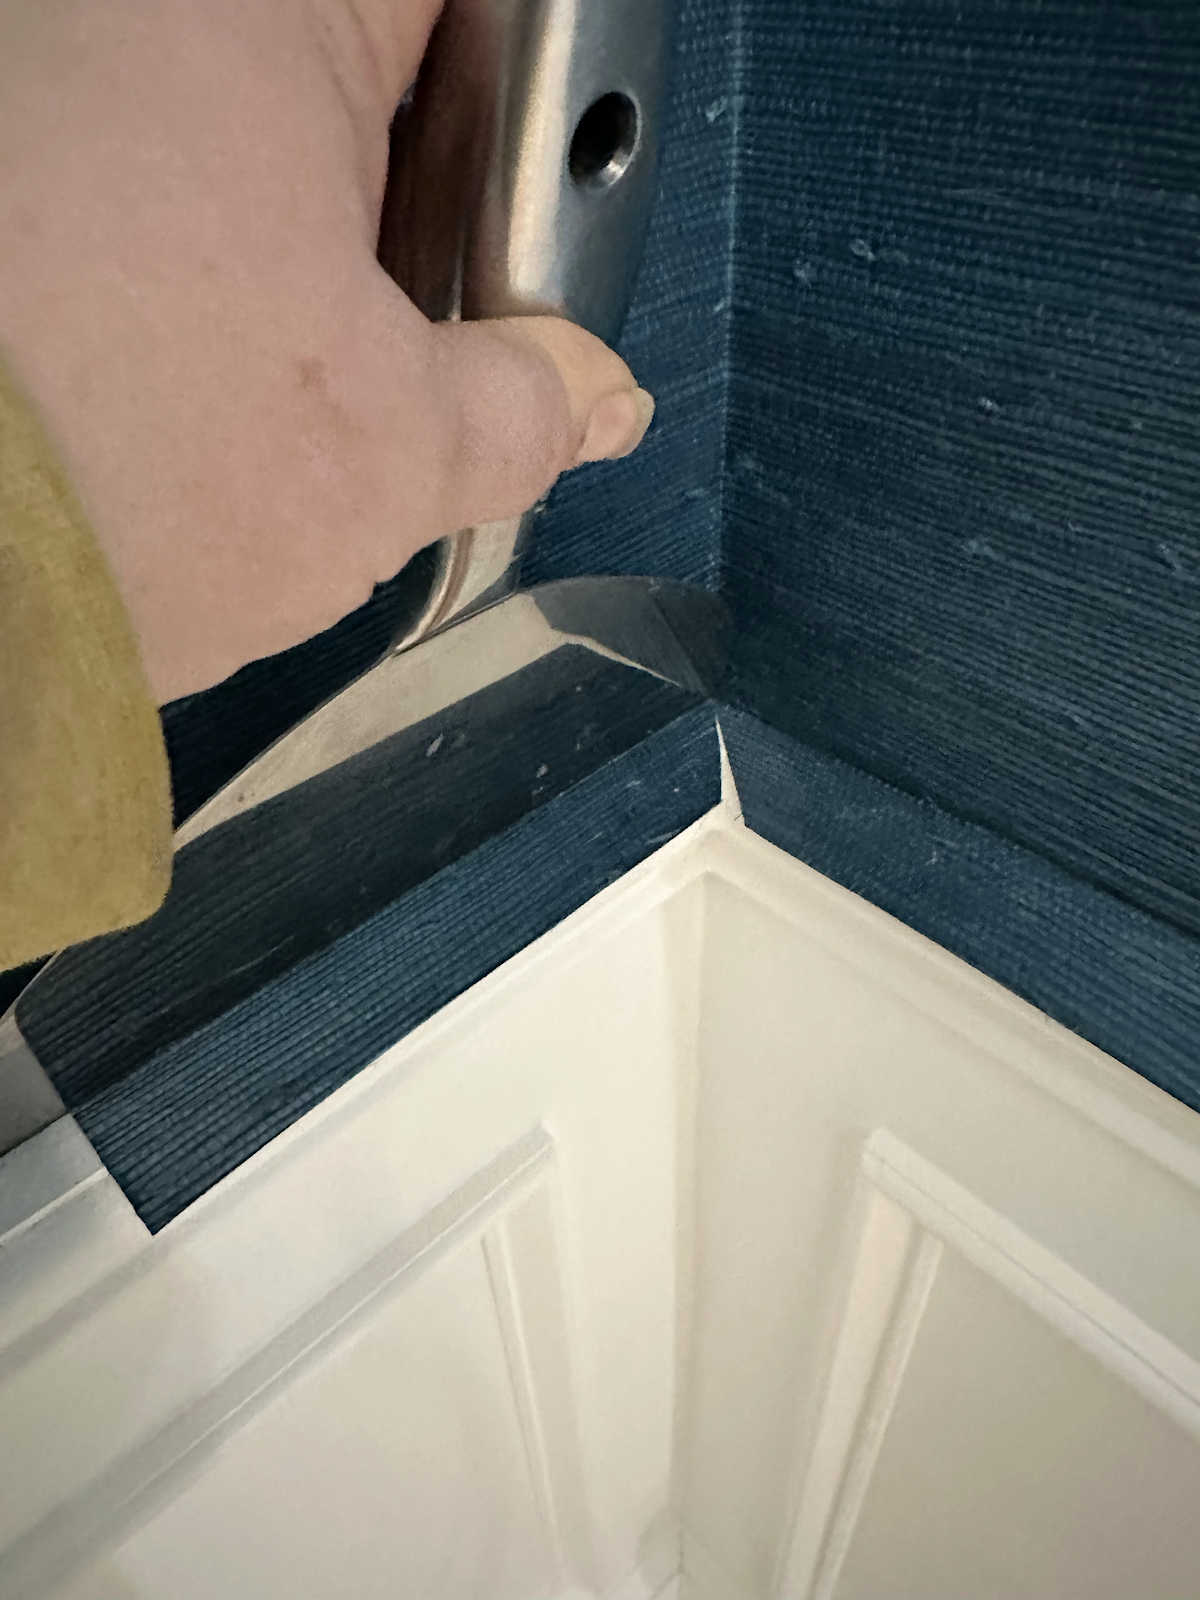
Because that room will be a closet, and I didn’t want to have to adjust the cabinets to make room for a light switch, I had them move the light switch to the outside of the room. Check out this drywall mud situation. 🙁 This is one of the things I’ll have to correct (or completely redo) myself. (If you missed yesterday’s post about my contractor saga, you can see it here: The Contractor Saga – The Rest of The Story)

I absolutely hate doing anything related to drywall, and over the years, I figured I’ve done my share and I’ve paid my dues. So these days, I hire out anything having to do with installing or mudding drywall. So it’s pretty ironic that this is one of the messes that I have to clean up or completely redo. 😀
And here’s the state in which the contractor left this room. The good news is that the big stuff actually did get done. The room has a new vapor barrier under the floor, new insulation under the floor, and a new subfloor.

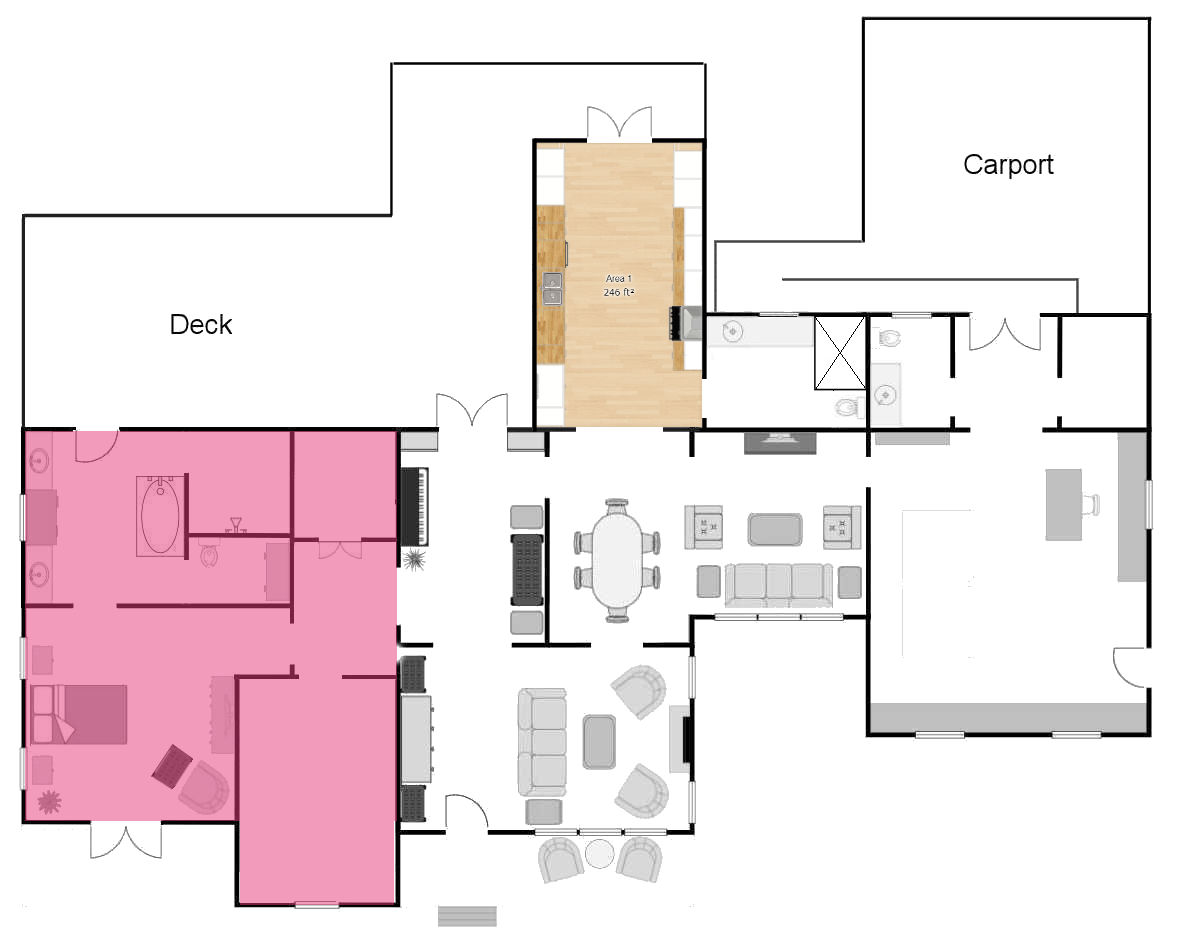
I did make a minor change to my original plans. Instead of having the washer and dryer together on the right side, I had the hookup for the washer placed in the back right corner…

And the hookup for the dryer placed in the back left corner…

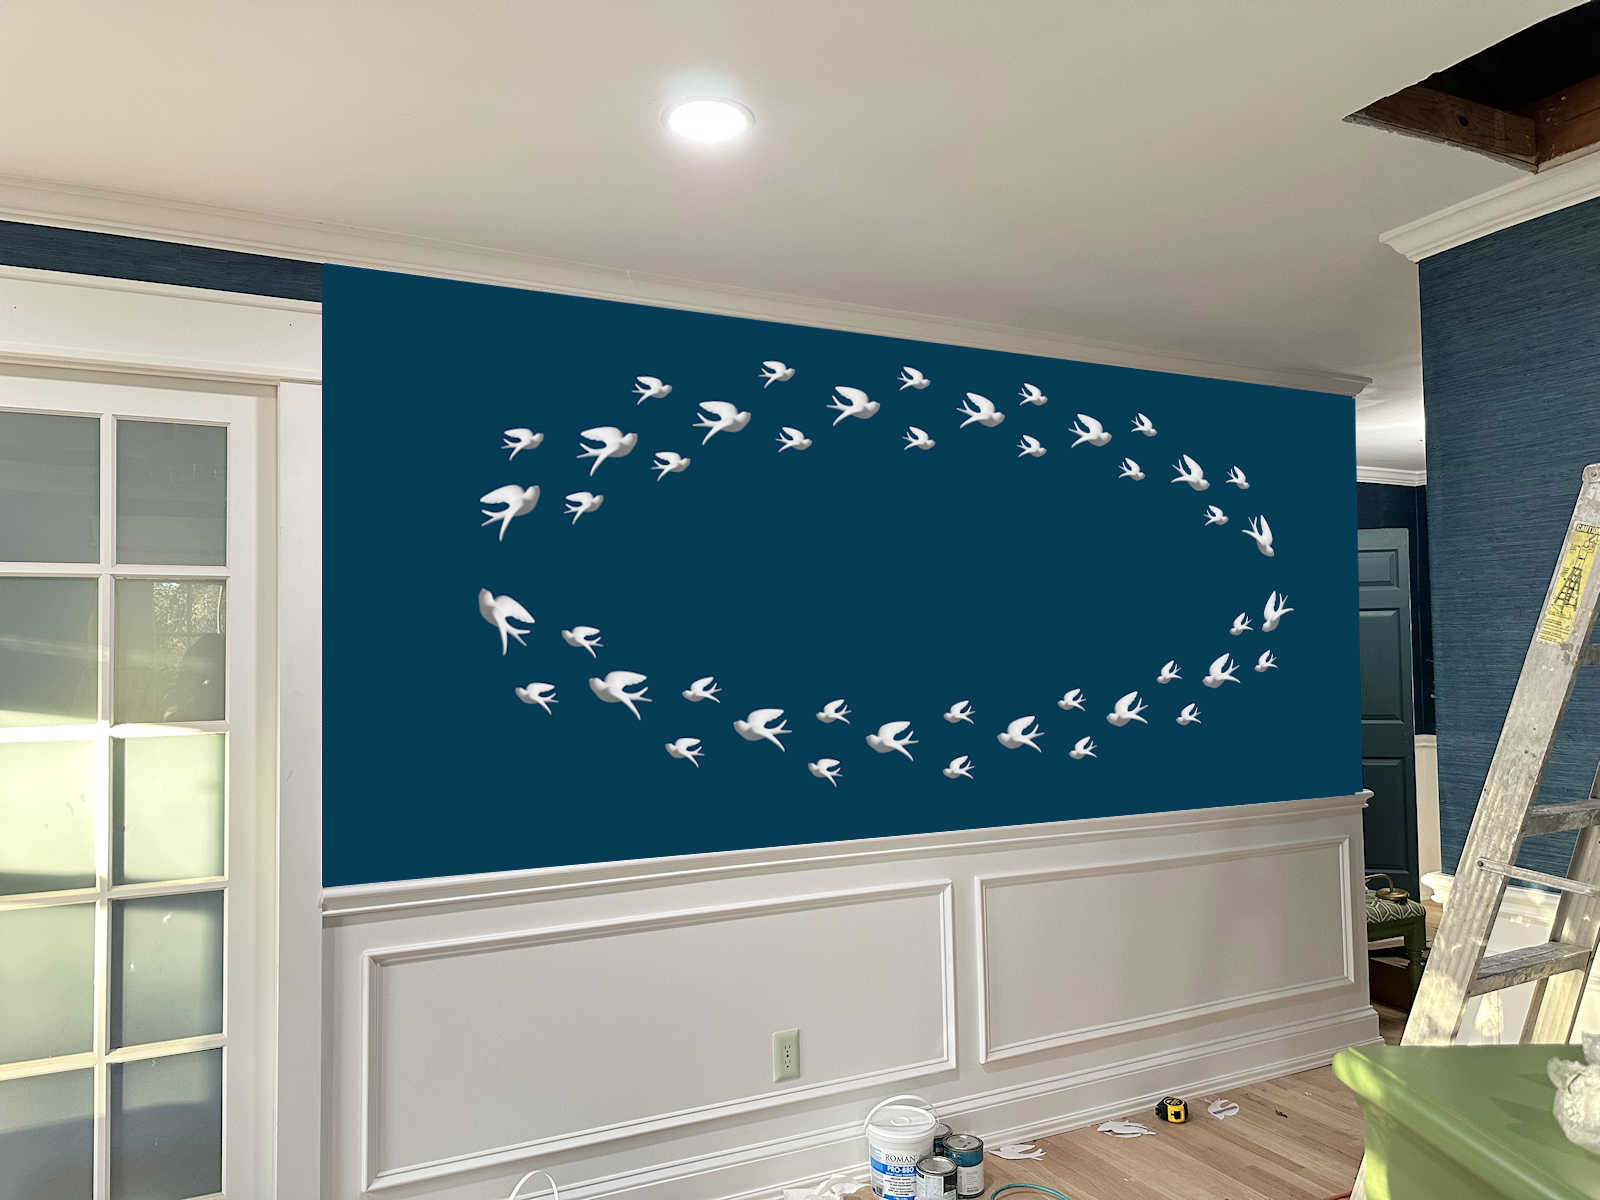
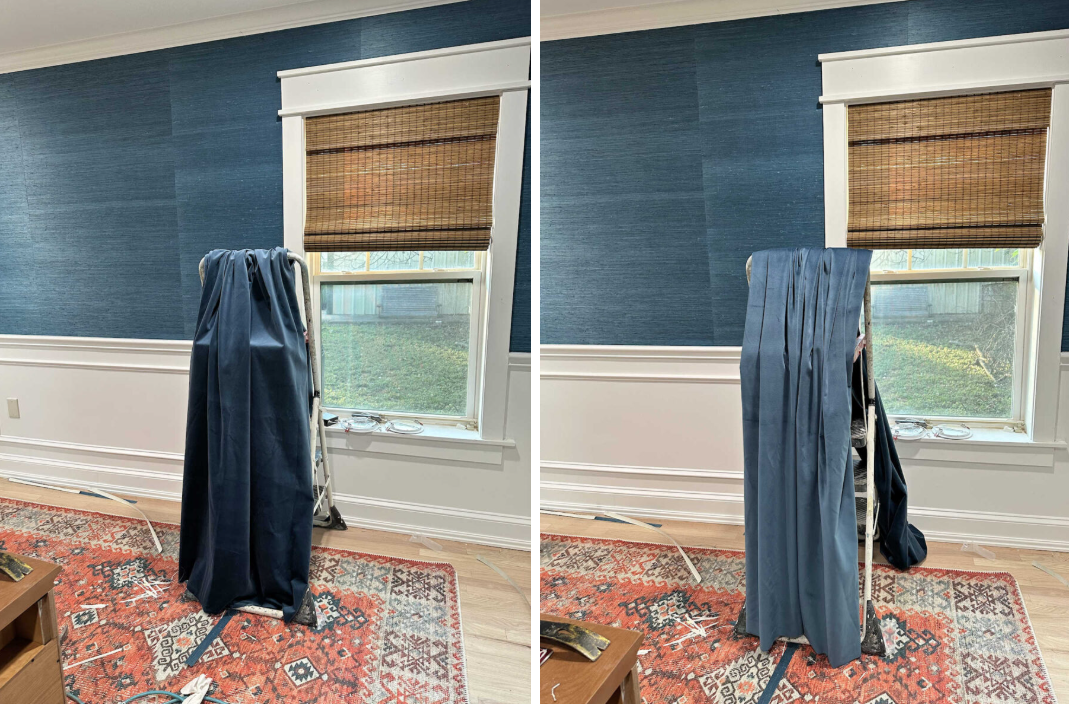
I did this to keep as much room as possible available for the actual closet portion of the room. The washer and dryer will be facing each other, and the doors to both will open towards the wall. At first, I was concerned that there would be too much space between them and it would be quite a trek to get the clothes from the washer to the dryer. But once I marked out the dimensions on the wall, I realized that they’d actually be close enough to each other with only the width of the window plus a few inches separating the two. You can see my marks on the wall showing where the front of each one will land on the wall.

But after I made that change, I realized that I also need a water hookup for my dryer because it has a steam function. The dryer came with a diversion hookup that is supposed to divert water from the washer hookup. But that diverter only works when the two appliances are side-by-side. With the two appliances in completely separate corners, that meant that I needed a completely separate hookup for the dryer. That’s an addition to the list that I added later, and it actually got done!

There are two things for the dryer that didn’t get done, though. First, I’ll need to install the outlet for the dryer. Thankfully, the wiring is already there, so I just need to attach an outlet. And second, the vent for the dryer still needs to be installed. I’ve been watching videos on YouTube showing how to install dryer vents, and it looks pretty easy and straightforward, so I’m positive I can do that on my own.
Here’s the current view looking back towards the door of the walk-in closet. It’s a mess right now.


And the rest of this really hasn’t changed since I showed you last. Nothing has been done, and nothing has changed in the bedroom portion of the suite. Here’s the entrance into the bedroom where I had them remove the door completely and open up the doorway to the ceiling.

And then I’ll give you a quick look around the room, even though I’m pretty sure you’ve seen all of this already at the end of last year. As I said, I don’t think anything has changed in here over the last three weeks.


I did decide to keep the breaker box in this room. I don’t love the idea of having the breaker box in our bedroom, but I do like that this gives me quick and easy access to the breaker box in case of emergency. And I also like that keeping it here saves me about $3000 that I can use towards other projects. I’m 100% confident that I can disguise or cover the box in a way that it won’t show while still giving me easy access to it. But I will definitely be moving the attic access out of this room and into the hallway. (By the way, some of you had the idea of calling that area the “vestibule” now, and I really like that idea. That sounds better than “hallway”.)

And finally, here’s the look back towards the entrance to the bedroom suite (i.e., the vestibule 😀 )…

So the first order of business in here will be to clean up all the mess that was left behind not only by the contractor, but also by my projects since I used this room to make the shutters for the workshop. Second order of business will be to finish the French doors so that they will actually close and stay closed to keep our animals out of this portion of the house while the work begins. And then after that, I can get started installing the flooring.
It’s going to be a huge project, and I wanted to be sure to have all of these pictures documented so that in a few months, when it’s all finished, we can look back at where it started at the beginning of 2025.

Addicted 2 Decorating is where I share my DIY and decorating journey as I remodel and decorate the 1948 fixer upper that my husband, Matt, and I bought in 2013. Matt has M.S. and is unable to do physical work, so I do the majority of the work on the house by myself. You can learn more about me here.

That drywall mess is crazy! Looks like a five year old did it! I am shocked you even entertained the thought of keeping that guy after seeing that. I would have told him that is unacceptable, and don’t come back. Anyone you hire in the future, I would be cautious on advancing too much money ahead of work. There must be a way that you can hold his funds, to be released at certain points, that is aggreable to both parties. So sorry you have to find someone else now, I know first hand how hard it is to get competent workers these days!
I’ve been wondering about the wall stripes and if they’ll need a little sanding before painting. It might be worth your while to do that and get one coat of primer on before doing the floor.
I’m excited about all your plans.
I’ve been thinking about that, too. I wonder if it might be easier to do a skim coat of drywall mud to fill in those tiny stripes between the colors. I haven’t decided exactly what I’m going to do, yet, but the walls will definitely need some extra attention.
I am loving your blogging again! Missed your posts and happy to see your plans and work.
Happy new year!
From past experience, I have found that if I CAN do something, I’m further ahead if I just do it myself. Even if I don’t like doing it.
Depending on how good a shot you are, if you open your dryer door, you can throw the laundry across the room to the dryer…..score! LOL
Just picking up the trash will make you feel better. That can be done while it is too cold outside to work. That will be a small project in itself. It is definitely too cold to work outside here in Waco. I have finished one quilt and will start another one as soon as I finish my Bible study. First things first!
I have to clean up my sewing area before I start this second quilt so I can see what I am doing. I don’t want a mess on top of another mess!
You are a workaholic, and I REALLY like that. I was one until I retired in 2012, now I don’t do much. Of course, I am 26 years older than you. That is my excuse.
Have a great productive week!
I love the plan but trust me about your back not being so happy about the distance between the two. My mother’s laundry room had a similar problem, and she had a rolling laundry cart, that thing really worked well. Google old-fashioned rolling laundry cart and should find enough old or new ones that you can make or order and make life very happy. Moms folded up and she kept it right next to the washer. Every few years she would sew a new “basket” for it and kept with the times. The last time she did it I’m thinking we were just emerging from the 70’s and heading into the pastel 80’s. I’m thinking with your love of color this should be a snap for you. Here is a link to one that had been sold, but at least you can see what I am talking about. https://www.etsy.com/listing/65493092/rolling-laundry-cart
Cheers!
Agree 100%.
As you get older, your back will go out more than you do and for no reason whatsoever. One twist to move laundry to the dryer on the perpendicular wall (on pedestals no less) took mine out for a few days. I’d definitely look into the cart idea.
Sooooo exciting! Best wishes for the completion!
I excited to see things get started now that the substandard worker is gone. I could have done better and I’m a novice on that drywall. OMG. Glad he is GONE!!! We are battling some cold weather here in SW Florida too, but it will be better soon. Always lots to do inside too. Looking forward to seeing progress as you go as always. Best wishes to Matt. Haven’t heard about him lately so he much be feeling pretty good?
Well, at least the workmen got the big stuff done though they definitely left a mess, that light switch area, yikes. Thanks for sharing the pictures and I look forward to following your progress on these rooms in 2025.
You are right, you do have lots to do and some prep cleaning before getting into the actual construction. On a positive note, all the windows already have complete trim and shades. Good luck and smooth sailing as you start on the 2025 project! It always amazes me how much you can do.
It might be a good idea to move your washer and dryer into the new closet area BEFORE you begin to build any cabinetry which would abut your washer and dryer. Measuring the space is great, but it doesn’t always take into account the reality of the dryer tubing. Our washer and dryer fit (side to side), but I pull our washer forward a bit (about 4 inches) to match the depth of the dryer with the vent tubing in place.
I completely installed, wired, plumbed, and vented for our washer/dryer last year, turning a guest bathroom into a laundry room. Running the vent is super easy, especially since you’re so close to an exterior wall. You won’t have any issues, but you can email me if you have any questions?
How bad is the drywall? Can you just use a rough grit and take off the top and then sand it smooth with some fine grit? Not sure how bad it is based off the photos.
Good luck!
Kristi, paint the door and frame of the electrical box the wall color. I did that and it blends into the wall.