The Final Home Gym Update (A New-To-Me Finish, A Useful Tool, and a Useless Hole)
Y’all. I know what you’re thinking. “This room still isn’t finished?!” I’m right there with you. I’m frustrated. But as of today, the only two things left to do are to (1) touch up the paint on the ceiling, and (2) iron and hang the curtains. Well, that’s not exactly true, because I created one more project for myself, and it’s a real source of frustration for me. But more on that in a minute. First, let me share two useful bits of information with you.
The first bit of information is that I tried Danish oil for the first time this weekend, and I’m a huge fan! I never would have thought to use it except that a small bottle of Danish oil came with my WaterRower, which is made out of walnut. My WaterRower been sitting in this room ever since I got it and put it together (maybe a year now?), so it was in here during the master bathroom remodel as I was using this room as my workshop, and creating all kinds of dusty messes in here.
So after that abuse, the wood on the WaterRower was looking very dusty and dry. So after giving it a good cleaning to remove all of the dust, I got out the tiny bottle of Danish oil that came with it and start applying it to the wood. That tiny bottle didn’t go very far, so I headed to Home Depot and picked up a container of Watco Danish Oil in Dark Walnut.
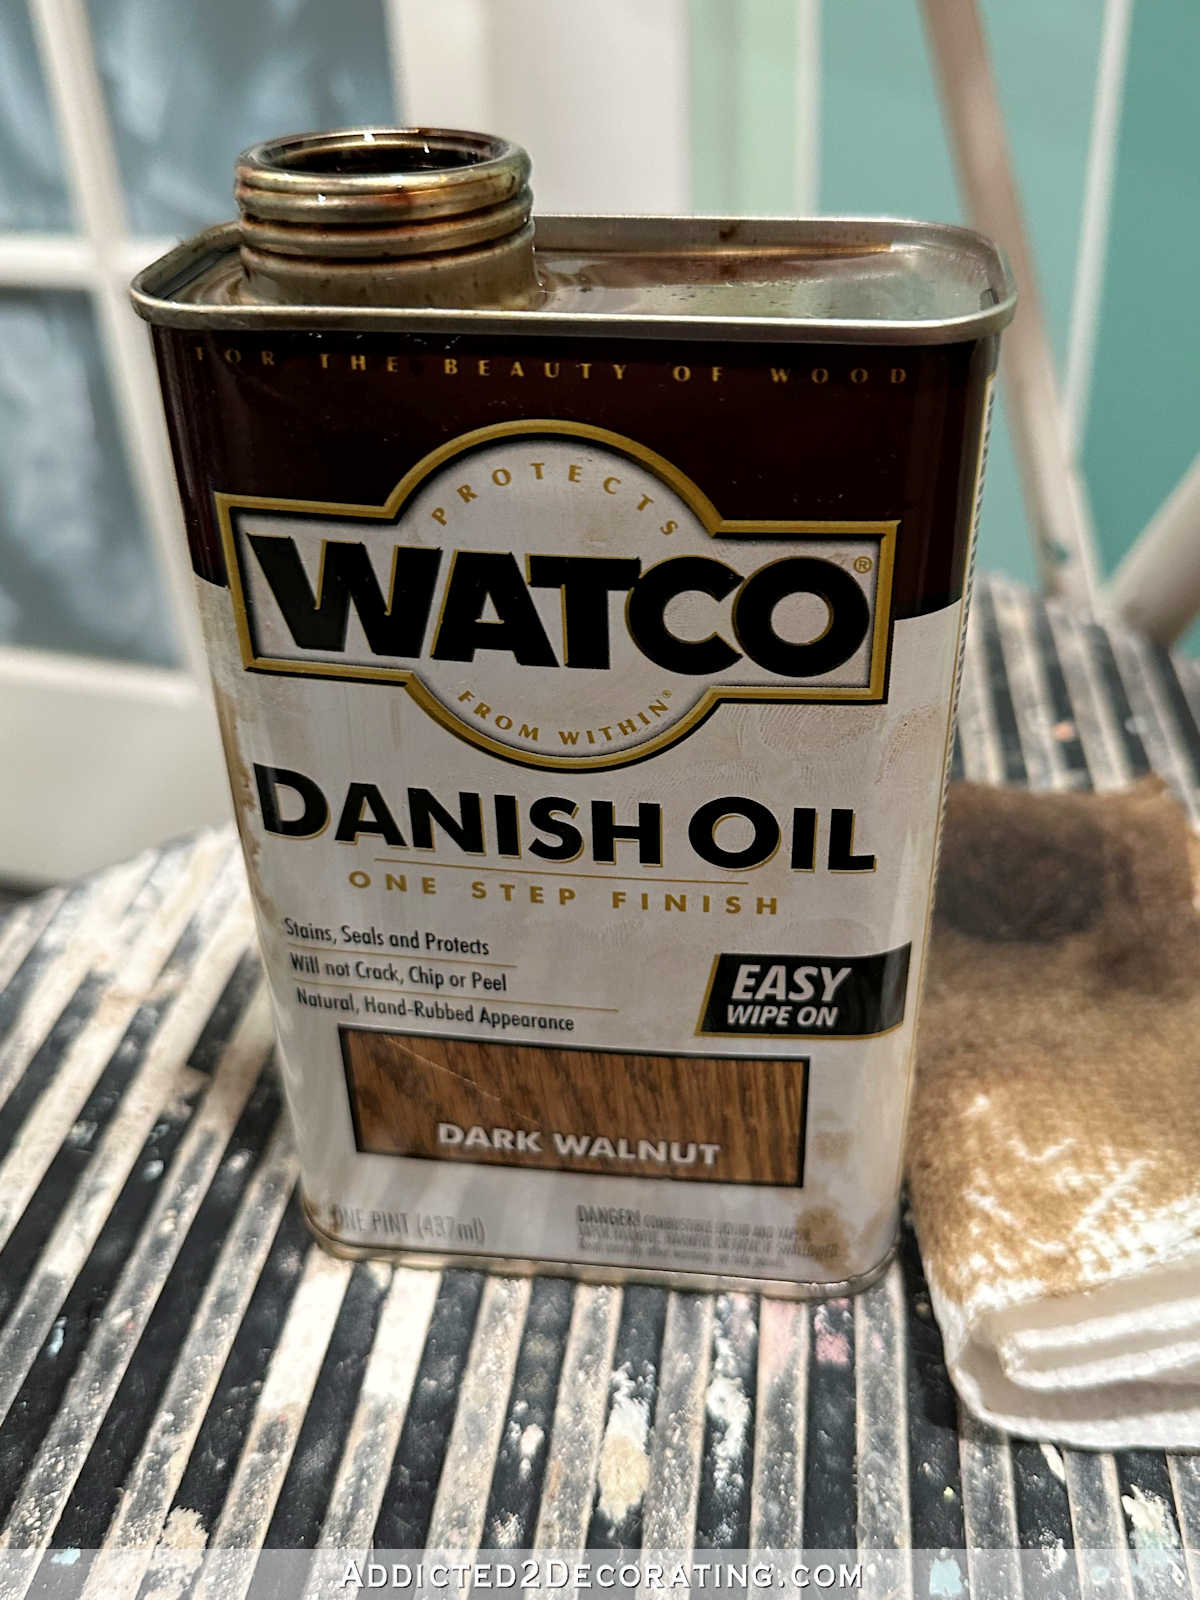
I just applied it with a paper towel, and it leaves such a gorgeous finish! Danish oil dries to a hard finish in about six hours. It’s very easy to use — wipe on with a cloth, wipe off the excess, let it dry. That’s it.

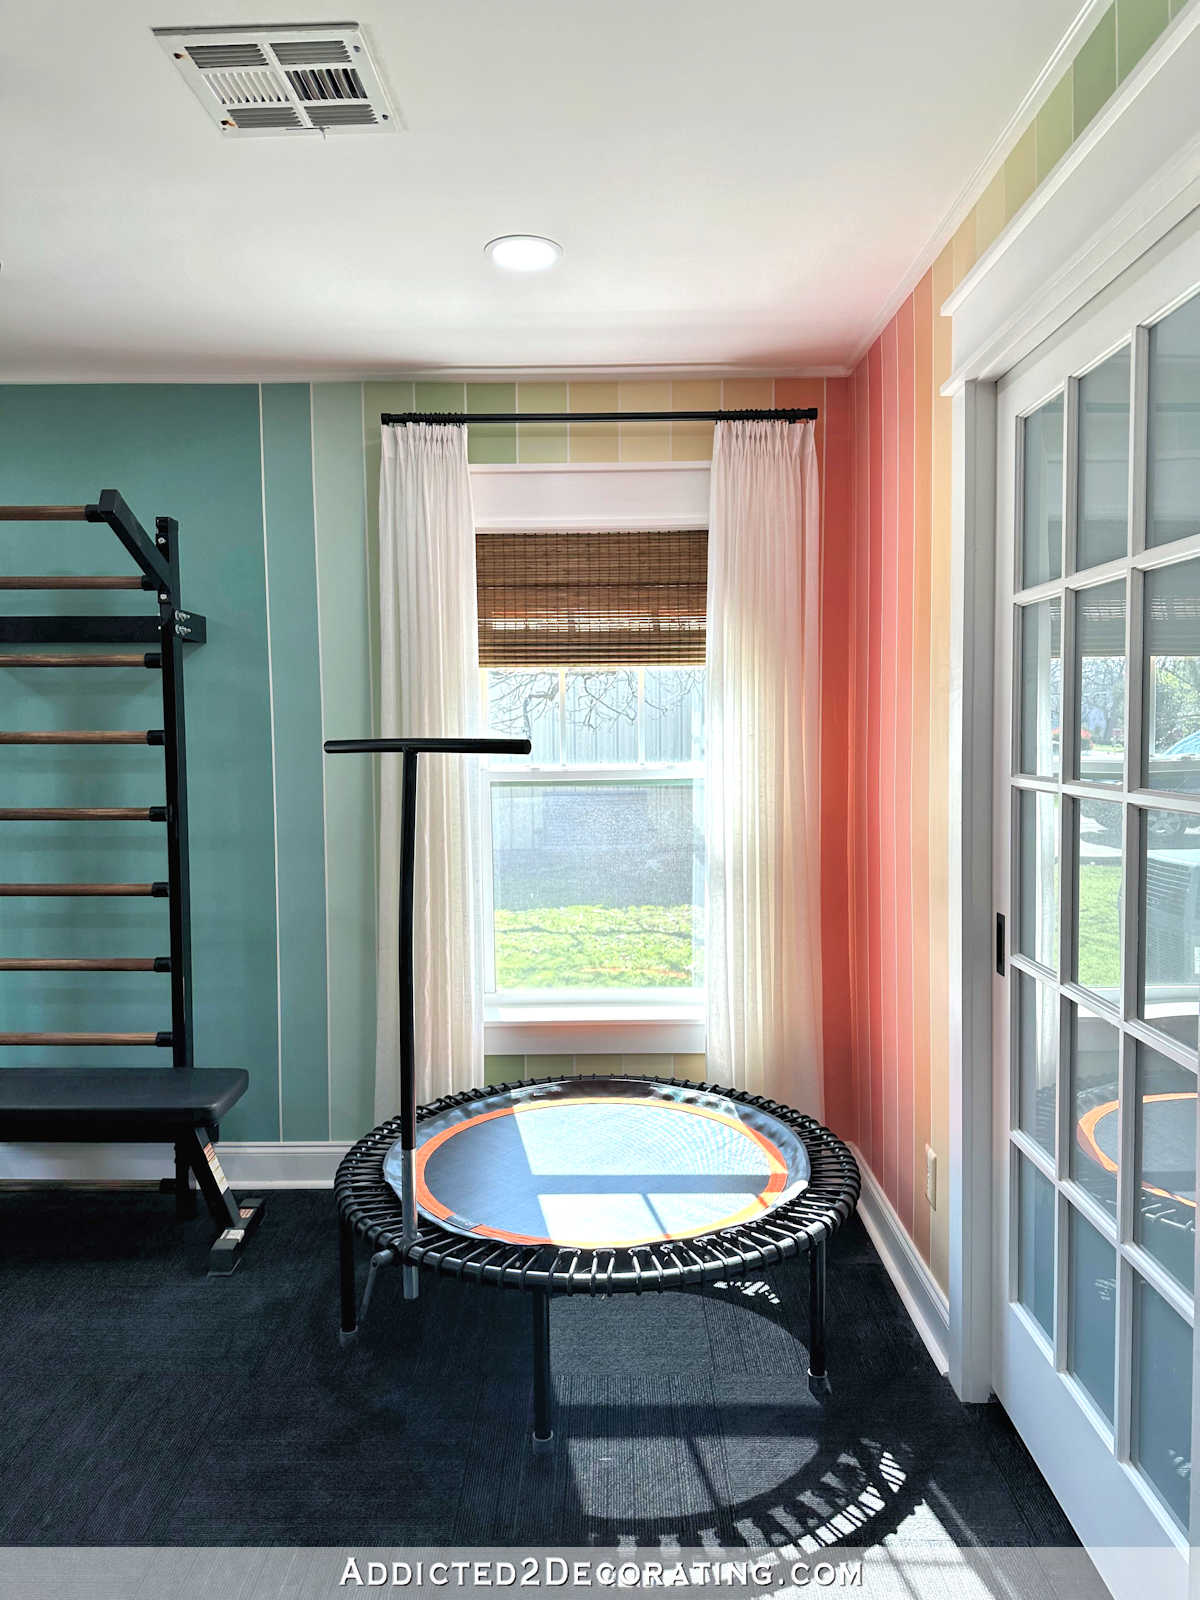
I really didn’t have any doubt that it would make the (real) walnut look beautiful, but I wondered how it might work on cheaper wood that is stained in a walnut color. So I decided to try it on the bars of the Swedish ladder. I’m not sure what kind of wood these are made of. I don’t think it’s pine, but it is some sort of very light white wood that I stained with a Special Walnut stain. The Danish oil worked beautifully on these as well. You can see the difference between the oiled and the unoiled bars below. The Danish oil gave the bars a deeper, richer color.

I also gave them a very light sanding with some 400-grit sandpaper, and the combo of the fine sanding and the Danish oil gave these bars a really beautiful satin sheen.

So even though Danish oil is new to me, I’m already a big fan. It’ll be interesting to see how it wears on those bars, and how often it will need to be reapplied.
Next up, I want to show y’all just how useful the Uproot Clean tool is. This is a tool that I bought specifically to clean pet hair (cat hair) off of my velvet furniture. It works amazingly well for that purpose, and is very fast and simple to use. I did an Instagram reel about it a while back. If you can’t see it below, you can see that here.
I’ve never tried it on any furniture other than velvet, but evidently it works on clothes, carpet, and just about anything else.
So after painting Matt’s Theracycle exercise bike, I was putting everything back together and had to find a way to clean up the Velcro straps on the pedals. These things were filthy because when the bike isn’t in use, the straps are always on the floor like this…

He’s had the bike for several years now, and we’ve always had pets, so the Velcro had picked up so much dog and cat hair over the years.
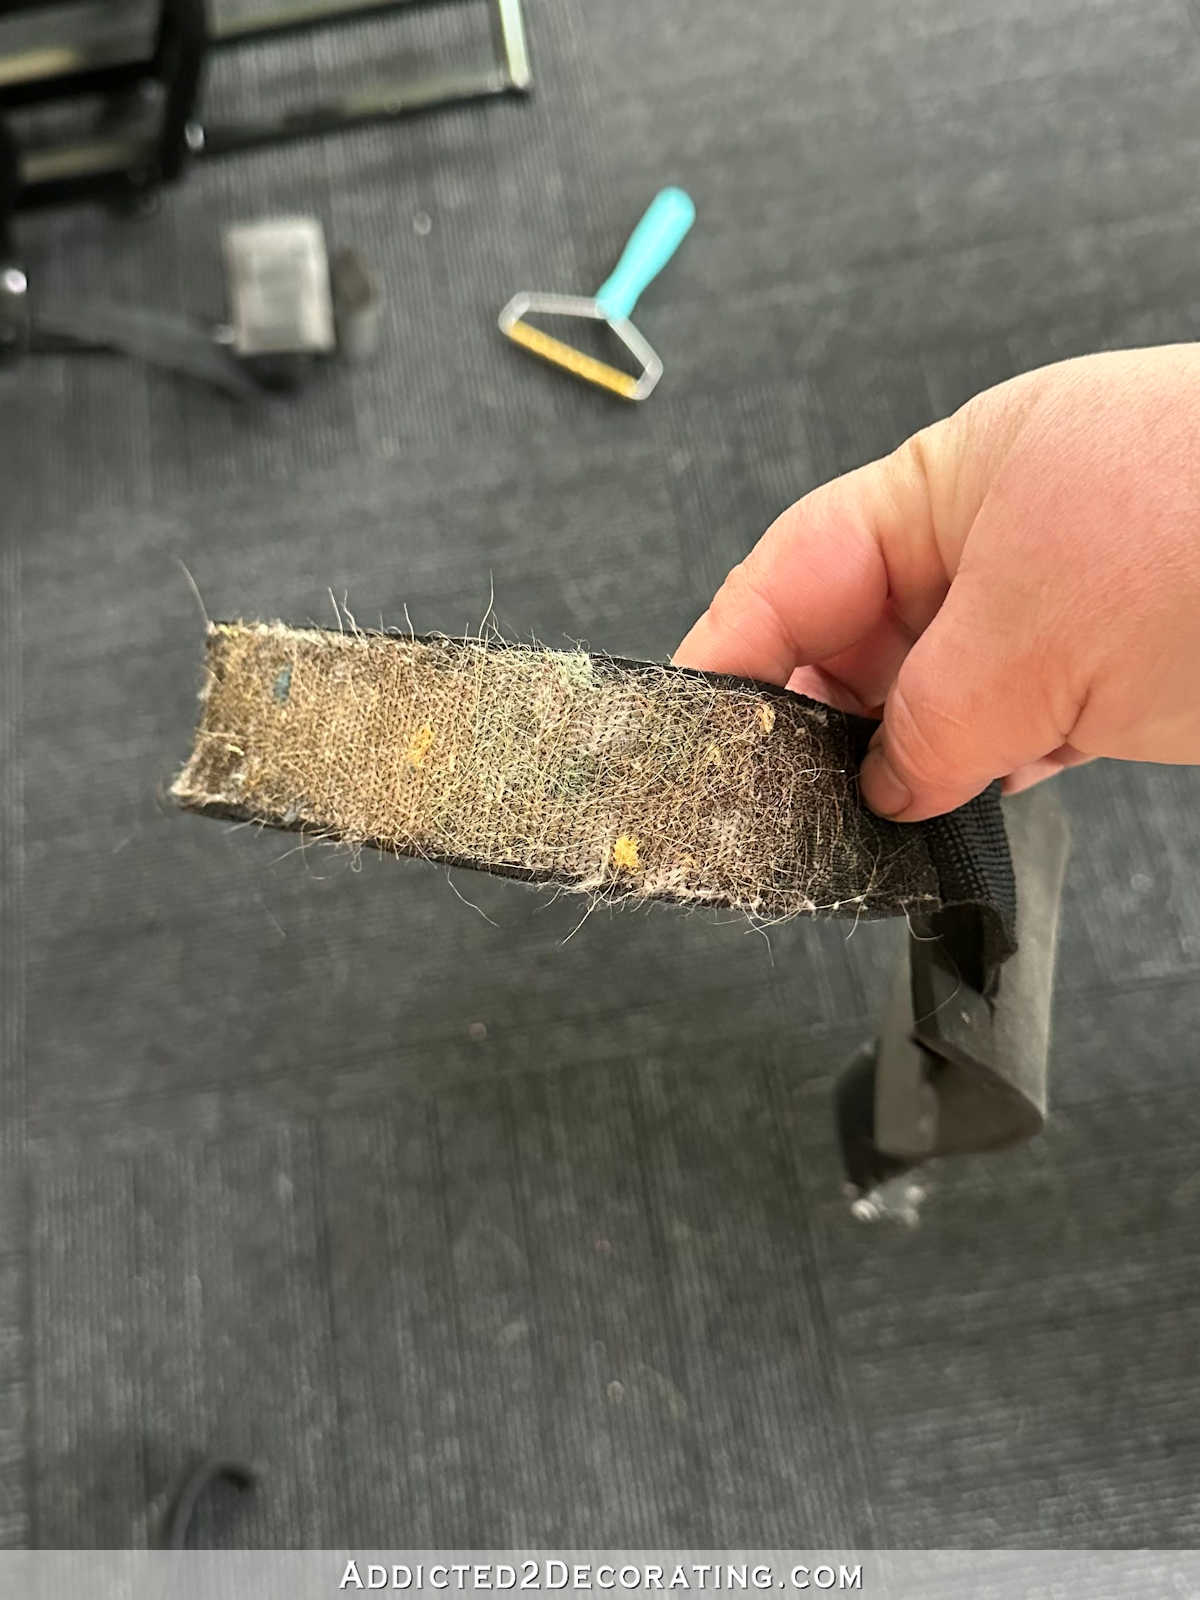
Gross, I know. But have you ever tried cleaning cat and dog fur out of Velcro? It isn’t easy. In fact, everything I’ve tried in the past (dog brush, cat brush, flea comb, etc.) has not worked. But then I remembered the Uproot Clean tool.
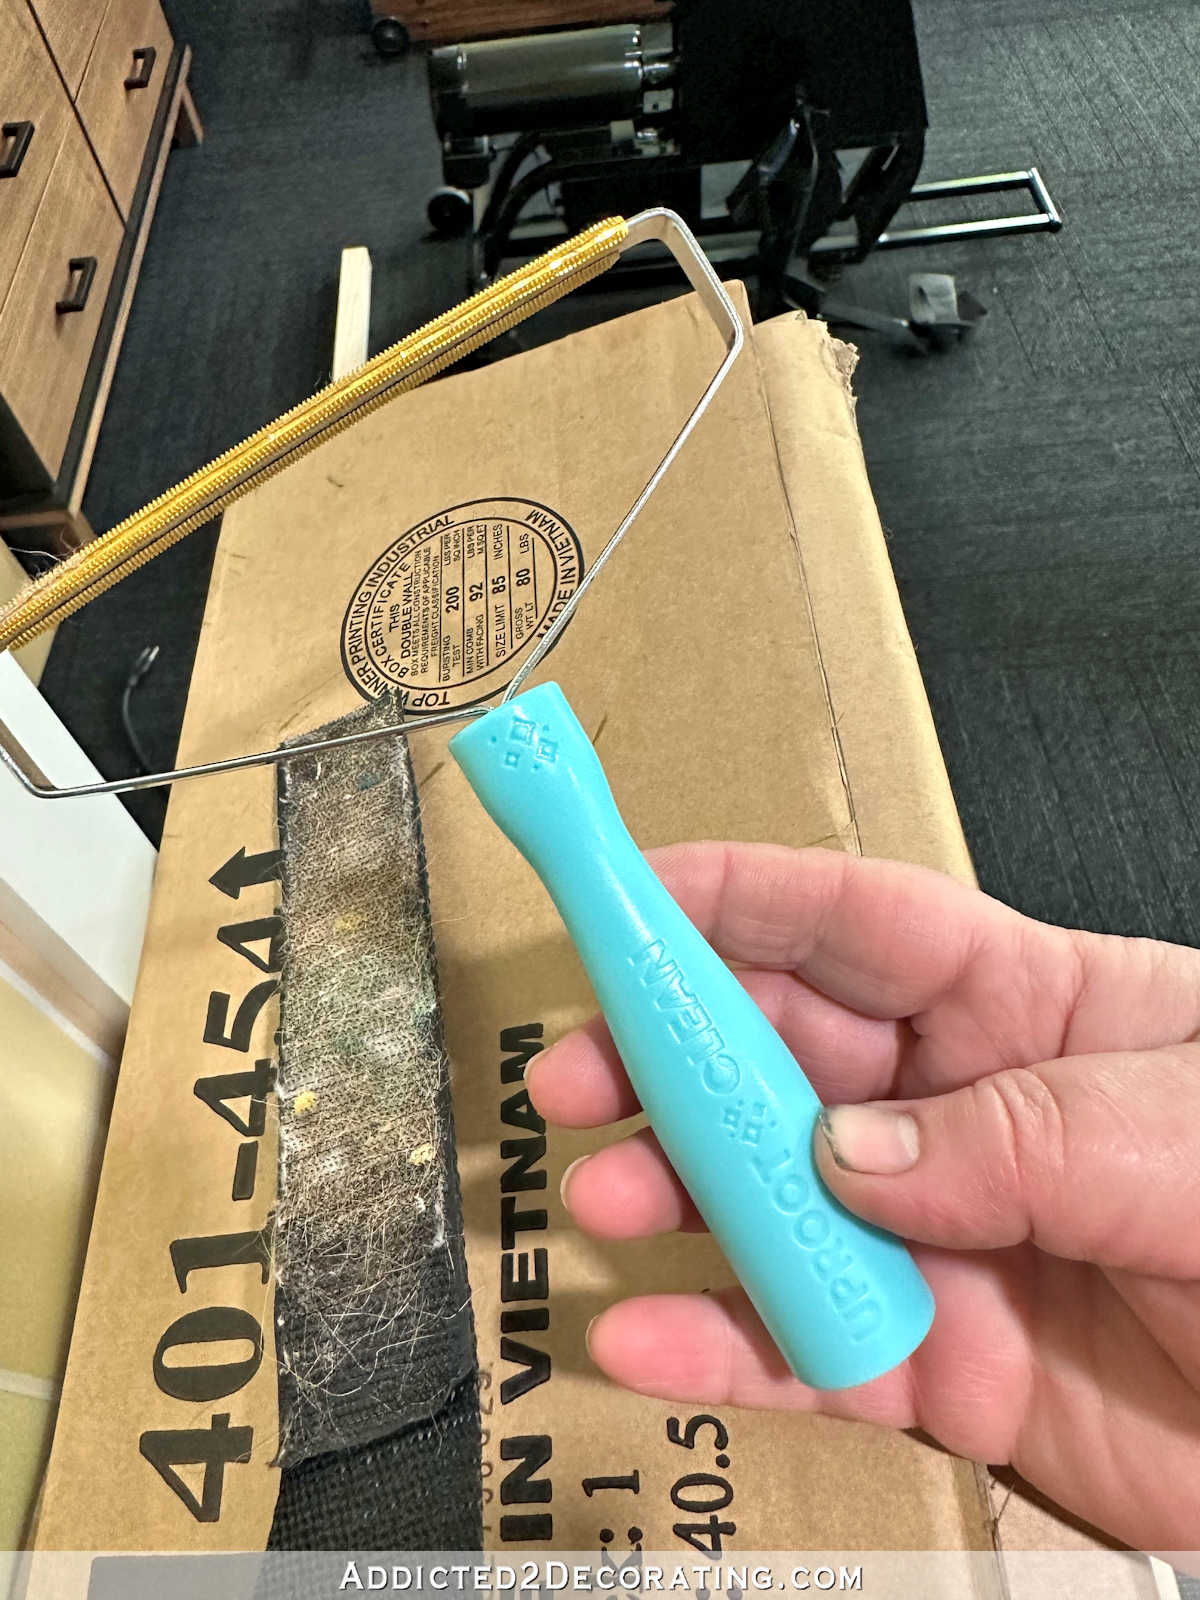
It worked like a charm, and each strap took less than a minute to remove all of that fur that it had collected over the years. I couldn’t believe how easy and thorough it was!!

If you have pets, I highly recommend the Uproot Clean tool. It’s quite amazing.
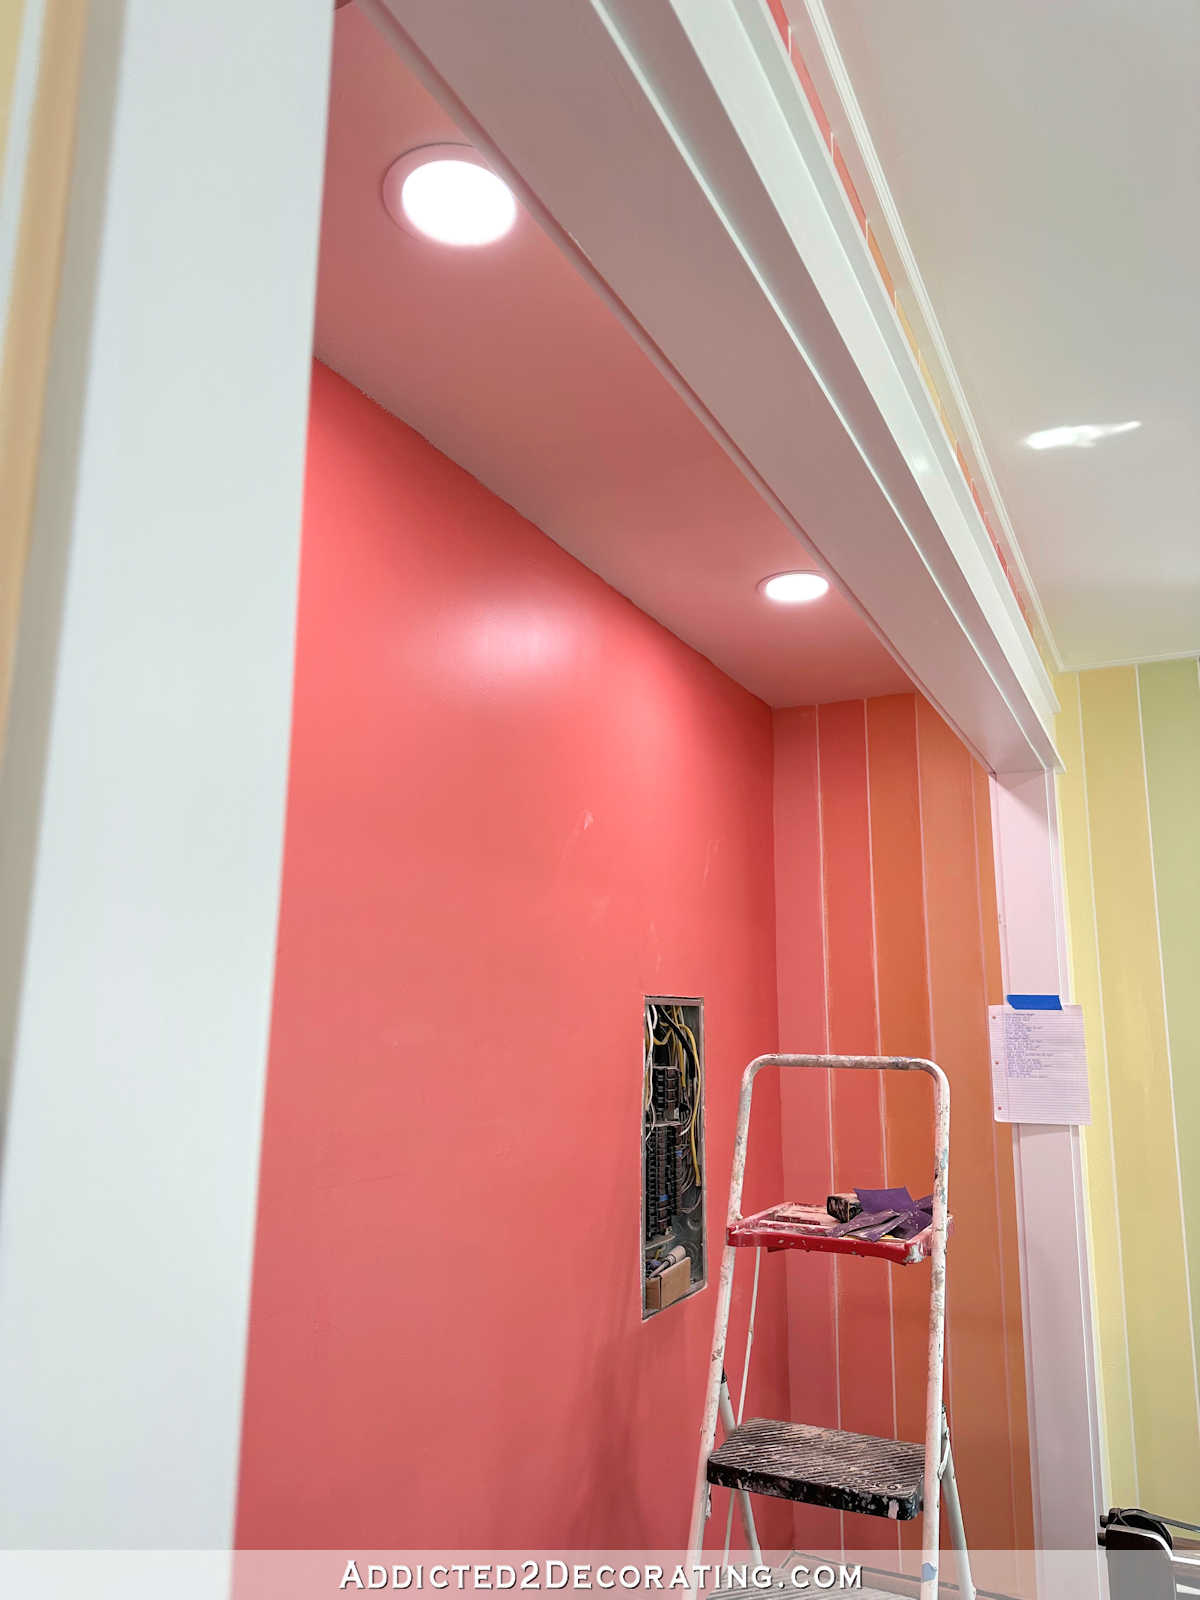
Okay, now let’s talk about this entry to the room and how I created more work for myself. Before this weekend, I had already decided that a decorative ceiling light wasn’t going to work here. I didn’t like the idea of looking into the room from the music room and seeing two ceiling lights (the hallway light and this home gym entry light) so close together. So I had already decided to use the 1/2-inch lights that look like recessed lights that I used in the main part of the room. I shared more details about these lights in this post.
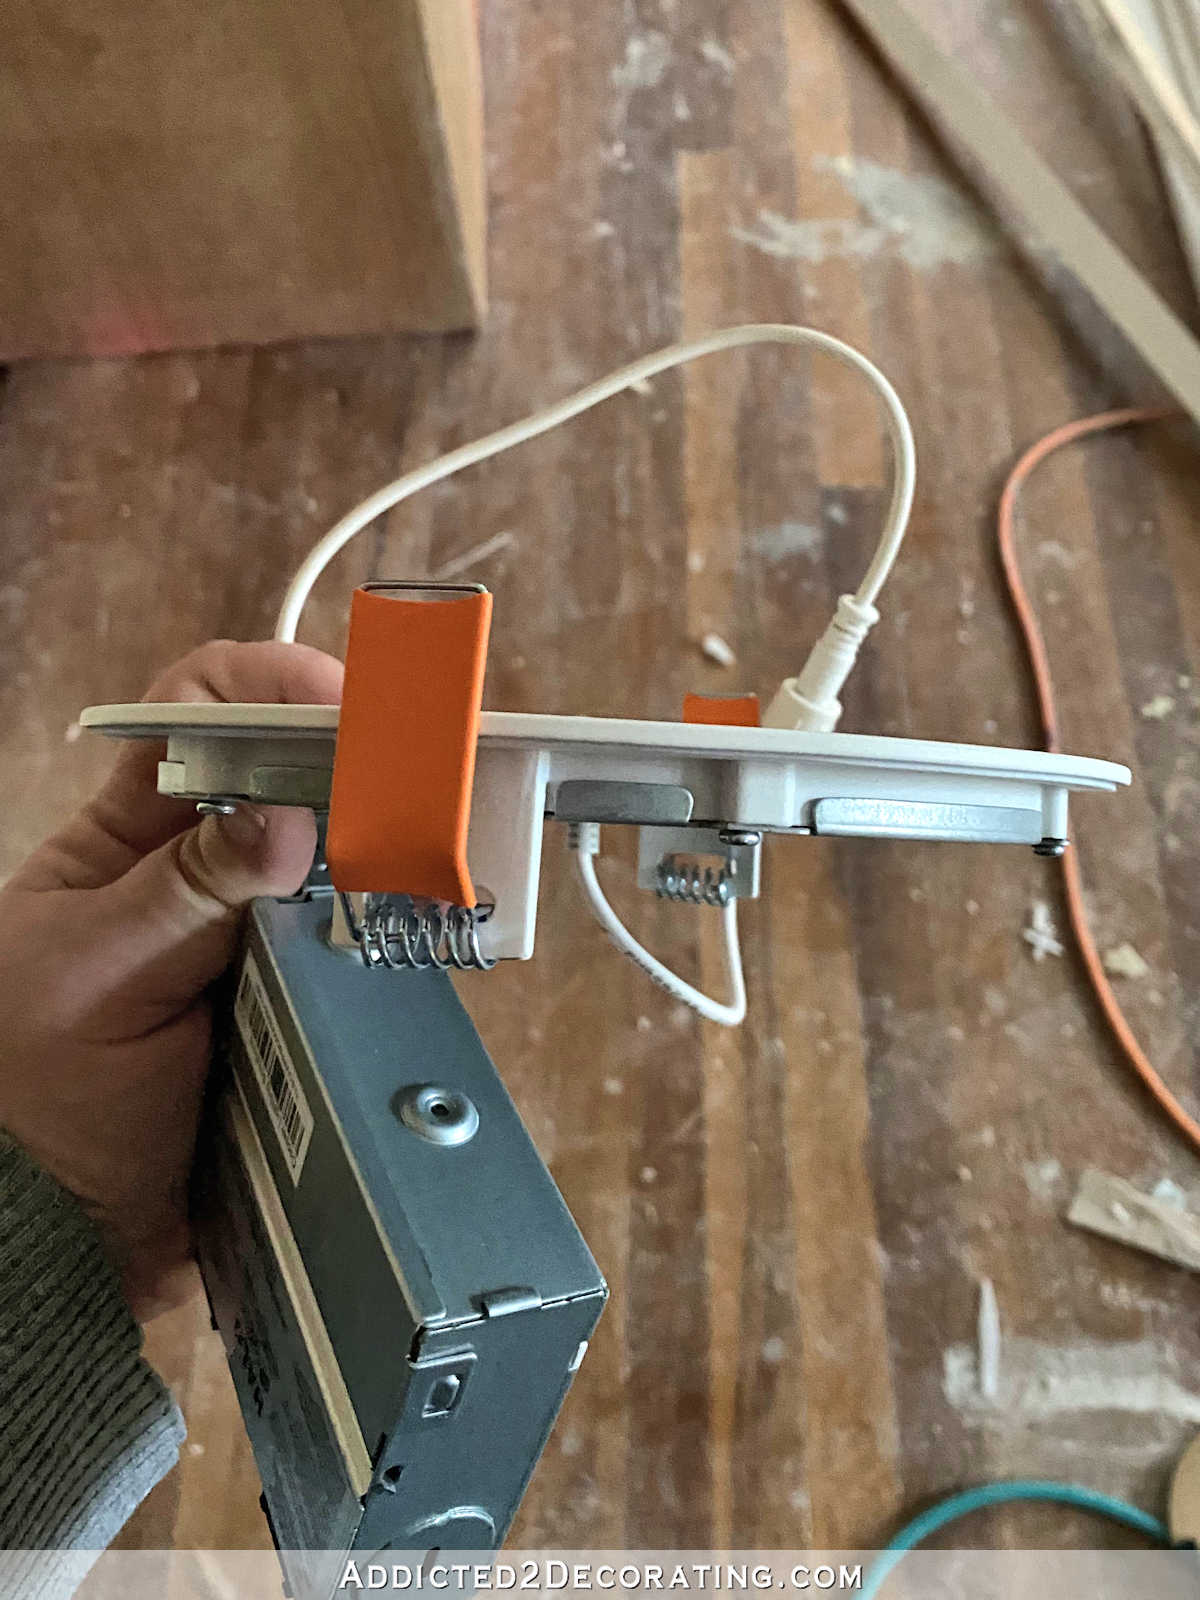
So I got my ladder and cut a hole in the drywall. Now let me remind you that these lights can go virtually anywhere. It doesn’t matter if there’s a ceiling joist there. You can still put these lights there. The light is only 1/2-inch thick, so it’s thinner than ceiling drywall, which is 5/8-inch thick. So as long as there’s enough space for the little junction box to go above the drywall, and there’s enough room for those two orange prongs to go on top of the drywall, the light can be installed. That means it can go virtually anywhere.
Well, what I didn’t anticipate is that right where the light needed to go, there wasn’t just one ceiling joist there. One ceiling joist wouldn’t have been a problem at all. But there wasn’t just one. Or two. Or three. No, right in that exact spot where I wanted to install the light, there were about five ceiling joists all nailed together to create a six-inch-wide area of solid wood. I’m not sure if you can see it in the picture below, but that’s nothing but wood all the way across the exact spot where I needed to put a light.

I can guarantee you that there’s no other place in my entire house where you’ll find that except for the exact spot where I wanted to put a light. Talk about frustrating!!!
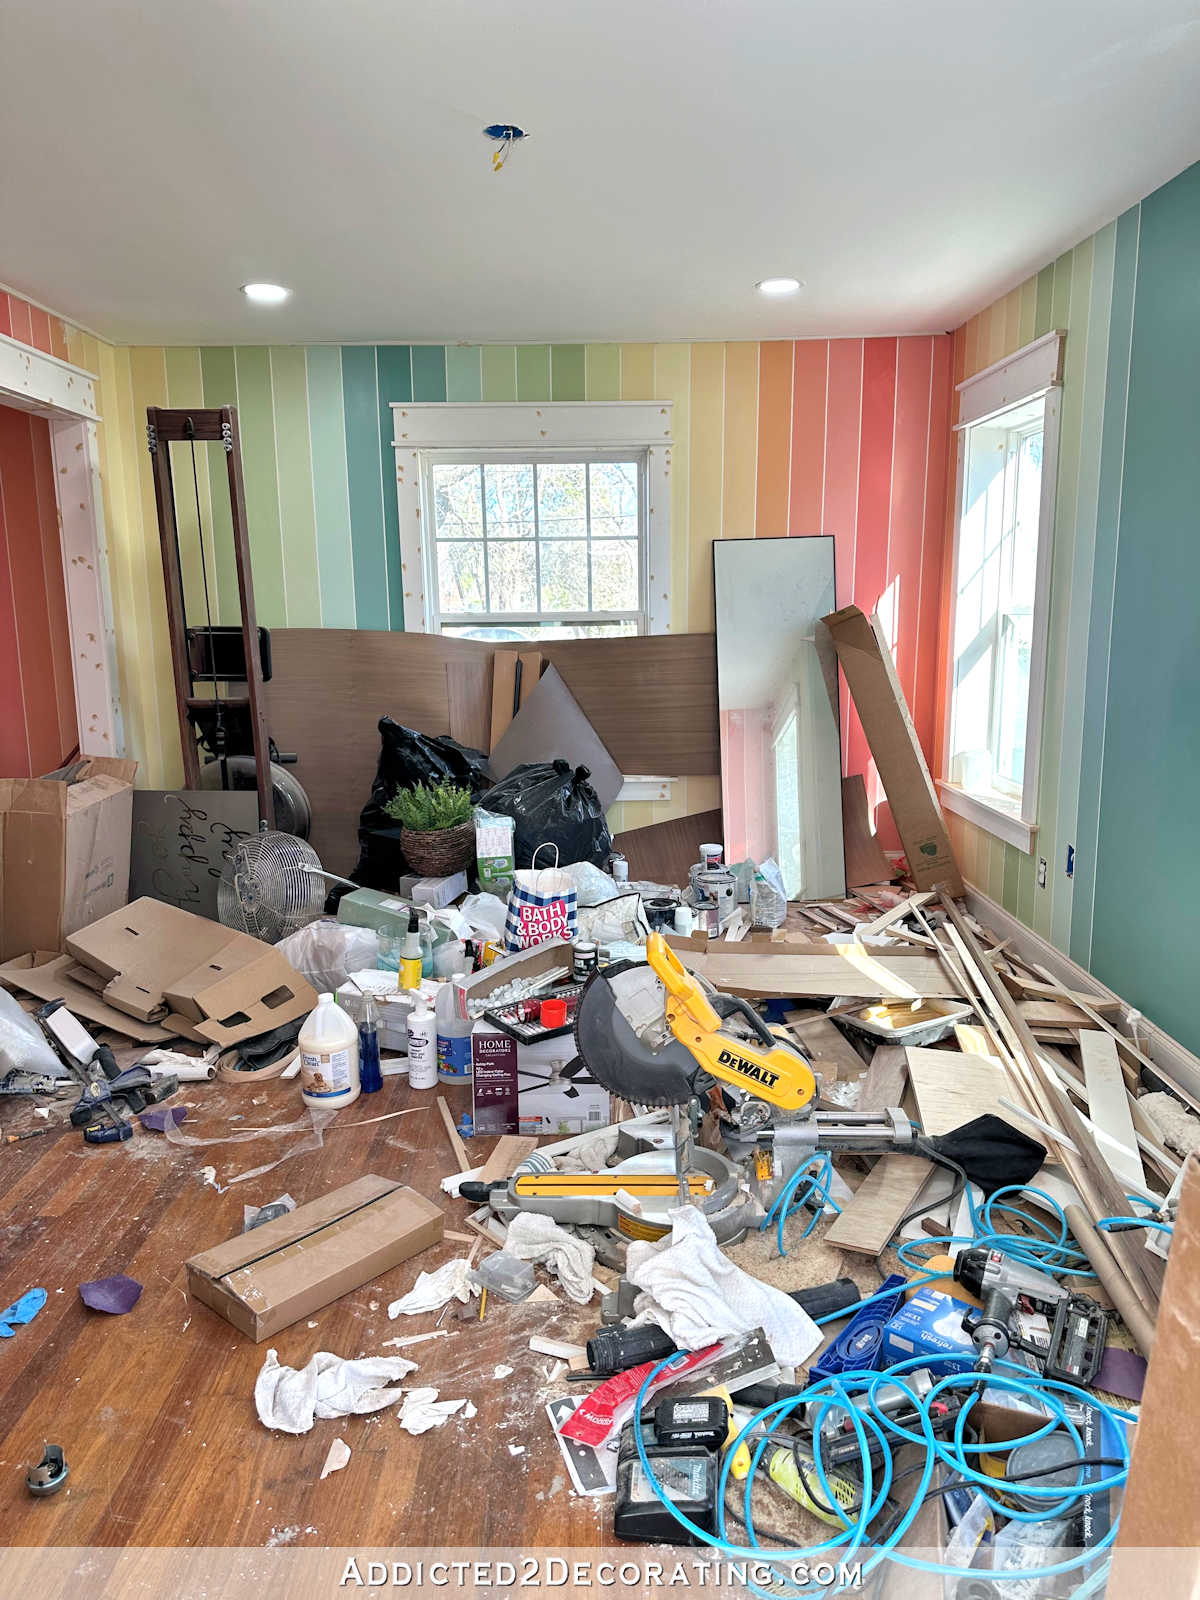
So I just screwed the drywall back on to the wood, and patched it with drywall mud. It still needs lots of sanding, and probably one more coat of drywall mud before I can paint it. So as of this morning, it looks like this…

I couldn’t believe it. I mean, these lights can go virtually anywhere. That’s one reason I love them so much. But what are the odds that I chose the one spot where five 2″ x 6″ joists were all sandwiched together to create a massive six-inch-thick beam? So there won’t be a light in the entry to the room. I’m fine with that. It would have been nice to add some light to that dark area, but it’s not like anyone is going to be spending time in that area. It’s a passthrough. That’s it. So not having more light there really isn’t a big deal. But having to repair a big hole in the drywall on the ceiling in a room that is virtually finished is such a frustration.
So make that three things that I have to do: (1) touch up the paint on the ceiling, (2) iron and hang the curtains, and (3) finish repairing the useless hole that I made in the drywall on the ceiling. And I have a completely free day ahead of me, so the room will be completely finished today. I promise I won’t be putting any more useless holes in the drywall, or coming up with any more last minute projects that I want to do in here.

Addicted 2 Decorating is where I share my DIY and decorating journey as I remodel and decorate the 1948 fixer upper that my husband, Matt, and I bought in 2013. Matt has M.S. and is unable to do physical work, so I do the majority of the work on the house by myself. You can learn more about me here.


So, I hear that infrequently you hit a solid spot in the ceiling, but would a stud finder at least have given a clue there’s no open space above there?
Of course! But I never would have thought that it would be needed. I’ve never seen a solid six-inch-wide area of solid wood in the ceiling, so I wouldn’t have even thought to look for it. I know there are single joists everywhere. Those are only 1.5″ thick, and I could have worked around that. I know there are many places where there are double joists, so those areas are 3″ thick, and I could have even worked around that. But six? I’ve never seen that. I wouldn’t have even known to look for it. Lesson learned, I guess. But I’d bet money that this is the only spot in the entire house where this situation even exists.
I love the fact that your motivational sign (“You got this” I think it says) is right in this area leading into the gym. I can just imagine you glimpsing at it and rolling your eyes as you patched up that whole- at least that’s what I would have done! On the bright side you can return the light and use the money for something else. Always gotta look for the positives. Looks like it’s also time to get in there and sweat out the crazy! I love the room you’ve created!
Almost there Kristi! How exciting 😁 Thanks for the sneak peek of the entryway artwork…it looks great! Can’t wait to see the final walk through!! Thank you for being real and showing us how to press on even when things don’t go exactly as planned. You truly inspire me!
You know — if I had made that hole, I wouldn’t have been able to repair it, so there’s that — you know what to do and how to do it AND you are more than halfway done. You are SO CLOSE! Have used Danish Oil for many years — one of the products my Dad liked and used frequently.
What about adding a wall sconce on that left wall as you enter the home gym? Looks awesome BTW!
My thoughts exactly.
WOW! So frustrating! I understand this type of ‘roadblock’ issues. If you really want a light in that pass thru entry, you will find a solution down the road. After today, enjoy your new space and get started on your next project.
It all looks great. I think if you really want some light in the entrance, you could always add a sconce or picture light over your pictures.
Were the 2 x 6 joists going across the width or the length of the hallway? If they go across the width I wouldn’t see a problem with moving the light fixture several inches towards the main room.
UGH…Never a dull moment in your world, but at least you know how to fix things or adjust to the issue. And I know you will find another solution if you REALLY feel you need some light in that area. And I actually bought that tool when you first talked about it. We do not have cats, but two Pomeranians, and the fluff winds up anywhere. I found it works great on furniture and our clothes, but I had no idea about the Velcro. I will give that a try as getting fluff or fuzz off straps, is almost impossible. Thanks for the tip! Looking forward to the reveal!
I have this tool and it is fantastic! I use it on everything as our dog sheds so badly and she loves to jump on the one piece of furniture she’s not allowed. haha Love how the gym looks as usual you are doing a wonderful job.
Bummer! (Waiting to see the finish line!)
BTW, maybe you will be able to find recessed wall sconces in the future, that you could put in the entryway!
I love Danish oil. The cabinets in the kitchen of my old home were finished with Danish oil. I wish the cabinets in my current kitchen were. I love the natural look it gives the wood.
I’ve been interested in the little pet hair removal tool for a while. We have a 50lb SHORT-HAIRED black lab who sheds like crazy, even with a brushing routine. I swear we could build another dog with what my son sweeps up off the floor! We have leather furniture, so that’s no problem. But we have 1 rug in this house, an 8×10 in the living room. And we have a good “pet hair” vacuum cleaner that just laughs when my son tries to use it. We’ve tried everything on the market for that rug…nothing works well. I’ve looked at this tool on Amazon & noticed that even the large tool is rather small. For a rug, we’d need one at least 12 inches wide, if not 24! And on a long handle so no rolling around on the floor. Since I’m old, I can’t get on the floor & back up without a lot of help, so it all falls on my sweet son whom I live with. Now, to make matters worse, Friday I broke my back so I’m living in my recliner until further notice, since it hurts too much to lie in bed.
So a word to all of you young people out there:
DON’T EVER GET OLD! IT’S NOT FOR SISSIES! Ha!
Anxious to see the finished, finished picture especially the closet. You have worked so hard on this room. Are you going to actually use it? I know Matt probably will use it, but will you?
Have you ordered the studio cabinets yet? Whatever are you going to do with your time when the whole house if finished?
I’ve been using the home gym for a while now. 🙂 I didn’t need it to be completely finished before I started using it.