The Floors Are (Almost) Finished! (The Amazing Difference That Polyurethane Makes)
I’ll start with the bad news. Sadly, I didn’t get the floors in our bedroom suite finished yesterday because the polyurethane didn’t dry fast enough. I assume it was because of the weather and the humidity early in the day after I did the first coat. That first coat took about eight hours to dry enough to put the second coat on, so it threw off my whole schedule. So they’re not completely finished at this point. They still need a bit of sanding, and then a final clear coat.
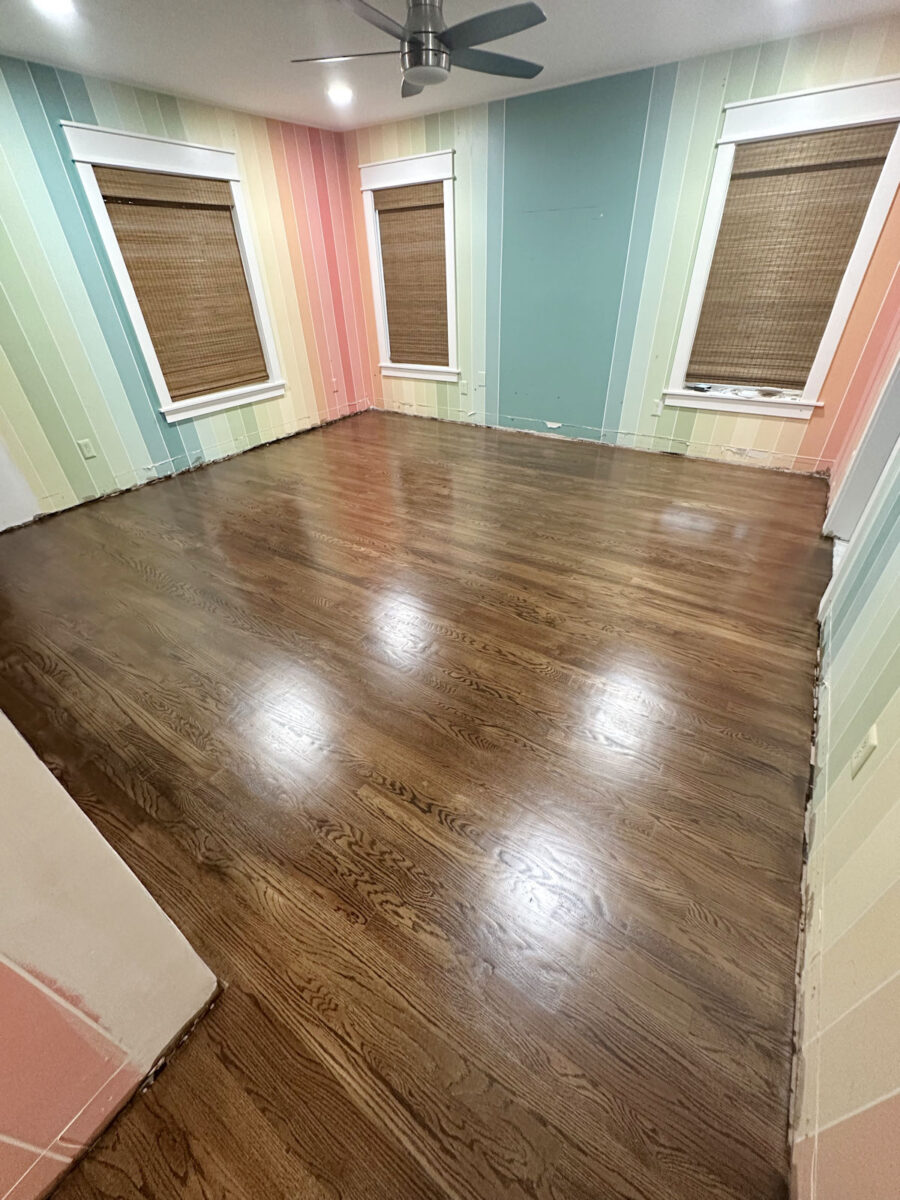
The good news is that they’re looking amazing, even if I do say so myself. 😀 And even though I’ve done this before, and I was fully expecting it, I was still astonished at the huge difference that the polyurethane made on the floors. As I said yesterday, I add stain to the first coat of polyurethane, and that evens out the grain of the red oak hardwood flooring and adds a beautiful depth of color to the floor. I’m not going to go over the details of this process because I did a thorough multi-post tutorial the last time I did it.
To see more how-to details, you can find that here: Tips For Refinishing Hardwood Floors – Add Stain To Polyurethane
I’ll also add that the last time I did this, I was refinishing 70-year-old red oak hardwood floors. There’s a HUGE difference between 70-year-old red oak and new red oak. I don’t know why, but the new stuff isn’t as pretty, and has a lot more grain in it. I still think the new stuff is pretty, but I definitely prefer the old flooring. There’s really nothing I can do about that, though.
The last time I did this, I only added stain to the first coat of polyurethane. This time, in order to match the depth of color in the rest of the house, I actually had to do two coats of the stain/polyurethane mixture. That might also have something to do with the longer drying times, but it was necessary.
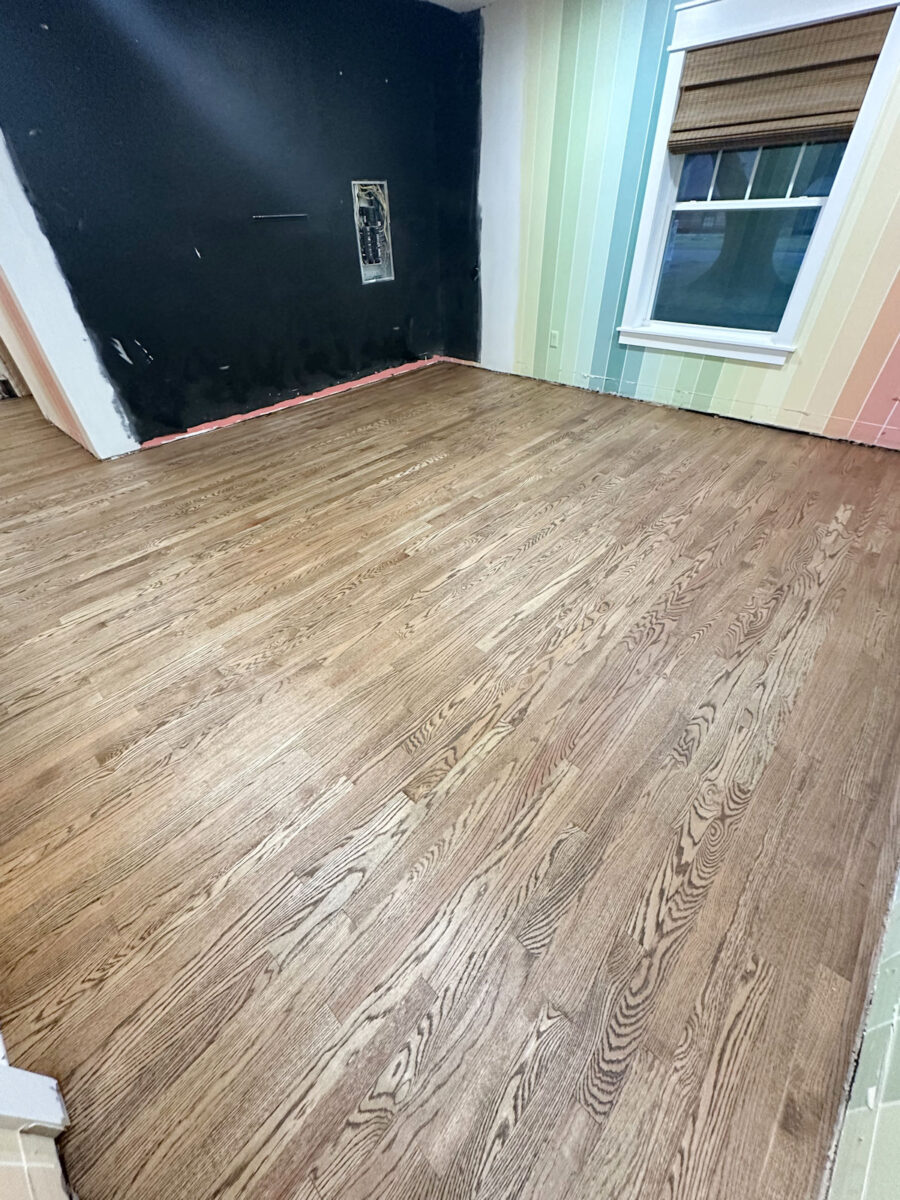
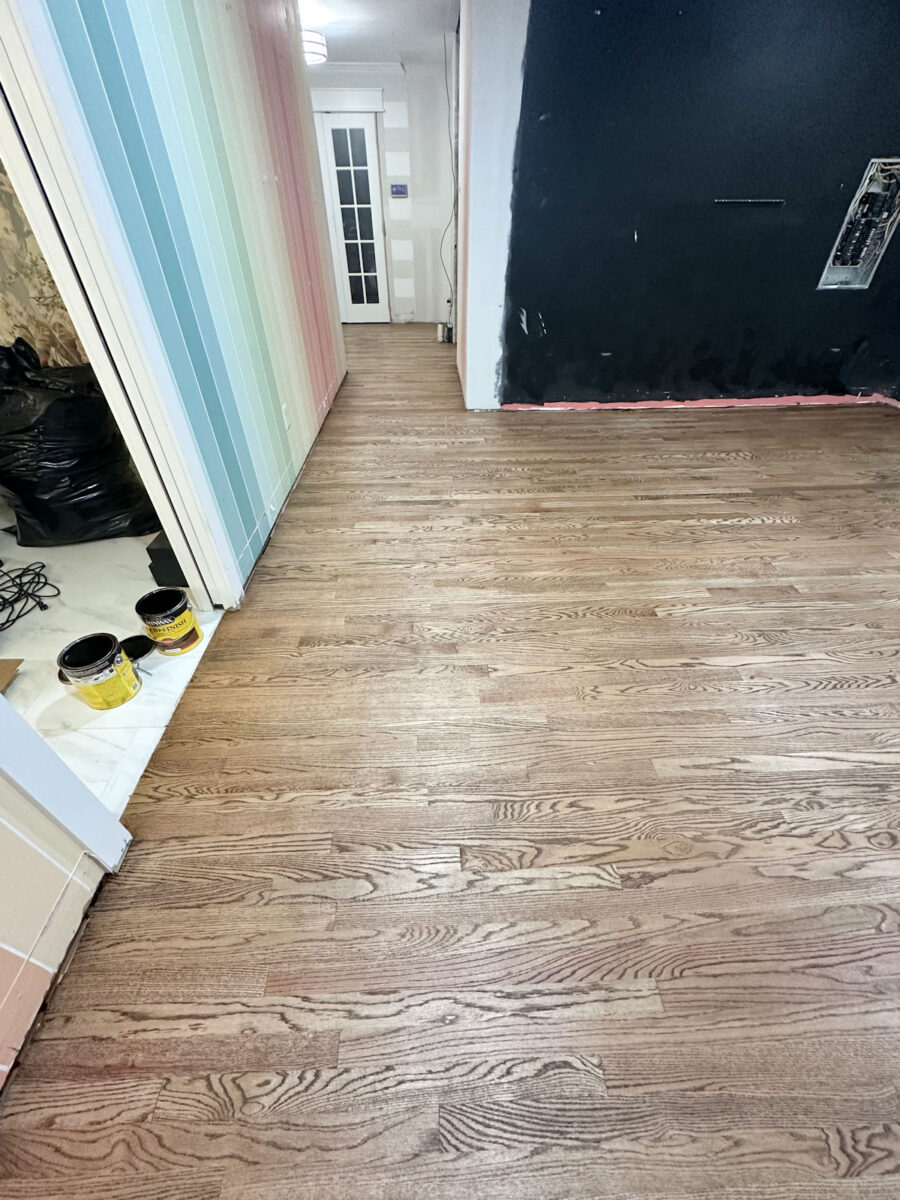
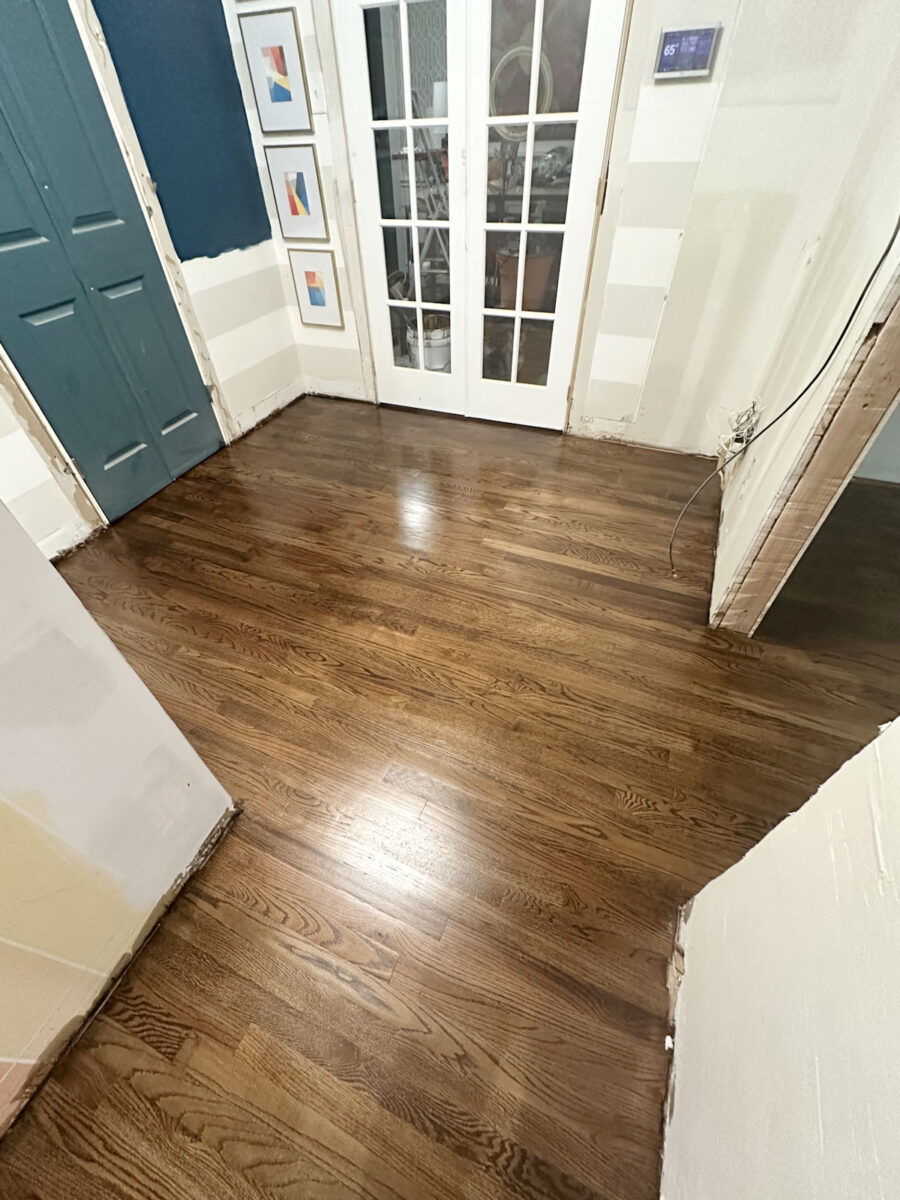
So here’s a look at the floors so far. This is the floor in the bedroom…
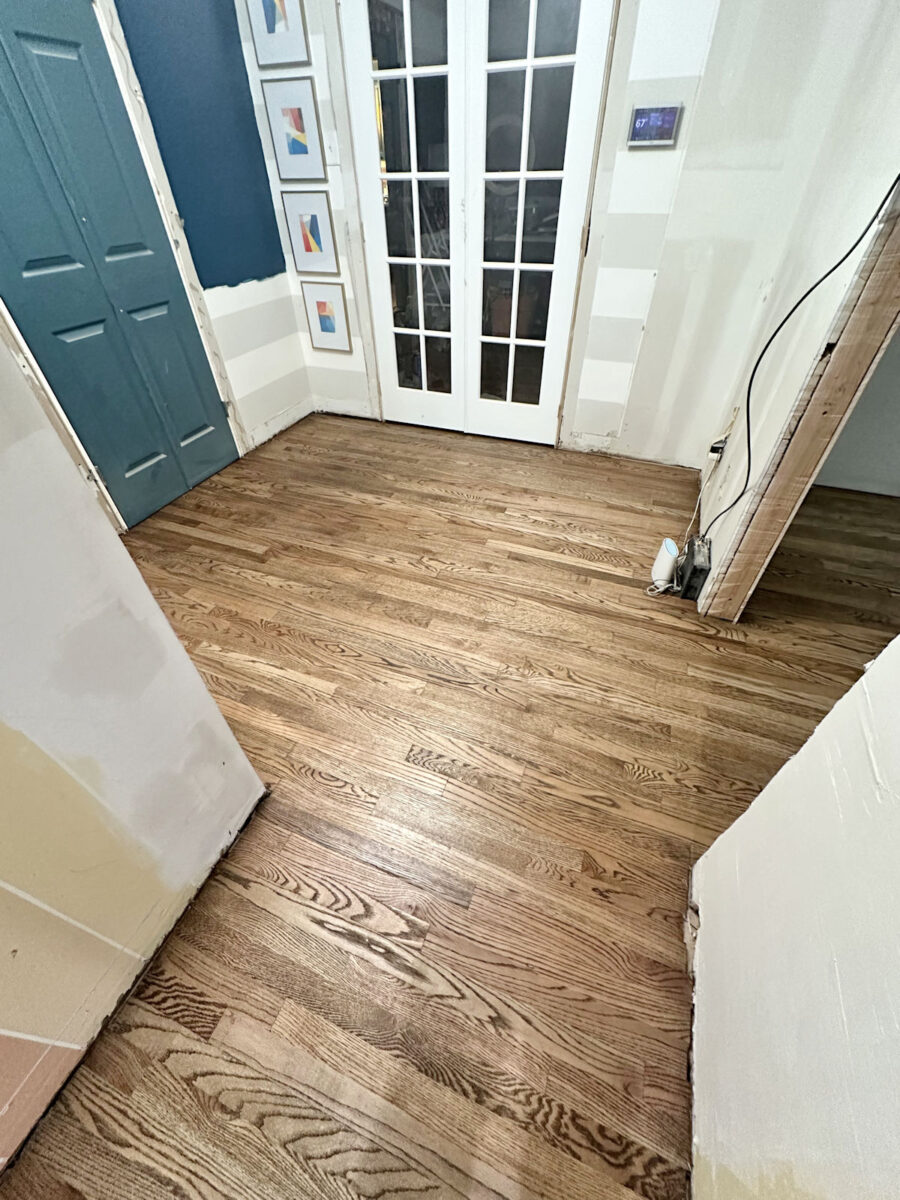
And here’s a look at the side-by-side comparison of the floors with just the stain on the left, and then with two coats of the stain/polyurethane mixture on the right.
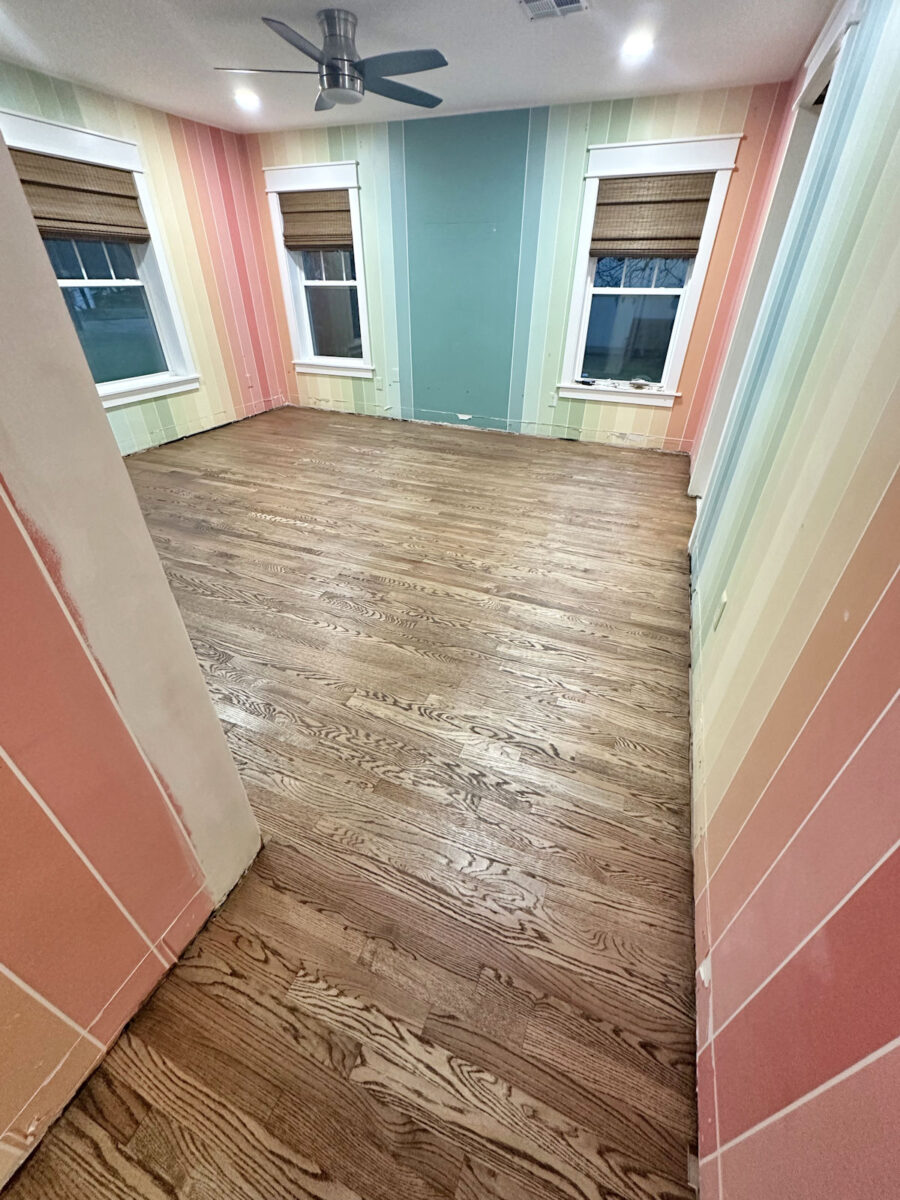
It makes a huge difference, right? See how it evens out that crazy grain in the red oak? I do like the grain in the red oak, but I just like it to be a little more subtle than how it looks with just the stain, which tends to turn the grain really dark.

Here’s another comparison of the stain only on the left, and the stained floor coated with the stain/polyurethane mixture on the right.
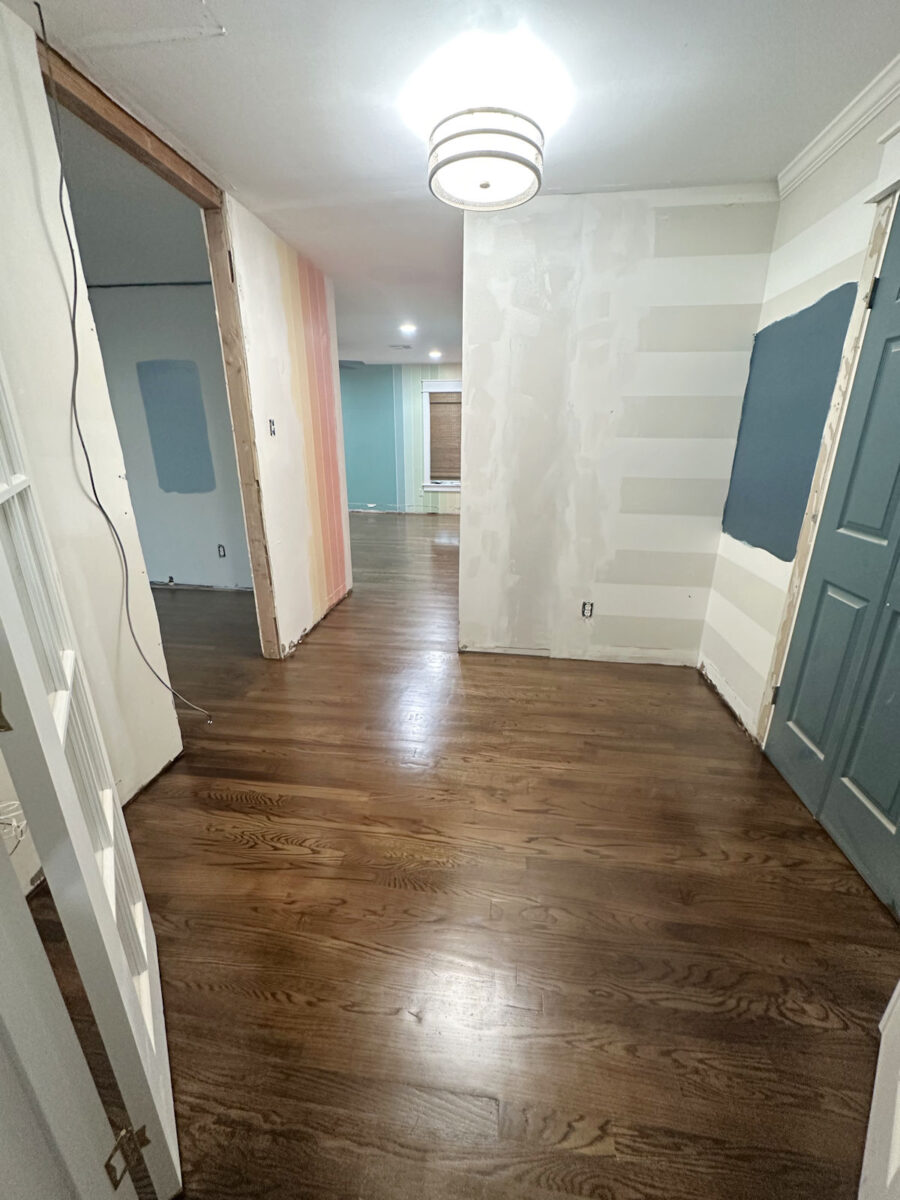
It’s not perfect, and I knew it wouldn’t be because I’m not a professional. But even with my perfectionistic tendencies, this is good enough for me. 😀 I have to imagine the rooms with all of the layering of other materials and finishes that will go in here.

The floors will be a background for everything else, so they won’t be the star of the show when all is said and done.
The floors are a bit too shiny for my taste, but I used polyurethane in a satin sheen, and that’s the lowest sheen that it comes in. But from my experience, that sheen will diminish over time.
I wish that it came in a matte or flat finish, though, so that I didn’t have to wait over time for all of that shine to go away. But I’ll just have to be patient. I’m not so good at being patient. 😀
I’m so excited that this is almost finished!! And Cooper has already walked on the floor (he actually ran because he’s not so good at walking like a calm boy), and it held up beautifully after 12 hours of drying. So I’m hopeful that if I can get the second coat on by the end of the day and let it dry overnight, I can cover the floors by the end of the day tomorrow.

And then I can spend tomorrow making my purchase/cut lists for the closet, and then get starting on building my closet on Friday!

So by Monday, I’m hoping to have some closet progress to share with y’all!
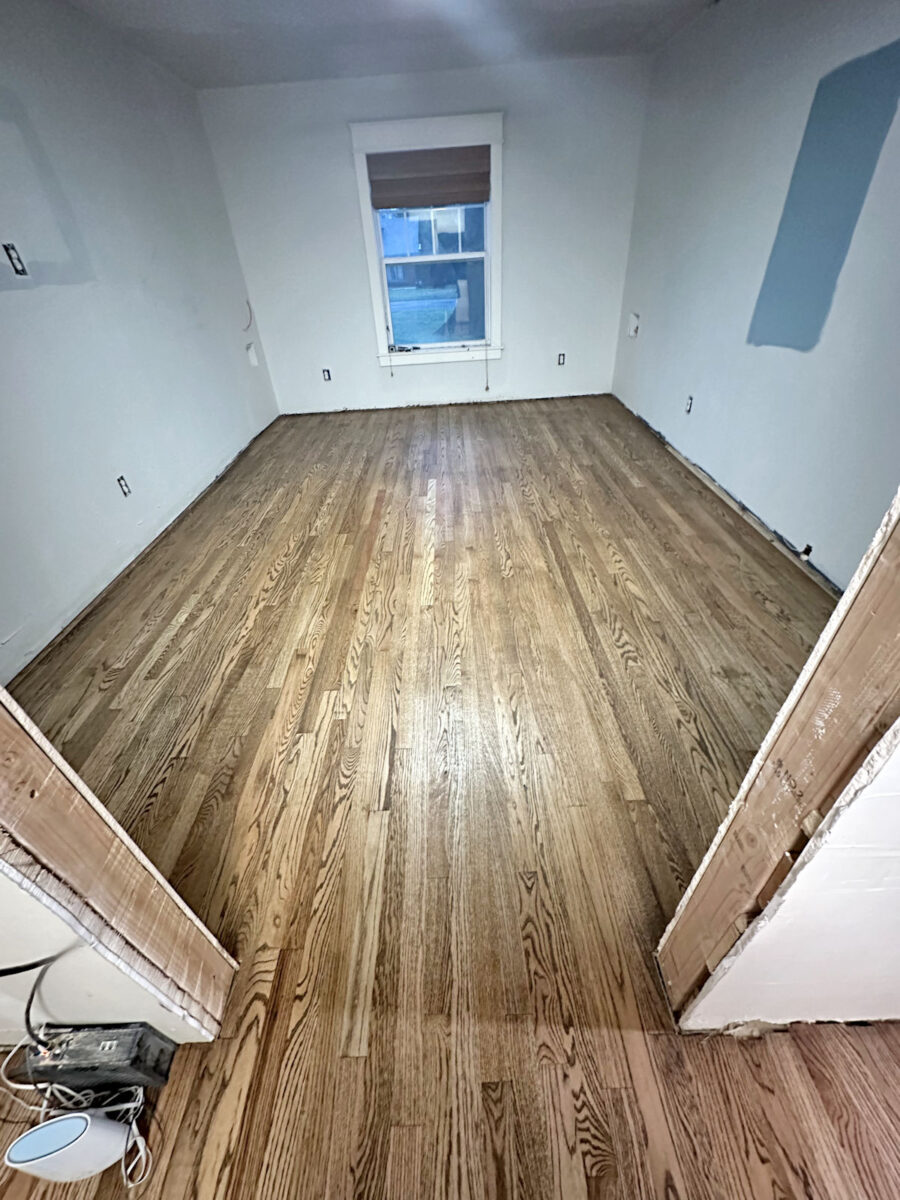
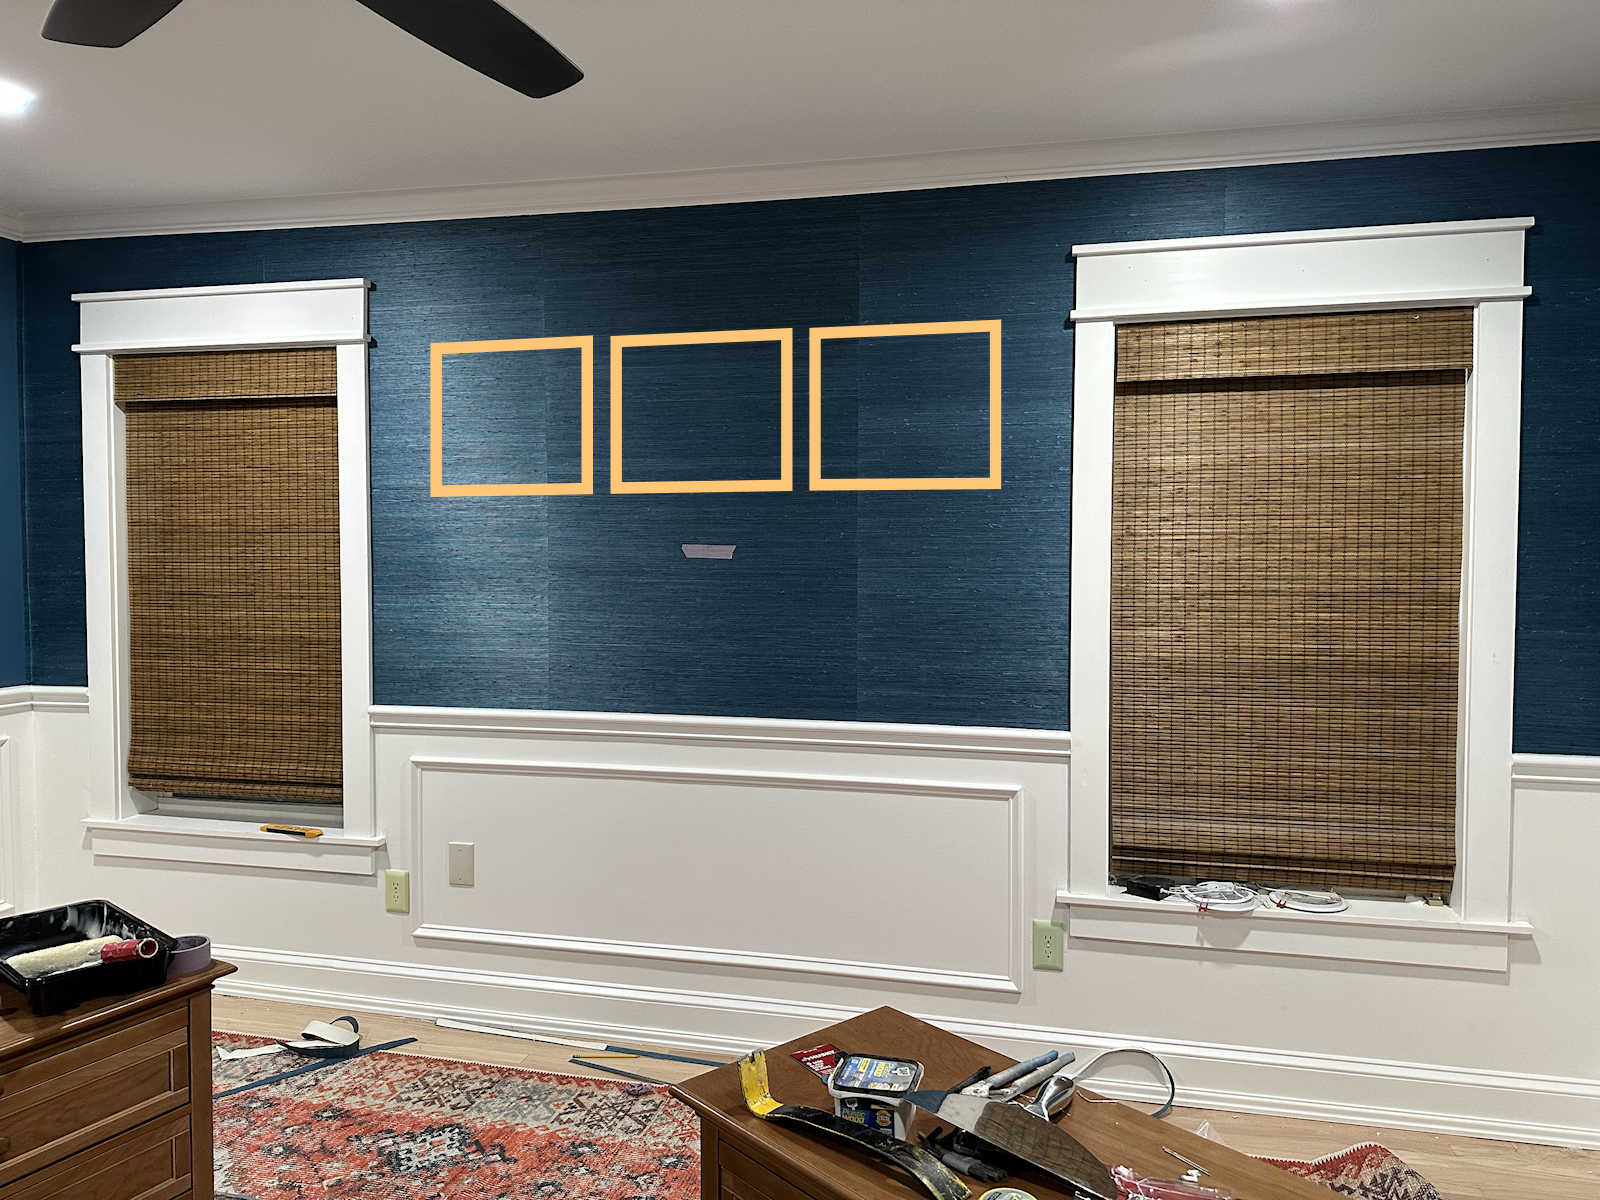
And obviously, adding new (and more) lighting to the closet will be on my list of things to do. This room is so dark right now, but I promise that the floor in here is exactly the same color as the rest.

I still haven’t decided exactly what kind of lighting I want to go with, but it’s very likely that I’ll use the same ultra slim recessed lights that I’ve used in the other rooms. But I’ll also have my decorative chandelier and probably some sconces as well. So this might go from being the darkest room to the brightest room when all is said and done.

So that’s it for now! I’m thrilled with the progress, and I’m going to do my best to finish these floors by the end of today so that I can stay on schedule and start building my closet on Friday!
The A2D Daily:

Addicted 2 Decorating is where I share my DIY and decorating journey as I remodel and decorate the 1948 fixer upper that my husband, Matt, and I bought in 2013. Matt has M.S. and is unable to do physical work, so I do the majority of the work on the house by myself. You can learn more about me here.

The floors look great! I love the color.
I didn’t even know you could add stain to poly. See, you are a genius! It is amazing seeing those floors from stain with no poly to the poly coats added. They have such depth and look great!
Varathane makes a matte polyurethane, though possibly available only in quarts. Would that be compatible with what you used, and worth the expense?
The only matte I could find was just regular polyurethane. The Varathane floor polyurethane comes in gloss, semi-gloss, and satin. I’d be afraid to use a regular polyurethane that isn’t formulated for floors. I’d imagine polyurethane for floors has more hardeners in it or something like that.
Stunning floors! I can’t believe you’re able to do all that on your hands and knees. I ache just thinking about it. What an accomplishment already!
I should have added that I didn’t do this part on my hands and knees. I used one of those wide stain brushes, and taped it to the end of a pole so that I could stand for the process. It was still slow and laborious, though. I’ll take a picture and add it to the post.
Can’t you apply it with a flat mop?
If I were using clear poly, yes. But when it’s mixed with stain, a brush makes it easier to get a consistent color.
Nice job!
Wow! Just wow!
Looking great!!!!!
Gorrrrrgeous!
Gorgeous floors. Great job.
Awesome floors. I have done some of this work myself (but not the sanding) and am impressed that the dog didn’t leave any marks!
Congrats on the flooring progress! This is such an exciting step – when you can really see the fruits of your labor and there are big steps forward. Well done!
Simply beautiful! It is amazing how much the poly/stain combo improves on the wood. I look forward to seeing your next steps!
Woohoo!! side note, could you use a super fine steel wool to bring down the sheen a bit? I know this is something woodworkers do.
I probably could, but I’d be afraid to do that.
They look amazing, and you never cease to amaze all of us with your talents. Better yet, how you take the time to explain everything, and that is so helpful. Looks great, you’re in the home stretch now.
Cheers to you both!
It looks so good! In your closing photos of the closet, are you planning to relocate some outlets up higher on the wall, just in case you may want them for random things? It might be nice to have at least one on each wall maybe at chest or face height for a small lamp, chargers, steamer, or who knows what!
I’m not sure. I can’t think of anything I’d need to plug in in the closet. On the rare occasions that I want to iron a piece of clothing, I do that in the studio. All of my items that need charging are either bedside or bathroom. Lighting will be hardwired. I don’t know what else I could need them for.
They look amazing. Love the tip on adding stain to the poly – what a big difference that makes. Maybe I missed it, but can you share the stain brand and color, as well as the poly brand you used? This progress is super exciting!
I’ll give all of those details in Thursday’s blog post.
Yes, indeedy, honey, those floors are looking GORGEOUS! I agree that the sheen will diminish as you walk on them and work around them, painting the walls, etc. It’s delightful to see each phase of your new bedroom suite progressing. How long do you expect it to take to get the closet cabinets done?
I think the basic build will be fairly quick (maybe three or four days), at least for the cabinets along the perimeter of the room. But all of the finishing details — trim, caulk, wood filling, sanding, priming, painting — will take way longer than I anticipate. That’s always how these projects go. 😀 It’s really hard to say how long in total, but I’m going to do my very best to do it as quickly as possible!
Those floors are so beautiful. We are so used to tile here in Florida, I forget how beautiful wood floors are. Love the color you use. Looking forward to your ideas for the closet…I’m trying to figure out the same thing right now!
Wow!! Gorgeous!!