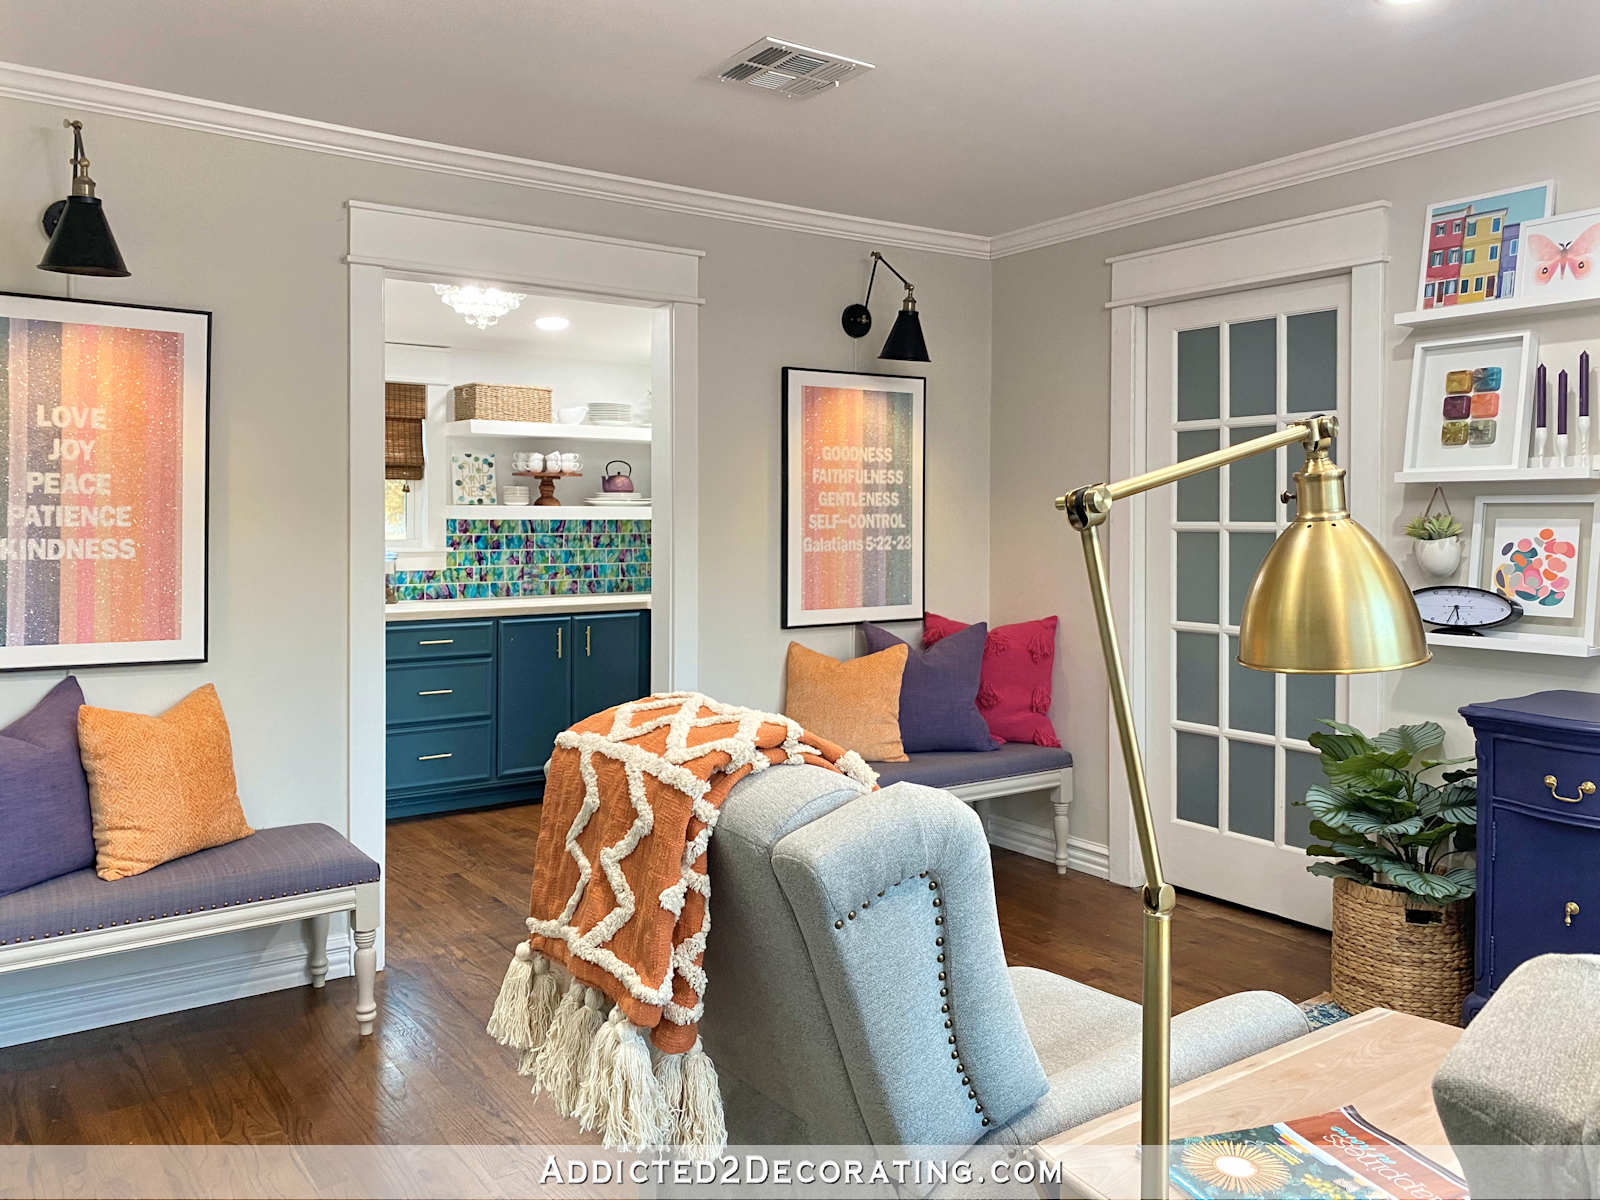
The Hardest Part Is Finished!!! (Tile Installation On Kitchen Walls)
If you heard faint sounds of shouting, singing, dancing, and rejoicing at around 9:00pm (central time) last night, that was probably me as I put the very last tile into place on my kitchen walls.
I’m so glad I pressed through and got it finished, but I can tell you that was the absolute least fun part of this whole kitchen remodel so far. Had I just done the whole kitchen in a running bond pattern, it wouldn’t have been such a big deal. I probably would have been finished several days ago, in fact. But that herringbone just about did me in.
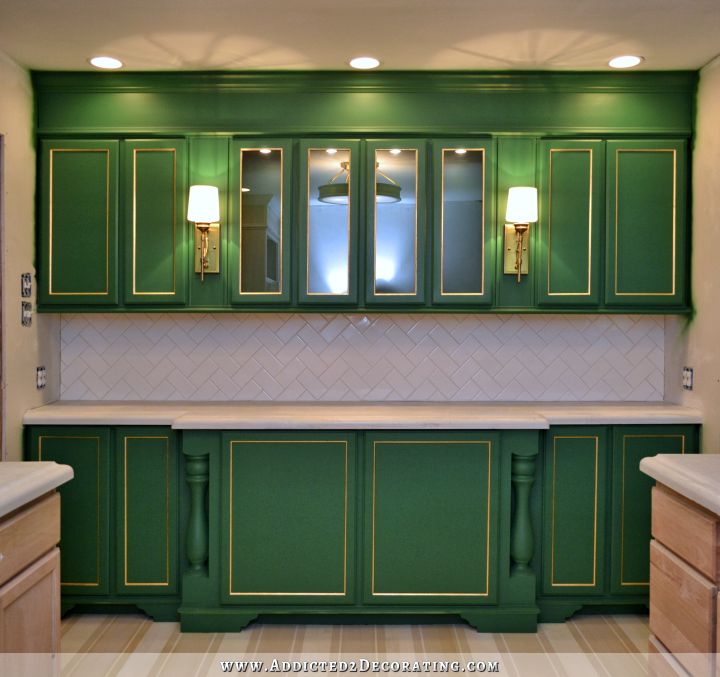
But it’s finished!!!!
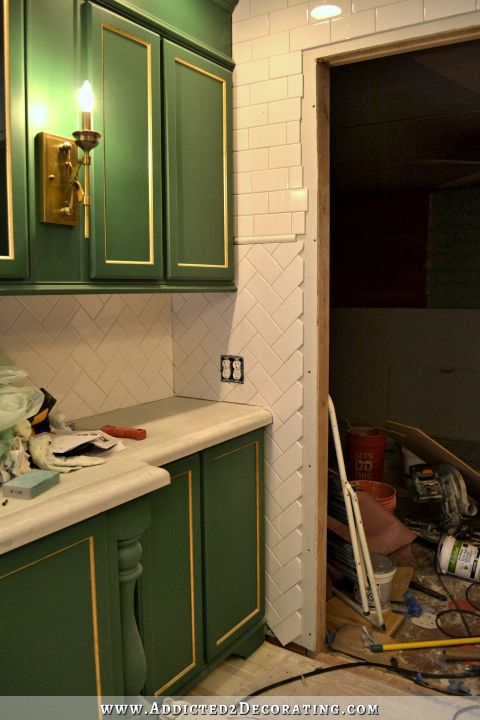
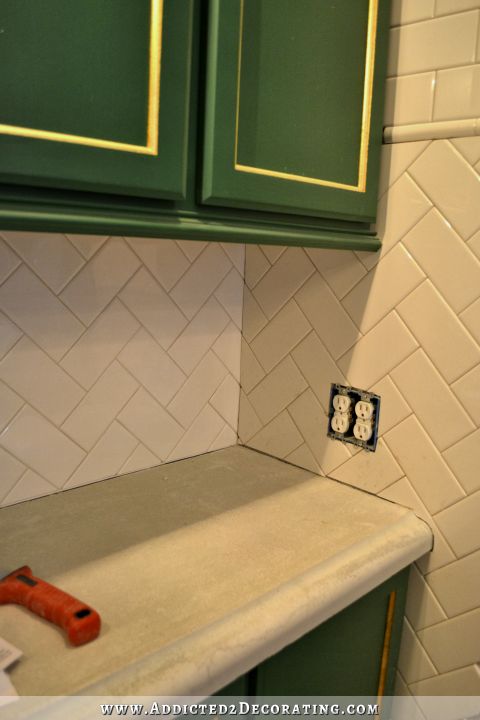
I still need to clean the grout lines and grout. And caulk. But those things will be a walk in the park compared to the actual installation. I had two more corners that had to be matched, one more tile that wrapped around an ogee edge on the countertop, and three more switches/outlets that I had to work around.
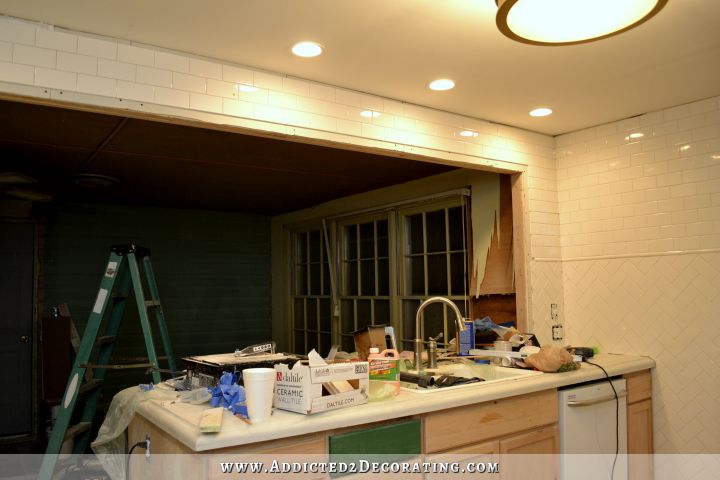
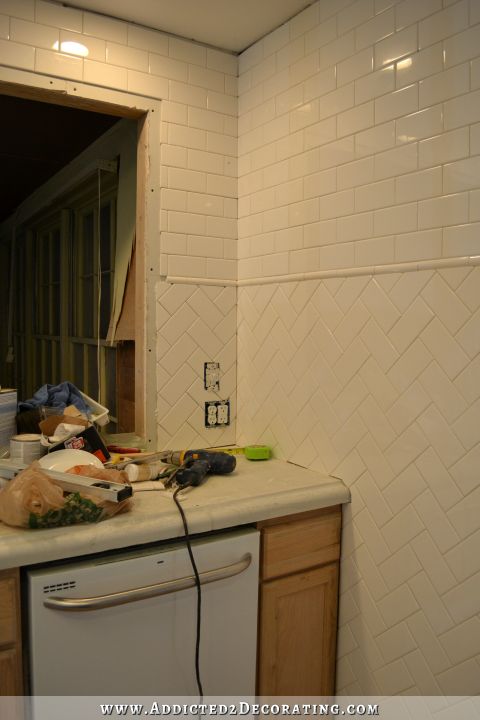
I know that several people were disappointed that I did the running bond pattern on the top part of my walls instead of herringbone, but I can honestly say that if I had to do it all over again, I’d do it the same way. Or I’d just save myself the headache and tears (yes, at one point, there were tears) altogether and just do the running bond pattern on the entire thing.
But I like the mix of patterns (especially after it’s grouted), so I’m glad I went with it.
I think in all, this room required about 1,115 tiles. I used 11 full boxes of 100 tiles, and then went back to Home Depot last night to get 25 more tiles to finish up this last little section. I didn’t use all of them, but I’m not sure just how many were left. So 1,115 is a pretty good guess. That means that the tile for my walls cost right at $245, not including the thinset mortar, grout, or the tools. Altogether, I’d estimate the cost to be around $350 for the tiled walls.
I’ll be packing away my tile saw today, and I’ll be very happy if I don’t have to dig it out of storage again for a good long while…or ever. 🙂

Addicted 2 Decorating is where I share my DIY and decorating journey as I remodel and decorate the 1948 fixer upper that my husband, Matt, and I bought in 2013. Matt has M.S. and is unable to do physical work, so I do the majority of the work on the house by myself. You can learn more about me here.
Beautiful…just beautiful!
WOOHOO!!! It’s looking gorgeous in there. You are the hardest working woman on the blogosphere Kristi!
It looks beautiful
The walls look GREAT!!! Can’t wait to see them with the trim all finished and painted WHITE. 😉
Give yourself a big “Ta Da” – it’s just gorgeous!
You’re even more amazing than your tiles look!
It looks FANTASTIC! Love the mixed patterns. Can’t wait to see the finished kitchen and see where you go next.
Looks fabulous. I love that you split the direction of the tiles. It adds interest to the walls without competing with the cabinets.
I’m with you, Kristi. I like that you used two different patterns. Those cuts around the counter and cabinets look professionally done. The whole job looks terrific.
$350 for a million dollar look! You go!
I second that!
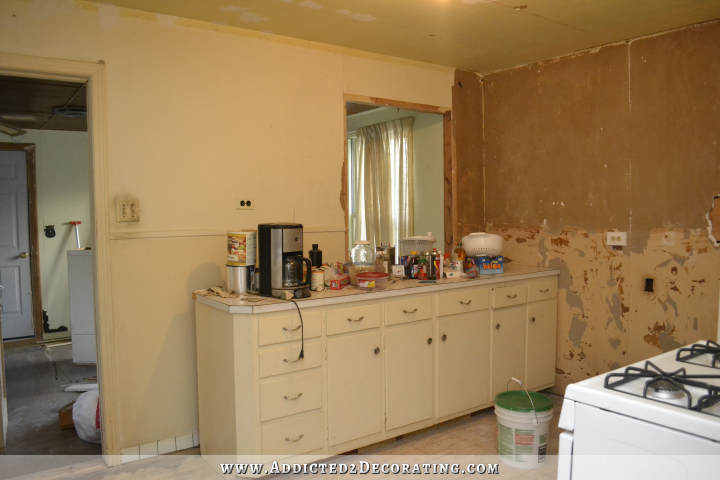
Love it! I have a question. It looks like you will have trim around the door that will finish off the edges around the door. If you didn’t have the trim and only had drywall (like I do), how would you end the tiling along the wall. Would you put edging pieces vertically? The subway tile that I used was not finished along the edges. Thanks!!
You can use the edging pieces vertically, or you can just purchase the subway tile with a bullnose edge and put them vertically. Either way works. It’s just a matter of which one you like the look of better.
It looks great!! I love the mix of pattern and I cannot wait to see the end project!!
It looks great for all your hard work.
It’s gorgeous! Only you would take the hardest route, and only you could end up with this top-notch tile job. I’m both proud and happy for you. More things you can now mark off your to-do list. You’re on the downhill slide with this outstanding kitchen.
Yay! It looks great. I’m so happy for you that it’s done. Maybe some fun stuff next???
The fun and light stuff might have to wait until this kitchen is finished. 🙂 But I look forward to doing some smaller projects while catch my breath after this kitchen remodel!
It looks great. A running bond pattern exclusively would have looked great too but with the herringbone it really looks sophisticated and more interesting. You have got me to thinking about ripping out my travertine and installing subway tile, which really was my first choice and what I should have used. It’s a classily pretty look. Awesome job on those tedious cuts!
it really looks fantastic! One more thing to cross off your list! 🙂
I also very much like the mix of tile patterns!
Ditto to all the above! The tiled walls look high-end vintage! Reminds me of a turn of the century kitchen in a beautiful mansion. I too love the mix of patterns; it adds sophistication without overpowering.
Way to geaux, Kristi!
I’m dumbfounded that – including the cost of the tools you used – you got that luxury tile look, floor to ceiling, throughout the kitchen, for less then $1000. Amazing.
Of course not including your valuable manpower in the estimate, but jeez. Really goes to show you what can be attained with a little determination and elbow grease. You did it! It’s beautiful and you didn’t compromise a bit.
I am more and more inspired to stop compromising my aesthetic vision because of budget. You can get exactly what you want if you are willing to figure out how to do it yourself. And have the courage to jump in. Thanks for that!
Only someone who has done a tile job where 45 degree cuts were needed could really appreciate the tremendous job you took on with those herringbone walls. My first tiling job was a kitchen countertop with 12 ” tiles set on point, maybe thirty angled cuts total. As I watched your progressi I was astounded.. I just pictured myself tacking a job like that and I would have been tearing my hair out. Awesome result! Amazing job!
Wonder Woman strikes again! Beautiful, beautiful job, Kristi!
I am always impressed by the results you get. You are a Diva of DIY! Love your style and even more, I love your spirit!
Great job! It looks amazing! I do have one suggestion, looking at your first picture, I think some gold leaf in the corble grooves would really make them look outstanding. And you do like to gold leaf, right!!
Beautiful!!
Amazing! What a great job – I love the mix of the two patterns, too.
The herringbone is just beautiful! It’s ALL beautiful! When you’re done with this project, I think you should call it your Magnum Opus. Unless, of course, you do something later that’s even bigger!
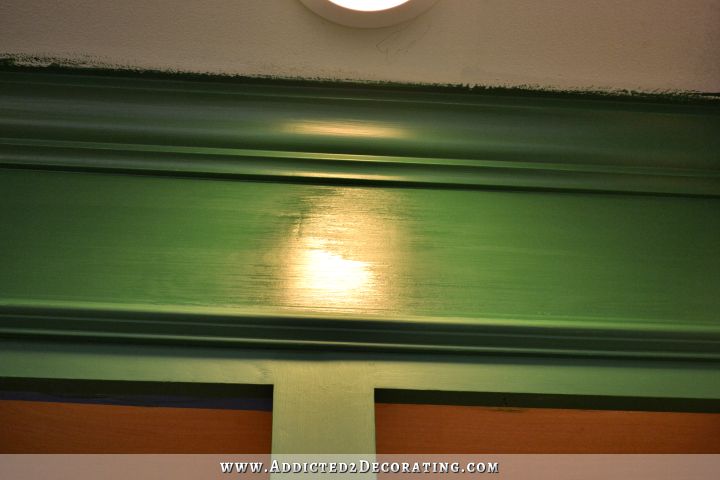
Have you made a decsion on door trim colors yet?
I’m going with white for now. 🙂 I now that black was the clear readers’ choice winner, but I’m going to wait until I do the hallway where I’ll have trim and actual doors. I want all of my doorway trim to be consistent throughout the house, and I’m just not sure about having black trim around all of my doors.
You are amazing! It looks beautiful and I am sure you have added lots of equity to your house through your work. I can’t believe it was only $350 for materials. You are an inspiration!
Absolutely love the pattern combo – so classic and stylish. You’ve impressed me all over again!!! 😀
It looks fabulous, as always. I love the mix of patterns. Did ever tell you you’re my Hero?
And y’all are the wind beneath my wings!
Okay…totally cheesy, but I couldn’t resist. 😀
I knew you would get the reference…..:-)
Wow!!! I’m amazed! I wonder what it would have cost to contract that out? I can only imagine that you saved thousands of dollars! 🙂 Very impressed!
I have no idea, but I’d love to know that info also! Maybe I can find a tile person who can tell me how much it would have cost.
The tiles are phenomenal and your corner-matching is so professional. I love it and can’t wait to see the trim in place. BEAUTIFUL!!!
Looks amazing – what fab work you did and I didn’t expect anything less! It’s really coming together beautifully.
The tile job is just fantastic! I love the two patterns mixed together….it gives it a more sophisticated look and it’s just right for your kitchen. I’m sure you’ll be happy to be finished with the entire kitchen in the near future. Congratulations!
Very professionally done! You’re on the downhill stretch now.
Stupendous look that made so much hard work pay off! ~:)
YEA KRISTI!!! CONGRATULATIONS!!! It looks fantastic!!
Amazing ! Those walls are absolutely gorgeous.
And painting the trims BLACK (lol) will add so much to such a beautiful kitchen. White would make it look more like a hospital kitchen, imo.
The mixing of the two patterns of the tile makes your kitchen look so high-end! I am so proud of you and the job you did, Kristi!
It looks as great as I knew it would!! You deserve a good soak in a tub, a massage, or at least a big tube of Ben-Gay on your shoulders!! 🙂
But look how gorgeous it turned out. Just beautiful!
Once again, outstanding. And I LOVE the mix of patterns. So worth it, my dear. Bravo!!
superb work! i am a stickler for tile work and yours looks fantastic!! can you imagine if you would have paid someone $4-$6 a sq ft just to install it?!! be proud!!