Beware The Craigslist Chair (and Addicts (not so) Anonymous Link Party No. 8)
Happy Sunday to you! I hope you’re all having a wonderfully relaxing weekend. After my super-busy week, I’m definitely taking some time to relax. I had one of the most productive weeks ever, building a coffee table, making a decorative mirror, rebuilding and refinishing a dresser, and making a new table top for a breakfast table out of a $14 piece of lumber. Yeah…productive! But man, oh man, was I ever tired yesterday!
So, I’ve been working around the condo, but at a much slower pace this weekend. I had really hoped to finish my dining chairs, but when I started working on them, I realized that may not be possible this weekend.
Remember these chairs I bought on Craigslist?

Well, when I called about the chairs, I asked specifically if they were all in good shape, and if any of them were rickety. I was assured that they were all solid and sturdy.
Ha! Not true. Three of them were fine, but one was a complete mess. It looked as if the joints had come apart, and the owner tried to repair it with expanding foaming glue!!! Okay, that type of glue is fine for some projects, but not for repairing a chair!!! It was awful. Not only did the glue not hold, but because it had expanded, it made a terrible mess so that none of the joints would fit together completely.

So I spent about an hour just digging and scraping old glue out of the joints of this chair.

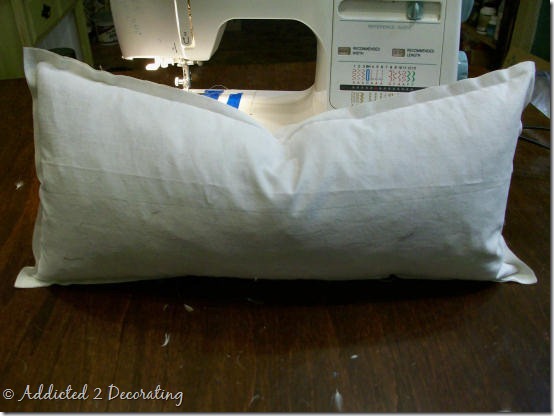
And then I used wood glue (the proper glue for repairing a chair!!), and clamps to put the chair back together. I only have two large clamps, so I had to do it one section at a time.

I finally got it put back together, and now the chairs have been primed and painted.

Now I just have to give them a light sanding and then dry brush them to get them to the point that the last chairs were before I decided to use different chairs.

Once they’re sanded and dry brushed, then I can actually get to the upholstering. I’m ready to finally have finished dining chairs!
So now it’s your turn to show off what you’ve been working on!!
What should you post?
- Décor-related DIY projects;
- Room transformations (outdoor rooms, front porches, patios, and decks count, too!!);
- Furniture before and afters;
- Holiday décor;
- and any other home-related decorating item you’ve worked on.
What should you NOT post?
- Recipes;
- Party ideas;
- Kids’ crafts;
- Clothing/Accessories/Jewelry;
- Your Etsy store;
- Your giveaway;
- and anything else not directly related to interior (or even exterior) decorating.
- Add the link to your specific blog post to the link party below (be sure it’s the permalink to a specific post, and not your general blog URL);
- Be aware that if you link here, your project may be highlighted here on the A2D blog, the A2D Inspiration files, or the A2D Facebook page (credited and linked to your blog);
- Grab the code for the button below and add it to your post so that others can join in the fun (or just add a text link on your post leading back here);
- Take a look at other projects linked up here, and be sure to leave comments so they know you’ve visited!!

Psst…Want to get sneak peeks and behind the scenes looks at my projects? Come join us on the A2D Facebook Page!

Addicted 2 Decorating is where I share my DIY and decorating journey as I remodel and decorate the 1948 fixer upper that my husband, Matt, and I bought in 2013. Matt has M.S. and is unable to do physical work, so I do the majority of the work on the house by myself. You can learn more about me here.

Great party…..I linked up a room redesign I did for my good friend last week. The room was done with Craigslist finds. I am an addict…my home is filled with CL finds and I use them for my clients too.
Love the chairs….thanks for hosting…
MJLucky 7 Design
Hey there did you use spray paint on the chair or did you apply with a paint brush… Asking as I am working on a couple of pieces now and want to use spray cus I found a great color but SKARED to do it.
Kim, I used a brush and oil-based paint with Penetrol added. BUT, I prefer to use spray paint on chairs because the finish ends up being much smoother. Unfortunately, the color I wanted doesn't come in a spray, and I don't have one of those fancy sprayers. Maybe someday I'll get one, because there's really nothing that beats a sprayed finish.
It's really unfortunate you had go through all that work to fix the chair, turned out wonderful though – well worth it! I absolutely love the color you chose!!
I liked your blog so much I've given you an award! Come by to claim it,
Cindy
http://cute-ecakes.blogspot.com
I totally envy you guys and gals for your DIY projects. I wish I had your creative minds and free time. I have tons of projects in mind but I'm too busy with my work and the kids now.
I also bought some arts and crafts from eBay and Craigslist that need some redecorating and fixing. I hope I can do them next week. I will post my link and photos if this one will push through.
You all have nice tastes and designs.
These all the great design,And wounderful art,I think you are doing great job with your article.These all models are look different,I think this type chair decor in my room. I absolutely love the color you chose!!
build on your own
lot
Really, This is the great blog. It was awful. Not only did the glue not hold,
but because it had expanded, it made a terrible mess so that none of
the joints would fit together completely.Thanks for nice post.
toronto house painters