Closet Progress — Prepping All The Pieces For My Biggest Build Yet
Spoiler alert: I didn’t get any cabinets built this weekend. But that doesn’t mean I didn’t work! I worked my tail off this weekend getting all of the pieces ready and brought inside so that I can be ready to start building today. The prep work took way longer than I thought it would. Plus, I wasn’t feeling great, so I was working at a slower pace than I normally would have. But I was determined to get all of the main pieces prepped and ready to start building today, so I pushed through.
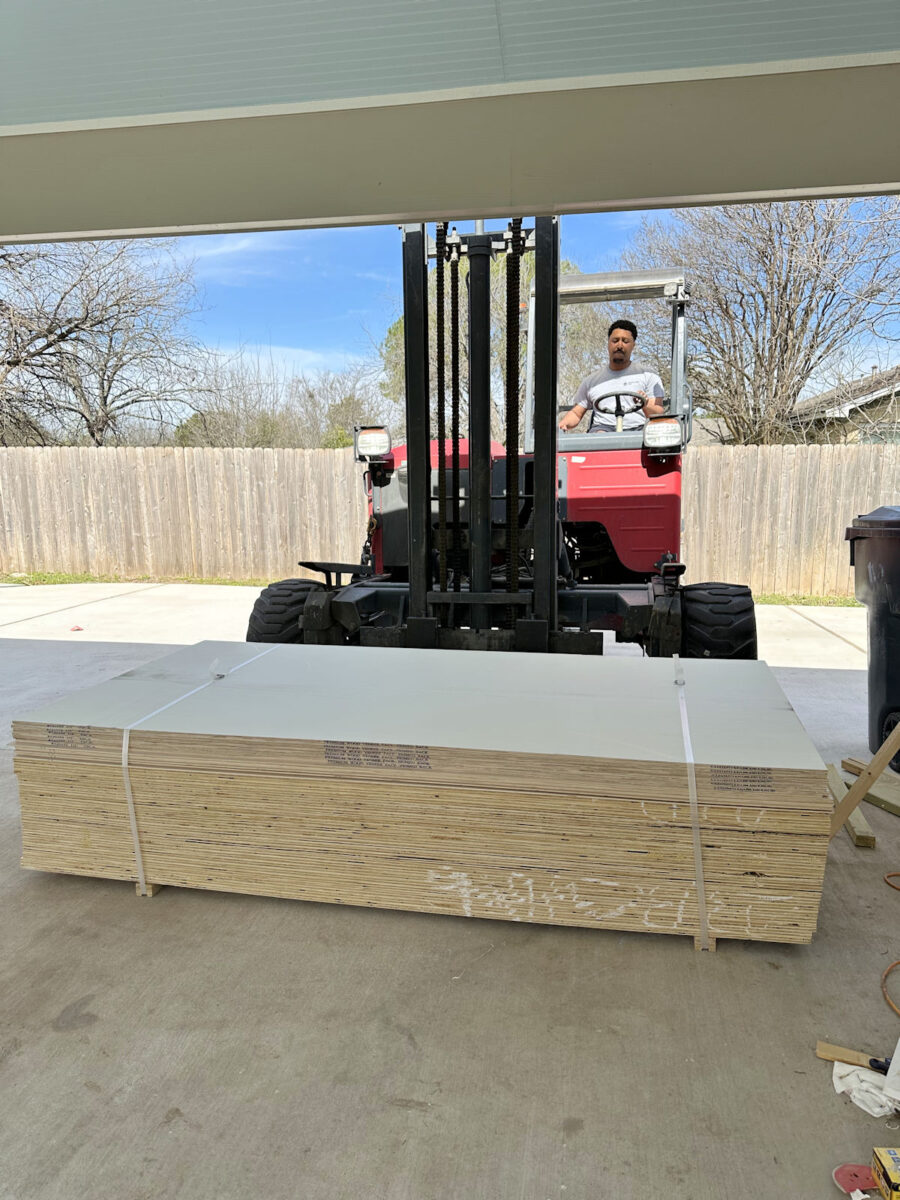
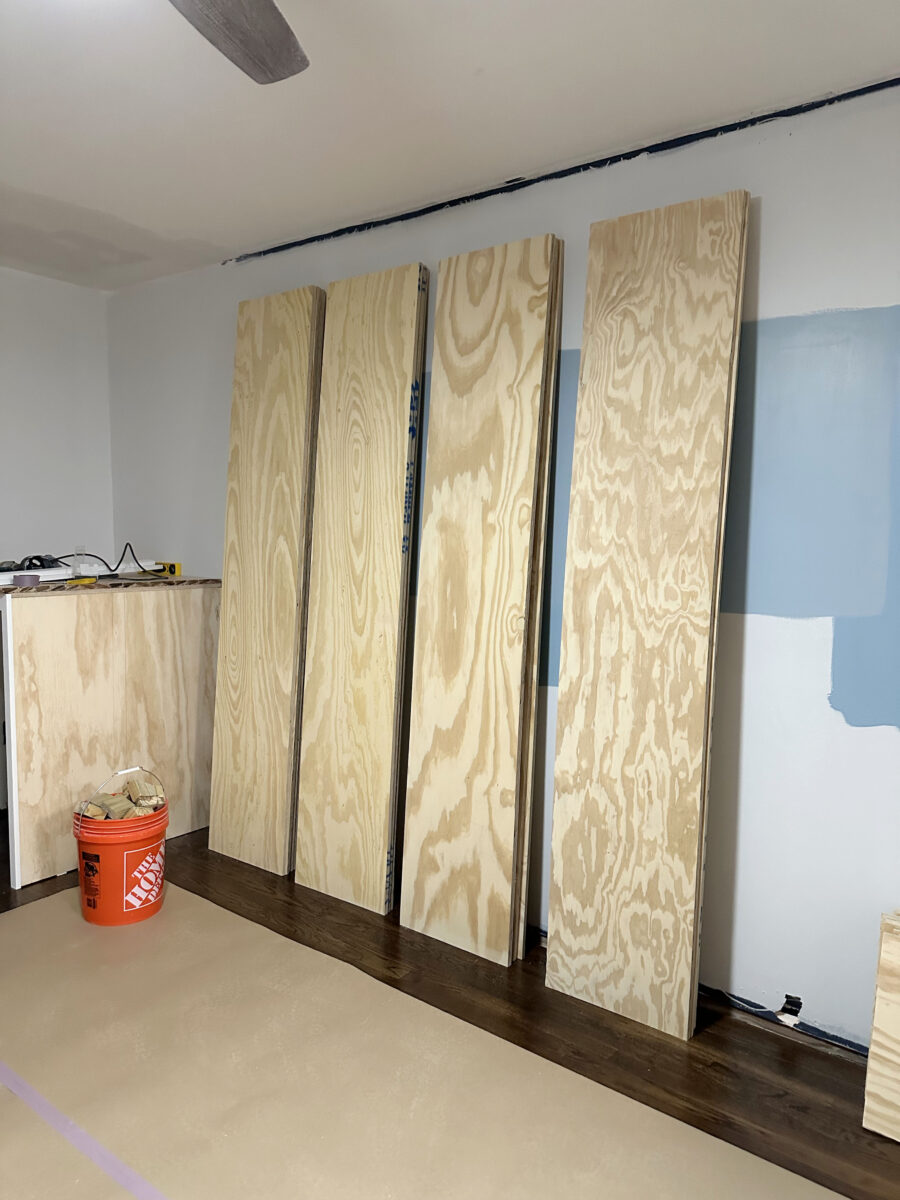
Last Thursday, all of my plywood was delivered for the closet cabinets. I have to admit that seeing that big stack of 39 pieces of plywood being delivered was a bit intimidating. This closet will be the biggest build I’ve ever done. To date, the biggest build I’ve done is the pantry, but that was about 1/3 the size of the closet.
So seeing that big stack of plywood being delivered was a moment of realization at the huge task before me.
But I got right to work on Thursday and started ripping down plywood. By the end of the day Thursday, I had about ten sheets of the 3/4-inch plywood ripped down, but I still needed to rip down the other 11 sheets of 3/4-inch plywood, cut all of the pieces to length for the main cabinet boxes, and then cut the 1/4-inch plywood for the backing to size before I could even get started building.
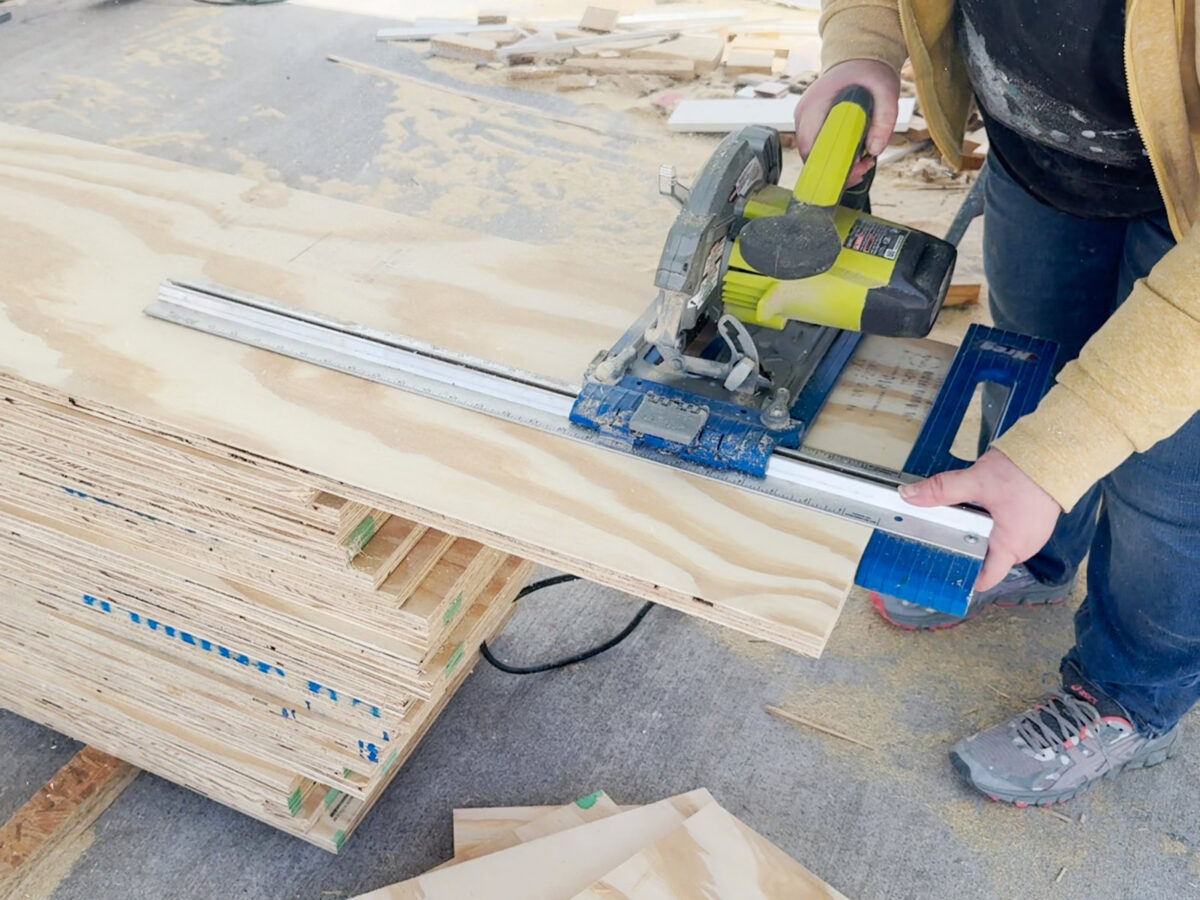
So that is how I spent my weekend. To rip the 3/4-inch plywood, I placed the plywood on top of a 1-inch piece of solid foam insulation board, and used my Kreg Rip-Cut Circular Saw Guide (affiliate link) to rip the pieces to 17 inches wide.
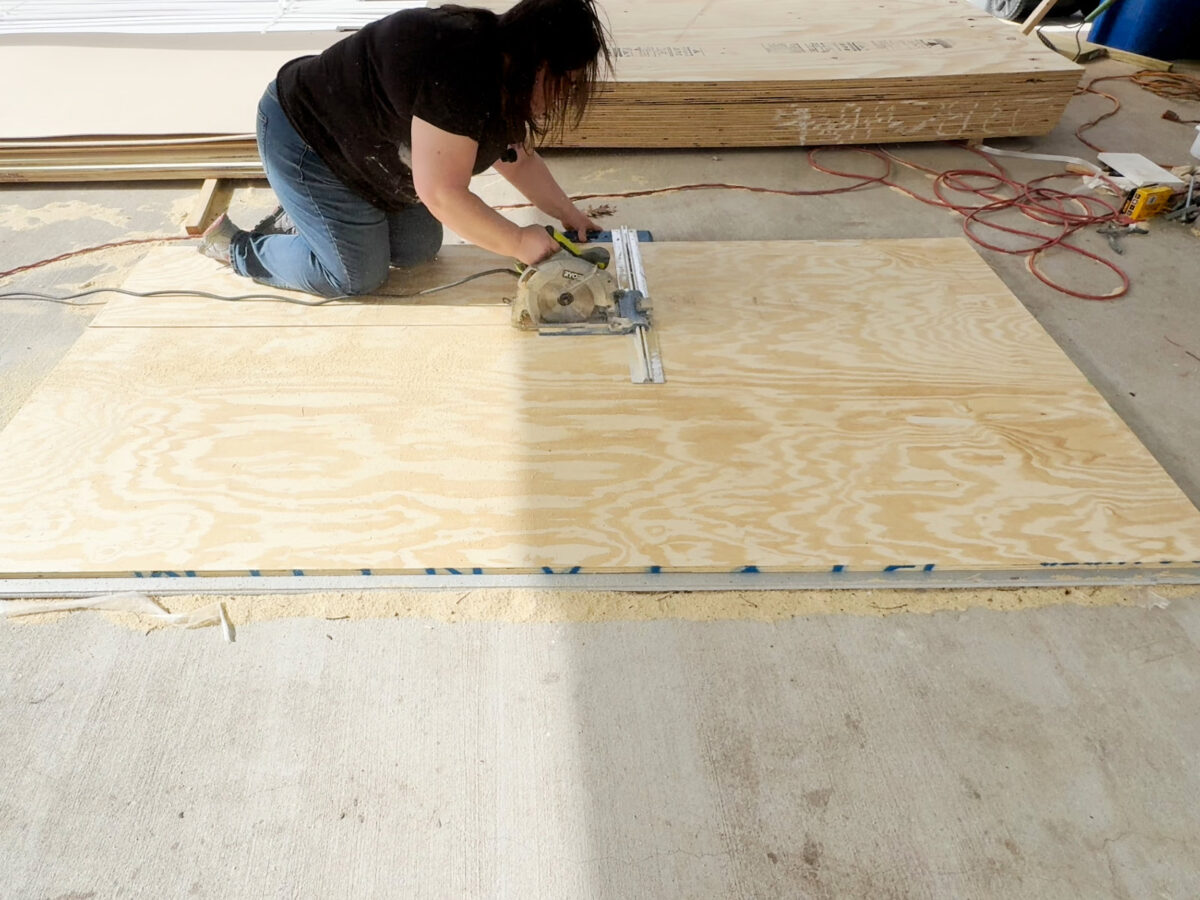
I cut two pieces from each piece of plywood, so I ended up with 42 pieces. Most of these will end up being shelves and separators between drawer sections. So I didn’t have to cut all of these to their proper length this weekend. As of this morning, I still have a large stack that needs to be cut to the proper length later.

But I did need 16 pieces cut to 87.5 inches long. Again, I used my Kreg Rip-Cut Circular Saw Guide for this, and it was easy to slide each piece off of the stack a bit and cut it in place.
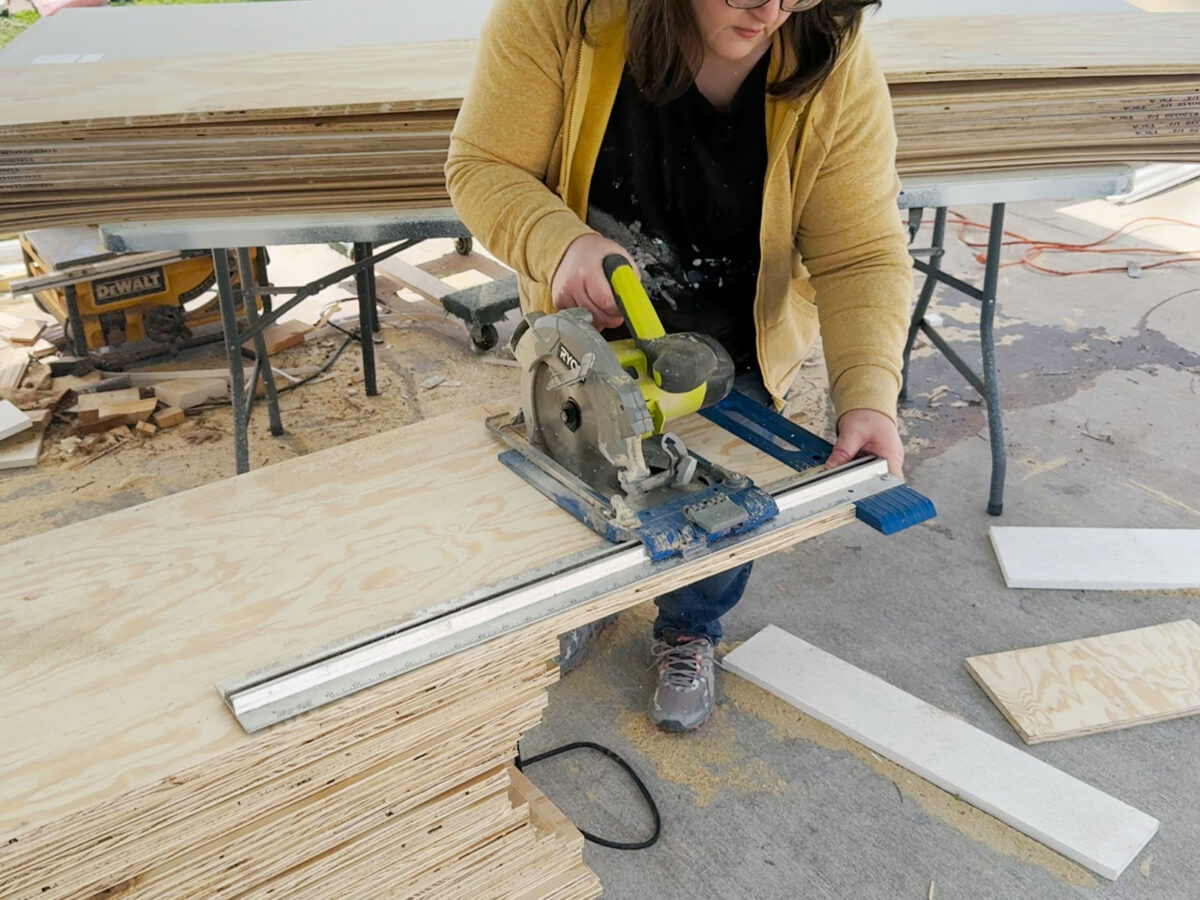
This was the easy part because I could do this part standing up.
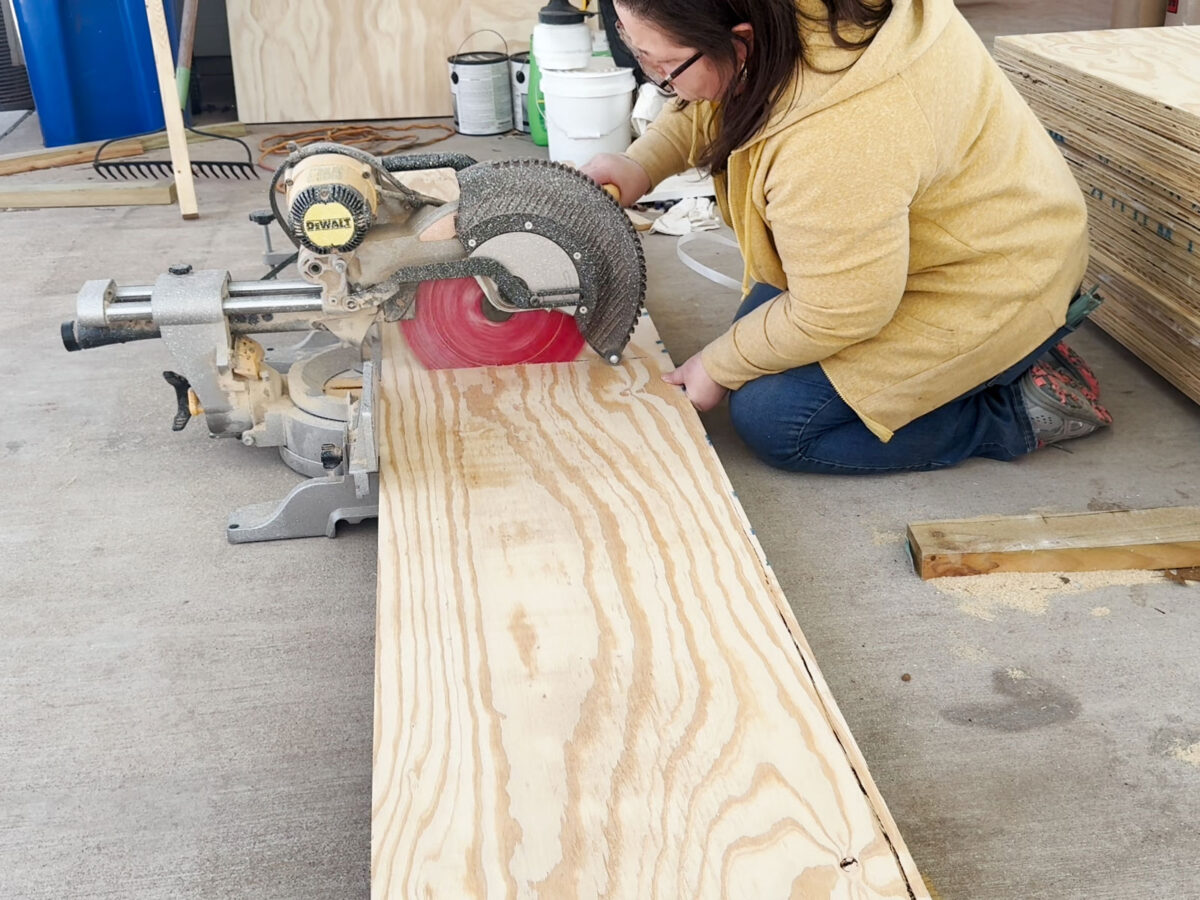
But then I had to cut the smaller pieces for the tops and bottoms of each cabinet unit, and my rip-cut guide isn’t long enough for that. So I decided to use my miter saw for this. I had run out of table space by this point, so I just worked on the ground. Since each piece is 17 inches, and my sliding miter saw only cuts 12 inches, I had to cut as far as I could going one direction, and then flip the board over to finish the cut.
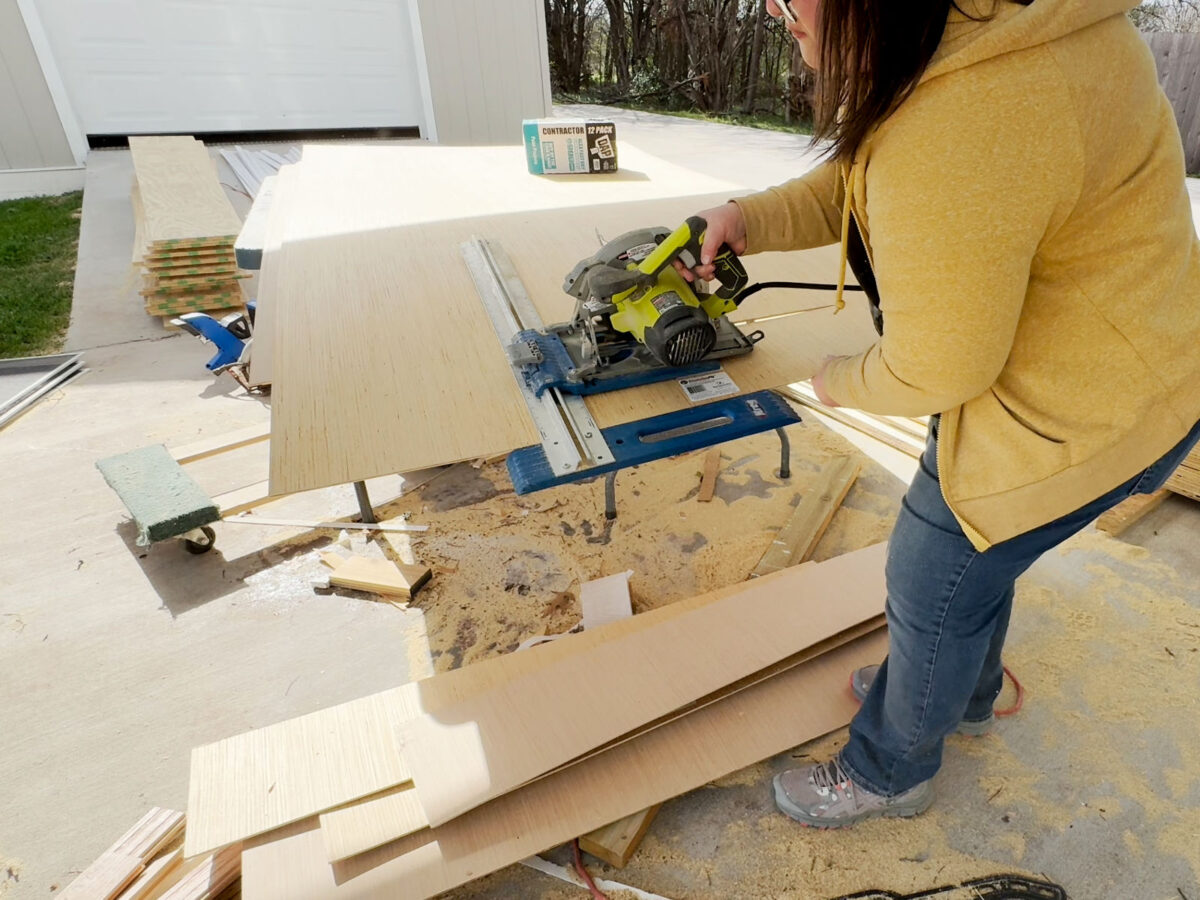
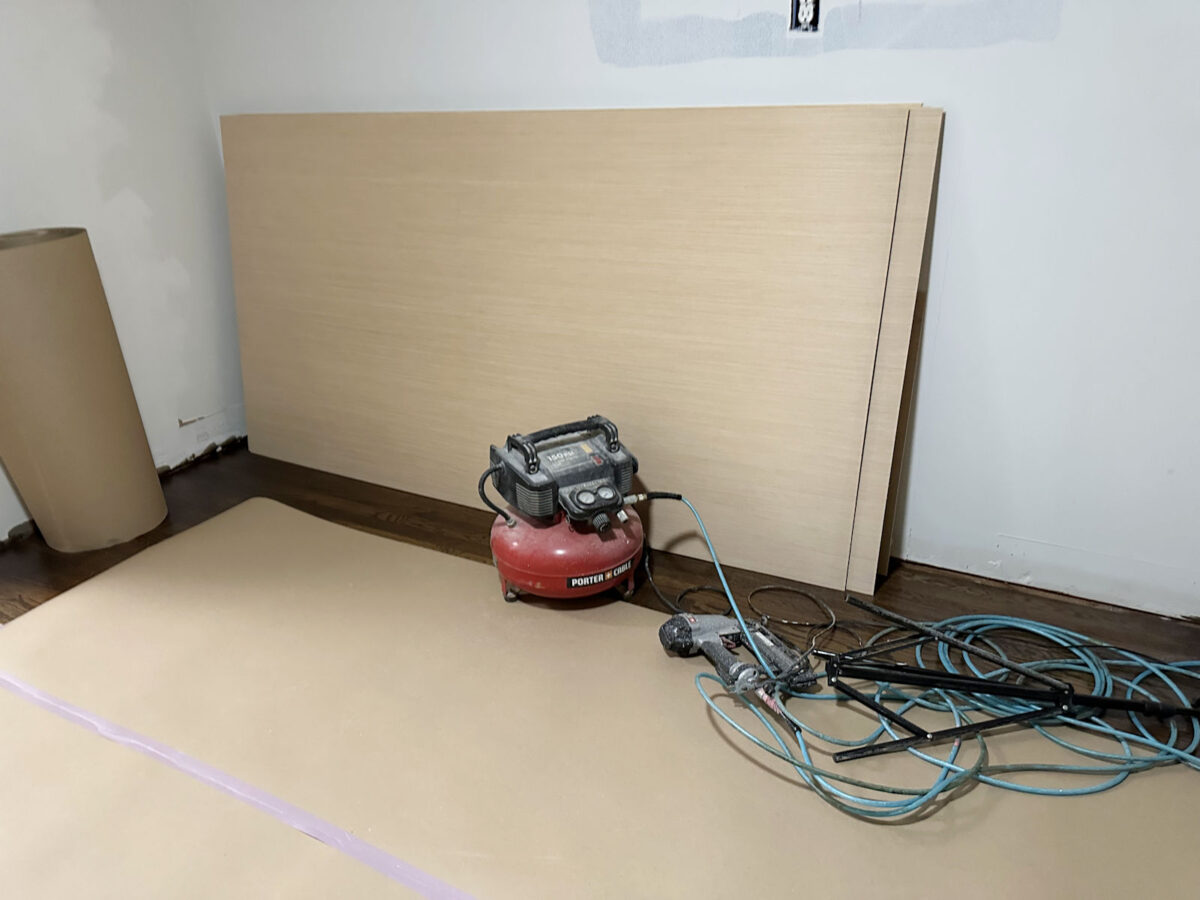
The hardest part of this whole process was cutting the 1/4-inch plywood that I’ll use for the backing on each unit. Again, I used my rip-cut circular saw guide for this, but since the 1/4-inch plywood is thin and floppy, this part was a challenge. I needed to cut eight pieces in total, and I had to cut both the length and the width. I almost used my table saw for this, but it was a very windy day, and I was scared that the wind would be a problem if I tried to feed these through my table saw. This felt much safer to me.
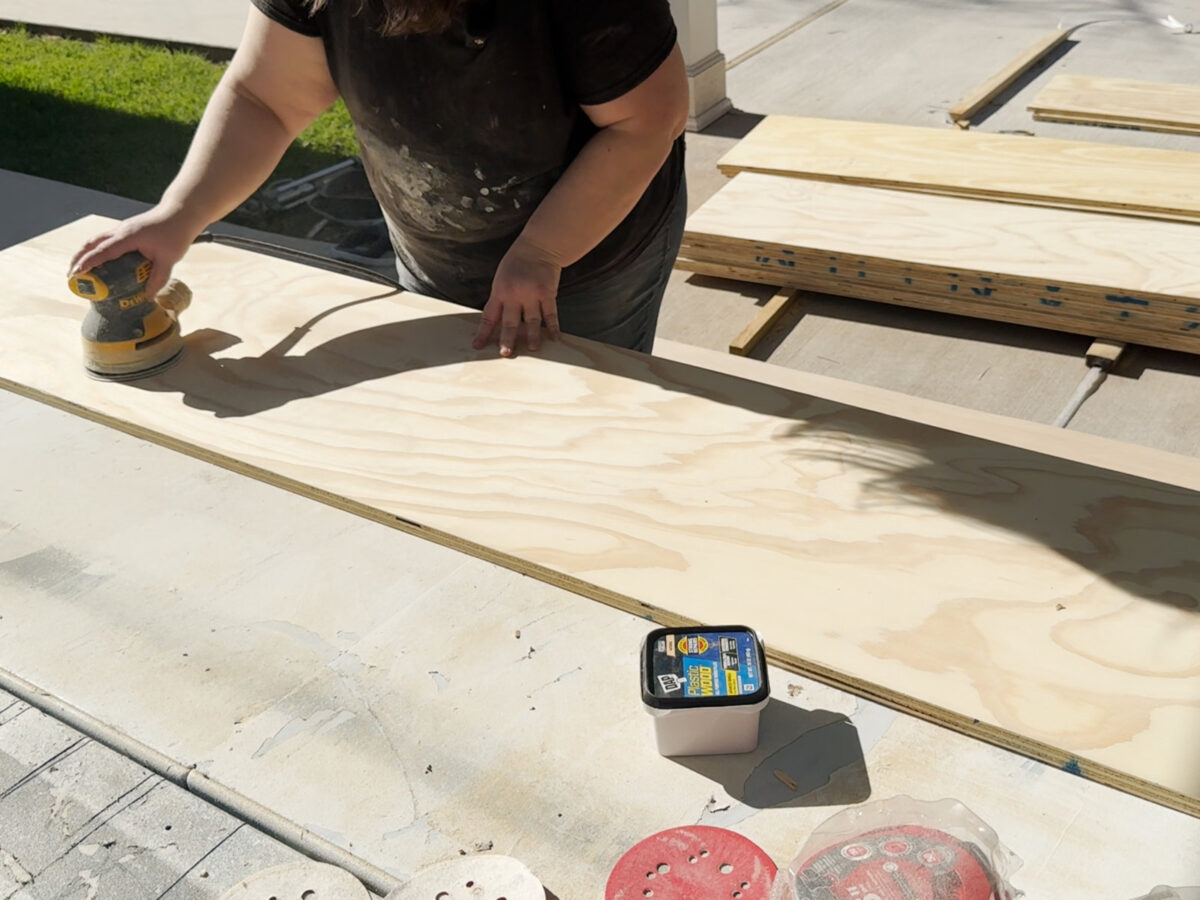
And then came the longest (but also the most satisfying) part of the process. Before bringing the pieces inside, I decided to sand every single piece first. In my effort to save money, I had used a cheaper plywood that is really intended for underlayment. One side is sanded, but it isn’t nearly as smooth as cabinet-grade plywood. I didn’t want to pay for the higher priced plywood since my cabinets will be painted and not stained, so I saved quite a bit of money using this plywood. But I did have to do quite a bit of wood filling and sanding to get it ready for paint.
I finished up all of the sanding just after 8:00 last night, and then had to make 33 trips from the carport to the closet to bring all of the pieces inside. Since these units will be so big, I have to build them inside the room. There’s no way I could have built them outside and then maneuvered the fully built pieces through the house and into the room. So after 33 trips, I had all of the pieces inside and ready to start building today. I have a total of 16 long side pieces.
Twelve pieces for the top and bottom of the wide units, and four pieces for the top and bottom of the narrower units that will flank the door.

Eight of the 1/4-inch plywood backers for each unit.
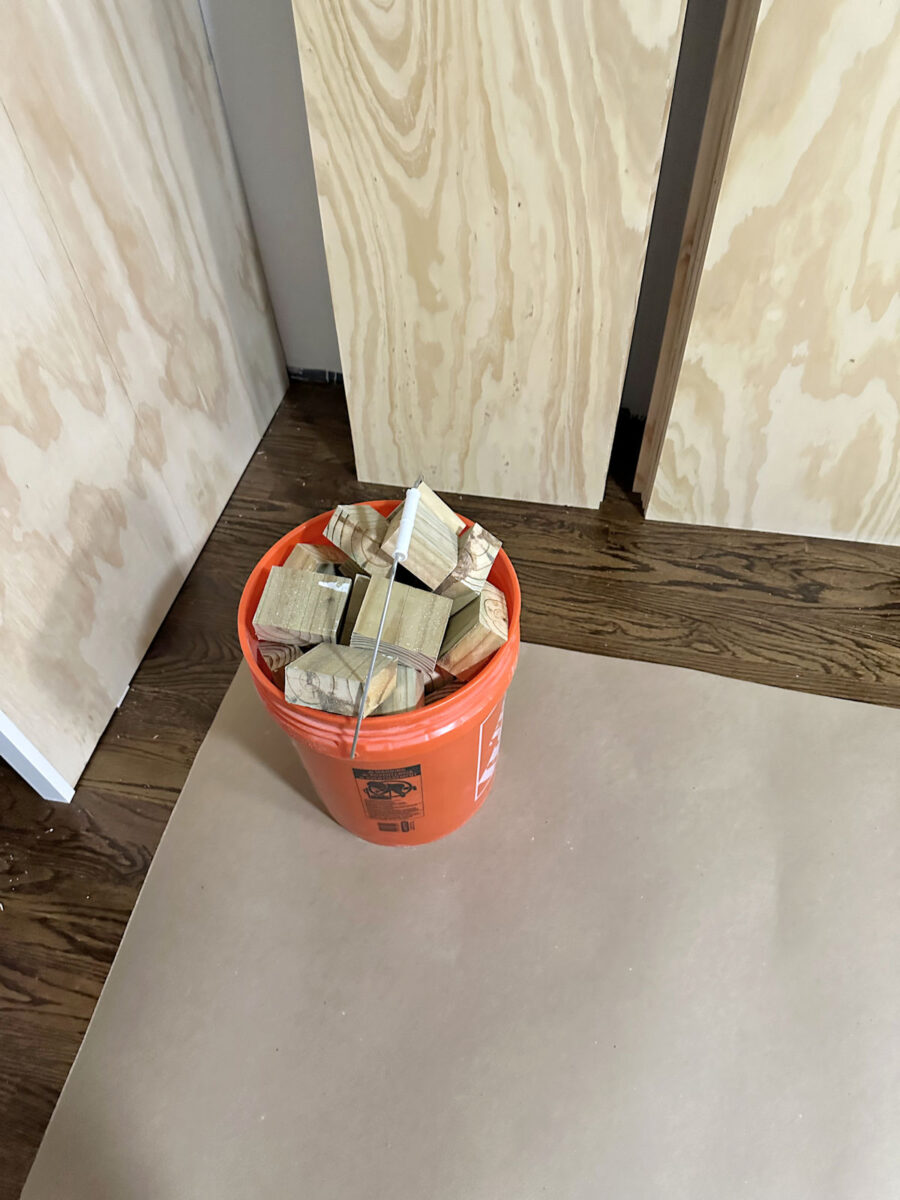
And then 40 pieces of 2×4 cut to 2.75″ in length that I’ll use for the feet for each unit.
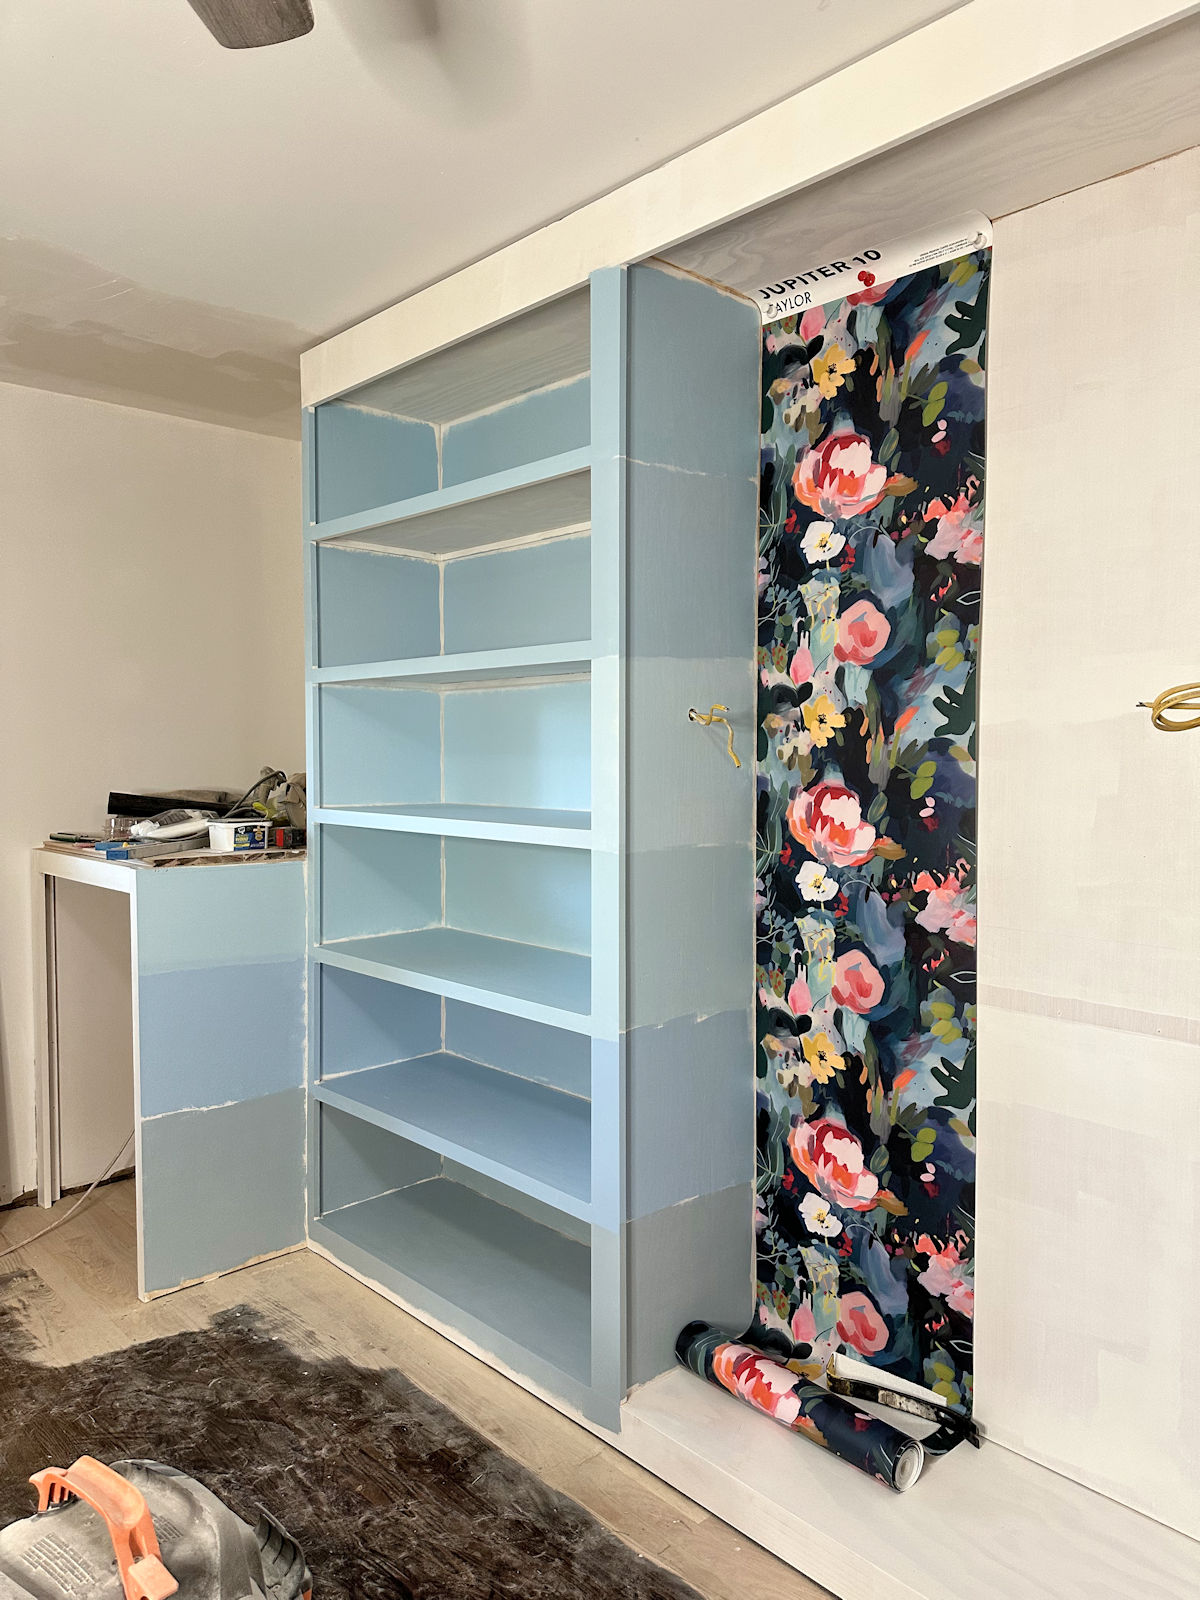
So with all of the pieces cut, prepped, and brought inside, I’m ready to get started building out the closet today. Barring any unforeseen circumstances, I should have some actual closet cabinets built by the end of the day today, and this room should start taking shape very quickly!
The A2D Daily:
This is the very first in what will be a very long series of posts on my biggest build yet — my walk-in closet and laundry combination. Find the next post in this series here: Closet Progress – Prepping All The Pieces For My Biggest Build Yet
More About My Walk-In Closet/Laundry Room

see all walk-in closet/laundry
room diy projects

read all walk-in closet/laundry
room blog posts

Addicted 2 Decorating is where I share my DIY and decorating journey as I remodel and decorate the 1948 fixer upper that my husband, Matt, and I bought in 2013. Matt has M.S. and is unable to do physical work, so I do the majority of the work on the house by myself. You can learn more about me here.

You are absolutely amazing, I’m in awe. Congratulations on such a successful weekend. I’m excited for you to start building and watch your vision come to life
For someone not feeling well, you Really accomplished sooo very much. Good for you and take care of yourself.
I certainly can understand why you are so tired. You accomplished so much yesterday. Cutting and sanding and prepping outside like you did will make putting the cabinets together so much easier. I felt so bad that after all that work you still carried all the pieces inside. You just amaze me!!
Kristi, you are the amazing little engine that could. Go girlie go. I’m with you on a windy day with the saws. My problem is all that sawdust seems to find its way into my eyes, and yes, I wear glasses and eye protection, I’m thinking of using my swim goggles next time. Everything looks amazing, and I agree about saving some money with lesser plywood, especially since it will be painted. I can’t wait.
Cheers to you and Matt!
(Hope you are feeling better this morning!) How exciting! You worked HARD yesterday! Boy, each time I see you working on your knees, I wish your workshop were already finished, or that you could use the studio work tables for your cutting and sanding. But I know you have things in there from your closet, so I get that you don’t want messy work going on in there. I just hate to see the damage you are doing to your body! As a 71 yr. old who spent years in that same position, I am no longer able to kneel, squat or sit on the floor like that. Too much damage has been done! At least, get some good knee pads please! I’m excited for you as I know you want this DONE NOW!
Wow! You got so much done! Can’t wait to see how this comes together. Hope you’re feeling better.
Whoah! I am exhausted just watching this! You are incredible. Your poor knees though!
That’s a ton of prep work but as they say, the devil’s in the details.
I’d recommend that you get some good knee pads, I fear you’ll be in total knee replacement territory in 5-10 years. Of course you may hang up your tools by then but , nah, I don’t see you doing that! Take care of yourself!
You are a rockstar Kristi! All that cutting, all that filling and sanding and then bringing all of that inside! I’m exhausted just imagining it!
Holy plywood, Batwoman! That is an insane amount of work that you did. I am so in all of your awe of your work skills and persistence.
I’m sorry you weren’t feeling well. You accomplished a lot! It will be fun seeing the cabinets taking shape in the closet.
Wow! You got so much done this weekend. You really, really, really need to get your workshop done. A good table saw with a dust collection system and a miter saw station would have saved you from getting up and down off the ground so much. I’m moving in April and my new house is a fixer upper. The first thing I’m planning on doing is turning one stall of the attached 2-stall garage into a workshop. I’ve been binging workshop organization videos on YouTube all weekend so that’s all I can think about. LOL!
I am soooo excited for you !
You are so inspiring, I love catching up with you each morning to see how far you’ve progressed !
Oh wow I’m impressed I’d be overwhelmed when they delivered that much. But I love following you do your thing.
You’re Amazing!
You were a busy girl this weekend!
Have a good week.
Well done!!!!
Ouch! My arms and hands are sore just reading this. I am anxiously awaiting the actual building of this big job. Have a beautiful blessed week to you and Matt.
So impressive and very exciting! Can’t wait to see this closet come to life!
If this is the result when you DON’T feel well, Katie bar the door when you DO!
Congrats on being amazing.
XO
Kristi, my daughter uses her volleyball knee pads from high school when doing work on the floor. She says they’re better than regular knee pads because you can adjust the Velcro backing vs. elastic straps. I thought you might like this piece of valuable information.
You are amazing. I love seeing your progress. I first found you when I was endeavoring to do draperies for my granddaughter’s nursery. Your step-by-step guide was outstanding. Thank you for helping us DIY’ers!!
Hi Kristy! My daughter started a fine woodworking degree last fall, and she mentioned that sawdust is a human carcinogen. Looking at all these pictures of your cutting and sanding makes me worry about you. Please consider using a mask while doing these activities so that you can stay healthy for a very long time! I love your work and blog!