Part 3 – Building My Walk-In Closet Island (And A Pretty Big Setback)
I’ve made progress on my walk-in closet island, but I had a pretty big setback yesterday because I wasn’t paying attention and spent all afternoon cutting the pieces for the drawers, only to realize that I cut most of them the wrong size. I blame it on my brain that has a hard time with numbers and math.
Note: This is Part 3 of this DIY closet island project. If you missed the first two posts, you can find them here:
Part 1: The Walk-In Closet Island Build Is Underway!
Part 2: Building My Walk-In Closet Island, Part 2
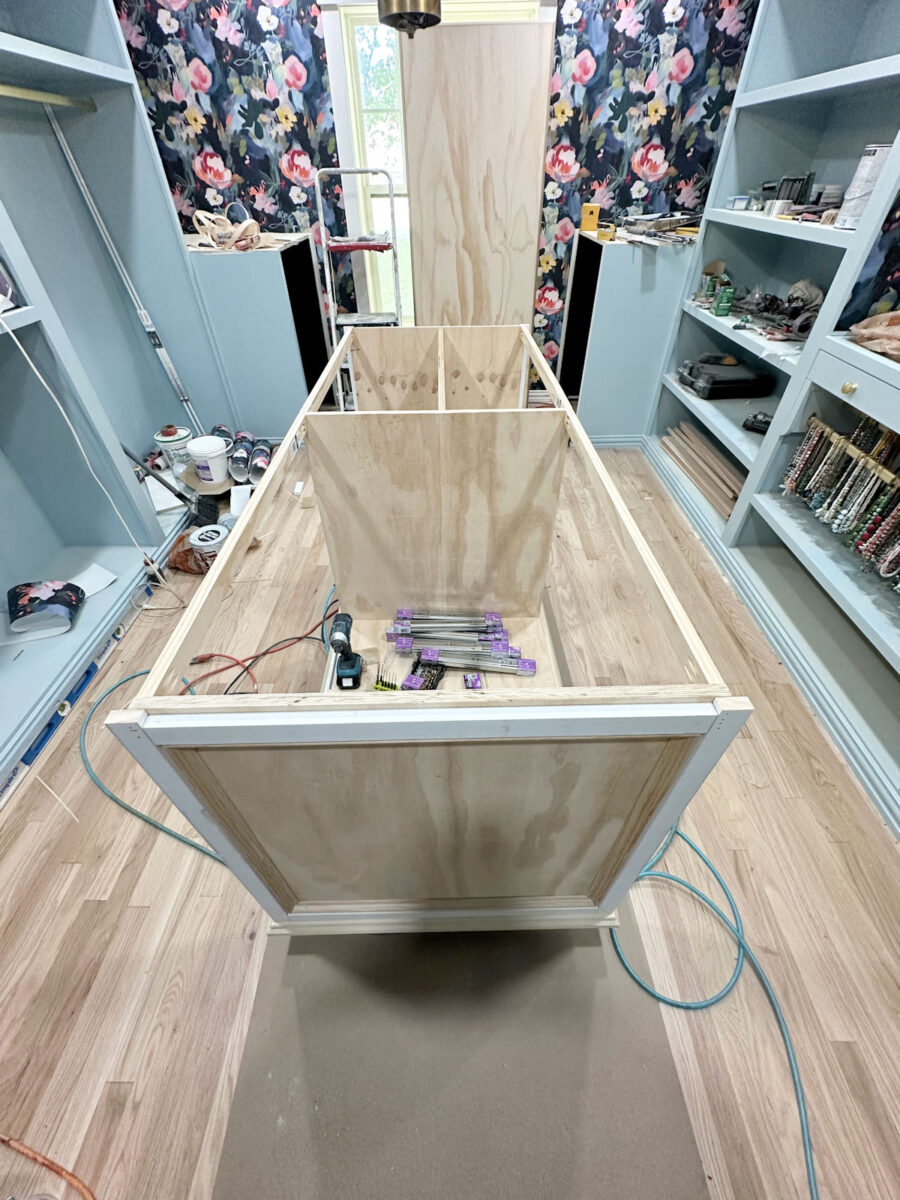
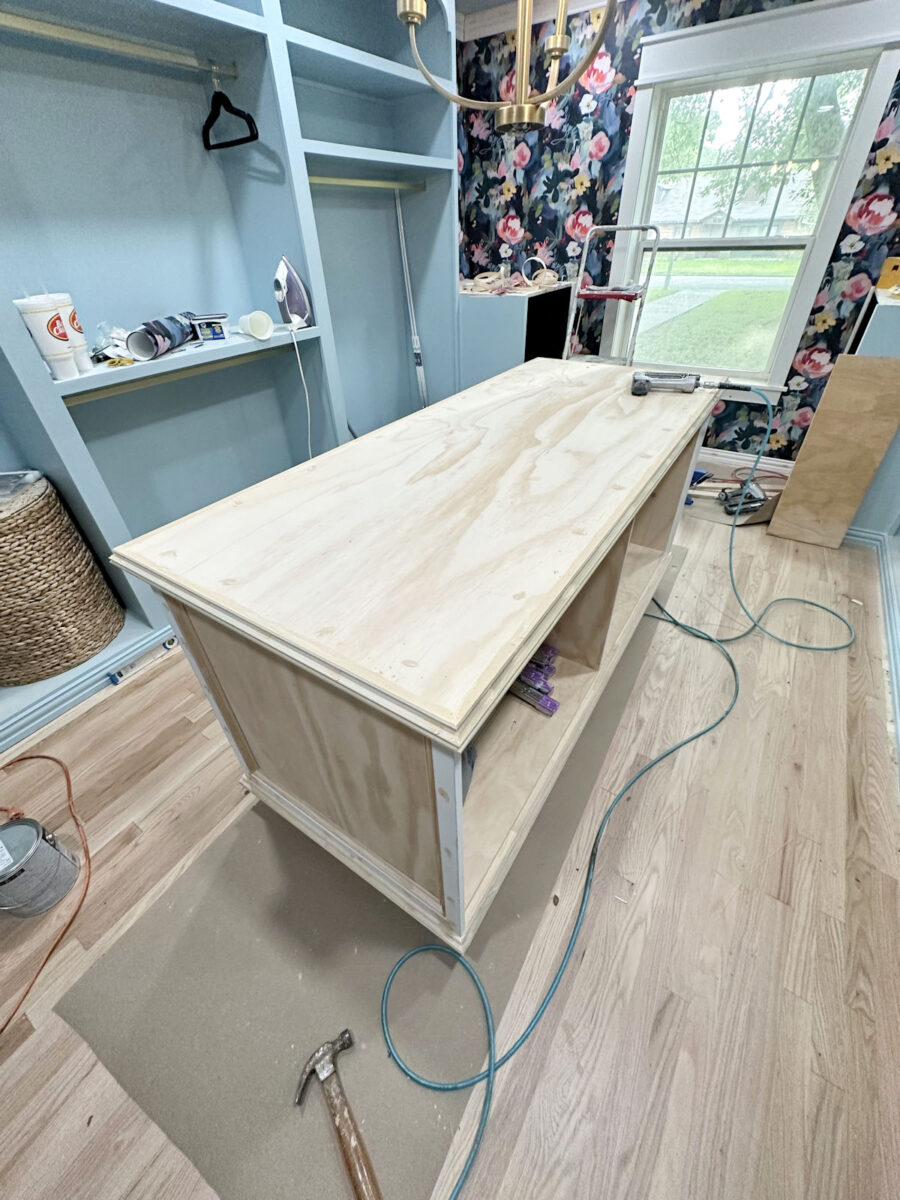
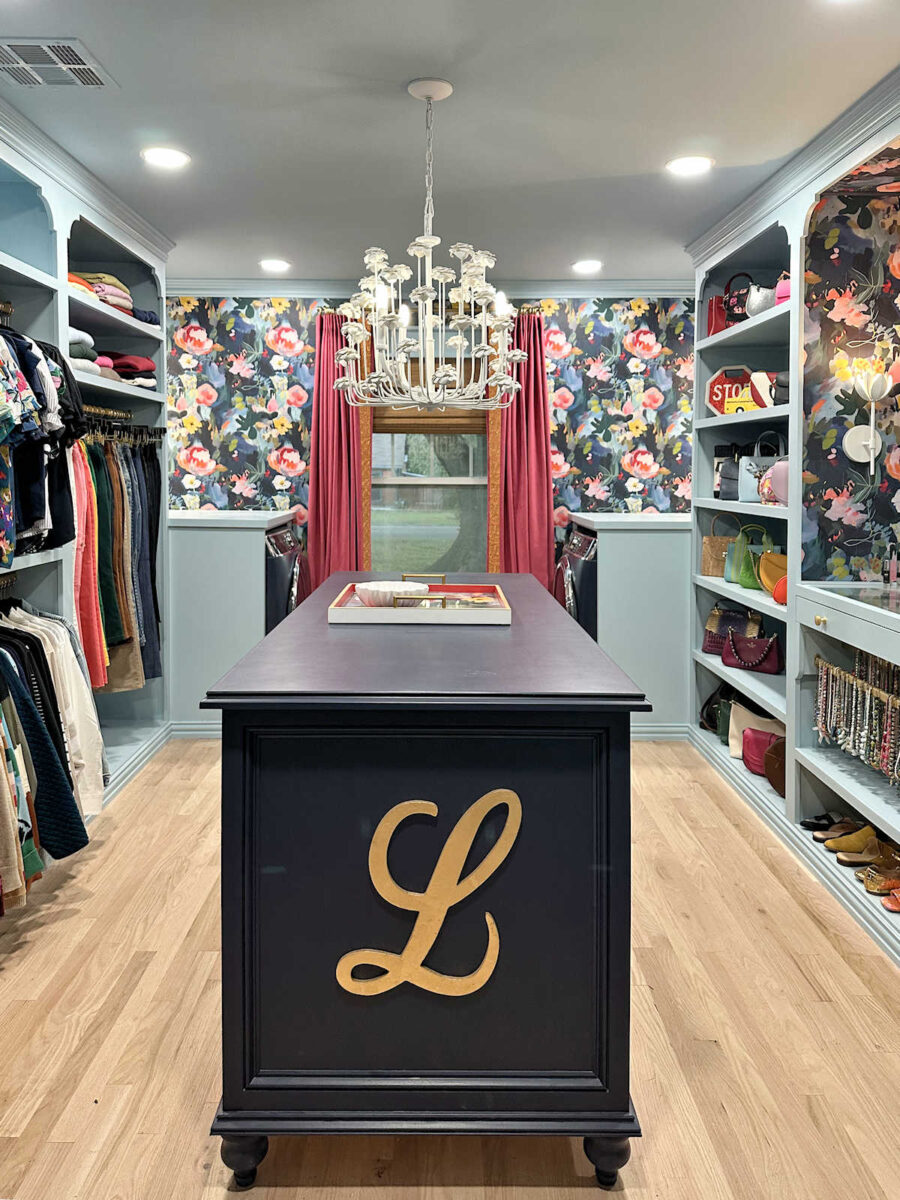
So let me back up a bit. When I last shared my progress, the island looked like this…
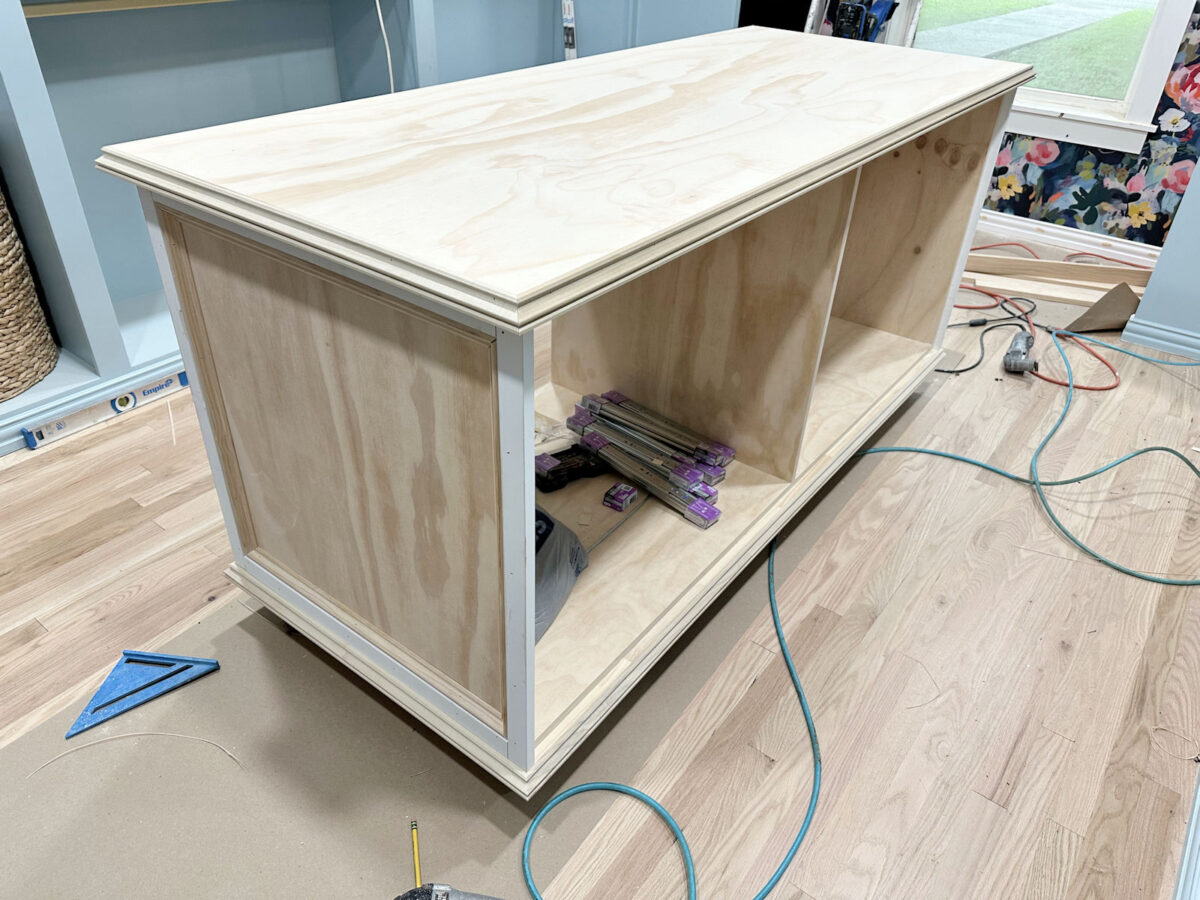
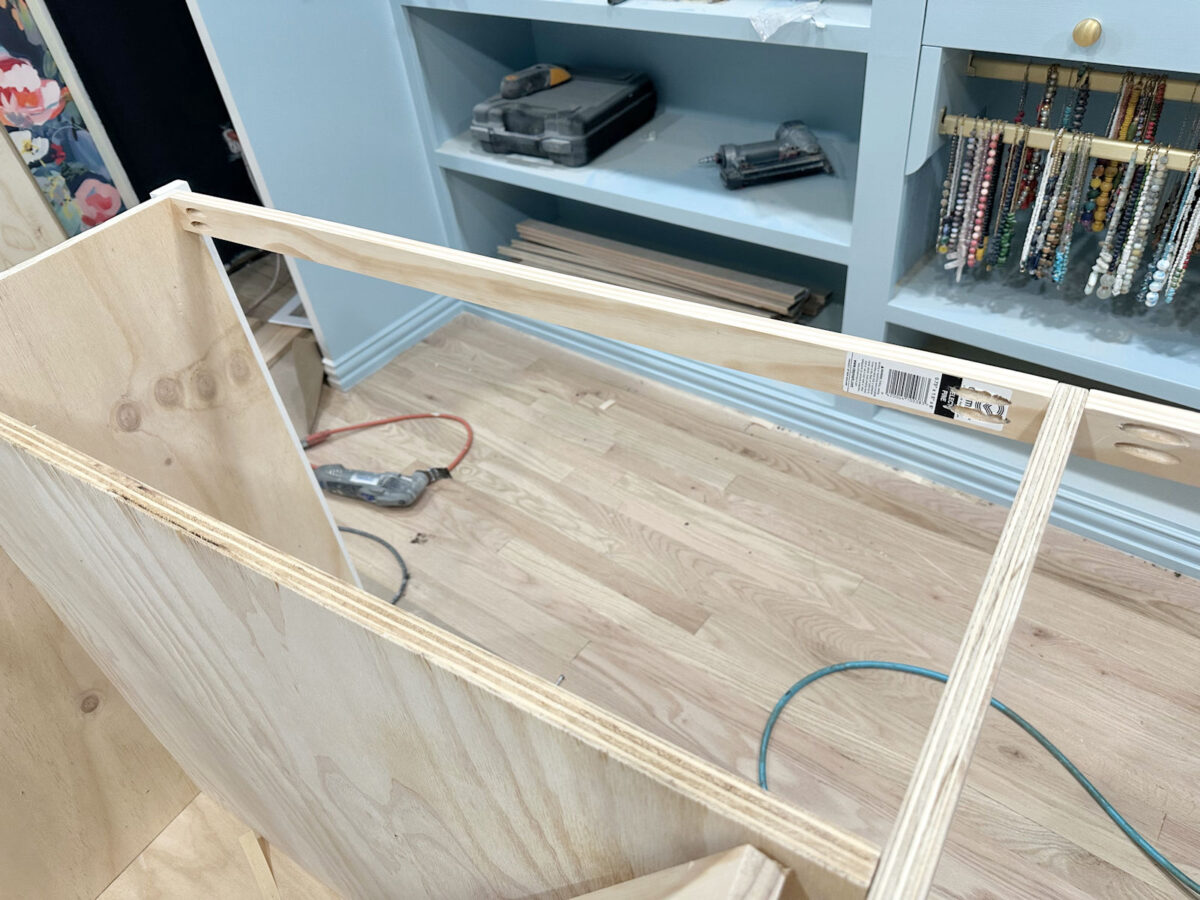
The basic build looked finished at that point, but I still needed to remove the top and add a few more pieces to the base structure. I cut pieces of 1×2’s to fit at the top of each opening. I drilled pocket holes in each end of each piece using my Kreg pocket hole jig, and then used those pocket holes to screw the pieces into the sides of each section.
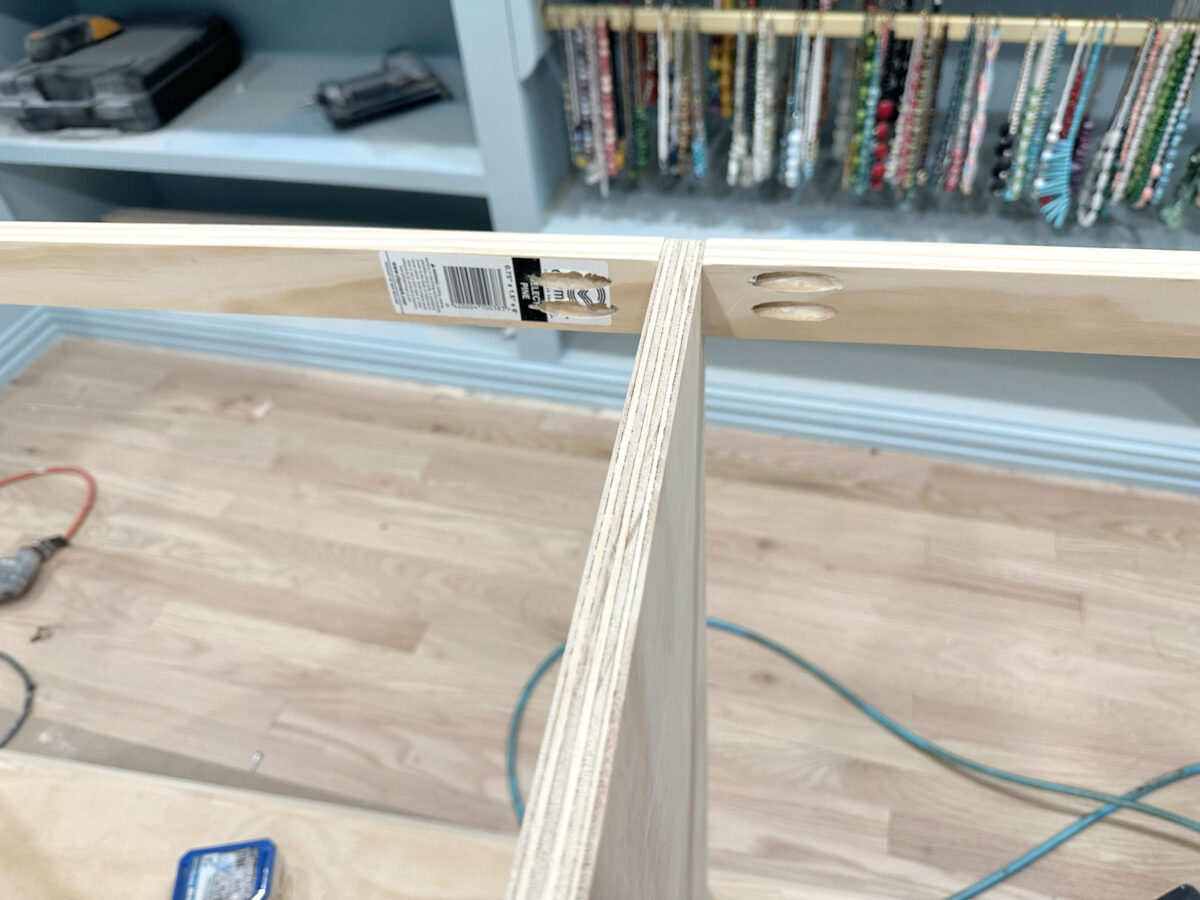
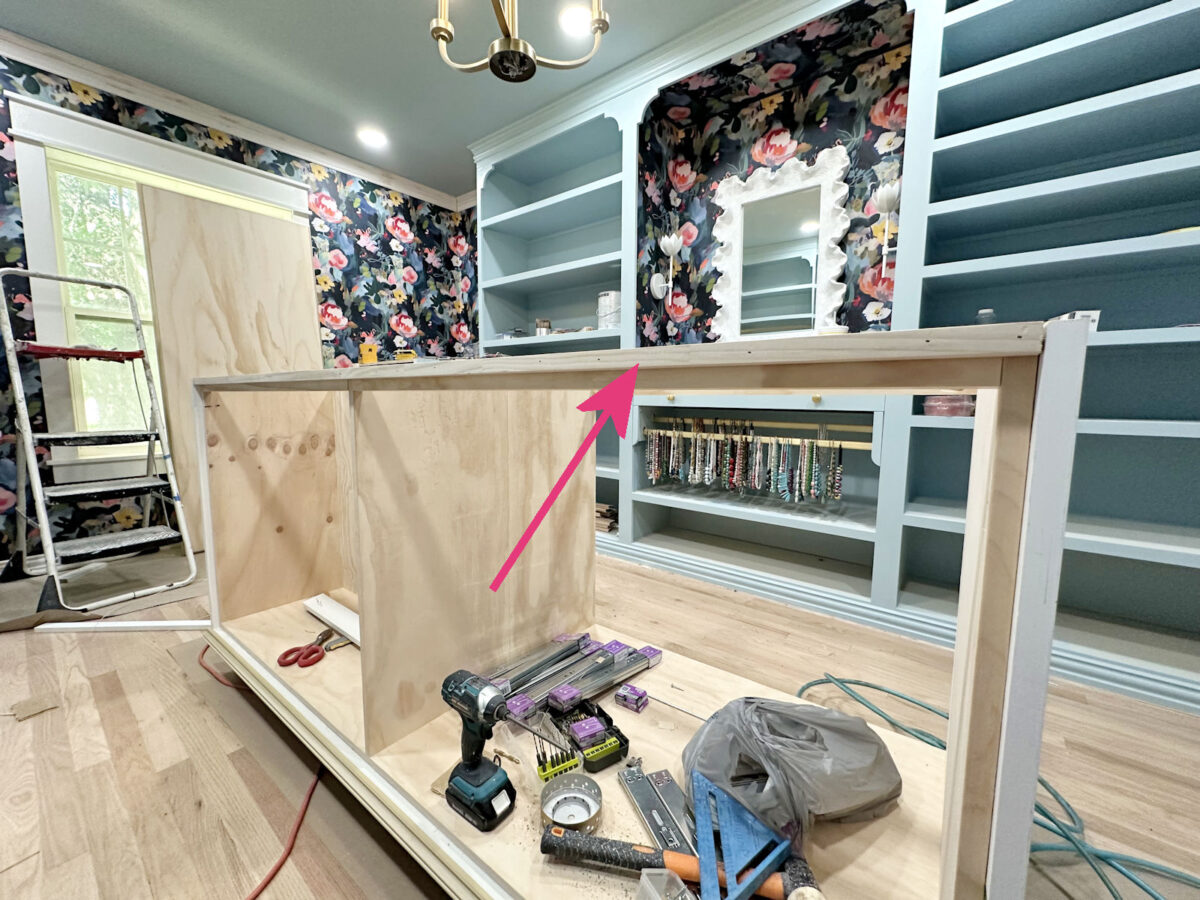
Here’s a look at where both pieces screw into the middle divider piece of plywood.
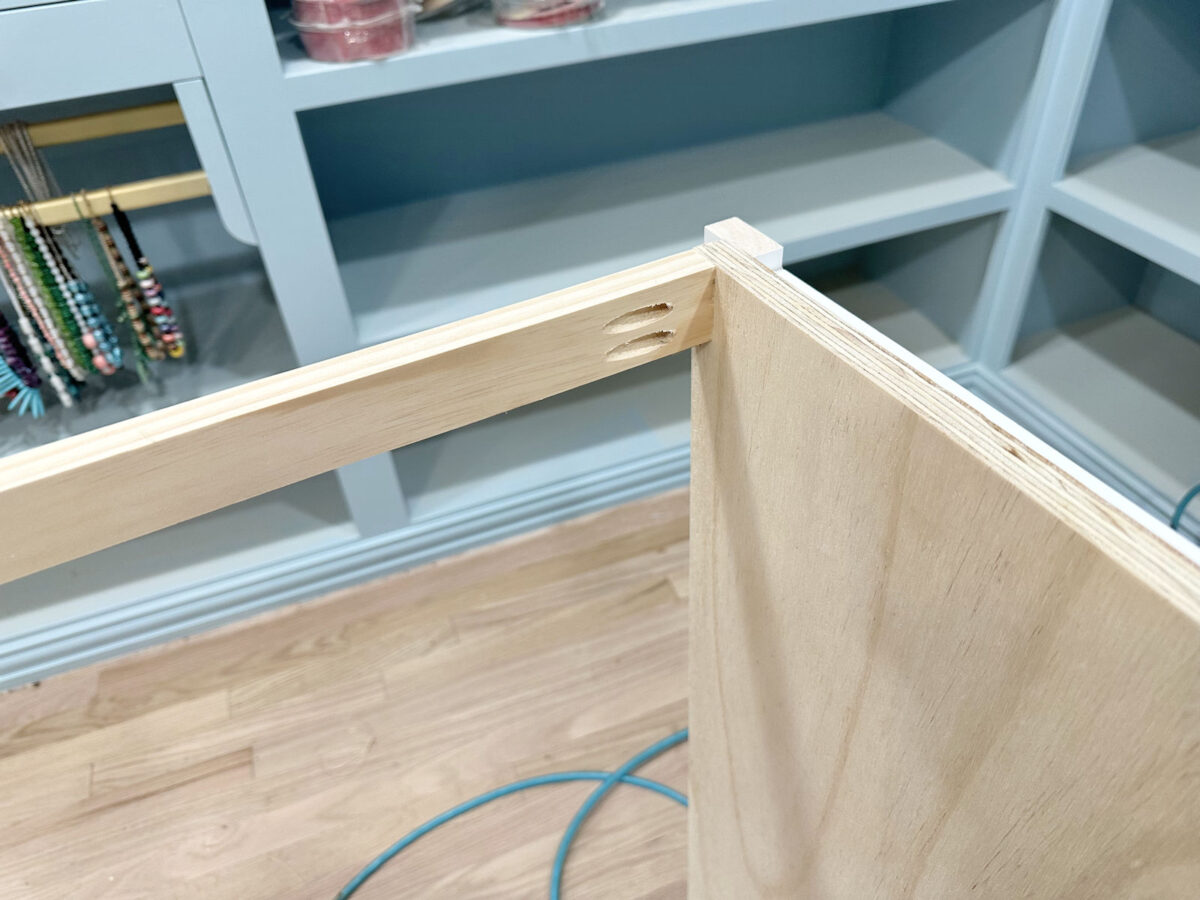
And here’s a closer look at where it’s screwed into the end piece, lined up with the plywood.
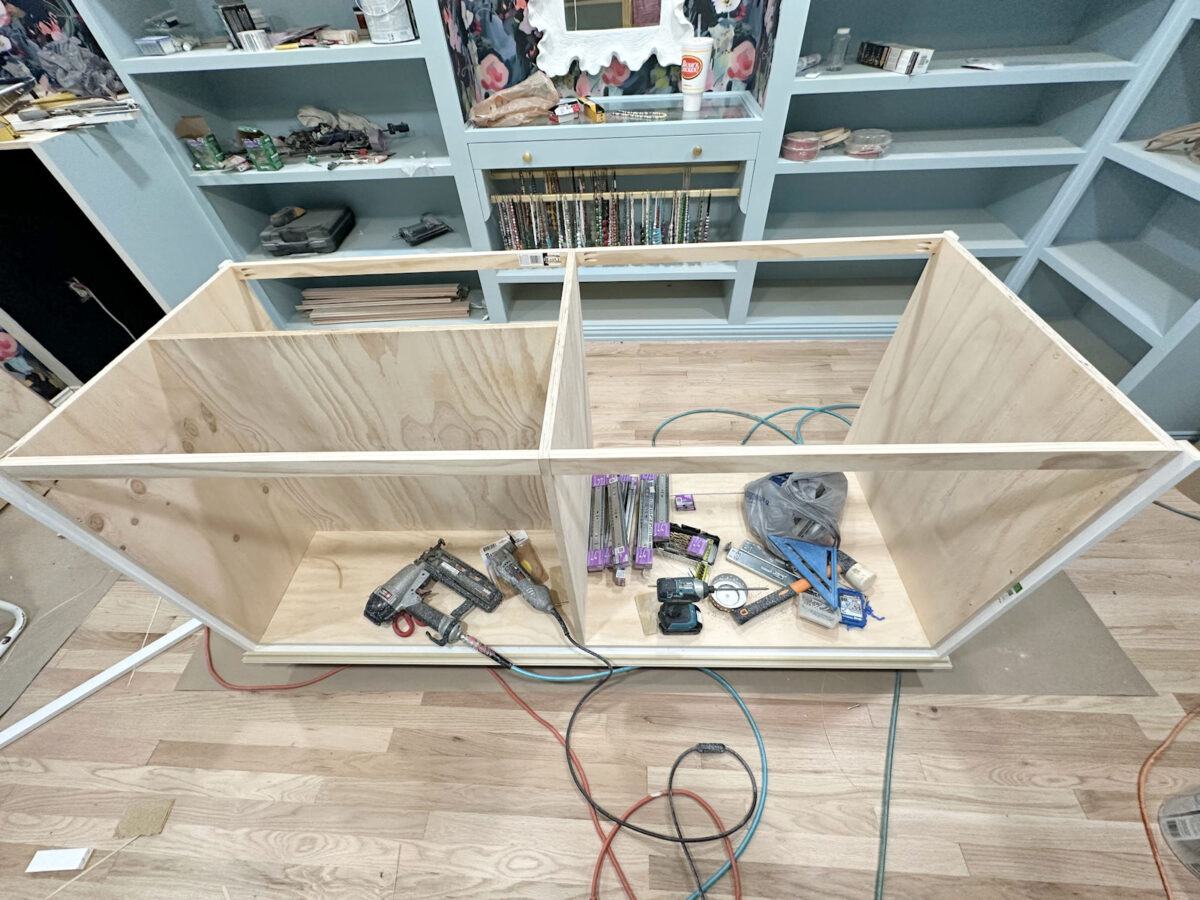
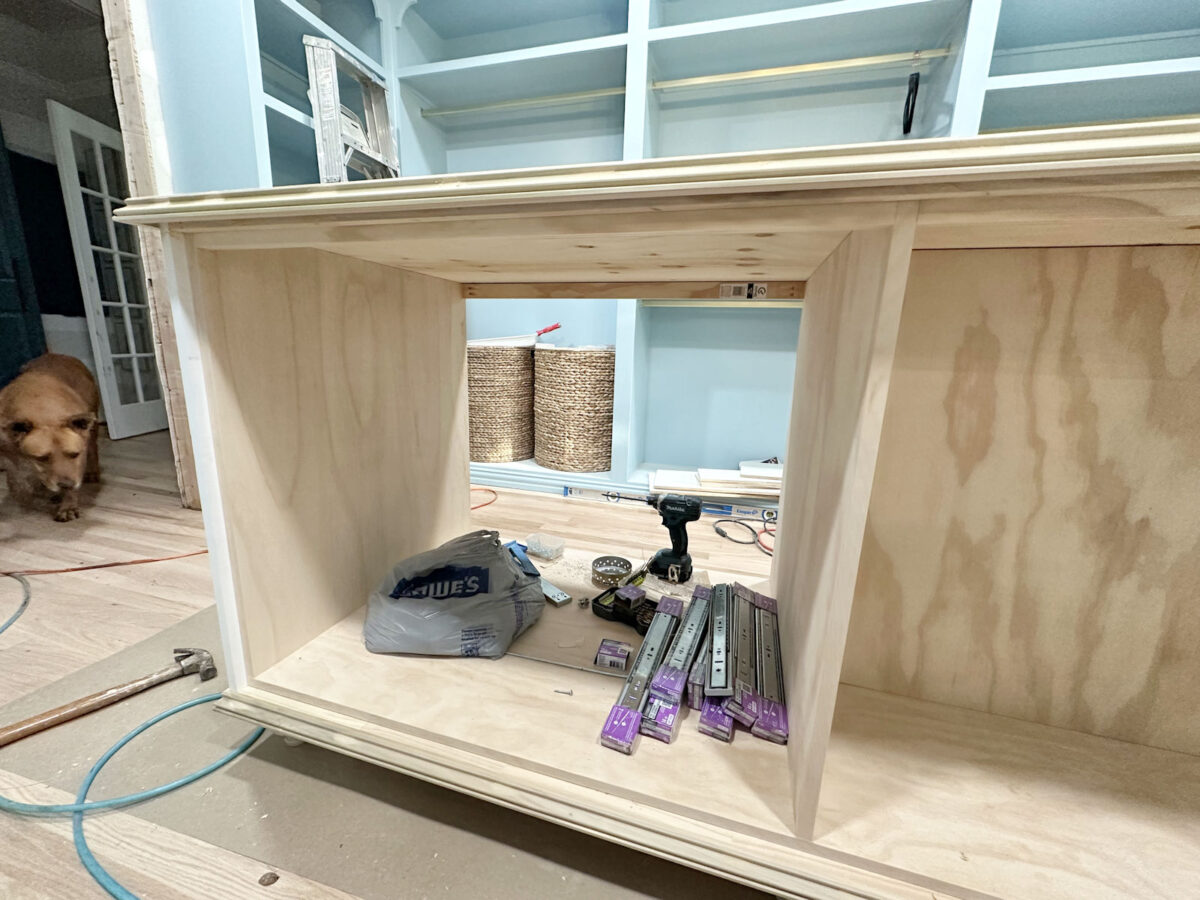
With all of those 1×2’s attached, it looked like this…
Here’s another look from the side of the island…
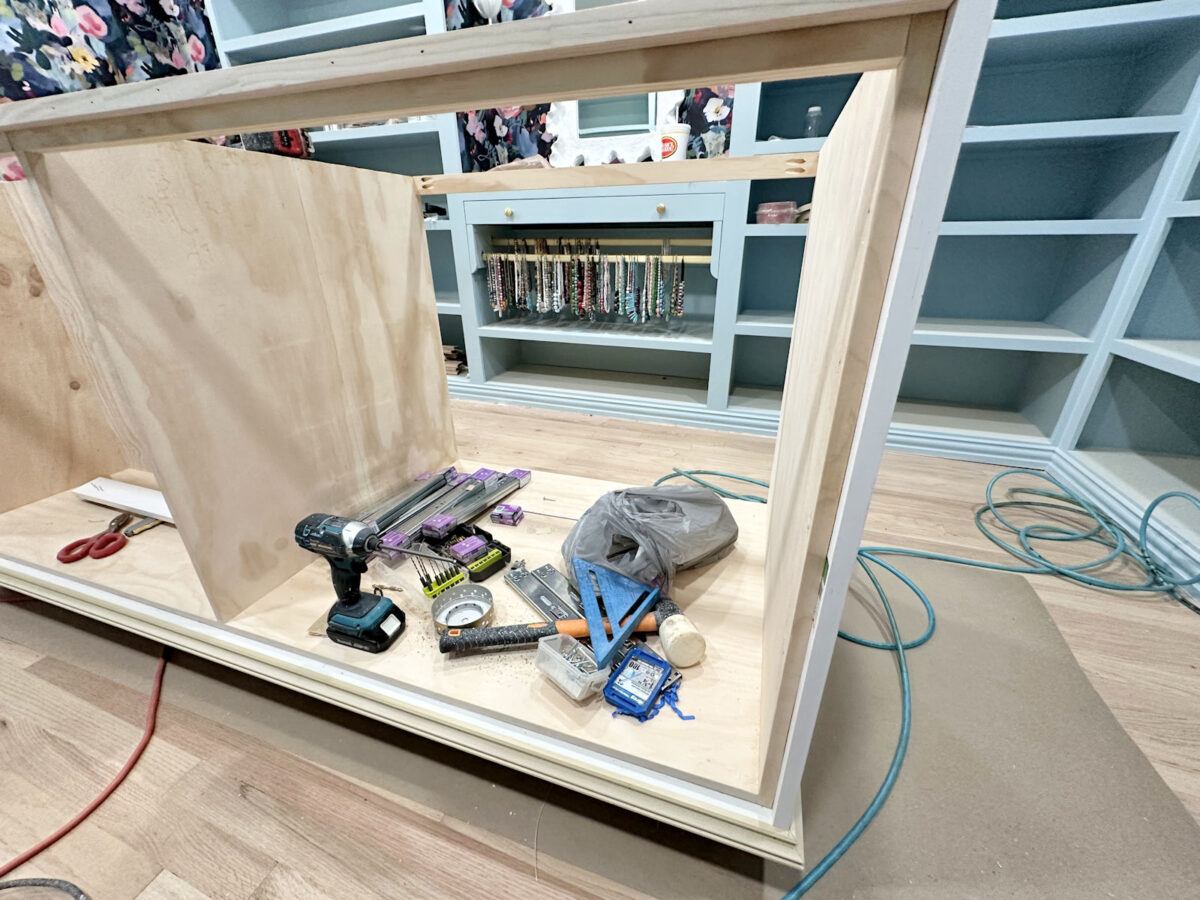
I had already created a frame for the doors and drawer front on the sides with the side trim, and on the bottom with the bottom trim, so now I needed to create a frame on the top so that the doors and drawer fronts would look inset on all sides once they’re attached. So I cut another strip of 3/4″ square trim by ripping down a 1×3 using my table saw, and I attached it going all the way across the top of the 1×2 stretchers I had just attached.
And with that piece attached, you can now see that the doors and drawer fronts will sit inside that frame giving them an inset look once they’re on.
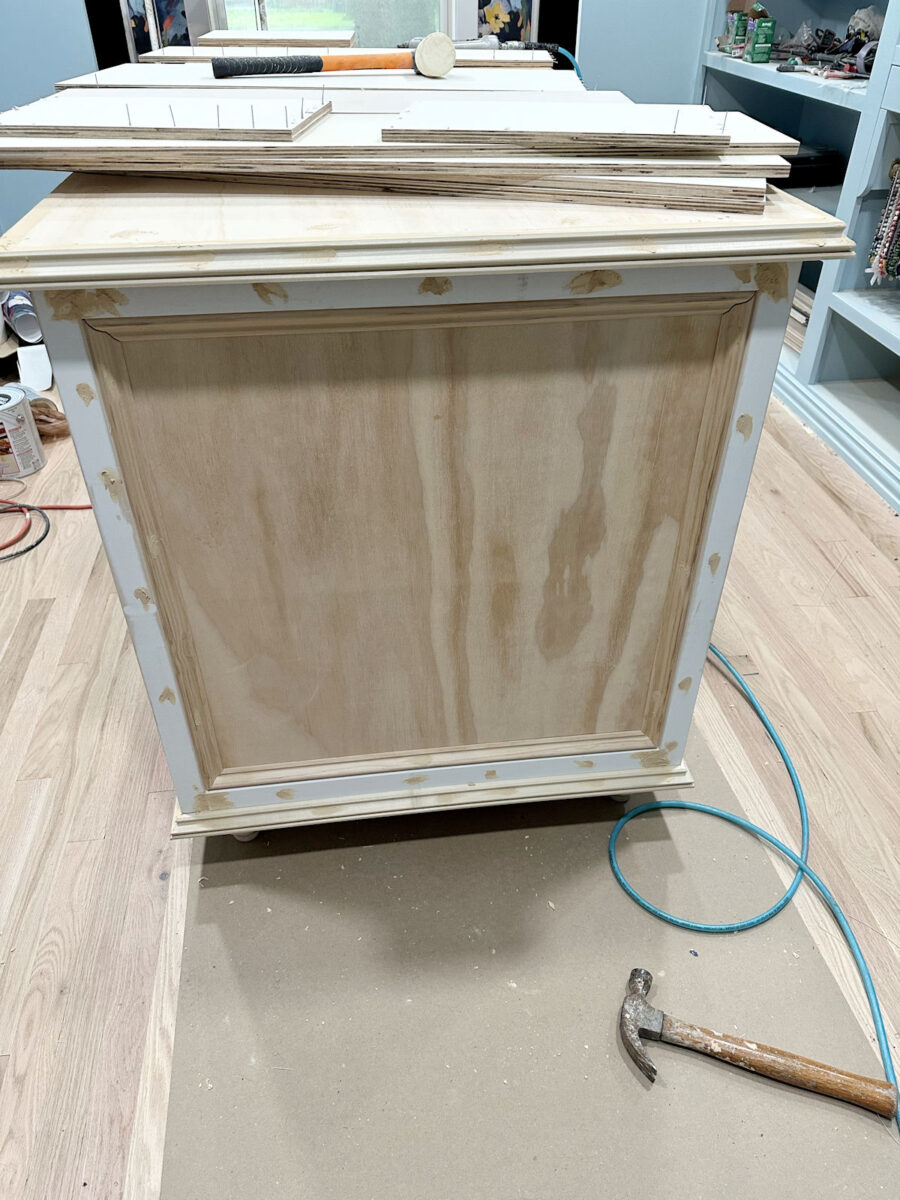
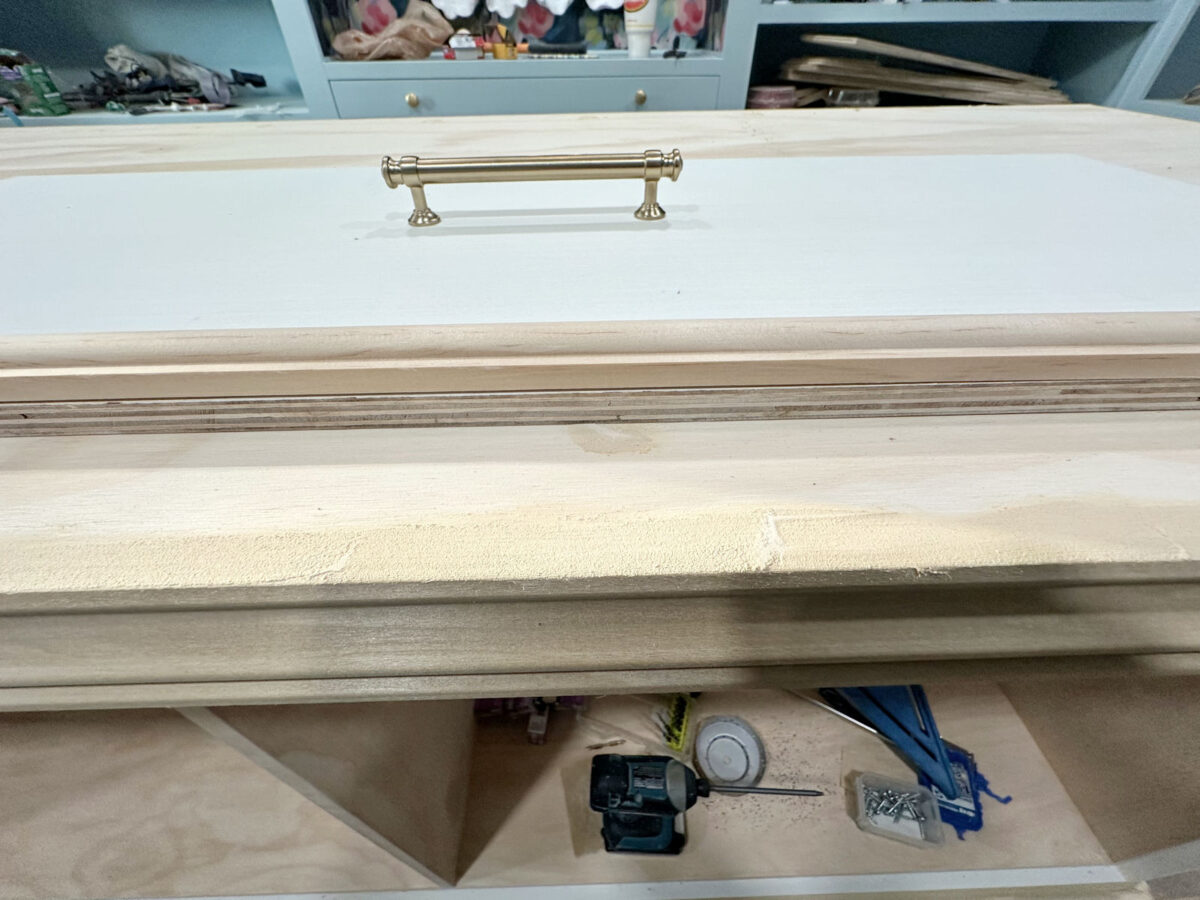
With that done, I could actually attach the top. After measuring carefully to make sure it was even all the way around, I just nailed right through the top and into the frame of the base to secure the top. You can see where I used wood filler to fill those nail holes.
I also added wood filler where the side trim met the plywood top so that when it’s sanded, it’ll be as perfectly smooth as possible with no little cracks between those pieces.

Here’s a look at it with the top on. You can see that that top frame piece is about 1/4″ below the countertop.
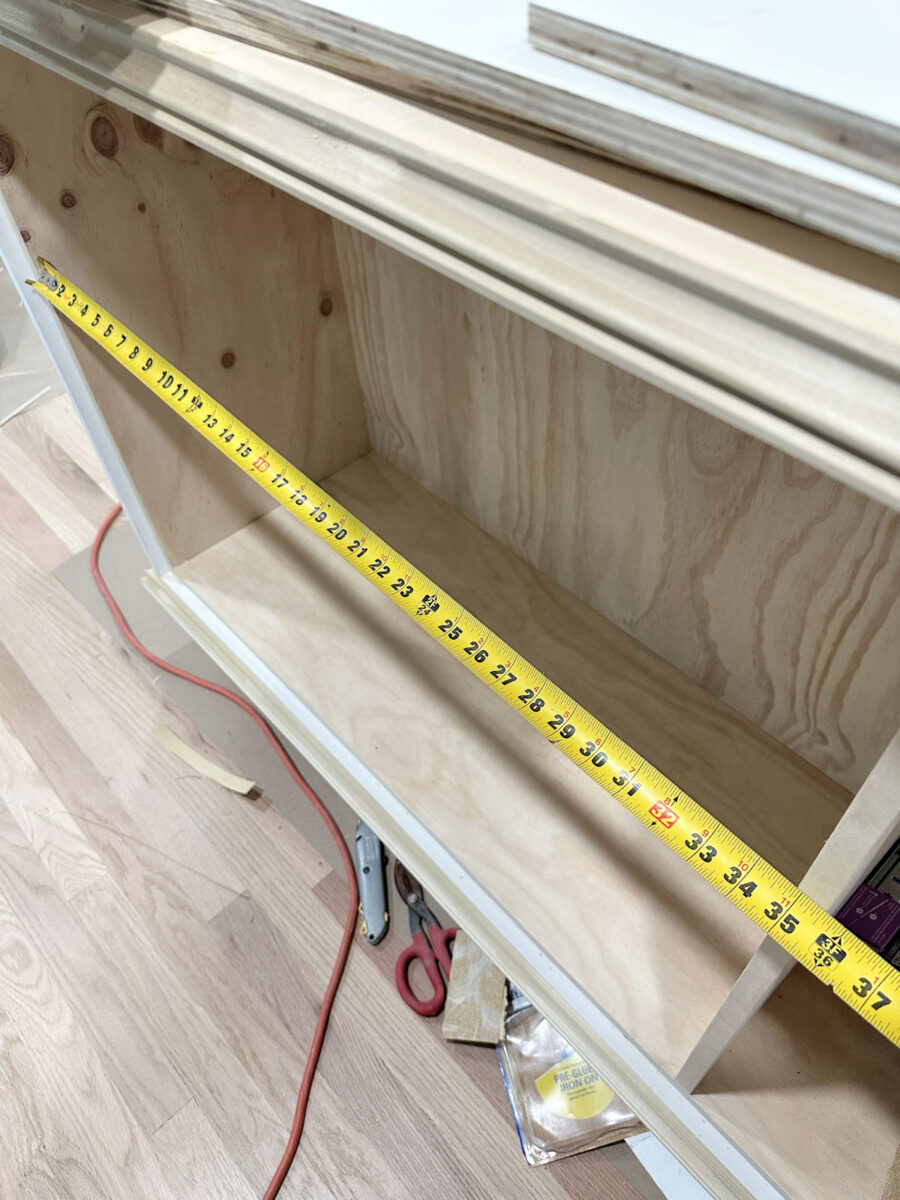
Then I was ready to build the drawer boxes. I started by measuring the width of the opening, which was 34 7/8 inches.
These are the drawer slides I use. I’m not particular about the brand as long as they’re ball bearing drawer slides with soft close. You can get them at Home Depot and Lowe’s, and they’re all pretty much the same, regardless of brand.
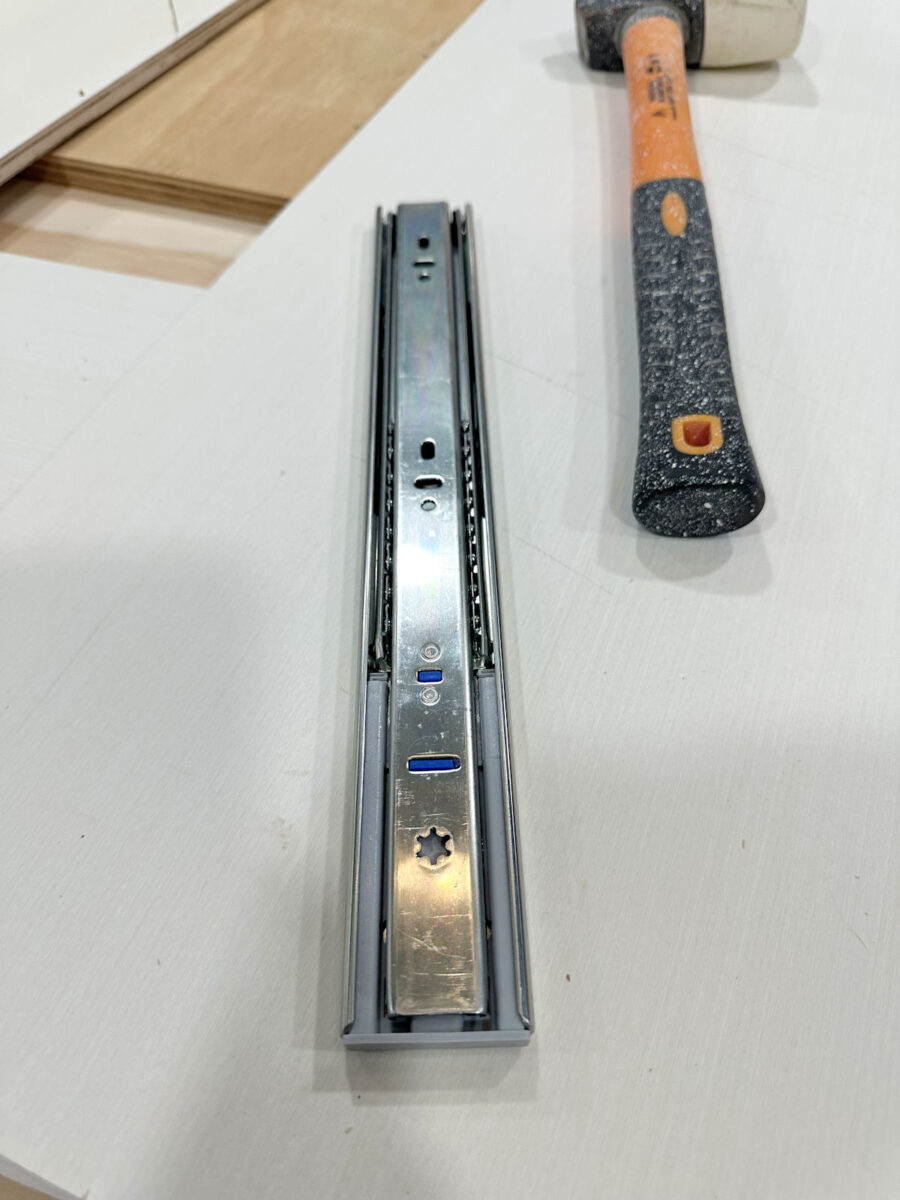
The drawer slides are 1/2 inch thick.

That should make it easy, right? You take the width of the opening, subtract an inch, and that’s the width you build the drawer box. Easy peasy. Or at least, it should be.
So I spent hours cutting and sanding all of the pieces for the drawer boxes. For these, I decided to keep it easy and build the absolute simplest form of drawer box possible. I cut one bottom piece for each drawer. Then I cut two pieces to go on the front and back, cut to the same width as the bottom piece. And then I cut two pieces for the ends, cut to one inch more than the bottom piece so that the side pieces would cover the bottom piece plus the sides of the front and back pieces. Nail them all together, and you have the most basic drawer box possible. No fancy cuts or fancy tools needed.
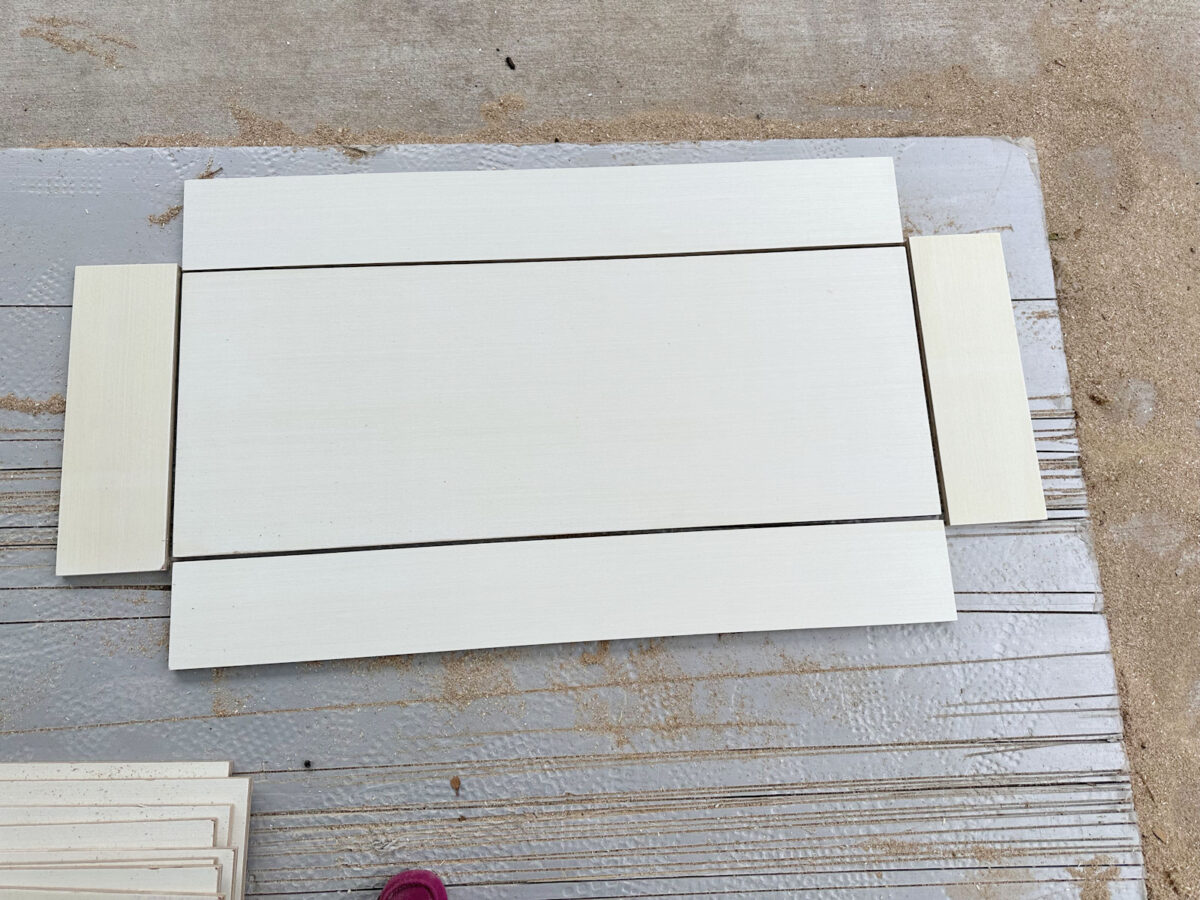
So I got everything cut, got the first drawer box nailed together, and then realized that I had forgotten to subtract that inch for the drawer slides when cutting all of the bottom, front, and back pieces. UGH!!!! Such a rookie mistake!!!
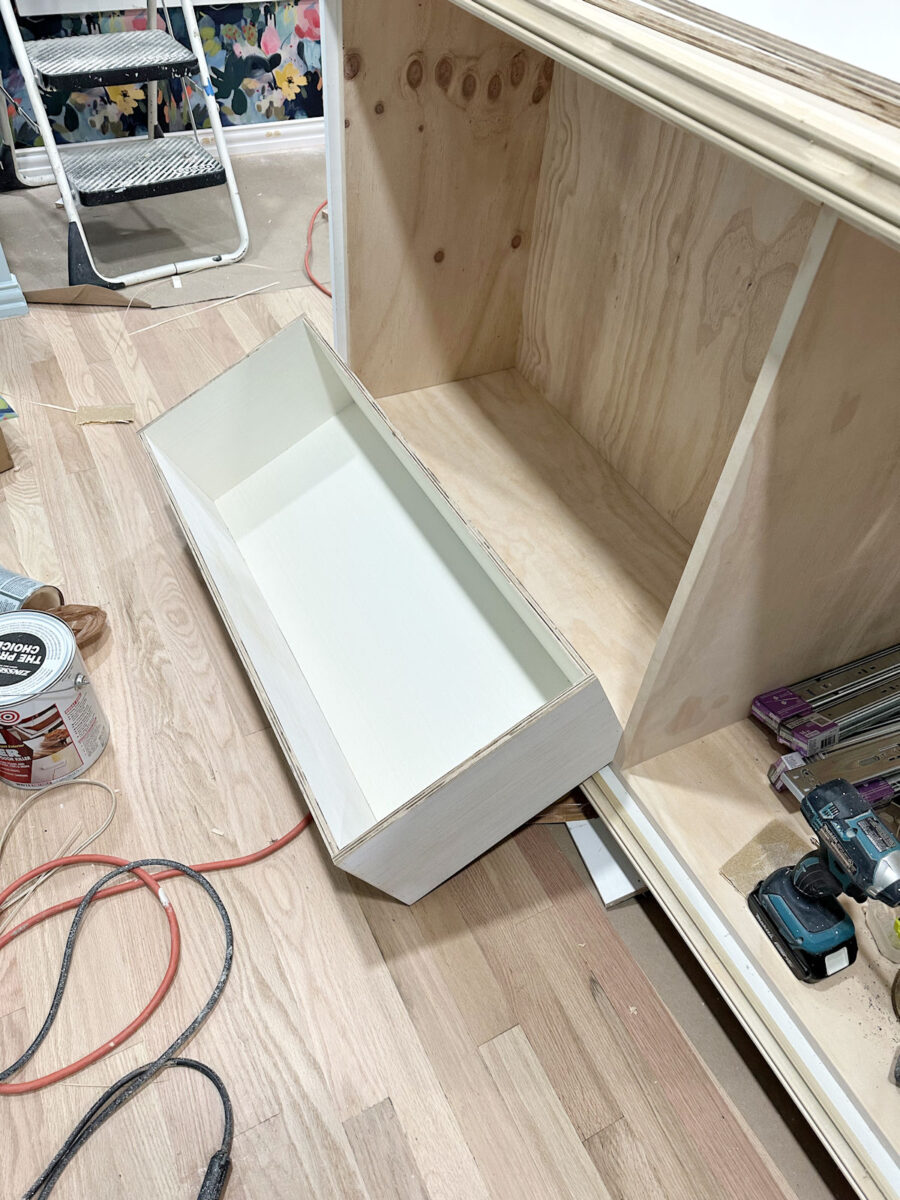
Y’all, I was so frustrated. Thank goodness I had only put together one drawer box and decided to test it for fit before putting the rest together. I would have ugly cried had I gotten all ten drawer boxes put together before realizing that I had cut them all the wrong size.
It’s no big deal. I just have to spend time today recutting all of those pieces (all except for the side pieces) to the right lengths (one inch shorter than they are) and doing a little more sanding, and then I can get them built. At least I cut them too long instead of too short! Had I cut them too short, all of that plywood would have been wasted. So this is a really easy fix, but it’s still a pain.
By the time I realized my mistake, I didn’t have it in me to go back out and fix those pieces. So instead, I got all of the wood filler on the base and got it ready for sanding so that I can get it primed and painted.
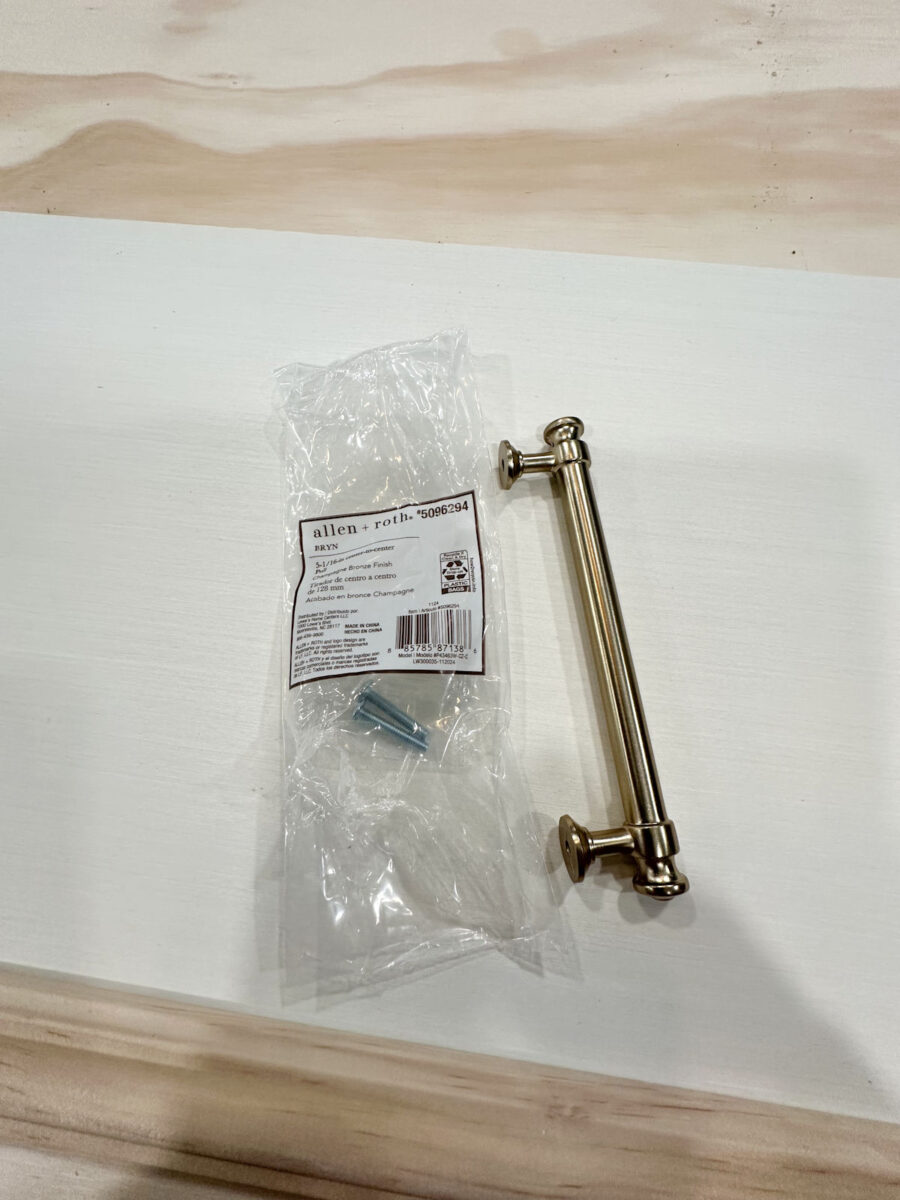
I also tried to figure out just exactly how I’m going to make the drawer fronts and doors. I was waffling between two different designs, but I think I’m going to keep it simple. I bought these pulls from Lowe’s.
So I think I’m just going to cut the drawer fronts out of 1/2″ plywood and then put some pretty trim around the edges. I’m still not sure if I’m going to use one pull per drawer…
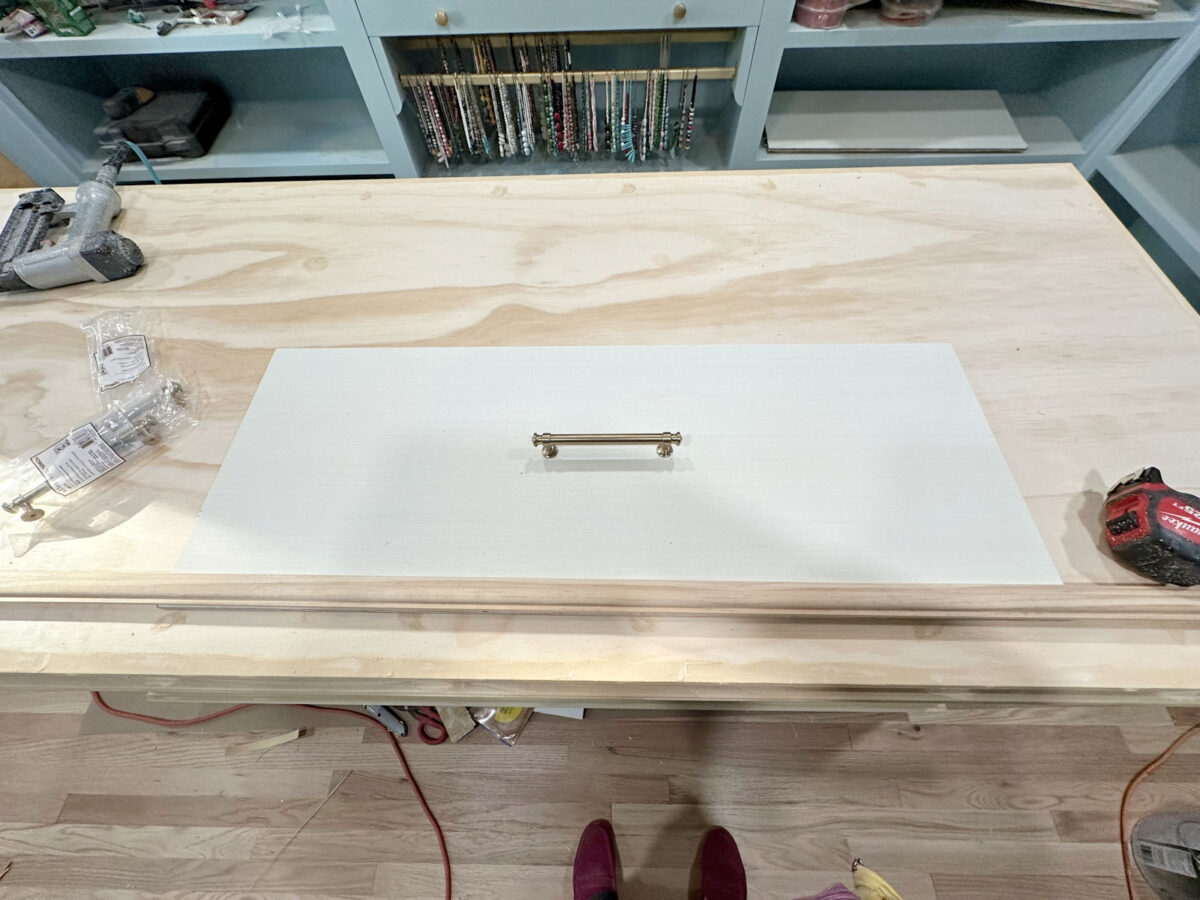
Or two pulls per drawer like this…

I’m leaning towards two since the drawers are so wide (almost 36 inches wide). And once the trim is attached, I’ll just finish up the edges with some wood veneer edge banding.
That’s the plan for now. I had so hoped that I’d be ready to make drawer fronts and doors today, but instead, I have to backtrack and redo what I worked on yesterday. It’s so frustrating when that happens, but that’s to be expected sometimes. I’m trying to give myself some grace because this island is probably the biggest piece of furniture I’ve ever built, but at the same time, I’m so ready to be done with it!
Update: You can find Part 4 of this closet island project here: Part 4 – Closet Island Progress – How To Build Drawers The Easiest Way (Plus, The News You’ve Been Waiting For)
More About My Walk-In Closet/Laundry Room

see all walk-in closet/laundry
room diy projects
read all walk-in closet/laundry
room blog posts

Addicted 2 Decorating is where I share my DIY and decorating journey as I remodel and decorate the 1948 fixer upper that my husband, Matt, and I bought in 2013. Matt has M.S. and is unable to do physical work, so I do the majority of the work on the house by myself. You can learn more about me here.


I’d get larger pulls and use one. Amazon has several styles similar to this one that come in lots of sizes. I think 1 looks too small and two requires you to use two hands to open. I larger pull will allow you to open with one hand and look more balanced.
Yep, I think you’re right. I just ordered some 12″ pulls exactly like the ones I used on my studio drawers. I also realized that the ones I bought (pictures in this post) have those little things that stick out on either side that tend to catch clothing in tighter spaces. That would be really annoying. The ones I used in the studio don’t have finial-type ends that stick out. That would be more practical in a closet with tighter walking space.
Oh my…I just said two, but one large would be nice too! Also our cabinet guy mentioned about those ends getting caught when walking past…so glad you already know that. I worried after I posted that those you picked do have the little “hooks!”
I was going to say those little knobbies on the ends always catch my sleeves and clothes! Annoying so I never use them.
And I think 1 big pull would look better if you’re using 1 knob on the doors of the doors. IMHO.
What a good plan to test fit a drawer before moving on. Thanks for sharing the details!
As you said, good thing you cut them too big, so no wasted pieces. As for the fronts, It would be nice to see the spot where the pulls will be, in a recessed area. It would “frame” the pulls giving a more classy look. Can that be done with a router? Using trim to do this would work too, but it would look cheap and tacky. Just a thought.
I blame Jonathan G Wells.
😂😂😂
🤣🤣🤣
Definitely. 😤
Y’all lost me. Who is that?
He’s the hideous creature, the Chicago interior designer, who left those awful comments to me on Facebook that I mentioned in yesterday’s post about the real estate agent. 😀
😆 🤣 😂
Me too.
We need that on a t-shirt. 🤣🤣
Absolutely!
Good save. We all get moving so fast that sometimes that measure twice rule gets thrown out the window. Our saying here on the farm is don’t measure, cut three times, and paint to cover. It’s not the way I like to do it, but then again, it usually turns out OK but often looks like an 8th grade workshop project. You give such wonderfully detailed instructions; I make my husband read them whenever we are endeavoring onto a project that would require your level of attention, I sing your praises all the time, thank you.
Cheers to you and Matt!
Oh, the best possible mistake. We all make them, but you were smart enough to test the first drawer, and they were too big, not too small…my first thought and felt terrible that the wood was ruined. A little time and extra work, but if there was an error…it was SO fixable for you! So happy for you. I like the two pulls since it is so wide…and I love the pulls you picked. Again, a dream closet.
Whew! Good save, Kristi! Yes, it’s frustrating to have to go back and cut them a little shorter, but that’s soooo much better than having to buy more plywood! The island is looking beautiful with all the trim. Carry on!
Bummer, but at least they were too wide and not too narrow so more of a headache than a blow to the pocketbook.
I love your choice of the drawer pulls, and agree that 2 are needed due to the width of the drawer. It’s coming along beautifully! I would be woohooing if I were you, on the fact that your measurements only need and extra cut. Easy fix!! An angel was watching over you, maybe just to say “double check”. Everything is really taking shape now. Going to make your day when you walk in there first thing each morning!
I want to make drawers for my pantry, thanks for the tutorial!!!!
Have you considered using any leftover wallpaper to put on the side of the drawers so that it is revealed when you open the drawer? https://www.pinterest.com/pin/4785143346375920/
I have! I love that idea! Unfortunately, my drawers are too big and my leftover wallpaper pieces aren’t long enough. 🙁 I was so excited about that idea, too. I might have another fun idea, though.
One pull will be nice if you’re ever holding something.
Good save, Kristi! I know it’s a bit of extra work to recut those pieces but as others have said, better now before assembling additional drawers.
I am very much looking forward to how you measure/attach the drawer slides and fronts. One of my pending projects is to add 4 drawers to my dad’s old workbench which has open space underneath. After seeing you divide the island into 2 halves, I think I’m going to build 2 separate boxes, with 2 drawers apiece. This is the perfect project for me to follow along on how to build drawers.
Whew! You had me scared. I just KNEW you’d cut them all too small! 😄 Too big is easy! I’m glad you put a single test one together too, whew! Cabinetry is TOO MUCH WORK to make big mistakes on. I’ve made my share and then some. Your island is looking FABULOUS!
As you said, better too long than too short! 😁 I know it has to be frustrating thinking you’re further ahead than you are, but you’ll get there. It’ll be gorgeous once finished.
It’s refreshing for you to blog about mistakes. It makes the rest of us not be so hard on ourselves when we screw up. The thought process is something like “If Kristi can mess up, regroup and move on, then I can too.” Next time I will be a little easier on myself, after all … no body is perfect. This is going to be a beautiful piece when you are finished.
Yes, I love that Kristi shows us her mistakes too. Shows how genuine and real she is!
You are the best!