
Dining Room Textural Artwork — Painting The Clay Circles
I’m slowly but surely making progress on the dining room textural artwork. This is one of those projects that I’m pretty much making up as I go along, and I very well may get to the end, decide I hate it, and purchase some large framed prints to go above the benches. 😀 But, hey! At least I’m having fun! And when it comes to creating your own artwork, the process is the fun part, even if the end result isn’t perfect.
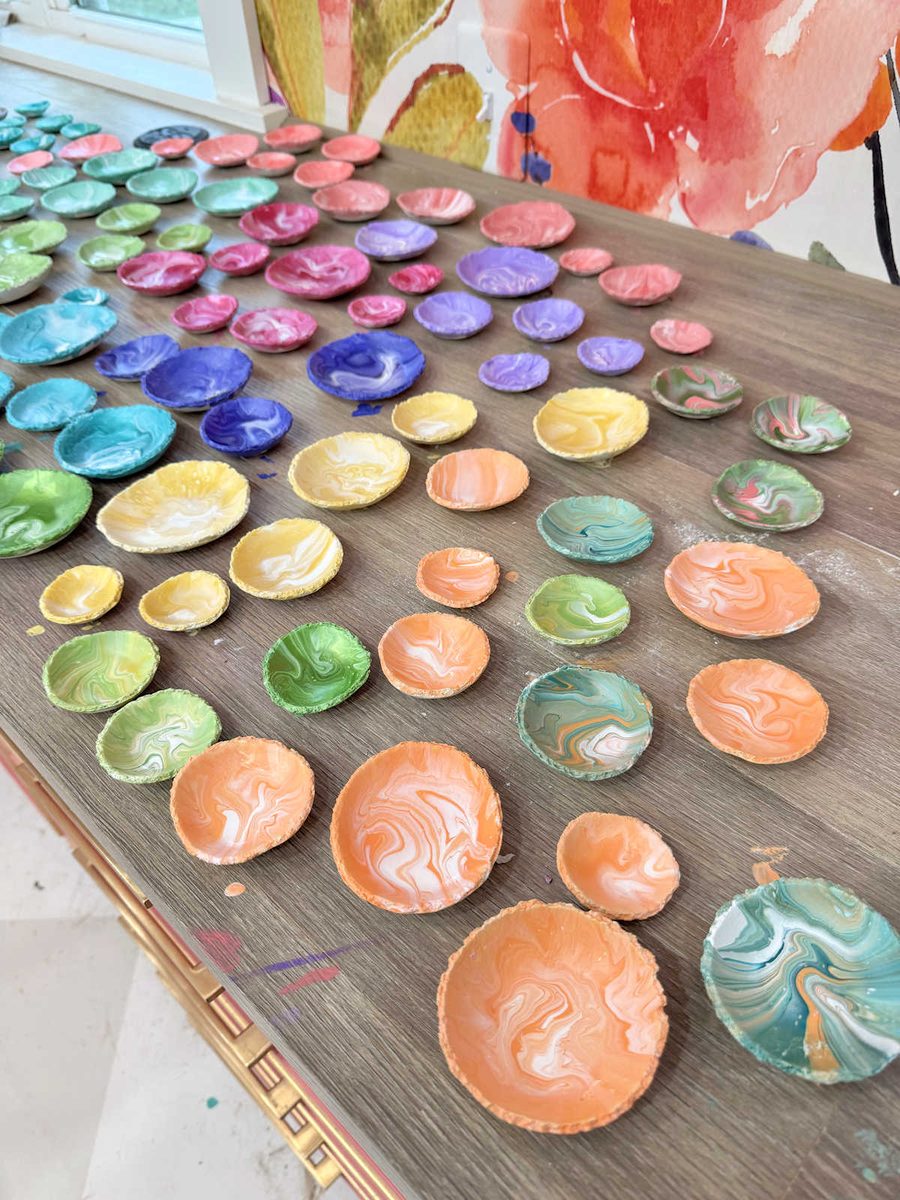
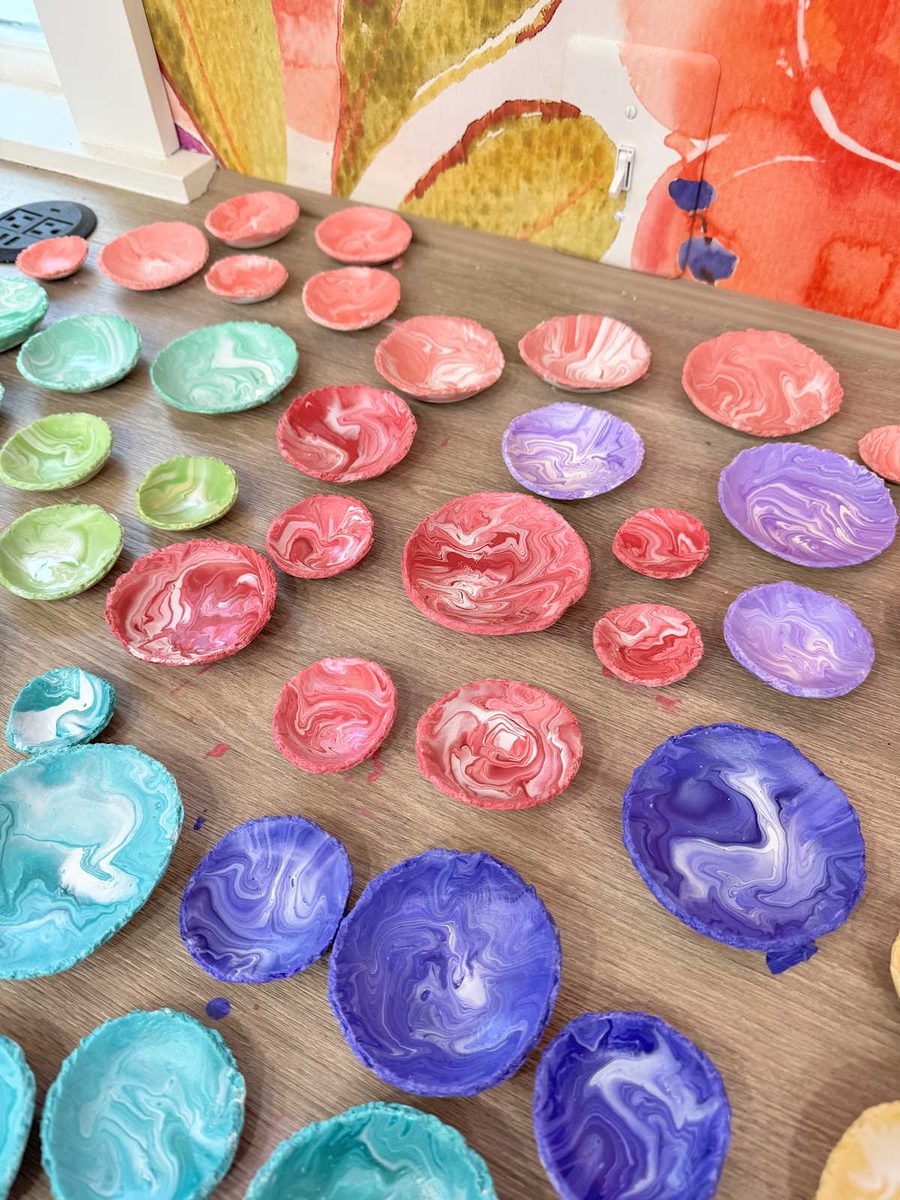
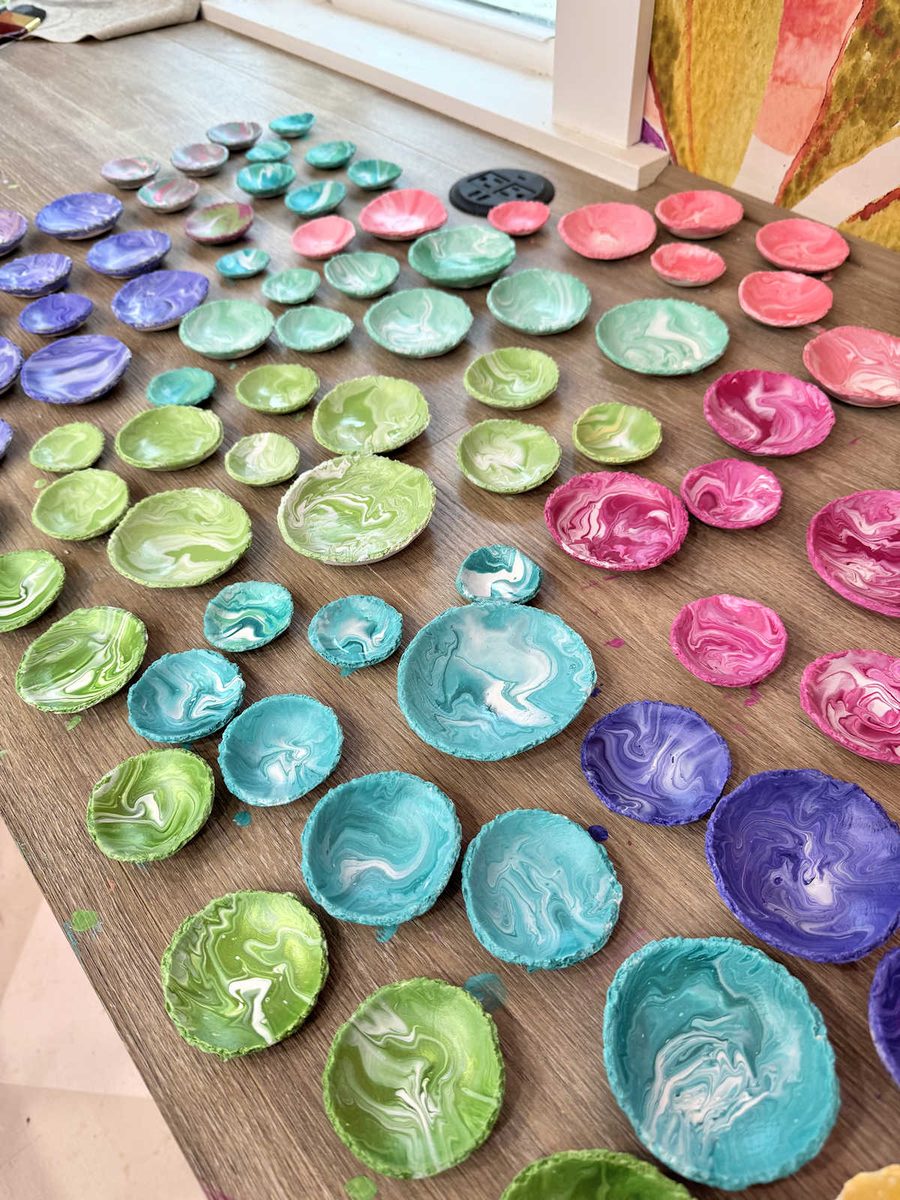
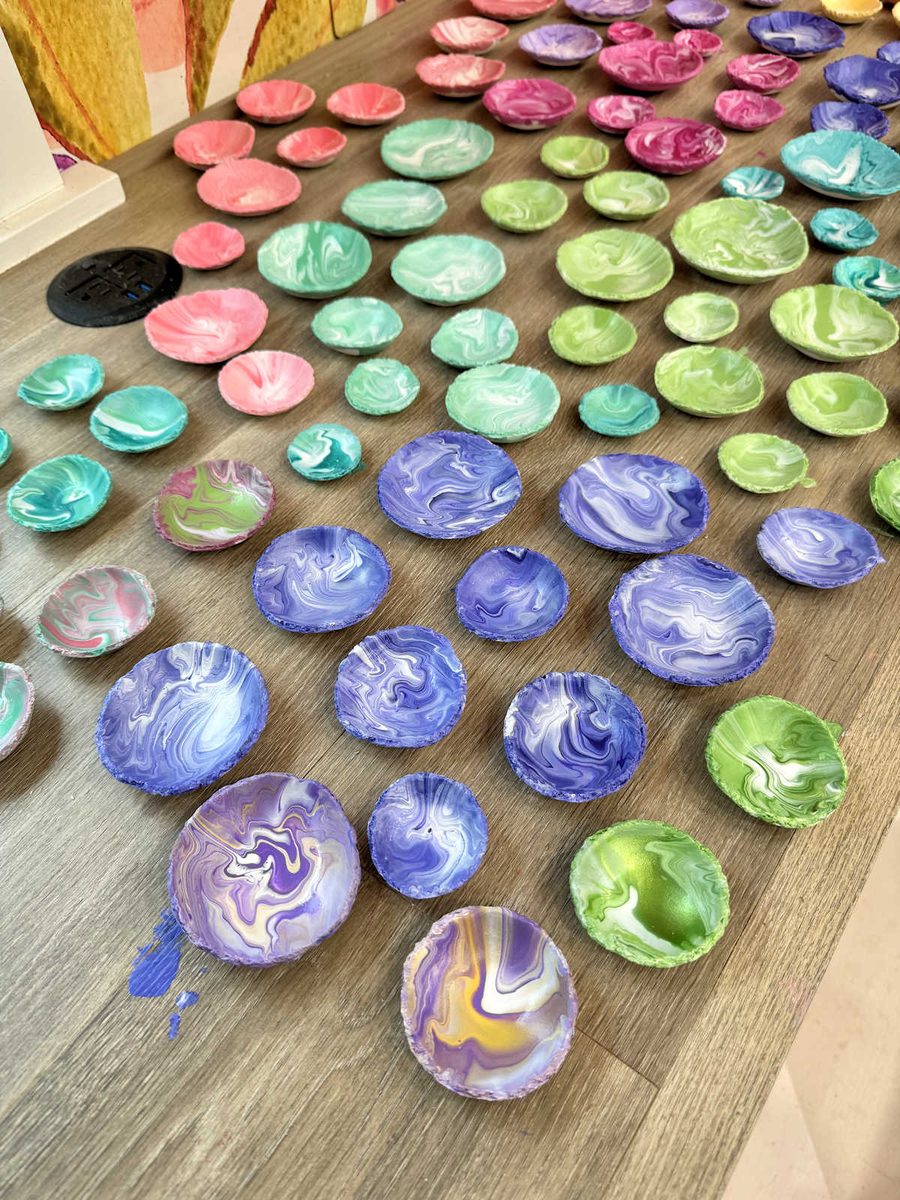
I had a rough start with these because it took me a few tries to finally land on a look that I liked. In the end, I went with a marbled look using acrylic paint. These aren’t completely finished, but here’s how the marbled part turned out…
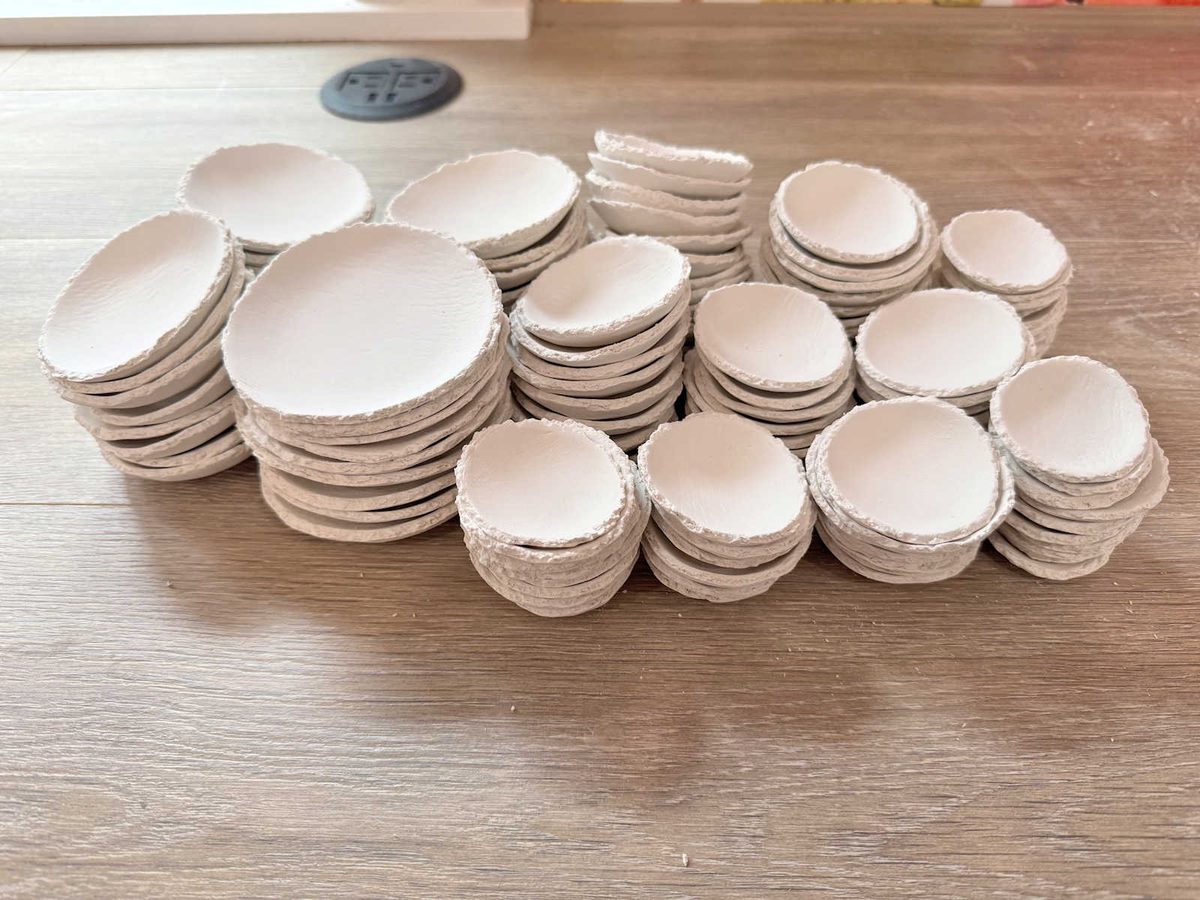
Before I could get to the fun part where I could play with paint, I had to prep these clay pieces first. It took about three days for the air-dry clay to dry completely. After about 24 hours of drying, I tore the top edges to give each one a torn look. And then I sanded each one, front and back, using 220-grit sandpaper.
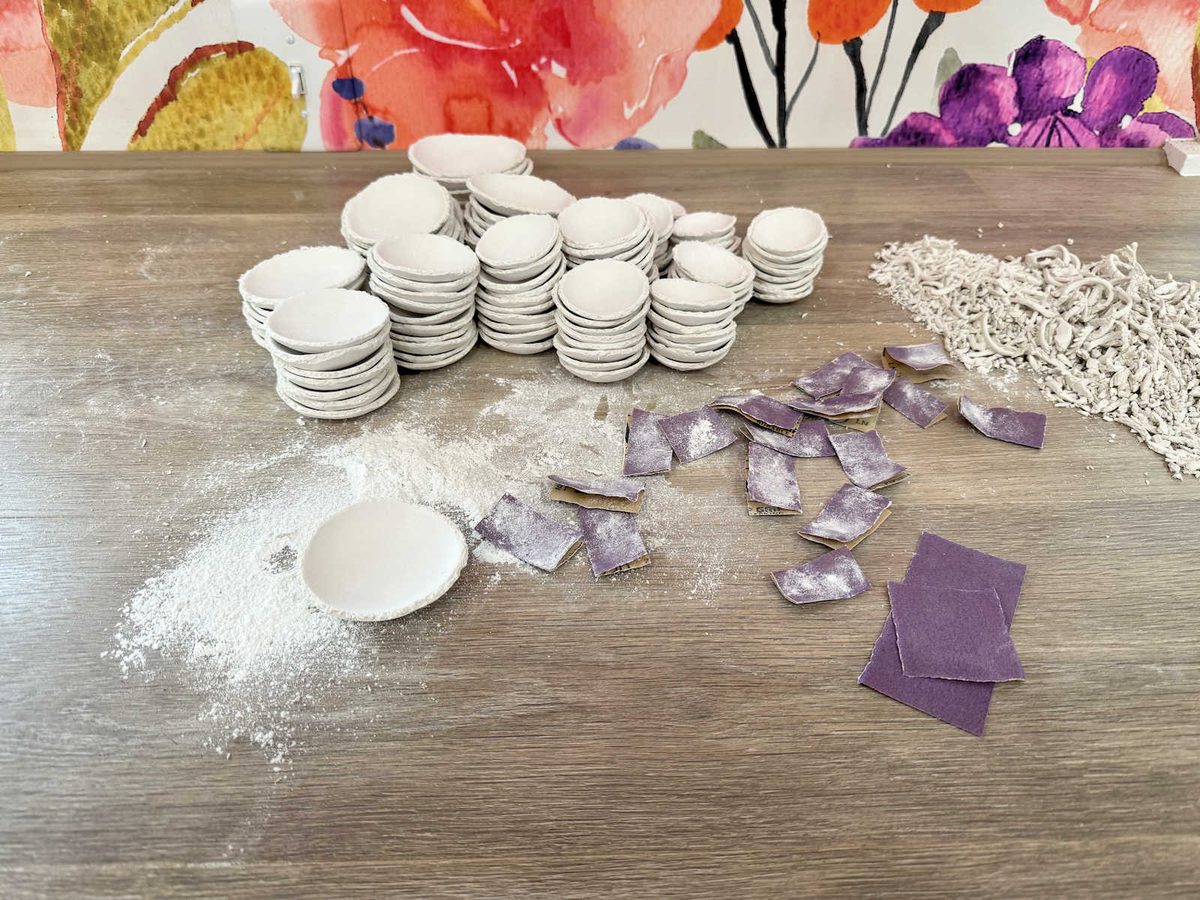
Then I wiped all of the dust off of them with paper towels, and they were ready for paint.
Since the clay is so porous, I primed them first. I took them outside and used Rust-Oleum spray primer on both sides.
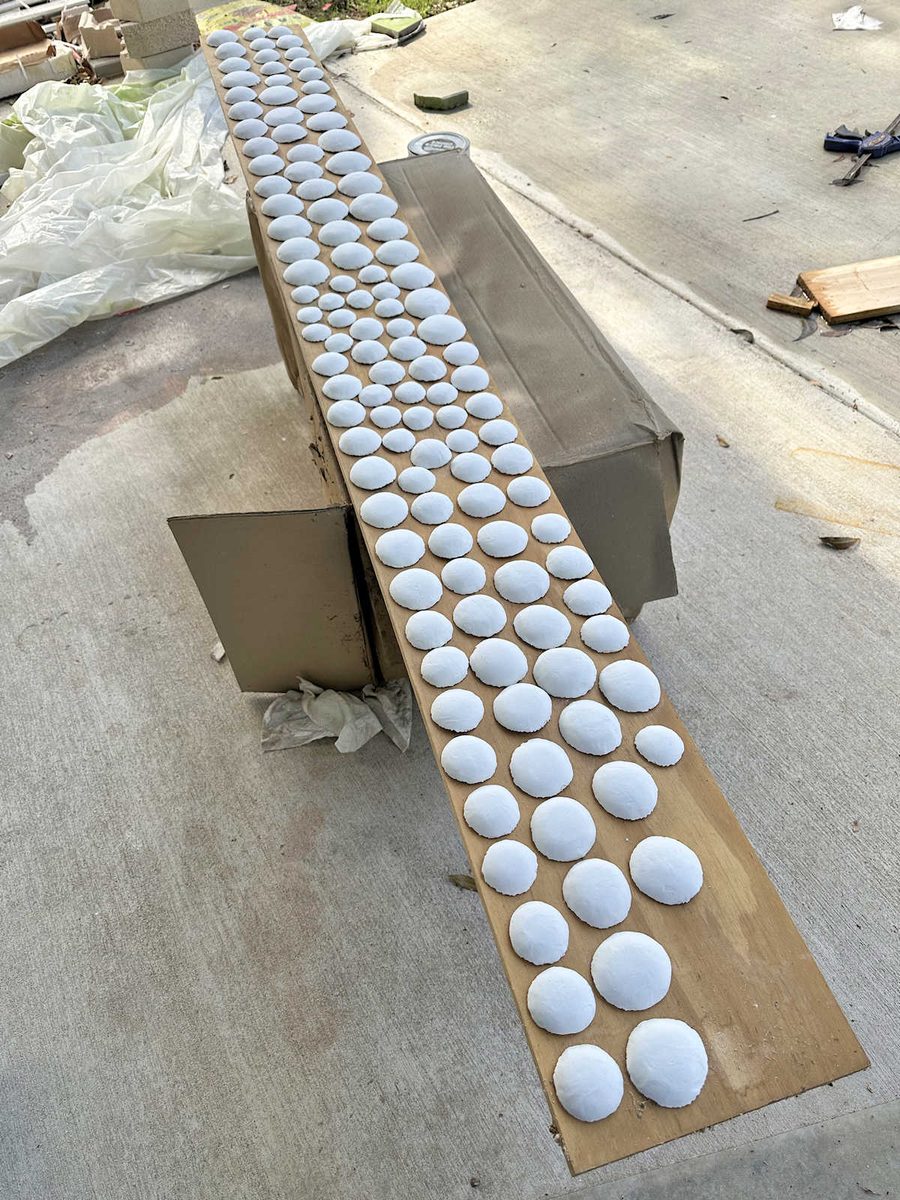
Once the primer was completely dry (about an hour for each side), they were ready for paint. On most of them, I only used one color plus white. On a few of them, I used two colors plus white. For each color, I mixed about half acrylic paint and half Floetrol. And then I added just a little bit of water to each one. I didn’t measure anything, but I was going for a texture that was workable and would flow without being too thin and watery.
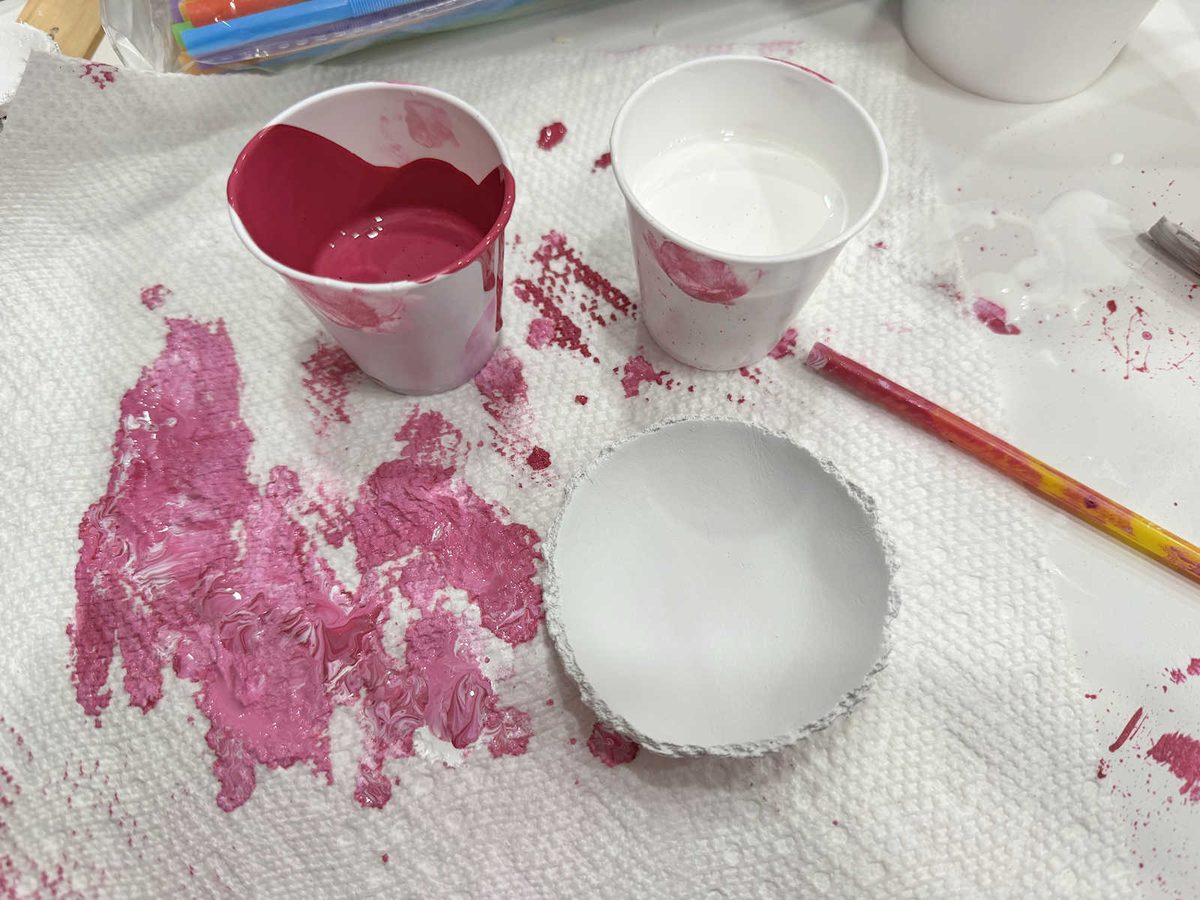
I painted the whole thing with the white first. The paint will flow much easier if the whole thing is already coated with wet paint.
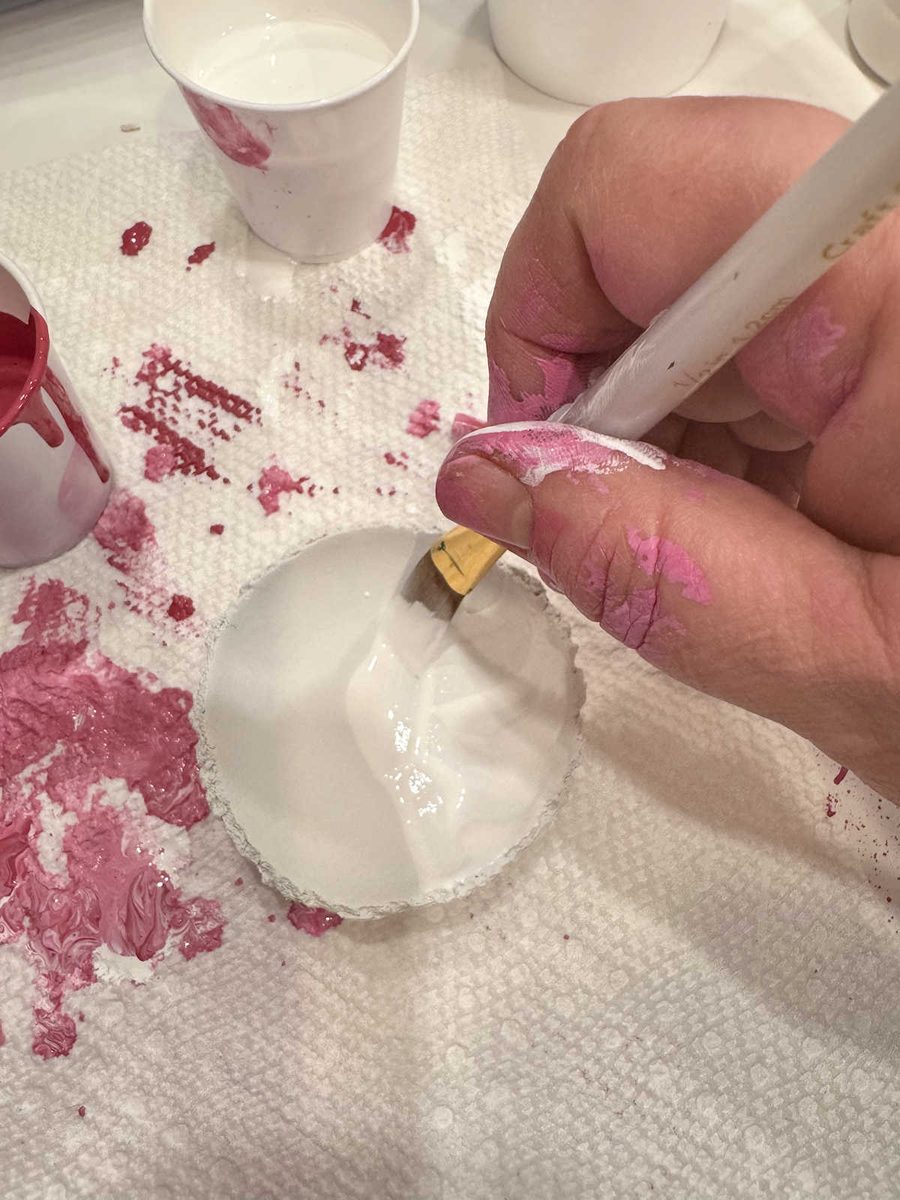
And then I poured a little bit of the color in the middle.
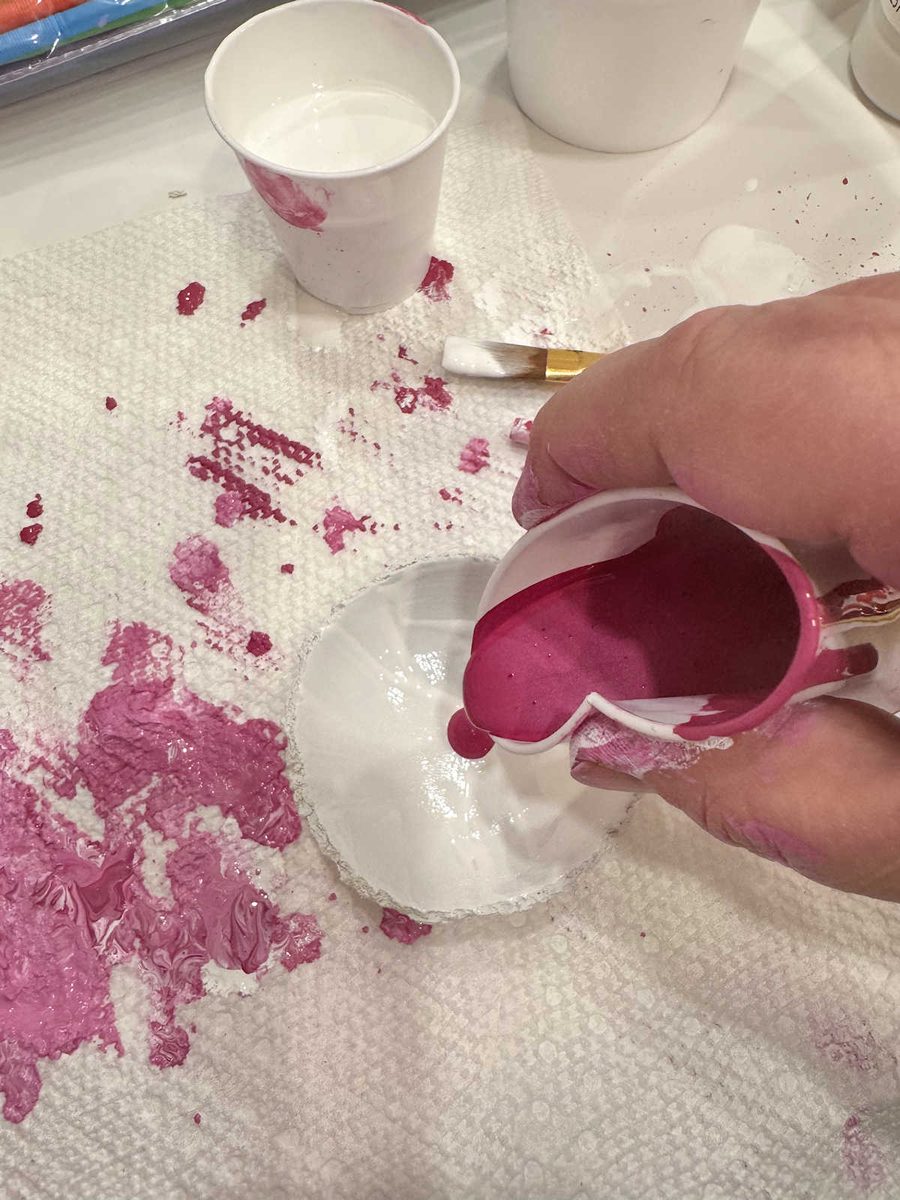
And then on top of that, I poured a little bit of the white, followed by a little more of the color.
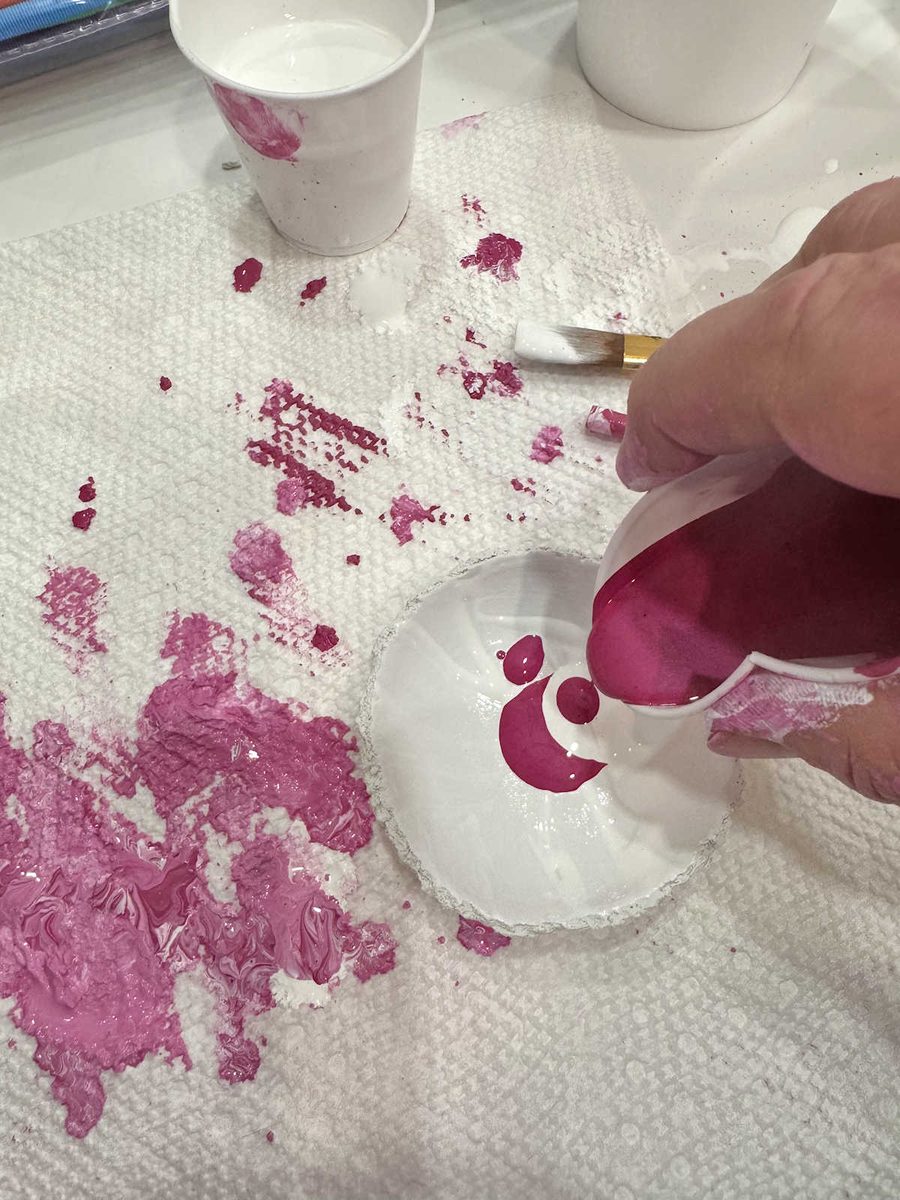
And then I used a straw to swirl the paints together without mixing them too much.
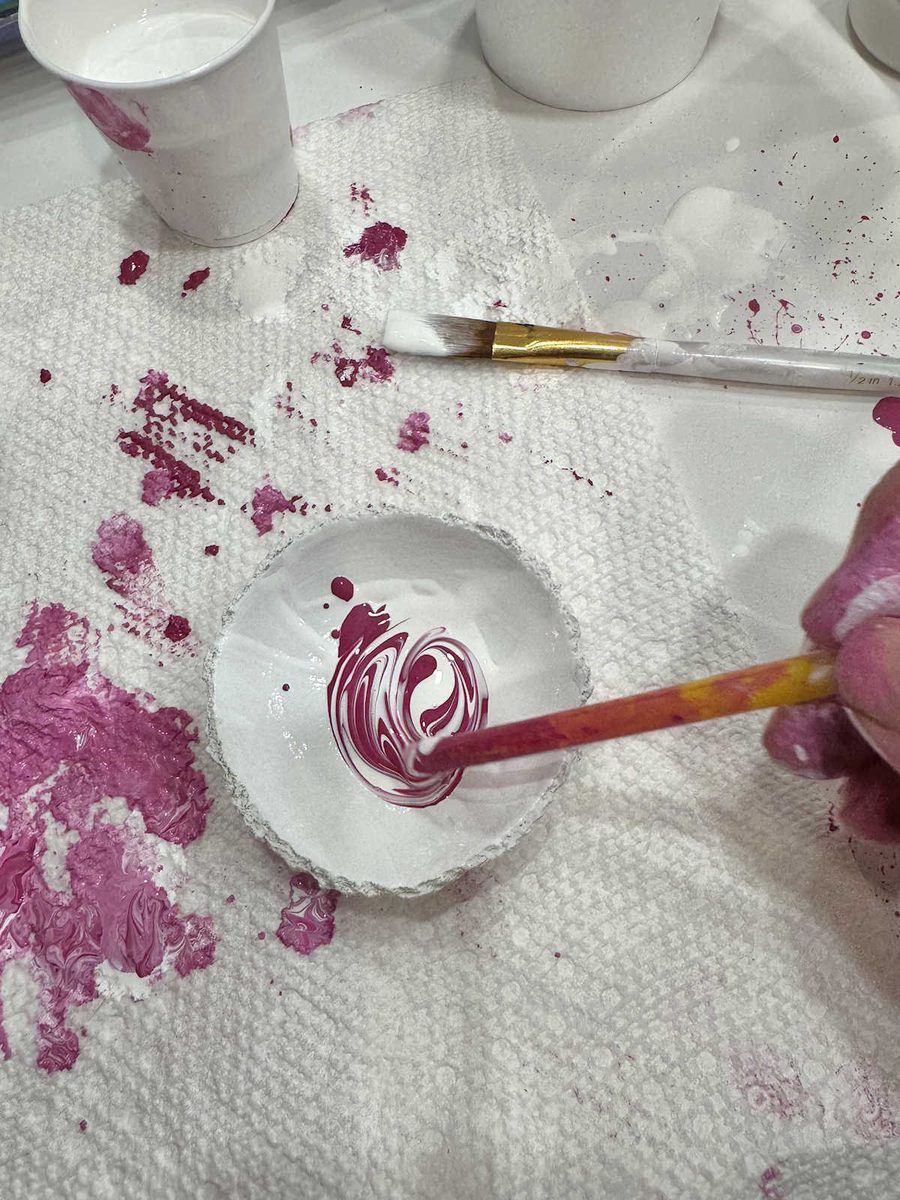
I stopped swirling them together when they looked something like this.
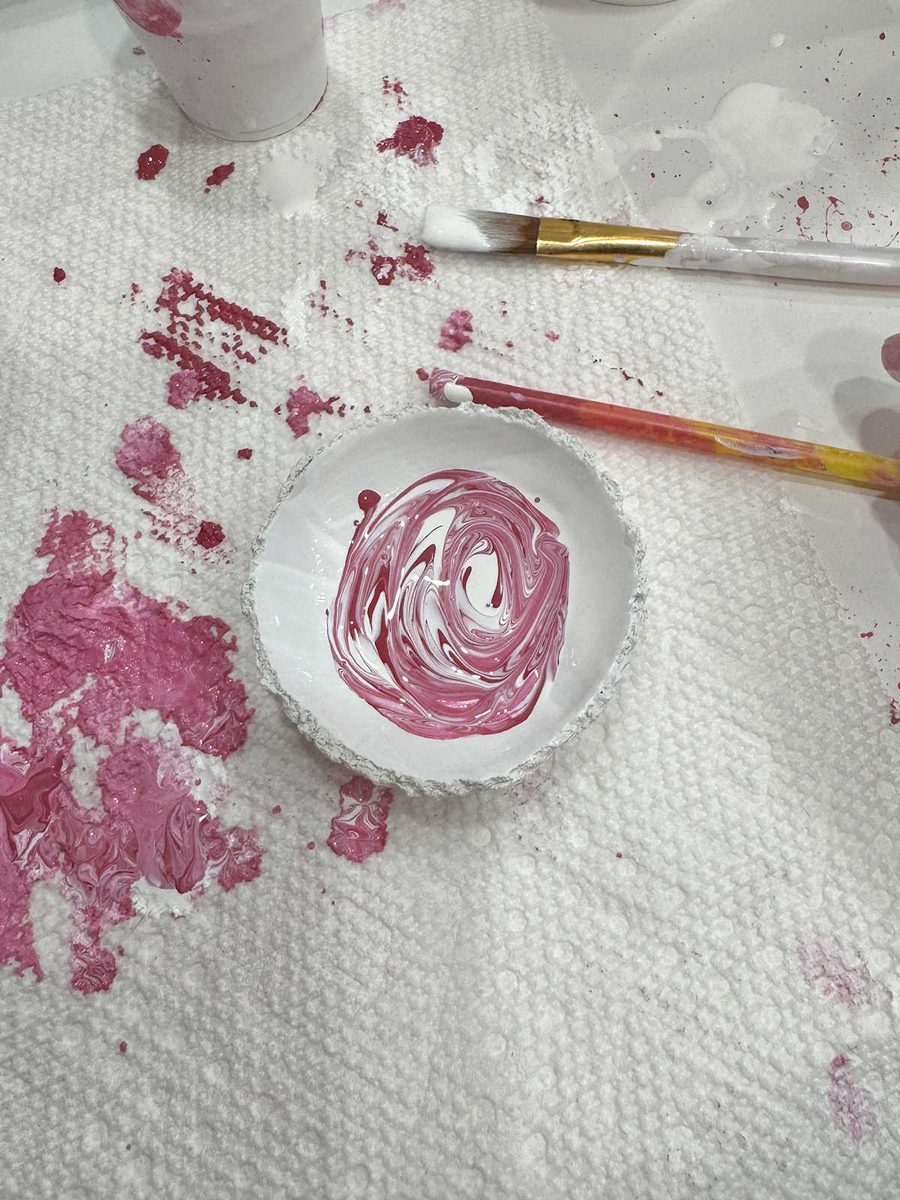
And then I tipped the clay disc to let the paint run to the edges.
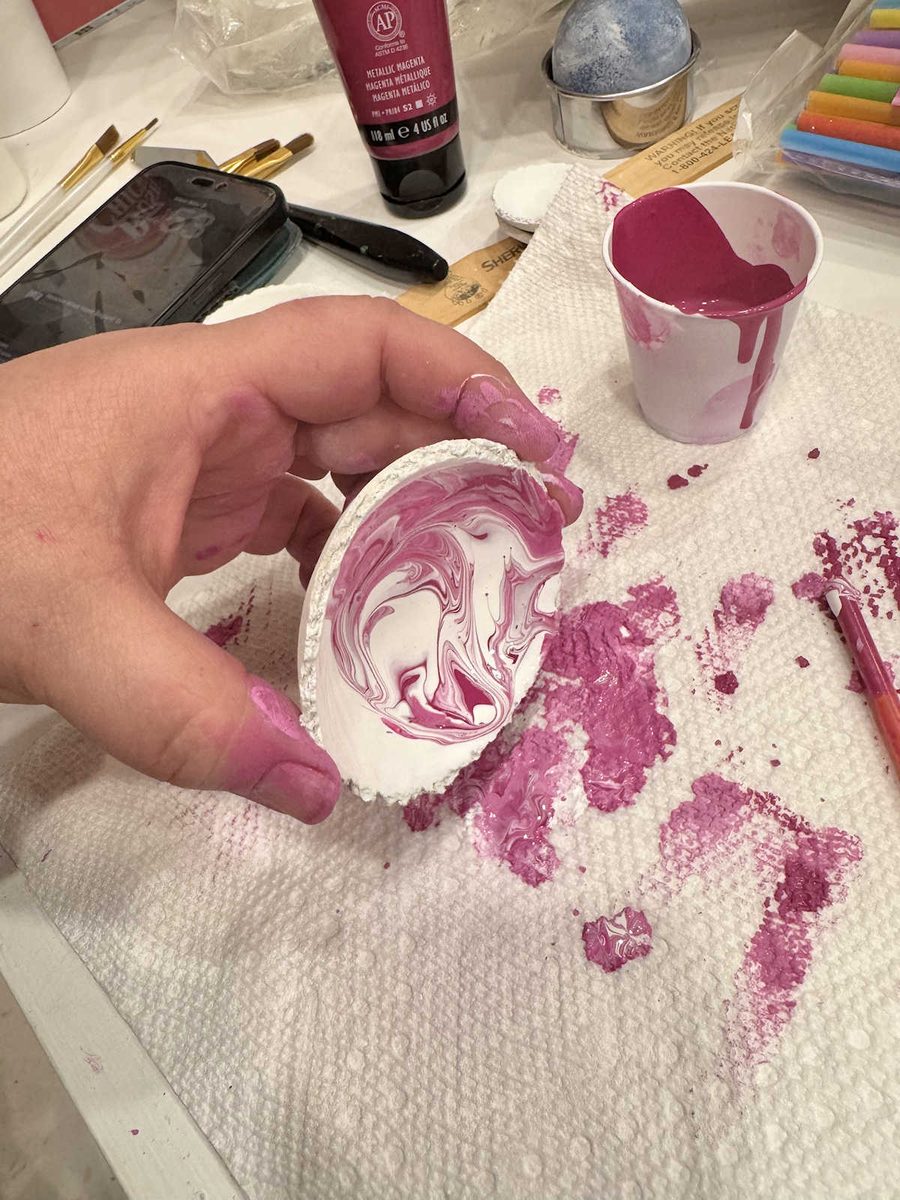
I just kept turning and tipping until the whole thing was covered with paint. As you can see, it was a pretty messy process.
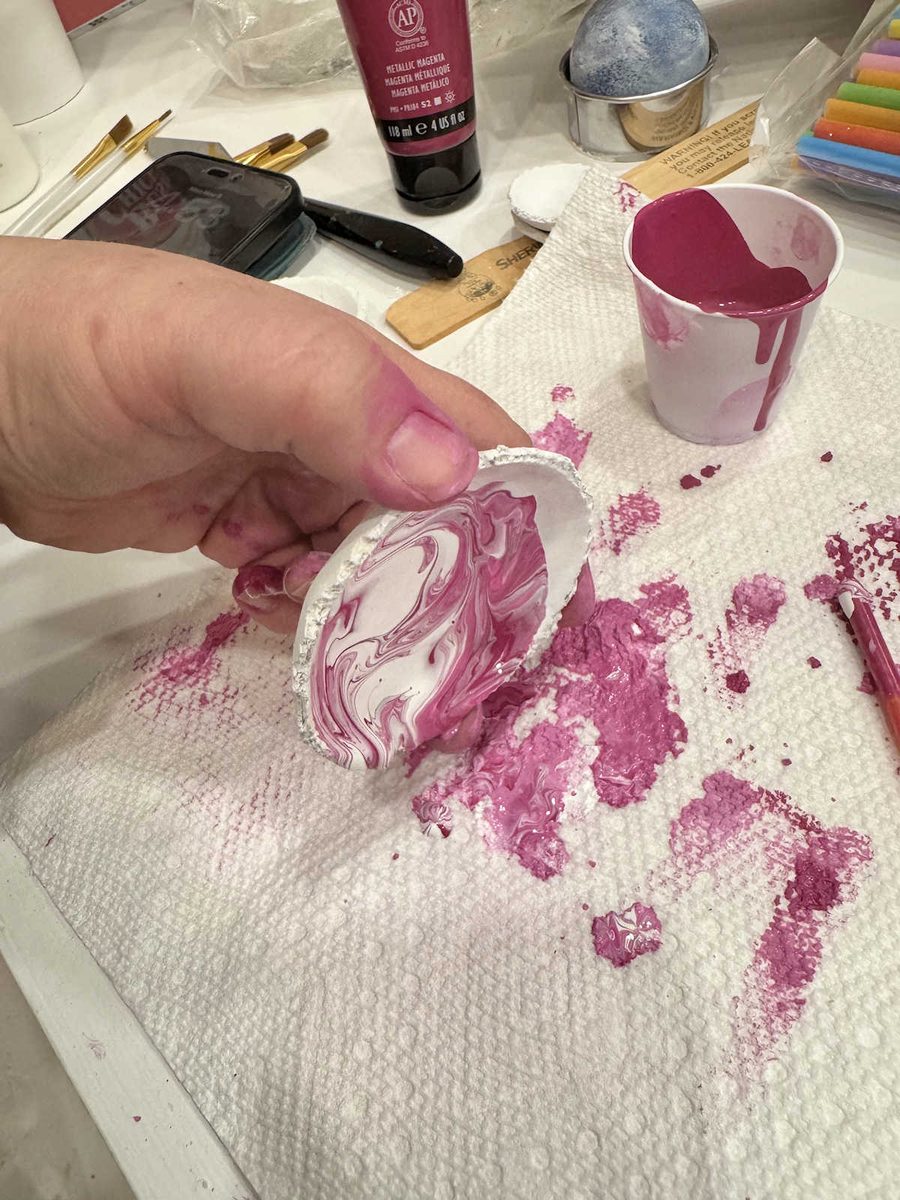
And here’s what they looked like once the paint covered the whole thing.
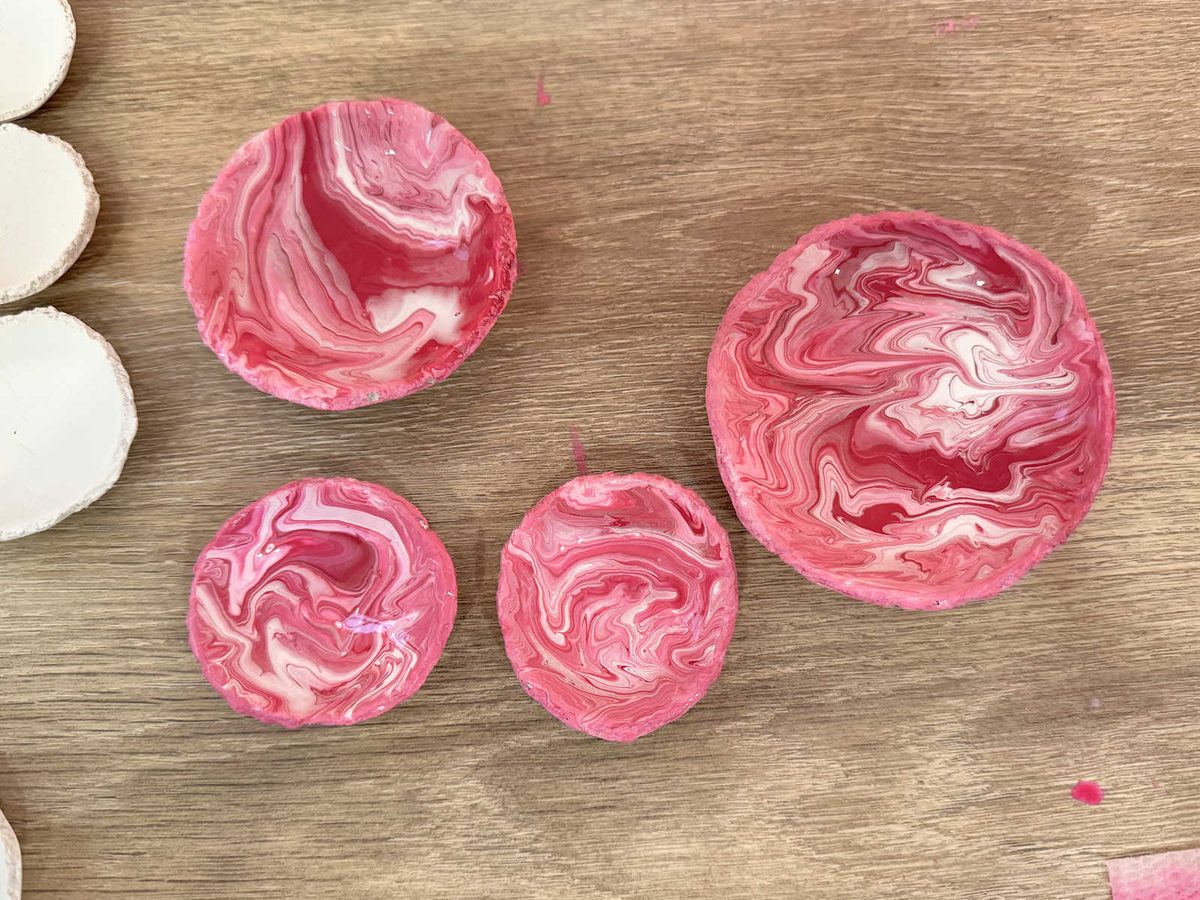
Like I said, on most of them, I just used one color plus white. But on a few of them, I used two colors plus white.
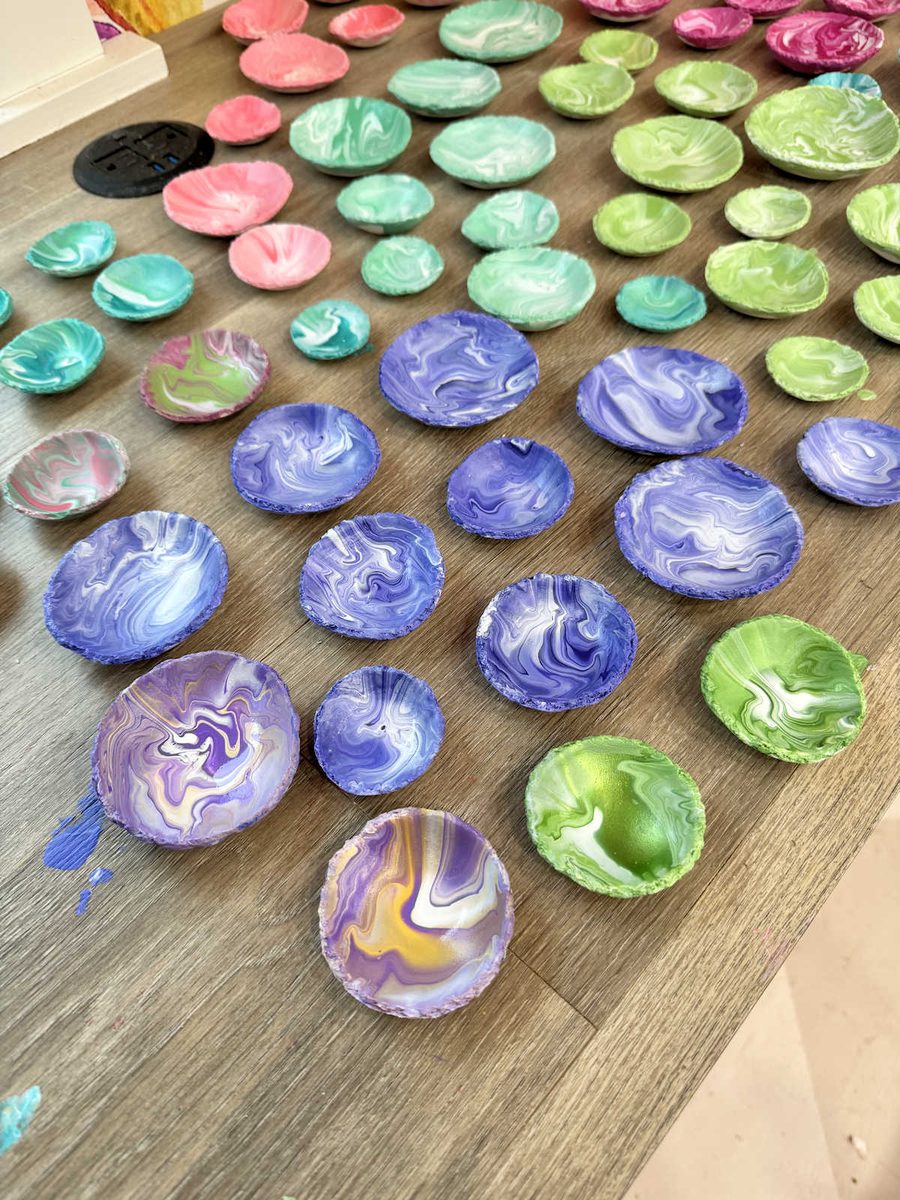
I’m still undecided about those torn, rough edges. I’m not sure if I’m going to keep them as they are. I’m tempted to see what they’ll look like if I add gold gilding just to the edges.
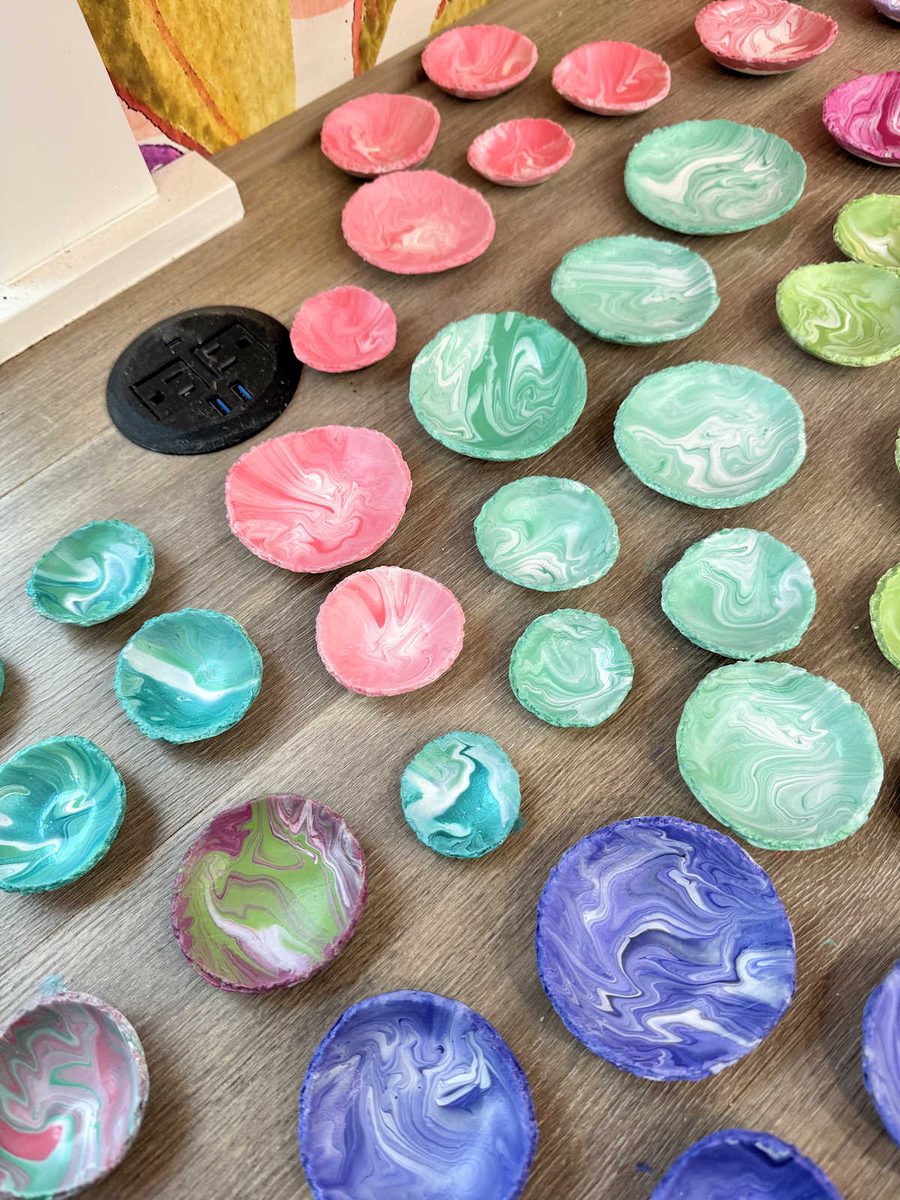
The backs are a mess, and I want the backs to be all white. I only want the color and marbled effect to be on the fronts.
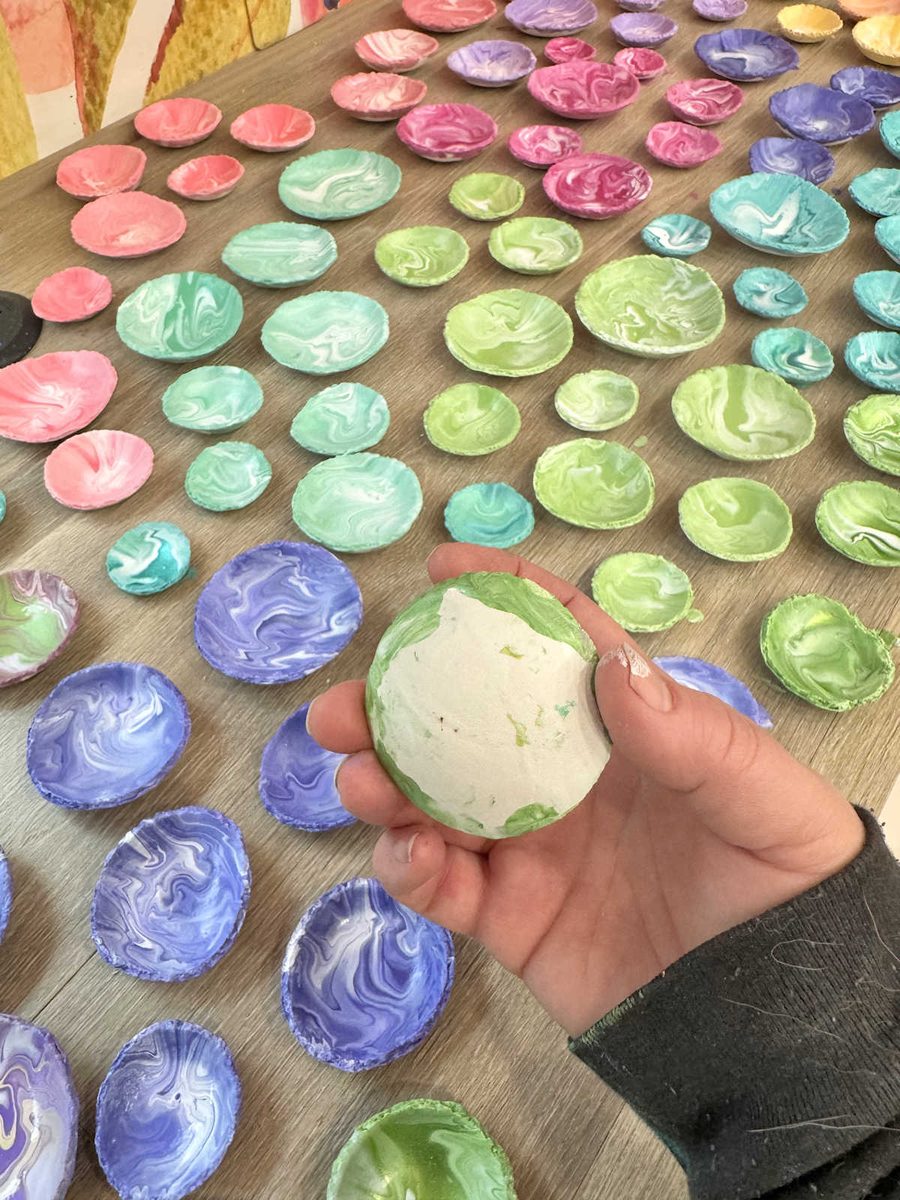
It’ll probably take another day for the paint to completely dry, so once they’re all dry, I’ll go back and paint the back of each one in a solid white.
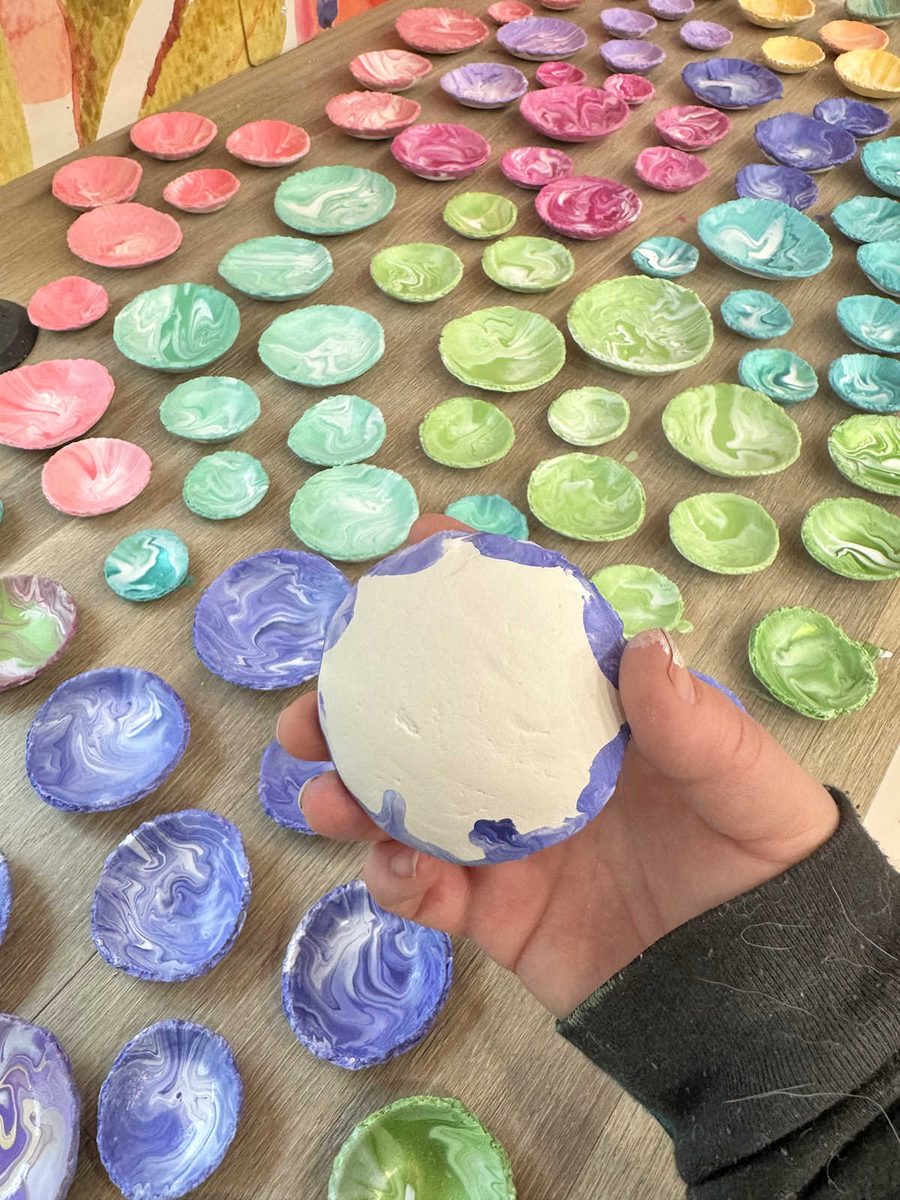
I didn’t even count how many of these I made, and it’s almost impossible to determine exactly how many I’ll need to cover one 24″ x 36″ canvas since some of them will be overlapping. It’s very possible that I’ll need to make a whole lot more for the second canvas since I need two canvases.
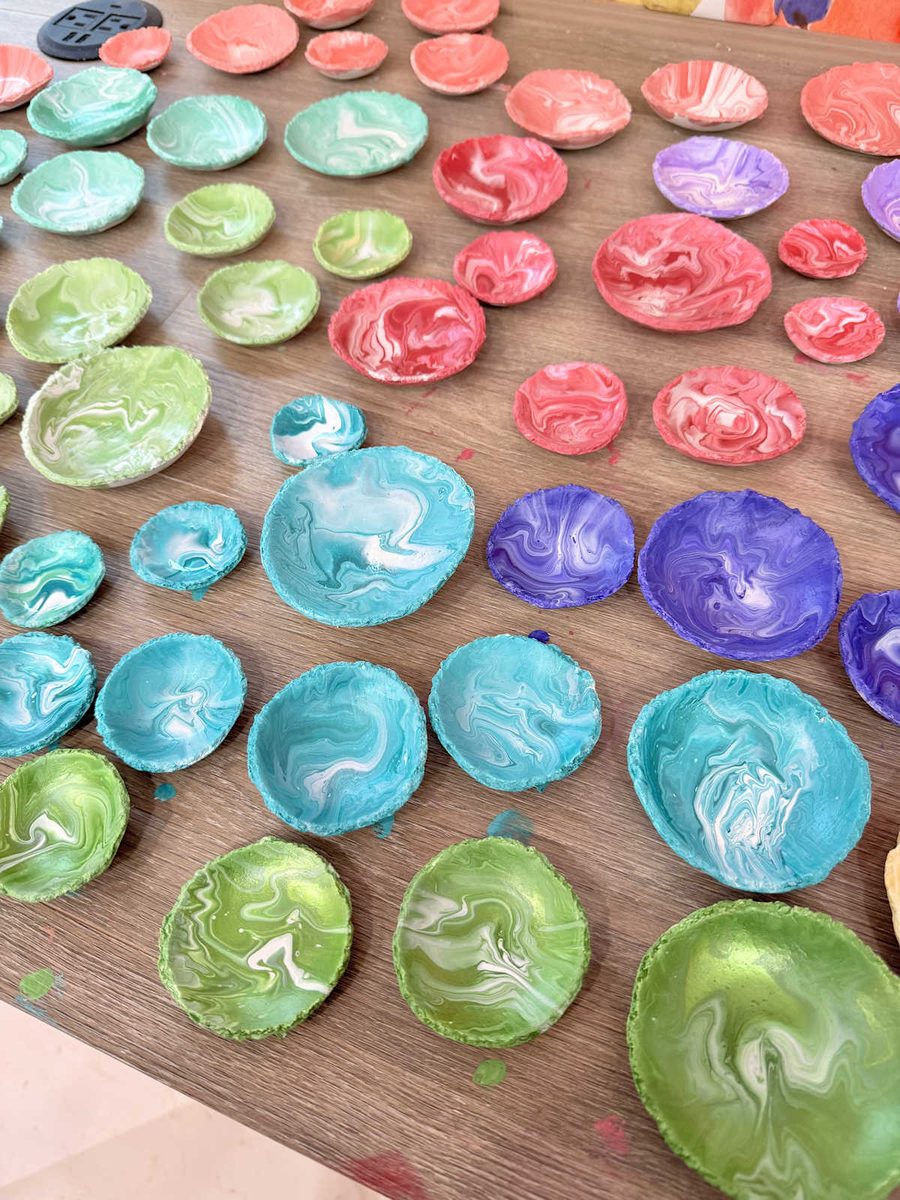
And right now, they’re all grouped together by color. I’m anxious to see what they’ll look like once they’re all arranged randomly.
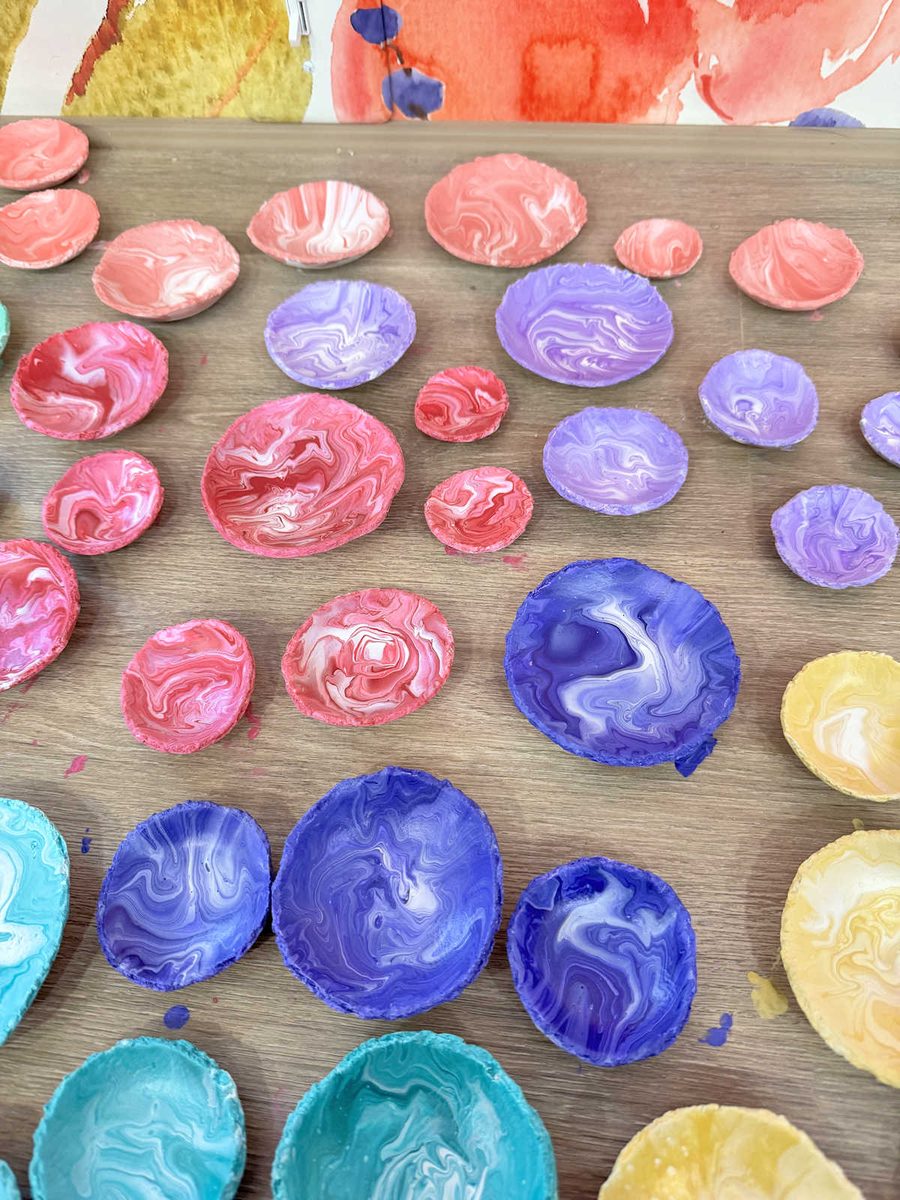
But so far, I’m really excited about how they’re turning out! It’s going to be a fun, bold, colorful piece of artwork, which is exactly what I was going for.
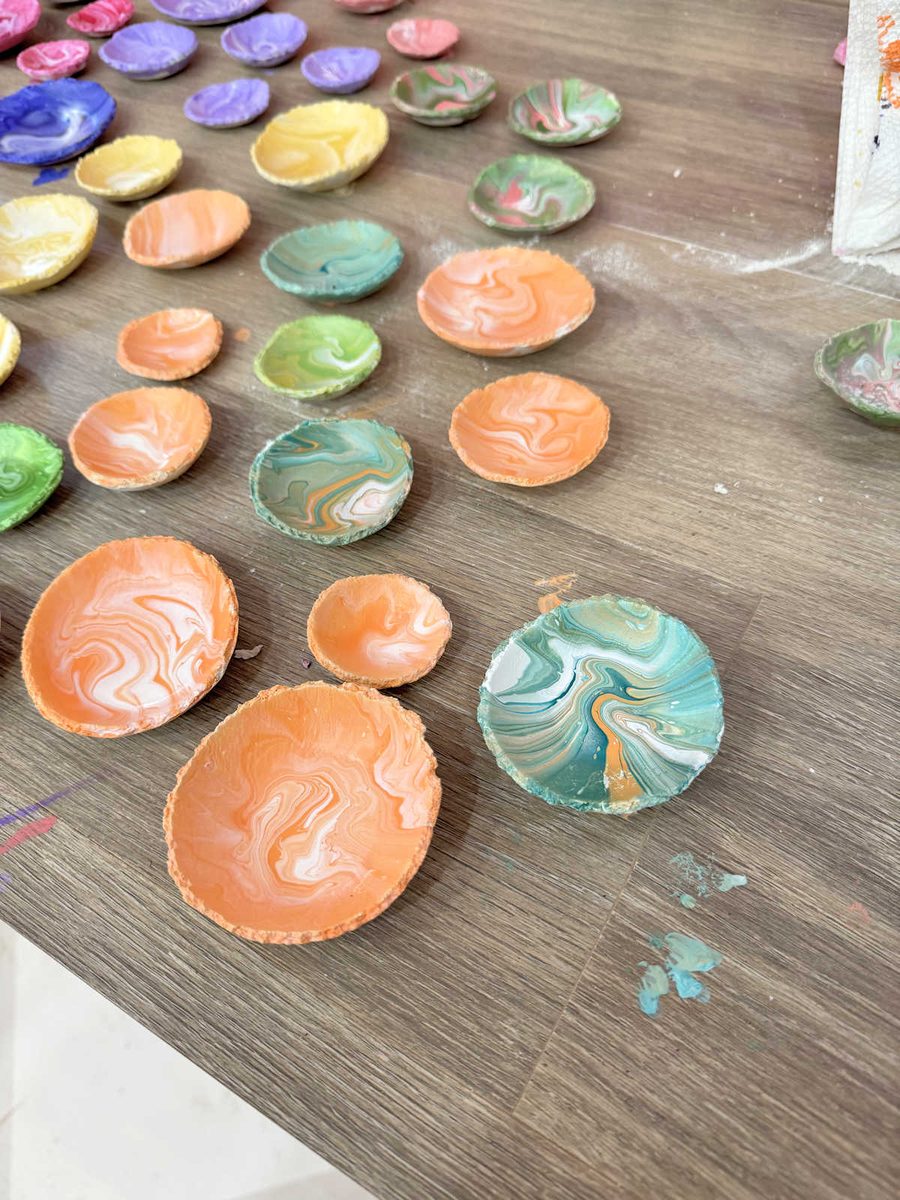
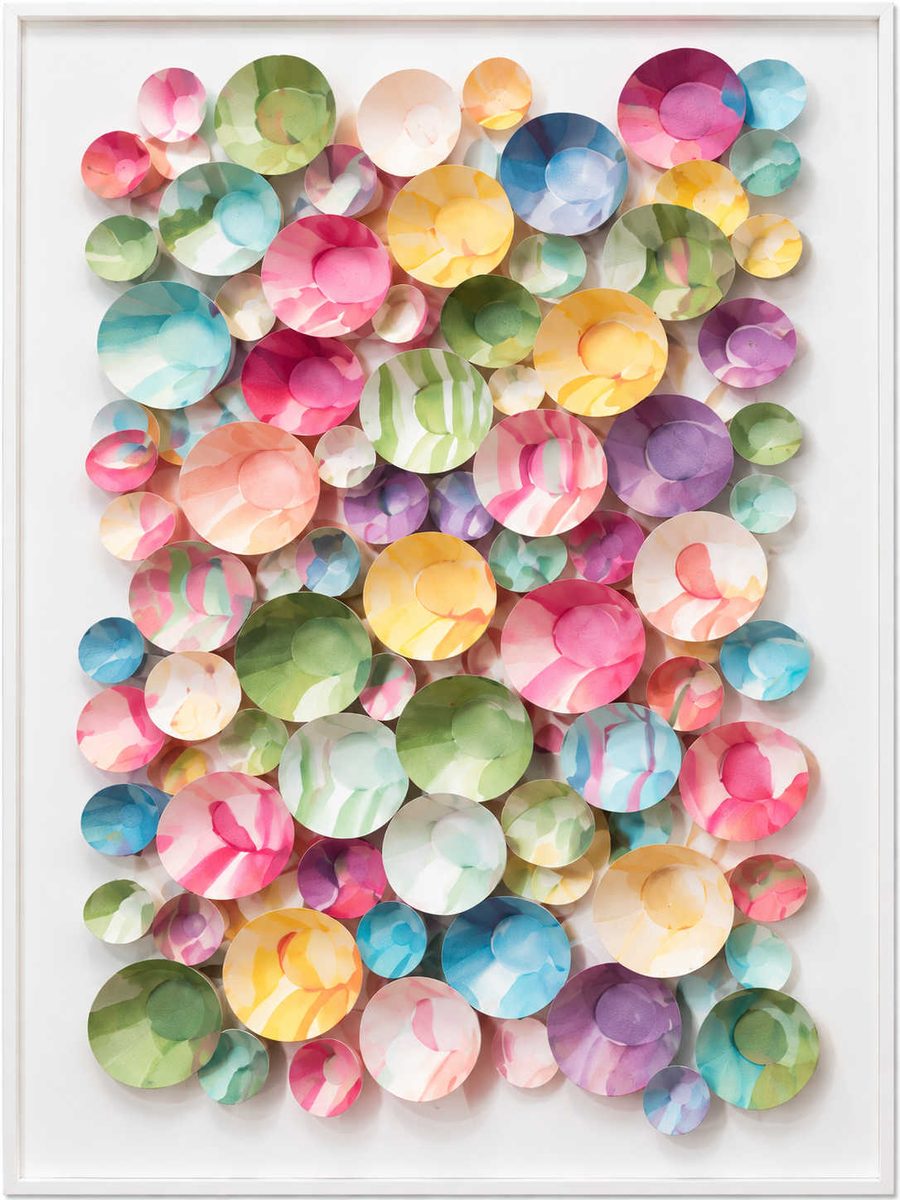
Obviously, it’s not going to look exactly like the inspiration artwork, but I didn’t really expect it to or want it to. The inspiration actually looks like bowls with flat bottoms, and I don’t really like that look. I just wanted to use this as inspiration and come up with my own twist on the idea.
Anyway, after I paint the backs white, I’m going to try the gold on the edge of a couple of them and see what that looks like. In my mind, it looks pretty. In reality, it might look great, or it might look terrible. Experimenting is the fun part.
I’ll give them another day to dry completely while I work on something else, and then I’ll come back and try to finish it up later this week. In the meantime, I have plenty of other projects I can do.
But then was a fun break from the other projects. Any day I can spend playing with paint and being creative is a good day!

Addicted 2 Decorating is where I share my DIY and decorating journey as I remodel and decorate the 1948 fixer upper that my husband, Matt, and I bought in 2013. Matt has M.S. and is unable to do physical work, so I do the majority of the work on the house by myself. You can learn more about me here.
This is going to be beautiful and you are amazing. Can’t wait to see them finished.