Custom DIY Frame For Wall-Mounted TV – Finished!
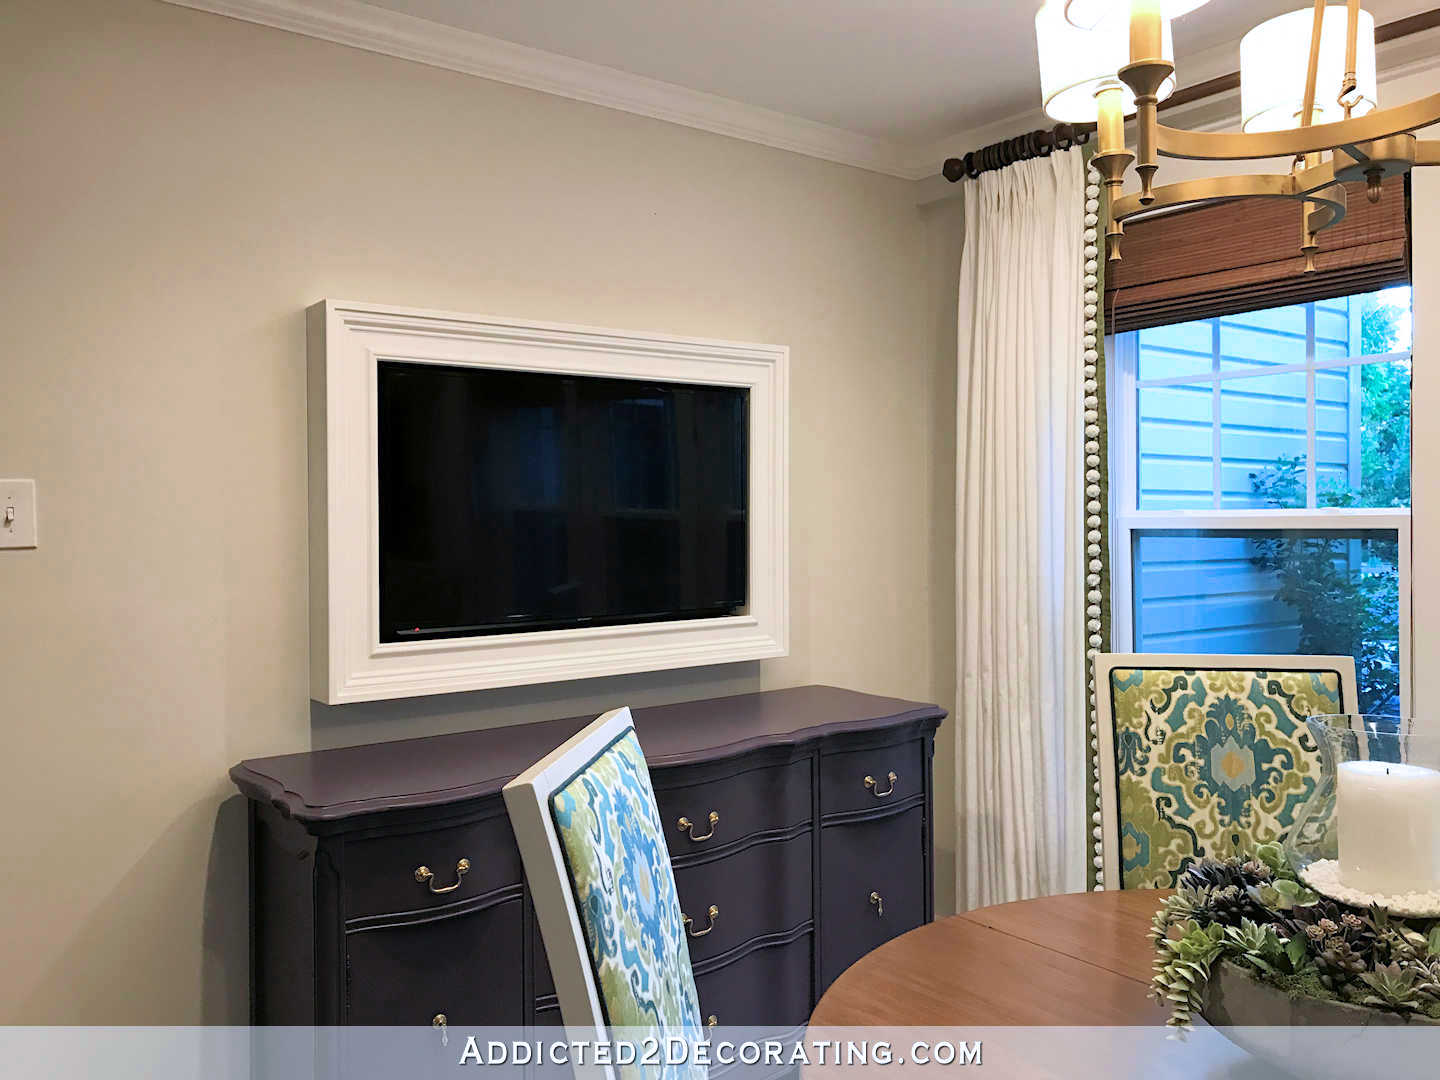
Yesterday I finished and installed my new custom frame that I built for my wall-mounted TV in the breakfast room. Here’s a quick before and after…

If you missed Part 1 of this project, you can click here to see the instructions for building this frame…
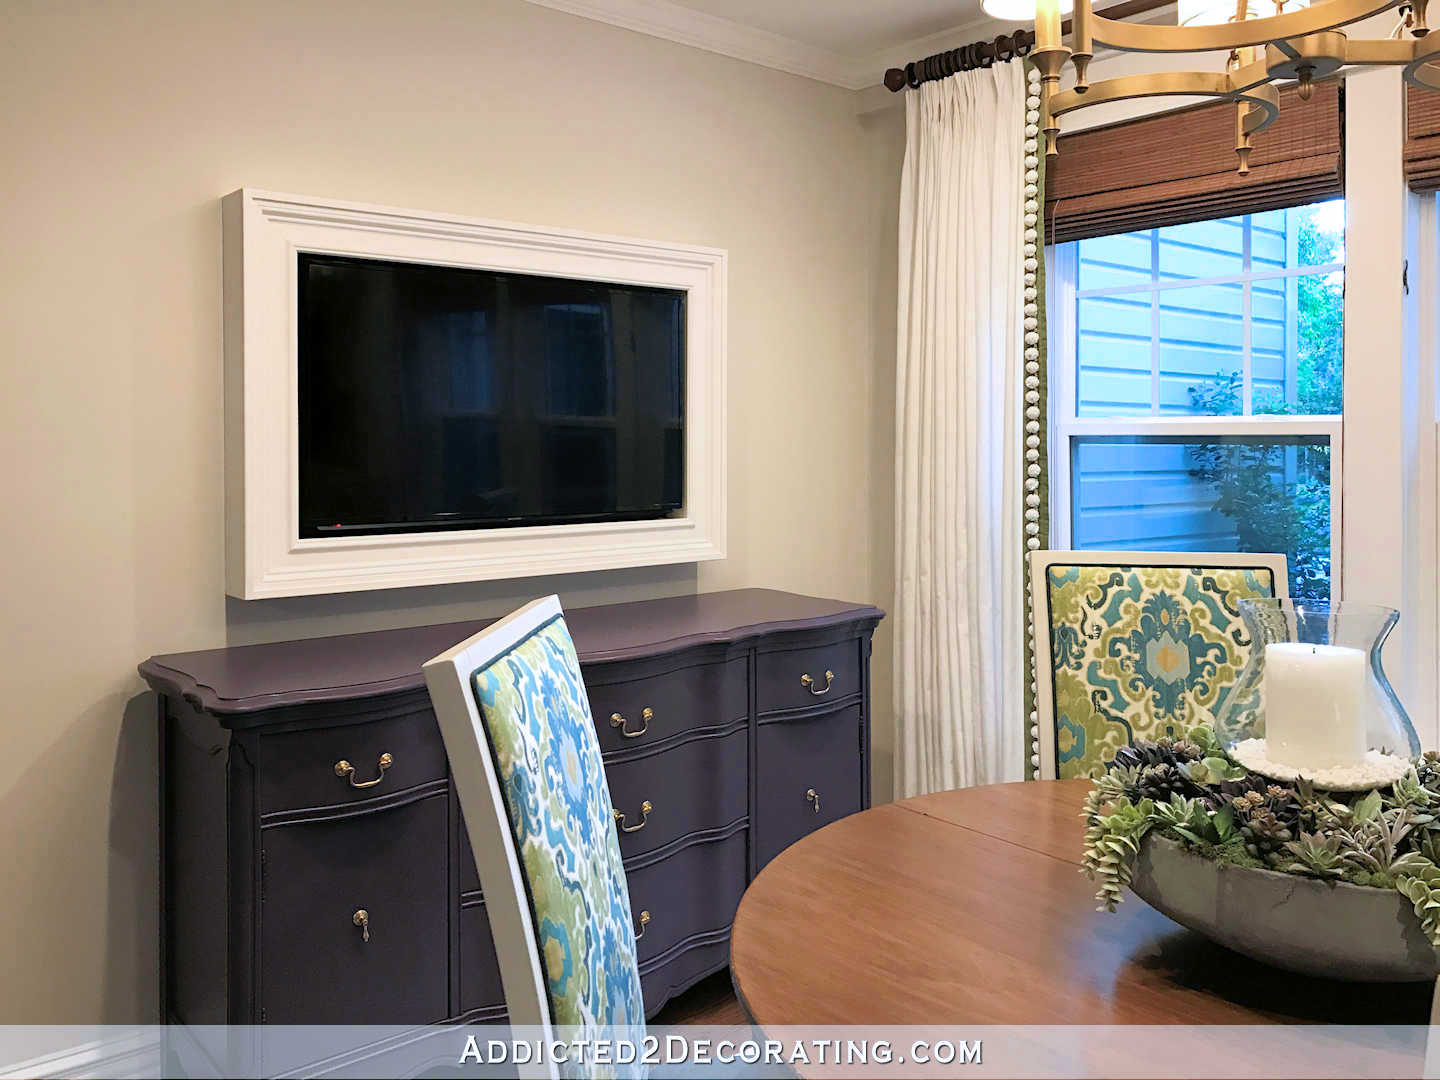
So before the frame, my TV looked like this…
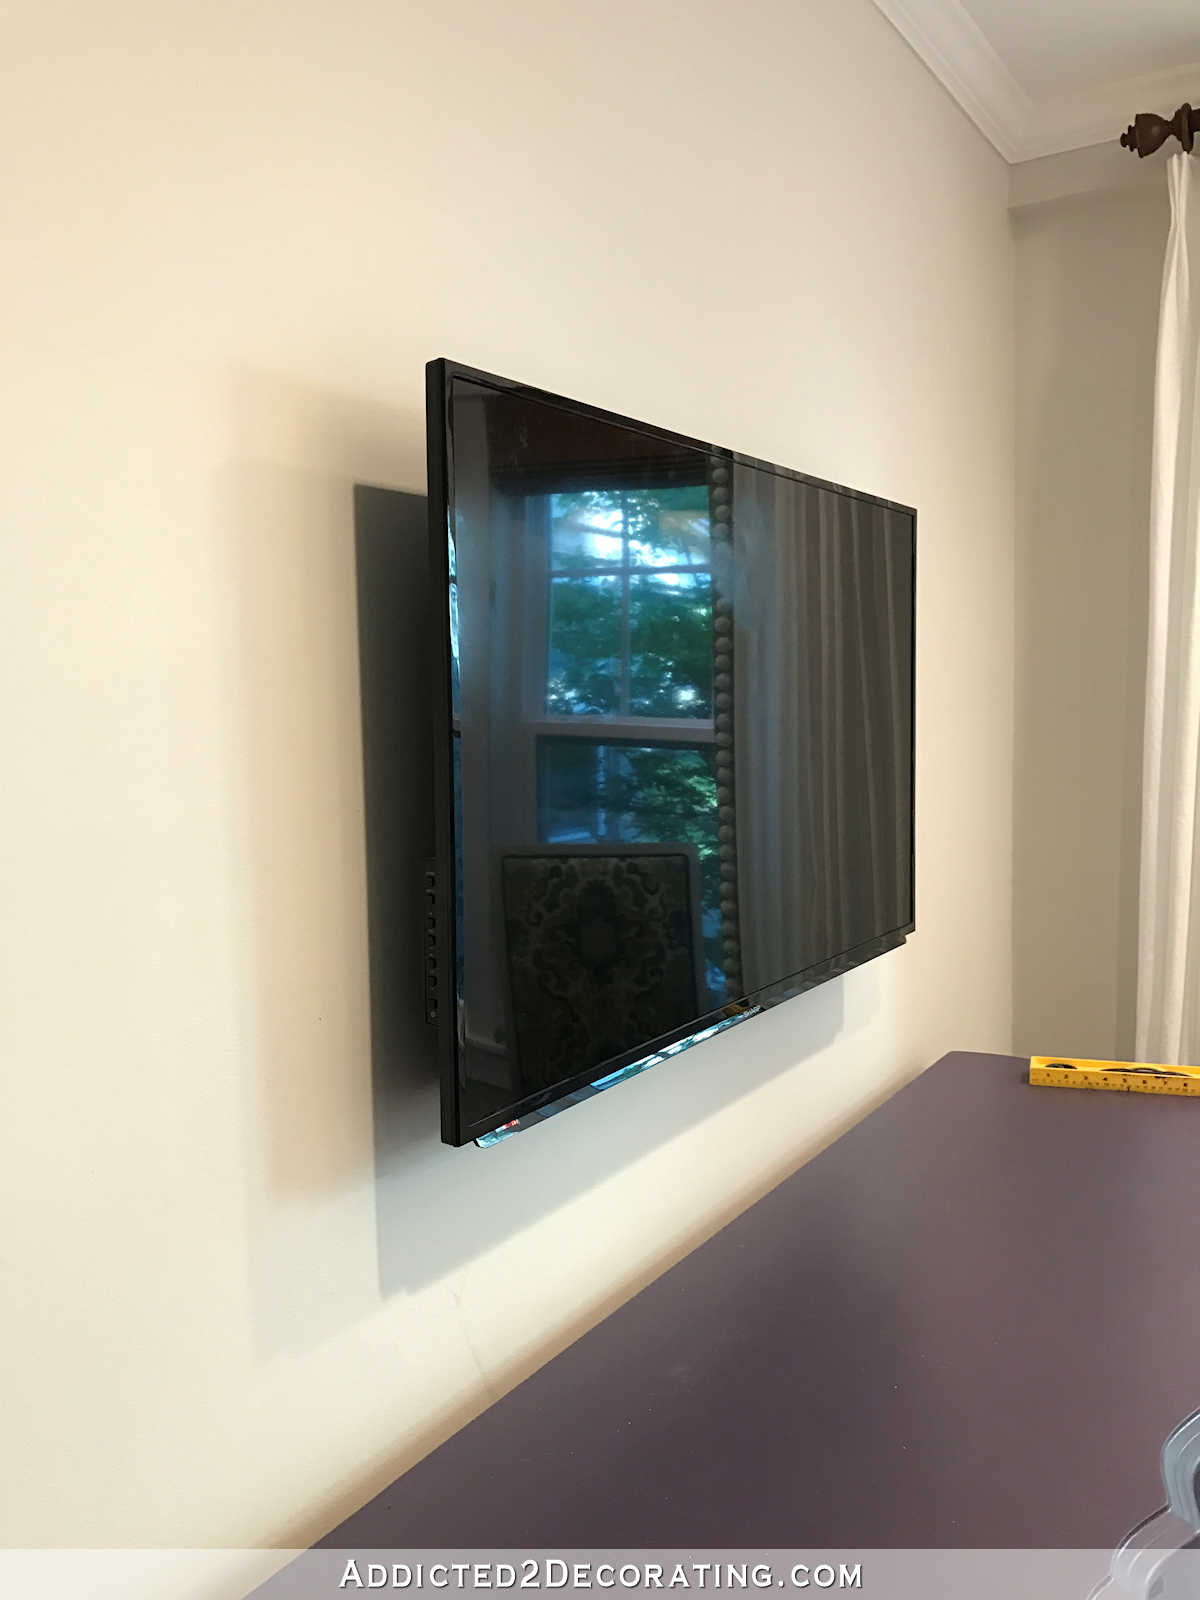
That’s pretty standard, right? It’s definitely not a pretty sight, and when entering the room through the garage door, you get a good glimpse behind the TV at all of the cords.
That’s definitely not pretty.
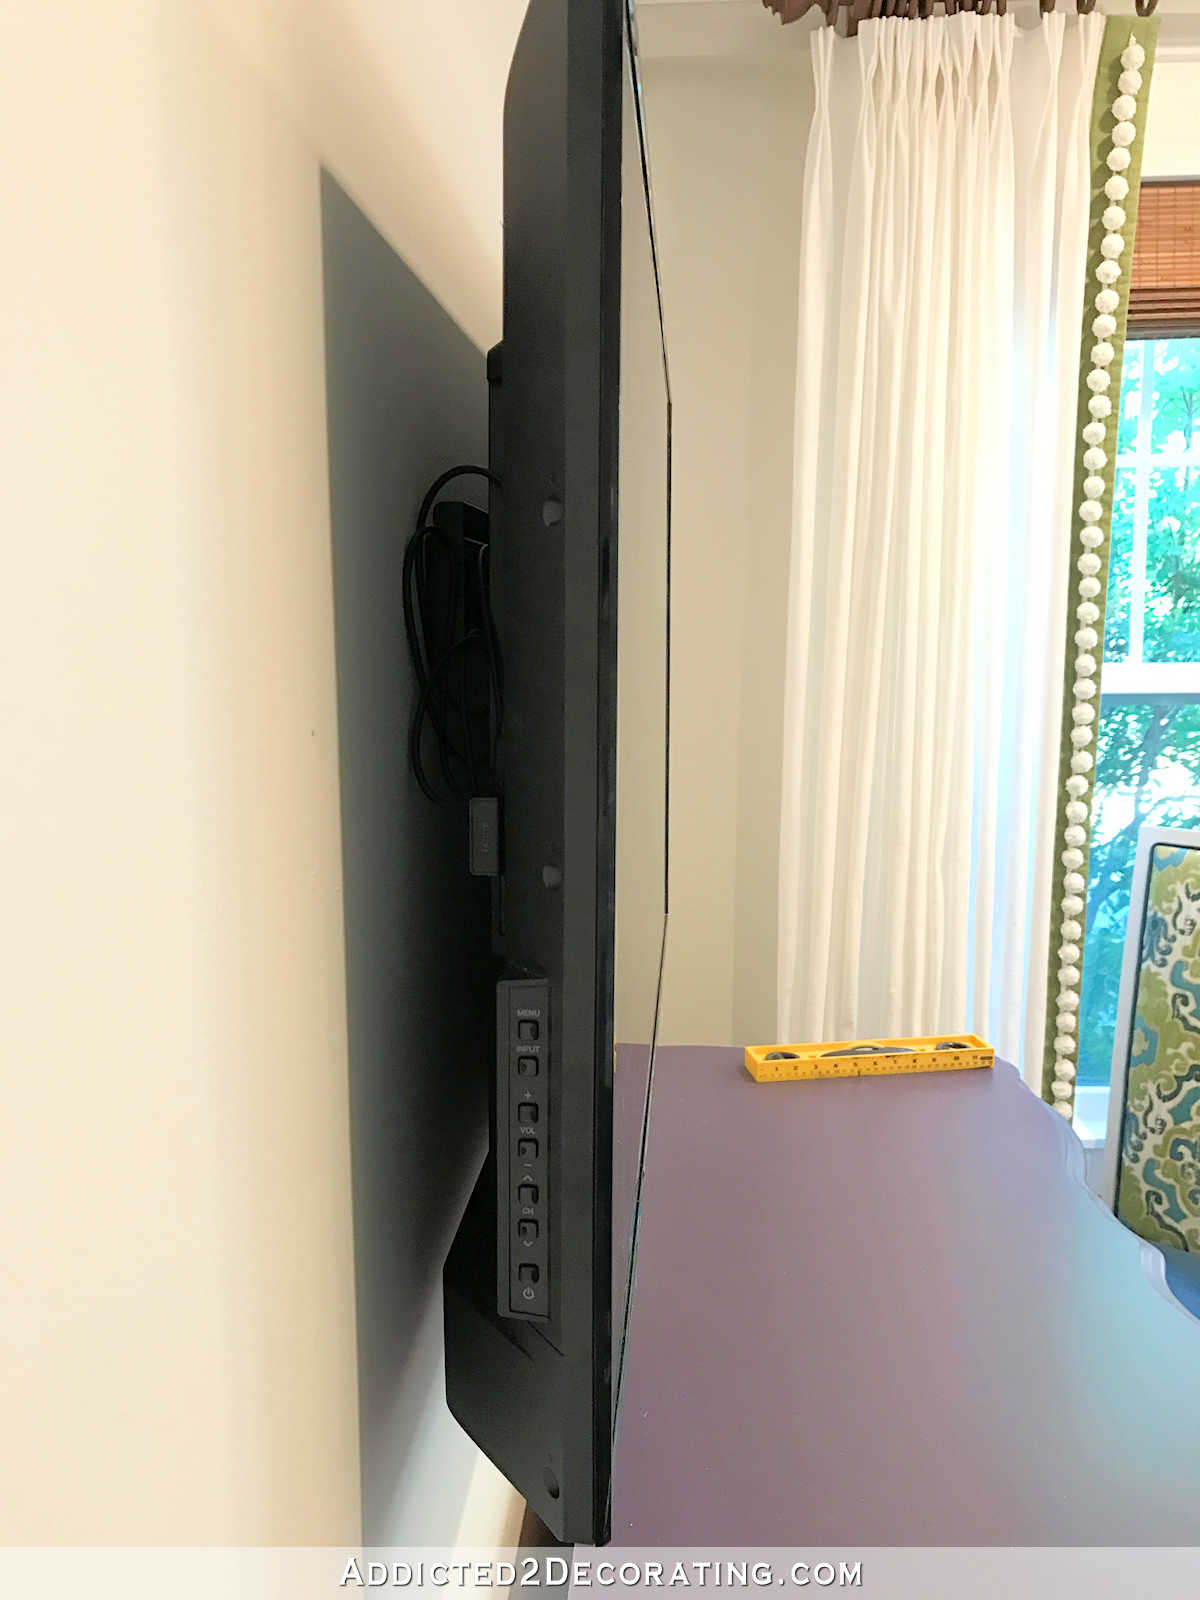
Speaking of cords, I got a lot of questions yesterday about hiding cords. But again, let me stress that hiding cords wasn’t an issue for me. My outlet and cable hookup (which isn’t currently being used, but I installed just in case I want it for later) are directly behind my TV. I don’t have to run wires down or through the wall to plug in my TV using an outlet behind the buffet. I intentionally added a plug directly behind where I knew I wanted the TV installed specifically so that I wouldn’t have to worry about hiding cords or running them through the wall. You can see them in this picture…
So to finish the frame, I just sanded everything really well, caulked all of the spaces, and then gave the frame two coats of paint, sanding with 220-grit sandpaper between coats.
To install the frame, I first measured the distance between the two spacers on the back of the frame…
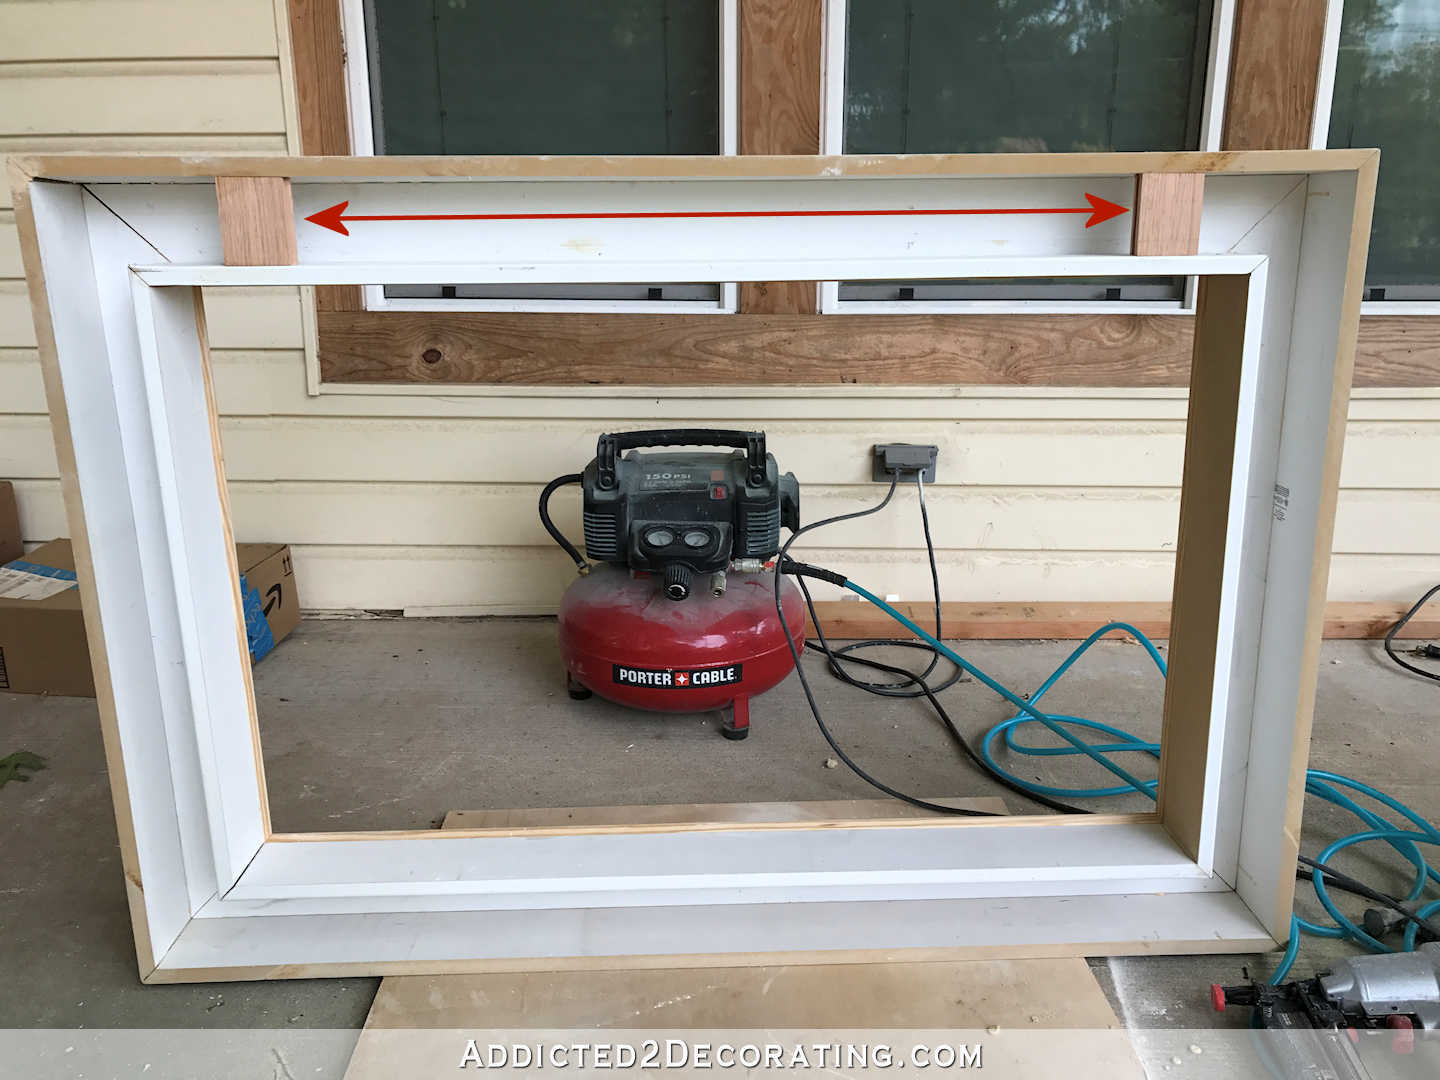
On my frame, that distance was something like 30 inches. So I cut two pieces of 1 x 3 lumber to 24 inches long to use as mounting boards. Then I determined where I needed to install these mounting boards so that the TV would be perfectly centered in the frame and the boards would sit just below and support the very top MDF board on the frame.
After determining where the board needed to go, I stacked the two mounting boards to create one single mounting board that was double the thickness. I screwed it to the wall using 3.5-inch #10 screws, making sure that one screw went into a stud, and on the other two I used plastic wall anchors to hold them securely. And since I built the frame so that it would have 3/4″ space all around the TV for ventilation and air flow, I wanted to disguise that space by painting a black border around the TV.
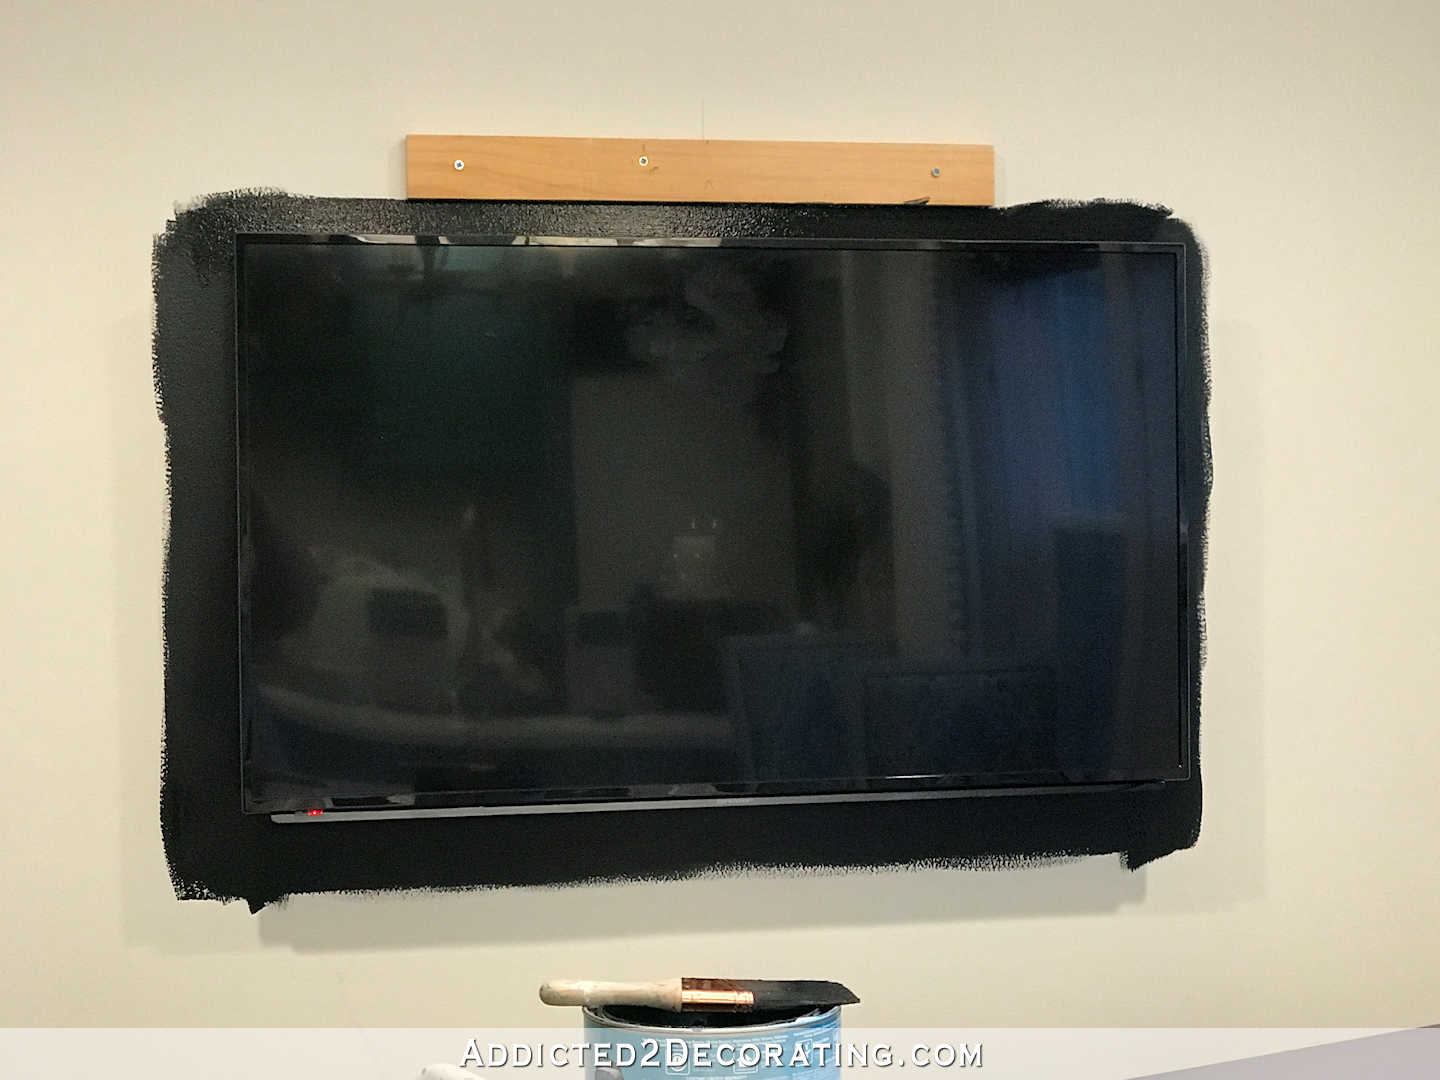
When that was dry, I just placed the frame around the TV and slid the top MDF board of the frame over the mounting boards. The weight of the frame (which is quite heavy since it’s made of MDF) holds it in place.
However, if I decide later that I need a little more assurance that it won’t slip, I’ll just predrill two holes through the top of the top MDF board and into the top edge of the mounting board, and use two screws to hold it into place. That way the frame can be easily removed by simply unscrewing two screws. And with the screws on the top of the frame, they won’t be seen.
I really like how this turned out. When my TV sits idle for a bit (i.e., if I’ve paused a show and walk away for a few minutes) it starts a slide show of nature pictures as a screensaver. It looks like artwork!
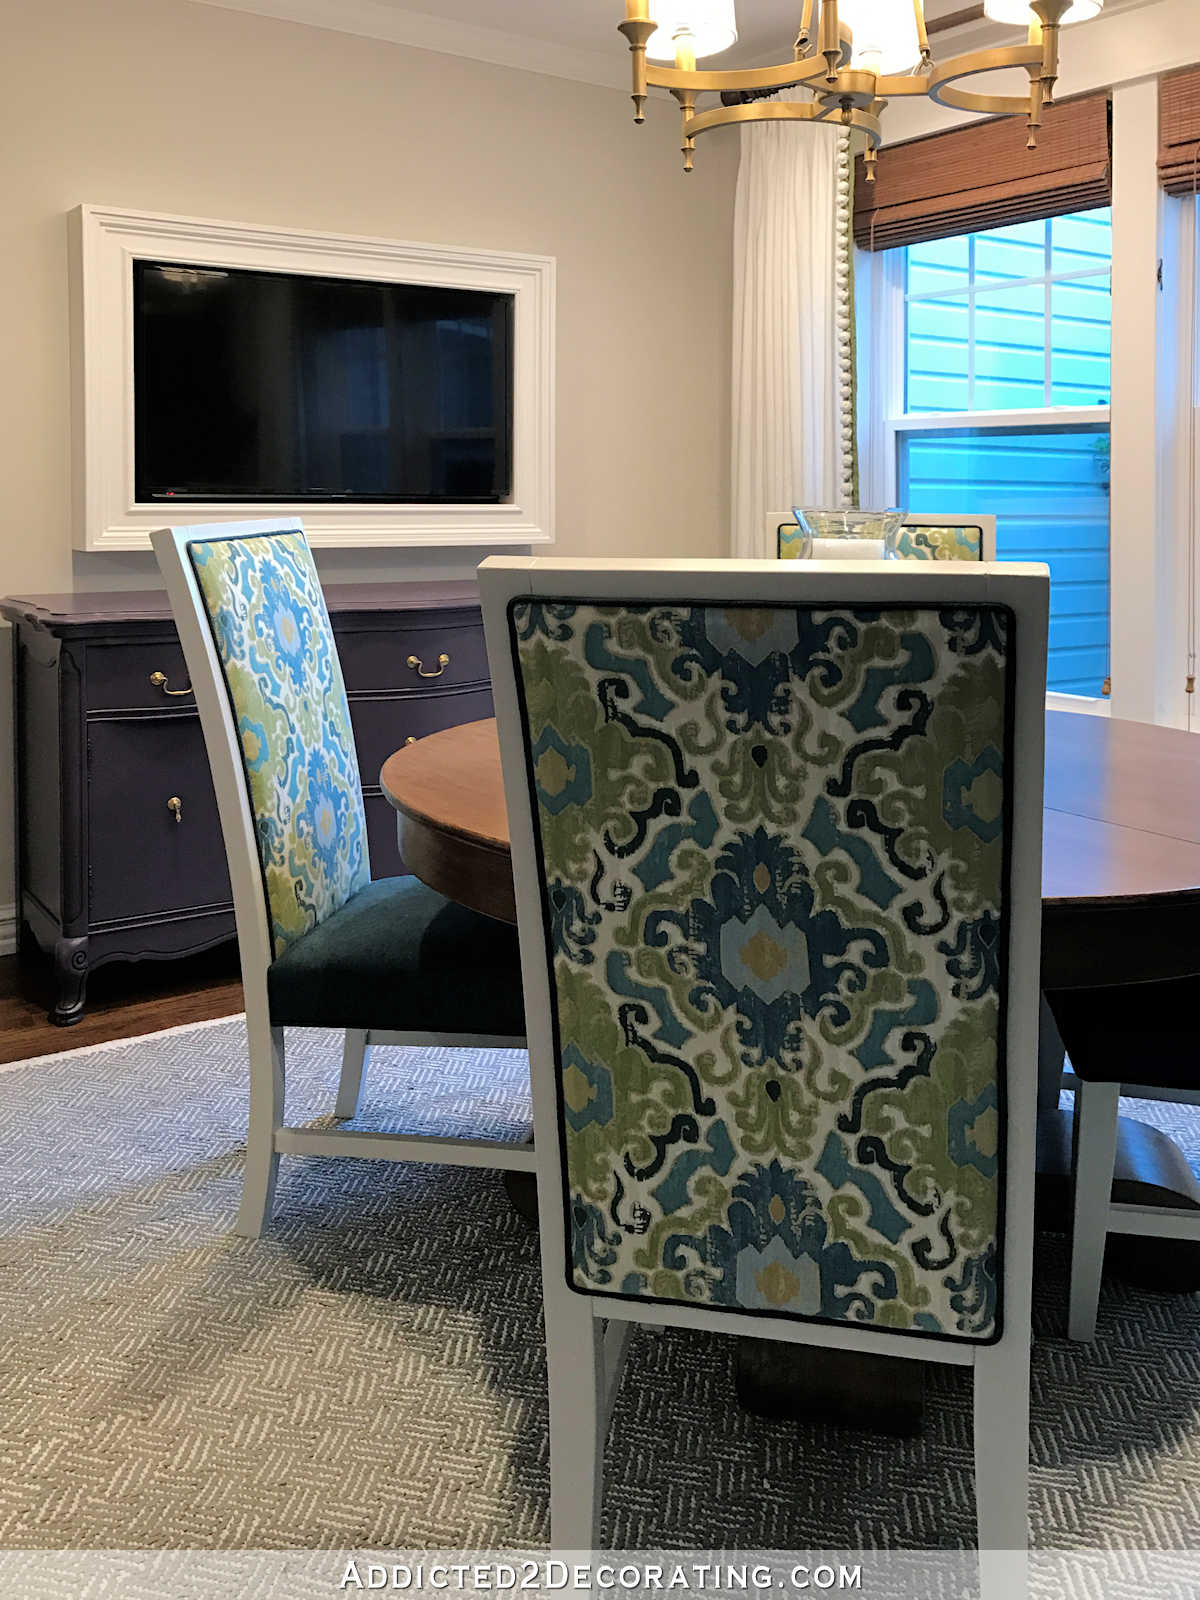
So I’m going to get out my owners manual and learn how to customize those pictures so that I can be picky about the ones that are displayed.
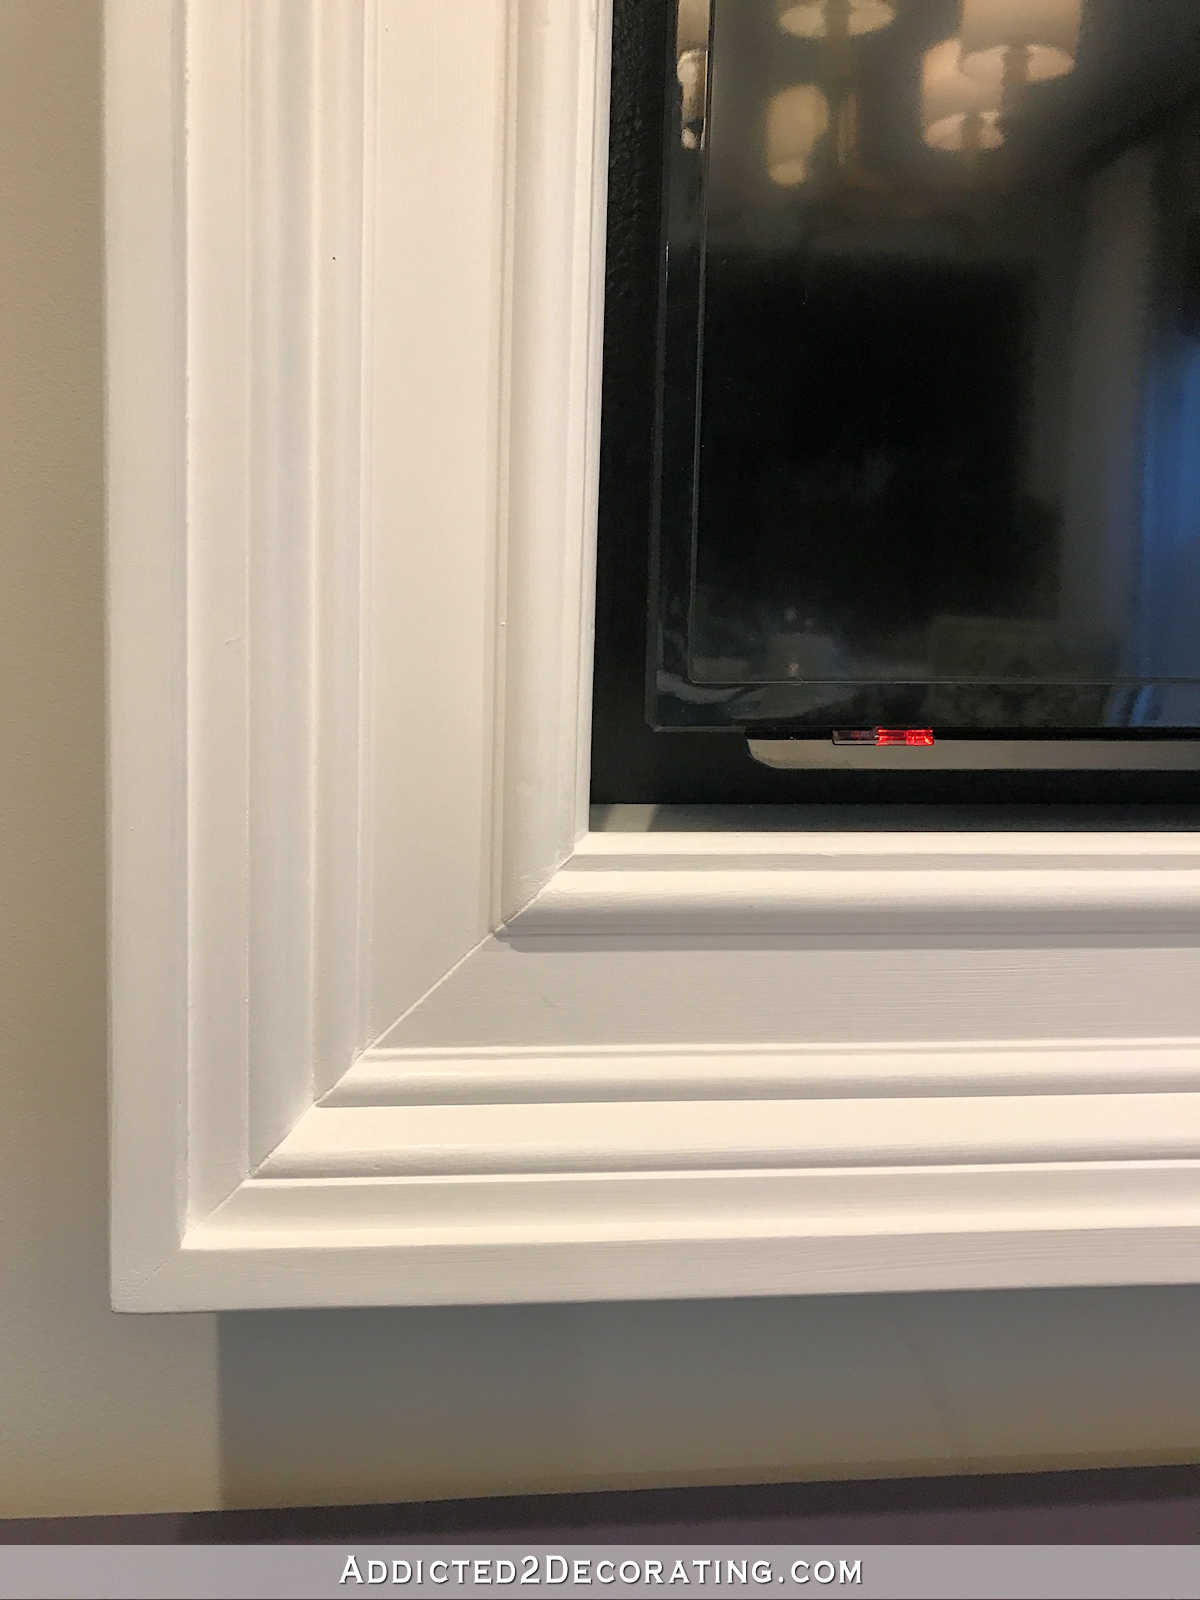
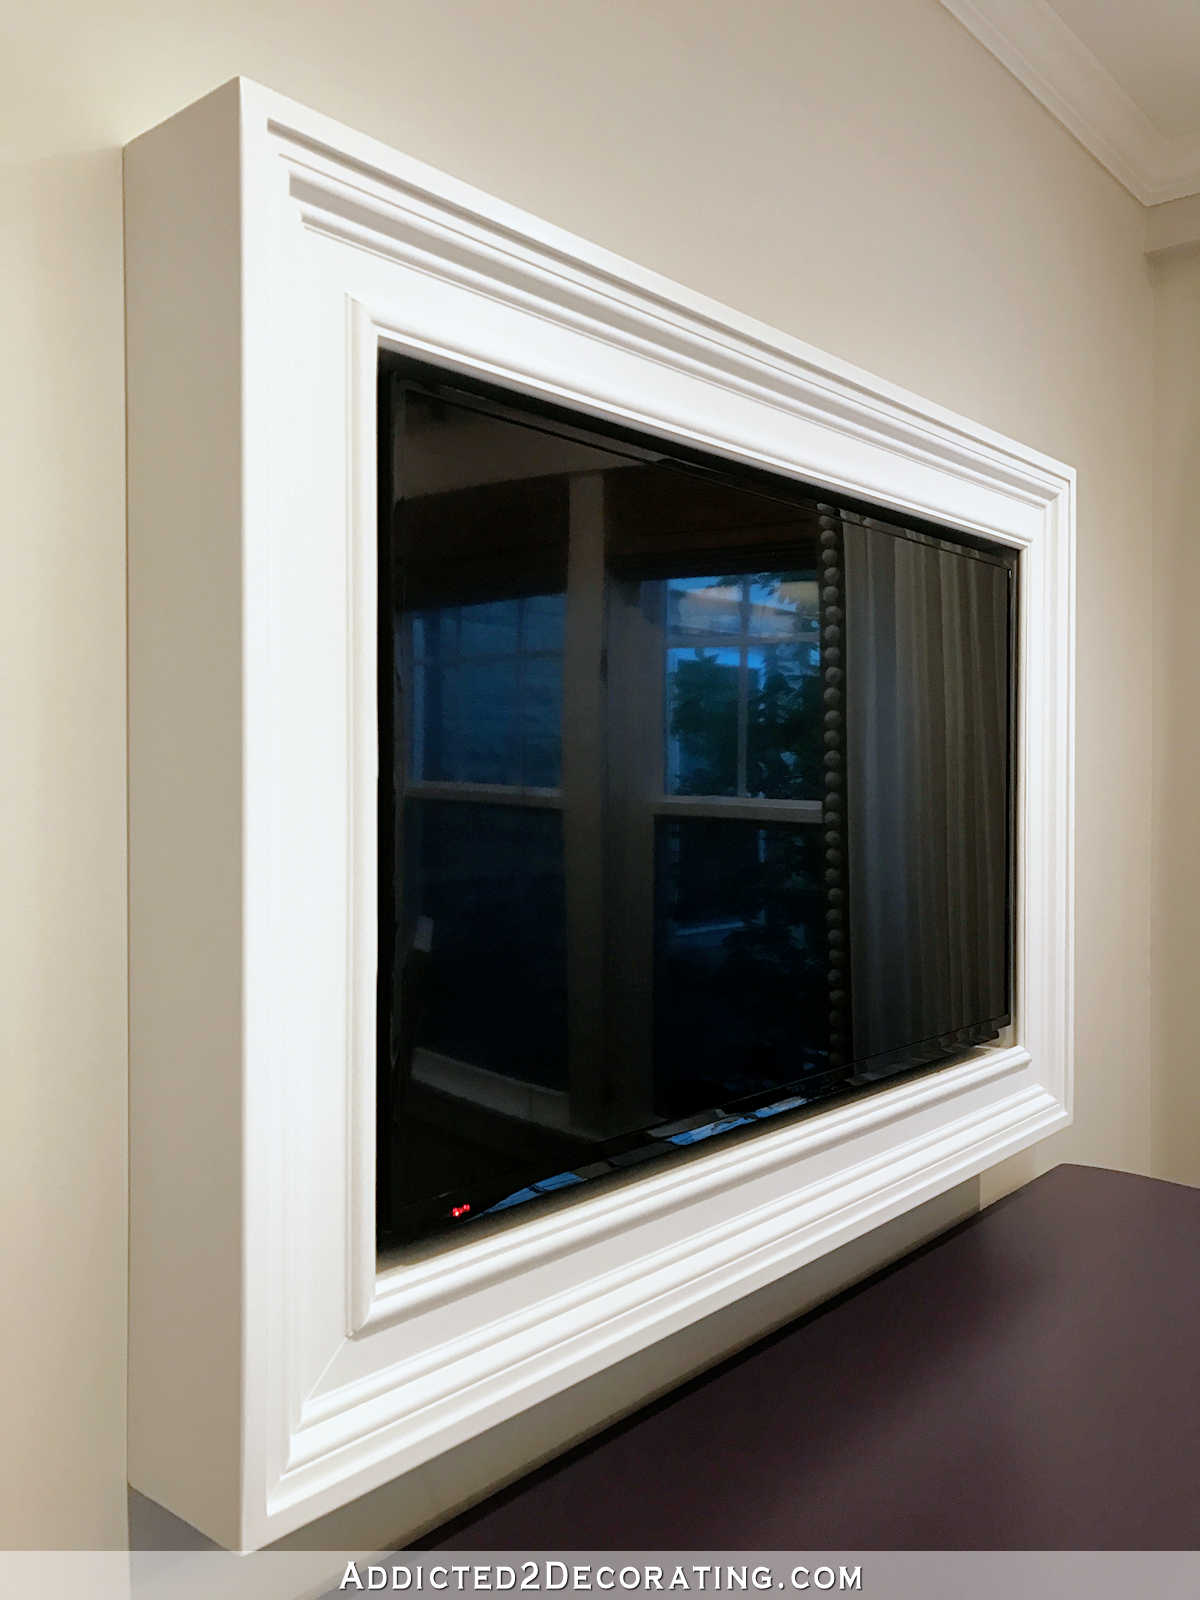
And I know the biggest question is going to be about ventilation and air circulation. I’m quite certain that my TV is getting plenty of air circulation. It’s very hard to see the space between the TV and the frame since I painted the wall black (which is exactly what I had hoped would happen), but there’s plenty of space for air flow. Last night after having the TV on for about an hour, I stuck my fingers back there to see if heat was building up back there, and the air back there was perfectly cool just like the rest of the room. Of course, if you build your own frame and you’re not comfortable with only 3/4″ space around your TV, you can always add more space.
My biggest concern was that it would somehow affect my Fire TV Stick, which is plugged into an HDMI port on the left side of the TV. But it hasn’t had any effect on it at all. It still functions just as it should.

Addicted 2 Decorating is where I share my DIY and decorating journey as I remodel and decorate the 1948 fixer upper that my husband, Matt, and I bought in 2013. Matt has M.S. and is unable to do physical work, so I do the majority of the work on the house by myself. You can learn more about me here.


That’s really beautiful!
It turned out just lovely! I bet it looks great with the pictures displayed, too. Great project!!!
Boy, this is sharp! I just love it!
That’s exactly what I just said out loud: “Man, that’s sharp!” Loooove it!!
It’s another awesome creation from Kristi! I never would have thought to paint that area black so it wouldn’t show the gap! Smart thinking!
Hurrah! It’s lovely. The room looks great.
That looks awesome Kristi!! Great job!!
What an expensive looking touch! It looks FANTASTIC!!! Love it!!
Love the white!!!
Looks fantastic! Plus, since tvs are known dust magnets, you now have the added bonus of not having to dust as often behind the tv. Win-win!
Love your renovations! One question about the TV frame –Can you still pull the tv out from the wall on its mount? I need to be able to swivel my tv for viewing at various angles.
My TV is on a stationary low profile mount. But yes, this will work with a wall mount that pulls out and angles. Since there’s a 3/4″ gap between the TV and the frame, you can easily grab the TV, pull it out, angle it, etc. Then when you’re done, just push it back into the frame.
LOVE! I plan on adding a built-in entertainment center for our TV and I think I may hang our TV with a frame like this rather than sit on the cabinets. This is beautiful 🙂
looks absolutely fantastic!! the room is coming together and i love every bit of it 😉
Very cool! Another great idea to keep in mind for when we get around to that part of our own renos.
So nice! You never disappoint and always inspire.
You are one smart cookie…!!! I love how you planned out the t.v connection and plug before hand.. I hate all those darn cords myself..!! Looks FANTASTIC….!!!!!
Beautiful!
This room is looking so beautiful with every change that you make. You are a super achiever. I am always waiting to see what else you will do.
Wow! Looks fantastic! Thanks for sharing all the great little details like painting wall black and all the building details!
What a stunning addition to the room. Great work as usual
Wow, love those drapes/curtains/panels. Fab job on the frame. Strictly my opinion, but it seems the molding chosen for the frame is wider and more ornate than your crown; to my eye it would look better a bit narrower and a bit less ornate than the crown. But you have mad skillz.
Meh, everyone has their own opinions. Mine is that this frame is outstanding. Really, crown moulding is crown moulding, the TV frame is a frame (really, a picture frame of sorts) — they really aren’t to be compared against each other, and the design style of one does not need to inform the other. There are millions of rooms the world over with ornate crown moulding which contain pictures with modestly detailed frames; conversely, there are millions of spaces the world over with mild to moderately detailed crown moulding that also contain heavily ornate picture frames within the room. There’s no rule that says crown or other moulding must be more ornate than any picture frame moulding in a room.
Kristi, the TV frame is perfection! I love how detailed it is, it looks like a very expensive picture frame. The white is perfect, and looks lovely in the room. It must look really nice with a picture on the screen — the black banding of the TV frame must look like another level of frame moulding, which is a detail often seen in stately picture frames. I really like that the frame is quite low profile compared to others I’ve seen. Nicely done, as always!
I am SO impressed with this project, it’s the BEST “big TV” solution I’ve ever seen!!!
Looks great! I have seen some TV’s programmed to have famous works of art on the screen when not in use. I don’t know how that works, but thought I’d mention it- might be fun, and you could change the art as often as you want!
Wow, that looks fantastic!!!
That looks great!
Nicely done!
If it ever does seem like the TV isn’t getting enough airflow, you could always drill some ventilation holes in the top of the frame. They’d be invisible to anyone not standing on a ladder!
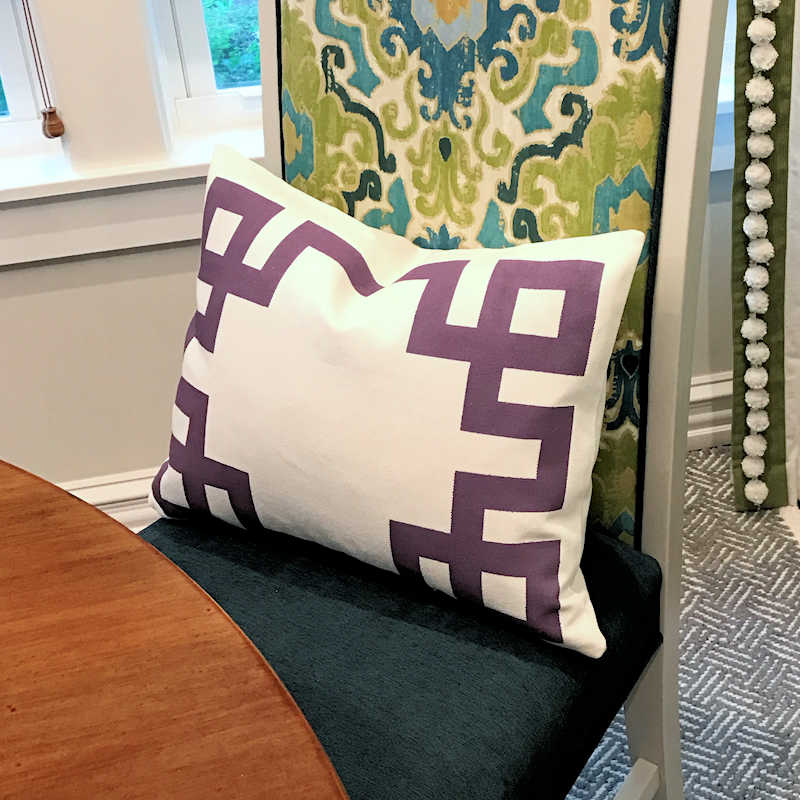
And I hadn’t commented before, but love how this room is turning out – especially like the chairs. Decorative without being overwhelming. Lovely.
Looks great! Do you plan on styling the top of your buffet or leave as is? We made the mistake of hanging our mirror too low when we were waiting on our sideboard to be delivered (UGH)so we had to uninstall our heavy thrifty awesome mirror to accommodate my framed artwork – blah. Oh well, we lived and learned 🙂
I’ll put something on the buffet, but not too much.
Yay for quick and (relatively) easy projects! It looks really good!
Wow, it looks fantastic. Awesome job Kristi.
I like it, Kristi! Your solution is awesome because it’s so low profile. I DIYed a media cabinet (with crazy decoupage!) recently because I too don’t like seeing bare TVs out in the open.
http://quirk-shop.com/portfolio/1423/
Great job! I love the mix of colors and patterns.
What a beautiful room!! Congratulations – I know this room will be a sanctuary for you. You work so hard and it shows! I’d love to see a wide view of the whole room.
I wonder if this will make it overheat?? Did you drill some holes top and bottom?
No, I didn’t drill holes. I addressed the air circulation/ventilation issue pretty thoroughly in the post.
Gah! That’s what I get for scrolling!
It turned out great!!
I love this. I want to do this with our TV now.
It looks fabulous Kristi!!!!
I love how this came out. It looks great.
This is spectacular! Your execution was perfect and you really thought of every detail. The black paint was nothing short of genius.
love love love it
Came out awesome!
Yes, Kristi. Just YES!!!!!! Awesome job!
That’s an absolutely fabulous idea for mounting a flat screen TV. Thank you so much for sharing! I do have a question though- how heavy is the frame once it’s completed? I’ve had issues with weaker walls in the past, and while a flat screen may be OK by itself or a light frame, one made with heavy wood may be a bit too much.
I’m not sure how heavy it is, but I do know it weighs more than my TV. But my TV is pretty light. If you want the frame to weigh as little as possible, then I suggest using real lumber for the construction rather than MDF boards. MDF weighs more than real solid wood lumber.
I love this and want to do this for our bedroom. Thanks for sharing this project. It’s beautiful and hope mine turns out as good as yours.
I just love it. This look amazing, so neat & clean. Nice job. Thanks for sharing the blog.
Looks awesome. Did the frame affect your sound from the tv? Our tv speakers are in the back of the tv, pointed at the wall. I am concerned about the sound being muffled. Thanks!
I haven’t noticed an effect on the sound.
looks great. did you consider using 2 way mirror glass in your frame so that when the tv is off it looks like a mirror?
I considered it right up until I saw the price of that type of glass. 🙂
What about venting out the heat? drill some holes on the top and bottom else it will impact the life of your TV
From the post:
“And I know the biggest question is going to be about ventilation and air circulation. I’m quite certain that my TV is getting plenty of air circulation. It’s very hard to see the space between the TV and the frame since I painted the wall black (which is exactly what I had hoped would happen), but there’s plenty of space for air flow. Last night after having the TV on for about an hour, I stuck my fingers back there to see if heat was building up back there, and the air back there was perfectly cool just like the rest of the room. Of course, if you build your own frame and you’re not comfortable with only 3/4″ space around your TV, you can always add more space.”
There’s ZERO heat buildup behind my frame with a 3/4″ gap all the way around the TV. No need at all for air holes.
That looks absolutely amazing! I own a Decovue Frame TV from the brand Evervue and this looks exactly alike! Perfect for DIYers on a budget 🙂
Every time I google a solution to one of my decorating issues (pony wall column, red oak wood floor color, and now tv frame), it takes me to your blog and I’m so glad!!! You have such innovative diy ideas and beautiful design. Thank you for sharing it with all of us!
The moment I saw the template of before and after, I was like “This is so beautiful and amazing! The way you hide the wires behind the mount is just sharp. It’s an awesome creation from you, Kristi. Well done for your project, you must go interior designing profession. Painting the area with black to cover up gaps. Superb!!!
I love it, simple great innovation and thank you for sharing with us all. I may use the idea for my TV in the living room
Hi Kristi,
I could have sworn that you mentioned the TV mounting hardware you prefer, but I’m unable to find it in your posts. Could you share that info?
Thank you!
WOW! I love that you shared this project. I’m not sure I can do this but I’m going to try!