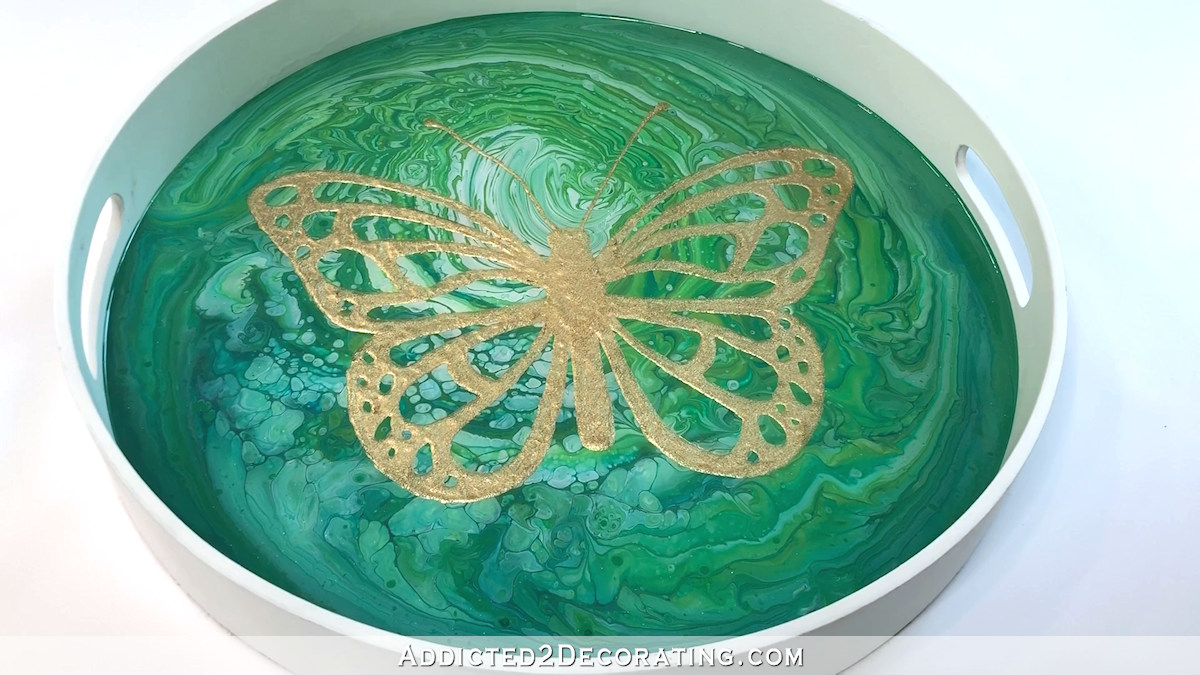
DIY Acrylic, Gold Leaf and Resin Serving Tray [VIDEO]
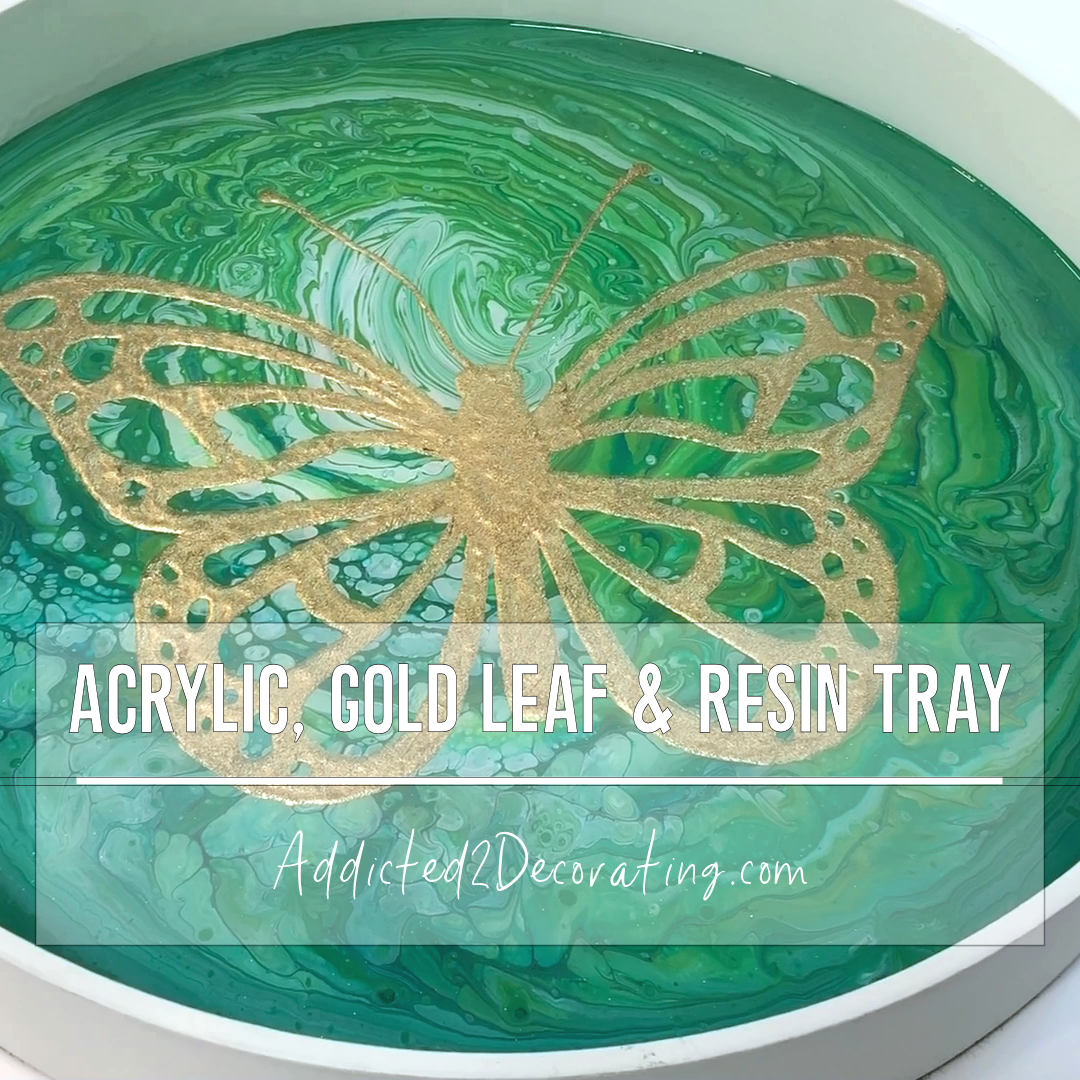
I’ve officially completed my first art project (and video!) in my studio using my new, awesome work table. Y’all, I’m going to have so much fun in there creating projects and videos to share with you. For now, I’m in the mood to do some easy and artistic projects, but the building, sewing and upholstery projects will be coming in the future, so if those are the things you’re interested in, stay tuned!
But for today, I want to show you how I turned a simple serving tray (that I found on sale at JoAnn Fabrics) into a function piece of artwork using acrylic paints, gold leaf, and resin.
Here’s what you’ll need for this project:
- Serving tray – you can use either metal or wood
- Acrylic paints in your choice of colors – I used six colors of craft acrylic paints and art acrylic paints
- Floetrol
- Water
- Mixing cups/jars
- Stir sticks
- Gloves
- Propane torch (or some people use butane)
- Water-based clear coat (I prefer General Finishes High Performance Topcoat)
- Pattern or stencil for design
- Painters tape
- Permanent fine point felt tip pen
- Extra thick adhesive size
- Fineline applicator bottle
- Gold leaf
- Stiff bristle brush
- Vacuum/Shop vac
- Resin (I use ArtResin)
- Mixing cup and measuring cup for resin
- Stir stick or spatula to spread resin
- Glitter (optional)
Step 1: Mix and pour acrylic paints
I used both art acrylics and craft acrylic paints on this project, with a total of six colors in blues, teals, greens and white. I found that the craft paints were the right consistency mixed in a 1:1 ratio with Floetrol, but the art acrylics were a bit thicker, so I mixed those 1:1 with Floetrol and then added a bit of water.
Then I poured my six colors into a jar, just a bit at a time to “layer” the colors together, and then poured the paint onto the bottom of the serving tray.
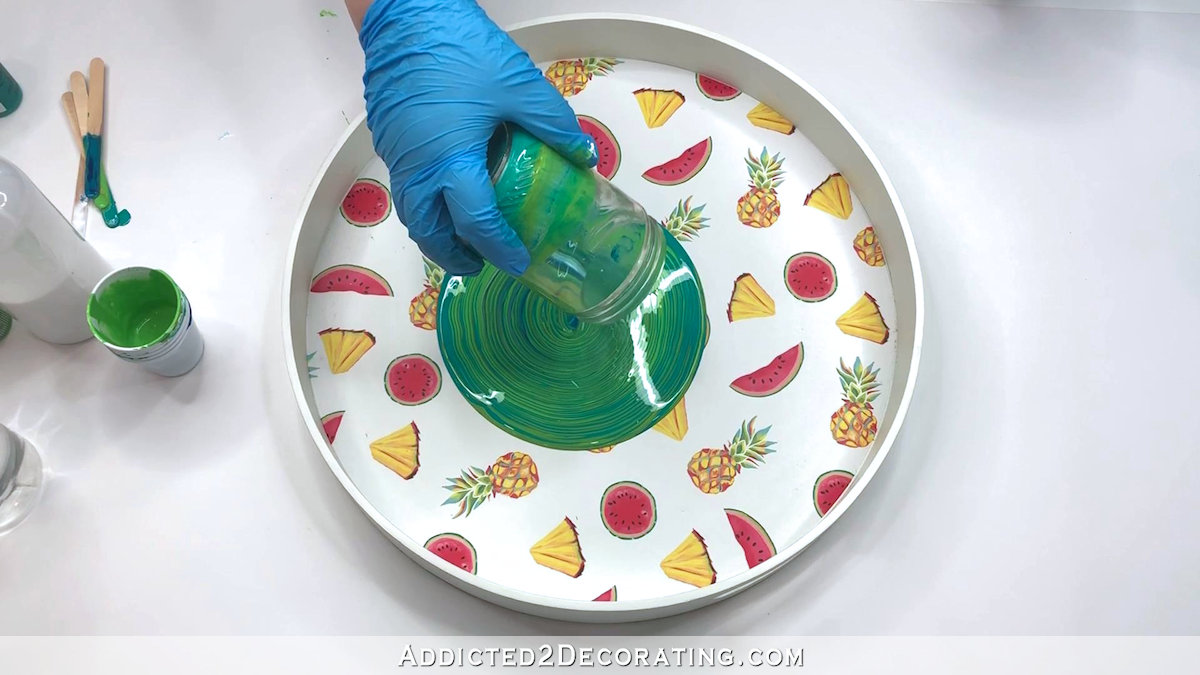
After moving the tray around to swirl the paint and cover the entire bottom of the tray, I used my propane torch to remove any air bubbles that were trapped in the paint.

Then I set the tray aside for about 24 hours to let it dry completely.
Step 2: Clear coat the acrylic
When the paint was completely dry, I added a water-based clear coat on top of the paint. And of course, my go-to clear coat for just about everything (from kitchen cabinets to art projects) is General Finishes High Performance Topcoat. This stuff is amazing, and I always have it on hand. My favorite is the flat finish.
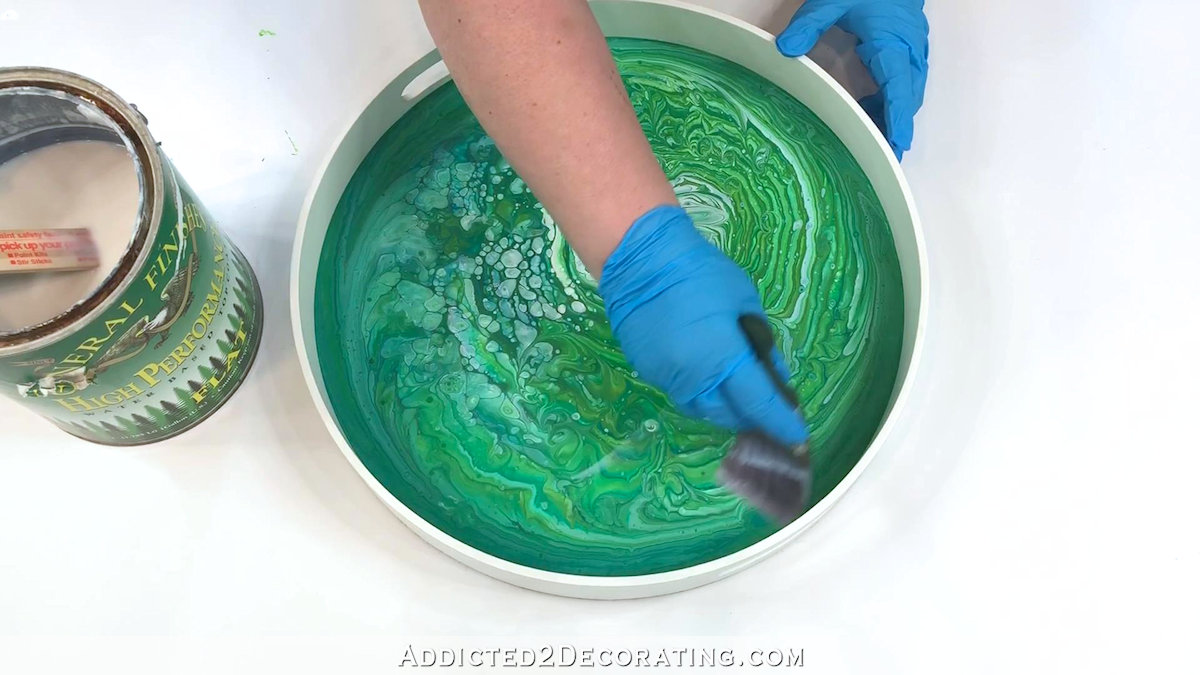
This dries very quickly and was actually ready to go in about 30 minutes. But it took longer than that for me to create my pattern for the butterfly design.
Step 3: Make the pattern for the design
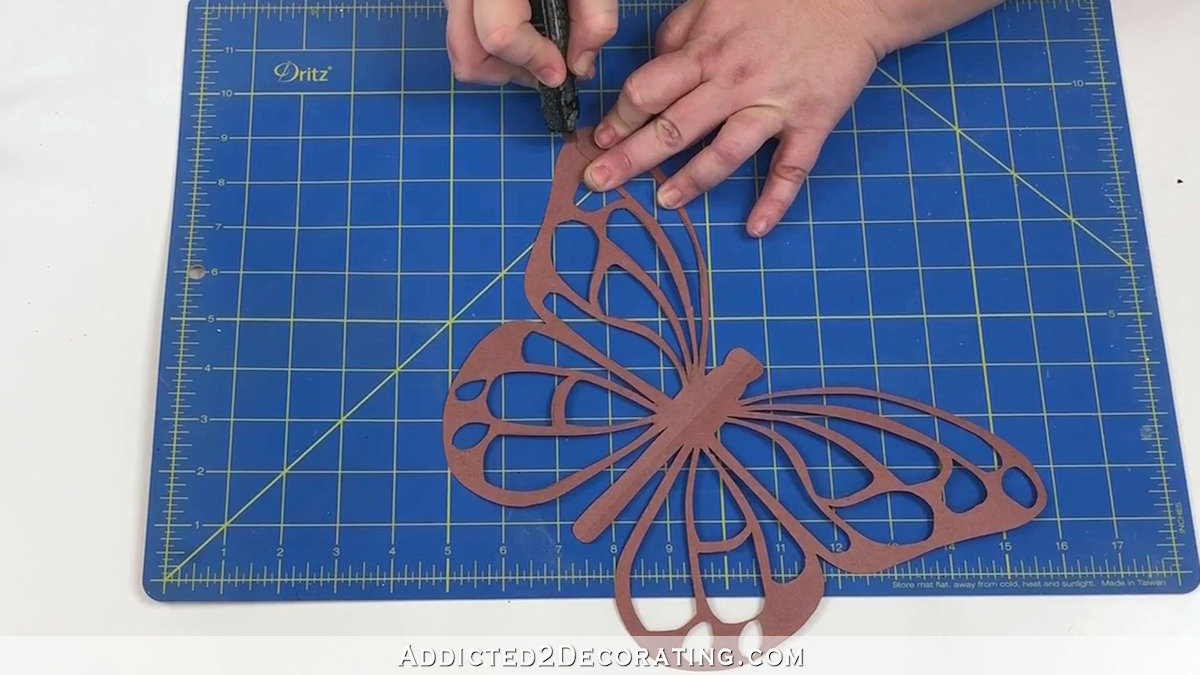
I used some craft paper to draw a butterfly to fit the bottom of the tray. To make sure that the butterfly was symmetrical, I only drew half, folded the paper over at the middle of the butterfly, and then used my scissors to cut out both sides at the same time. (Imagine cutting out perfectly symmetrical hearts in grade school by folding the paper in half.)
Then I drew the wing pattern on one side, used my X-acto knife to cut out the design, and then folded the butterfly in half again and used the cut out pattern on the first wing to trace the design onto the second wing. Then I cut out the design on the second wing, and my pattern was ready to go.
Step 4: Trace the pattern onto the tray.
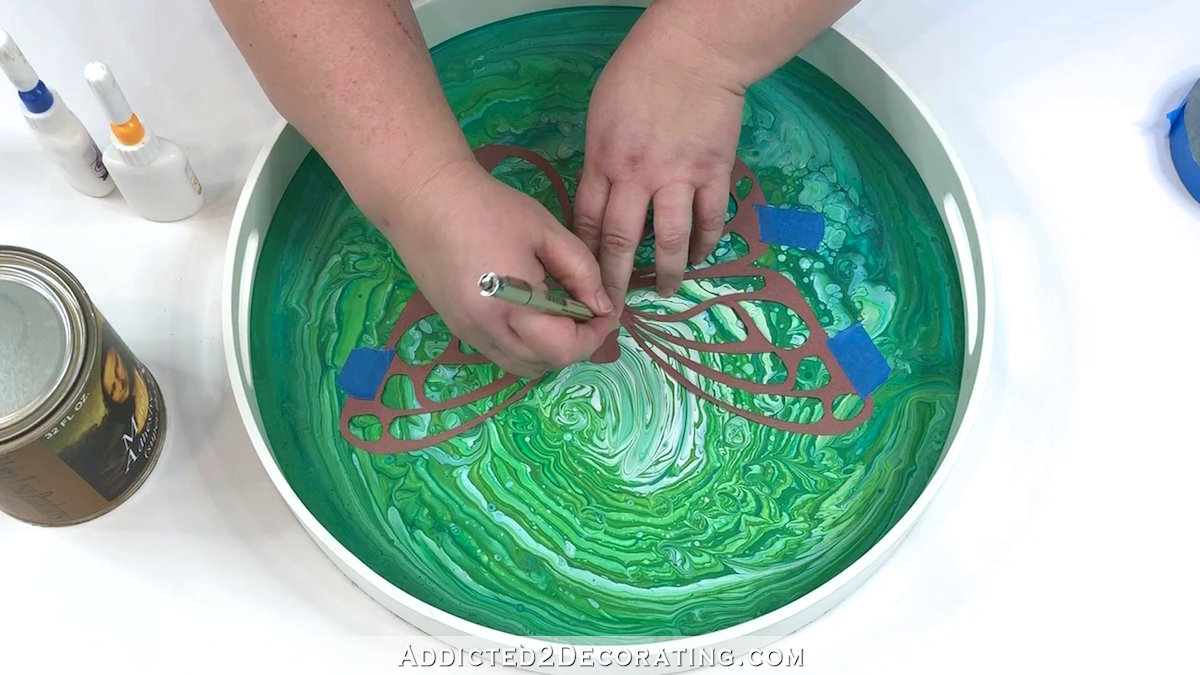
Using some painters tape and a fine point felt tip permanent pen, I traced the butterfly pattern onto the bottom of the tray. Then I removed the pattern and filled in where the painters tape had been, and also filled the wing design with some smaller circles.
Step 5: Fill in the design with metal leaf adhesive size
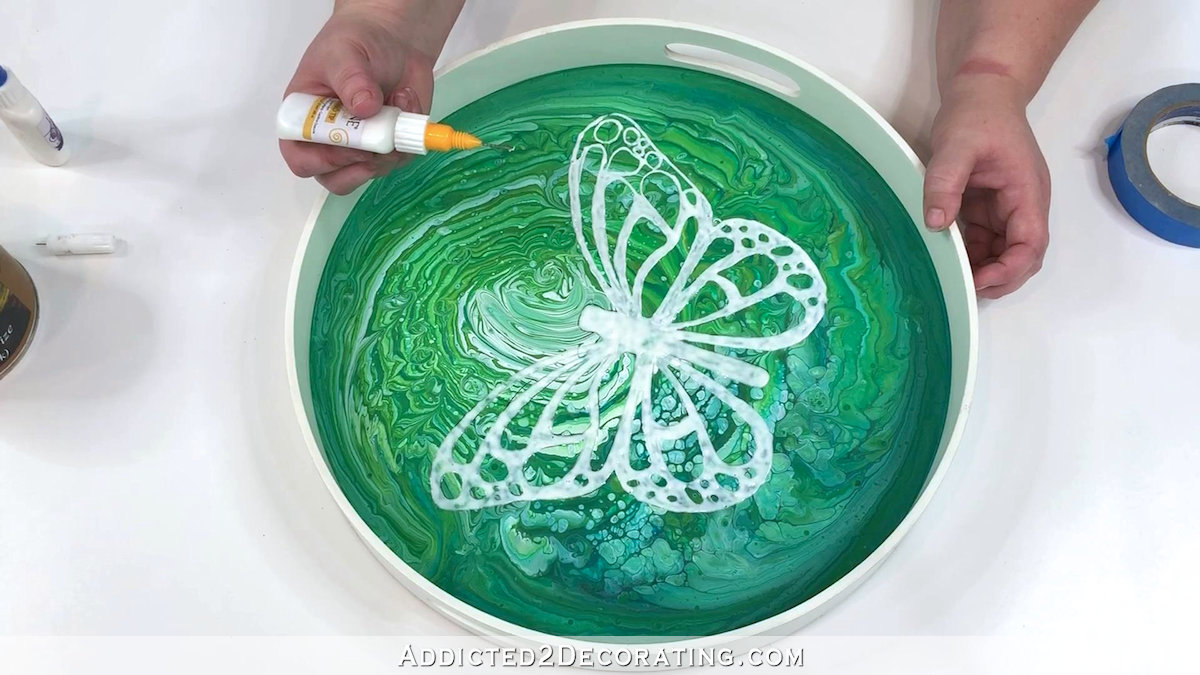
Using an 18-gauge Fineline applicator bottle filled with extra thick metal leaf adhesive size, I filled in the design with the size. This process was long and tedious, and my thumb kept cramping so I had to take several breaks. I think it took about 30-40 minutes to complete the design, but I didn’t really time myself. I just know that my hand was aching by the time I was finished! 😀
Step 6: Apply the gold leaf
The adhesive size takes MANY hours to dry completely. You’ll know it’s dry when you can no longer see any white, and the size is completely clear. If you can still see white, it needs more time to dry.
Using a small brush with fairly stiff bristles, I applied the gold leaf to the butterfly design. I used the brush to push the gold leaf into all of the nooks and crannies, and then to brush away the excess leaf.
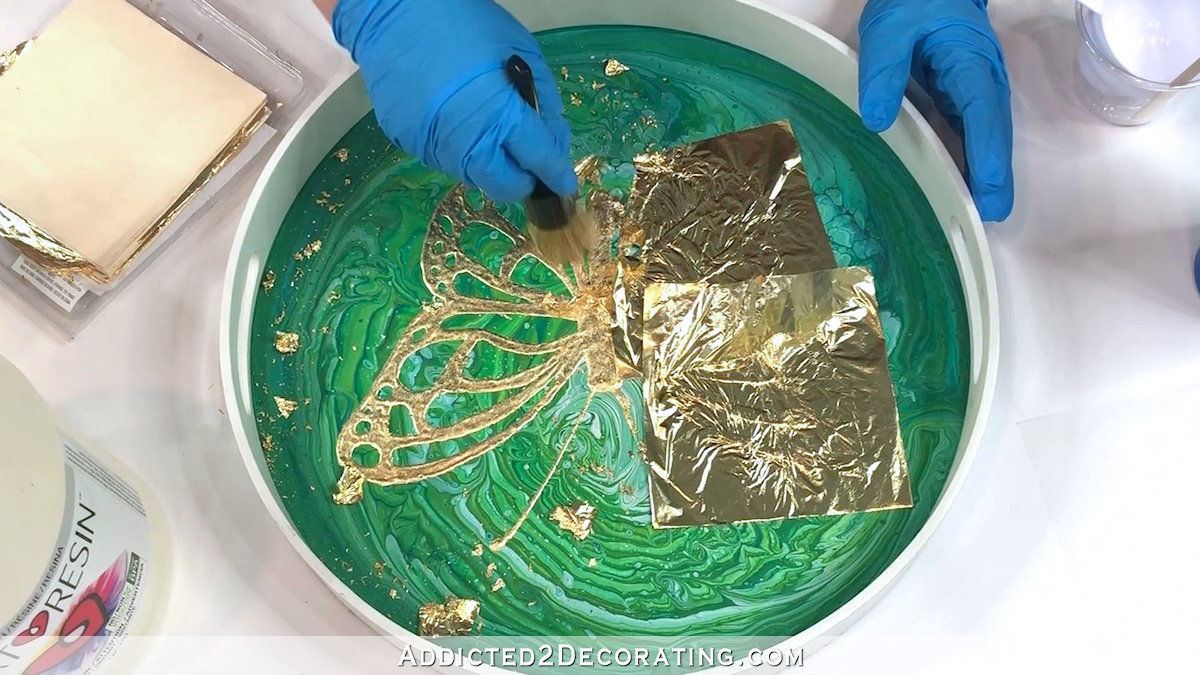
Don’t throw away those little bits of gold leaf! Save those in a jar for later projects. And be sure to vacuum up all of the little bits that remain on the tray, the work surface, and your hands so that they don’t get into the resin layer.
Step 7: Mix and pour the resin
The final step is the mix and pour the resin layer over the design. This tray is probably 15 inches in diameter, and I used a total of 8 ounces of mixed resin. That’s more than is required, but I’d rather the resin layer be thicker than needed than be too thin.
I mixed the resin according to the directions, and then added just a little glitter for some added sparkle.
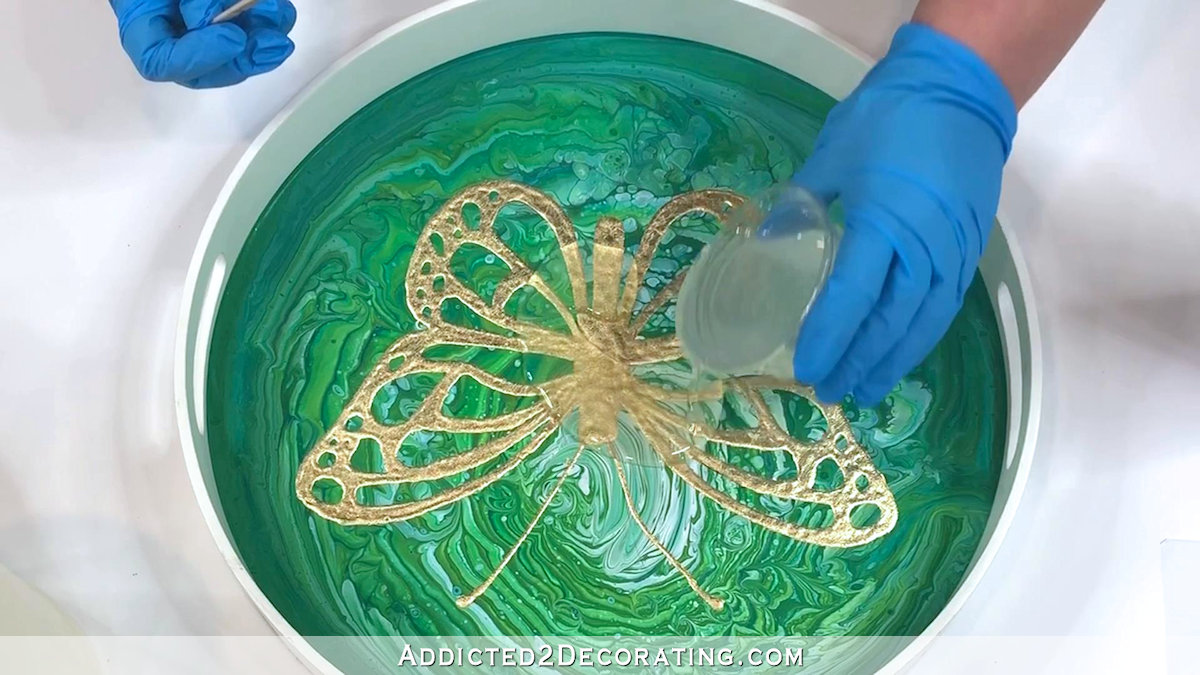
I used a stir stick to spread the resin out as evenly as possible, making sure it covered all of the edges. Resin is self-leveling, so it doesn’t need to be perfect. As long as you spread the resin over the whole surface and into all of the edges, it’ll work its magic and level itself. And of course, using the propane (or butane) torch to remove the bubbles also warms the resin just a bit, making it a little thinner and speeding up the leveling process. Just be sure you keep the torch moving so that you don’t burn the resin!

Done!
The resin will take about 24 hours to dry completely, and then about 30 days to fully cure. I would suggest not putting anything on the tray until it has had time to completely cure. Until then, you can display it and enjoy the pretty gold leaf design and the glass-like finish of the resin.



So fun! I like the mix of the sleek edges with the more glammed up gold leaf and swirled paint. Looks like the lighting in the studio is great for these projects!
Wow! That’s so beautiful and creative!
Wow! As usual your artistic vision and talents blow me away! Always love seeing a post from you in my inbox. xo
Love this!!! You definitely should do more videos of your art projects. Wish I had 1/100 of your talent 🙂
Love how the colors swirl on these. I swear gold leaf is as bad as glitter for getting little tiny flakes all over as you apply it. I did a whole metal mirror frame in silver leaf once to cover the polished brass finish I didn’t want (loved the mirror design but it was the wrong color). It is fun to use though.
Loved the video and you look great! Keep the videos coming. I am a visual learner and they help so much. Watching you eyeball measurements gives me confidence. I can get bogged down with getting those exact. And yes, I know when cutting something exact is just what you want 😄
Another lovely project by a super talented lady.
JoAnne
Very pretty! How much weight did it add to the tray? I ask because I redid a hall table years ago with plywood and tiles and couldn’t move it!!
It added a few ounces. It’s still very lightweight — just a layer of paint and a layer of resin on a 15-inch-diameter tray. I’d be surprised if it added even six ounces of weight.
Oh, Kristi! A really, REALLY nice job of both the written directions and still photos, and the video. I can see a resin project in my future for sure.
Thank you for doing a video! I look forward to seeing more😁
This is beautiful. You are SO talented Kristi!
I’m so glad to see an art project. Your building posts are great too, however that’s way out of my league. The art stuff resonates with me.
I think this is why so many fans encouraged you to let the professionals tackle the remodel while you add the “jewelry” with the pretty.
Well done!
I LOVE this! The butterfly is beautiful, but before you added it I was seeing all kinds of things, faces, animals, etc. in the design. I think it would keep me entertained for a very long time. 🙂
Just beautiful! I may have to try this.
Kristi, like the tray.
I just noticed that you changed the photo of yourself at the top of page. You are looking so much younger and thinner. Go girl! Don’t be insulted if you did it months ago and I didn’t notice, when a boyfriend shaved off his mustache for it took me several hours to notice.
So glad to see you making use of your new studio already. Life is too short to wait. fun project too!
This is an amazing craft project and certainly something you could sell on Etsy! The color choices are really pretty, but the gold-leaf butterfly takes it beyond anything expected. When you’re letting your resin pieces dry, do you cover them with an upside down box, or something? I know hairs flying around or dust can wreak havoc on all your hard work.
!!!wow!!! Love this. Thanks. Angie
very pretty Kristi1!!
Don’t you have a Silhouette? You should get one if not, but I thought I remembered you mentioning it once. IMHO, it would have made the actual butterfly design, and cutting out easier.