Studio Lighting Is Up!
Remember those cheap lights I ordered from China for my studio? To be clear, I didn’t know I was ordering them from China. I searched online for what I wanted, found a website that sold them at great prices, read the wonderful and glowing customer reviews, and then ordered them.
Six weeks later, and with no update on tracking info, I was regretting my purchase. Several emails to customer service only returned not-so-helpful responses like, “Just be patient.” and “Your items are probably on a ship from China, and we can’t tell you exactly where they are.” *Sigh*
When they finally arrived about two months later, I was very pleased with how they looked, but the wiring was skimpy and the canopies that attach to the ceiling were tiny. There was no way they would work, so they’ve been sitting in the corner of my studio ever since while I moved on to other projects.
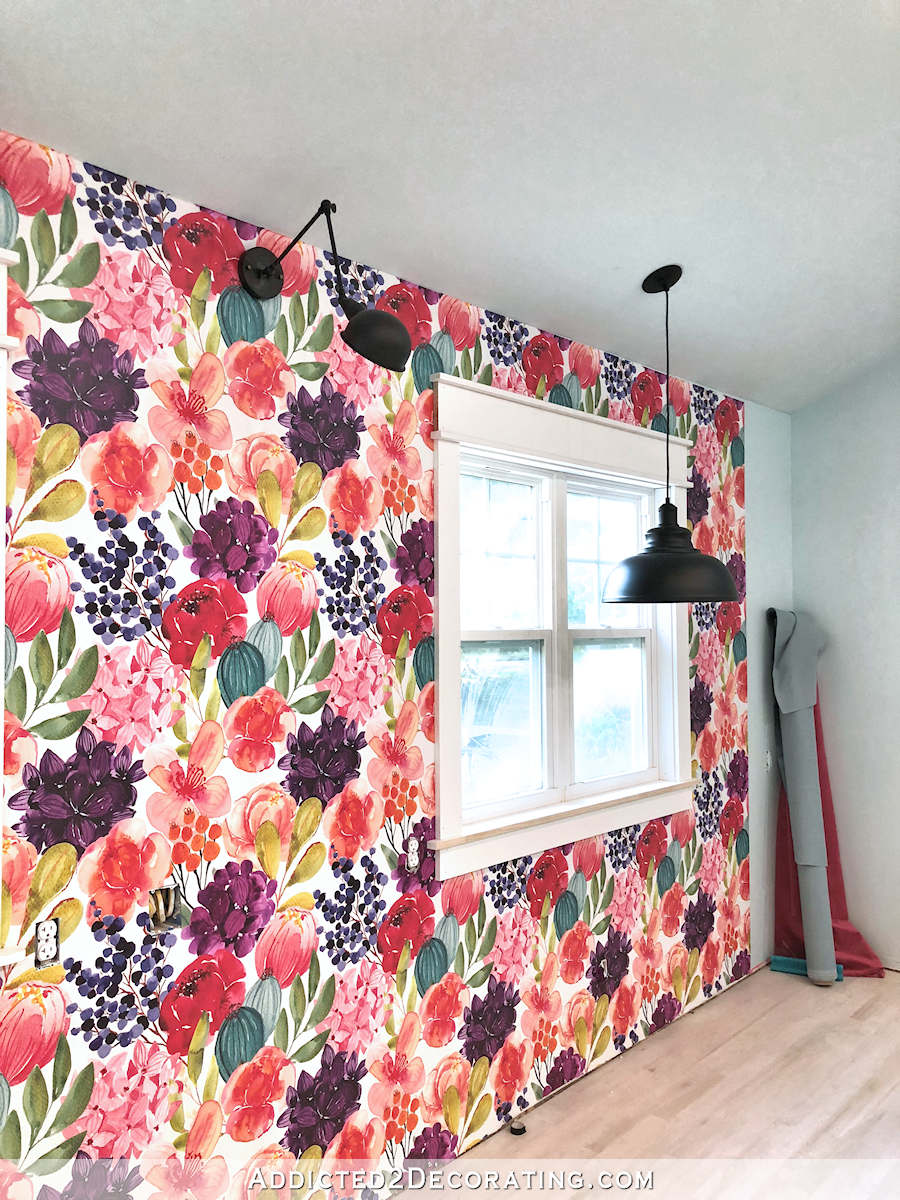
Well, I finally tackled those lights this past weekend, and look! They’re up!

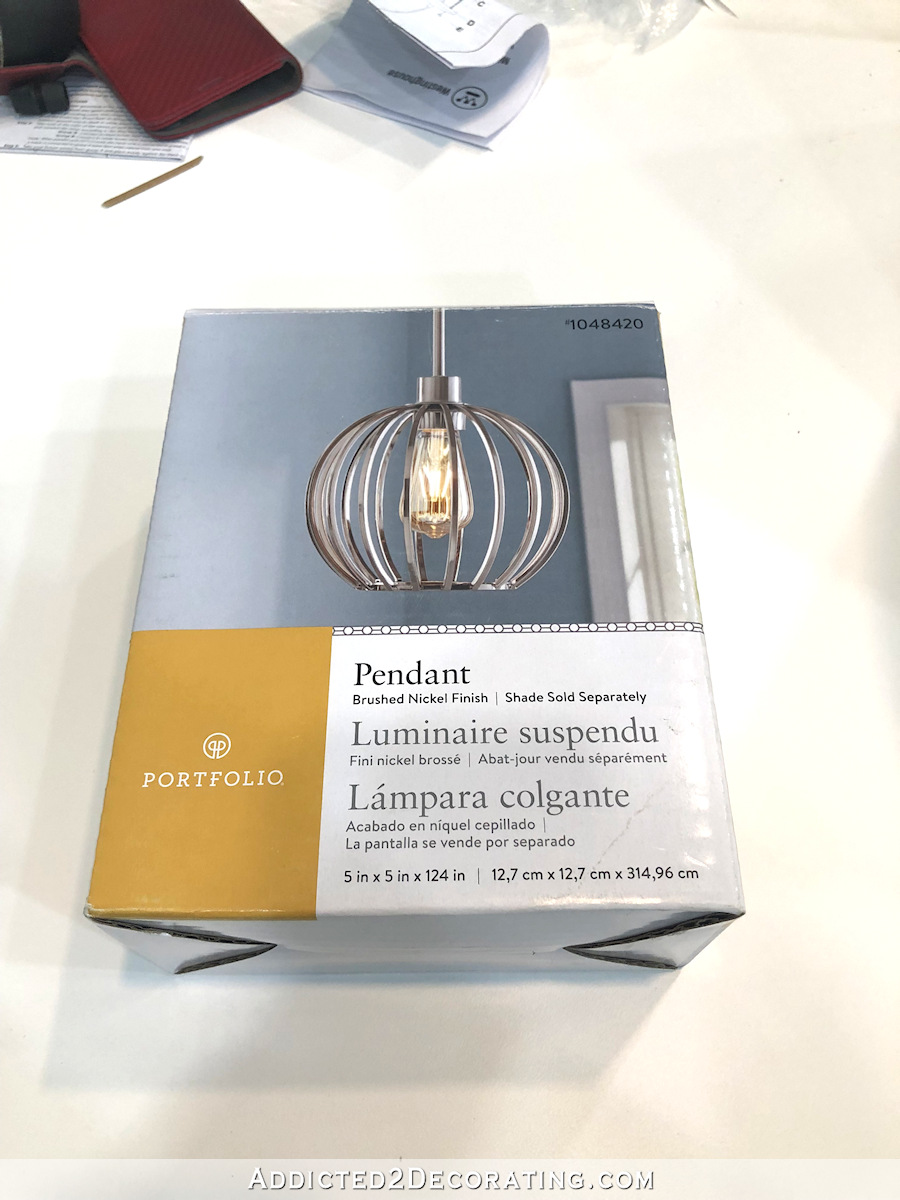
The fix was pretty easy. I picked up a couple of these pendant light kits from Home Depot. They’re actually a dark oil-rubbed bronze, but they look almost black.
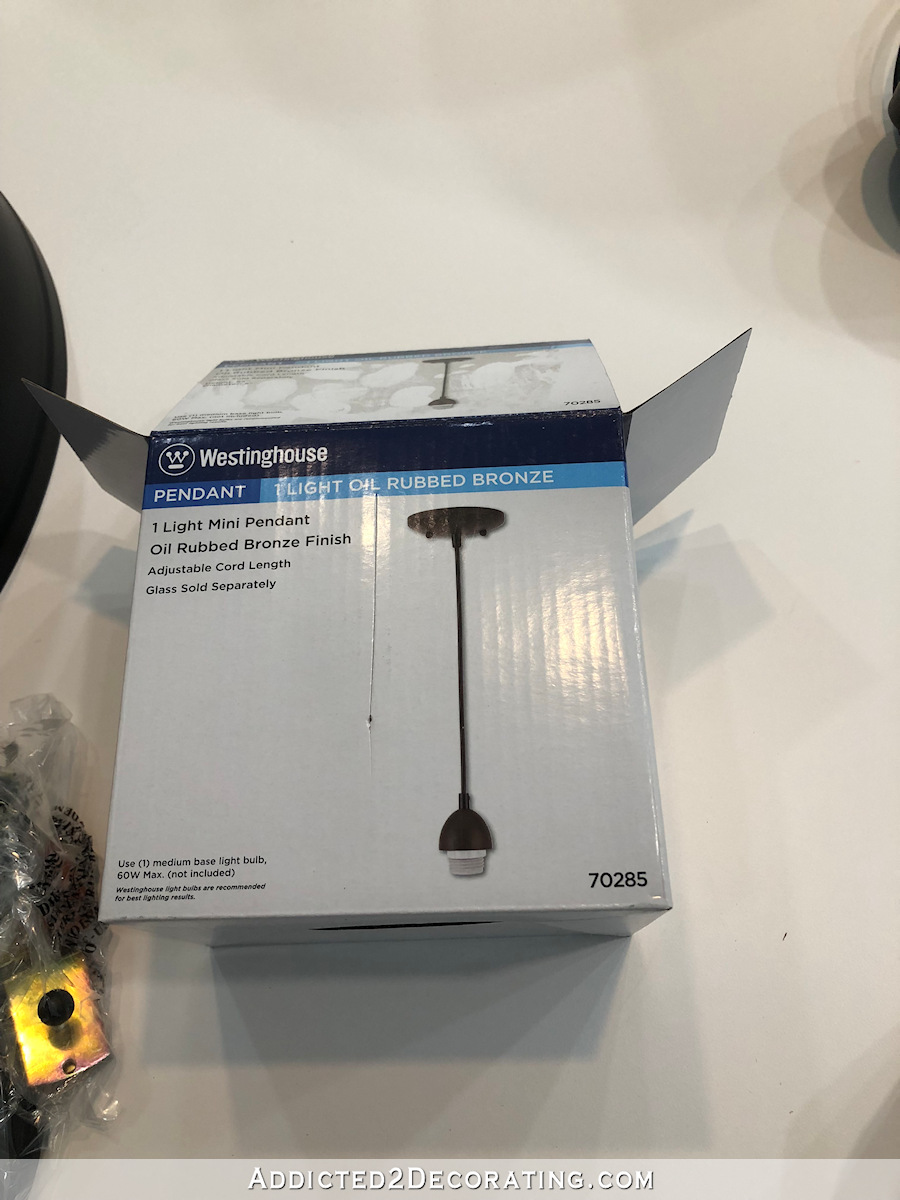
It would have been a two-minute fix had I been satisfied with using the pendant light kit as it is right out of the box. You can see from the picture on the box that it has a threaded socket. I could have just removed the nut on the threaded socket, put it through the hole on top of the metal shade that came from China, screwed the nut back on, and it would have been fine. Two minutes tops.
But of course, nothing is ever that easy with me. 😀 The issue was that the new pendant light kits came with these little dome things that fit against the shades.
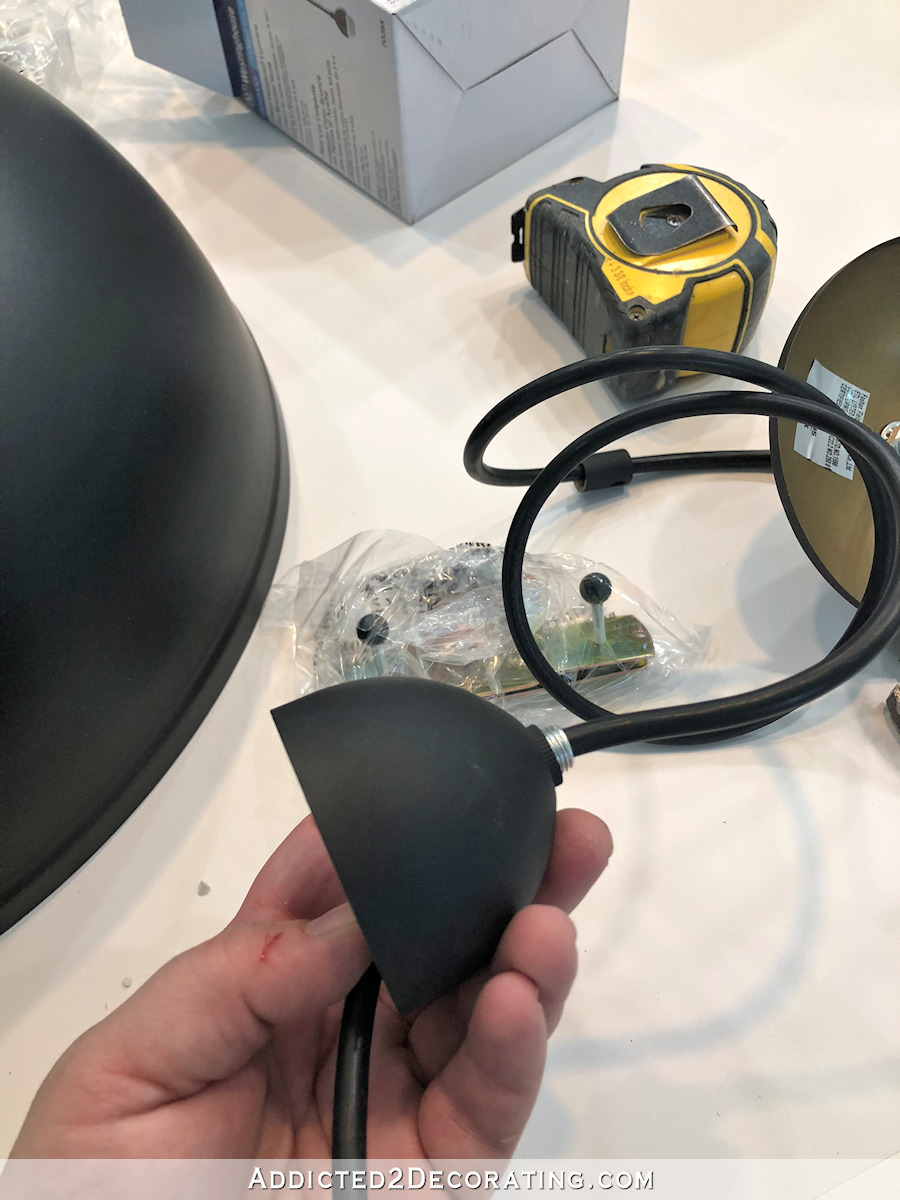
The little domes were fine, but I really preferred the shape of the ones that came on the original lights…
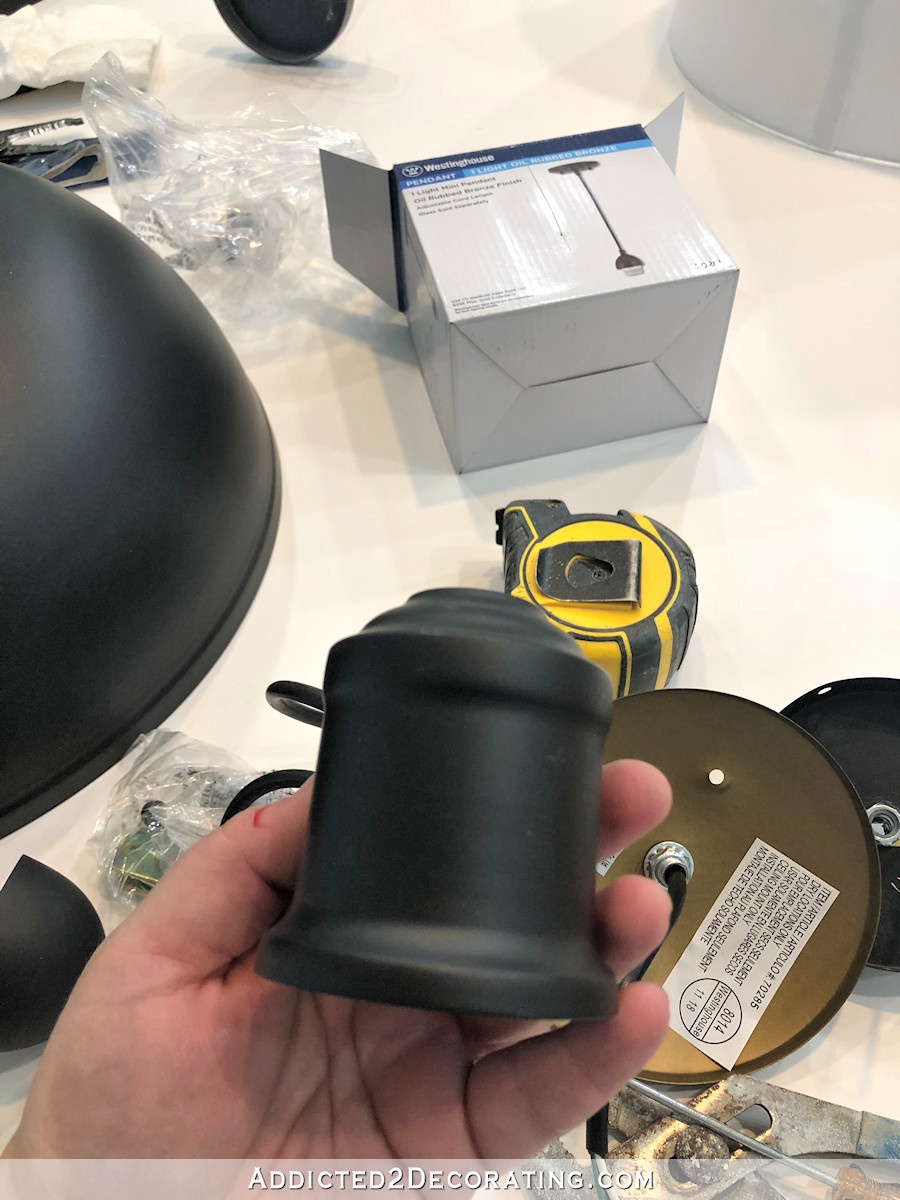
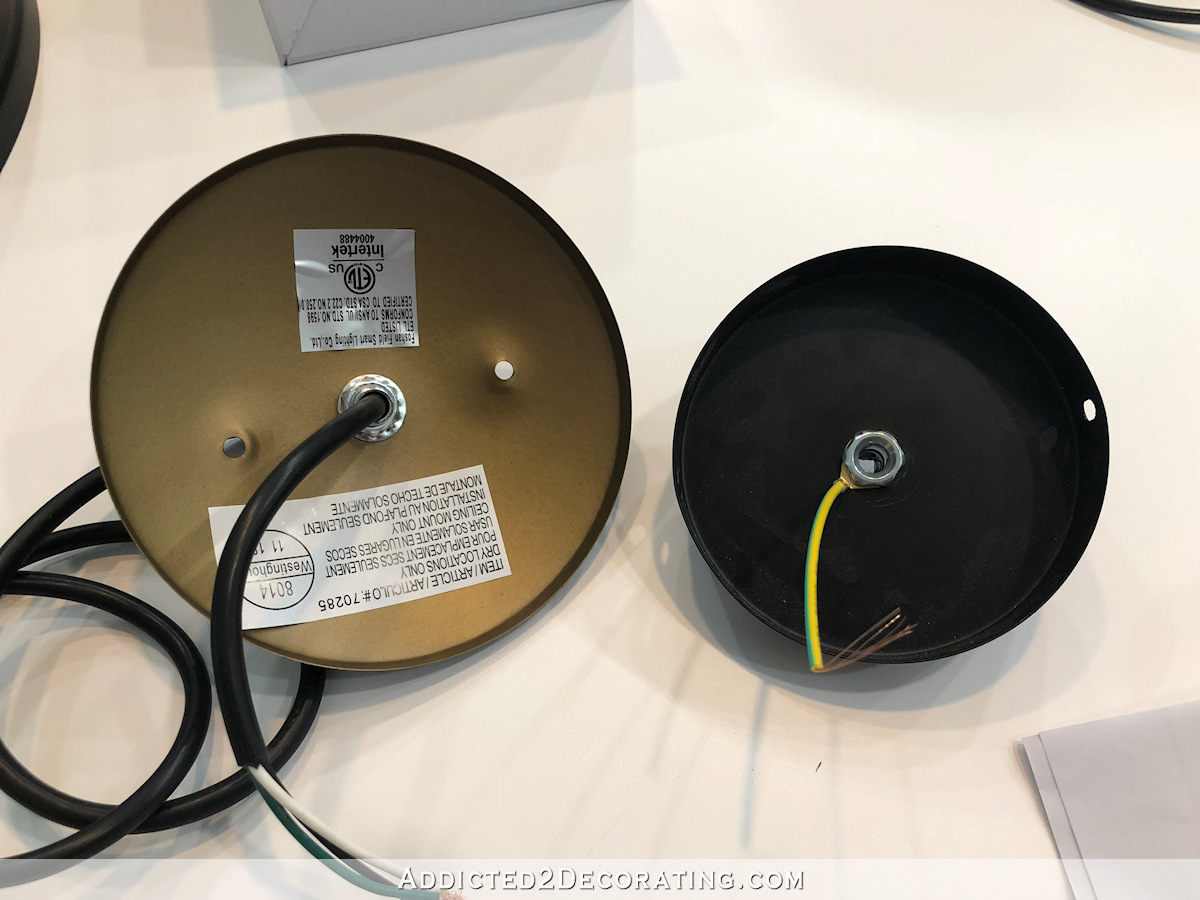
So that took some work. I had to basically disassemble the entire thing to remove the domes, and reassemble with the preferred metal pieces. But it all ended up great in the end, and the install was so easy. I mean, just look at the difference in the canopy sizes! The original ones weren’t even four inches in diameter, so there was no way they would even cover the four-inch round junction boxes. Ridiculous!
I still haven’t been able to turn the lights on and test them out because I still have two switches that need to be installed on this circuit before the actual circuit can be hooked up to the breaker box. But at least my pretty lights are installed now, and I feel confident they’ll work (and won’t catch on fire or shock me) when the power to this circuit is finally turned on.
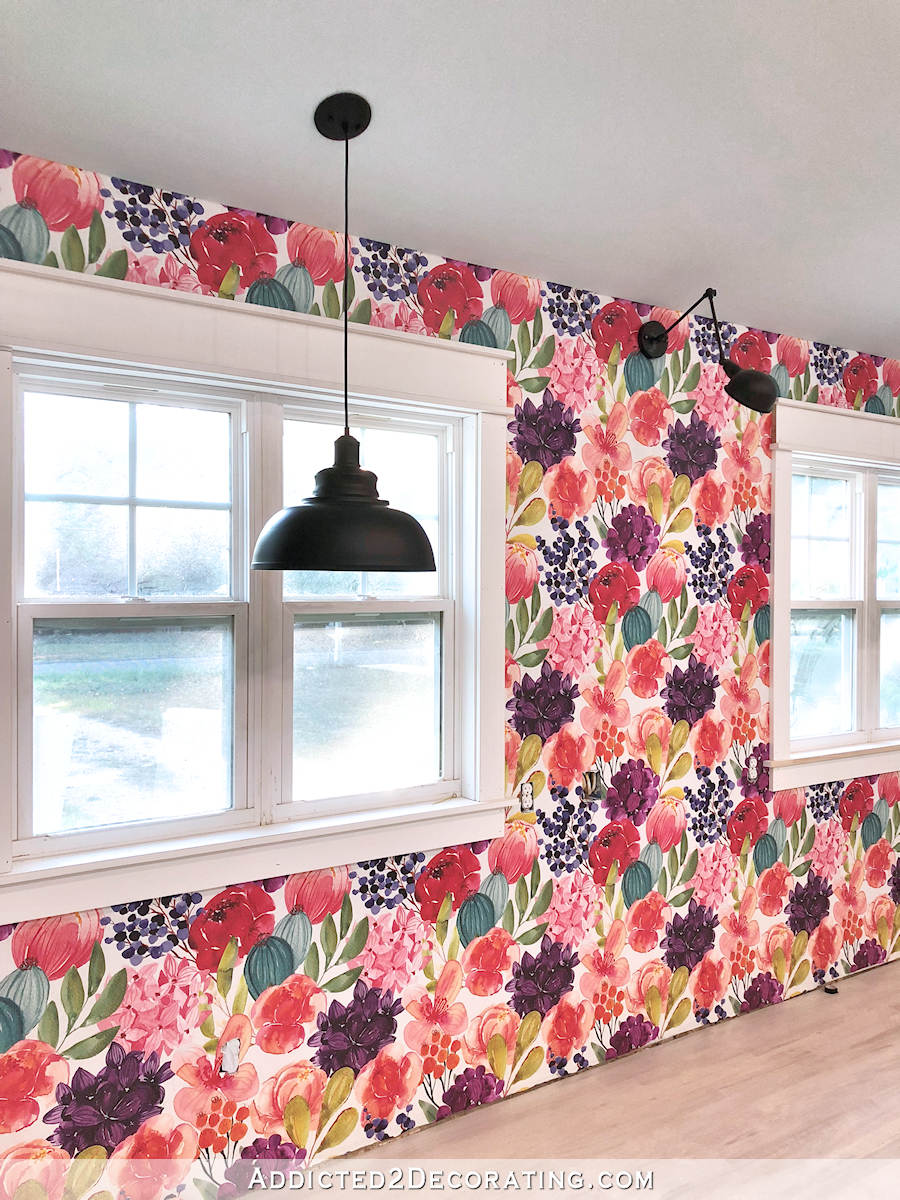
Interestingly, the little wall sconce in the middle of the wall was fine and didn’t require new wiring or a larger canopy.
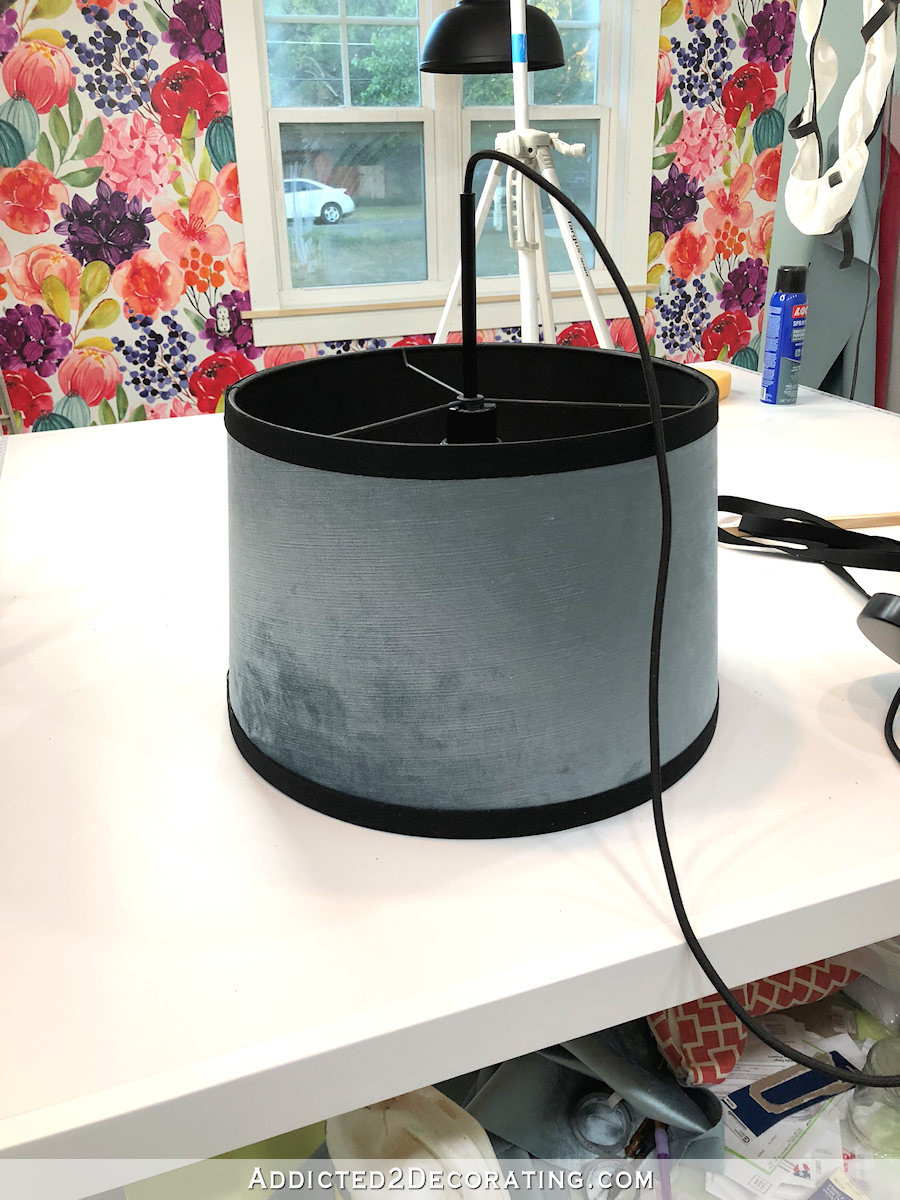
I’ve also been on the hunt for a pendant light to go over my desk in the “office” area of the studio. I didn’t want to use the same pendant light that I used along the front wall of the studio, but I wanted something that would coordinate. So while I was at Lowe’s, I decided to pick up a different pendant light kit and the largest lamp shade I could find and make my own.
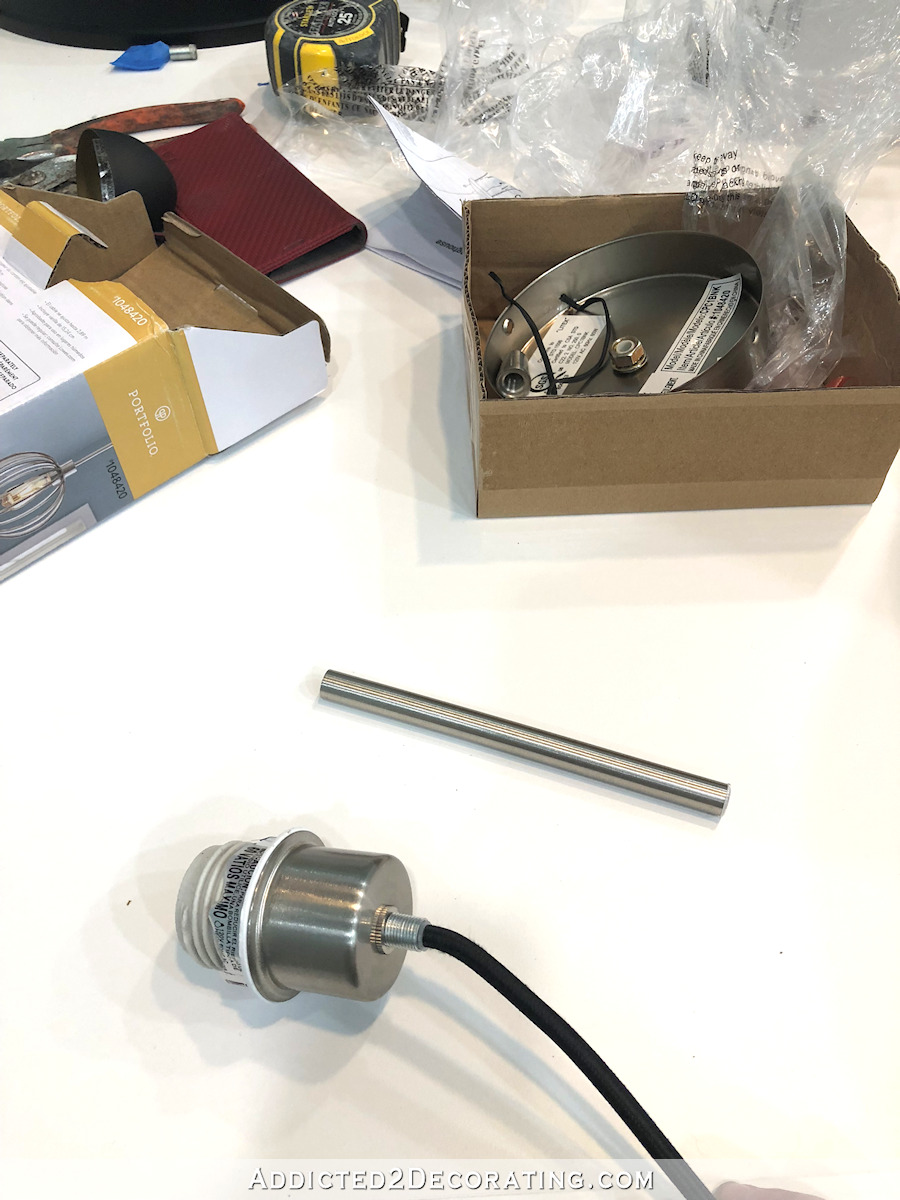
This is the pendant light kit I used. As as you can see, it also has a threaded socket with a nut, and then one of those metal caps that is supposed to fit down against the top of a shade.
However, since I was using a lamp shade that has a tiny hole in the top, and not a shade with a large hole that’s actually made to be used with this kit, I had to improvise a bit. The only reason this pendant light kit worked with the lamp shade is because it has this separate metal tube that screws onto the top of the socket assembly.
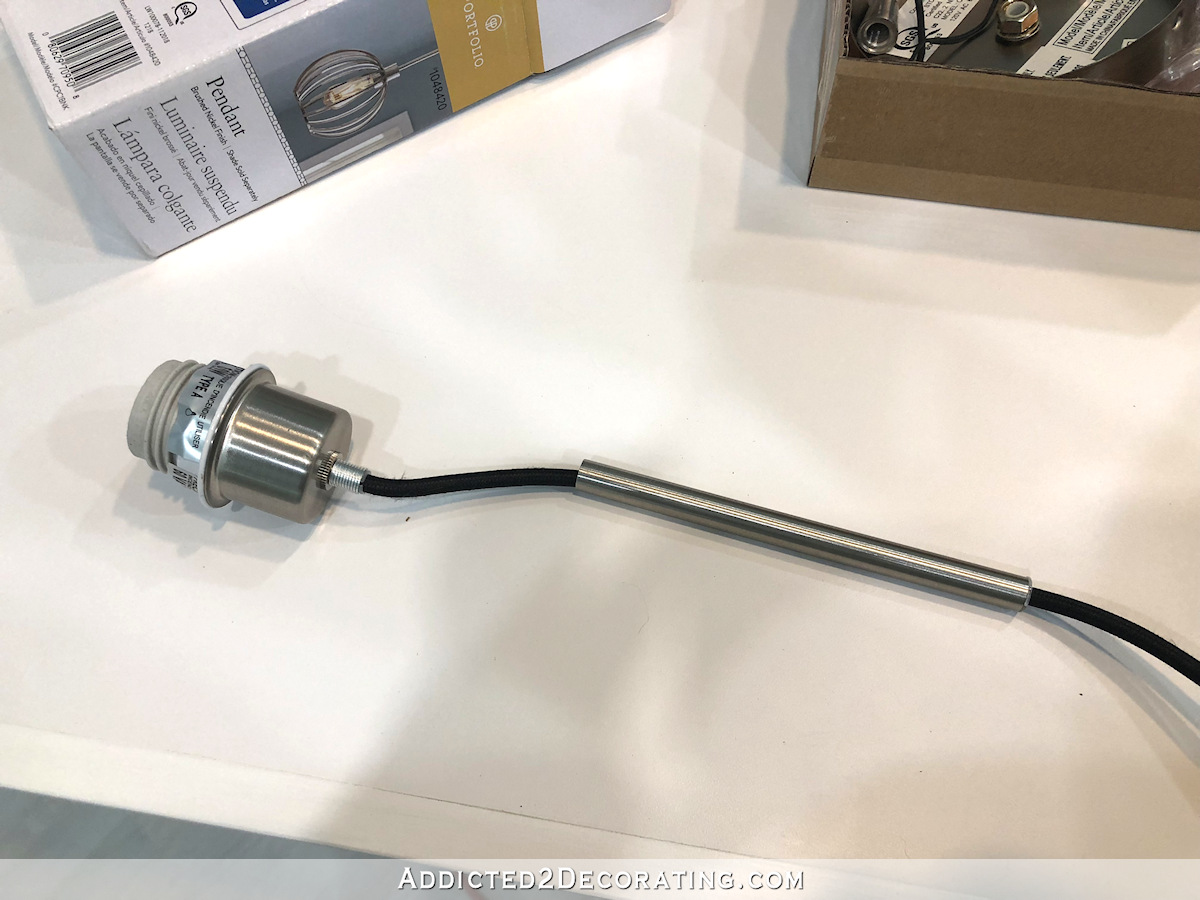
So I had to disassemble this one as well, removing the canopy, and then removing the metal tube.
That allowed me to put the cord through the small hole in the top of the lamp shade…
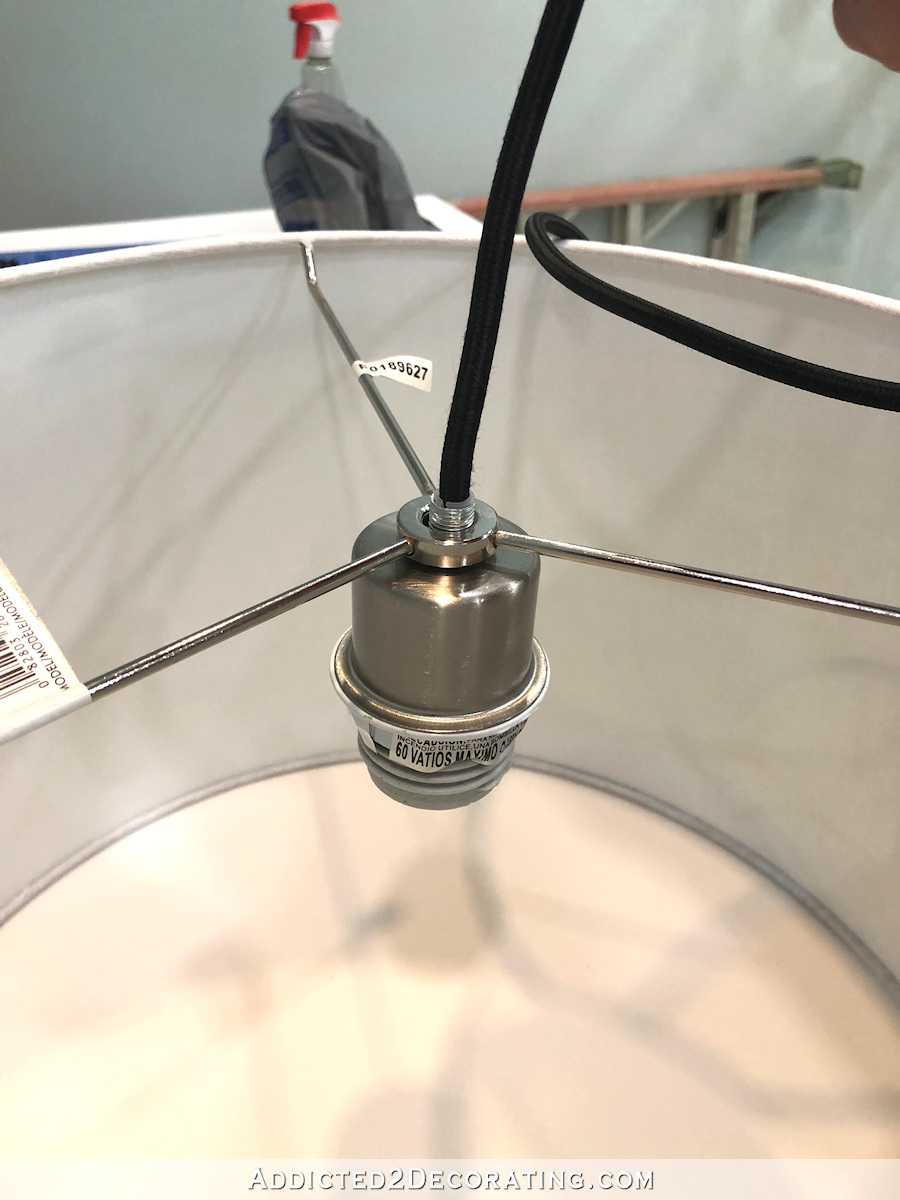
…and then slide that metal tube back onto the cord and thread it onto the socket assembly, with the lamp shade ring sandwiched in between.

Once I was certain that everything would work as planned, I took it all apart again so that I could spray paint all of the metal pieces black.
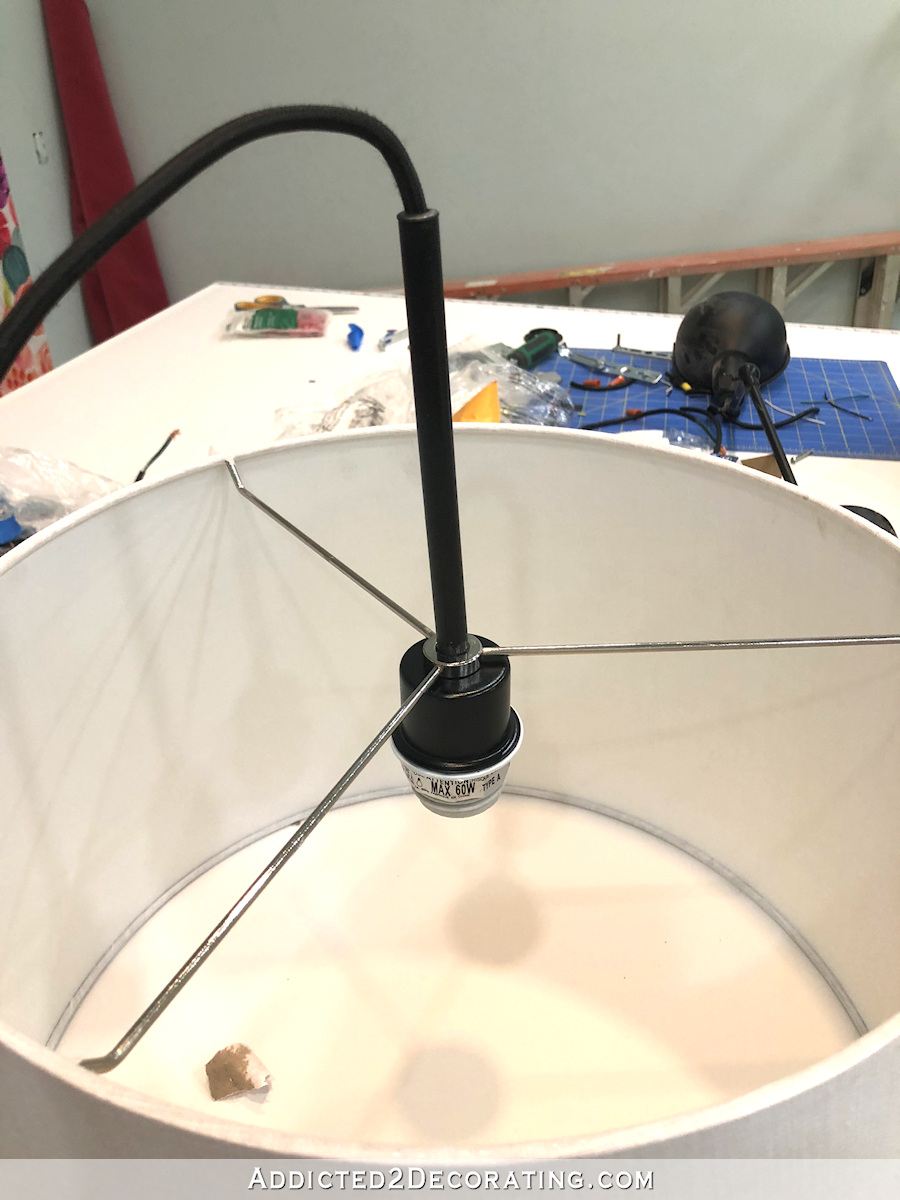
Then I just needed to decide what I wanted the actual shade to look like. I had a blank canvas to work with, so the possibilities were endless.
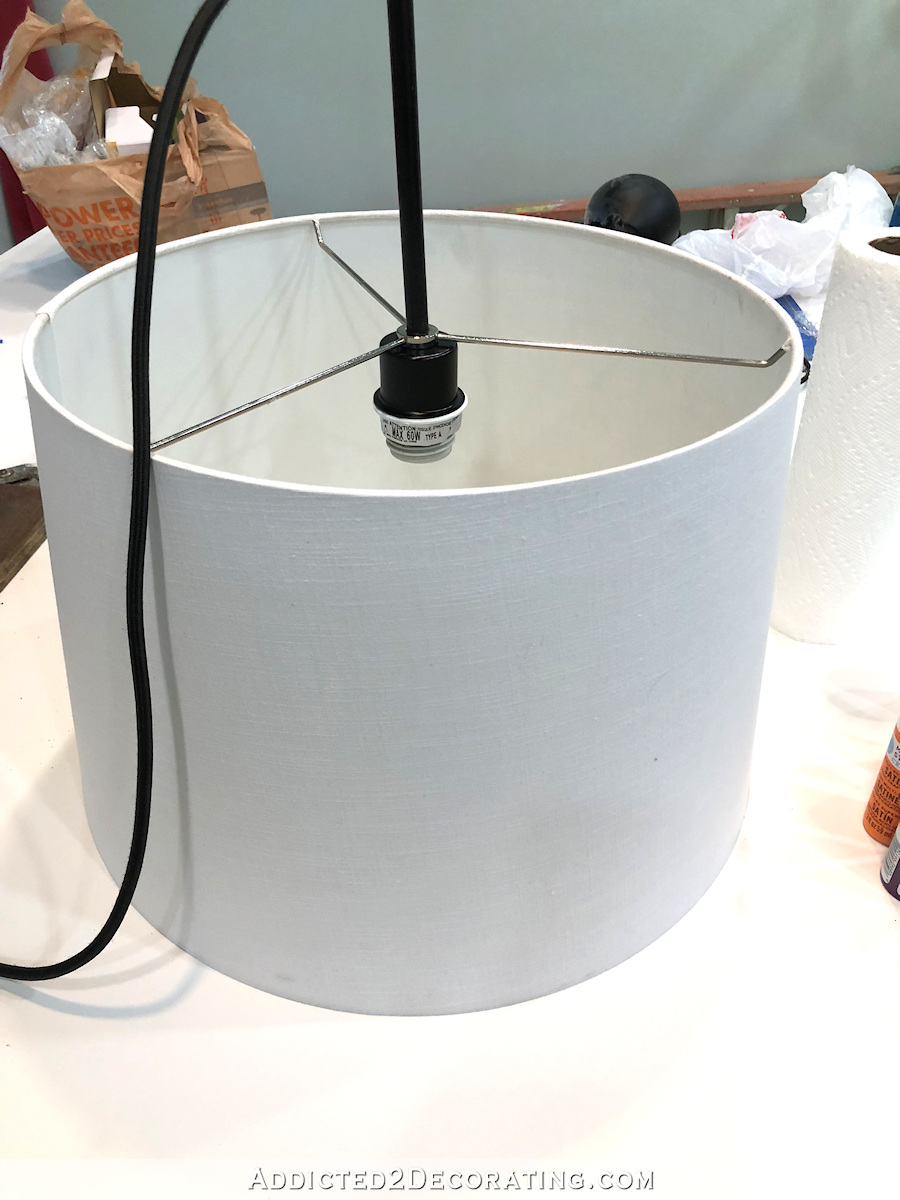
In the end, I decided to go with a velvet that I had in my fabric stash, and that looked very similar in color to the walls. It didn’t match the walls exactly, but it was close enough. I painted the entire shade using Behr paint in a matte black, and then when it was dry, I used spray adhesive to attach the velvet fabric. Then I used fabric adhesive to attach extra large double bias tape along the top and the bottom of the shade to cover the cut edges of the velvet fabric.
And here it is installed above the desk.
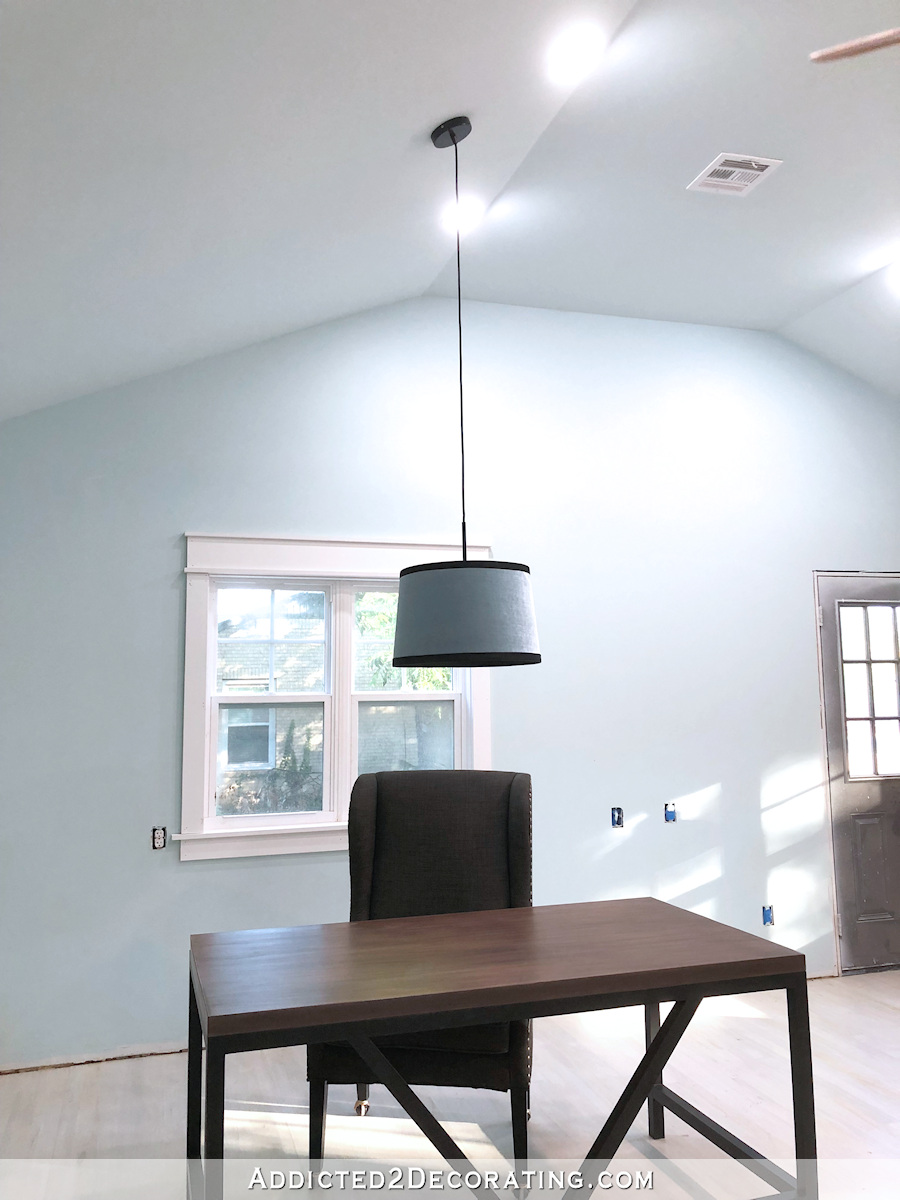
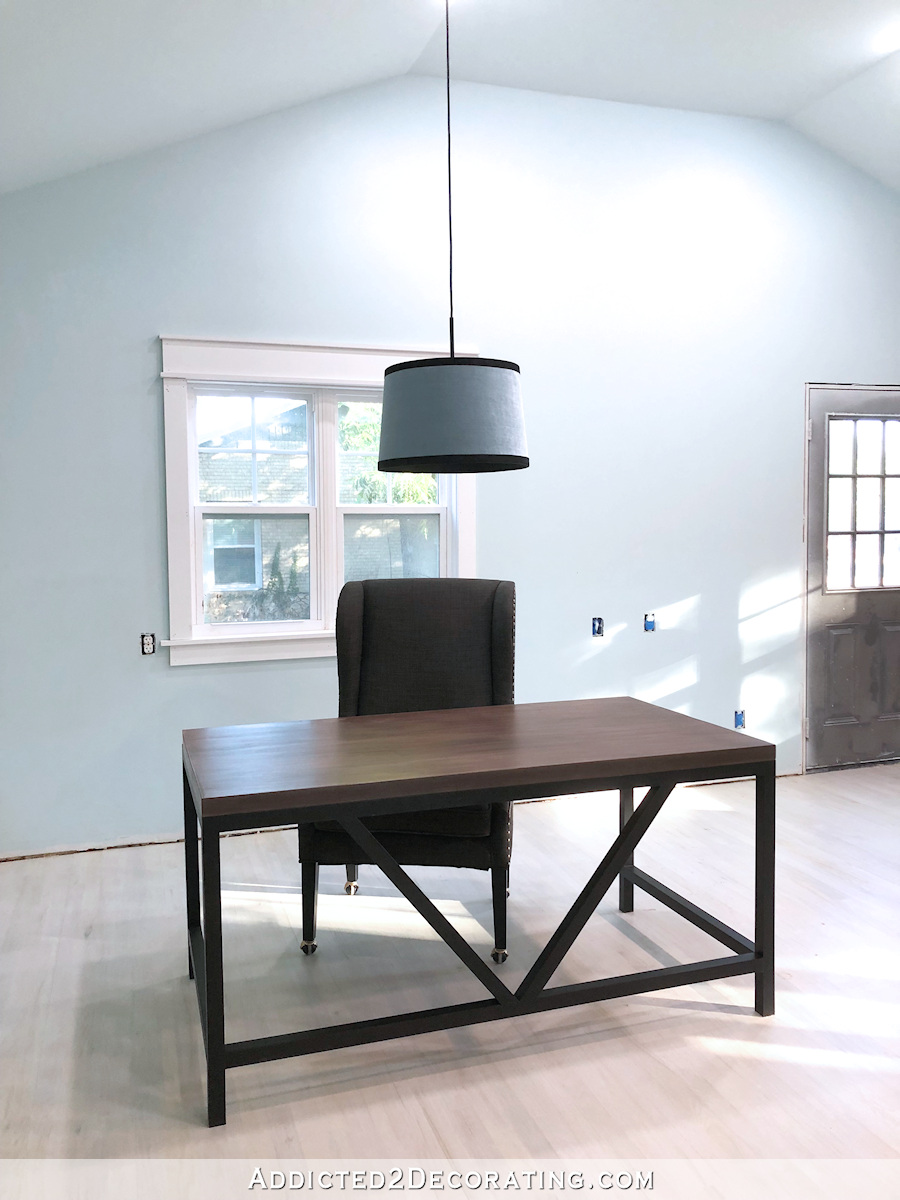
It looks a little blah right now because this area of the room is in desperate need of some color, but it’s coming! When all is said and done, there will be no shortage of color in this studio. 🙂

Addicted 2 Decorating is where I share my DIY and decorating journey as I remodel and decorate the 1948 fixer upper that my husband, Matt, and I bought in 2013. Matt has M.S. and is unable to do physical work, so I do the majority of the work on the house by myself. You can learn more about me here.
I love the way you put your own stamp on things. Love the creativity and the skill at problem solving.
I love those lamps, all of them! The velvet is a great idea in looks, I wouldn’t have thought of using that as it makes the shade so opaque. But that of course is a ridiculous thought as with the other shades there is no light passing through the sides of the shade either and I’m totally fine with that 😉
Good problem solving, and great looking lamps!
I’m REALLY loving the lights–but I have to say I can’t get over how GREAT your skin looks! In full disclosure, I participated in your 60-Day Keto Challenge so I may be a bit biased, but…WOW! You look RADIANT!
Was absolutely thinking the same thing, and left me add how slim your face has gotten as well. Oh yeah, love the lights! Tehehehe!!!
Love the updated picture of you! (And the lamp shades 😁….I like the contrast)
Perfectly awesome!!
Congrats on light project. Awesome as always.
Wondering if you’d revisit how light is overall in your studio as I notice you often choose fixtures that block light from passing through the shades (full metal, heavier fabric)? It’s hard to tell when you’re not in the room…. orientation to light coming through the windows to workspace, impact of outside tree shade, how the how the room faces in direction, context of the other lights you have installed in the room, etc. I love the lights, they are interesting. I find I personally end up reluctant in my light choices because I don’t feel I can sacrifice ANY light. Maybe that’s because I live in the north or maybe the original builder didn’t install enough lights like in our kitchen that is on the north side of the house.
Internet ordering sure is getting tricky. I don’t mean for this to sound narrow minded but the internet ordering has gotten me in a pickle more than once so I hear your pain. I’m feeling forced to now be very selective. Last event was some boots…. they weren’t as expected, tried to return them, offered $20 of $75 as learned would have to return to China (told shipping is expensive) and to give them away. Ultimately offered $30, they dilly dallied around so much with $1 changes that I missed my time frame for having support for a claim from Visa. I now am looking for location of vendor, contact info, return policies, customer service protocols and really staying on top of timing with potential internet orders. They took 8 weeks to deliver, using up valuable time with Visa (90 days). When not received timely that was a red flag that should have triggered my asking Visa for a Credit. Instead I naively gave the vendor the benefit of the doubt. Now I’m donating to a charity auction so that’s a win but lesson learned. I have noticed a pattern that with internet sites for Chinese vendors in that they often have less detail in their specifications about their products. For example not showing the measurements of your referenced medallion. What is it they say “buyer beware”. Hmmmm. Onward. Happy Fall everyone.
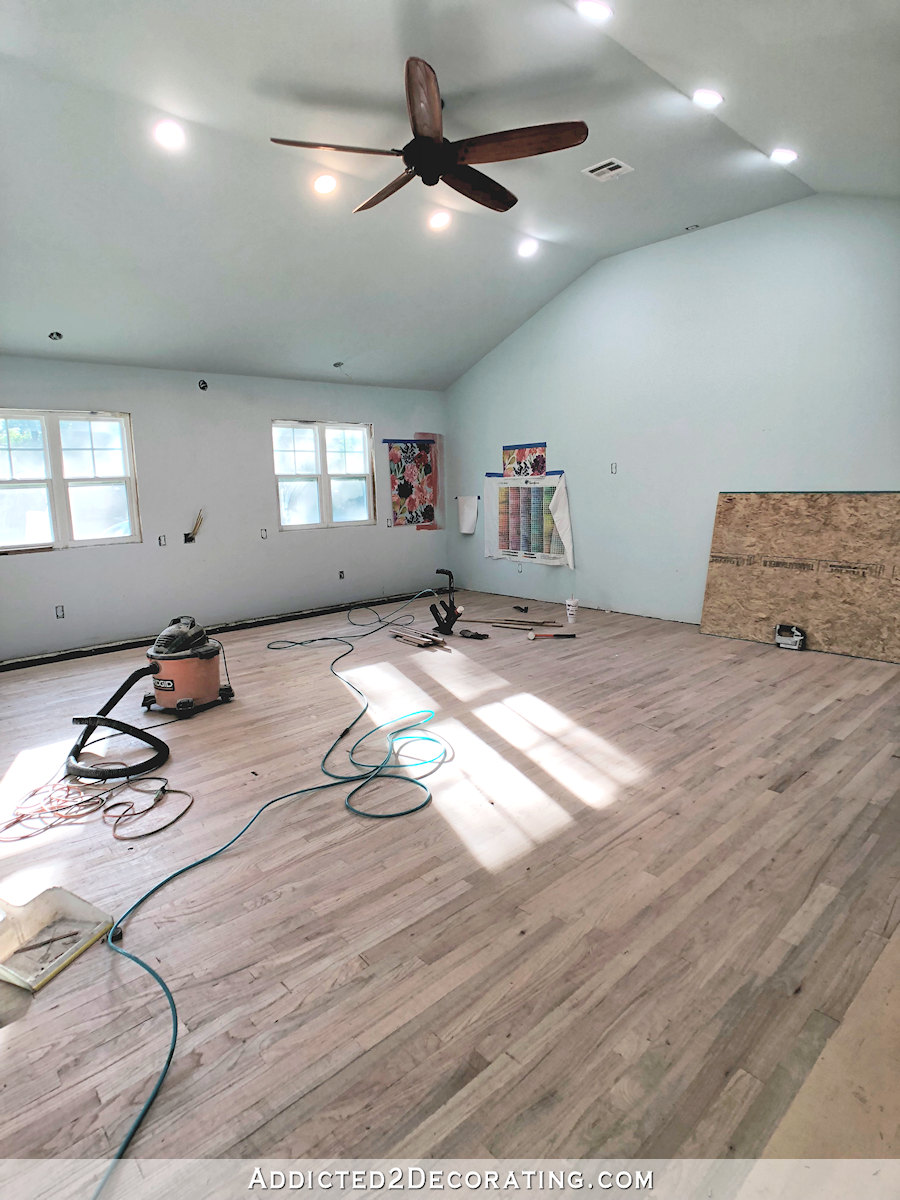
I have a lot of general lighting in the room — eight recessed lights that are bright white LEDs, and I also have a four-bulb light kit ordered that will go on the ceiling fan for more general lighting. For the pendant lights, I don’t need shades that will allow light to pass through because the whole purpose of those is for task lighting rather than general lighting, meaning that the light simply needs to shine down onto the work surfaces. All of the shades allow for down lighting, so that’s all I need.
Thank you for your gracious reply.
I knew context would clarify… sometimes would just love to pop in for the FULL visual. Your photos and videos are always awesome but never the same as basking in a space, taking it all in.
Seriously having LIGHT envy!!!
Oh boy! Never thought of doing a pendant light like this, but it sure gives a whole lot of new possibilities for the spot that I haven’t found anything for yet. And your new picture is gorgeous!!
Love the new lights and your creativity to work around situations and find solutions!! Well done Ktisti.
Love the lamps and how they turned out. When will you be hooking up the electric in that room? And the floor moldings.
The two circuits feeding the back half of the room and the back entry are hooked up. I just have the one circuit feeding the front of the room that’s not yet connected.
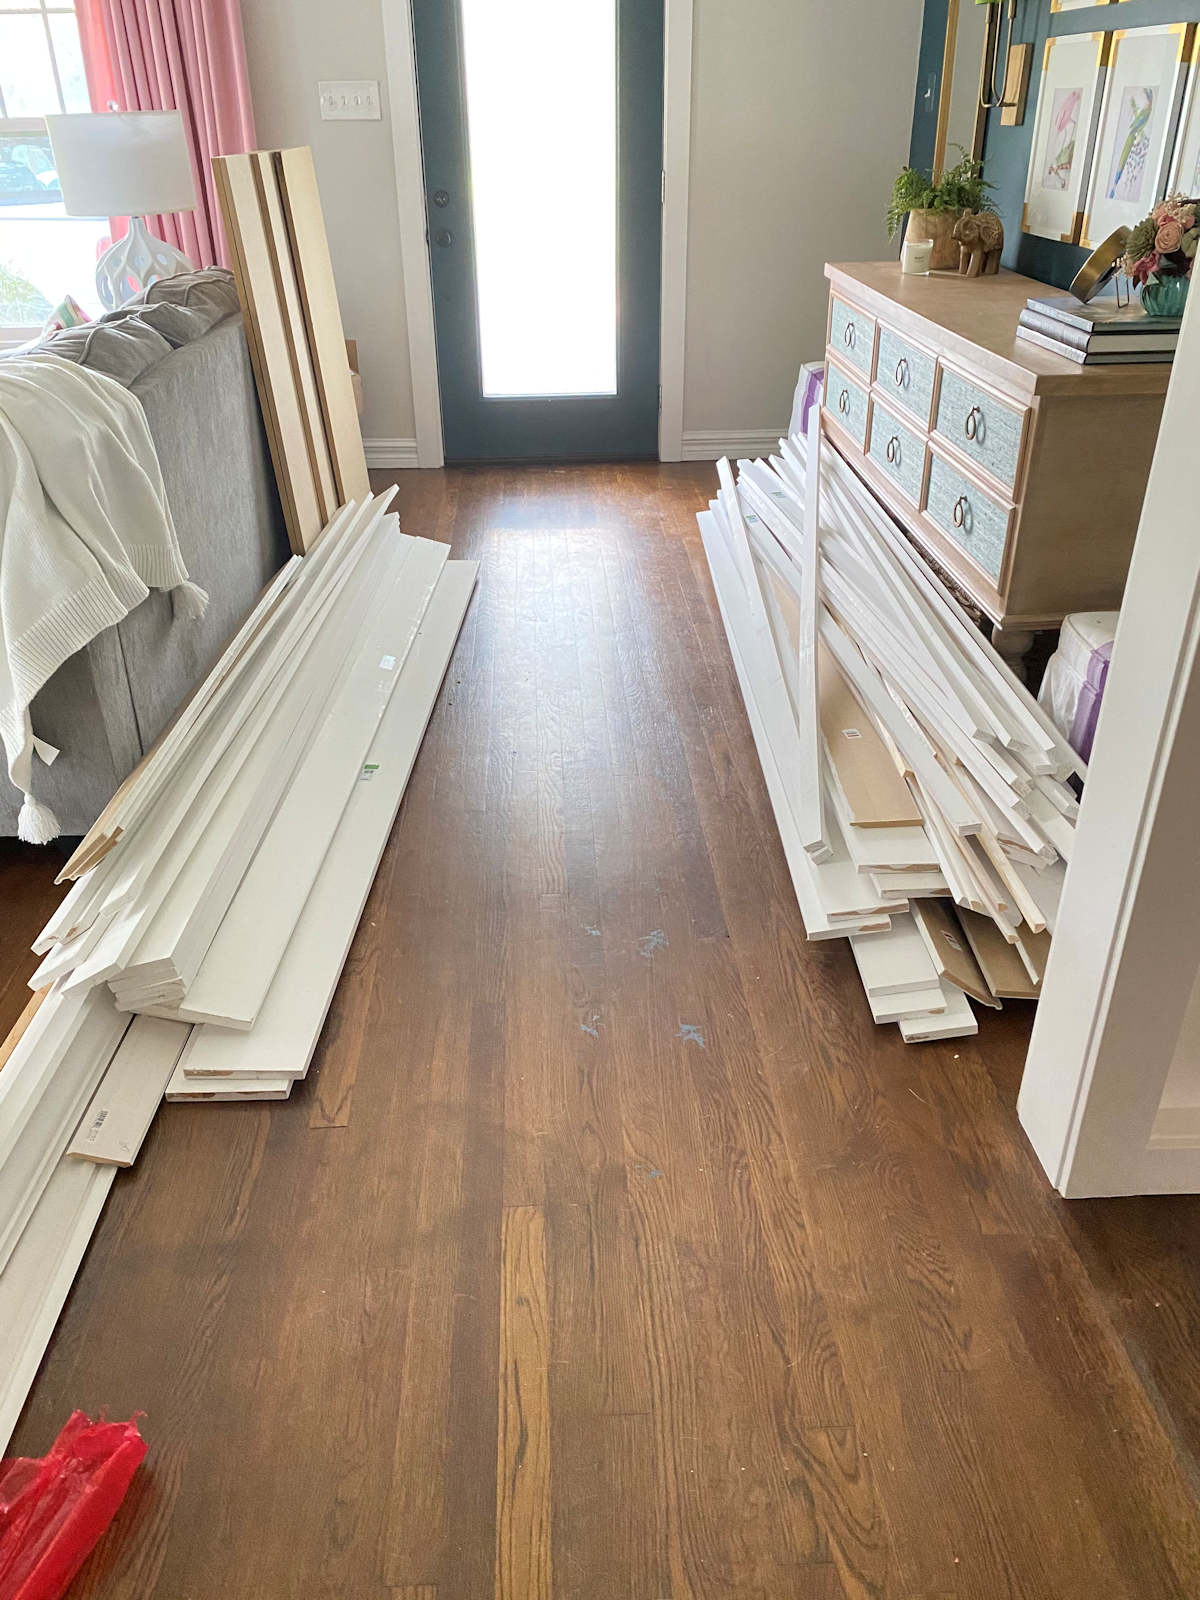
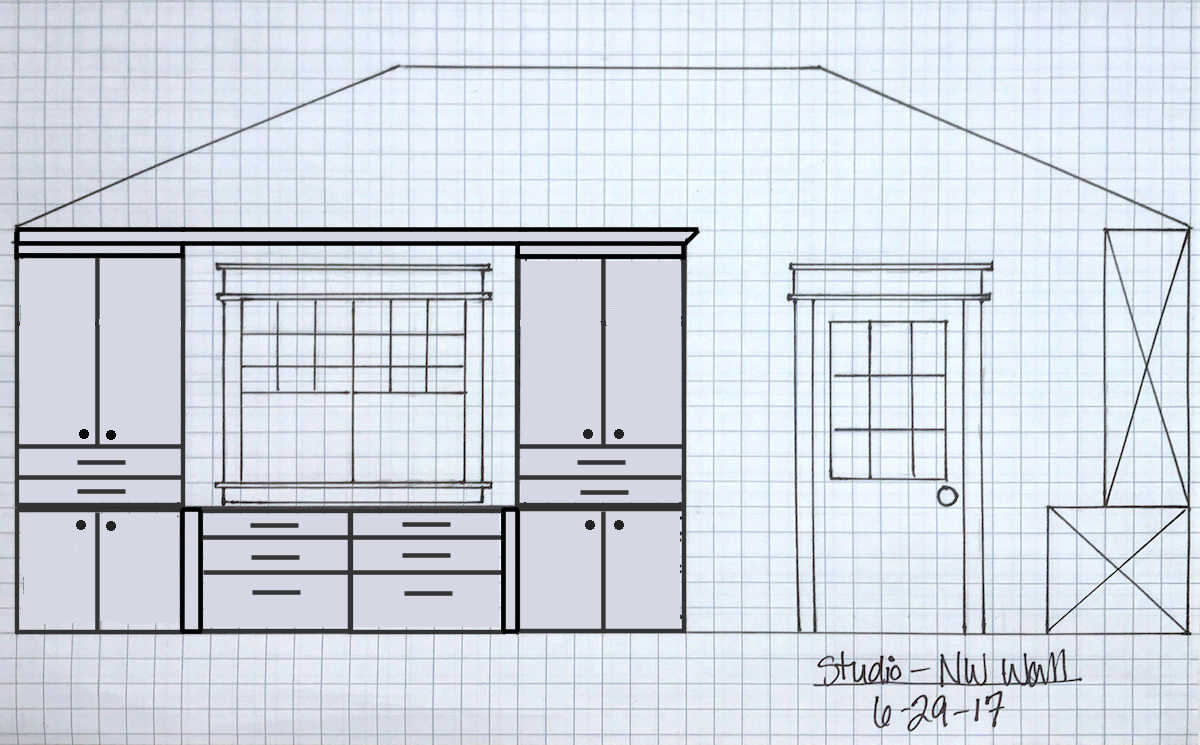
I can’t install the baseboards until the cabinets are built and installed since the baseboards will wrap around the bases of the cabinets.
I love your fearlessness with taking apart light fixtures, rewiring them, and making them your own! You’ve helped me have the self-confidence to take on so many projects over the last 7 years. Thanks for sharing!
Love all the lights and your updated picture! You look beautiful! I think that wallpaper might be my favorite thing ever. It just makes me happy when I see it! I love your blog!
I watch for your posts, and am amazed at all the different things you do so well. Loving the work space.
The lighting all looks good. I especially love the pendant light above your desk. The shade is perfect.
WOW – you are amazing. Love the look of all of these. I think you could almost do ANYTHING! I too have ordered from a company that I assumed was in the USA. Months later, when the items arrived, they were of SUB-STANDARD quality, and it cost more to return than was worth it. Since the colors were even off, I asked them for a return label. They offered money to keep it – (they probably STILL make a profit) In the end my credit card company took it off, and when they didn’t challenge it, the refund was permanent. Then I donated them as well. I guess the best advice is to NOT order from China and check out all the companies better. So many of them advertise in the middle of Pinterest – I still see this company and avoid all of them.
There’s nothing blah about anything you do. You never cease to amaze me. Carry on!
Love the lights, all of them. And wasn’t it great to have a table to use for this project!!!! Love your sight!!!
I just love reading your blog! I look forward to each one of them, thank you!
Am in love with the pendants over the work area.
I just don’t think there is anything you cannot do. Love your choices, as usual!
Is there any worry about the heat from bulbs melting the adhesive you used on the velvet shades? That would be my only concern. It looks great!!
Nope. I only use LED bulbs now. They don’t get hot enough to melt or damage anything. 🙂
Wonderful and thanks for the info in your response.
I’m sure for you, this was all an easy fix, but not me. Those lights would have gone to the donate box, and I would have chalked it up to ” buyer beware” in my head! ( I’ve done that with so many things over the years! ) I do love the finished product though, I just know I wouldn’t go to the trouble; I would probably end up settling for something close in appearance. :-/
Krist I love your new picture! You are doing so well on Keto.
You look so good.
I also like your studio and the lights…especially the one over your desk. I think it’s far enough from your work space that it won’t collect sawdust and such, and it is so pretty in velvet.
You do such good work. Matt must be so proud of you. God bless.
Since I also follow your Keto blog, I’ve been expecting a new profile picture….NICE! Love the studio progress, too. Great job!
Beautiful work.
Love your diy velvet lampshade!
Love the lights! And love your new photo, too!