DIY Bathroom Vanity With Turned Legs – Part 1
My DIY bathroom vanity with the turned legs is so close to being finished! I still need to add a bit more trim, and then do some wood filling and sanding before I’ll be ready to paint. But right now, this is how it looks…

I was mainly inspired by this vanity…
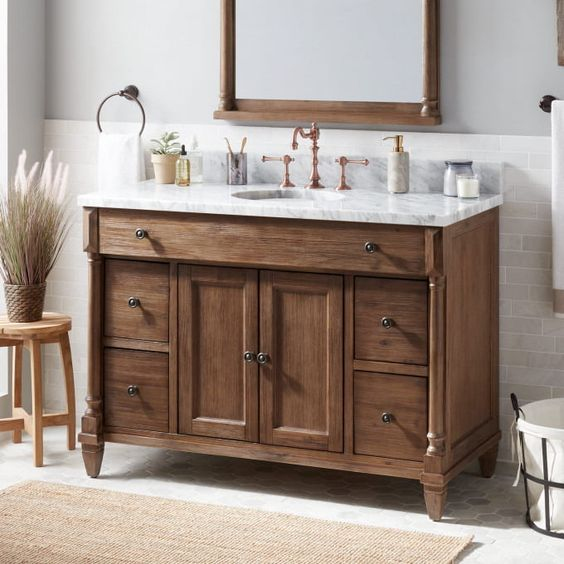
You might be wondering why I didn’t just purchase that vanity if it’s what I wanted, and it was even the right width, right? Well, there was one problem. My bathroom is right off of my studio, and I wanted to use a standard size kitchen sink in the bathroom, which is considerably larger than a standard bathroom sink. So that required a custom-built vanity to house the kitchen sink.
So let me show you how I built my vanity.
Assemble the turned legs
I started by finding some turned legs that I could use. I could have ordered custom turned legs with the perfectly-placed and perfectly-sized blocks for my vanity design, but those would have been expensive. And I just happened to have some turned legs on hand from an old side table. (I never throw away turned legs!)
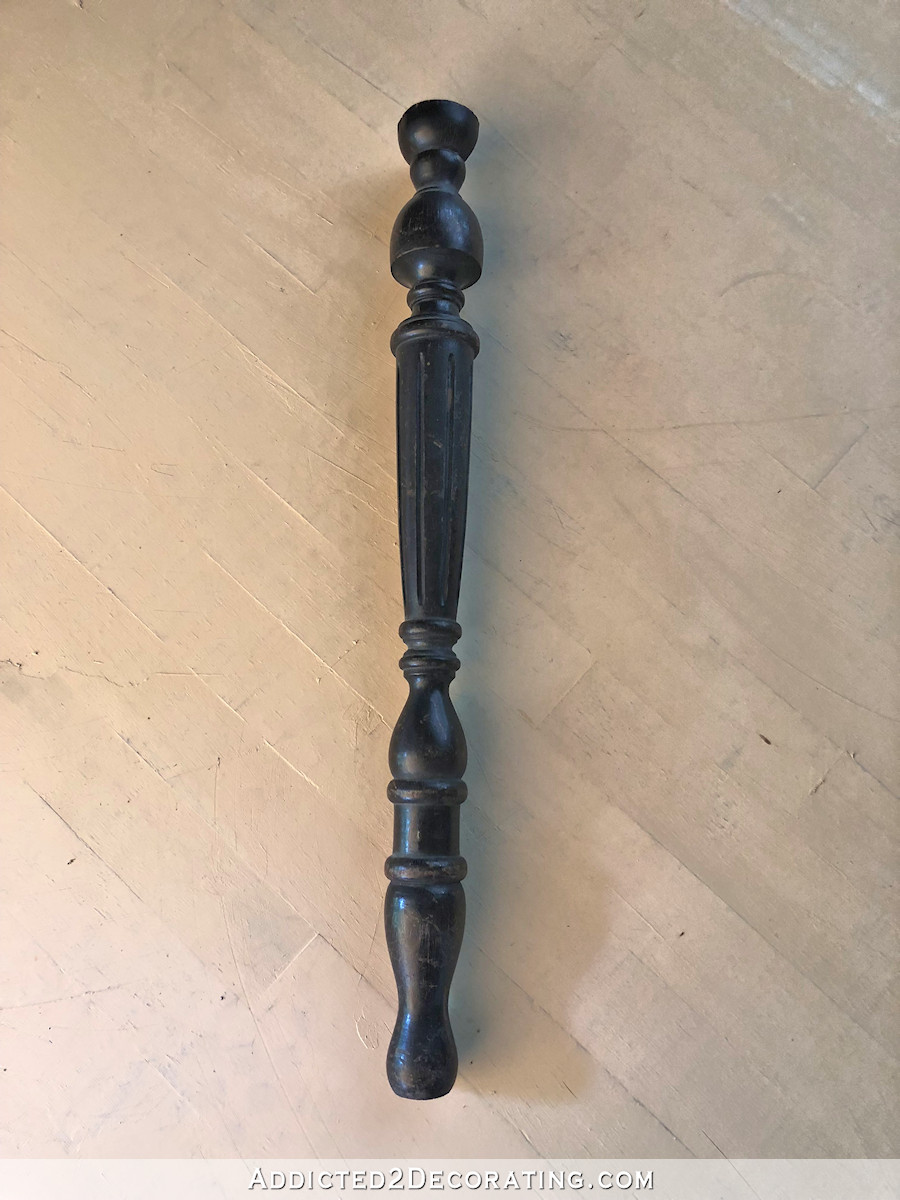
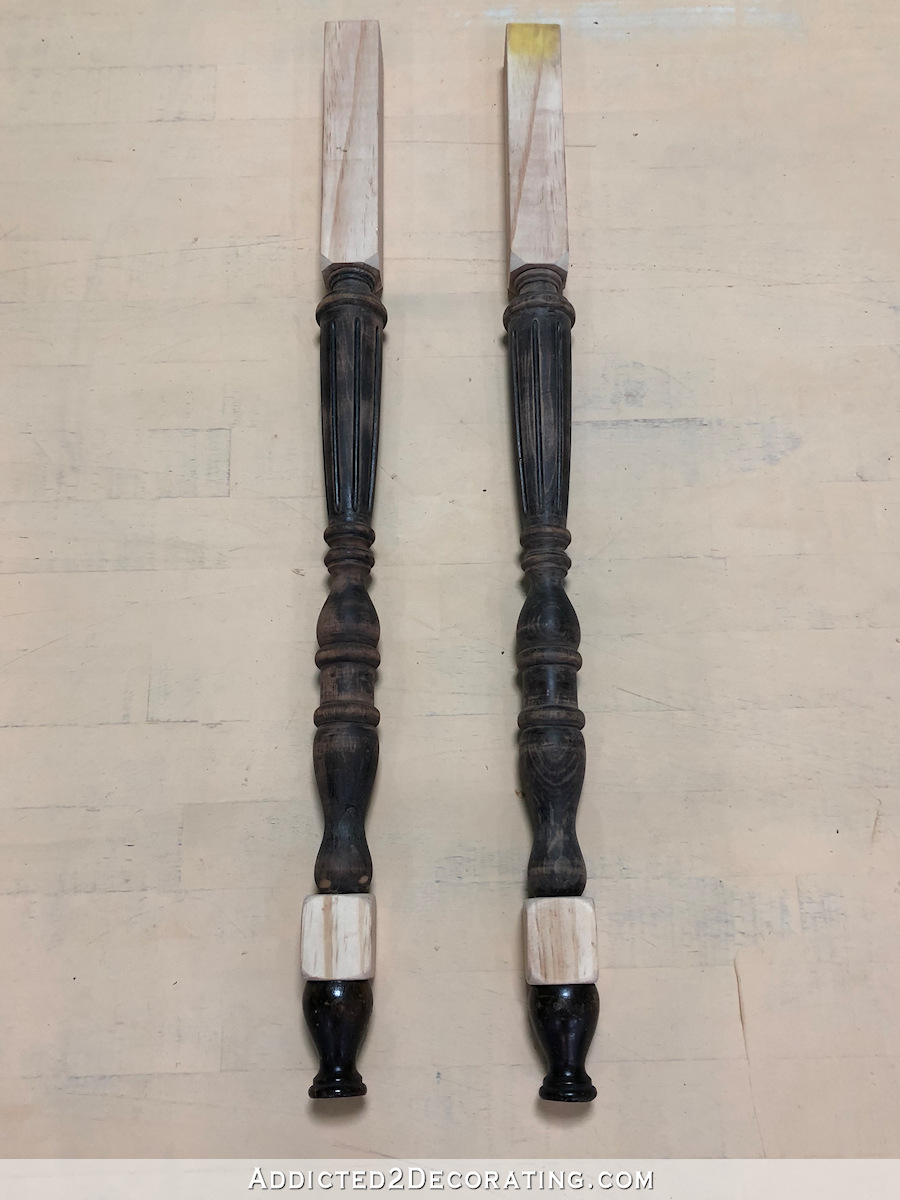
So using my miter saw, I carefully cut the legs apart in strategic places, and then using 2″ x 2″ lumber, I cut blocks that I could add to the turned legs.

I don’t have any secrets to impart to you regarding cutting turned legs on a miter saw. It’s a pain because the legs don’t just naturally sit straight and square. You kind of have to hold it where it looks right, eyeball it to see if it looks straight and square, and then cut very slowly to make sure you’re not veering off and making a crooked cut.
Even being as careful as possible, I still never get my cuts just right, so I rely heavily on my sander and 100-grit sanding discs to even up the cut. Once everything is assembled and caulked, those slightly “off” cuts won’t be noticeable.
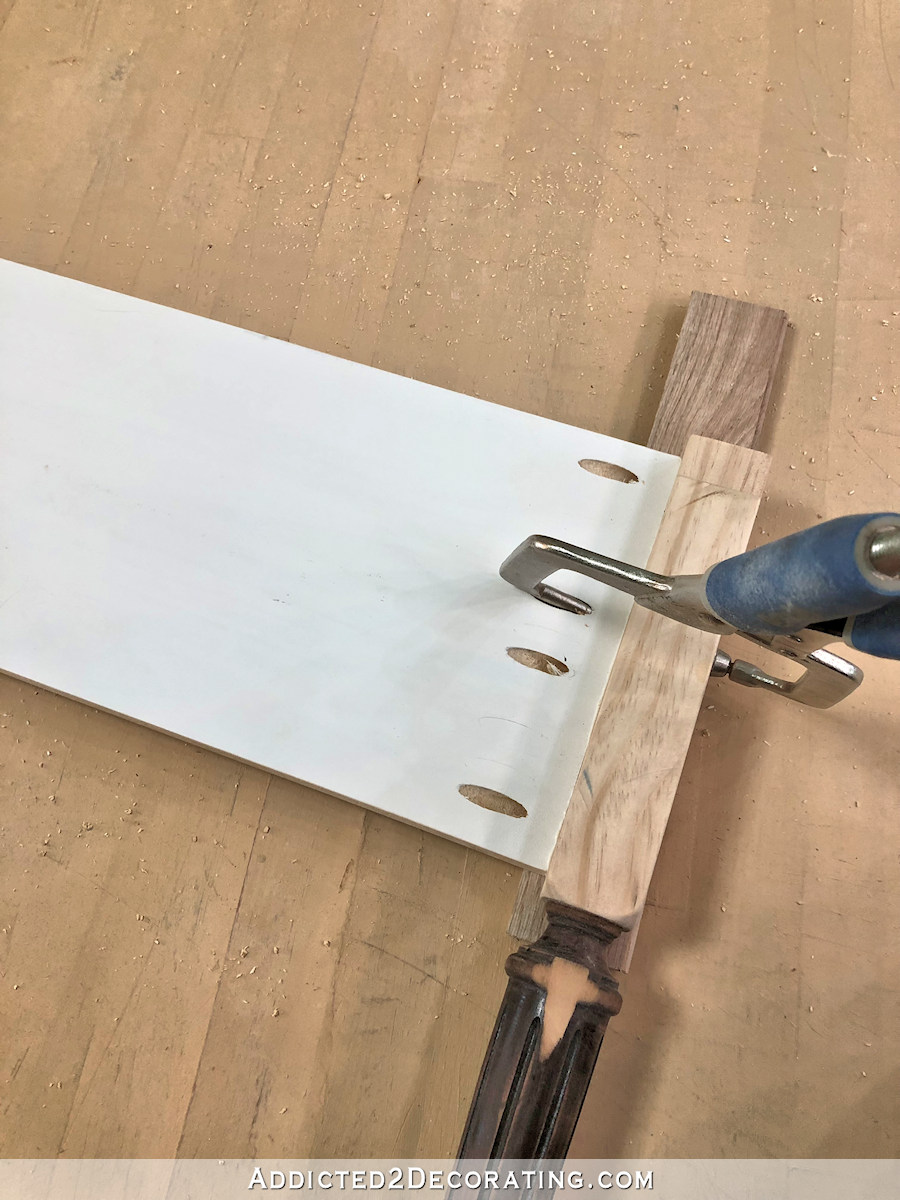
My sink is nine inches deep, so I cut the top block to 9.5 inches high. And then I cut the bottom block to 2.5 inches high. With all of the pieces cut, I reassembled my turned legs with the blocks using wood glue and 3/8-inch fluted dowel pins. Just drill the holes in the ends of each piece, and use the fluted dowel pins and wood glue to hold the pieces together.
With those assembled, I set them aside to let the glue dry and moved on to the sides of the vanity.
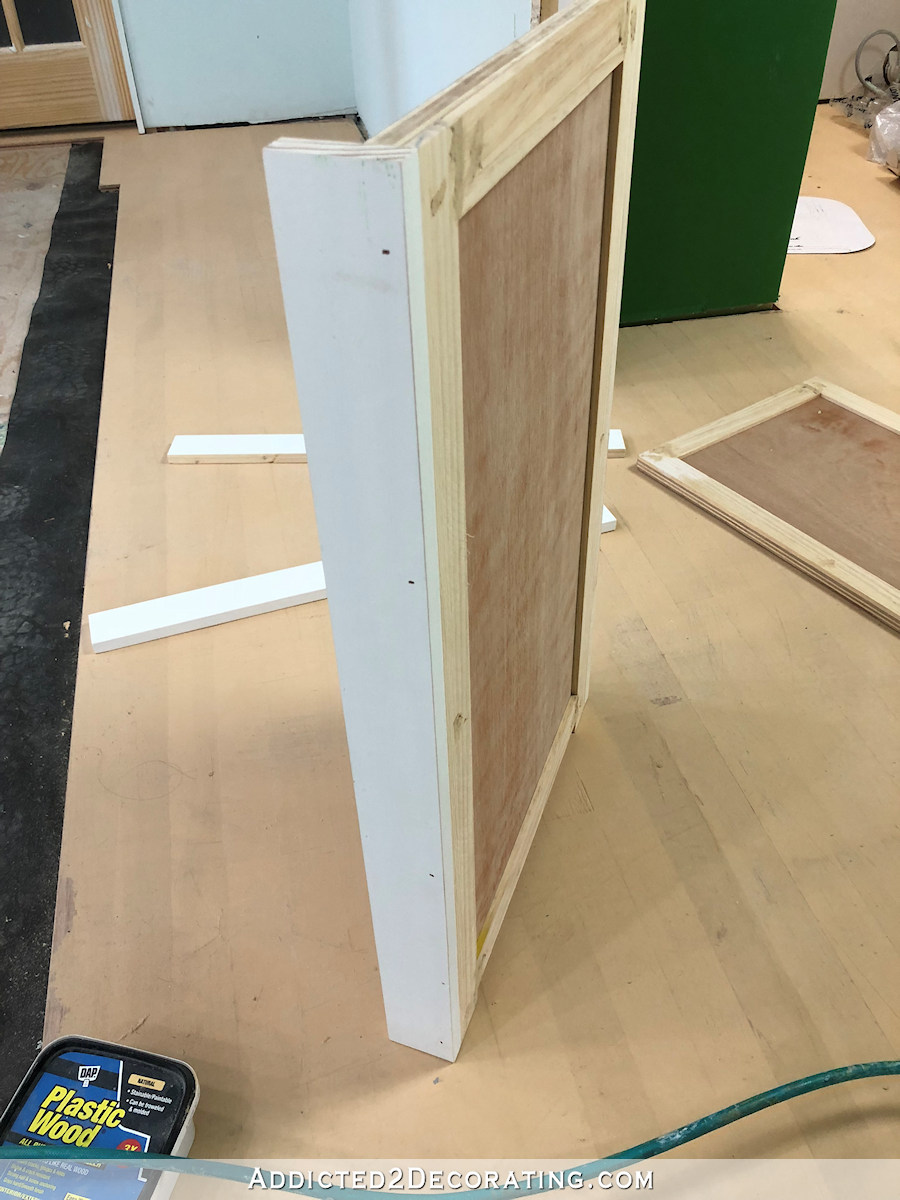
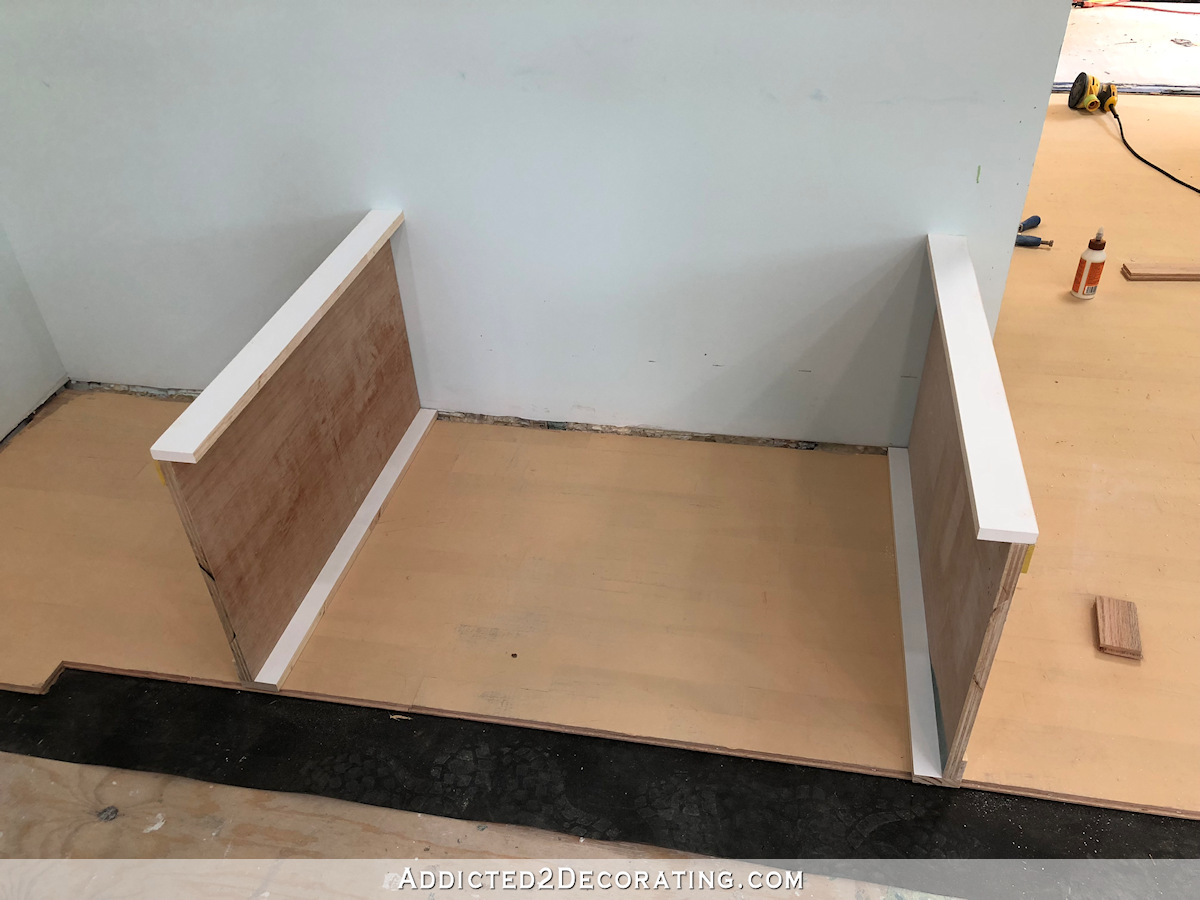
Assemble the vanity side panels
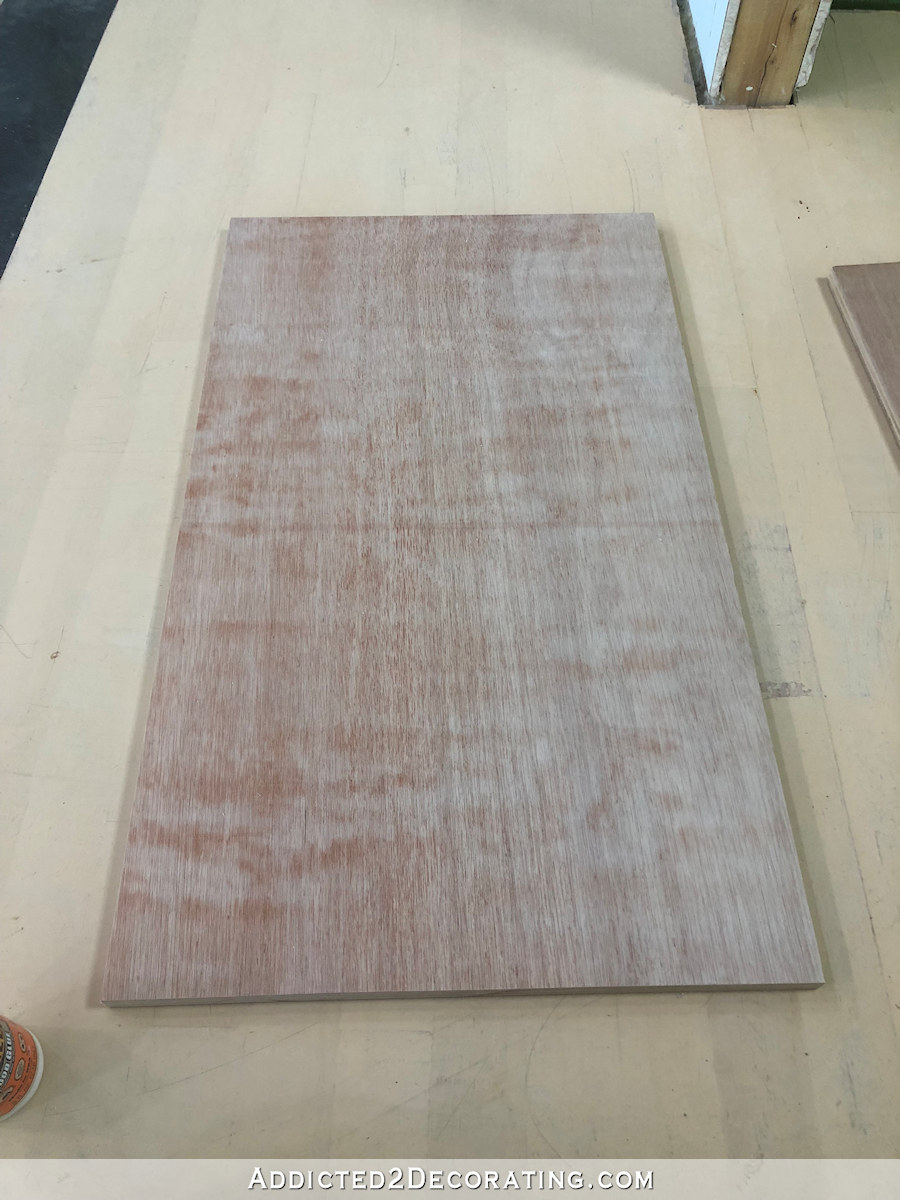
To assemble the side panels, I cut two pieces of plywood to the depth that I wanted the vanity minus the thickness of the block on the turned legs (mine side panel came out to 17.5 inches wide) and the height to fit from the top of the top block on the turned legs to the bottom of the bottom block (mine is 30.5 inches high). You will need to adjust this measurement based on (1) how deep you want your vanity to be, (2) how tall you want your vanity to be, and (3) how tall the feet are at the bottom of the turned legs.
Next, using my table saw, I ripped a 1.75-inch square dowel rod into 1/4-inch slices, and then used my miter saw to cut two pieces to the height of the side piece. I attached them using glue and 5/8-inch finishing nails.
And then I cut two more pieces to attach horizontally on the side piece and attached them the same way.
Since I plan to add trim along the bottom of the vanity, I raised the bottom piece up a bit from the bottom of the side panel, as you can see above. The finish trim will cover that area.
I used wood filler to fill the nail holes and cracks, and then assembled the other side panel in the same way.
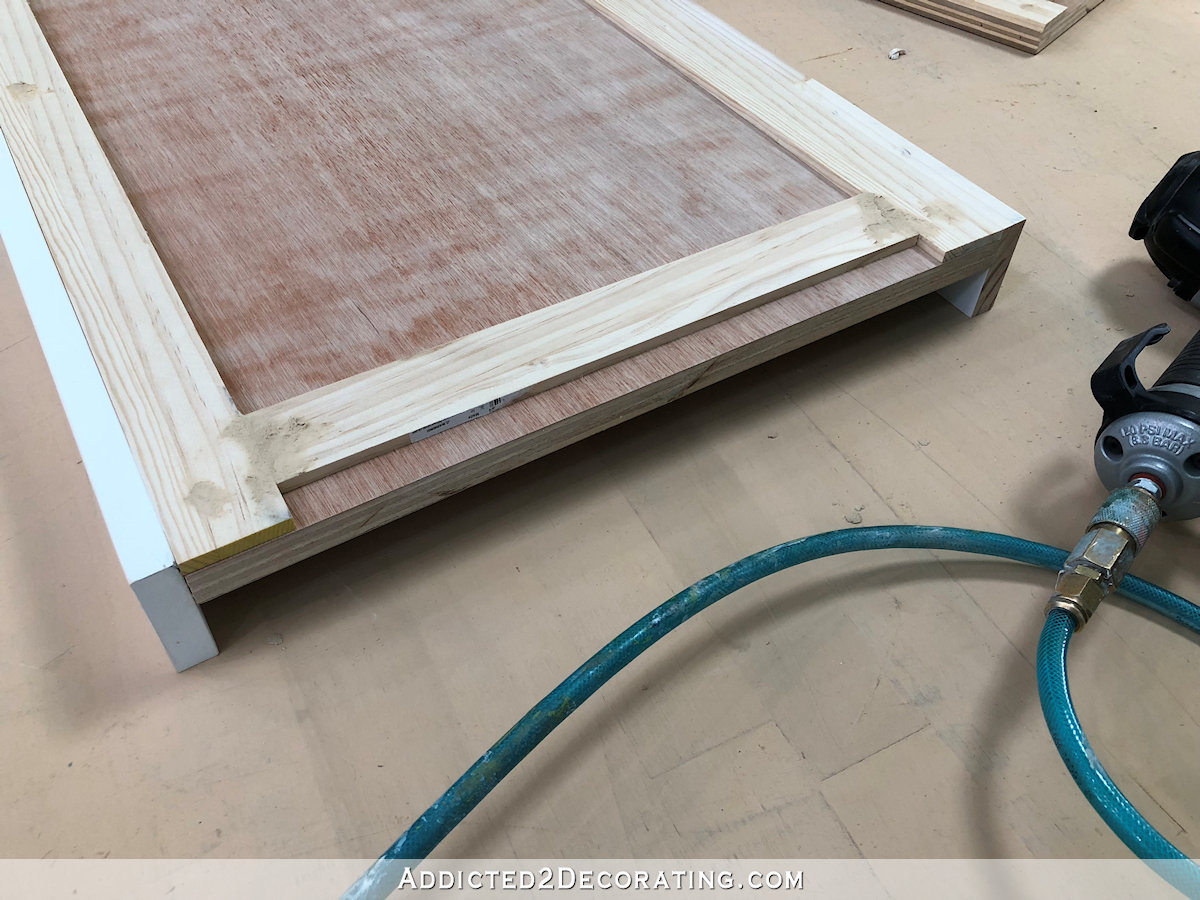
Next, I used 1″ x 3″ lumber, cut to the height of the side panel, and attached it to the front and back edges of the side piece using 1.5-inch 16-gauge finish nails and wood glue.
Here’s another view of what that looks like…
And another view…
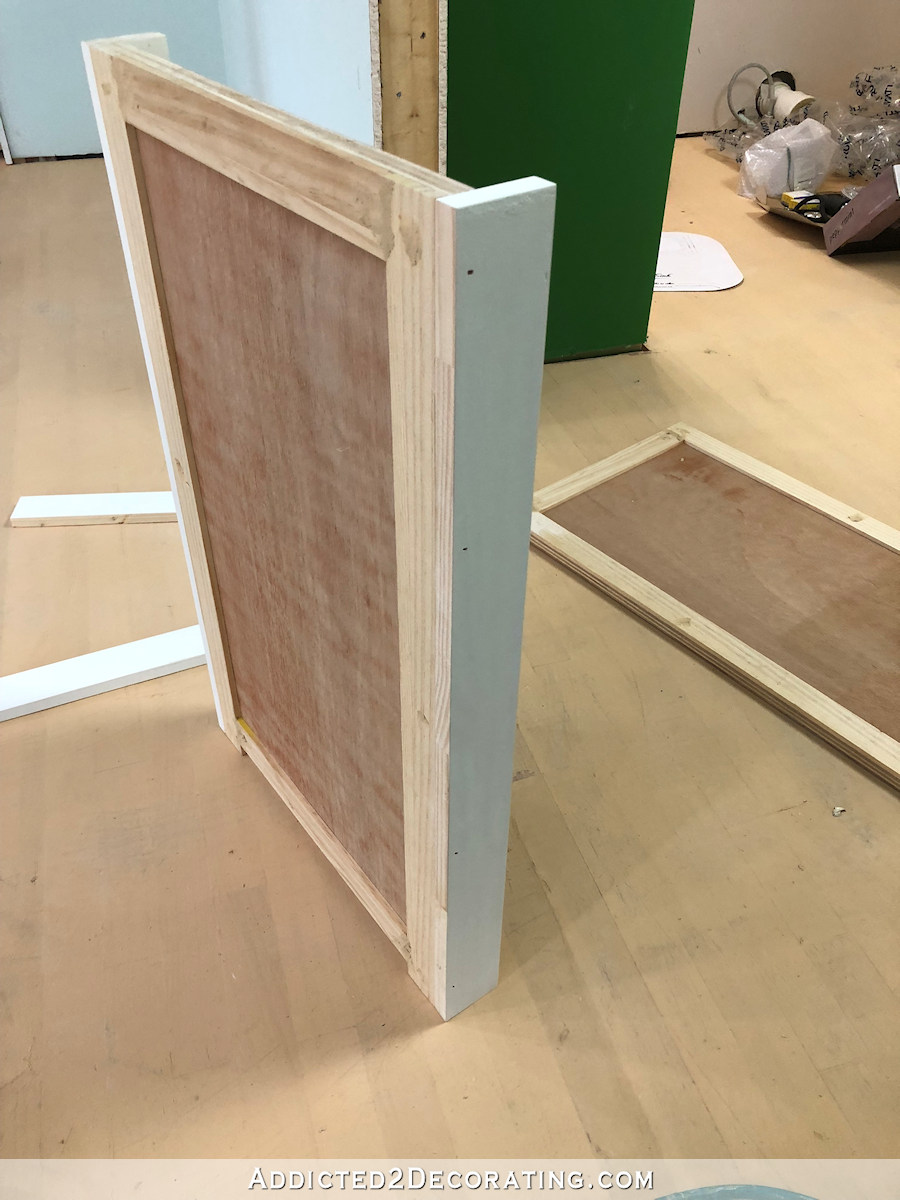
I repeated that process on the other side panel.
With the vanity sides assembled, I set those aside and worked on the apron front.
Assemble the apron and turned legs
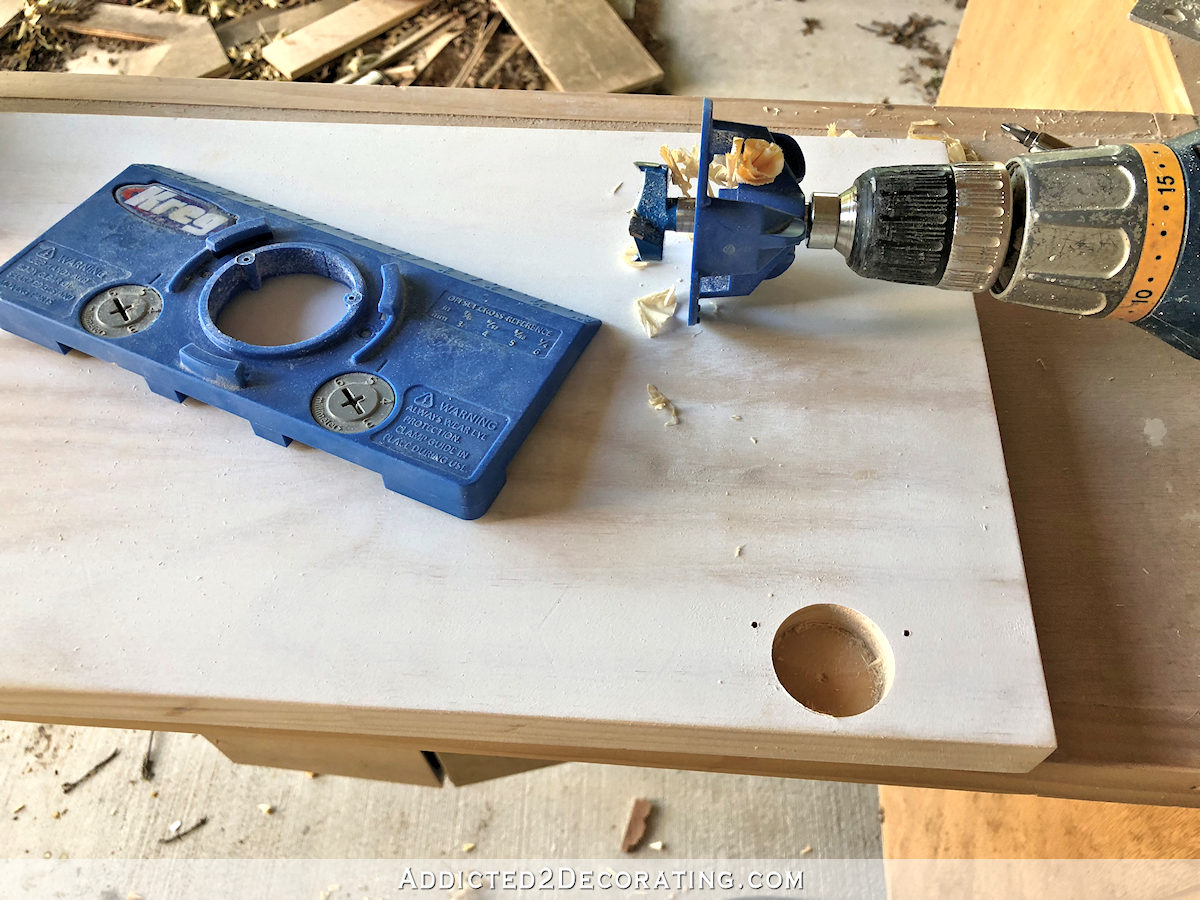
I started with a piece of 1″ x 12″ pre-primed finger joint lumber, and using my miter saw, I cut it to the width that I wanted the vanity (taking into account the width of the blocks on the turned legs). And then using my table saw, I ripped the piece so that it was nine inches high (i.e., the height of my sink). I then using my Kreg pocket hole jig to drill pocket holes on the back side of each end.
And then I used wood glue and 1.25-inch screws through the pocket holes to attach the front apron piece to one of the turned legs.
After repeating that process on the other side, this is what the front apron and turned leg assembly looked like…

Attach front apron to the side panels
Next I needed to attach the front apron and turned legs to the side pieces. I placed the side pieces on the floor lying on their back edges, using the wall to hold them up…
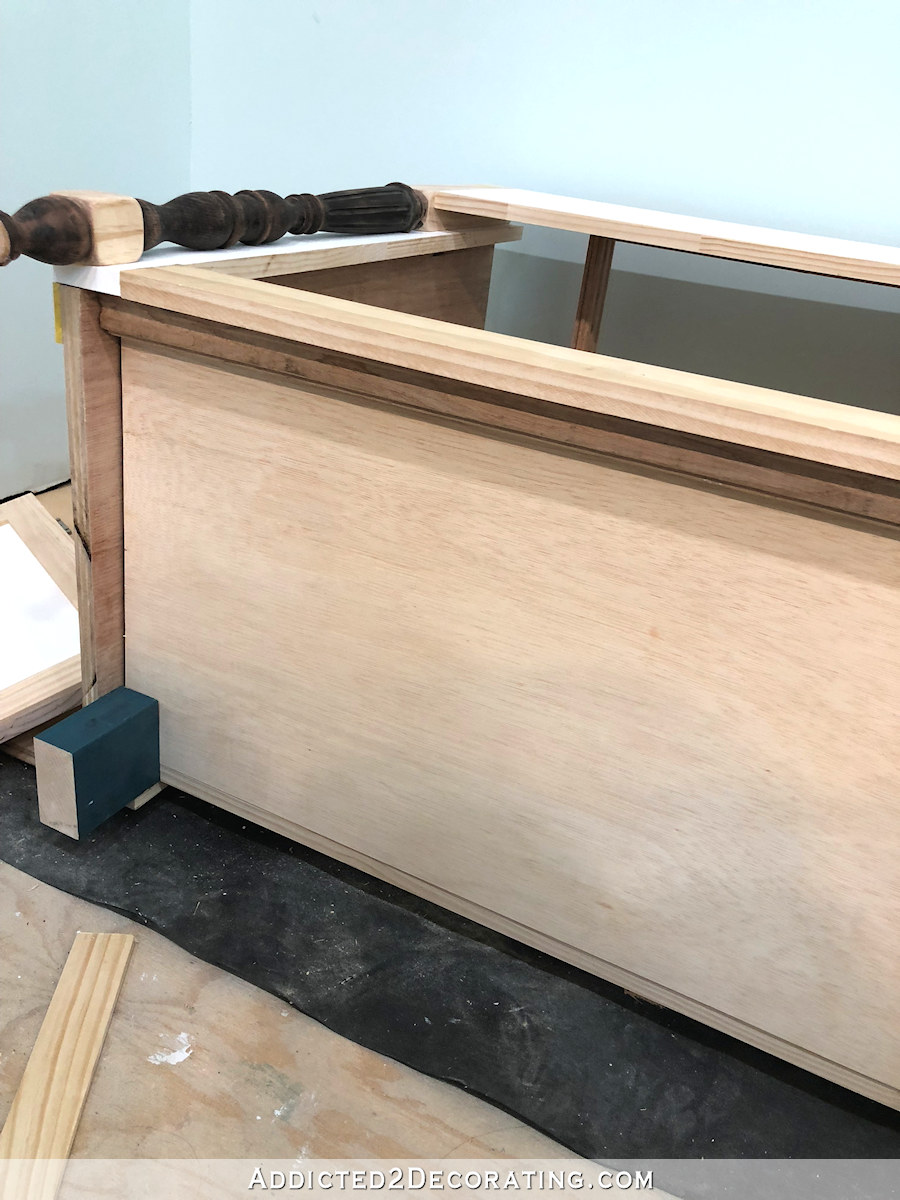
And then I placed the apron and turned legs on top. After getting everything lined up (i.e., the top of the blocks on the turned legs lined up with the top of the side panels, and the side edges of the blocks on the turned legs lined up with the side edges of the side panels), I glued them into place and then nailed them into place using 1.5-inch 16-gauge nails through the backs of the 1″ x 3″ lumber and into the backs of the blocks on the turned legs.

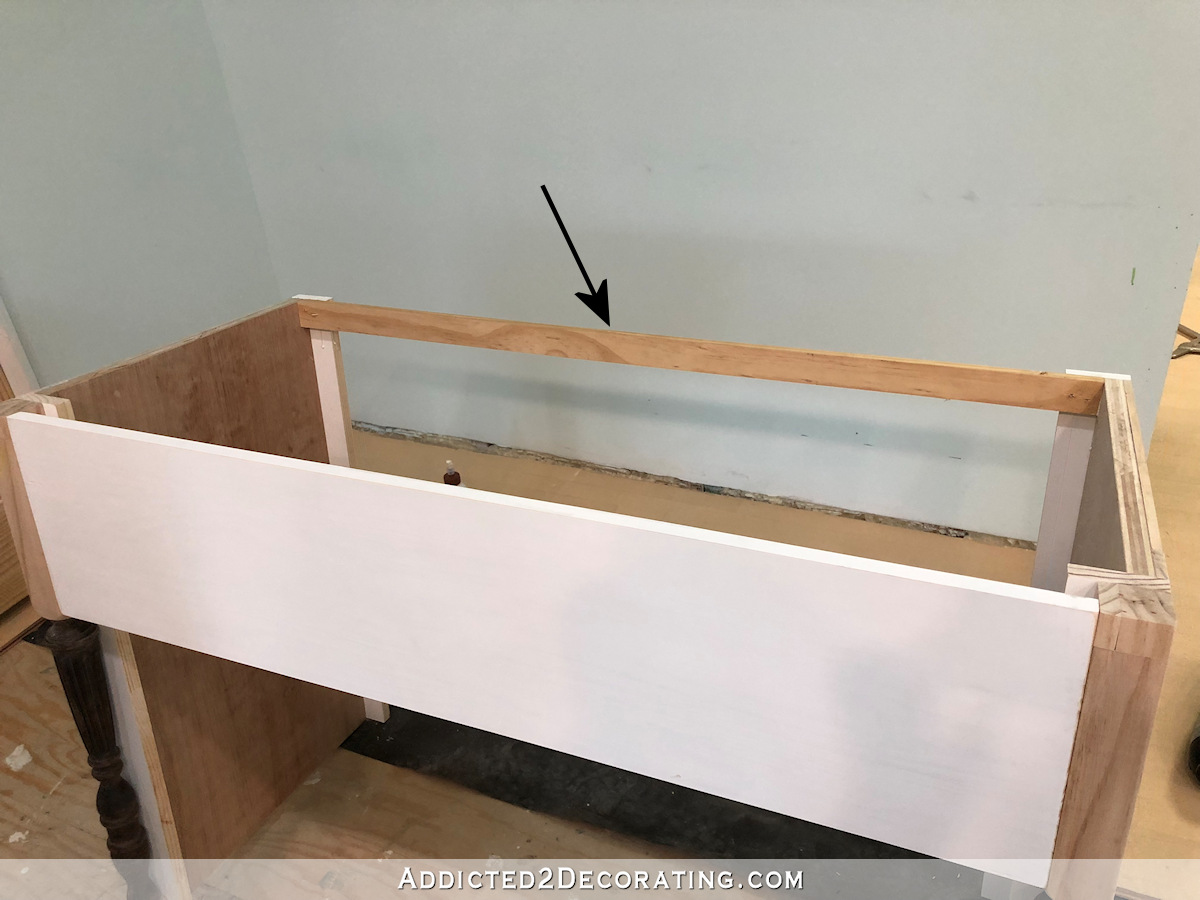
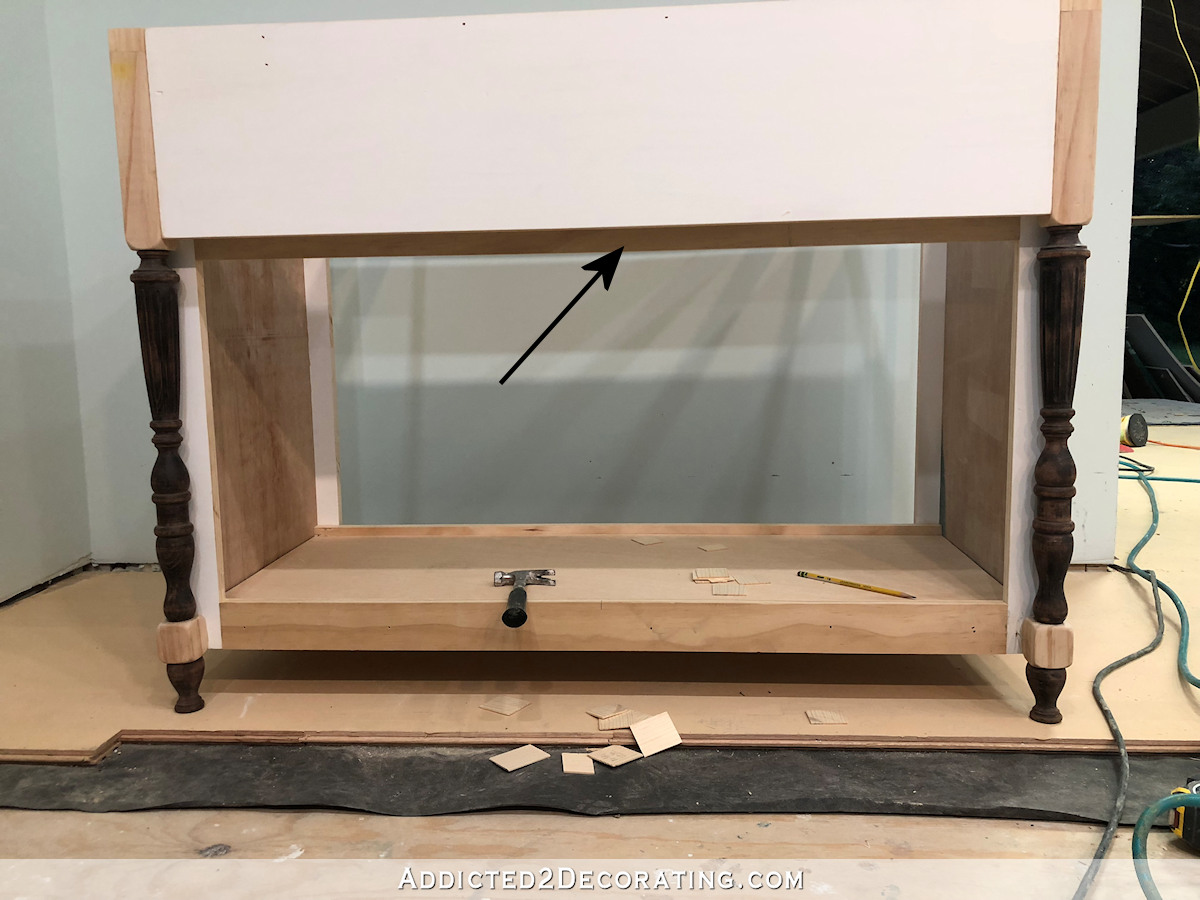
After repeating that on both sides, and then giving the wood glue a little while to dry a bit, I stood the vanity upright and attached a 1″ x 2″ piece of lumber across the back, using wood glue and 16-gauge 1.5-inch nails.
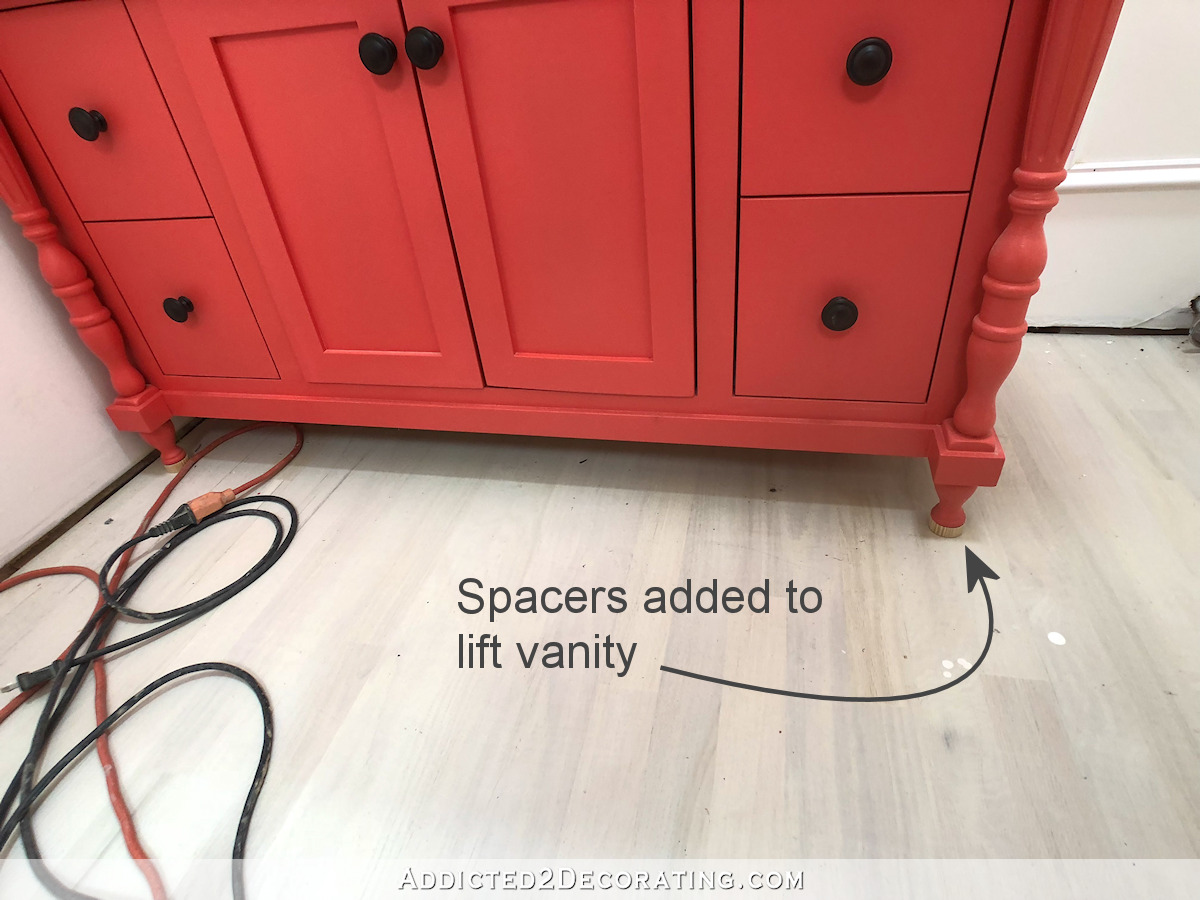
At this point, the vanity sits unlevel since the front has little feet and the back doesn’t, so I just put some scrap pieces under the back so it would sit level so I could test the fit of the vanity in the bathroom.
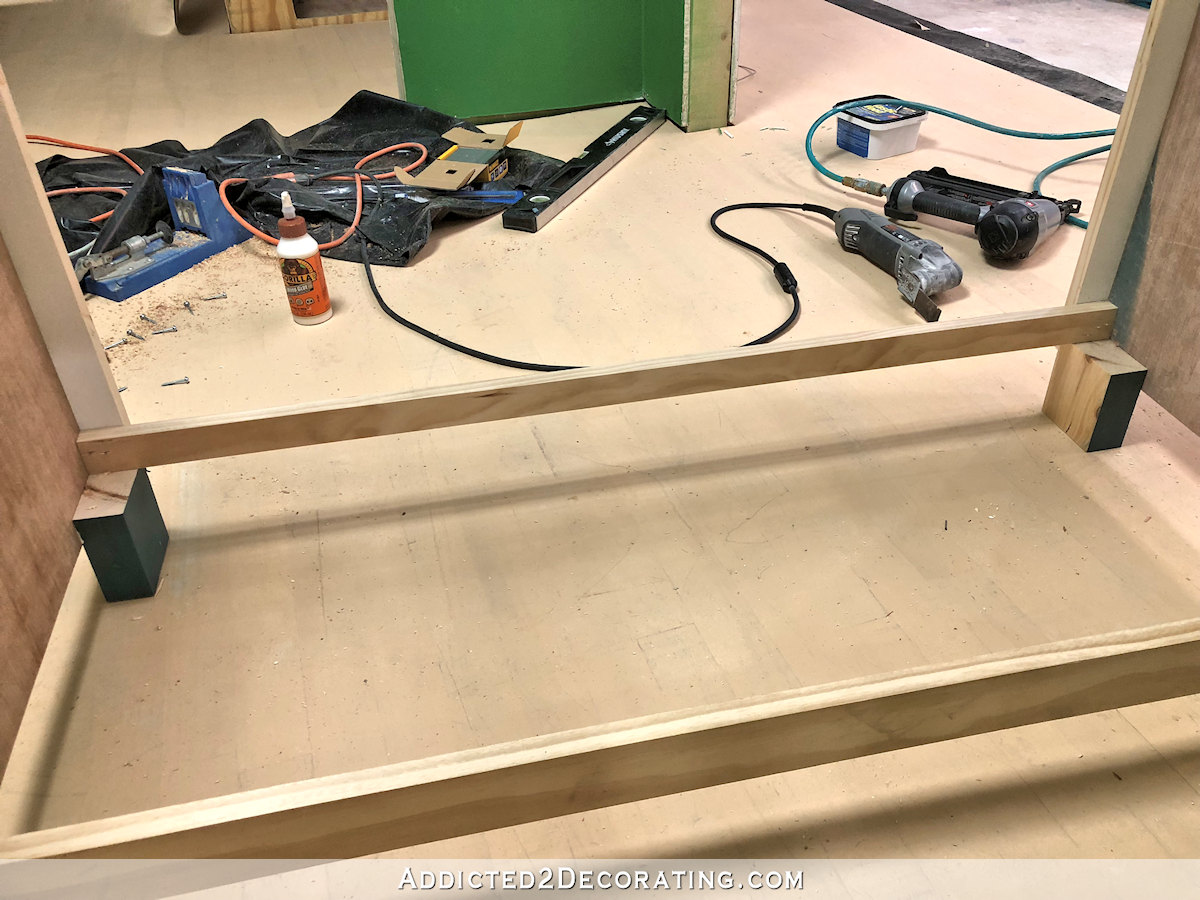
Next I used a 1″ x 3″ piece of lumber and attached it horizontally to the bottom front, using the Kreg jig and pocket screws.
Here’s how that looks from the inside…

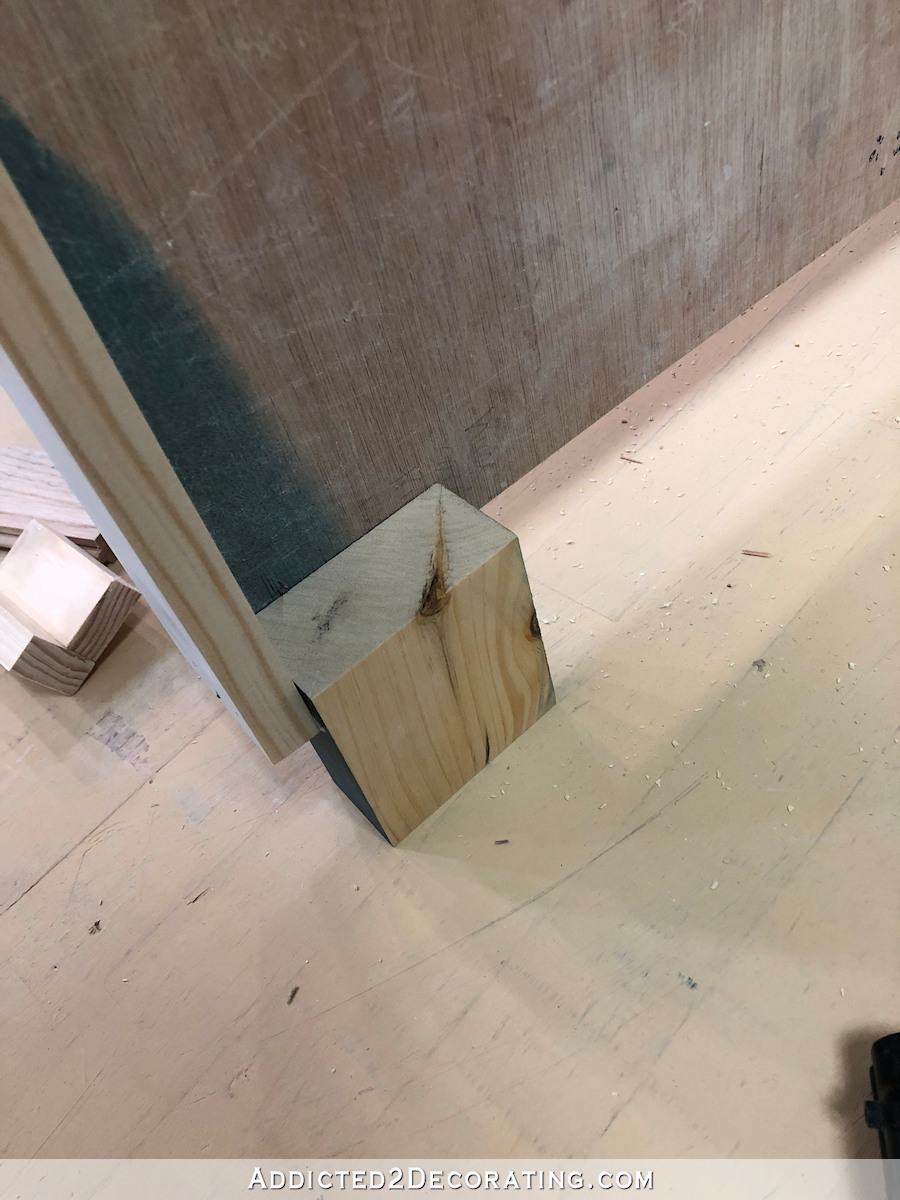
To make the vanity sit level, I cut blocks of wood to use as legs on the back, and just nailed and glued them into place. A piece of 2″ x 4″ could be used for this. It doesn’t have to be pretty right now, because I’ll dress it up later. Right now, I just needed the vanity to sit level.
And then I added one more 1″ x 2″ used as a stretcher along the bottom back of the vanity, placed right on top of the back legs, and nailed and glued into place.
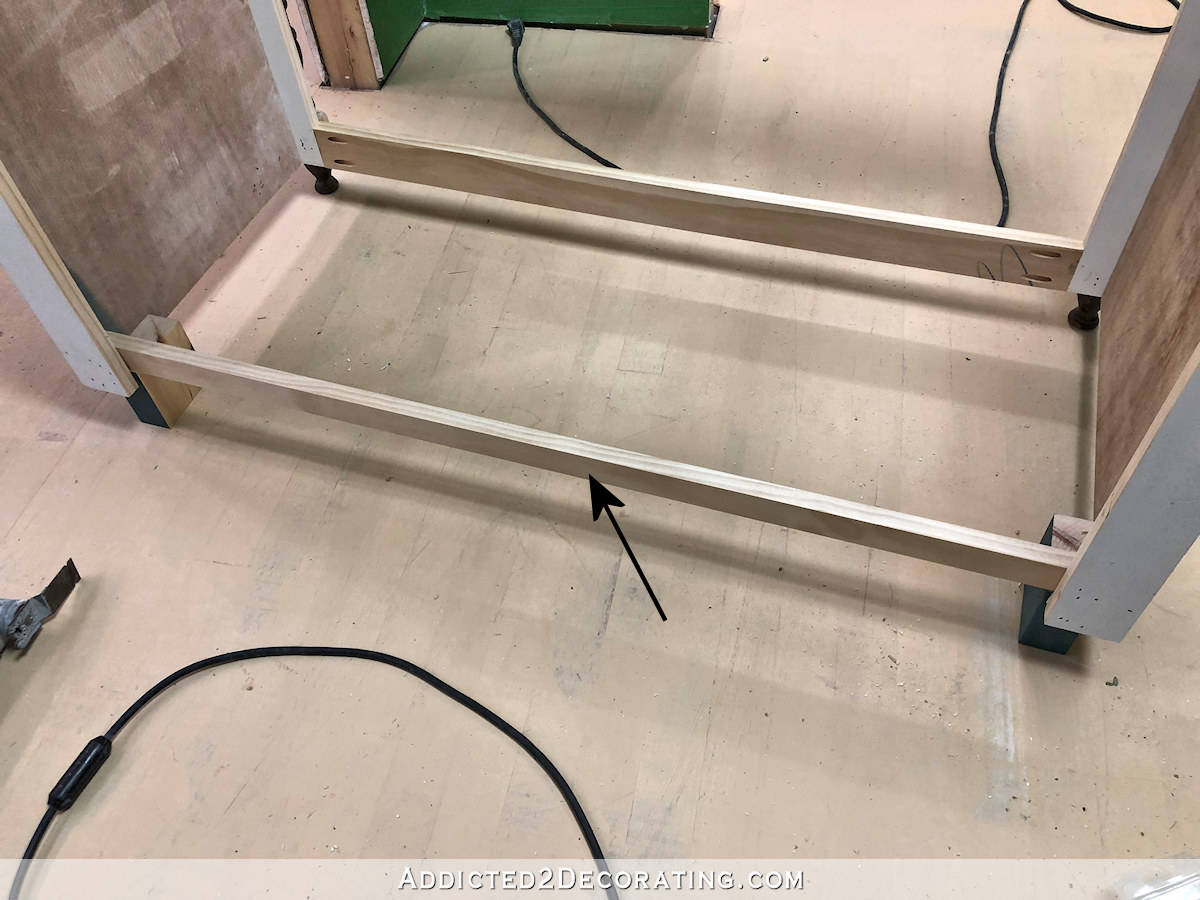
Here’s how that looked from the front of the vanity…
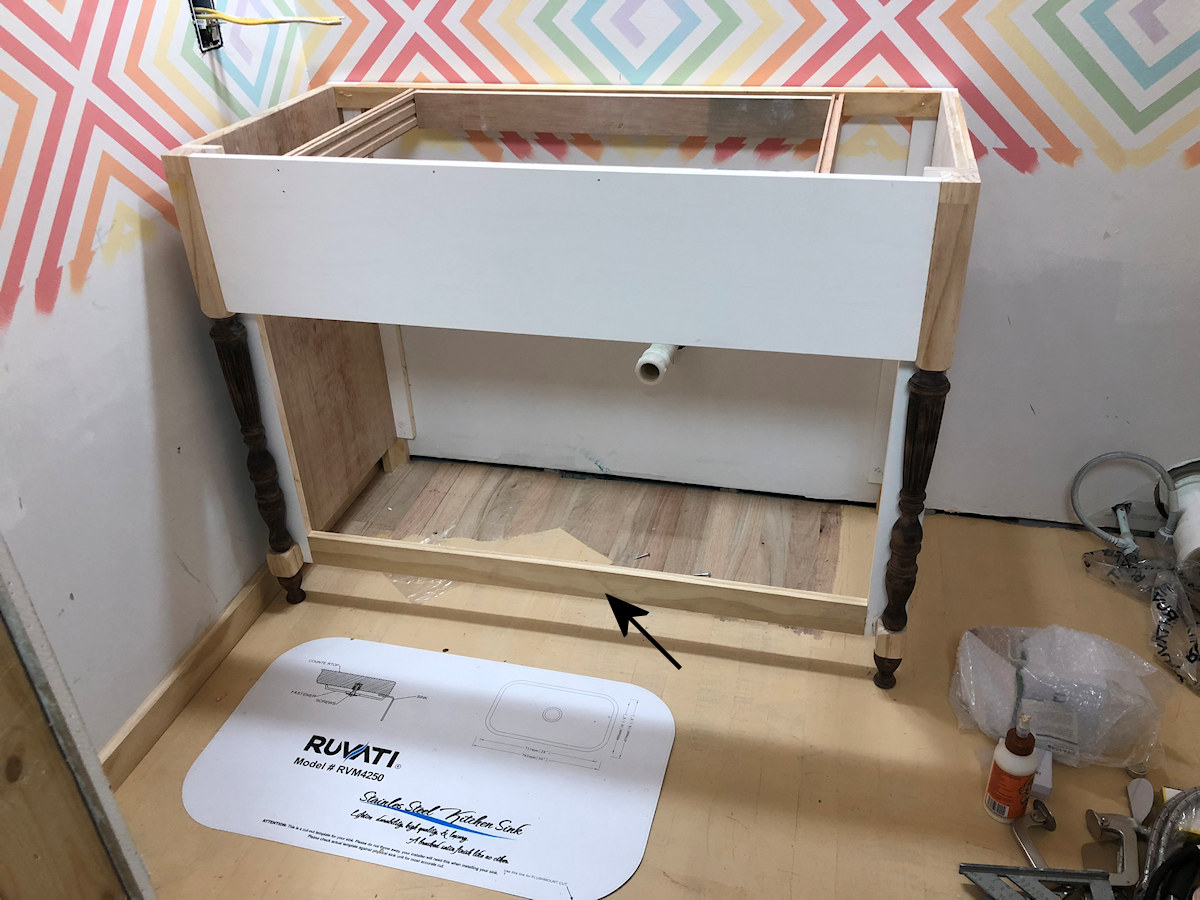
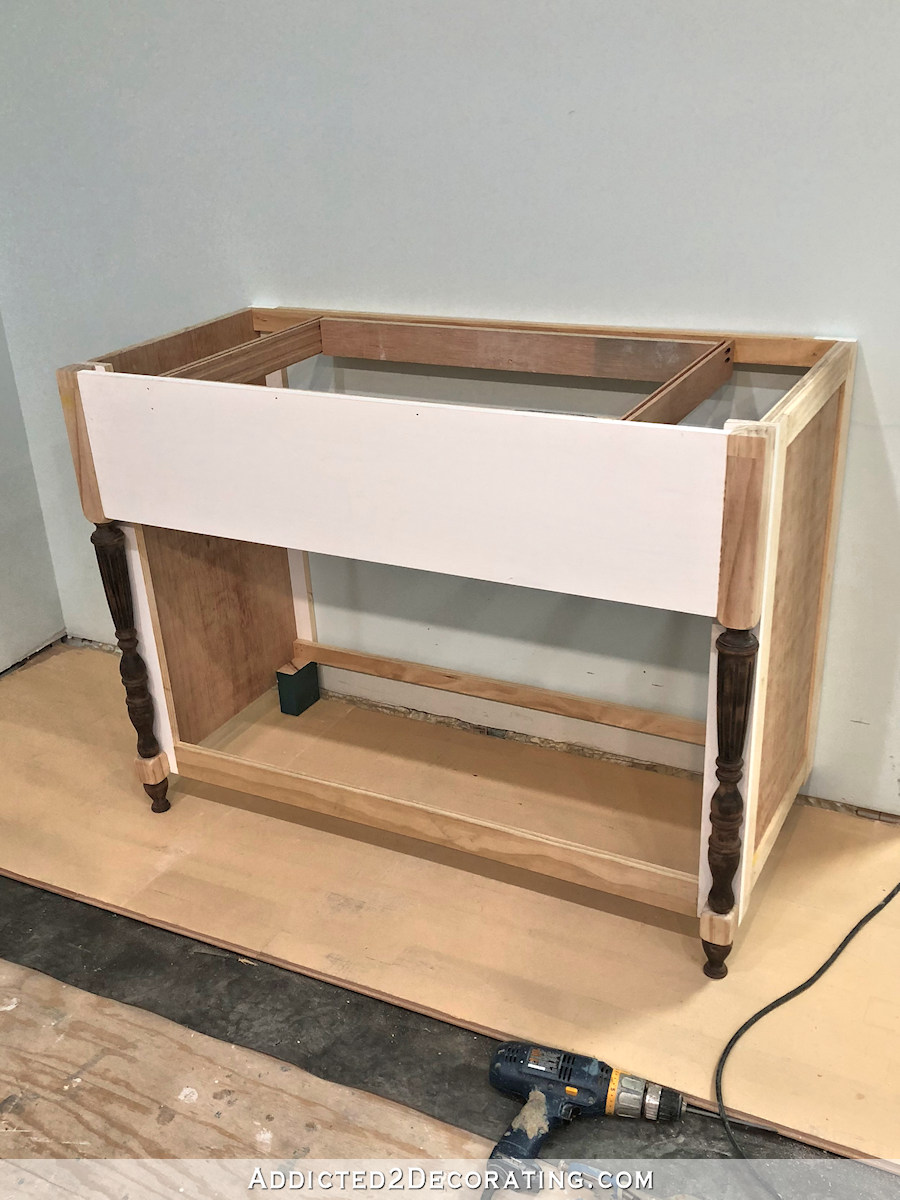
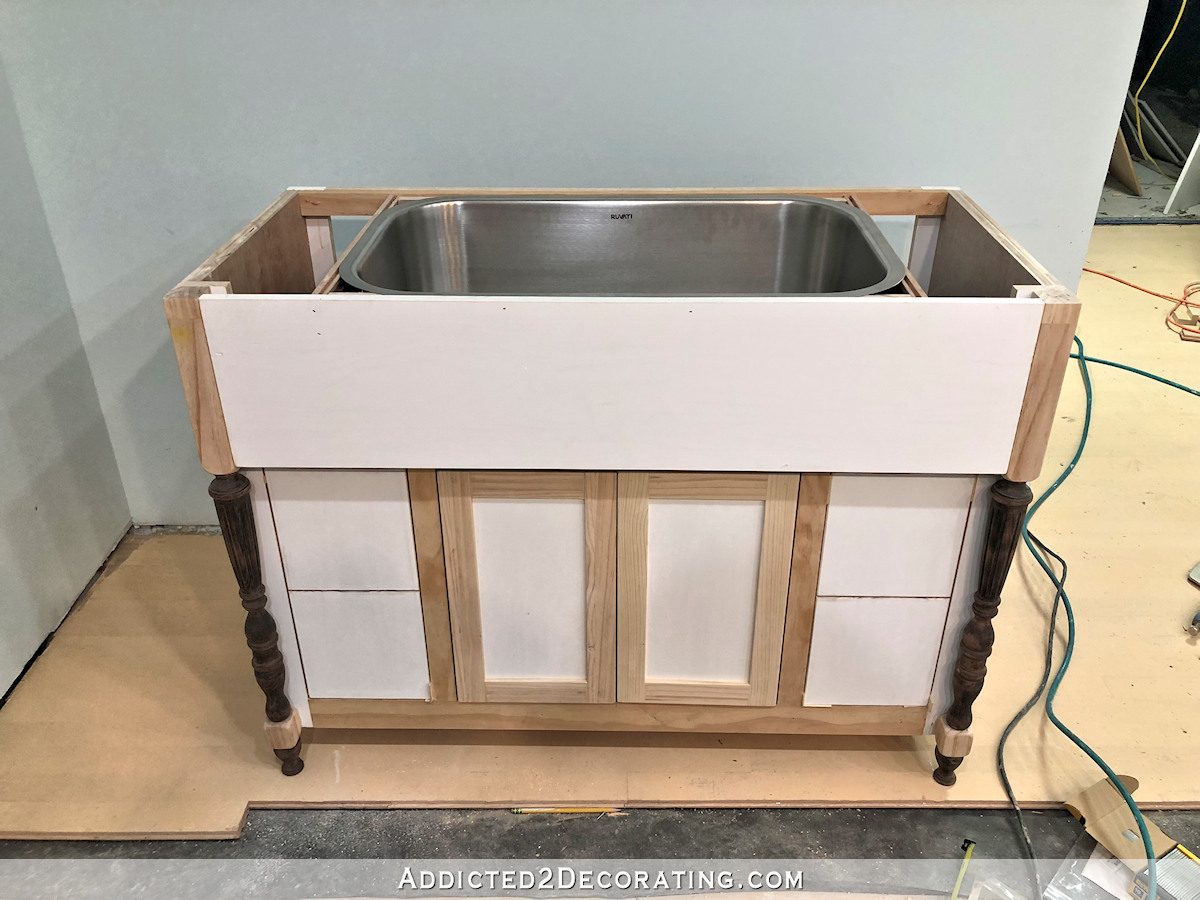
At this point, I used my Kreg pocket hole jig and some scrap oak hardwood flooring to create a frame behind the front apron that fits and holds the kitchen sink. You generally wouldn’t need this, but since I’ll be making my countertop out of MDF, and I don’t trust screws in MDF to hold up the weight of a kitchen sink full of water, I decided to add this extra framing. But again, this is generally not needed.
So this is what it looked like at this point…

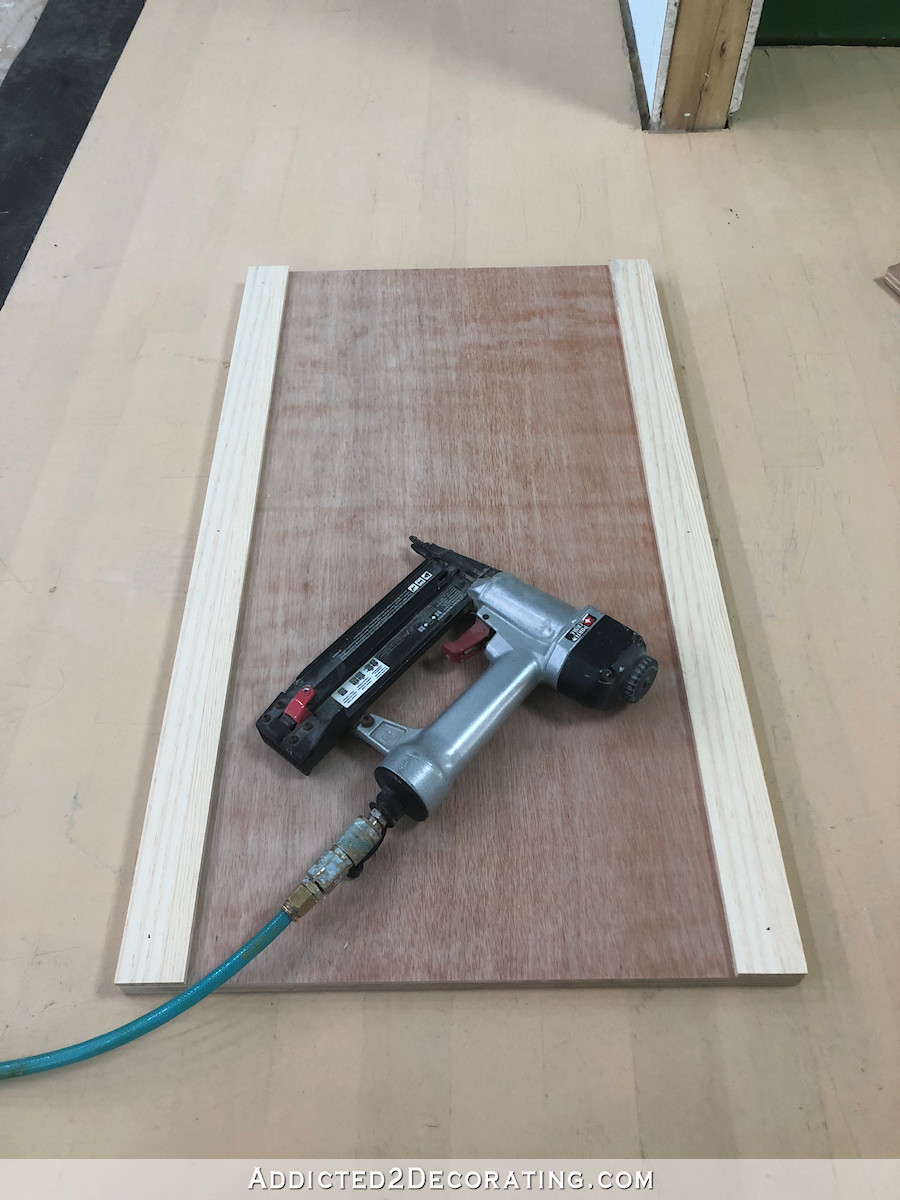
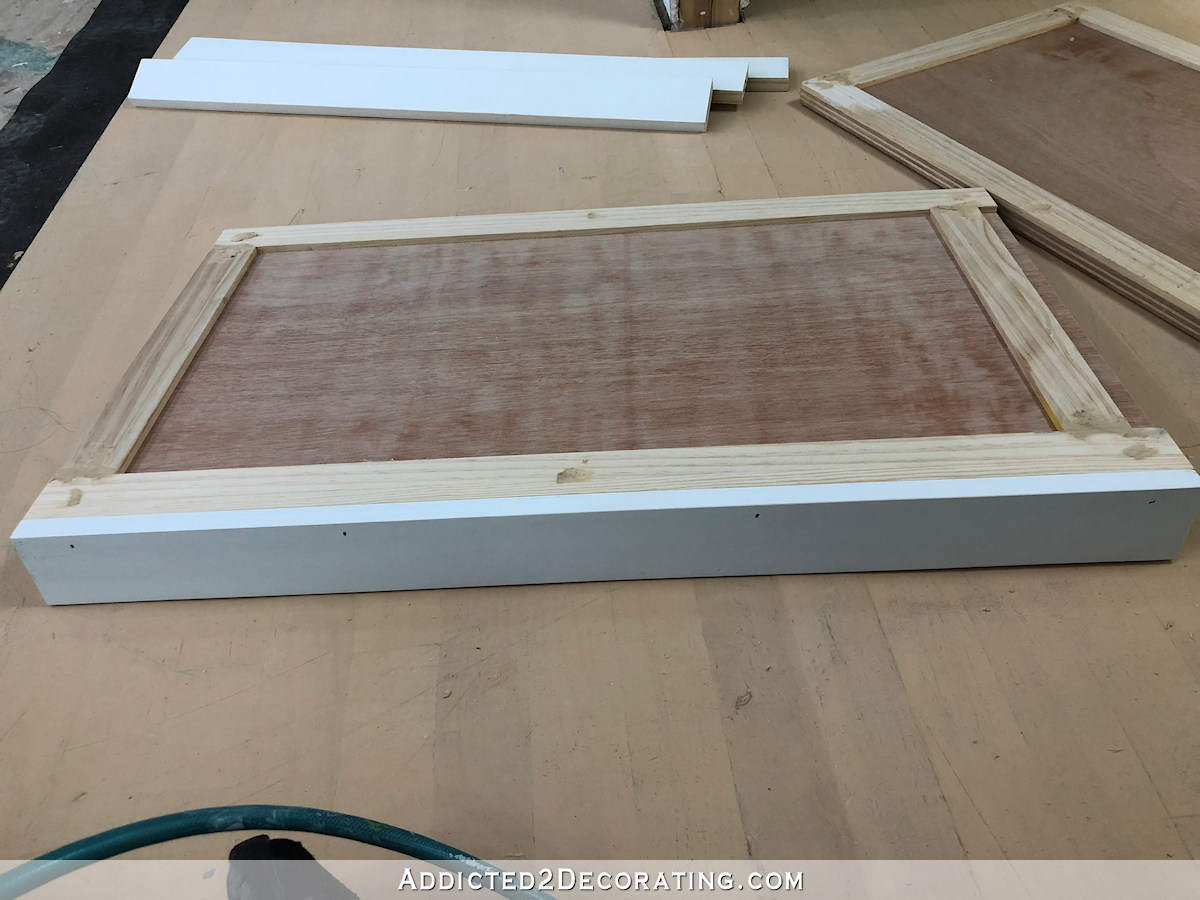
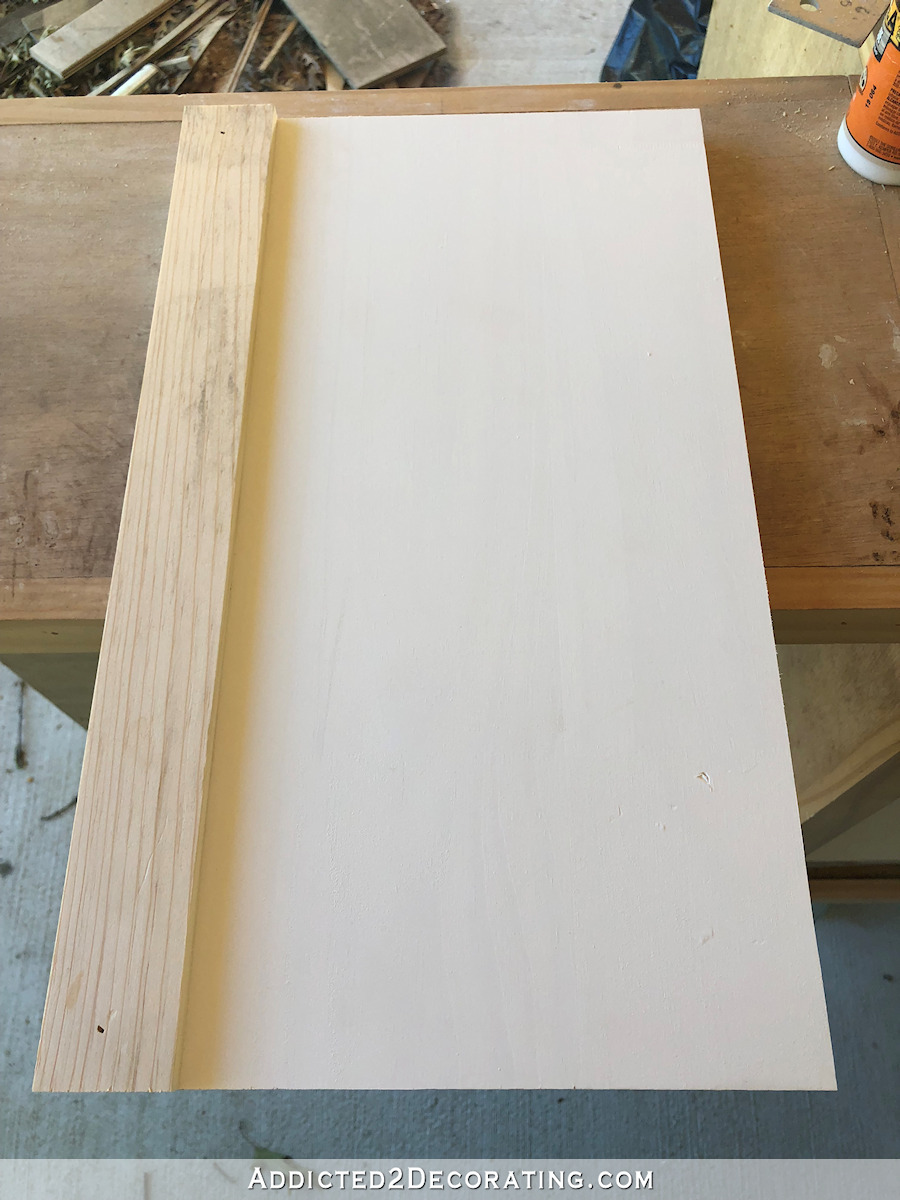
Assemble the cabinet doors
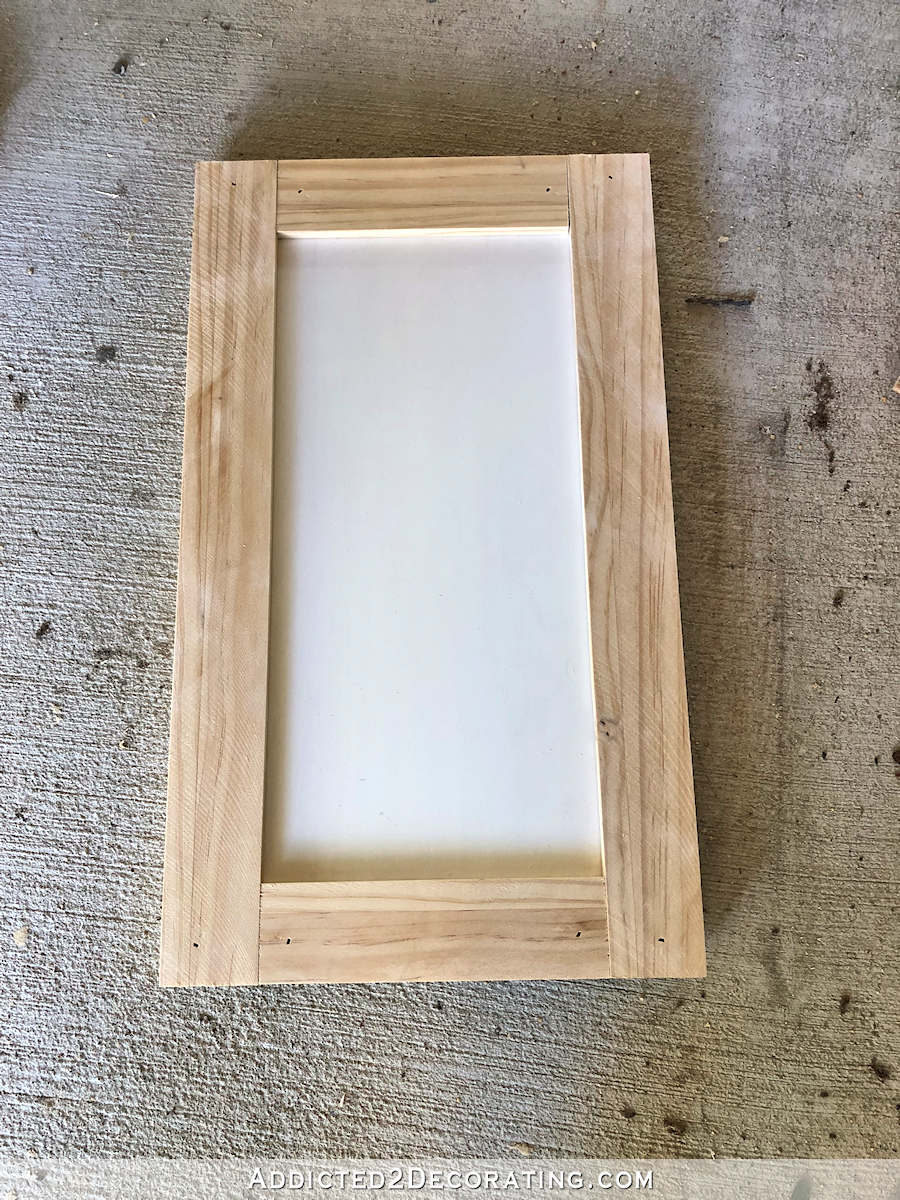
Next I made the cabinet doors. Since these doors were going to be so small, I used 1″ x 12″ lumber cut to the size of the doors, and then added the same strips cut from 1.75″ square dowels that I used on the side panels to dress up the doors. I just cut the strips to length, and attached them with wood glue and 5/8-inch finish nails.
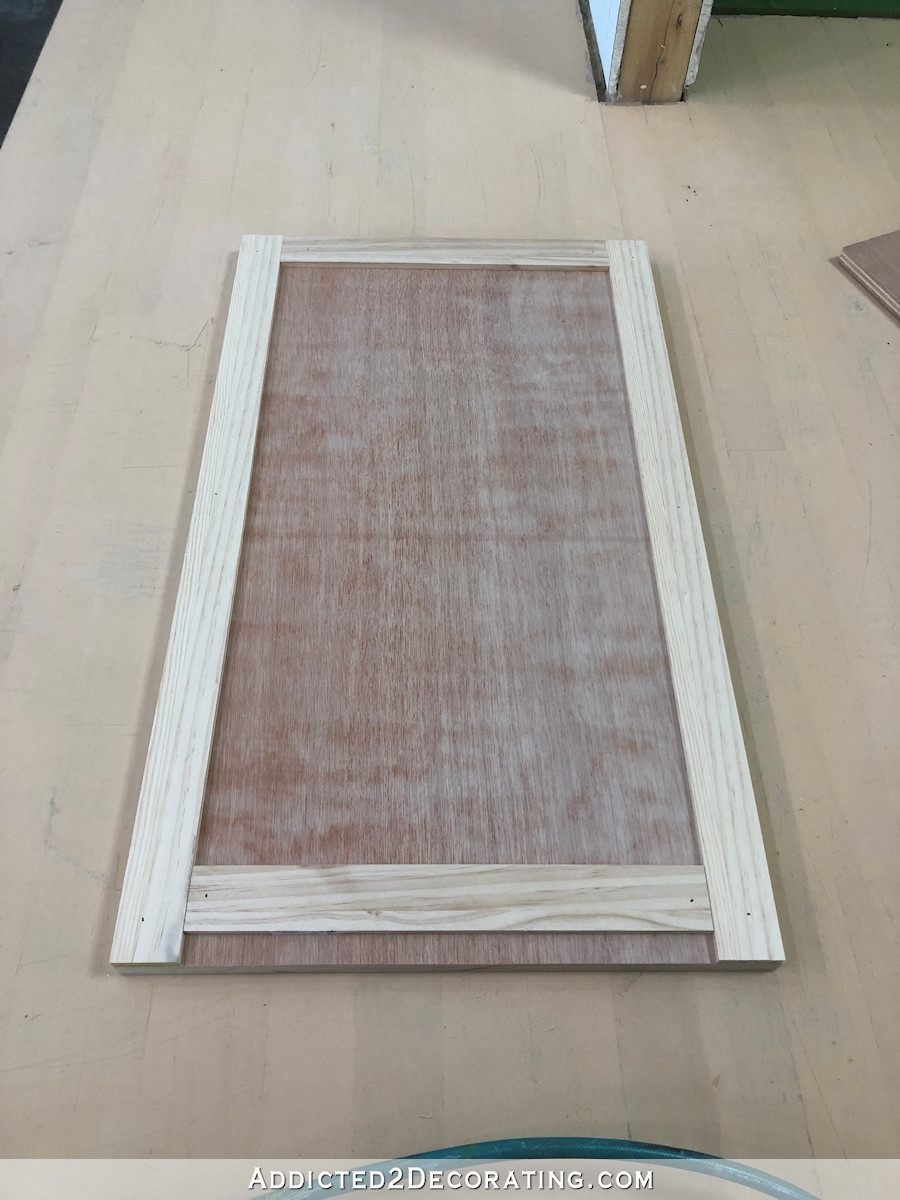
With all four pieces attached, and in its rough state, it looked like this…
I filled the holes and cracks with wood filler…
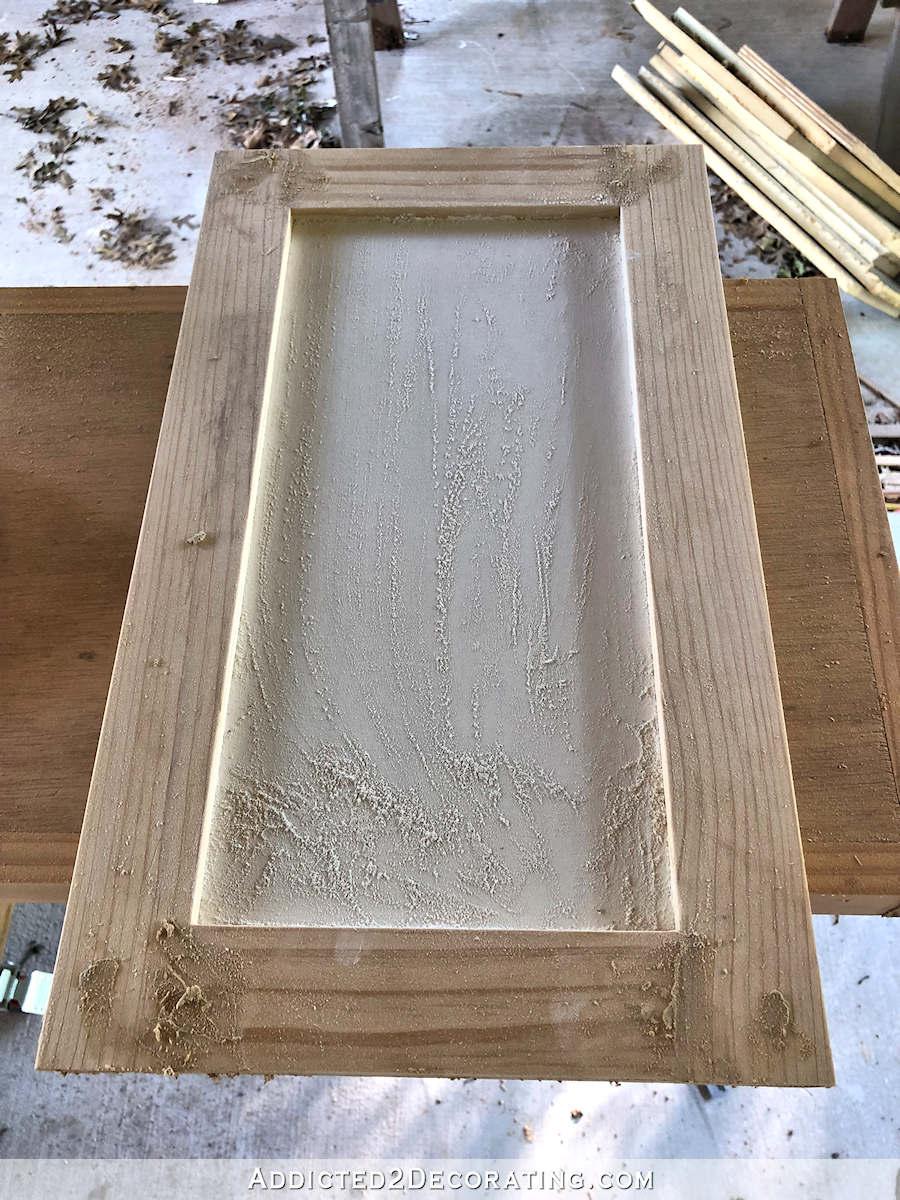
Including the cracks on the edges of the doors…
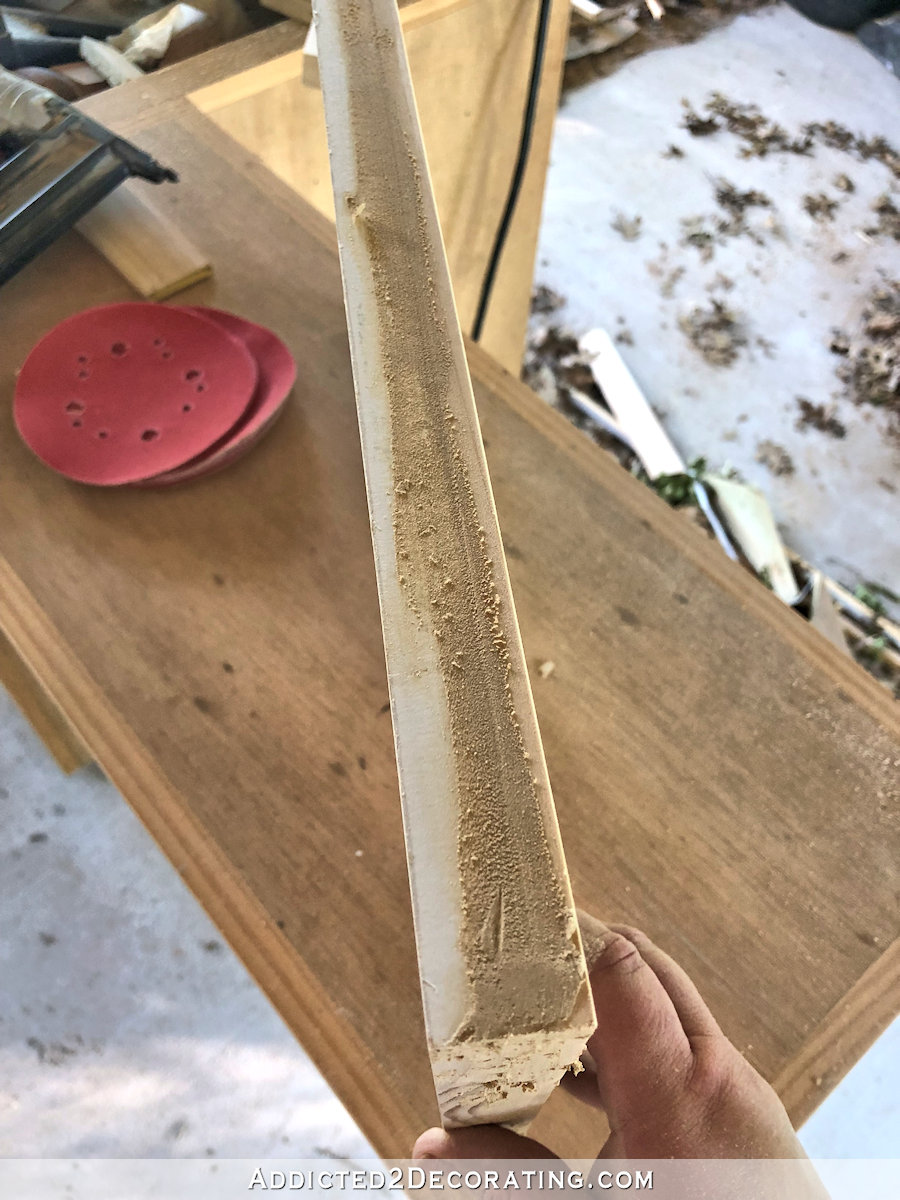
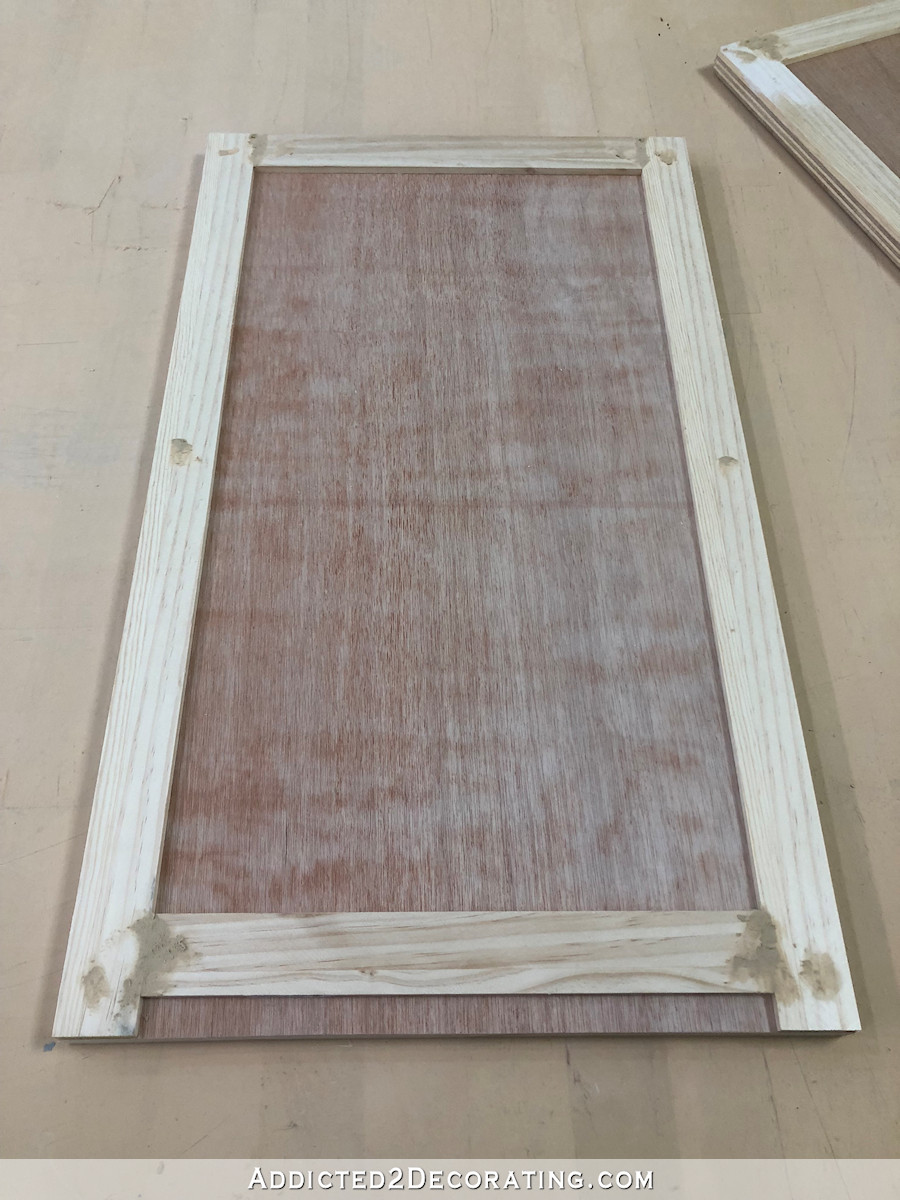
…and then sanded everything perfectly smooth when it was dry.
Then I used my Kreg concealed hinge jig to drill the holes for the door hinges.
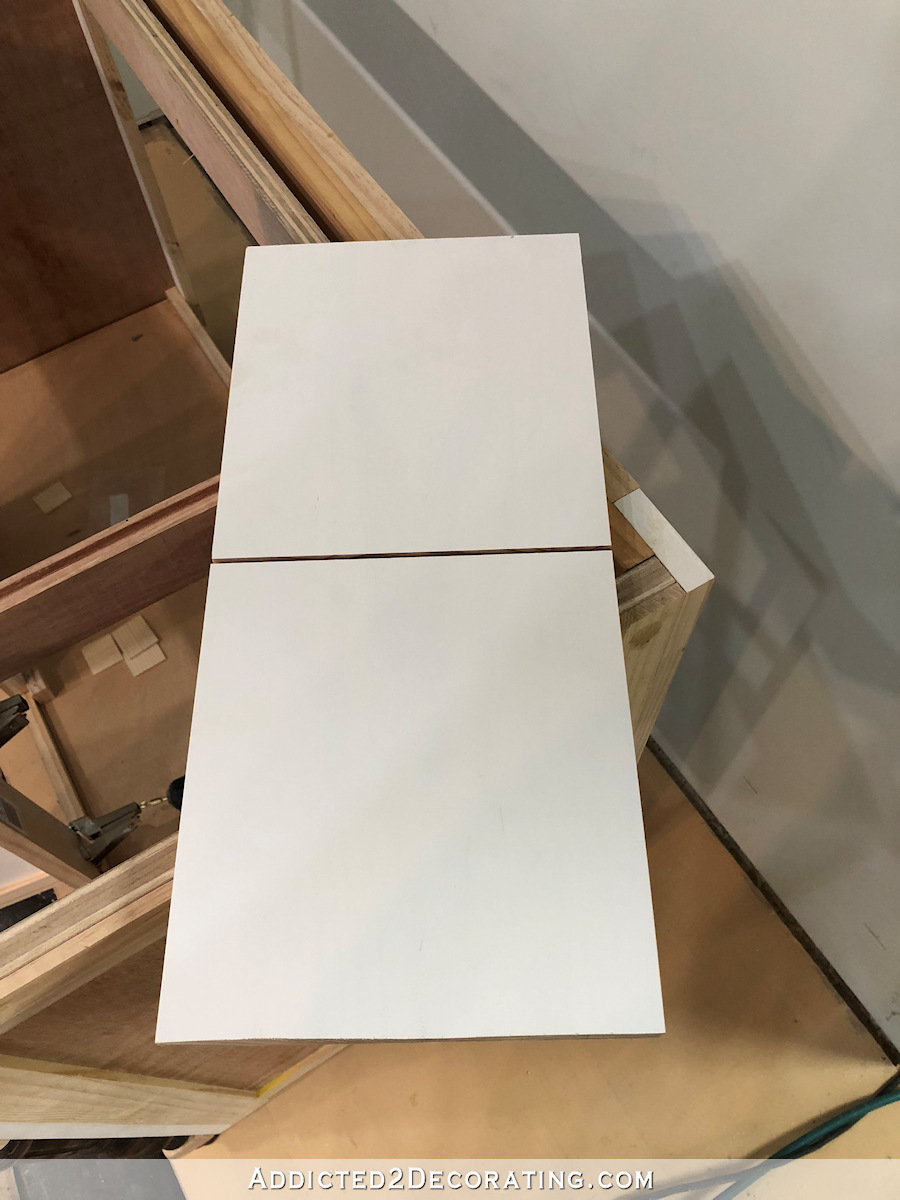
Install bottom in the vanity
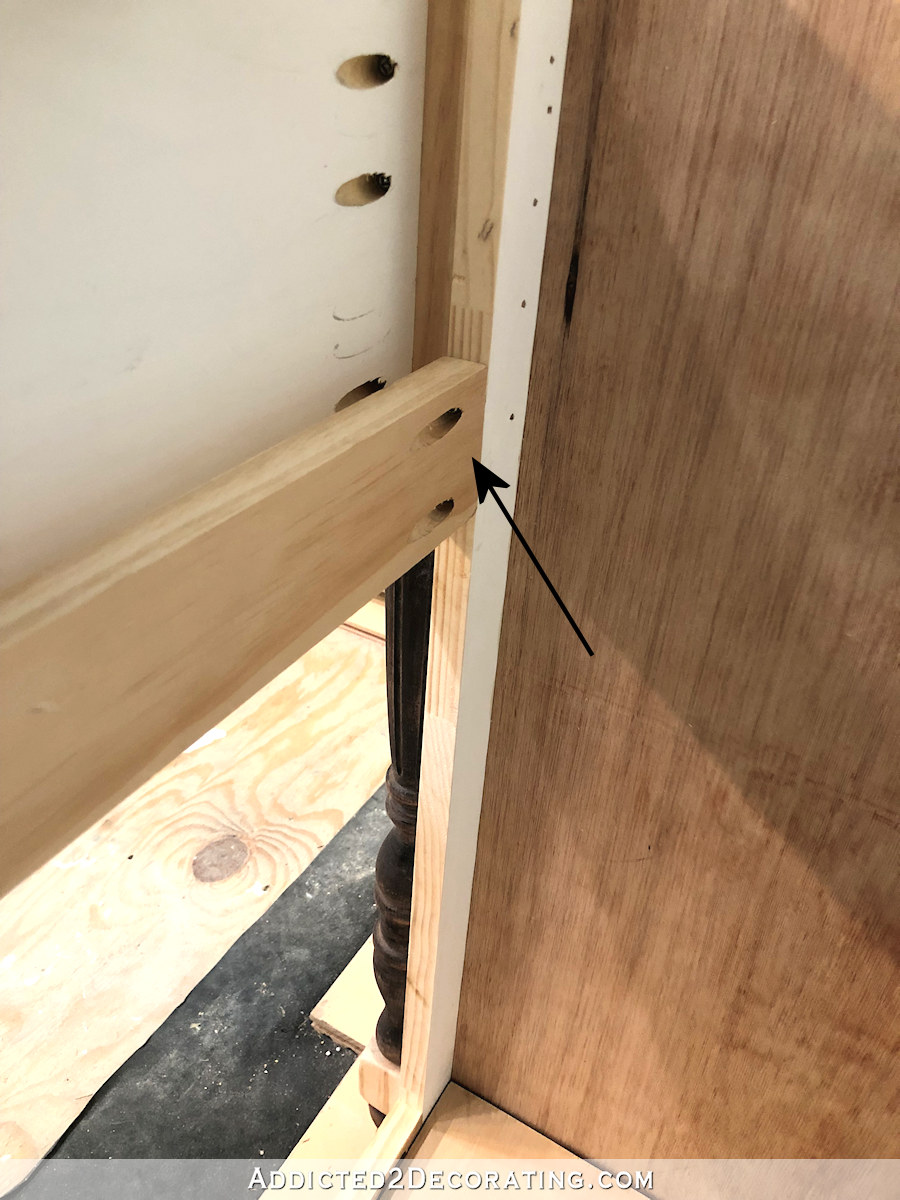
Before I attached any more stiles or rails to the front of the vanity, I needed to add a bottom. I just cut a piece of 1/2-inch plywood to fit right inside.
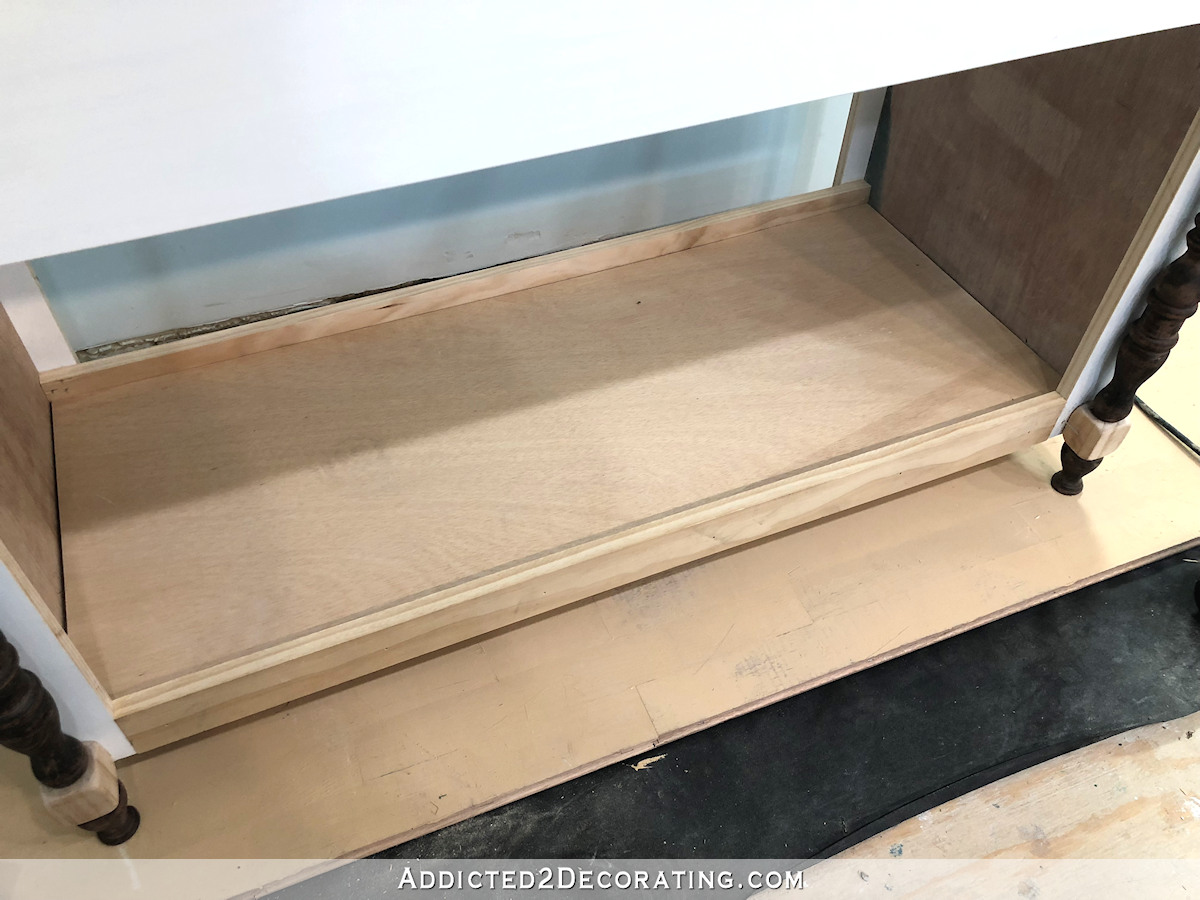
On the back side, the plywood sat right on top of the block feet. Along the front edge, I attached a strip of lumber, glued and nailed to the front rail, to hold the plywood in place.
Add the rails and stiles and attach doors
To add the top rail, I cut a 1″ x 3″ piece of lumber to the needed width, and drilled two pocket holes in either end. Then I sat the doors on the bottom rail, using spacers that I had cut on my table saw. I placed more spacers on top of the doors, and used that to determine exactly where the top rail needed to be for near-perfect spacing of the doors.
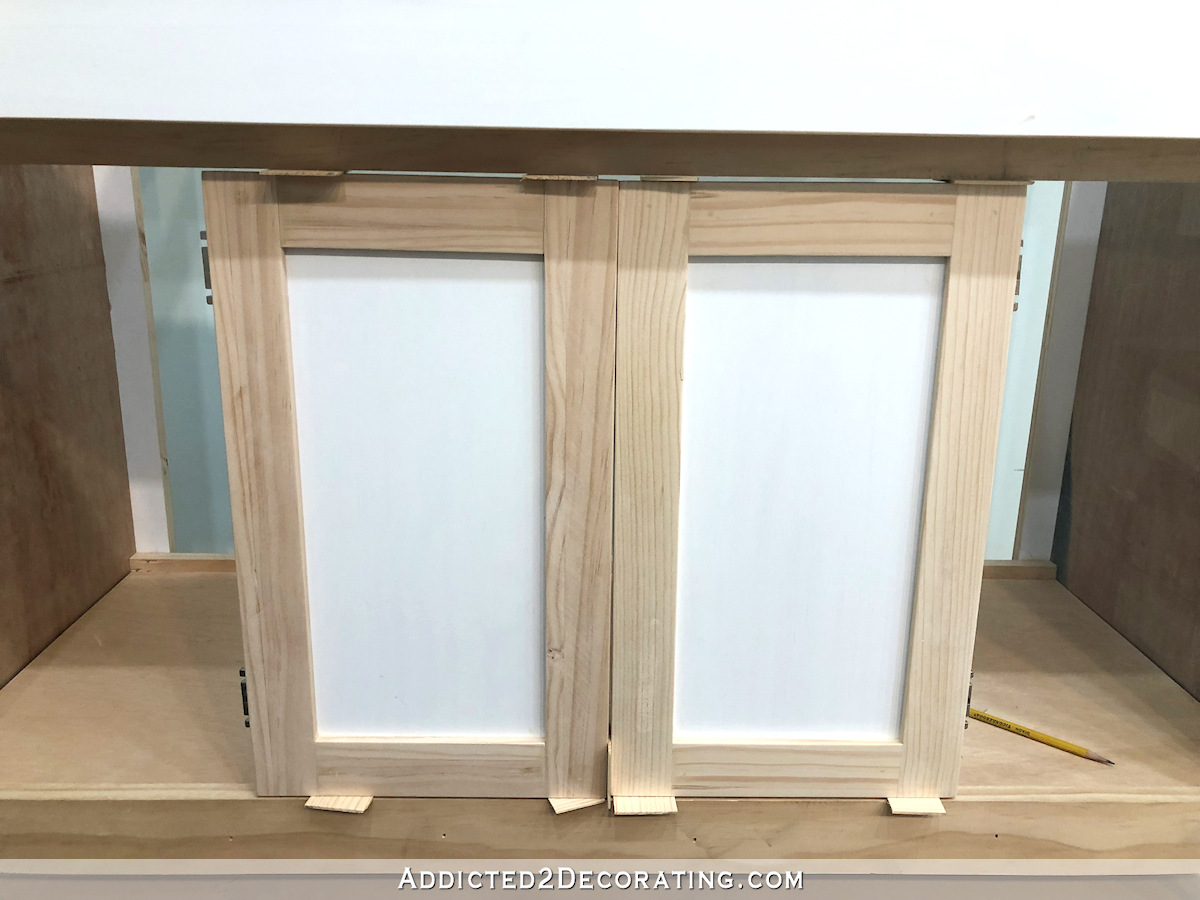
With the rail in the right place, I removed the doors and then screwed the top rail into place using 1.25-inch screws through the pocket holes.
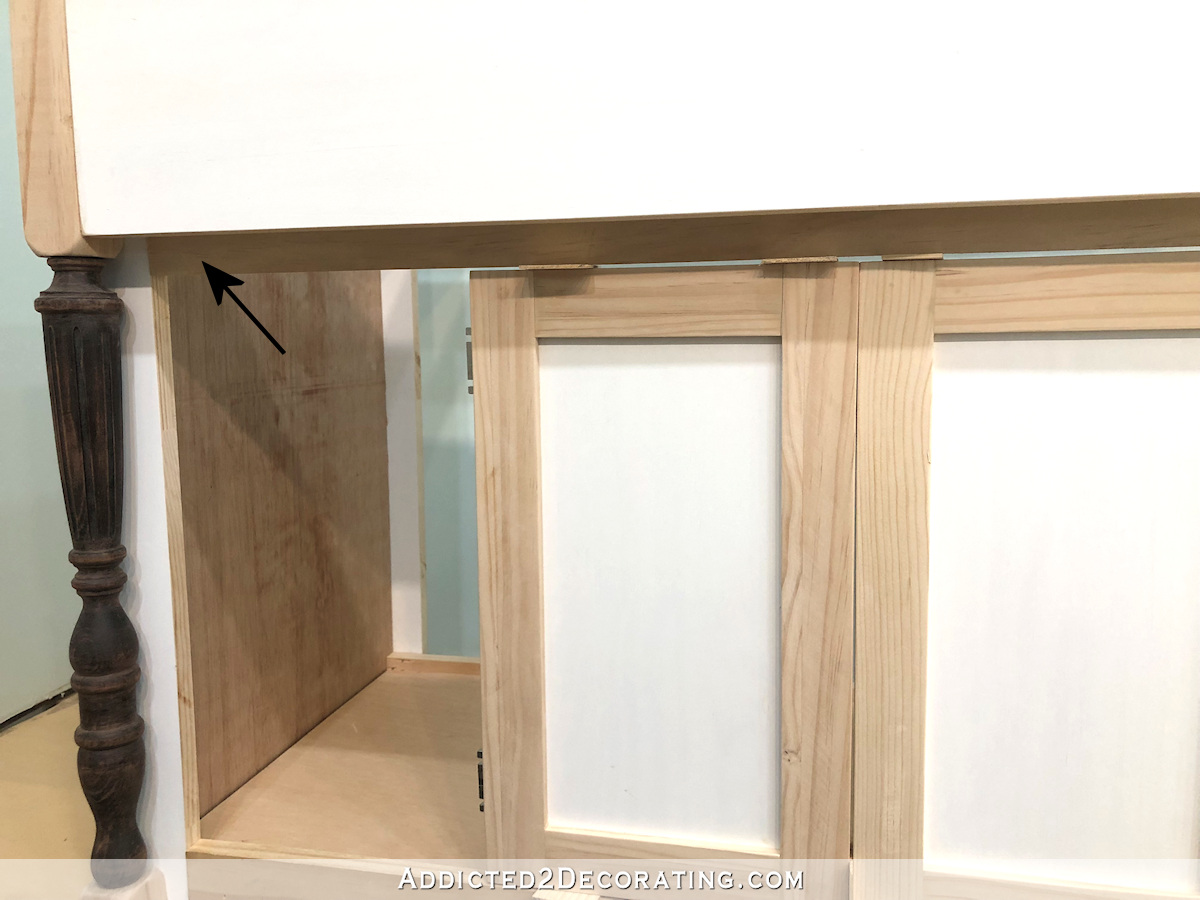
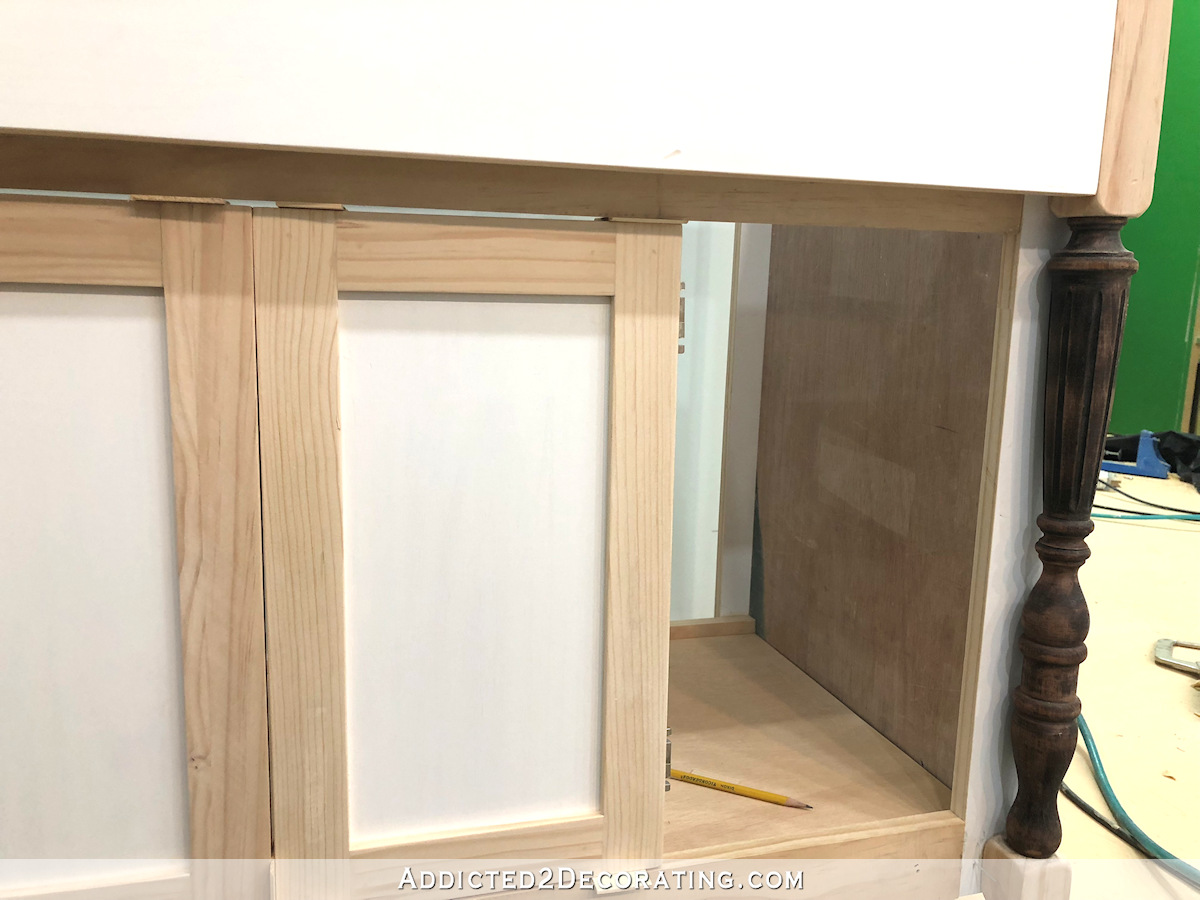
Here’s the inside view of that top rail, which sits just behind the front apron, screwed into the side stile.
And here’s what it looked like front the front once it was screwed into place. The top edge is hidden by the front apron, but about half of it is visible below the apron.
Using the doors and the same spacers I used earlier, I put one of the doors back into place and determined the placement of the inside left stile. Once the placement was determined, I attached that stile using 1.25-inch screws and pocket holes on the back, just like I did with the rails.
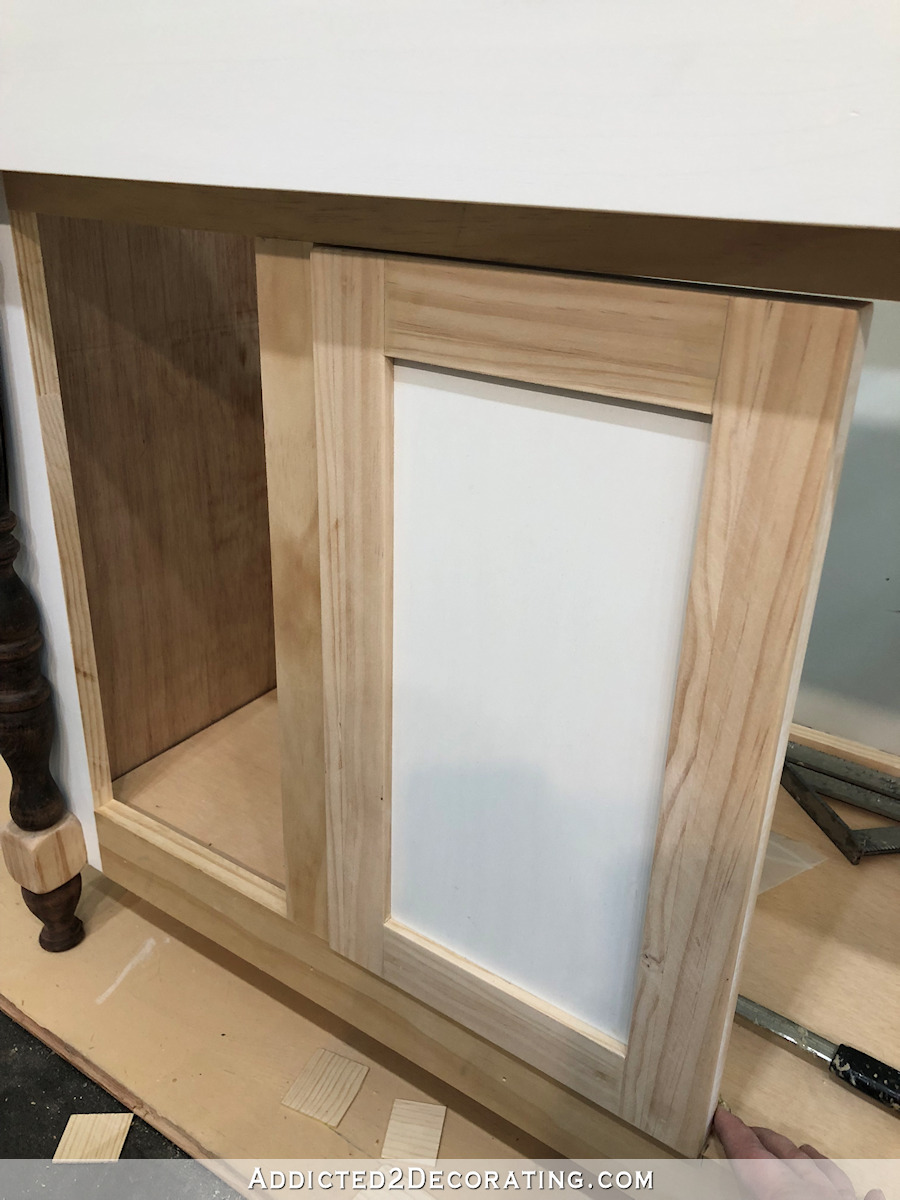
I went ahead and attached the door to the stile using hinges that attack to face frames for inset doors.
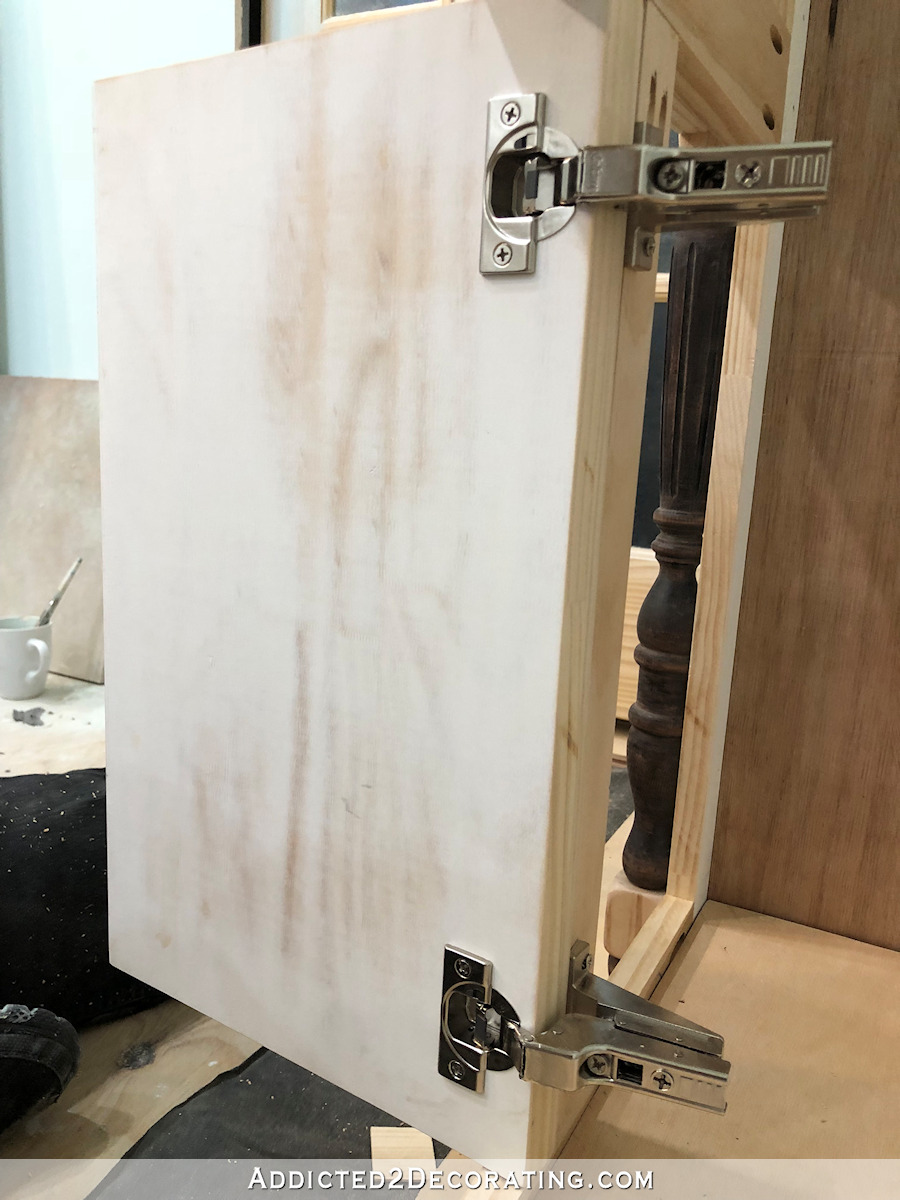
These hinges pull the doors in too much, so it’s necessary to attach something to act as a stop so that the doors will align with the frames.
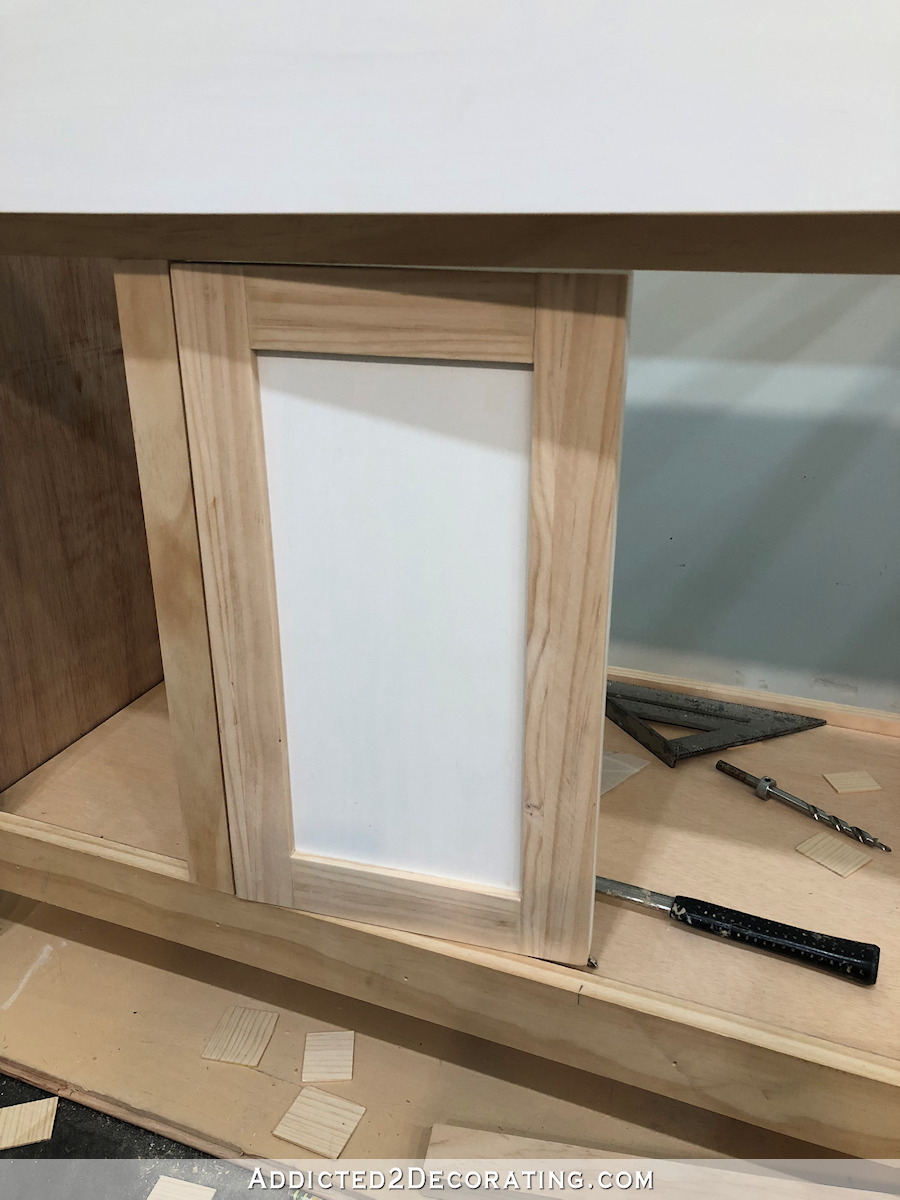
Once you attach some sort of stop (and I’m sure there are official stops sold for this purpose, but I just used a scrap block of wood) the door will be aligned when it’s closed.

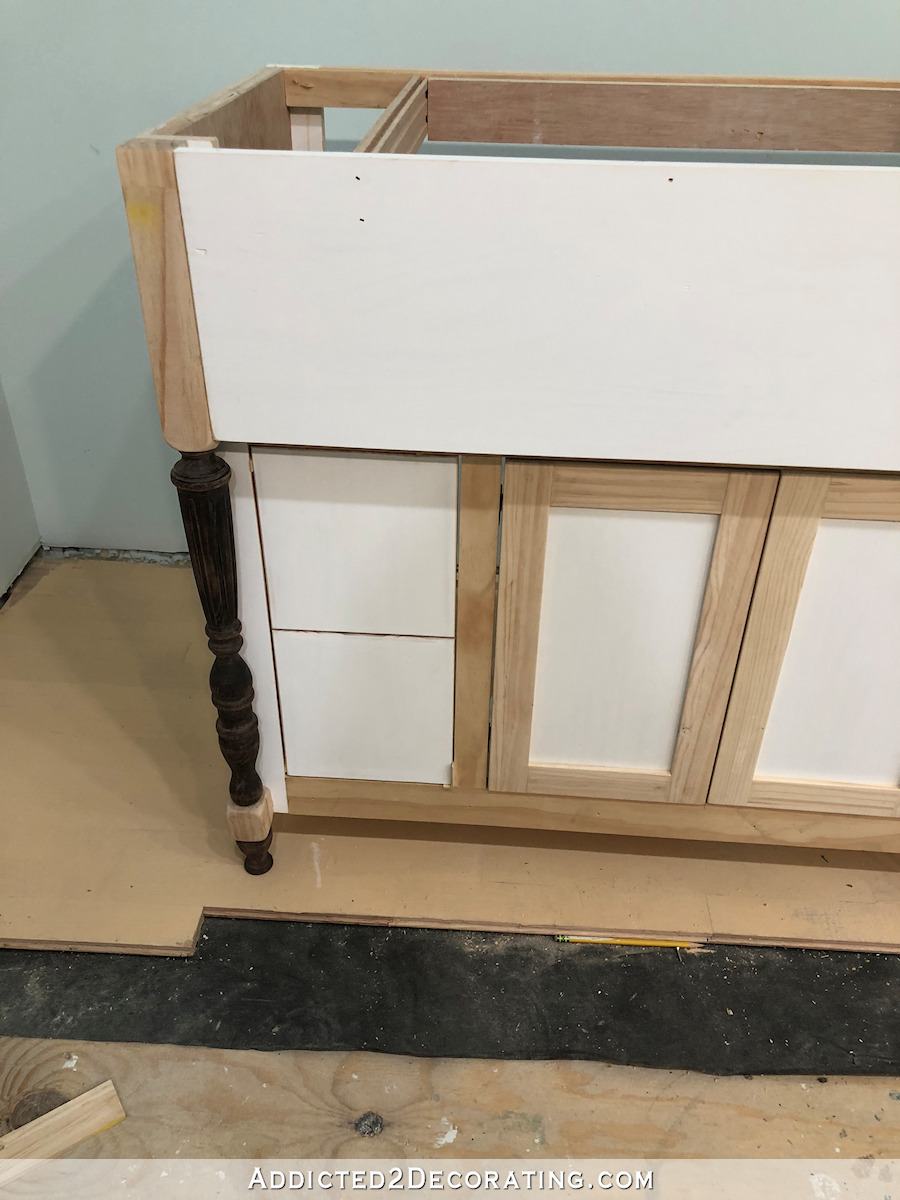
I repeated that process for the other door and inside stile, and this is what it looked like with those in place…
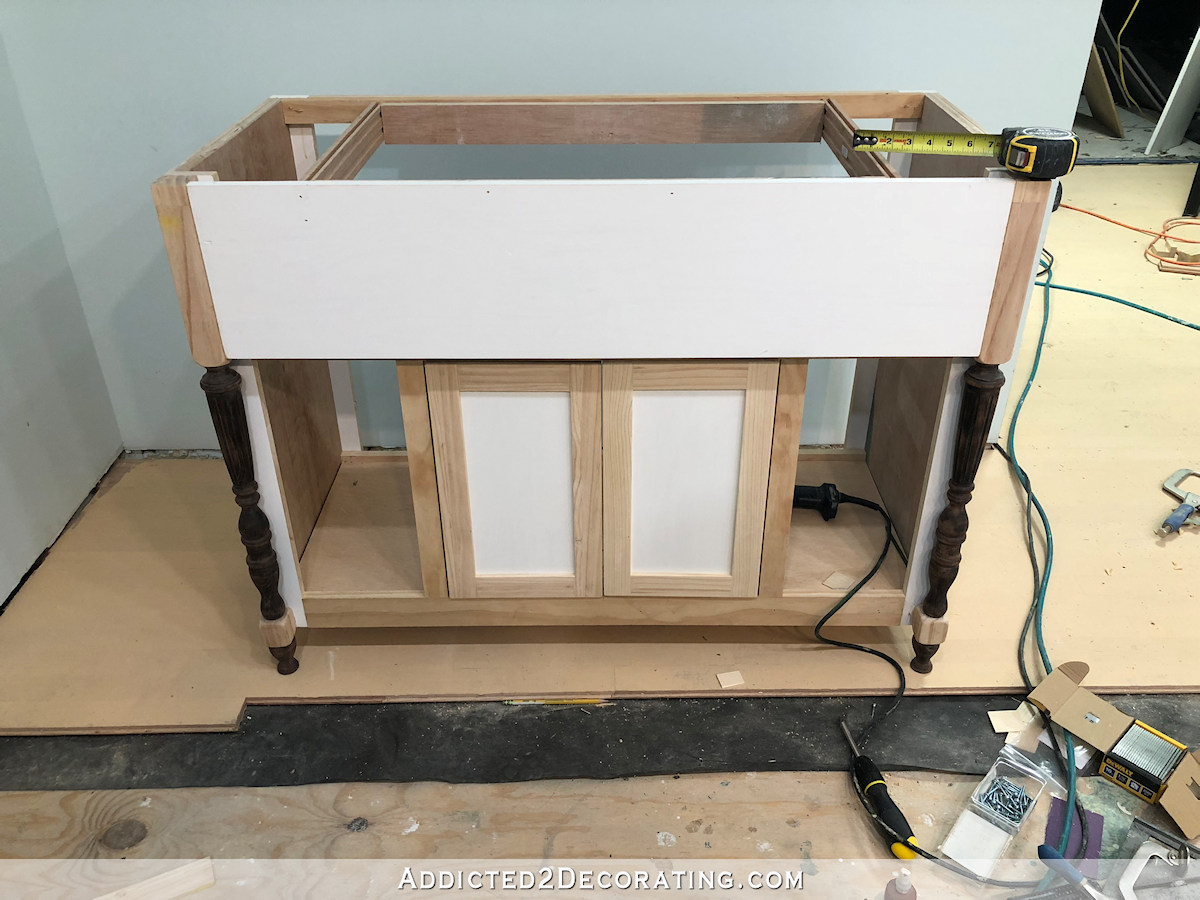
I had intended to build drawers for either side, like the inspiration vanity. But at this point I just wanted to get the build done, and I didn’t want the hassle of building drawers. If this vanity were in a main bathroom where I’d need to store hair brushes, a hair dryer, makeup, etc., I’d definitely go to the trouble of building drawers. But as I’ve mentioned, this is just a half bathroom off of my studio, and literally the only things I need to store in there are toilet paper, paper towels, hand towels, and hand soap. That’s it. So it’s not worth the trouble to build drawers.
Instead, I decided to add additional doors to the sides that mimic the look of the drawers on the inspiration vanity. I couldn’t make it look exactly like those drawers, so I just cut a piece of 1″ x 12″ lumber to the correct size to fit the opening using both my miter saw and table saw, and then I used my table saw to cut a groove in the middle of the door to mimic the look of two drawers.
I had to make a few more fine cuts here and there to get it just the right size, but I finally got it to fit almost perfectly…
I think all of the doors will require a bit of fine tuning with a hand planer and/or a sander to fit just right.
I repeated that for the other side, and then placed those side doors into their spaces using the spacers I had previously used.
Since I had originally planned to make drawers, I only had drawer slides and was short four hinges. So I now have to wait for my new hinge order to arrive from Amazon before I can finish.
There’s still a bit of finish work to be done, like the trim along the bottom, some wood filling, sanding, etc. But as soon as I get all of that finishing stuff done, I’ll be ready to paint. I’m still questioning my decision to do black on this vanity. At this very moment, I’m now leaning towards black wainscoting and one of the colors from the wall design on the vanity. So we’ll see! I’ll have a finished vanity to show y’all next week (as soon as those hinges arrive) so I’m as anxious as y’all are to see what color this thing ends up. 😀
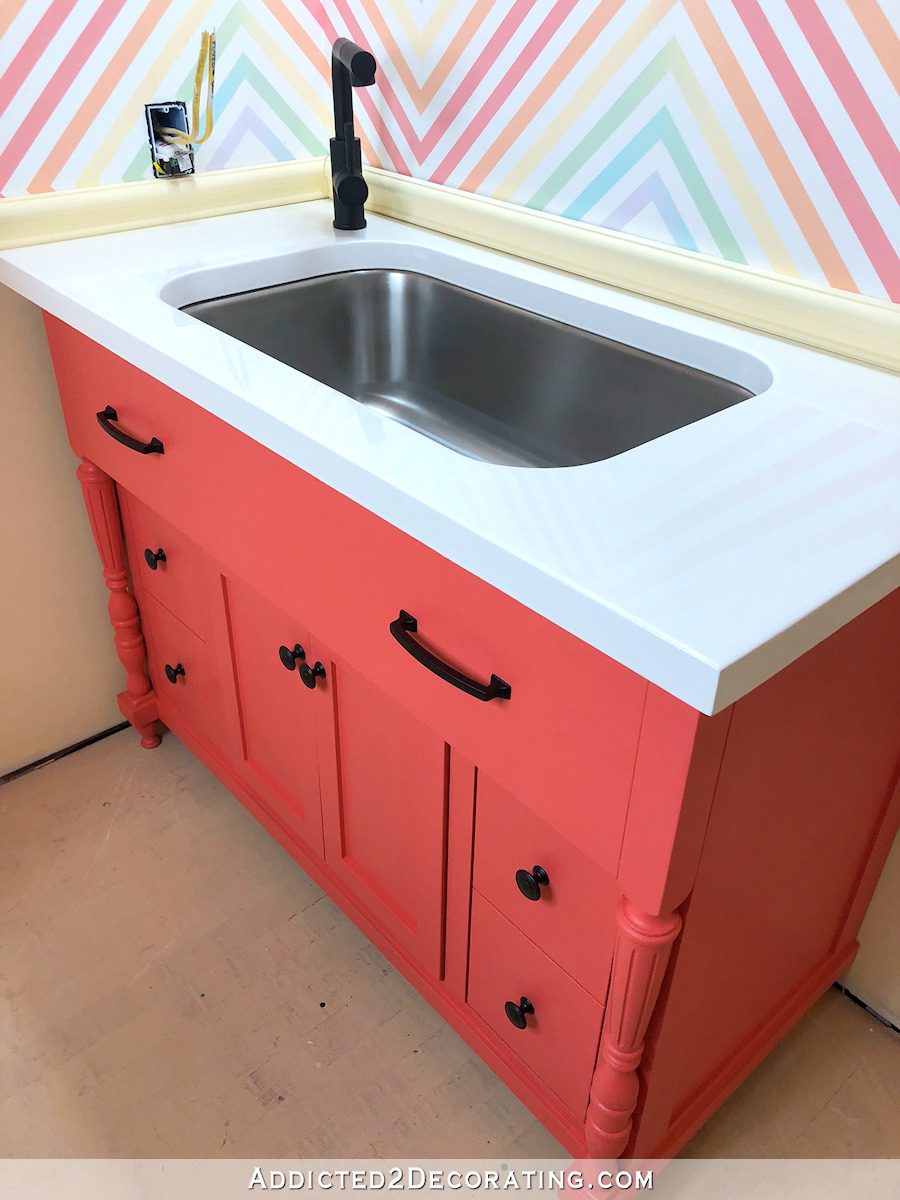
Update:
The bathroom vanity is finished! Here’s how it turned out…
You can find Part 2 of this DIY vanity project here…

Addicted 2 Decorating is where I share my DIY and decorating journey as I remodel and decorate the 1948 fixer upper that my husband, Matt, and I bought in 2013. Matt has M.S. and is unable to do physical work, so I do the majority of the work on the house by myself. You can learn more about me here.

Are you going to put the faucet to one side or have it come out of the wall?
In an earlier post, she said it would be on left back corner.
As a complete DIY ignoramus, why would one not buy the RH piece, remove the top and cut it to fit the correct sink? Hoping someone can explain this for me! TIA
There are many reasons that that wouldn’t work, but it’s mostly (1) size and (2) price.
The store cabinet is only 22 inches deep (from wall to front edge). That might fit a kitchen sink, but it would be a very tight fit. But also the top section that protrudes in the store cabinet isn’t tall enough for a deep kitchen sink. That means that the kitchen sink would literally be sitting on the top edge of the inset doors underneath the section that protrudes at the top, and the sink would still be sitting up too high out of the cabinet.
But also, the store cabinet costs $2000. Taking a piece of furniture apart and modifying it is almost never easier than building from scratch (plus, you risk ruining pieces as you take it apart and needing to purchase lumber to replace the messed up pieces), but in the event that you do want to take a part and modify a piece of furniture, you probably wouldn’t ever want to start with a brand new $2000 piece, especially when you can build from scratch for about $200.
Amazing work.
It’s going to look great! Love it!
What wood filler do you recommend?
I LOVE the idea of black wainscoting with a more colorful vanity. I think it will look much more sophisticated (and also color is much more you!)
Great tutorial and lovely result. You never cease to amaze!
That should work out great!
You are an amazing, ninja wizard!
You never cease to amaze! While I fret over cutting a piece of wood you build a whole beautiful cabinet! Just in awe 🙂
You are a perfectionist and your work is amazing. I wish I had half of your talents. This bathroom is going to be gorgeous as the rest of your house.
What wood filler do you use?
Haven’t been receiving emails last couple months. Not in spam folder either. Don’t always come on facebook. Really don’t want to miss any of your creative and inspiring work!!!! Love You!!!
A great tutorial, thank you!
Awesome! This is very helpful. I forgot about using dowels for the connect. I’m building a base for a 100 plus year old Portland cement sink, my grams. It’s a big one 44″ wide by 20″ tall. I don’t have turned legs but my SIL dropped off a truckload of fir beams of various sizes. There are so many ways to get the job done and I really admire how you just DO IT!
Fantastic “how-to” post! Bookmarked.
Beautiful vanity!!! I insisted on a kitchen sink in our bathroom, too. However, we used white porcelain. I love the way yours turned out.