Master Bedroom:: The Current "Before" State, and the Master Plan
This Wednesday, I will get started on Alice & John’s house, starting with the master bedroom. I’m really excited about this project. This weekend, I found two great little chairs at an estate sale that I’m going to use in there. Of course, they won’t remain in their current state. They will need some altering to fit with the design plan I have.
Speaking of…
Today I wanted to share with you some pictures of the current “before” state of the bedroom, and also my general design plan. Of course, most of the details are still to be determined. But this will give you a general roadmap of where I’m headed.
First, the “befores”. I realized when I was looking through these that I failed to get a wide view of the room. For some reason, I only got zoomed in detail shots. I’ll definitely show you the wide angle before shots at some point, but for now, these will have to do:

this one has a full set of matching furniture.
They are giving this set to a family member,
so I will be starting from scratch. The goal
will be a less “matchy” look.
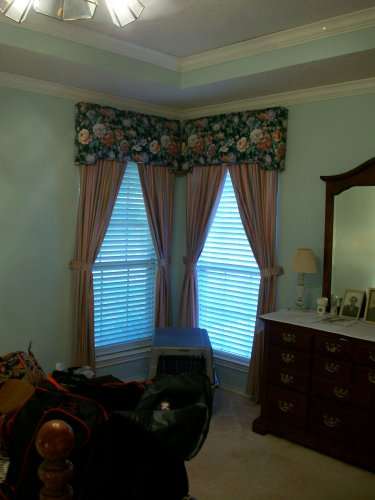
custom-made, and probably cost quite a bit of money.
I can tell that they were the height of fashion at
the time, but they’ve served their time well,
and now it’s time for them to retire.
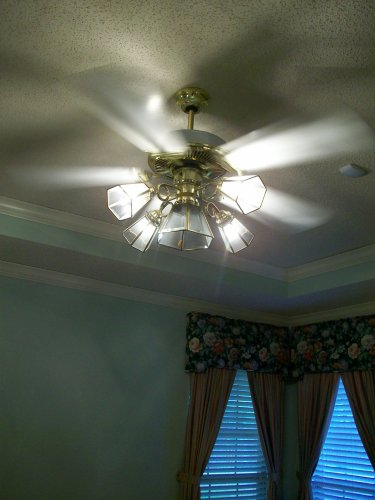
but that acoustic “popcorn” texture on the ceiling
definitely needs some taming.
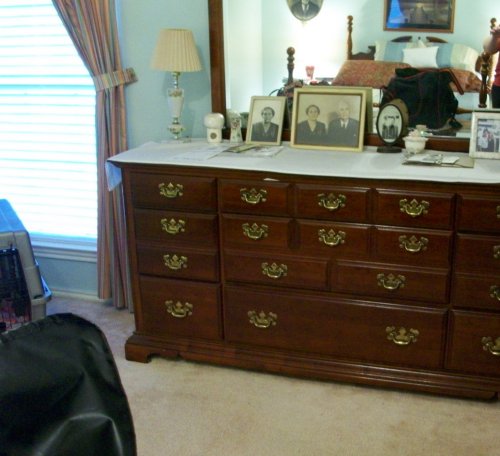
I would be able to use some of these pieces, and had
planned to transform this piece with paint, like I
did on Gwen’s dresser and chest of drawers. However,
since the furniture now belongs to another family member,
I will need to grab something off of Craigslist to fill its place.
So now that you see where I’m starting, let me show you where I’m headed.
First, the walls will get a new board and batten treatment, like this gorgeous bedroom belonging to Erin of Rare & Beautiful Treasures (via The Lettered Cottage).
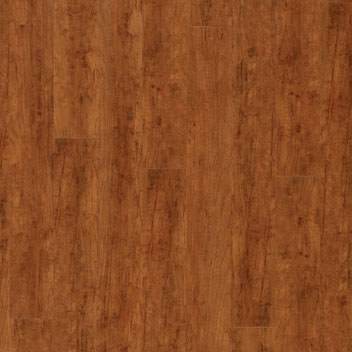
Isn’t that lovely? And it’ll look so fresh and clean against their new Mannington Adura vinyl plank flooring in Heirloom Cherry. (Yes, I said vinyl plank…I wish you could see it in person. It’s absolutely gorgeous!! This picture from the Mannington website simply doesn’t do it justice.)
Now while I really love the light and airy feel of Erin’s bedroom above, I think I’m going to go in a slightly different direction with this bedroom, to add some contrast and a bit of drama.
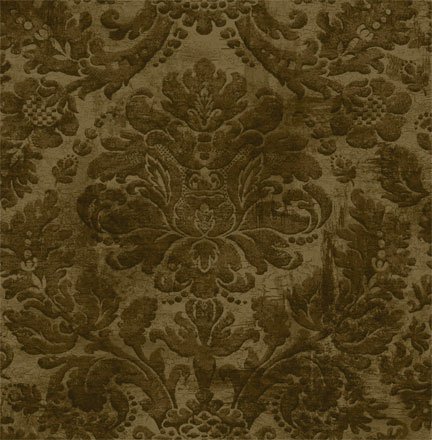
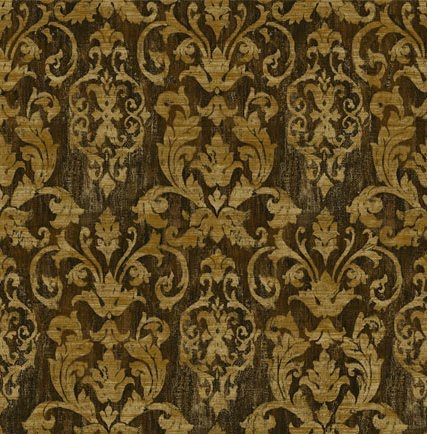
So above the board and batten treatment, I’m going to add a brown damask wallpaper. I’ve found these two that I really like. Both are from Sherwin Williams, and both are the EasyChange papers that are guaranteed to come off easily when you’re ready to remove it.
Another bold statement in the room will be the headboard. Do you remember Cassandra? Well, I recently visited her and got to see her beautiful home. She happened to have a most stunning headboard, and I asked her if I could take a picture.
What struck me was the simplicity of it. But the humble materials mixed with the gorgeous shape made it so striking to me. I loved that juxtaposition. So, I’m going to try to make something similar for this bedroom. It’s won’t be quite as dark, but it will be stained. Can you just picture a headboard similar to this one against that creamy board and batten wall? Gorgeous!!

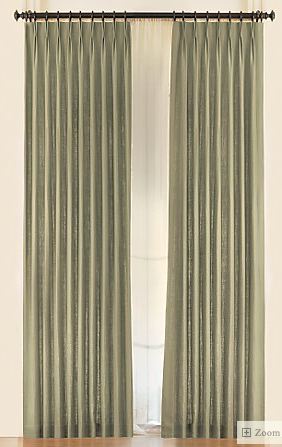
Other details include the window treatments, which I hope to make out of an earthy green linen, similar to these from Restoration Hardware.
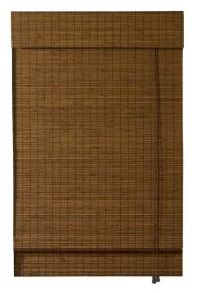
And then the blinds will be replaced by my new favorite natural woven shades from Home Depot:
And last, I hope to find a Craigslist or garage sale/thrift store dresser that I can paint in a distressed black finish, similar to this one from Humble Abode:

Are you starting to picture it now?
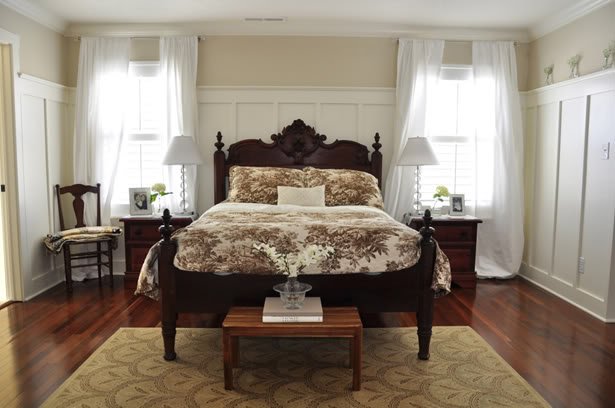
The details will have to be a secret for now…mainly because they’re a secret to me as well. 🙂 The details generally come to me as I see how the room is coming together. But the end goal is a room with a little drama, lots of clean, fresh finishes, juxtaposed with some more aged, worn finishes and natural elements. And although the room is configured a bit differently (there are no windows on either side of the bed), I hope the finished room has a feel similar to this:
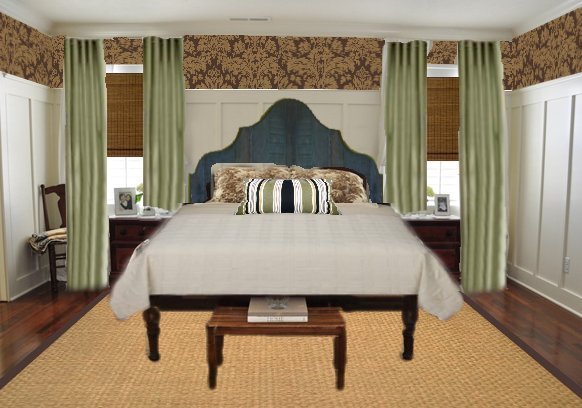
Won’t that be pretty? I love it! And the fun starts Wednesday.
In the meantime, I need to get busy and finish up Gwen’s bedroom and bathroom!! Still lots to do.
Hope you have a wonderful day,

Addicted 2 Decorating is where I share my DIY and decorating journey as I remodel and decorate the 1948 fixer upper that my husband, Matt, and I bought in 2013. Matt has M.S. and is unable to do physical work, so I do the majority of the work on the house by myself. You can learn more about me here.
It's going to be BEAUTIFUL!!!
Can't wait to see it! Love that headboard!
Hi Kristi-
What program did you use for your last picture? I am looking to streamline my process & am just curious – thanks!
Kristin, I use a program called Paint Shop Pro. It's nothing special, but it gets the job done. I could actually do much more detailed pictures with it if I chose to take the time. I generally do mine fairly quickly, which is why they look…well…a little "off".
I know several people who use Photoshop to do similar things (like Layla at The Lettered Cottage), but that's a bit too expensive for me, although I was told that there is a basic Photoshop version available for around $100.
Thanks Kristi! I have Photoshop, but can spend so. much. time. on it that it defeats the purpose! I am going to look in to Paint Shop Pro – you say it's nothing special, but I like your results! 🙂
This is not spam but you should check out our collection 🙂 I feel like it'd be a good fit for your beautiful designs. http://www.echelonhome.com/product/group/4/800+Egyptian+Sateen.html
I just found your blog, from the blogroll at "House of Turqouise" – http://www.houseofturquoise.com/.
LOVE this room! I'm so inspired to find a headboard like yours now!
Thanks!
I really like your approach Kristi and the way you've come up with the to-be image. You mentioned that there are no windows on either side of the bed, I'm curious…what type of lighting did you use?
This is not spam but you should check out our collection 🙂 I feel like it'd be a good fit for your beautiful designs. http://www.echelonhome.com/product/group/4/800+Egyptian+Sateen.html