Miniature Pumpkin Vases
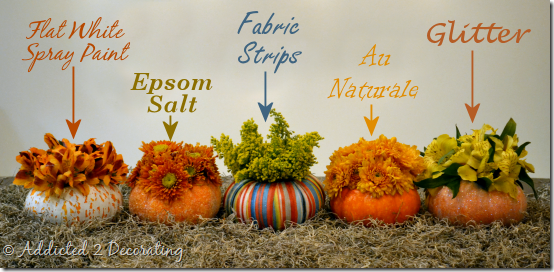
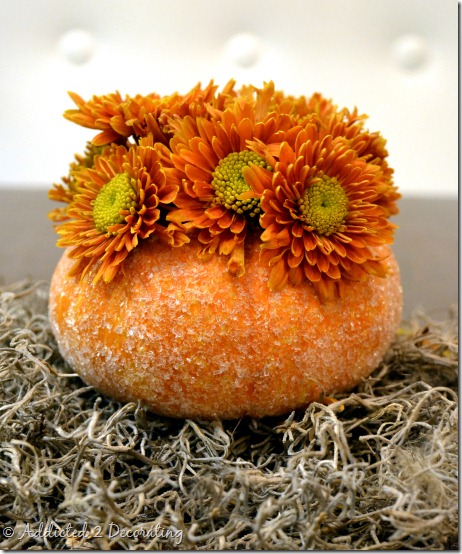
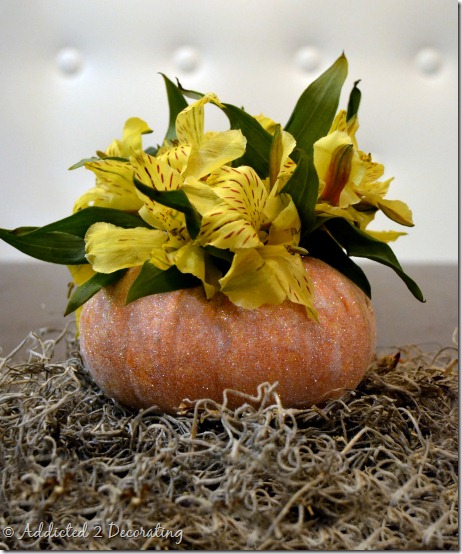
I had quite a fun time yesterday gettin’ my craft on with miniature pumpkins, and now I have five adorable little mini pumpkin flower vases. I love how these little guys look. They’re like little tiny packages of happiness.
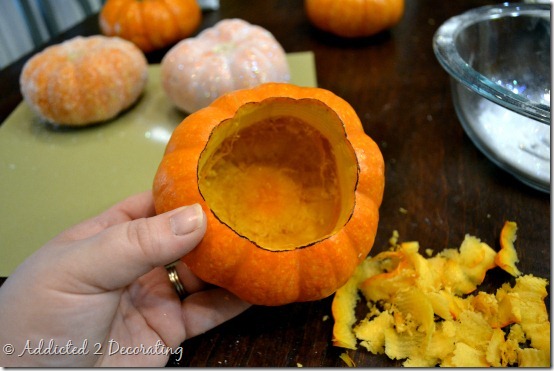
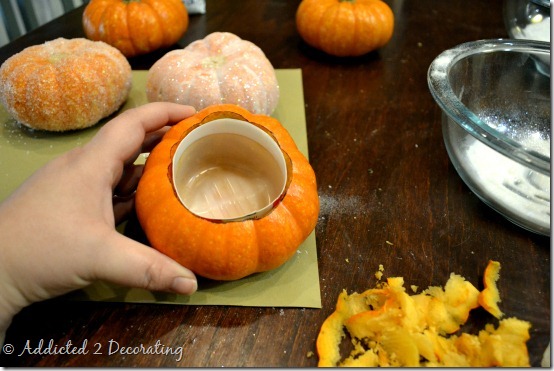
I got a package of six (real) mini pumpkins for about six dollars at the grocery store, and then turned them into vases by cutting a hole in the tops, cleaning out all of the stringy, seedy insides, and drying it as much as I could with a paper towel…
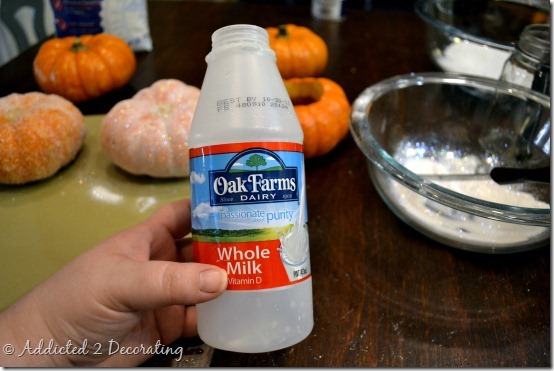
…and then I used small milk cartons…
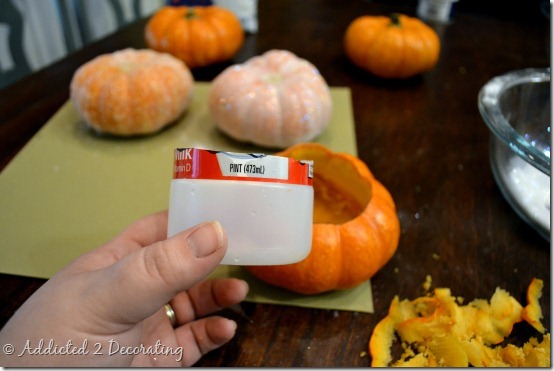
…and using a knife, I cut it down to fit into the pumpkin…
…and then shoved it into the pumpkin…
And voila! A pumpkin vase! (You could also use a votive or an actual tiny vase. I liked this idea because I could cut it to any height.)
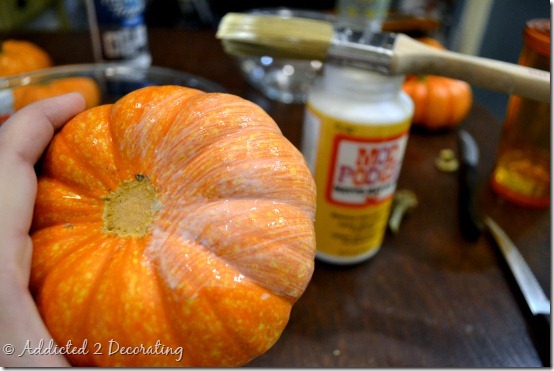
For the Epsom salt and glitter pumpkins, I first applied a layer of Mod Podge to the entire pumpkin…
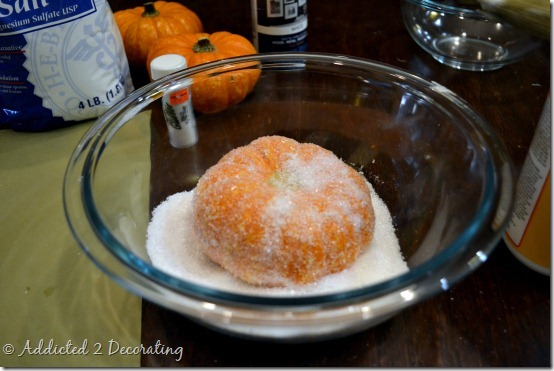
…and then gave it a little Epsom salt (or glitter) bath…
I got the idea of using Epsom salt from several projects I’ve seen on Pinterest, and because I’ve never really paid attention to what Epsom salt looks like (but I’ve sugared fruit in the past), I wasn’t really sure why Epsom salt was any different from using sugar.
Turns out that Epsom salt looks quite a bit different from sugar! Sugar is a smaller granule. Epsom salt is larger with more jagged and faceted shapes. The light plays off of it really beautifully.
And while I’m generally not a “glitter” type of person—especially the crazy colors or the coarsely-cut glitters—I really do love using this colorless, translucent, fine glitter for certain projects…
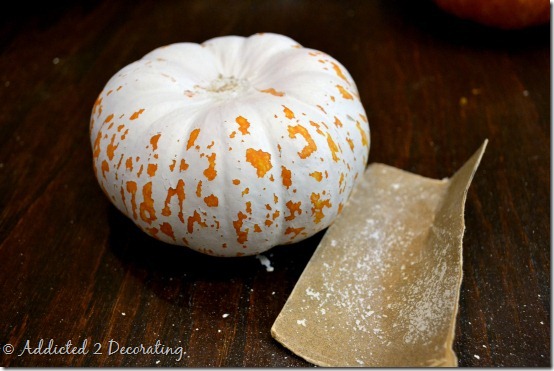
The painted pumpkin, which just might be my favorite, was simply sprayed with flat white spray paint, and then lightly sanded…
Of course, you could leave it solid white as well, but I really like these bits of orange showing through…
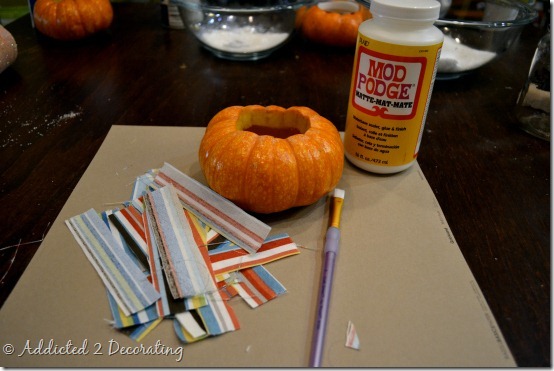
For the fabric pumpkin, I simply cut thin strips of fabric (I actually cut them in half again after taking this picture so that they would be reeeaaaallly thin and easier to work with), and then used Mod Podge to adhere the strips to the pumpkin…
I had to work in sections on this one, covering about 1/3 of the pumpkin, and then letting it dry, then covering the next 1/3, and letting it dry, etc.
And the last one I left au naturale.
There are about a million other ways you could decorate these little pumpkins. I’ve been so inspired by all of the creative pumpkin decorating I’ve seen this year! And I think any one of these would look great on a Thanksgiving table. I can just imagine about 7 to 9 of them being used as a centerpiece, displayed at varying heights on candlesticks, or mixed in with candles.
While I would probably only choose one type to use for a centerpiece on a Thanksgiving table, I have to admit that seeing these different pumpkins together just makes me smile.
Aren’t tiny pumpkins just adorable?!
Addicted 2 Decorating is where I share my DIY and decorating journey as I remodel and decorate the 1948 fixer upper that my husband, Matt, and I bought in 2013. Matt has M.S. and is unable to do physical work, so I do the majority of the work on the house by myself. You can learn more about me here.





Adorable..I MUST TRY! Perfect for Thanksgiving Table Decor.
They all look great and so simple to make!
I love, love, love your blog. I'm so glad I found you! These are very cute!
I thought I had seen every way to decorate a pumpkin and then I saw your adorable ideas. Too cute. I love them and will try them this weekend!
Love each and every one of them! Gorgeous.
Love the white, sanded pumpkin a lot. Almost looks like a wooden replica of a pumpkin. Super job.
Love these Kristi. I can't decide which is my favorite!!
THESE ARE ADORABLE. My faves are the white one and the fabric covered one. Amazing what a little mod podge and some fun ideas can do!!!!
I had seen this on Pinterest from BHG but I love your ribbon one the best! I plan on doing this for my Thanksgiving table, it is just so unique!
These are all cute! I love each one of these ideas!
These are fantastic and Epsom Salt? Who knew! Thanks for sharing this great idea. I'm certainly not the creative type, but I'm sure I could copy this with the great instructions you provided ~ Judi
They're gorgeous…I can't believe they're so simple to do. Thanks for sharing.
these are soooo adorable!
-Bonnie @ Revolutionaries
http://bonniegetchell.blogspot.com
These are adorable and I'm hoping to try my own for my table on the porch!
I love these! Hoping to make some for the table on the screen porc
I featured you cute idea on my blog! Please stop by and take a look! http://www.freestylinbeth.com/2011/11/fall-pumpkin-decorating-ideas.html
Love these! how long do pumpkins like this once they have been cut last? Always wondered that! 🙂
Thanks, Christina! If I remember correctly, they lasted about two weeks…or perhaps that’s just as long as I kept them. They might last longer. I do remember that the flowers died way before the pumpkin went bad. 🙂
Gracias ,esta muy bonita y algo muy diferente,te saludo desde Colombia………