Fluid Acrylic Abstract Painting + Simple Modern DIY Frame
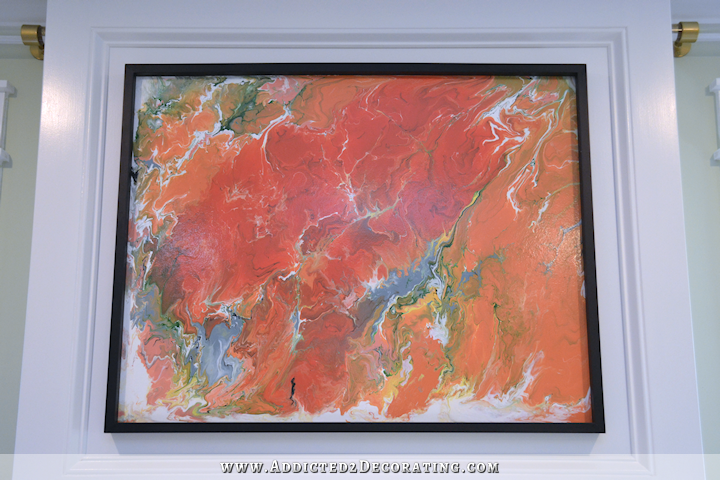
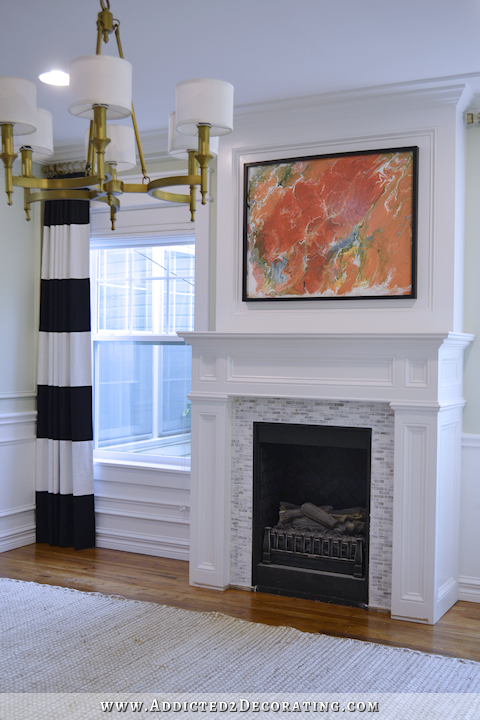
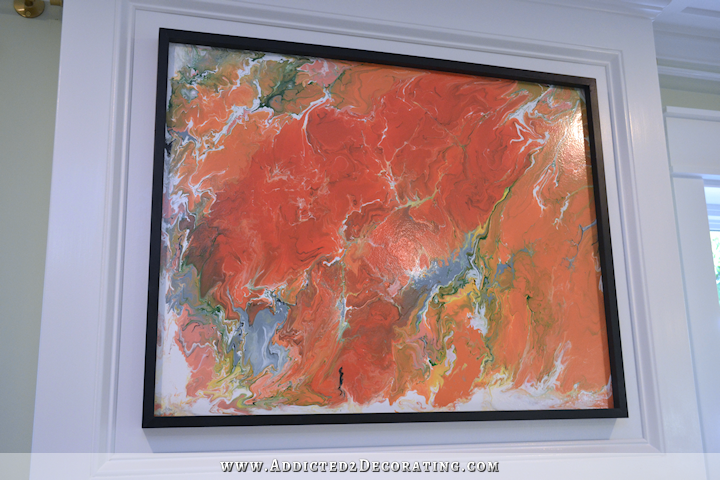
My fireplace has a new piece of artwork now. This weekend, I wanted a fun and relaxing project to work on, and making a piece of artwork seemed like just the thing. I decided to try my hand at fluid acrylic abstract painting, and let me tell you…I’m pretty sure I have a new favorite hobby! Here’s how my first attempt turned out.
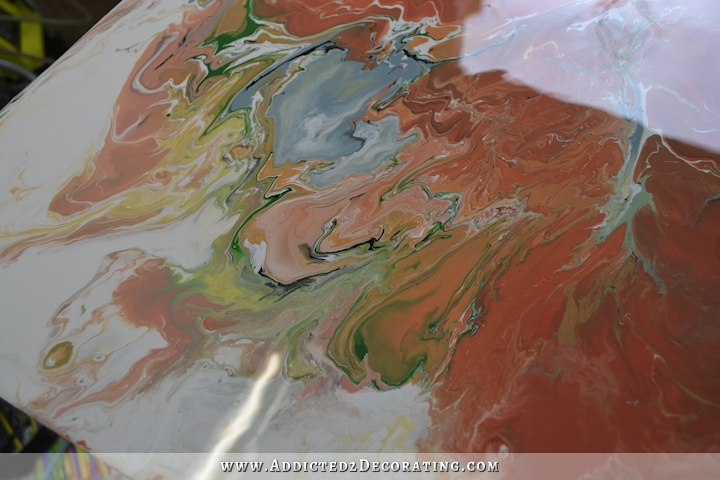
This has to be one of the most enjoyable projects I’ve ever done. It’s absolutely mesmerizing watching how the different colors move and swirl and blend and interact with each other.
And as the painting was drying, I made a very simple frame.
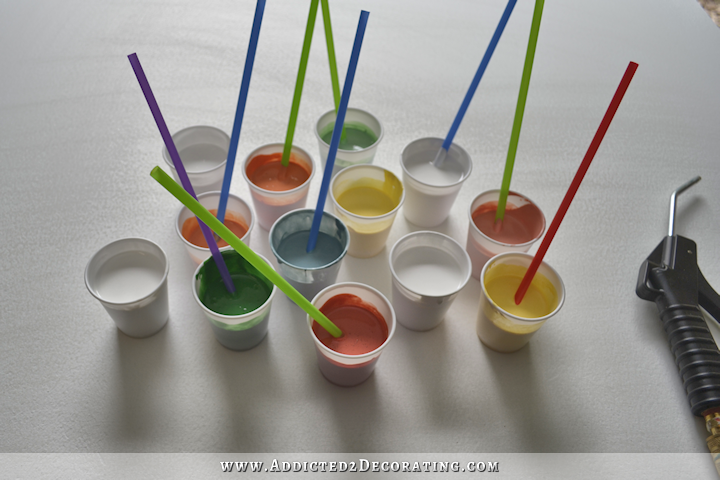
To do the painting, I used Behr paint (which is 100% acrylic) in the various colors that I had left over from my mural wall. (If you missed my mural wall, you can click here to see that.)
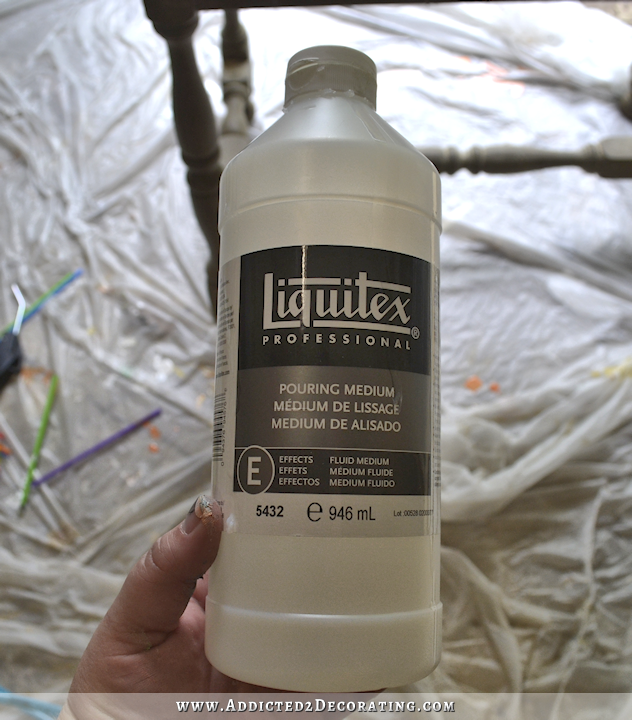
I poured each color into a 2 ounce tasting cup, and mixed each color with Liquitex Pouring Medium, which I purchased on Amazon*.
I didn’t measure exactly, but the ratio was probably 2 parts pouring medium to 1 part paint. And then I added just a very small amount of water (no more than a teaspoon) to each color to make the paint even more fluid.
For my “canvas,” I purchased a half sheet of 1/2″ MDF from Home Depot for $4.95, and had them cut it to the size I wanted, which was 27″ x 35″. I primed it with latex primer before starting on the artwork. Once the primer was dry and sanded, I simply poured the paints onto the canvas in random patterns, and then began to move the paints around by various methods — tilting the canvas in different directions, using a blow gun attachment on my air compressor (I have this one), and blowing specific areas through a straw.
It’s a very messy process because paint runs off of the edges of the canvas. I was expecting a mess, so I worked in my garage with a plastic drop cloth spread out under my work table. (I wasn’t concerned with getting paint on my work table, but I didn’t want it all over my garage floor.)
Once the paint was in a pattern that I liked, I placed the canvas perfectly flat and as level as possible in an undisturbed place to let it dry. It took about 24 hours to completely dry to the touch, so I had to be very patient. That was the hardest part. 🙂
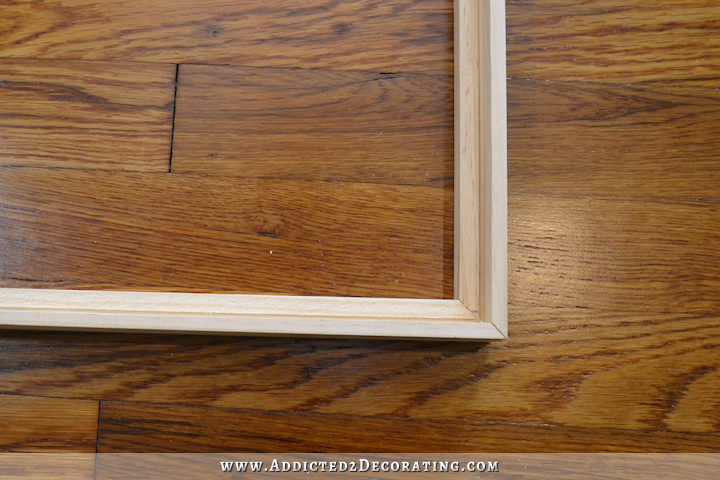
While the painting was drying, I made a very simple frame out of scrap 1″ x 2″ lumber. I used my table saw to cut a rabbet into each piece.
You can see the end profile on this piece, although it looks a bit distorted on the actual piece of lumber since the end is cut at a 45-degree angle. Refer to the little diagram in the corner of the picture to see how I cut the 1″ x 2″ lumber to form a rabbet for the canvas.
I put the frame together with wood glue and 1″ nails in my nail gun.
Here’s a close up of the back of the frame.
I used Rust-Oleum spray primer and flat black paint on the frame, and then placed the canvas into the back of the frame, resting inside the rabbet and held inside the frame with a few nails. Then I used an Ook picture hanging kit (I used this one) from Home Depot to hang the picture.
This was such a fun and relaxing way to spend a couple of hours of my weekend.
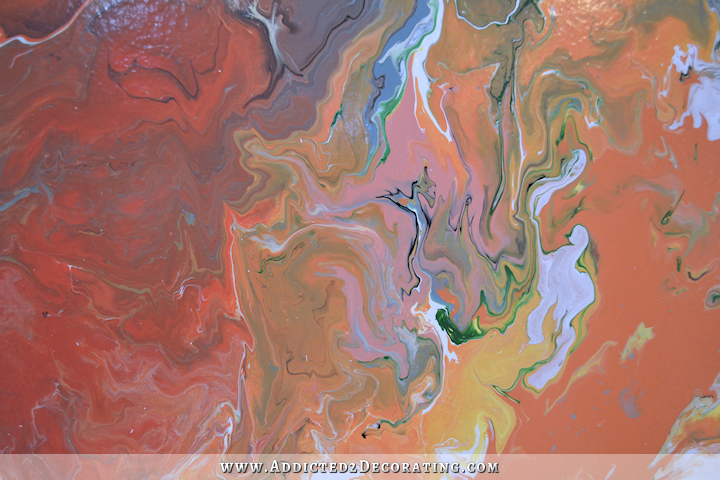
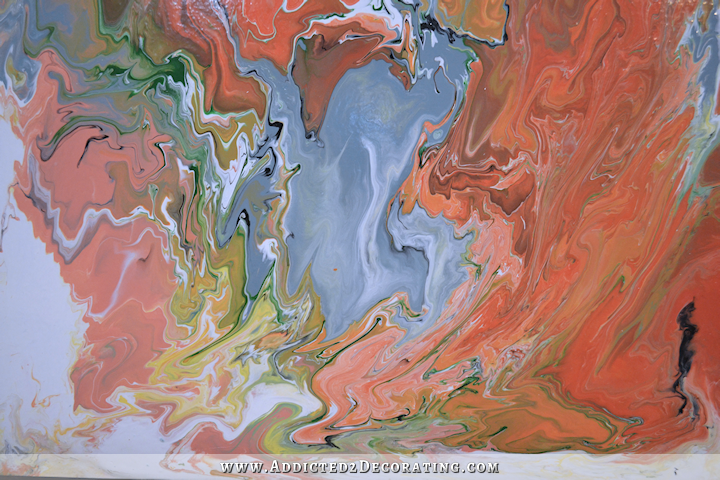
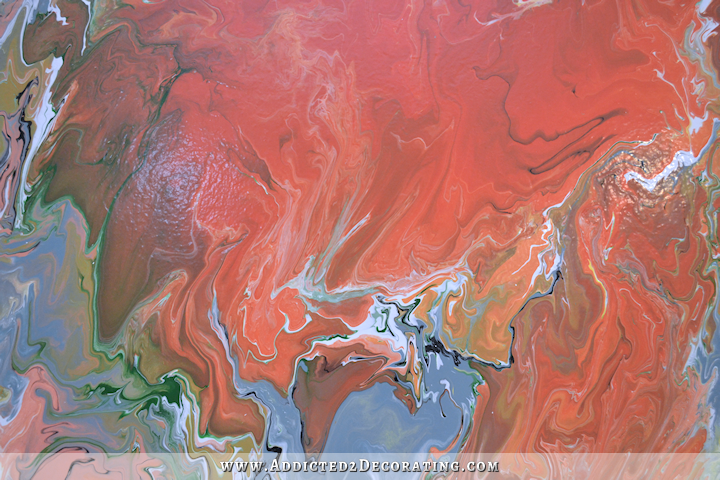
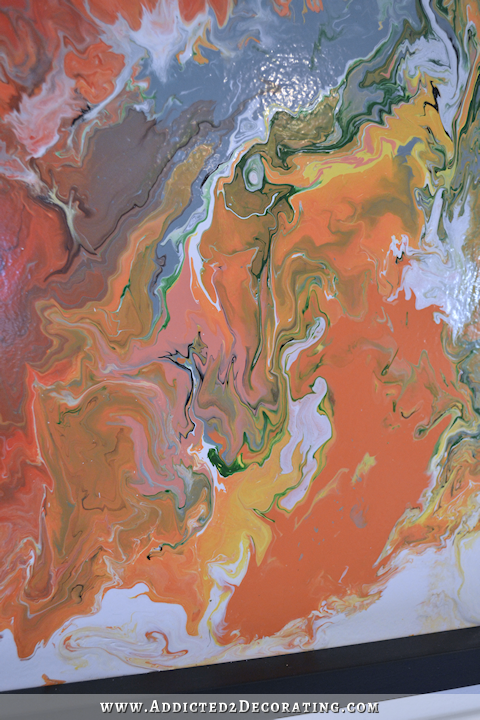
And the detail is amazing. I wish y’all could see it in person to really get an appreciation for the intricate detail, but I did take a few close-up pictures for you to see. If you click on these close up pictures, a larger image will open up in a new tab so that you can see it even closer.
Isn’t that amazing how those colors just swirl and mix together? I feel like I could stare at and study the intricacies of those patterns for hours. I enjoyed this so much that I ordered a gallon of the Liquitex Pouring Solution, and I’m looking forward to many more hours of quiet solitude in my garage watching beautiful colors of paint swirl and mix and marble. It’s such a fun way to decompress at the end of the week.
Addicted 2 Decorating is where I share my DIY and decorating journey as I remodel and decorate the 1948 fixer upper that my husband, Matt, and I bought in 2013. Matt has M.S. and is unable to do physical work, so I do the majority of the work on the house by myself. You can learn more about me here.






Absolutely beautiful! Looks great in your Dining Room!
that really pops against your soft green walls and the black and white draperies! A nice vibrant piece of artwork. 🙂
Incredibly awesome!
Beautiful!
Once again, I am astounded by your creativity. I also would not have thought to have an abstract painting with all the classical elements that you have in your living room, but it works perfectly. Thanks for sharing.
It’s beautiful! It really pops with all of the colors. I do have a thought about the frame, though. The painting is so bold, I feel like the frame should be a bit bigger to help show it off. Awesome job, love it!!!!!
FYI – If you like this type of art, you may like mixed media art also. Check out Kelly Rae Roberts at http://www.kellyraeroberts.com. I love her and have taken several of her courses. It’s just like therapy!
Looks like a topography map! Very cool. Do you know if this method would work well on canvas?
Yes, you can do it on canvas.
Hmm, I wonder how it’d look with some metallic paint in the mix. I might have to try it!
Your talents never end! So beautiful.
Well, yet again another masterpiece! Your room is looking quite beautiful and I see you now have a new rug. You are amazing!!!
Beautiful! I love how all the colors go so well together. It looks so good in your dining room. Congratulations on creating another beauty!
Here’s hoping that eventually you make a few for sale…. 😉
Looks awesome! It is bold — and necessary to blend with your other bold choices. The only thing missing is an artist’s signature. Seriously. Put your signature on it. 🙂 And then your painting will be complete.
Beautiful! Your creativity and fearlessness are well matched!
And this:
“…I feel like I could stare at and study the intricacies of those patterns for hours…”
is exactly the sentiment that has inspired every art purchase I have made. No regrets when the artwork makes me feel like that!
WOW and more WOW!
Such an awesome piece of art! I would love to see one with lots of greens and blues.
Absolutely gorgeous! You are truly amazing!
Wonderful! Thank you for sharing.
It is really beautiful…and if you want a new look you can turn it 180º and viola, you have a new piece of art!! I love abstract for that very reason.
Too funny and so true :)!!!
I don’t know if it is common practice among other artists, but my husband (who is an abstract painter) actually turns his work as he paints… he doesn’t want the art to be trapped into only one “correct” viewing point. He may have his own preferences or meanings, but he’d rather hear what others see and react to.
Love the Monday morning inspirations! This is fantastic. My stamping group did a great technique for paper where you float the paints on water and drop the paper on top. I like this a whole lot better (probably because power tools are involved) and it’s HUGE. You spend a little more time “relaxing” like this and you could fund one of your upcoming projects.
I’m totally addicted to your site. You go places I never thought of. I’m 68 and building the music room bookcases and the dining room fireplace 😊 Now I’m going have to try the painting 😳 Of coarse I’m going to make my drapes too😘 Keep up the great work 😍 I look forward to the next project!
Beautiful! It’s great how leftovers from one project can yeild a more than one piece of art.
That ended-up coming out awesome! It’s so not my style, but it’s still awesome and I’m so glad it came out the way you wanted it to (and doesn’t look the least bit DIY-ish). Really adds that burst of color you wanted over the fireplace. Congrats!
Just beautiful. I always look forward to what you are going to
do next. You are so creative and the things that you do are
real and affordable.
So pretty! I love the colors and it looks great above your fireplace!
Wow, you have done yet another amazing piece and the colors are gorgeous. This artwork certainly is the bold piece your dining room deserves. It looks absolutely stunning above your fireplace. Well done and very creative. I just might have to try this method, as I’ve been searching for ‘something’ for our master bedroom.
Absolutely stunning. A little too much orange if it were in my house, but it is a beautiful art piece. I like more of the greens and blues. But it looks beautiful above your fireplace!!! Can’t wait to see finished room, to see how it all goes together 🙂
I spent my weekend with a Kristi-related project and wanted to thank you for the tutorial concerned! I made mini-curtains (a bit like valances) for my kitchen windows so that they don’t look so bare anymore and meant to only seam the fabric I chose, but after your tutorial I decided to line them using your method. The first one is completely done and looks very professional and beautiful, the second one is halfway to being finished. Many thanks for sharing your experiences and helping me doing this!!!
Perfectly perfect for your dining room! So lovely.
Absolutely gorgeous – can’t wait to try it!!! Can’t help wondering…could this method be used in staining concrete, say maybe shades of black and maybe a little white hint, hint ;)?
p.s. Love the new rug, looks great!!
The perfect addition to this room! Not surprised at all that you’ve discovered yet another talent and had fun doing it.
Kristi, you never cease to amaze me. If I were younger, you would inspire me to be just like you. I love your endless abilities and talent. If I do say so, I’m a lot like you – just a lot older!!! lol I am a retired Interior Designer and have such an appreciation for your talent. I absolutely love the painting and plan to do one as soon as I can get the Liquitex. BTW, do you believe in prayers being answered by very obtuse, off handed ways?? Well, I do ’cause today you were the answer to one of my very quiet little requests. Thanks for sharing and keep up the terrific work. We all enjoy you so much.
Kristi, your painting is just deliciously beautiful. I can’t wait to try this. Thanks for the tutorial.
Keep painting …… Rita
I think you’ve inspired a lot of people to try this. It’s perfect for your dining room; beautiful job.
I agree with Jennifer that the picture frame looks a bit skinny.
Can’t wait to see everything and the table sitting on the rug. Which reminds me: When everyone was giving suggestions for the color you should use on the table, I almost wrote about the color I thought it should be. But then I thought, “No, she’ll come to the conclusion on her own that it should be white.” 🙂
What a gorgeous piece of art! It reminds me of a cross section of agate or some other semi precious stone – I would stand and stare at it for hours too!
Love your work, and thank you for sharing so much of it with us!
Love this! This looks so beautiful. Question for you or your readers: Do you think it would look good to do several (3 to 5, or 5 to 7) of these, all in the same colors, different sizes and orientations, for use in a gallery wall? Or is it so pretty because of the specialness of one large piece? I’m thinking of a large, bare wall we have… Thanks!
LOVE!
Wow that really looks fantastic and really makes that side of the room. Congratulations!
Love it!!!
This is what I imagine my brain looks like. Love it!
THAT painting is S T U N N I N G ! Great job! I’m thinking it might seem easy to do, really, but I’ll bet I would not know when to stop and I’d ruin it! It looks GREAT with your striped window treatments- I love how both the striped drapes and the modern painting are classically edgey! And I think the thin black picture frame suits it perfectly. A stunning room in the making! You deserve a pat on the back! So thrilled to have found your blog- YOU are one talented girl!
Never heard of liquid acrylic painting but it sounds like fun. Glad you are getting to the enjoyable stuff after all that hard construction. Hope to see all the furniture in these too soon. It must be like a breath of fresh air now when you walk in your front door.
I loooooove it! Perfect addition to the room!
Beautiful aaaand another project for my to do list! Thanks again:)
I really like this painting and it looks amazing in the room. It truly is a POP of color!
This turned out awesome! I’m not usually an abstract fan, but this I can honestly say I would hang in my own home! I love the colors and composition! Bravo for trying. Can’t wait to see what comes next!
This looks absolutely gorgeous, and like it’d be fun to try and do. Will have to give this project a shot! Thanks so much for sharing!
WOW!! Leave it up to you Kristi to figure out how to do this!!!
It’s awesome. I love it!
How gorgeous. It looks really professional and really adds a wow factor to the room.
Missed this post earlier but I love it! I was going to do some soft colored agate paper for the backing of a bookshelf but I may do this instead.
Hi Kristi .. I know you completed this beautiful artwork years ago .. any idea what the names of the paints that you used were? I know you referenced the wall mural post, but the colors weren’t listed there.